Whether you’re doing a casual hike or aiming for some distant peak, it’s important to carry the right gear. Exposure, dehydration, and loss of direction are just a few of the challenges that a hiker might have to face, and having the right kit is the first step to being properly prepared. But compiling a gear list isn’t always straight forward. When deciding on what to take on a hike, you need to think about the conditions you can expect, the likelihood you’ll find water en route, and remoteness. In this article, I explain how these and other factors should determine what you carry on your next hike.
Clothing and footwear
Hiking shoes
When hiking with a light pack (and you shouldn’t be carrying more than 7 kilograms or 15 pounds on a day hike) a pair of hiking shoes are almost always better than boots. Shoes are lighter, faster drying, and better ventilated and so are less likely to make your feet sweat. The only thing you give up by choosing shoes is a degree of waterproofness, and that’s only really an advantage in very cold and wet conditions (like slushy snow) where it’s absolutely crucial to keep your feet dry. Note that hiking shoes are not the same as trail runners. While you can hike in a pair of lightweight runners, you might find that you’d benefit more from the protection and support of beefier hikings shoes, a category of footwear that sits between hiking boots and running shoes.
Quick-drying next-to-skin layers
In warmer weather, you might only need a pair of shorts and shirt (a long-sleeve UPF shirt will provide better protection from the sun). But colder conditions can call for long pants and a baselayer top to fend off the chill. All activewear should be made of fast-drying synthetics, like polyester and nylon, or merino wool – materials that will retain some of their warmth even when wet. Cotton is an absolute no-no as it holds water and will bring on a chill when the temperature drops. The same goes for underwear. Briefs and bras should be made of fast-wicking fabrics that will draw moisture away from your skin. Lastly, choose comfy yet durable pants. Stretchy tights or yoga pants can tear if they so much as come near a branch or boulder.
Weather-appropriate mid and outer layers
Spaceage materials like Primaloft and Gore-Tex mean that outer layers offer plenty of protection for very little weight. A fully waterproof jacket can weigh as little as 250 grams (8.8 oz) while an insulated jacket might weigh only 300 grams (10.6 oz). Consult the forecast, and don’t skimp on outer layers if there’s any chance that the weather could take a turn for the worst. Ideally, you’d also have a light fleece mid-layer that can be worn over next-to-skin layers or paired with outer layers, giving you the ability to adapt your outfit for a wide range of conditions. Regardless of the weather, you should always have at least one warm layer in case you find yourself returning after sundown.
Sunglasses and hat
Sunglasses will protect your eyes from both unseen branches and from UV rays. Ultraviolet light increases with altitude, and at an elevation of 9000 feet you are exposed to 27% more UV light than you are at sea level. The point is that sunglasses are especially important if you plan to hike in the mountains. Look for shades with a UVA/UVB label as these will give you the most protection, and beware cheap sunglasses that aren’t UV-rated – these can actually do more harm than good. The other important piece of headwear for hikers is a hat. Trucker caps have become popular in recent years, but a wide-brimmed hat or one that covers your neck will offer you more protection.
Backpack and accessories
Pack
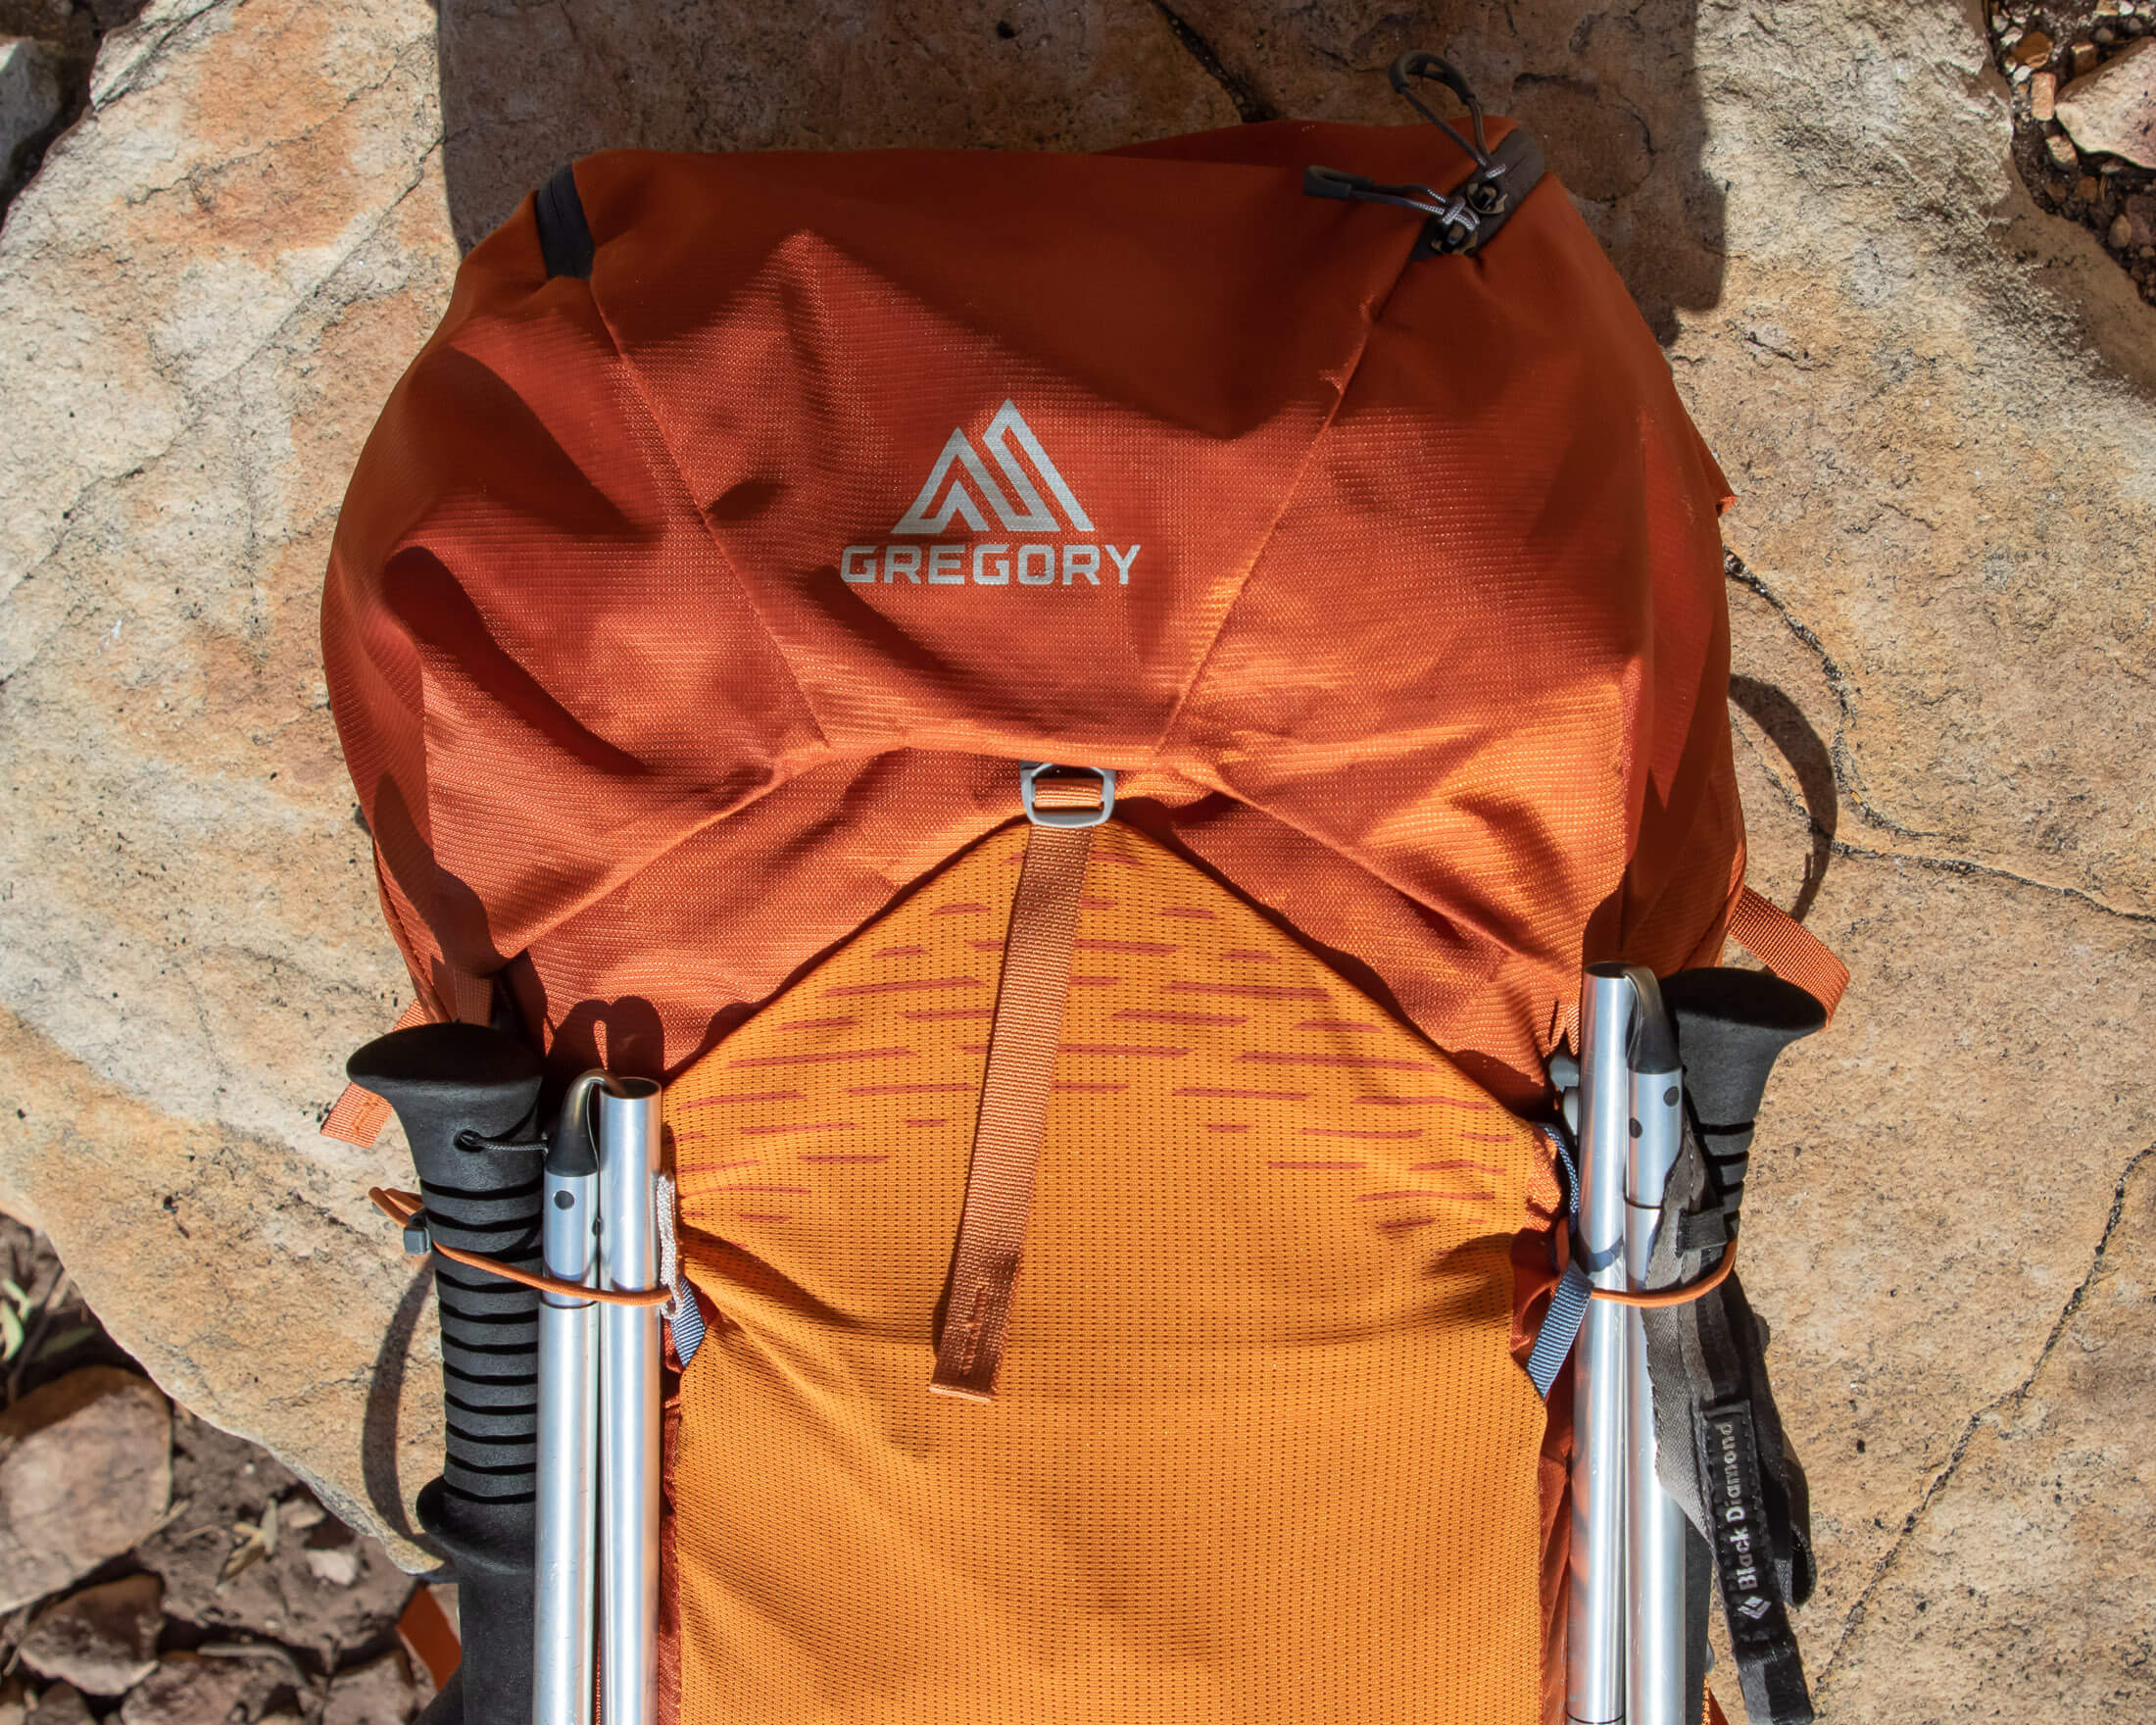
Some packs have internal frames. Others don’t. The big advantage of a frame is ventilation – it positions the bulk of a pack slightly away from your back and so allows moisture to wick away more easily. Frameless packs, on the other hand, will conform to the shape of your back better and won’t bounce as much if you jog (something to think about if you intend to try fastpacking).


The second big decision is capacity. Most daypacks are somewhere between 18 and 28 litres. The amount of capacity you need will depend largely on the conditions you need to prepare for and not the distances you intend to hike. The potential for cold or wet weather will mean more layers, and those can quickly fill a small pack. Lastly, and most importantly, consider fit. Packs are designed for different torso lengths and hip sizes, and you’ll need to find one that fits your body shape best. Your local gear store will be able to give you some pointers.
Reservoir or bottles
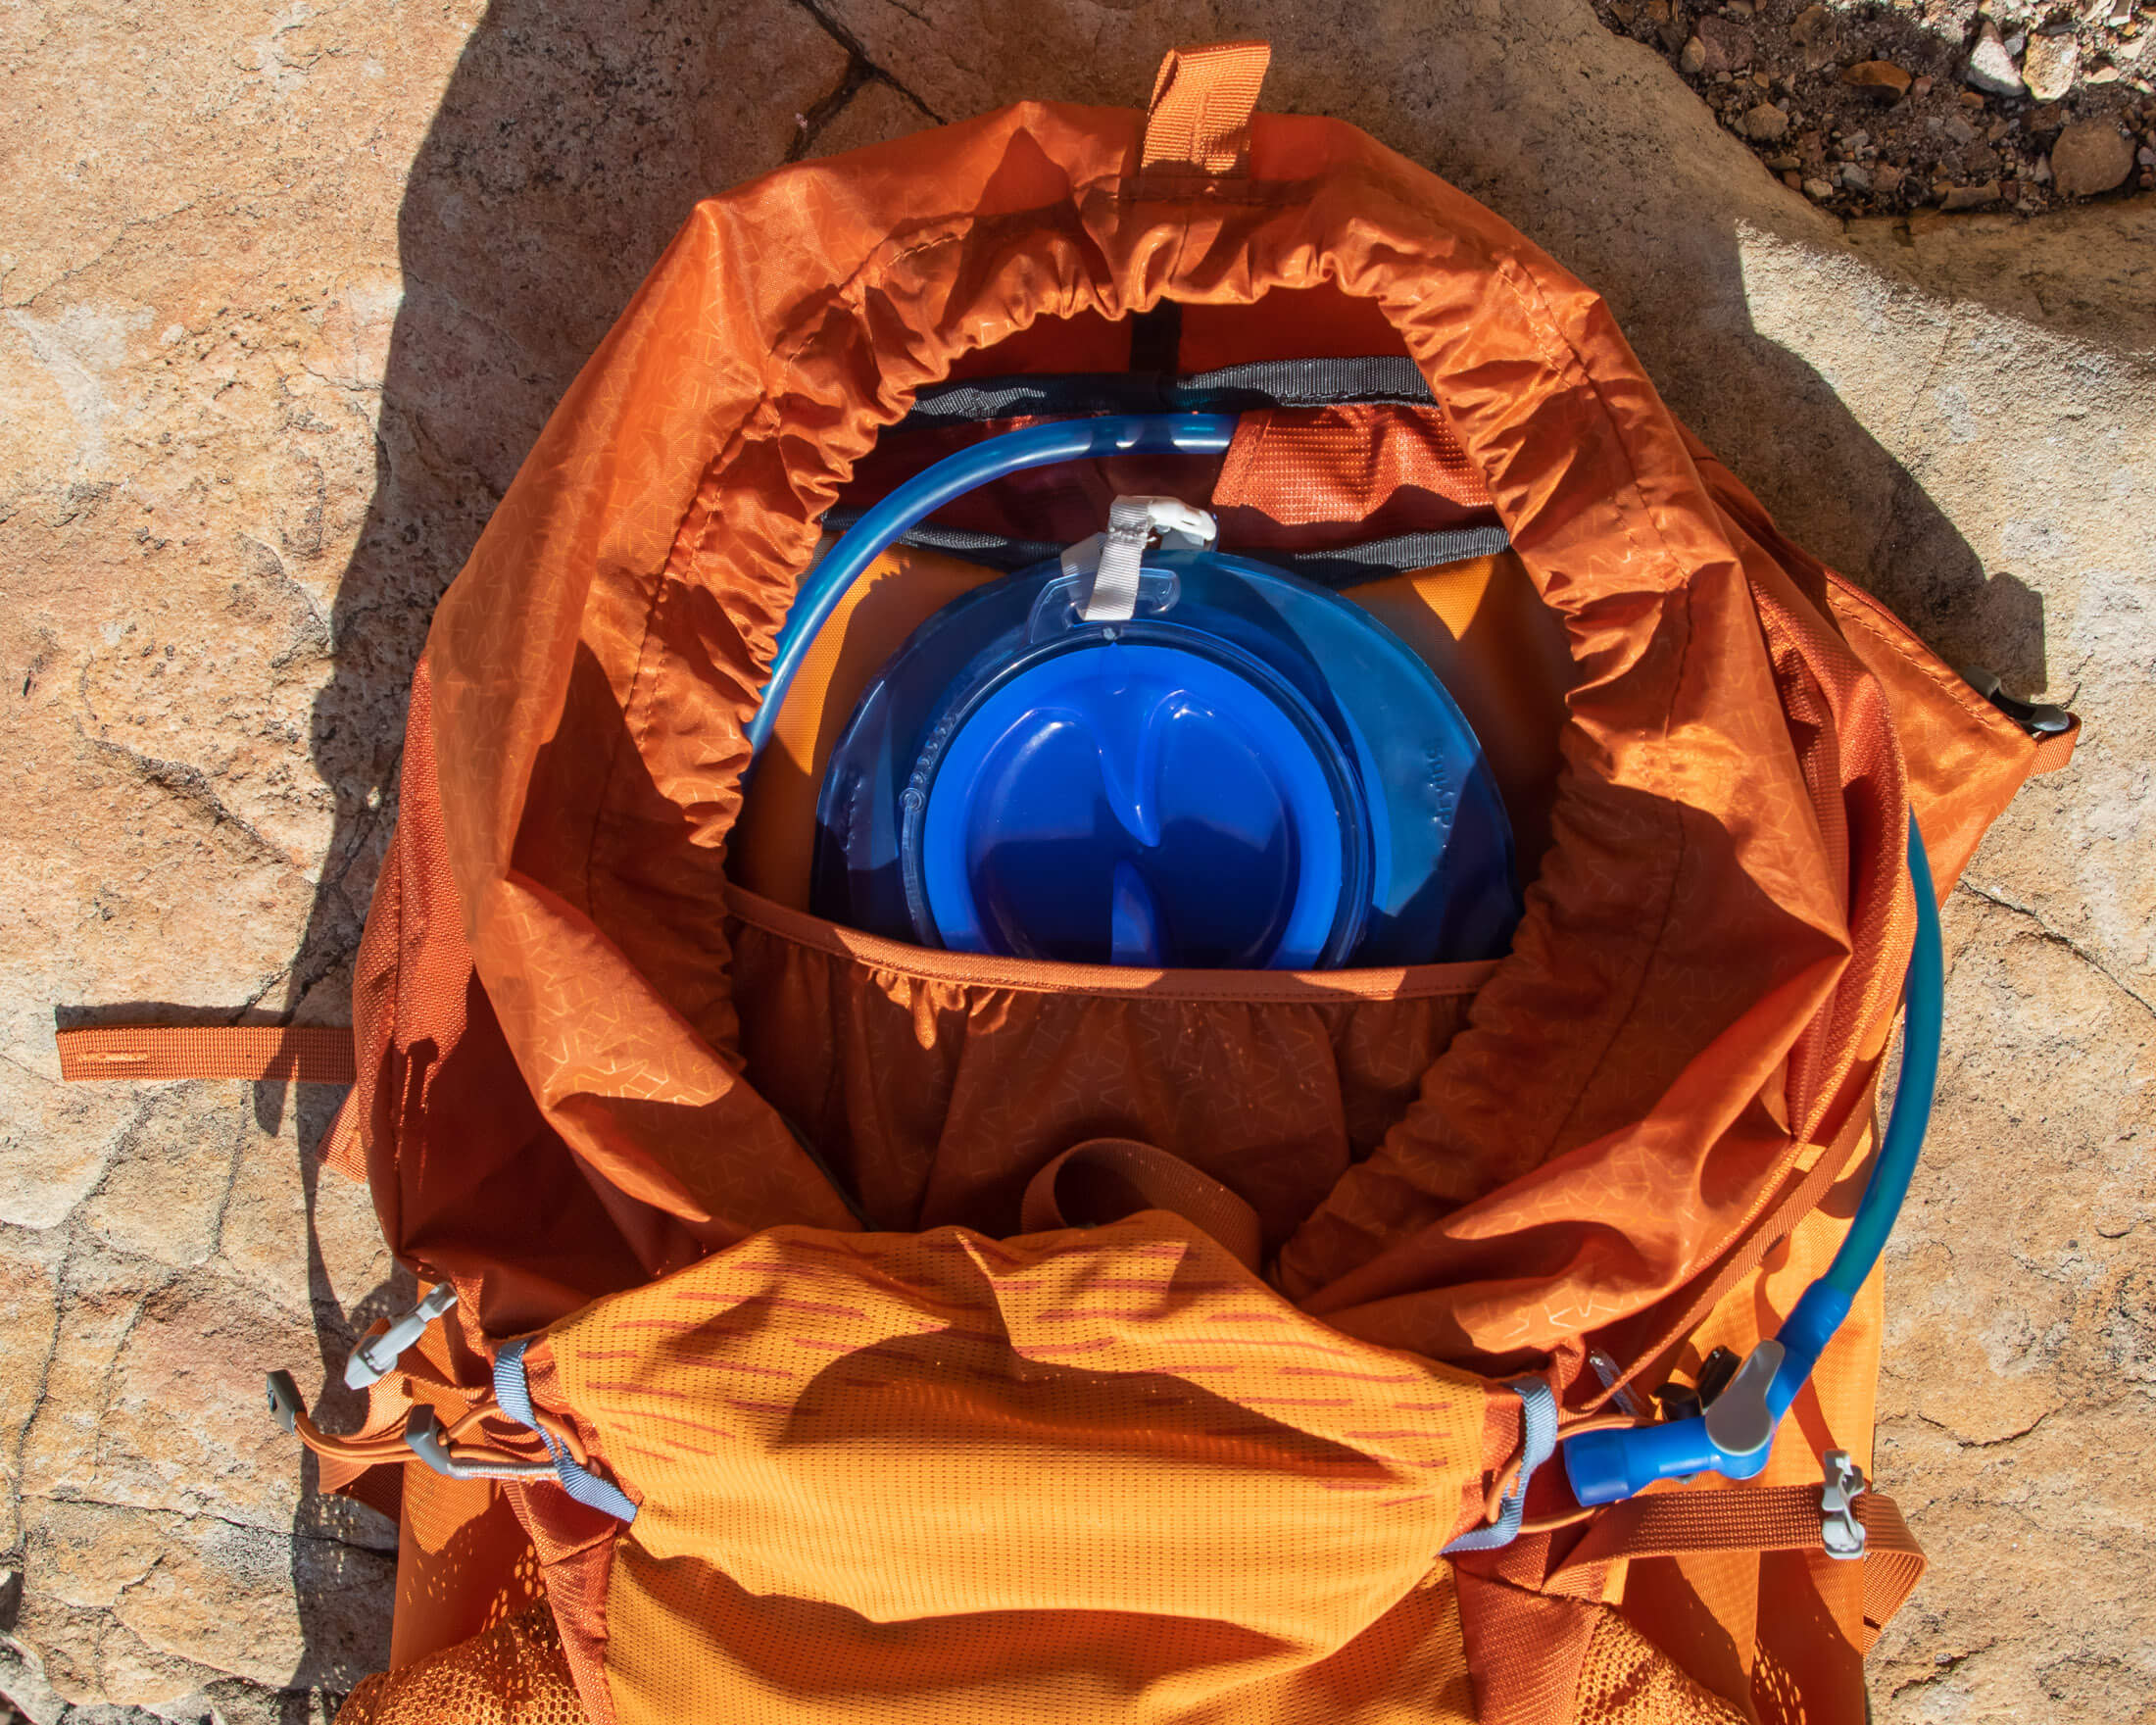
Depending on your needs, you could carry a reservoir, bottles, or both. In warm weather, the average hiker needs between 400 and 800 ml (13.5 - 27 oz) of water an hour. That means you could need as much as three litres of water for a four-hour hike that offers no opportunities to refill en route. In most reservoir ranges, the largest models are around 2.5 litres. So you’d have to carry a water bottle as well as a reservoir. If your water requirements aren’t quite so extreme, you can choose between water bottles and a reservoir. A reservoir is more convenient in that the tube is always within easy reach. But it's also harder to refill since it has to be removed from the pack before you can top it up.
Rain cover or pack liner
If your daypack doesn’t come with a built-in rain cover, you’ll need to find something else to protect your kit from seeping moisture in the event of a downpour. The safest solution is to buy a separate rain cover, but you can also put your gear inside a plastic bag (essentially a cheap pack liner). Just make sure that your bag doesn’t already have a rain cover before you go buy one. In some packs, this can be hidden in a zippered pouch on the inside of the main compartment or even on the underside of the bag.
Kit
Trekking poles
Do you absolutely need trekking poles? No. Can they make hiking easier? Yes, especially on steeper uphill sections. Used properly, poles allow you to use your arms to generate some upwards motion and so take some strain off your legs. Of course, it takes well conditioned arms, shoulders, and back muscles to get the most out of a pair of poles, and you’ll initially have to hike a lot with them over the right kind of terrain (steep) to build up adequate endurance in these muscles. If you’re still undecided, see my article When to use Trekking Poles for all the pros and cons of using poles.
Headlamp
Many day hikers run into trouble when they find themselves out after sunset with little to prepare them for the dark and cold. I suggest carrying a headlamp on any trip with an expected return time after noon. My guide to headlamps can help you choose a headlamp if you don’t already own one, but the short of it is that you should be looking for a light that throws at least 250 lumen, uses replaceable batteries, and has a weatherproof rating of at least IPX4. I say uses replaceable batteries because you’ll also want to pack spare batteries. If you keep these in your first aid kit, you won’t have to remember to pack them separately.
Navigational aids
A GPS watch, handheld GPS, or phone can make it easy to plot and follow a course, but you shouldn’t rely too heavily on technology. Cell signals fade, batteries die, and screens break. When heading into unfamiliar terrain, hikers need to be prepared and should carry a map and compass (and know how to use them) even if they’re carrying a GPS. To acquire some reliable old school navigation skills, see my article on orienteering. Besides learning some real wilderness skills, you’ll be able to impress your friends with your new direction-finding abilities.
Satellite messenger
If you venture well beyond the range of cell towers, you’ll need a satellite messenger to stay in touch. Maintaining a connection is especially important if you hike solo or with only one other person. You never want to be in a position where you have to choose between going for help or staying with an injured hiking partner. Most satellite messengers enable two-way texting with an emergency response center and other contacts, and almost all feature a button that will send an SOS with your location. The only downside to these devices is cost – they aren’t cheap and then you also require a subscription to the satellite network. But, for me, it’s a small price to pay for peace of mind.
Water filter or purifier
If you plan to refill at natural water sources along the trail, a water purifier or filter can help eradicate any waterborne nasties. Such precautions are especially important in heavily trafficked areas where water hygiene is less than ideal. Filters like the Saywer Squeeze (85 g / 3 oz) will remove almost all bacteria and are adequate for most backcountry use. But in situations where you have to collect water close to popular campsites, it’s a good idea to take the extra precaution of killing viruses with chemical tablets or a UV purifier. For an in-depth how-to guide on water purification and filtration see my article How to Purify Drinking Water in the Backcountry.
First aid kit
Don’t rely on an off-the-shelf first aid kit until you have carefully examined its contents. Prepackaged kits don’t always contain the essentials – and in a light day-hiker first aid kit you want to pack only the most useful items. Many kits could do with rehydration salts, blister patches, and scalpel blade (for lancing blisters), but your list of additions could be longer. For detailed instructions on how to assemble a kit that will cover you for most common minor ailments, see my article on what to put in a wilderness first aid kit. It’s a good idea to also keep your water purification tablets and spare headlamp batteries in your first aid kit – two less things you’ll have to remember to pack.
Emergency bivvy
It happens. People get lost, even in their local hills. And when things don’t go as planned, hikers are sometimes forced to overnight on the mountain. In such situations, exposure can be a real danger if the benighted party is not properly prepared. Some hikers carry a space blanket as a means of providing additional warmth in case of emergency. But these tend to leak warmth even when folded properly. Emergency bivvys, on the other hand, are just a little heavier (240 g / 8.5 oz) and are much better at retaining heat since air can only escape through the opening, which you’ll likely pull tight around your neck.
Note: an emergency bivvy is no substitute for insulating layers like a fleece or down jacket. To be properly prepared for a dangerous drop in temperature, you need to pack warm layers and an emergency bivvy.
Provisions
Trail snacks
The average hiker burns around 300 to 400 calories per hour and needs to start replacing carbs at about the same rate after the first few hours. The best snacks for this are bars, candy, nuts, dried fruit, bananas, and cured meat. But balance is key: too much sugary snacks will only give you a blood sugar spike (likely to be followed by a crash) while too much low GI food like cured meat and nuts won’t deliver enough instant energy. On hotter, sweatier days, it’s also important to have at least a few salty snacks (cookies and salted nuts are good) to replace lost electrolytes. Alternatively, you can use an electrolyte replacement to replace lost sodium.
Sunscreen
Cloud cover is no match for the sun’s ray, and your UV exposure can be high even on overcast days. To protect you properly, your sunscreen should be at least SPF50 and must provide protection against both UVA and UVB light. Sticks are a good option for your face and neck since they’re unlikely to run (or explode inside your pack), but a spray might be easier to apply to exposed legs and arms (wearing long-sleeved UPF clothing offers even more protection). A small sunscreen stick will also fit easily into a hip belt pocket, where it can be reached without removing your pack.
Toilet paper
Besides carrying toilet paper, you sometimes also have to be prepared to pack it out. On wilder on more remote trails, the chances are that you’re not going to find any toilets. In such situations, you need to do as the pioneers did – dig a cat hole, make your deposit, and cover it up. Best practice dictates that you then pack out your used TP. To do that ‘safely’, I suggest you use a double-bag strategy. Put half a roll of your favourite two-ply in a small dry bag (2 L) with a ziploc bag or two (one for each hiker). When your business is done, fold over the TP so that the clean side is on the outside, put the TP into the Ziploc bag, and put the Ziploc bag in the dry bag. It also helps to carry a small trowel if you don’t want to use a stick to dig a hole.
Get out there
The best way to fine tune your kit list and hone your hiking skills is to get out and get some practical experience. Only time on the trail will really teach you exactly what you need to pack and what can be left at home. That said, if it’s more useful information on hiking and backpacking that you’re after, you’ll find many more articles filled with pointers, practical tips, and valuable insights here on Trail & Crag. Happy exploring.
