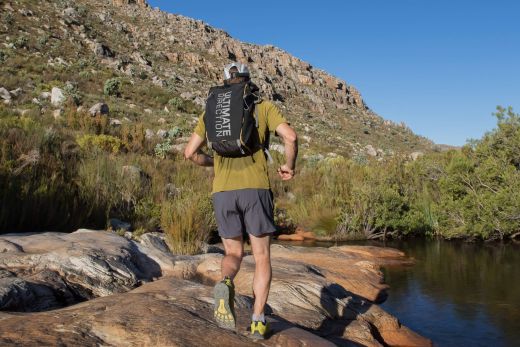
Fastpacking is an activity that has grown out of a want – a want to run longer and farther than a single day allows for. Keen to maximise alpine miles, adventurous trail runners have long sought out gear that would allow them to stay out overnight while adding little in the way of weight or bulk. In recent years, technological developments have given those intrepid runners just what they were looking for, and today it’s possible to run and camp with a pack weighing less than seven kilograms. This crossover between trail running and ultralight backpacking has since developed a passionate following, and fastpacking is now the obvious approach for runners looking to hunt out peaks and ridges far beyond their usual stomping grounds. This article is your introduction to that exciting new world.
What is fastpacking?
Fastpacking is trail running and ultralight backpacking rolled into one epic adventure. By running with a small pack and minimalist kit, fastpackers can attempt trails too long to be attempted in a single day. Given their similarities, some might say that the only difference between ultralight backpacking and fastpacking is speed, but that’s no small distinction. The primary mode of movement has some important implications: fastpackers wear shoes and clothes designed for running, and they carry packs that limit bouncing and bobbing – something hikers just don’t have to think about.
What is the attraction of fastpacking?
Moving swiftly with a light kit lets you get further into the backcountry and stay out longer than would if you were trail running. Speed also allows one to cover more ground in less time, and fastpackers can explore a lot more over a single weekend than a team of hikers. But most importantly, fastpacking is about challenging yourself – forcing yourself to get by with less while going further and faster.
What are the challenges?
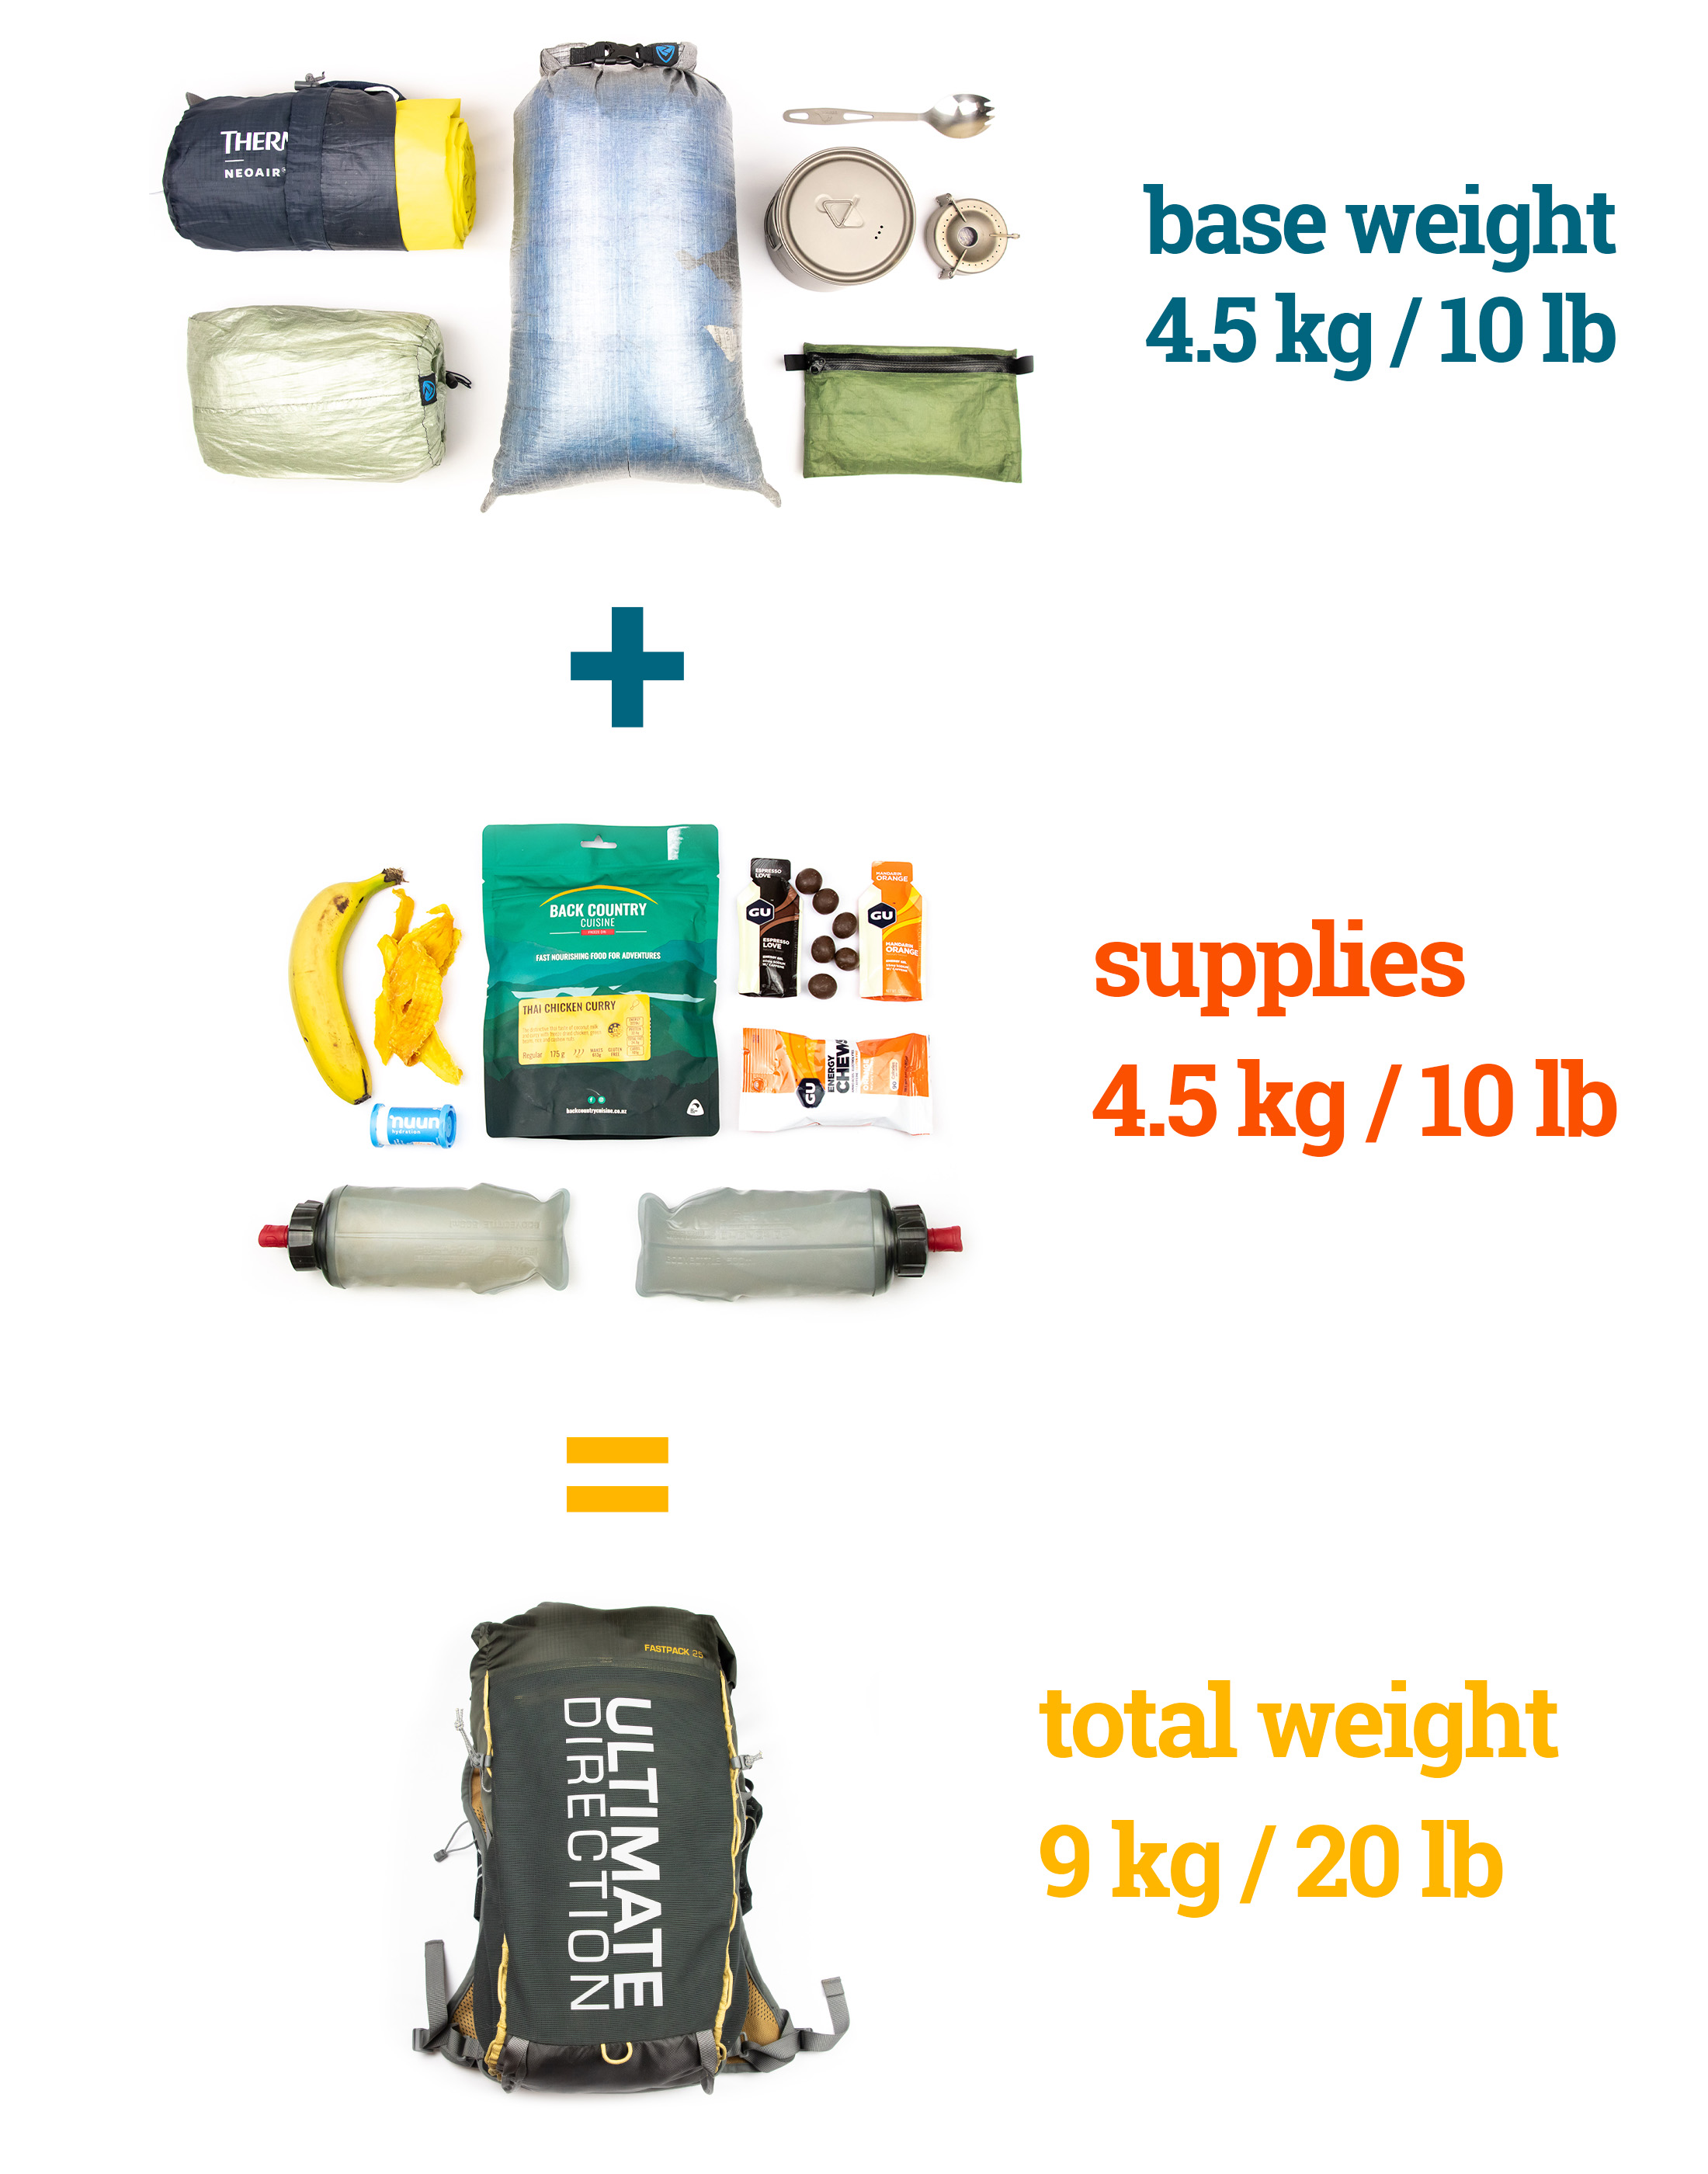
Most fastpackers aim to keep their base weight under five kilograms (11 lb) and total pack weight, including food and water, under nine kilograms (20 lb). These limitations make it necessary to do thorough research and planning. You want to carry enough kit and supplies to meet your needs but not so little that you’ll be stretched if conditions prove to be more demanding than expected. For many, the solution is ultralight gear chosen for necessity and calorie-dense food that will meet your energy needs without weighing you down.
Planning a fastpacking trip
How to choose a trail
Be conservative when picking your first few routes. Don’t plan on doing daily distances any longer than a moderate training run. The weight of even a light pack will slow you down, and you’ll need to conserve enough energy to run on a second, third, or even fourth day. Also consider exit points and the options you’d have to pull out if you had to. Leave committing routes (trails that take you deep into the backcountry and far from help) until you have more experience.
Research water sources
To save weight, carry less water and refill at natural water sources. To do so, you’ll need to know where to find water. Check topo maps for rivers and streams, and ask rangers about the current conditions of those water sources. Knowing the location and quality of water sources can help you make decisions about how much water to carry and whether to pack a filter or purifier.
Go when conditions are favourable
It’s difficult to travel fast and light when you also need to carry enough gear to be safe in winter conditions. The best time to plan a fastpacking trip is in the late spring, summer or early fall, although this window could start earlier and end later in drier, warmer areas. Cold weather fastpacking is best left until you’ve acquired some experience both in fair-weather fastpacking and in cold-weather hiking.
Check the forecast and trail conditions
When you have only minimal gear to rely on, it’s essential that you check the forecast and know what to expect. A last minute forecast check could inform a few changes to your kit list and prepare you for a spot of unseasonal weather. Also, be aware of local weather patterns. You don’t want to be on an alpine ridge in the mid-afternoon if you know that afternoon thunderstorms are the norm.
Share your itinerary
Even if you’re running or hiking with a partner, you should always tell a trustworthy person where you are going and when you should be expected back by. If it’s a long hike, share your full itinerary with that person, including notes that identify escape routes that you’d use if you found yourself in trouble.
Apply for permits
As with any backpacking trip, you’ll need to research whether backcountry permits are required. Contact the relevant land manager or agency to learn what the procedure is. And while you’re at it, find out what the regulations regarding human waste are. In some environmentally sensitive areas, you have to pack out human waste. In other areas, you’re encouraged to pack out your toilet paper. For tips on how to do this as ‘safely’ as possible, see my article How to Poop in the Backcountry.
Create a packing checklist
In an activity where every gram matters, deciding what goes into your pack is no small task. But you also shouldn’t think only about what you need. To save weight, it’s best to think about what your team needs and can share. You don’t need more than one water filter, stove, or satellite messaging device between two of you. And by sharing a shelter with a friend, you can really bring your pack weight down. In my guide to fastpacking gear I explain how this strategy can help you get your kit weight under five kilograms.
Meal prep and cooking when fastpacking
The average fastpacker needs between 3,000 and 4,000 calories a day depending on their metabolism and level of exertion. That works out to about 700 to 900 grams (1.5 to 2 lbs) of food per day depending on calorie density. Food with a high calorie-to-weight ratio will help you meet your energy requirements while adding less weight to your pack. Given that the norm is to try to limit total food weight to 2.5 kilograms, you will most likely only go three days before needing to resupply (if your trip is longer). The table below shows an example of a meal plan for a single day. For a more indepth look at lightweight meal options, see my article How to Feed Yourself in the Backcountry.
With or without a stove
Whether or not you decide to pack a stove will be the biggest factor affecting your meal planning. If you take a stove, you can boil water to rehydrate freeze-dried and dehydrated meals, and you can make pasta, rice and oats. The high calorie-to-weight ratio of these foods means that you can pack more while incurring less weight, offsetting the additional weight of a stove. On that note, it’s also important to bear in mind how much fuel is needed to cook different types of food. Freeze-dried meals rehydrate in a fraction of the time needed to rehydrate home-made dehydrated meals and are the obvious choice for fastpackers who want a warm meal.
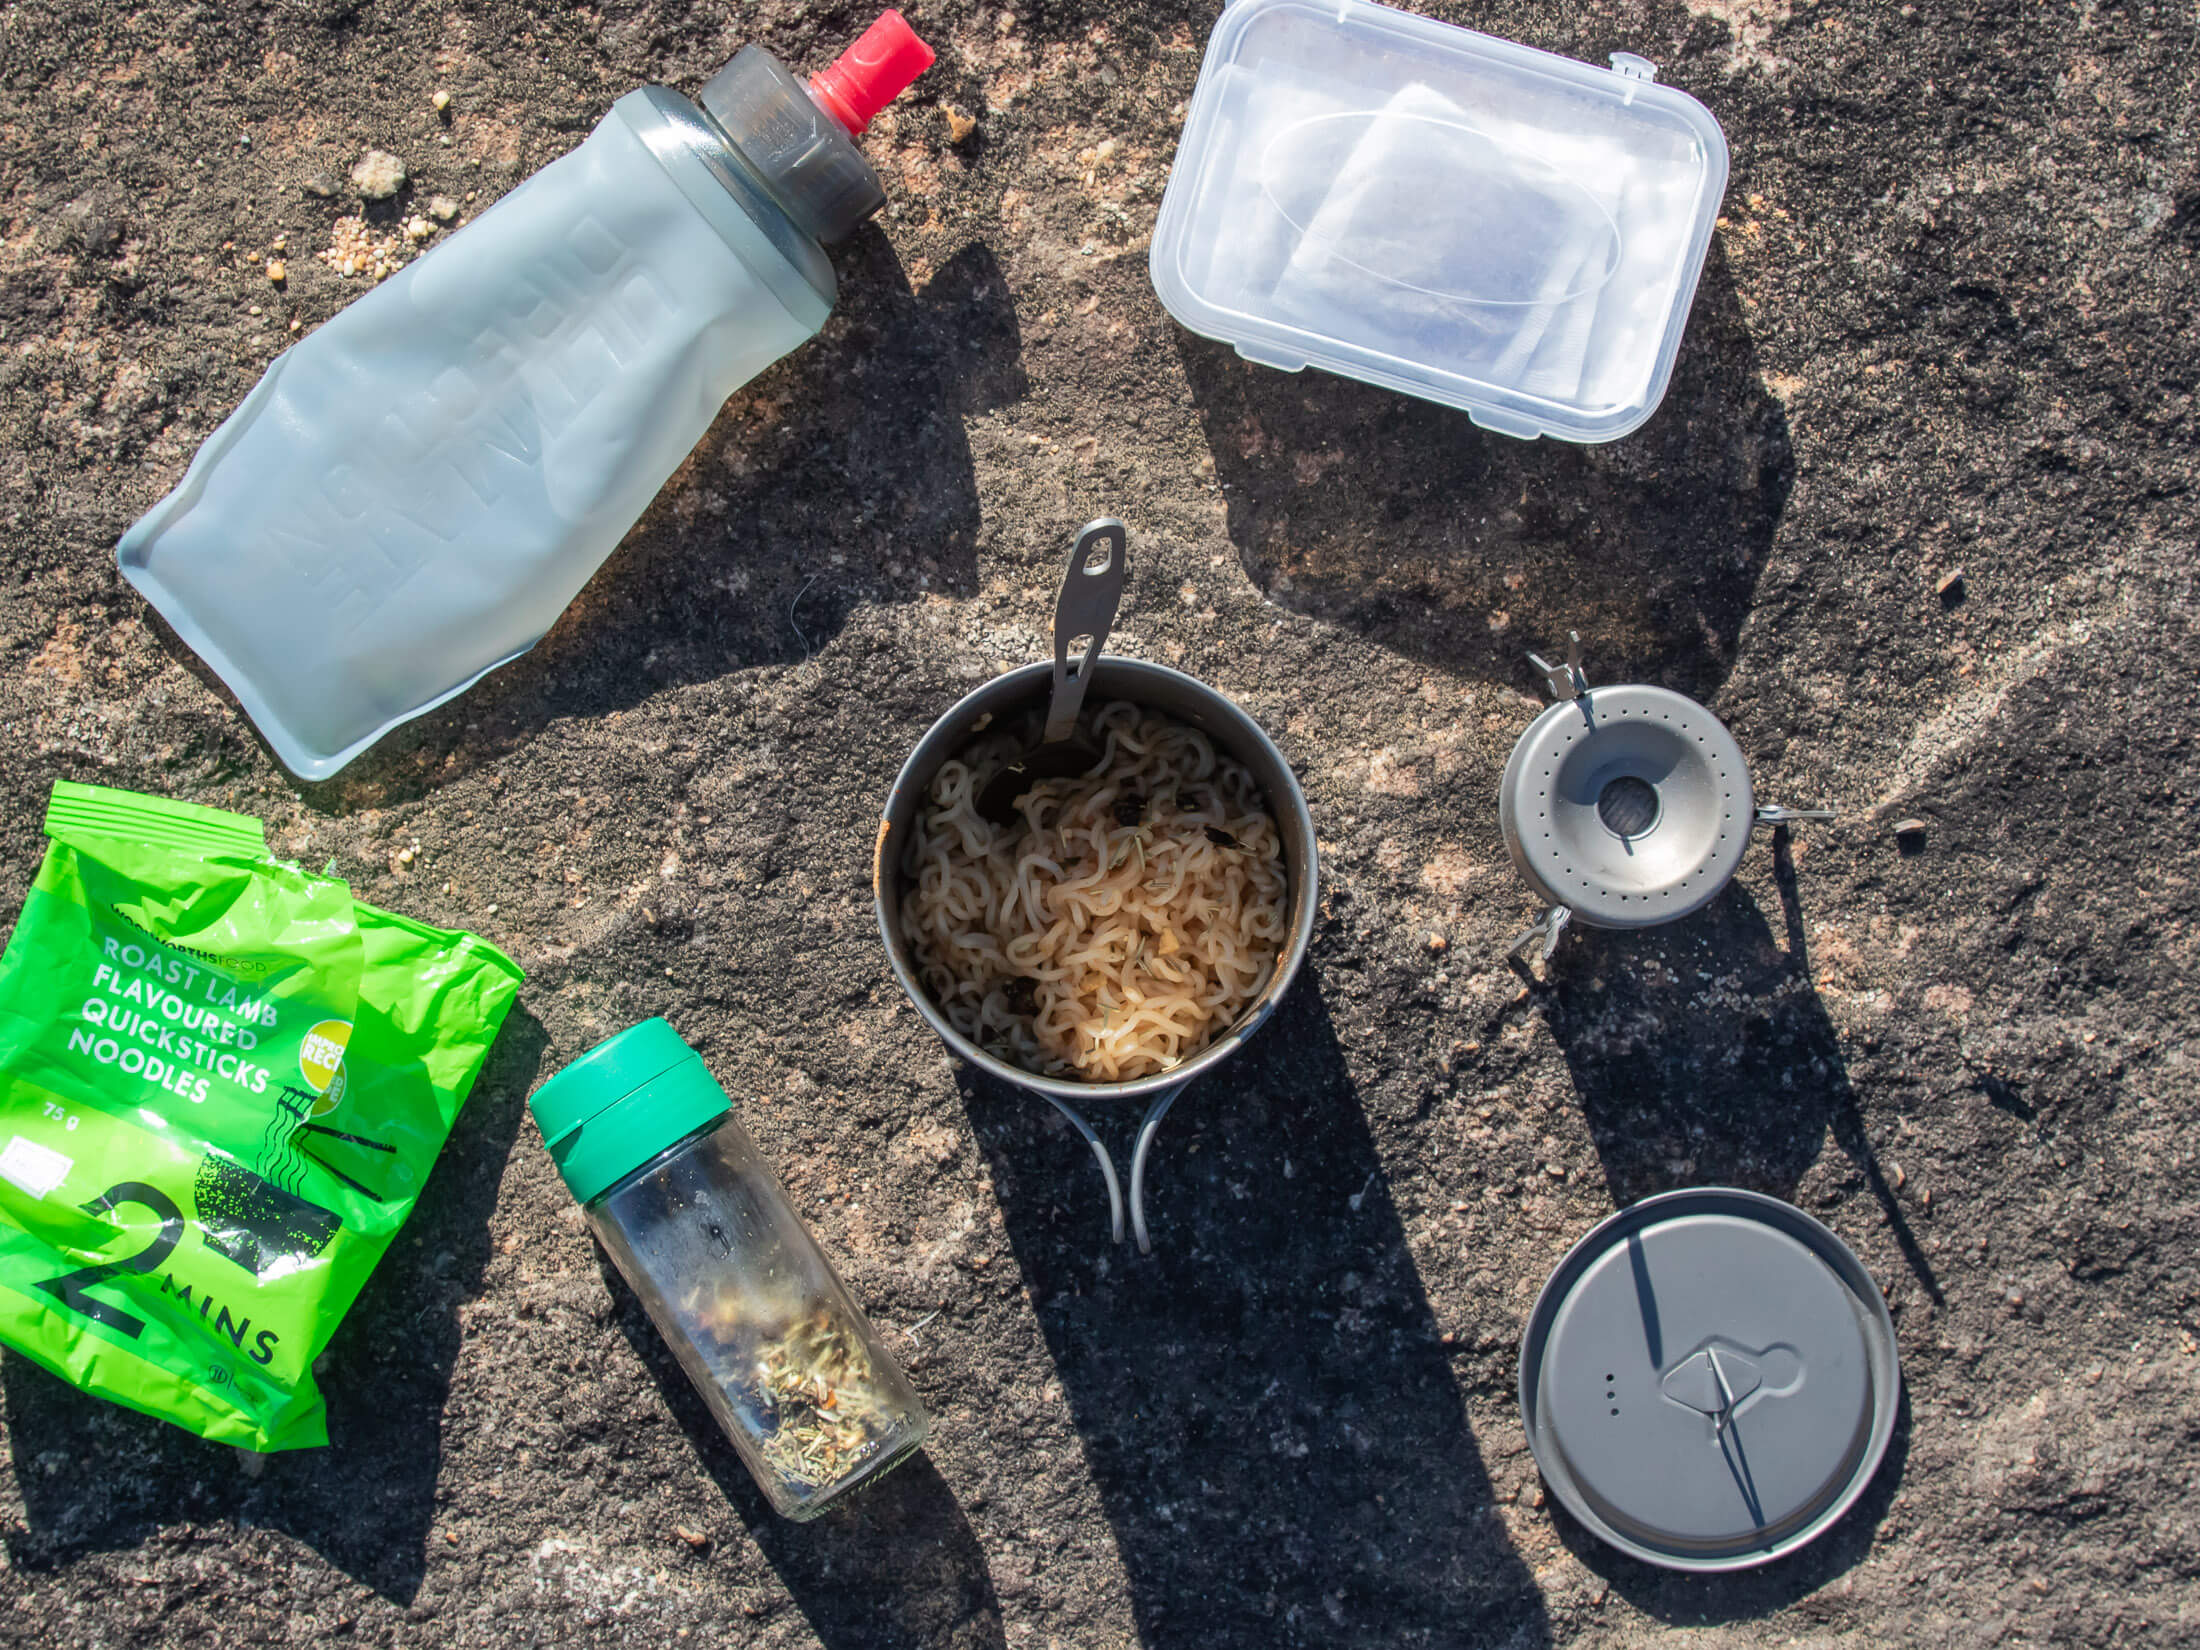
A stove also allows you to make coffee and tea, a real comfort in cold conditions. Are these luxuries worth the weight of a small stove, pot and canister (between 300 and 600 grams combined)? That’s a matter of personal preference, but I’d only be tempted to go without a stove in warmer temps and only for a day or too. Without a stove, you’ll have to get by on the usual trail fare: bars, jelly sweets, trail mix, crackers, cheese, and nut butters. If you choose to pack a stove, I suggest you read my guide to backpacking stoves, which explains the pros and cons of the different types of stoves as they relate to weight and fuel economy.
Fastpacking gear
Some aspiring fastpackers may fear that they have to freeze at night to travel light, but that’s no longer the case. Modern ultralight gear allows weight-conscious outdoorsmen to stay warm while keeping pack weight down, and it’s quite possible to put together a kit that weighs under five kilograms. Just be prepared to fork out a not-so-insignificant amount of money for that lightweight comfort. Ultralight gear is not cheap, and you’ll want to do some thorough research before you reach for your wallet. The following paragraphs go over fastpacking gear only very briefly. For a more comprehensive guide, see my article Fastpacking Essentials.
Pack
The ideal pack for fastpacking is somewhere between 25 and 30 litres, although thrifty campers might be able to get away with a pack as small as 20 litres. To prevent its content from bouncing, your pack will need to conform to the shape of your back as much as possible. That means no internal frame or support (features you will find on some day packs). Your pack should also have features (pockets and zippers) that can put frequently used items within easy reach.
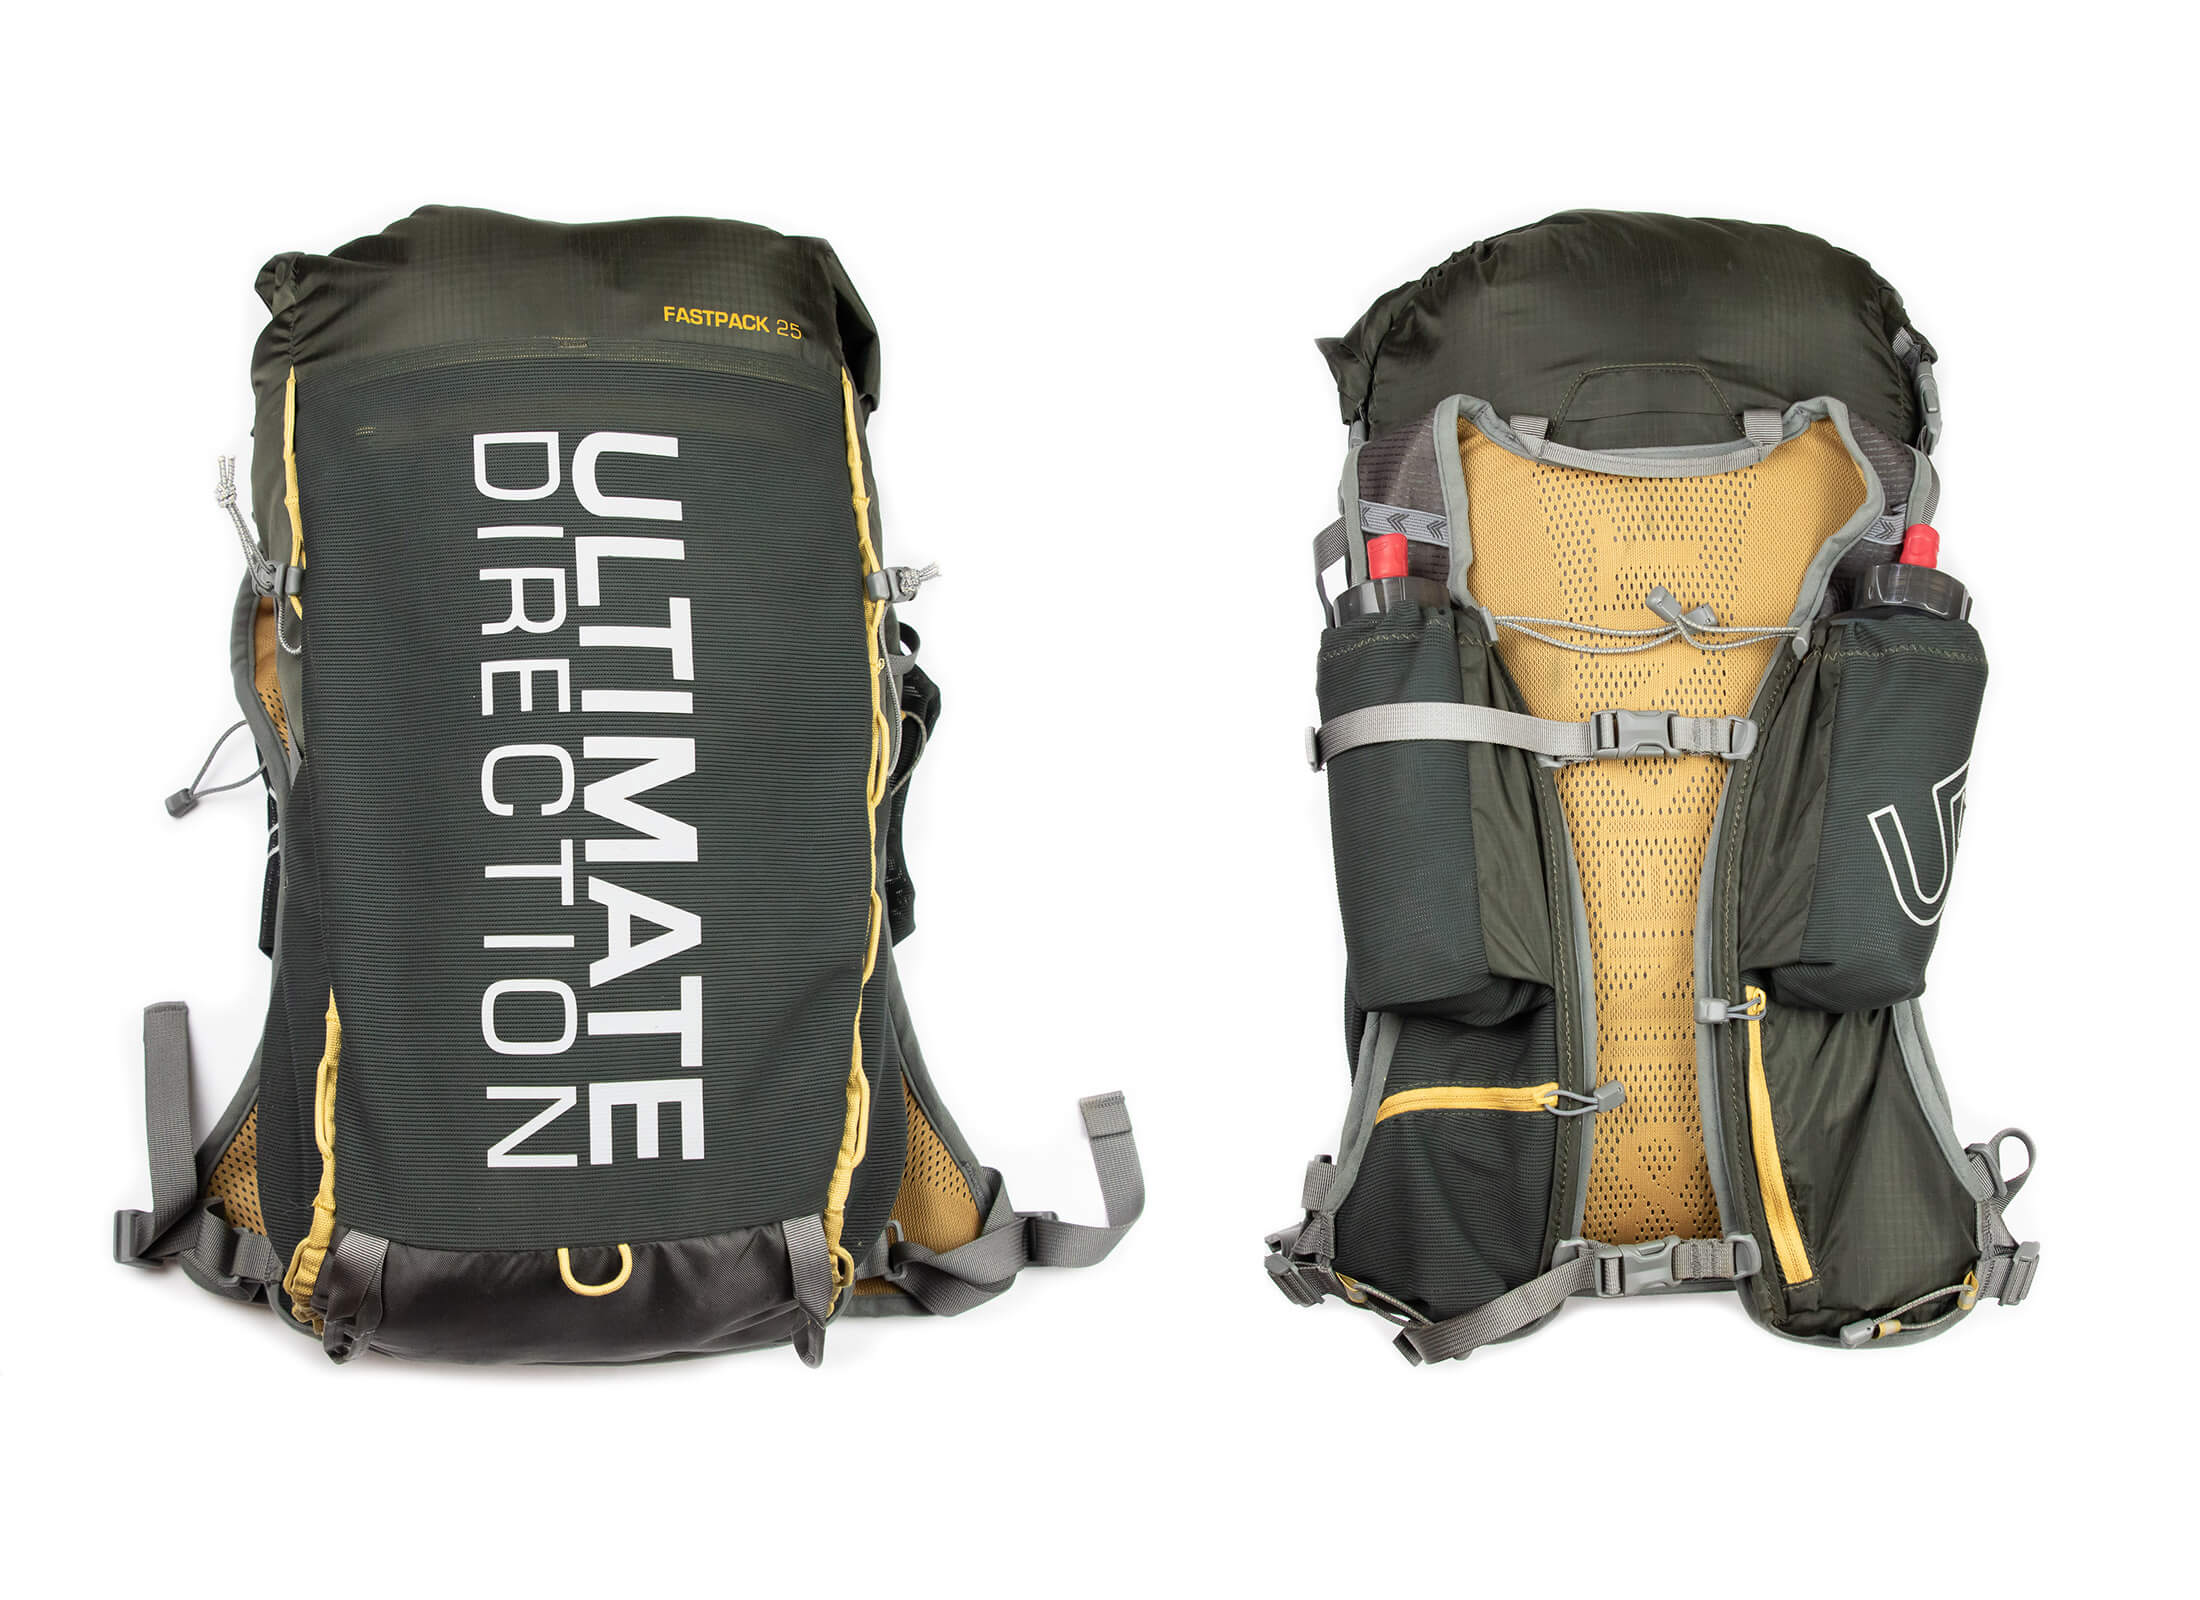
If you aren’t going to use a reservoir, it’s important that you can reach your water bottles while still wearing the pack – pockets on the shoulder straps would be best. And the waist belt (essential) should have a pocket big enough for a phone, GPS or satellite messenger. Other useful features include a rain cover and trekking pole attachments.
Trail gear
Trekking poles
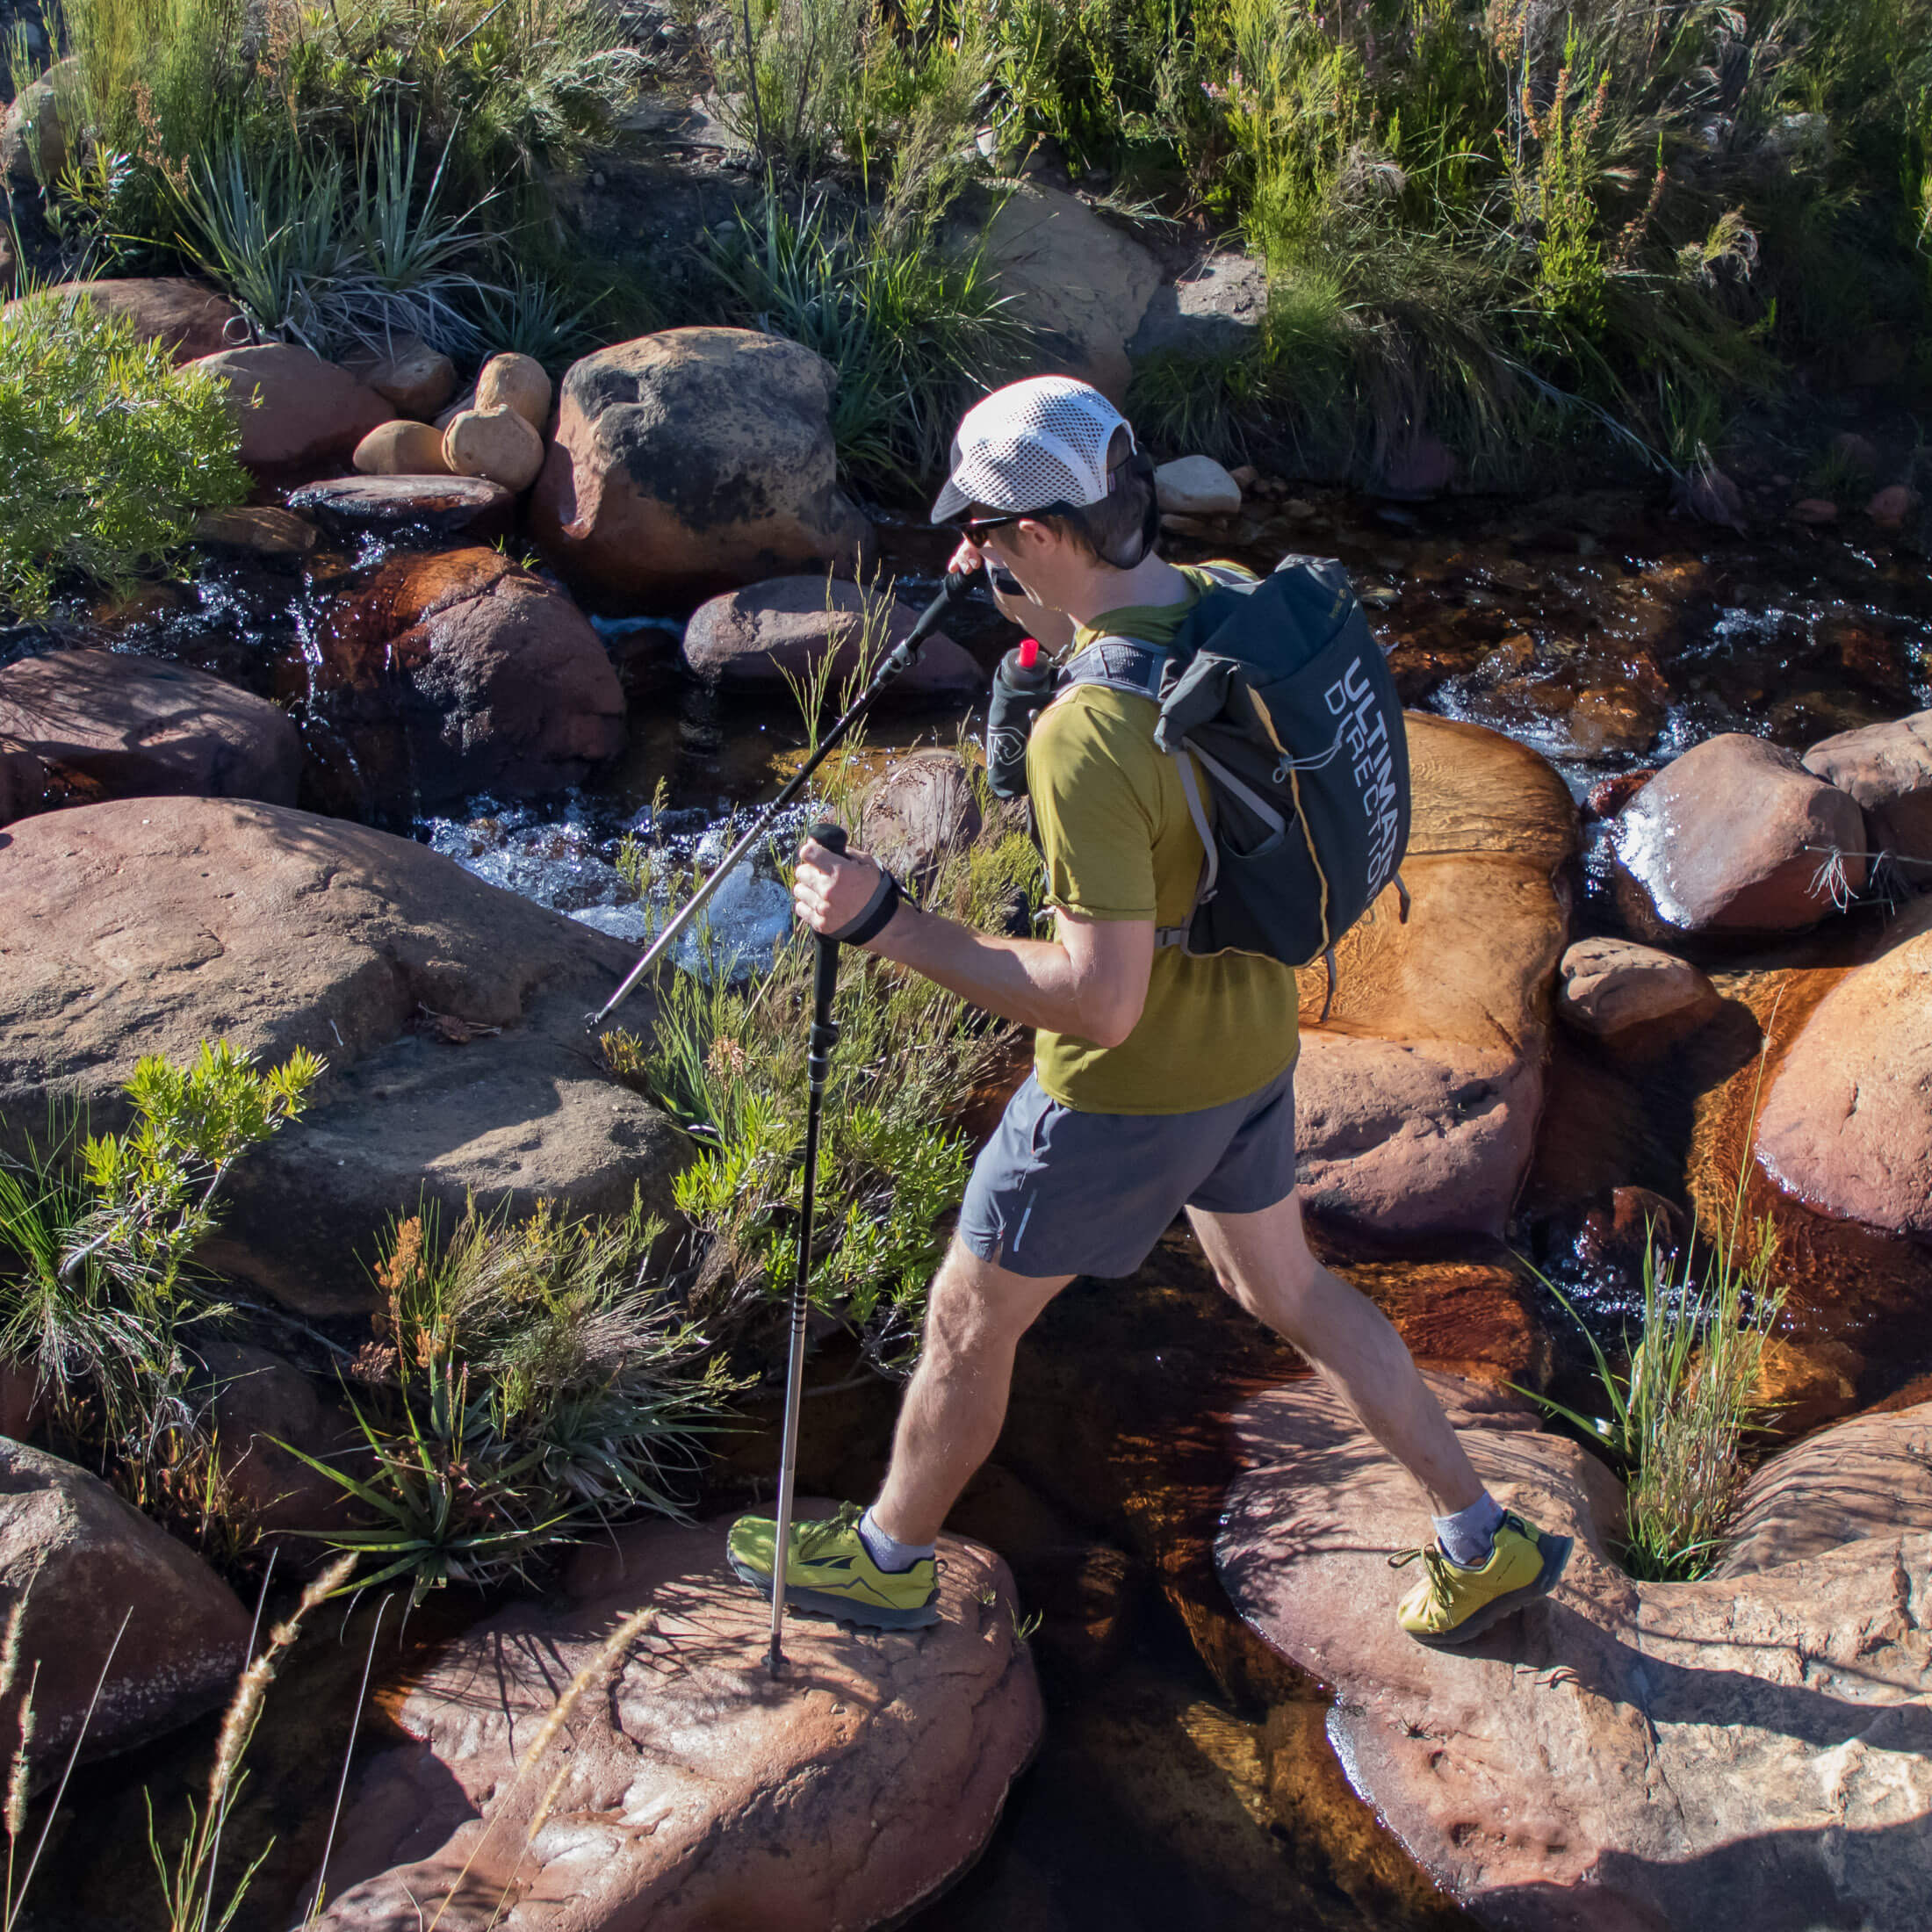
Whether or not you use trekking poles will depend on your personal preference. Poles can improve efficiency and help keep you balanced on downhill runs, but they also give you something extra to carry when you don’t need them. I don’t usually use poles for trail running for this reason, but on fastpacking trips I find them useful for uphill slogs and for rigging a tarp or shelter. If you do get poles, a quality lightweight pair designed for trail running would serve you best. But, first read my guide to trekking poles for a more in-depth analysis of the factors affecting pole choice.
Water bottles or reservoir
On a warm day, the average person needs to drink between 400 and 800 milliliters (13.5 - 27oz) of water every hour to replace lost fluids. How much of that you need to carry will depend on your refilling strategy. If you’re regularly crossing streams, you may not have to carry more than a litre. A reservoir, water bottles, and soft bottles are all good options, but consider how you’d access each of these and how they’d work with your pack.
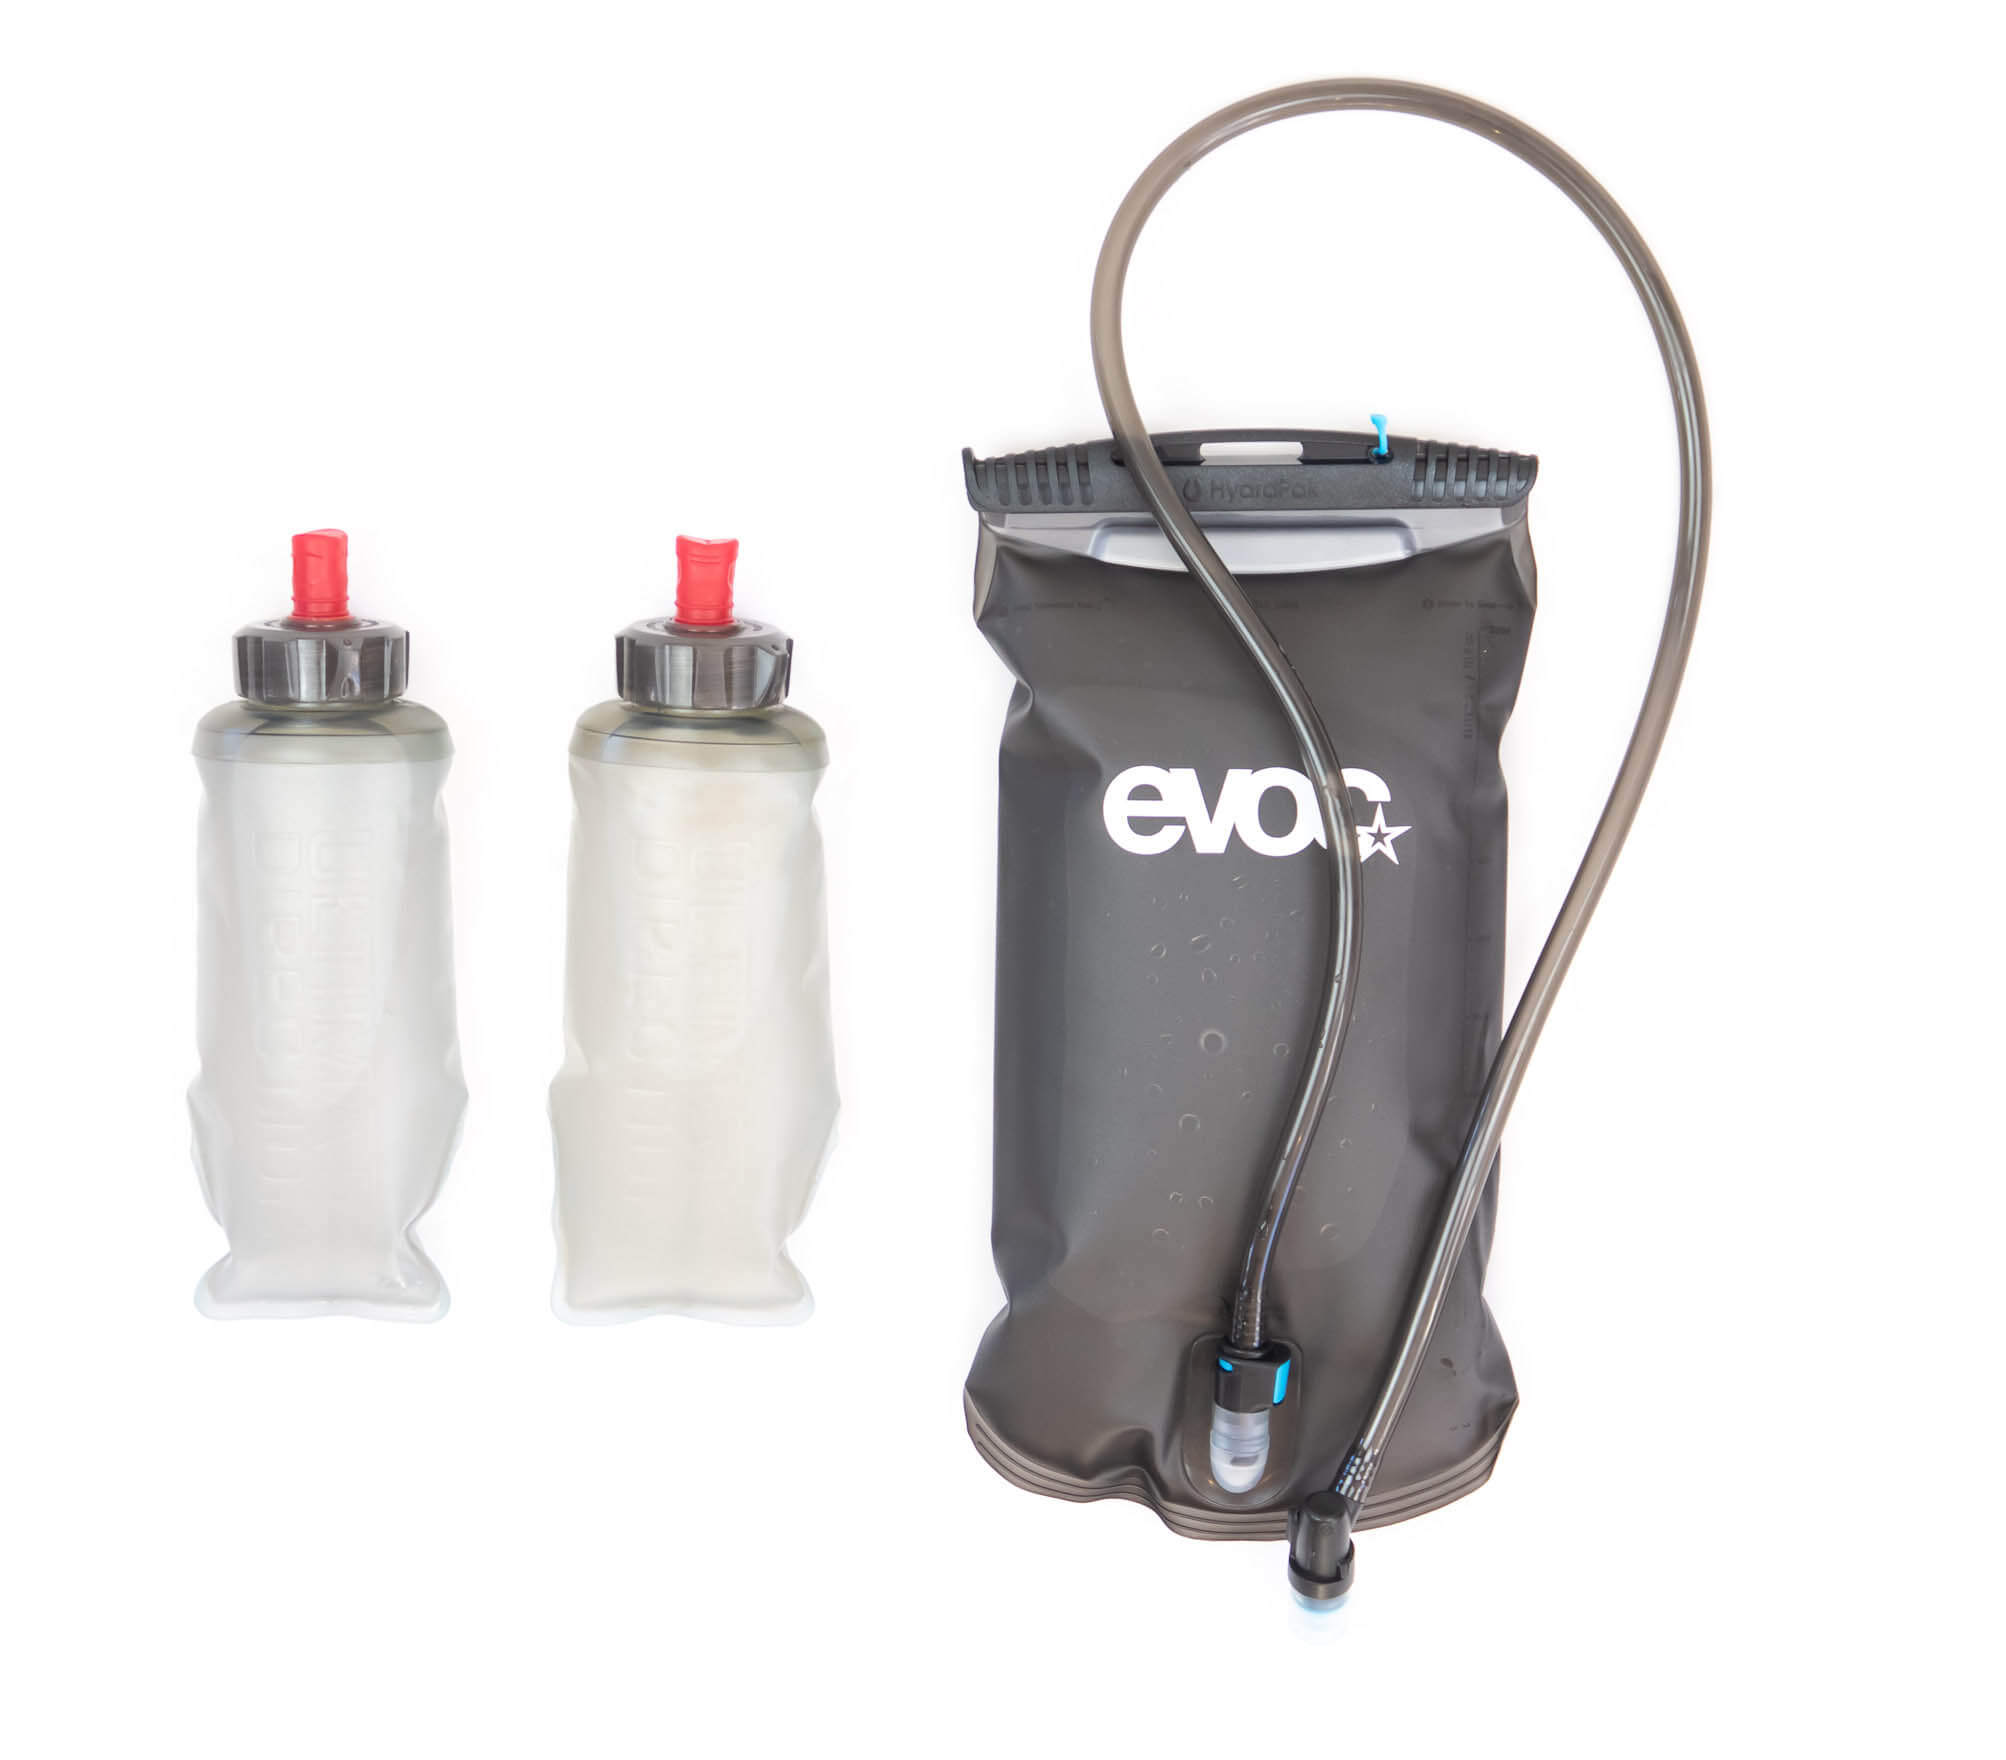
The advantage of a reservoir is that you can drink hands-free. The disadvantage of a reservoir is that you have to take your pack off and remove the reservoir to refill it, unless you have an accessory like the Sawyer Fast Fill adapter, which allows you to fill the reservoir through the drinking tube using a Sawyer filter. If you decide to go with bottles (hard of soft) ensure that your pack has pockets that will put your water within reach even when you’re on on the move
Navigation and messaging devices
Your first few trips should be close enough to home for you to always be in range of a cell tower. But as you venture further afield, it would be wise to add a satellite messenger to your kit list. Likewise, as your range increases, so will your reliance on navigational aids. A GPS can make it easy to plot and follow a course, but there’s a danger in relying on technology: batteries can die and screens can break. Well-prepared fastpackers carry a map and compass – and know how to use them – even if they have a GPS.
Tent or tarp
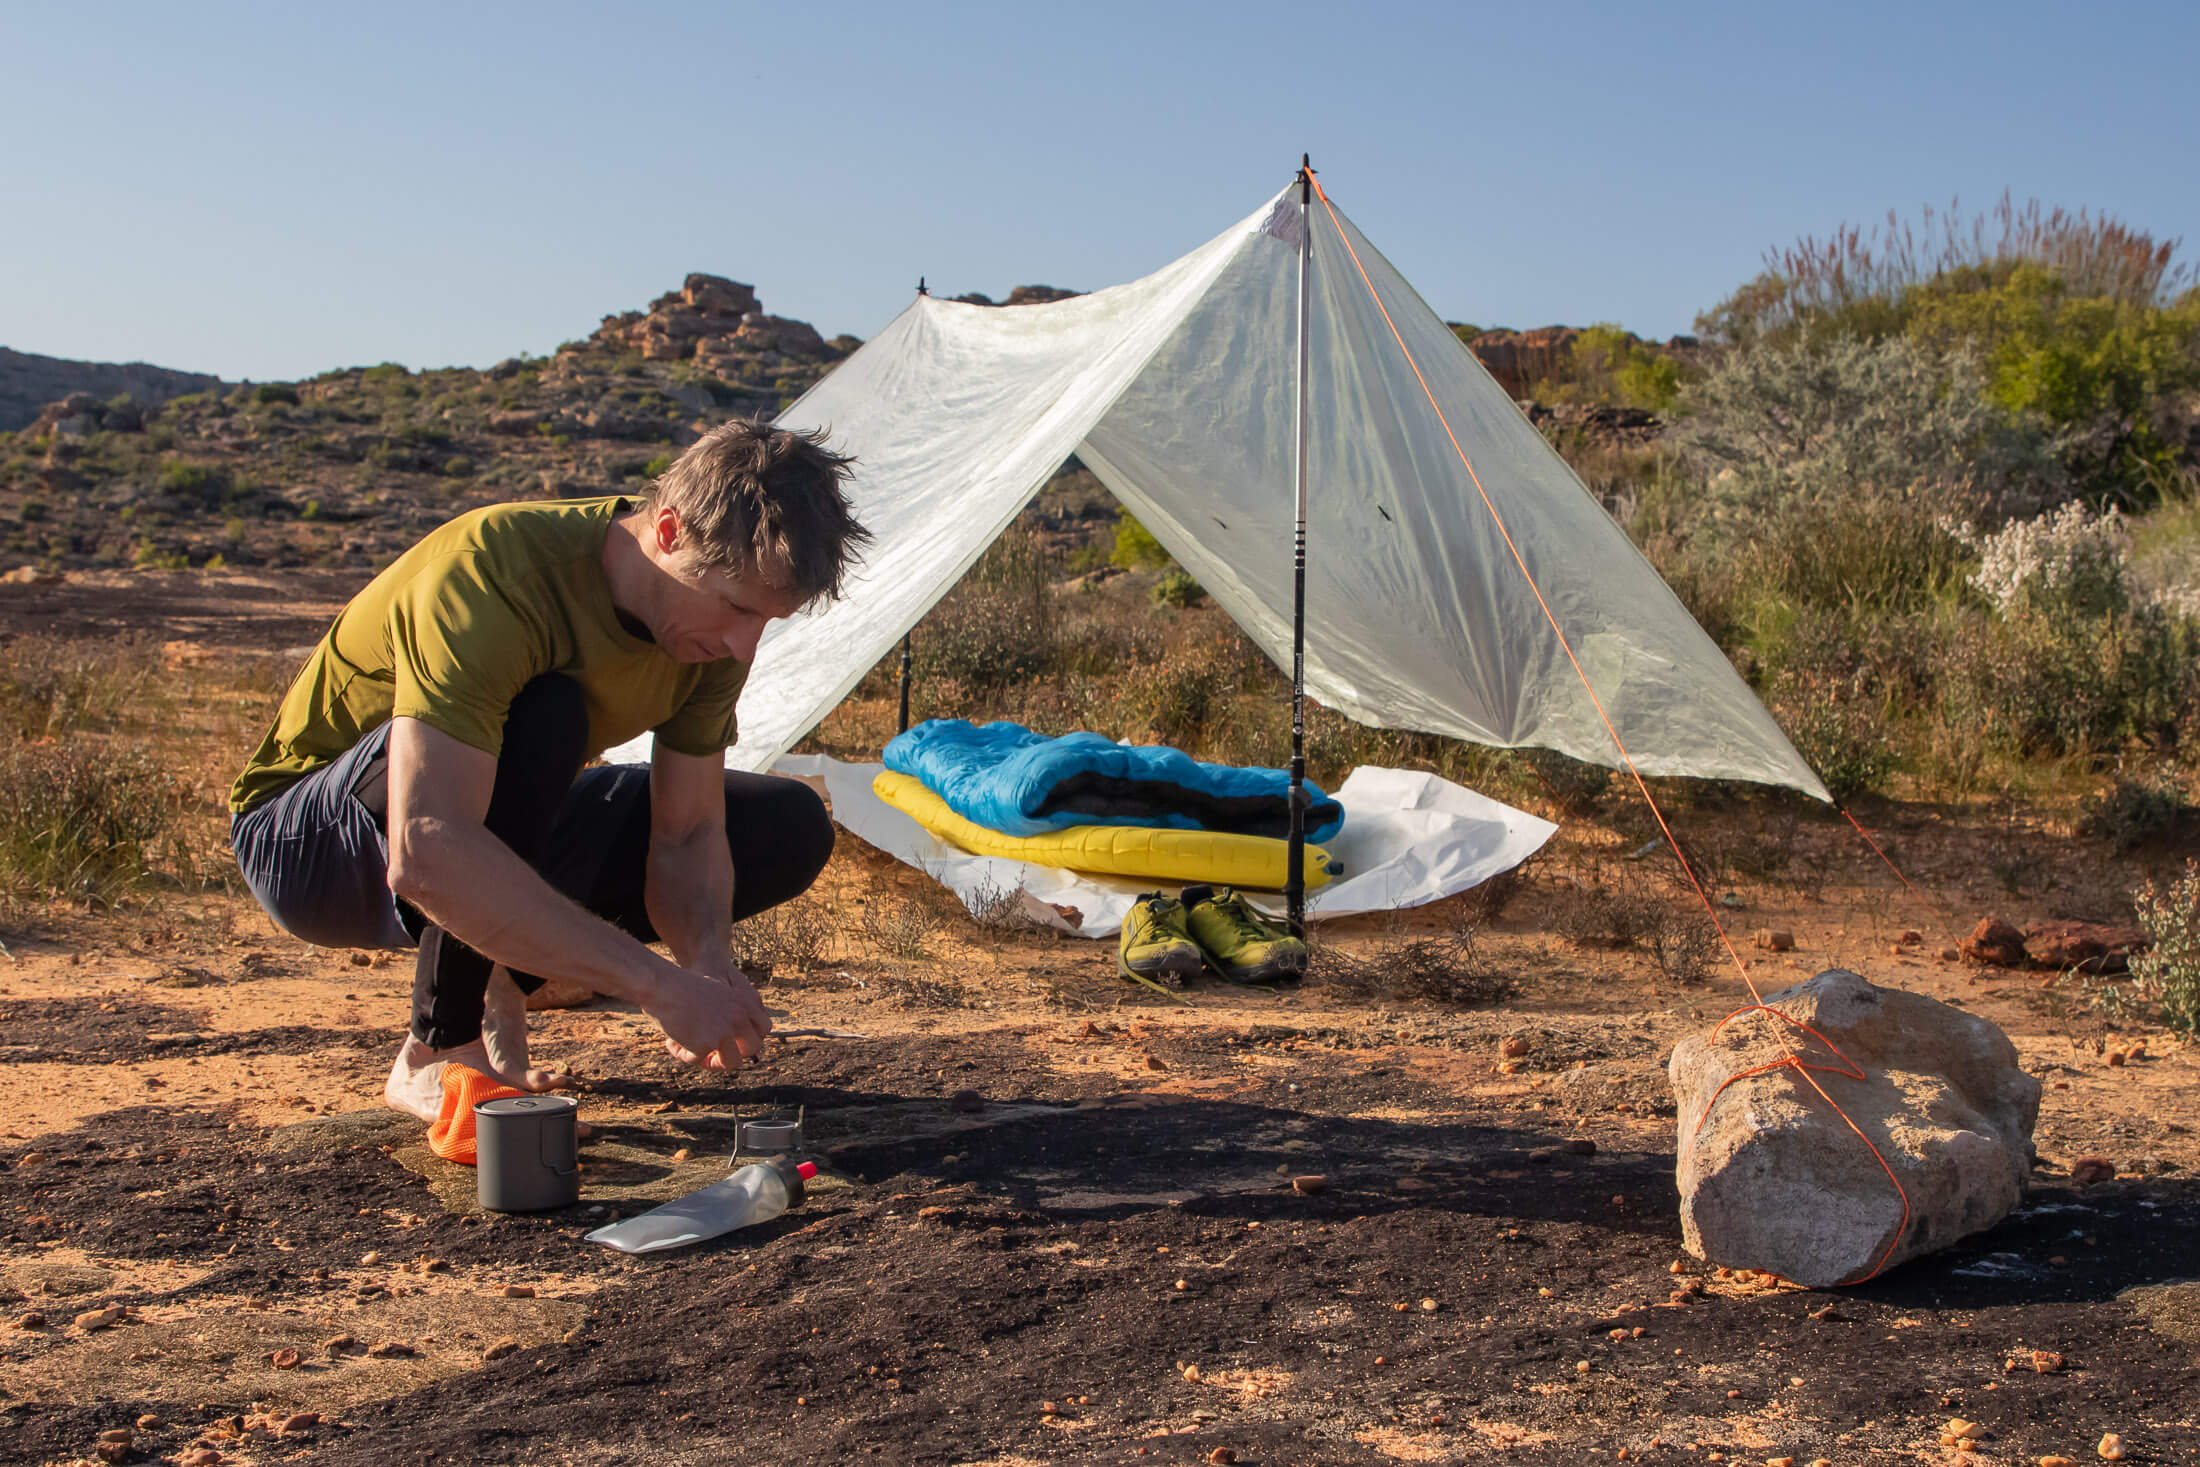
Overnighting usually involves staying in a hut or camping. Depending on the weather, camping can mean sleeping under the stars or pitching a tent, shelter, or tarp. A tent or shelter will offer more protection than a tarp, but then they also weigh more. If it’s going to be very buggy, windy, or cold, it’s best to pack an ultralight tent or shelter. If you only expect rain, you could get away with just a tarp. But this oversimplifies a complex decision. For a full explanation of the pros and cons of each option, it would be best to see my guide to tents and shelters.
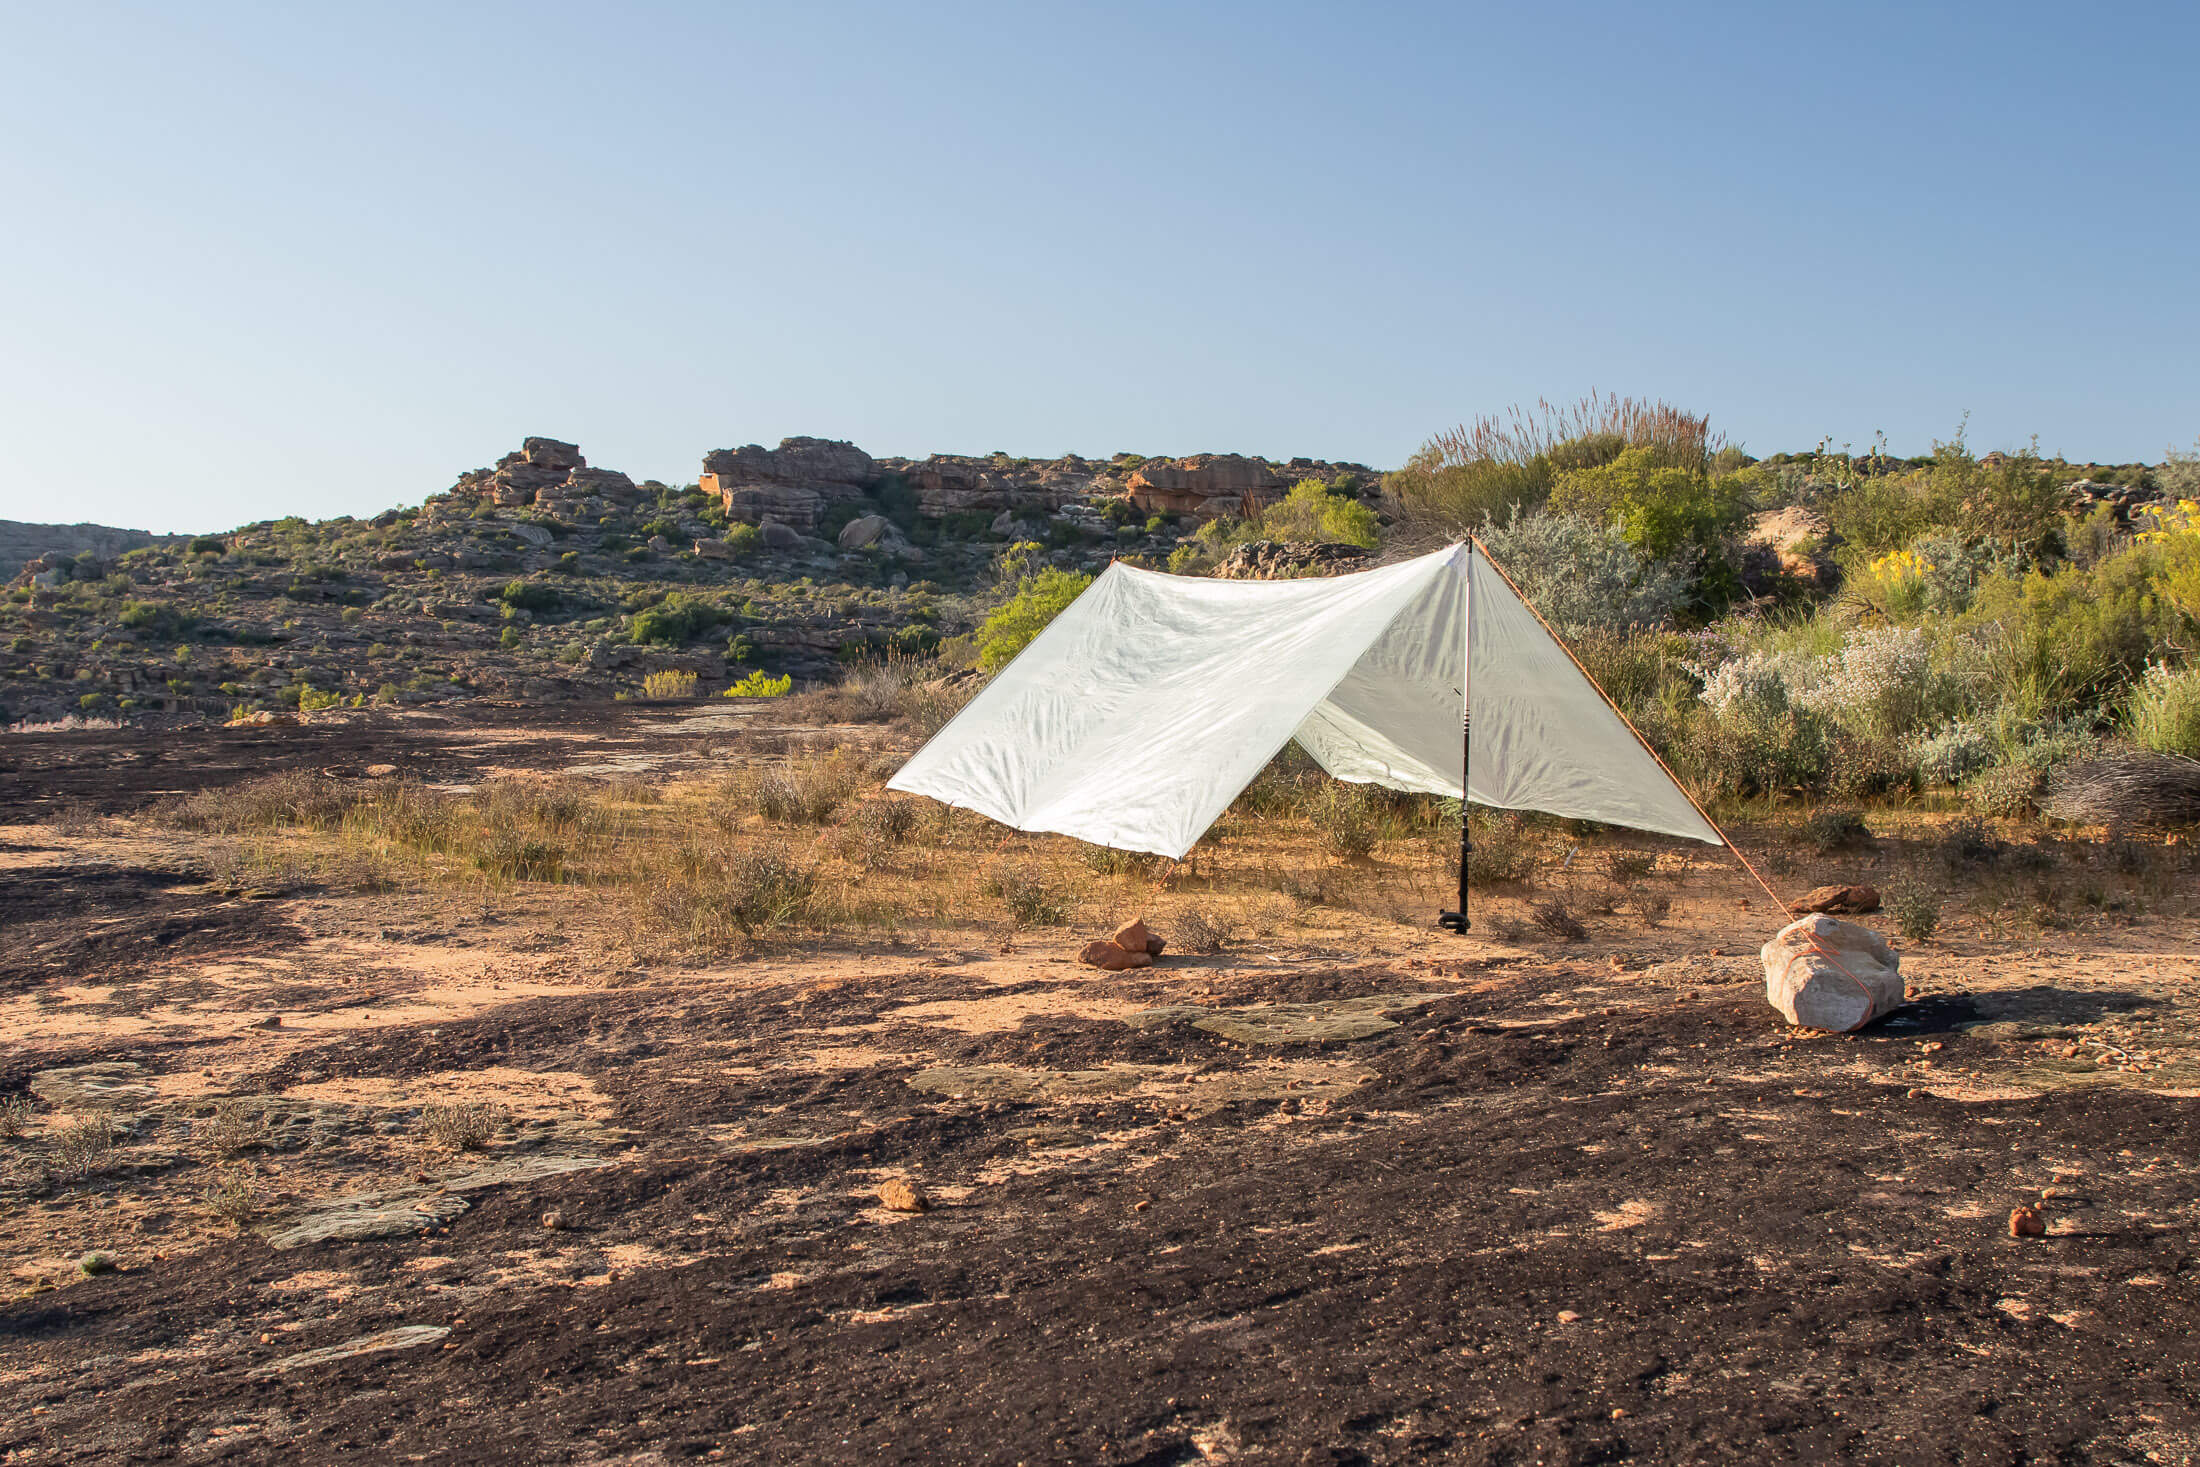
If your aim is to keep your kit weight under five kg (the limit most fastpackers set themselves), you’ll have to limit your tent or shelter to just several hundred grams. That rules out a double-walled freestanding tent unless you share it with a friend. Even a quality lightweight tent can weigh as much as 1.4 kg (3 lb), so that would be 700 g (1.5 lb) for each of you if you shared the load. Otherwise, a single-walled cuben fibre shelter (around 600 g or 1.3 lb) would be more practical if you’re travelling alone.
Sleep setup
Sleeping bag or quilt
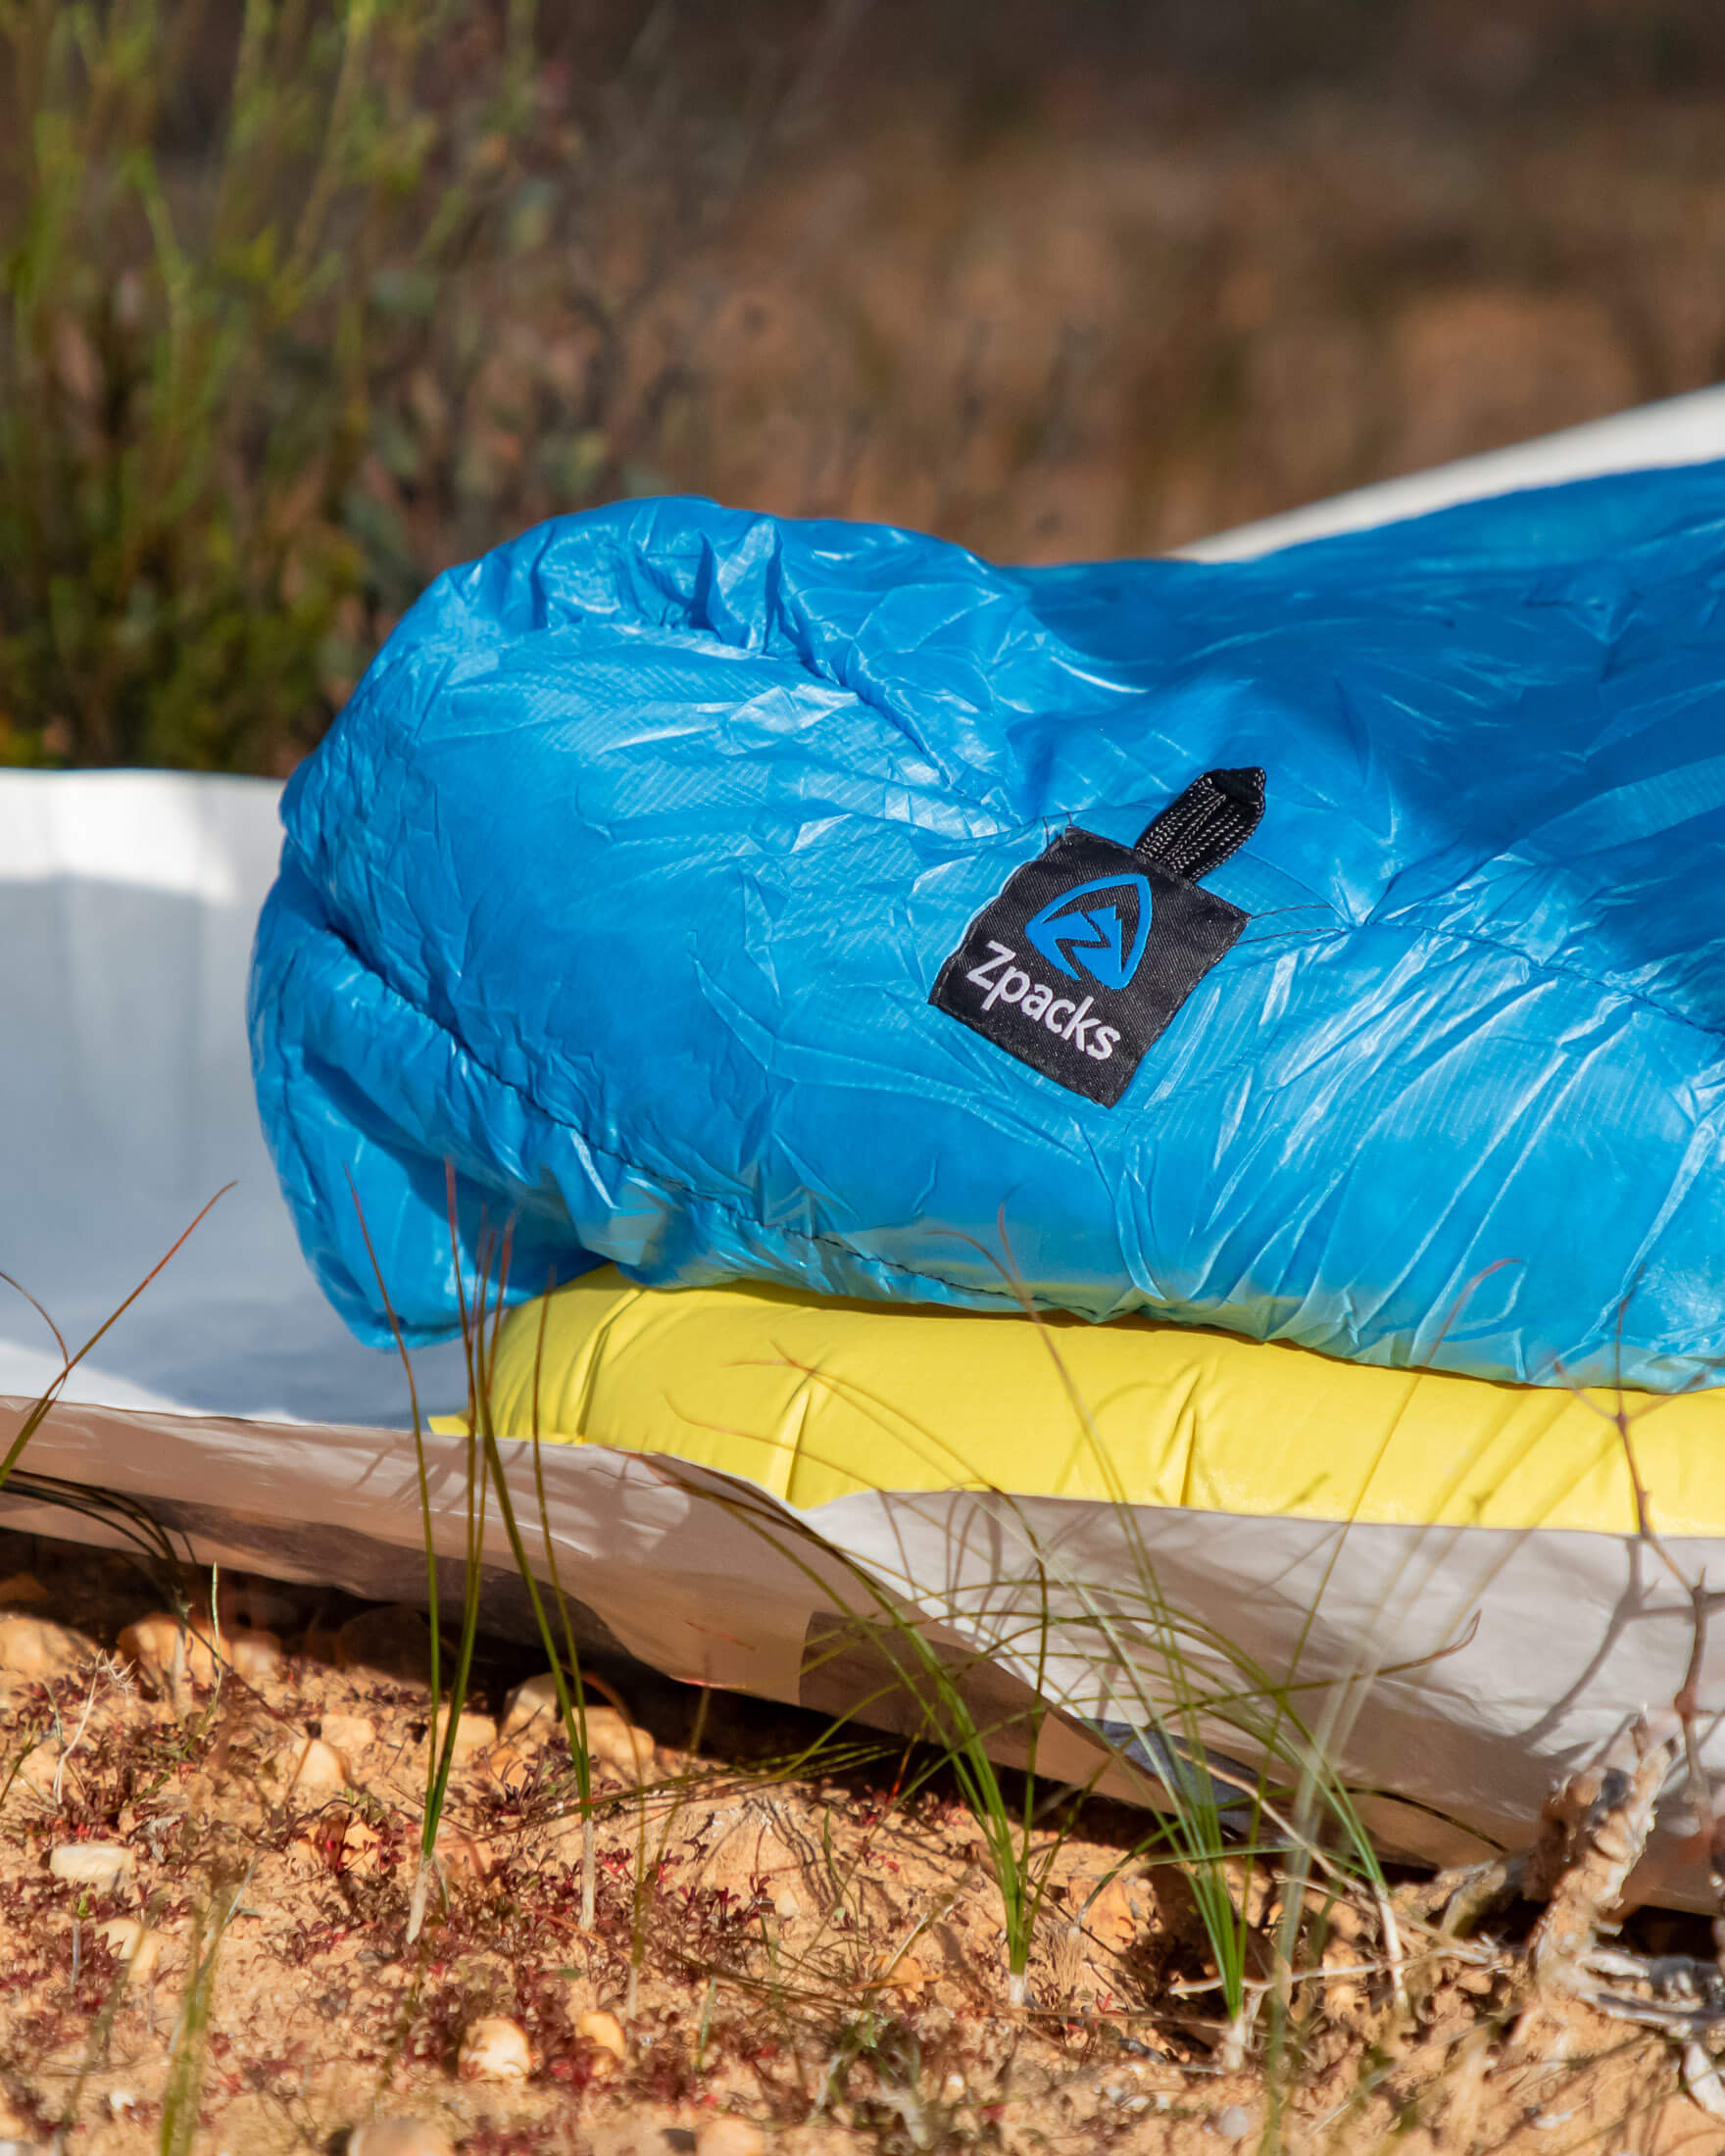
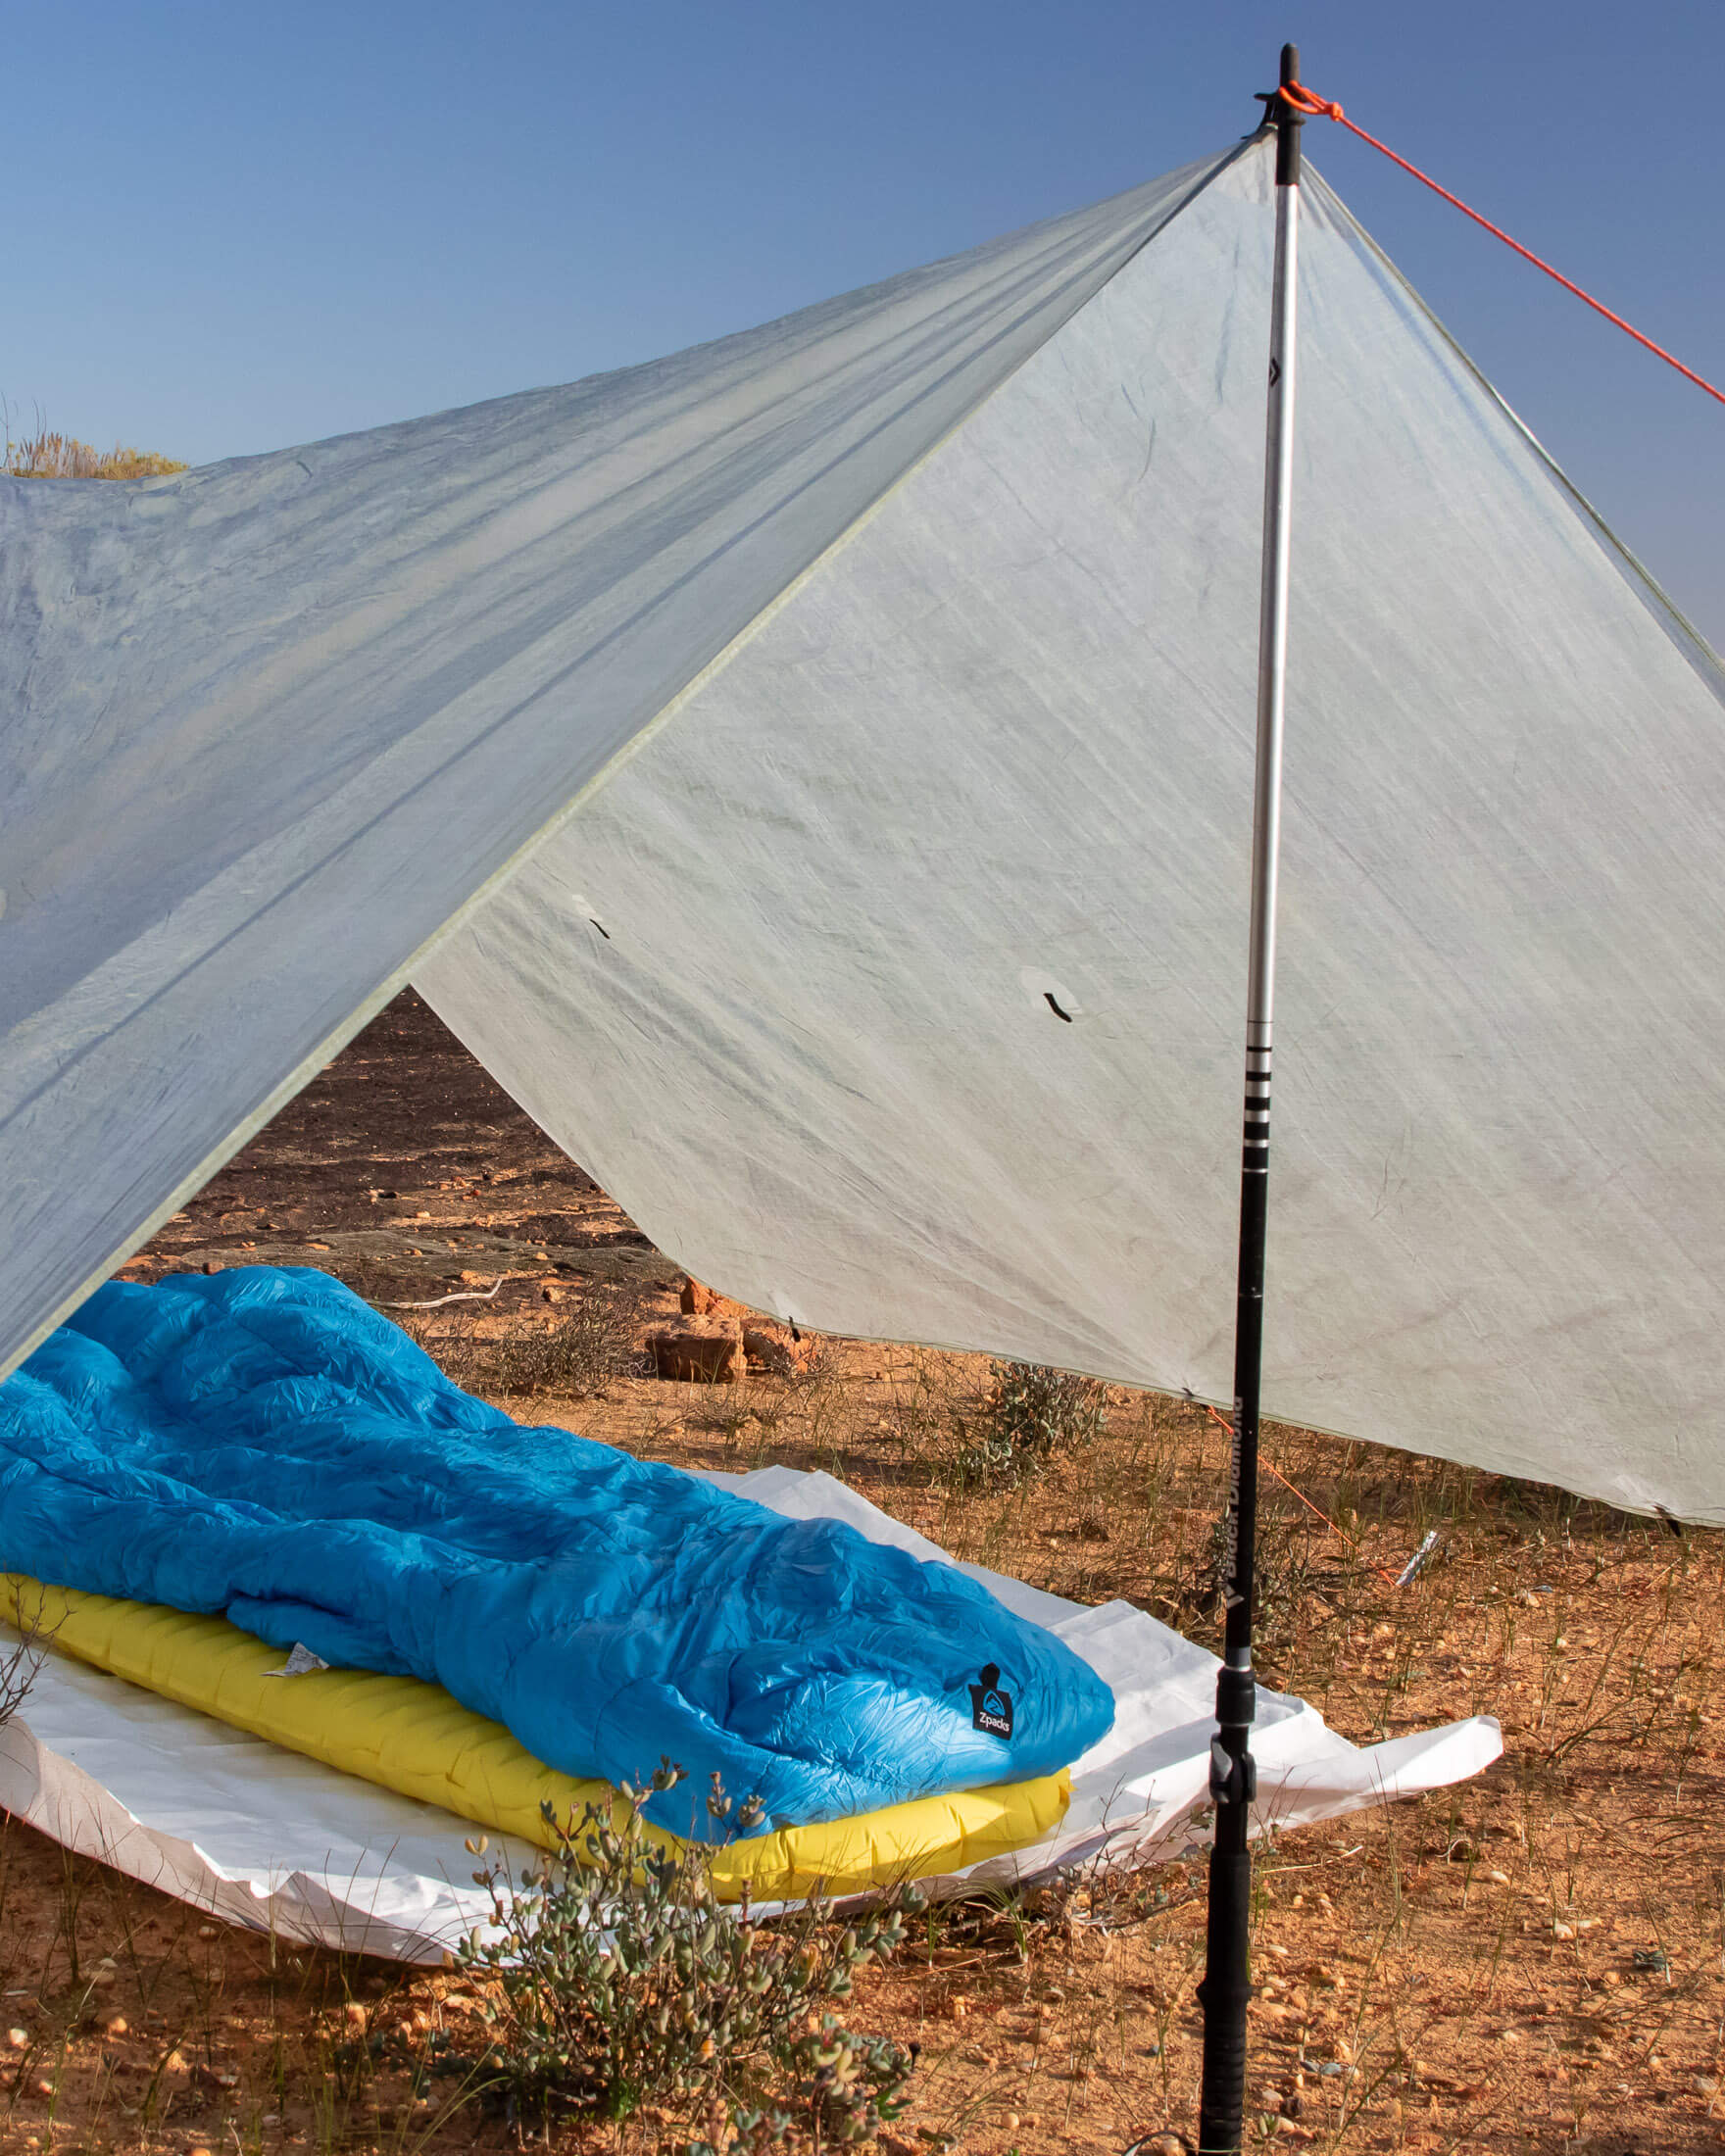
For maximum warmth there’s no beating a mummy sleeping bag. That said, you’re not going to experience freezing nighttime temps on every trip. The chances are that a backpacking quilt will suffice for most of your fastpacking adventures. With no hoods, bottom insulation or zippers, quilts are lighter and less restrictive than sleeping bags. Just know that manufactures have been known to exaggerate their quilt’s temperature ratings. To be safe, you should choose a quilt rated to ten degrees below what you need. For the full lowdown on the quilt vs sleeping bag debate, see my gear guide to sleeping bags and quilts.
Sleeping pad
There are five factors worth considering when choosing a sleeping pad for a fastpacking trip: weight, bulk, comfort, temperature, and sleep setup. Closed-cell foam pads are light, inexpensive and fail proof, but they’re also thinner, less insulating (R-value 2.2 or lower), and more bulky – you’ll have to attach one of these to the outside of your pack. Air pads, on the other hand, are more compact when deflated, thicker when inflated (some at least), and are often warmer. But they’re also more expensive and can leak air if punctured. If you use a quilt, know that it’s even more important that you have a properly insulating pad underneath you, and that means an R-Value of 4.0 or higher. My guide to sleeping pads goes into this purchase decision in more depth.
Camp kitchen
Stove
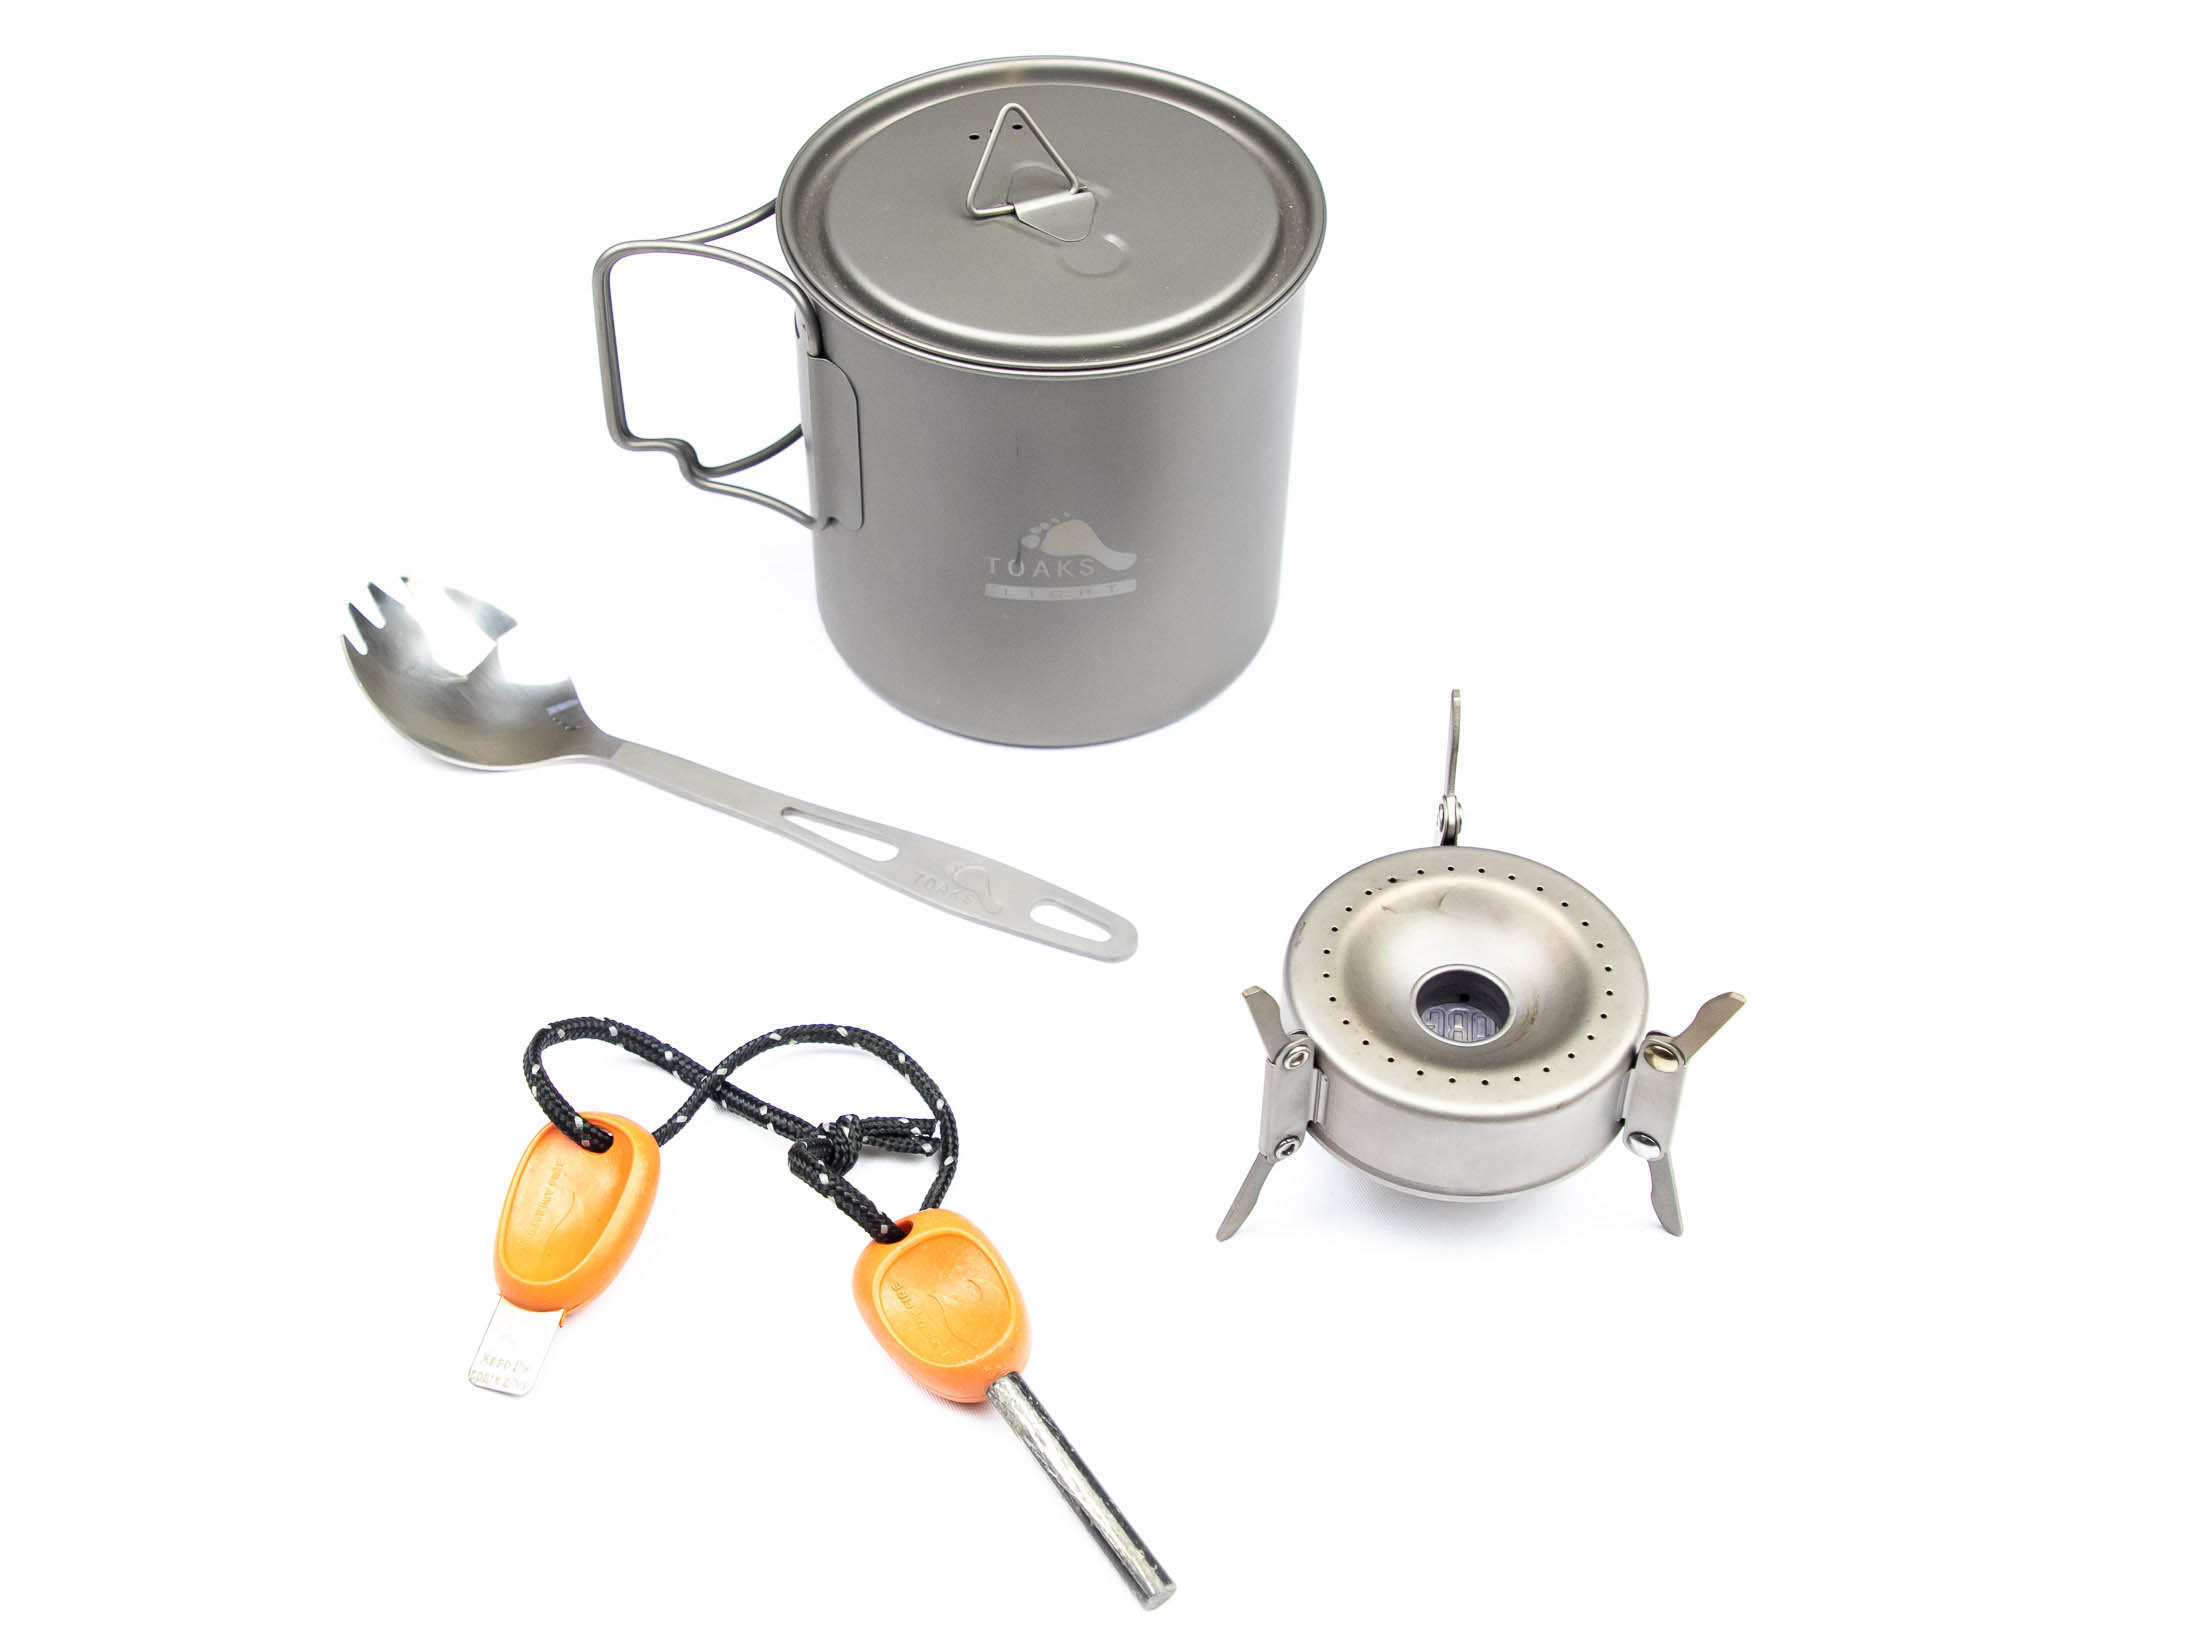
There are two approaches to cooking and eating on fastpacking trips: with and without a stove. Some say that leaving out the stove saves weight and simplifies the process. But others argue that today’s superlight stove-and-canister combos more than make up for the additional weight by allowing you to cook dehydrated meals (food that generally has a higher calorie-to-weight ratio). I almost always carry a stove, but the choice is yours. An alcohol stove could weigh as little as 200 grams (7 oz) with fuel while a compact canister stove might weigh only 350 grams (12 oz) with canister. That’s 175 grams for you and your partner if you share gear.
Cookware
If you have an integrated stove system like the Jetboil MicroMo, you’ll use the pot that comes with the system, but if you have a standalone canister stove or alcohol stove, you’ll still need something to boil water in. Titanium is lighter but aluminum ensures better heat distribution and is better for cooking – something to think about if you’re going to do more than just boil noodles. Size is also important – your pot should be somewhere between 750 and 1000 milliliters. The MSR Trail Mini Solo Cookset holds 750 ml (25 oz) and weighs 203 g (7 oz) with lid. This can serve as your bowl, mug and pot.
Apparel
Footwear
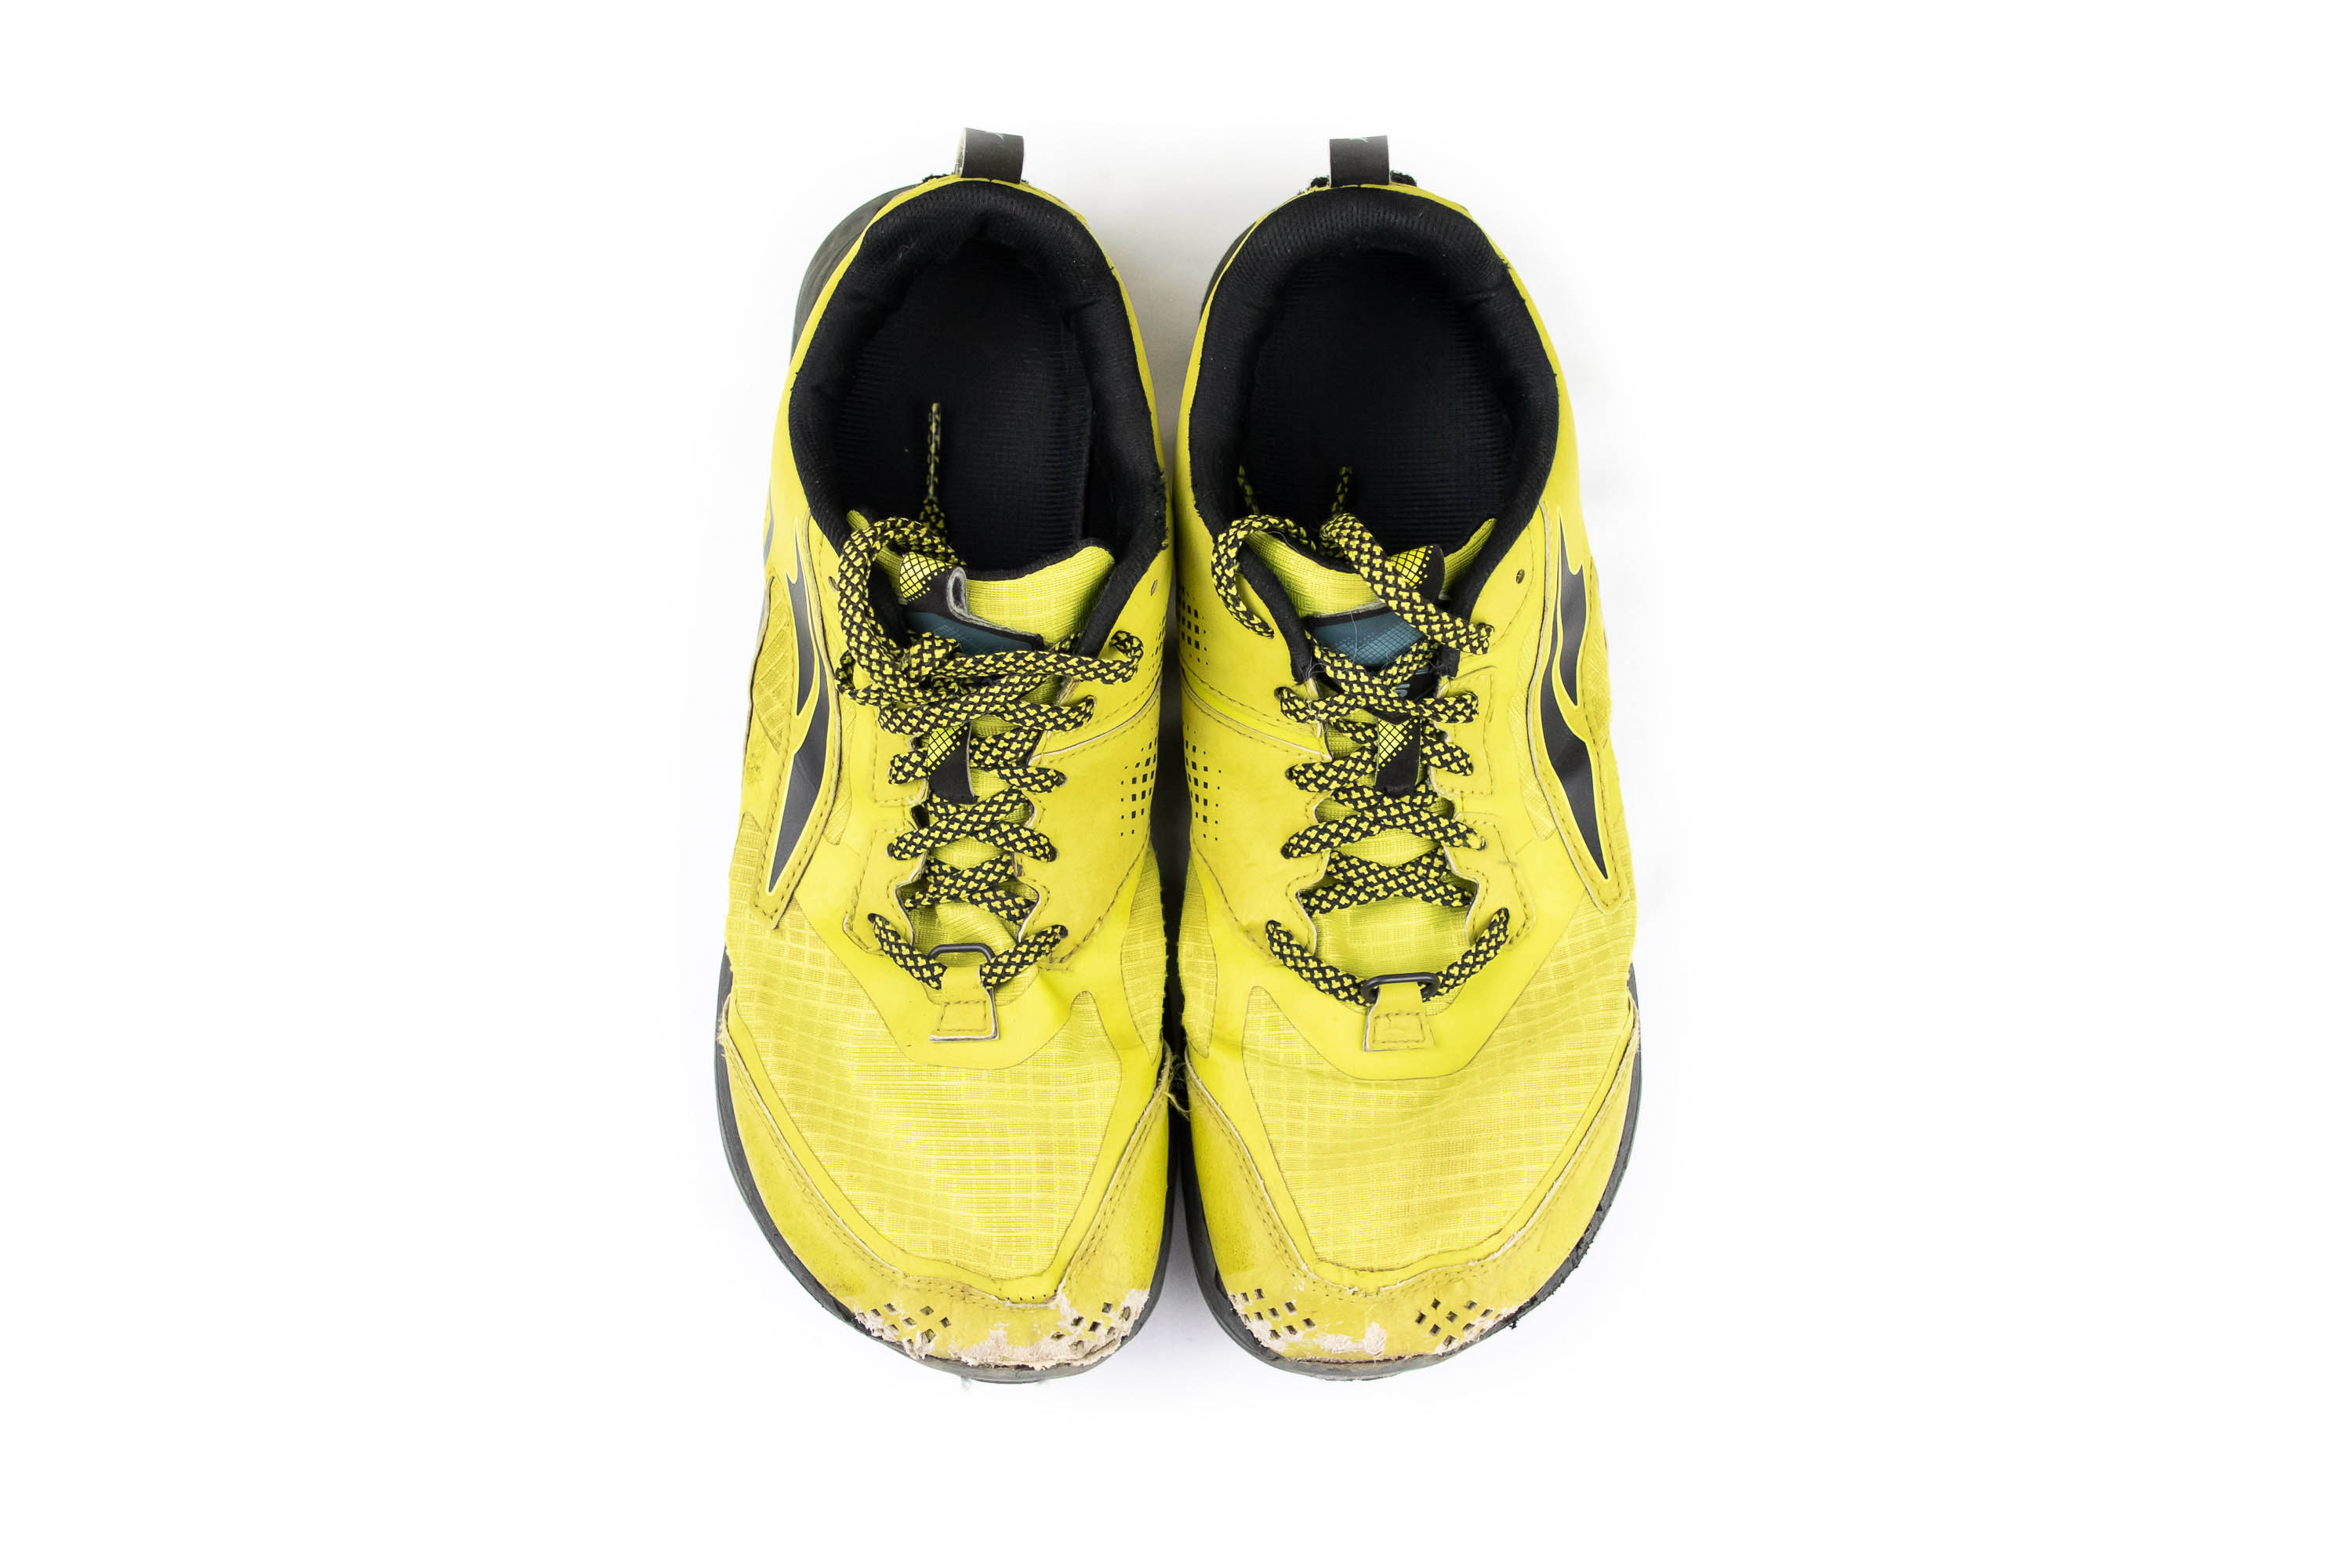
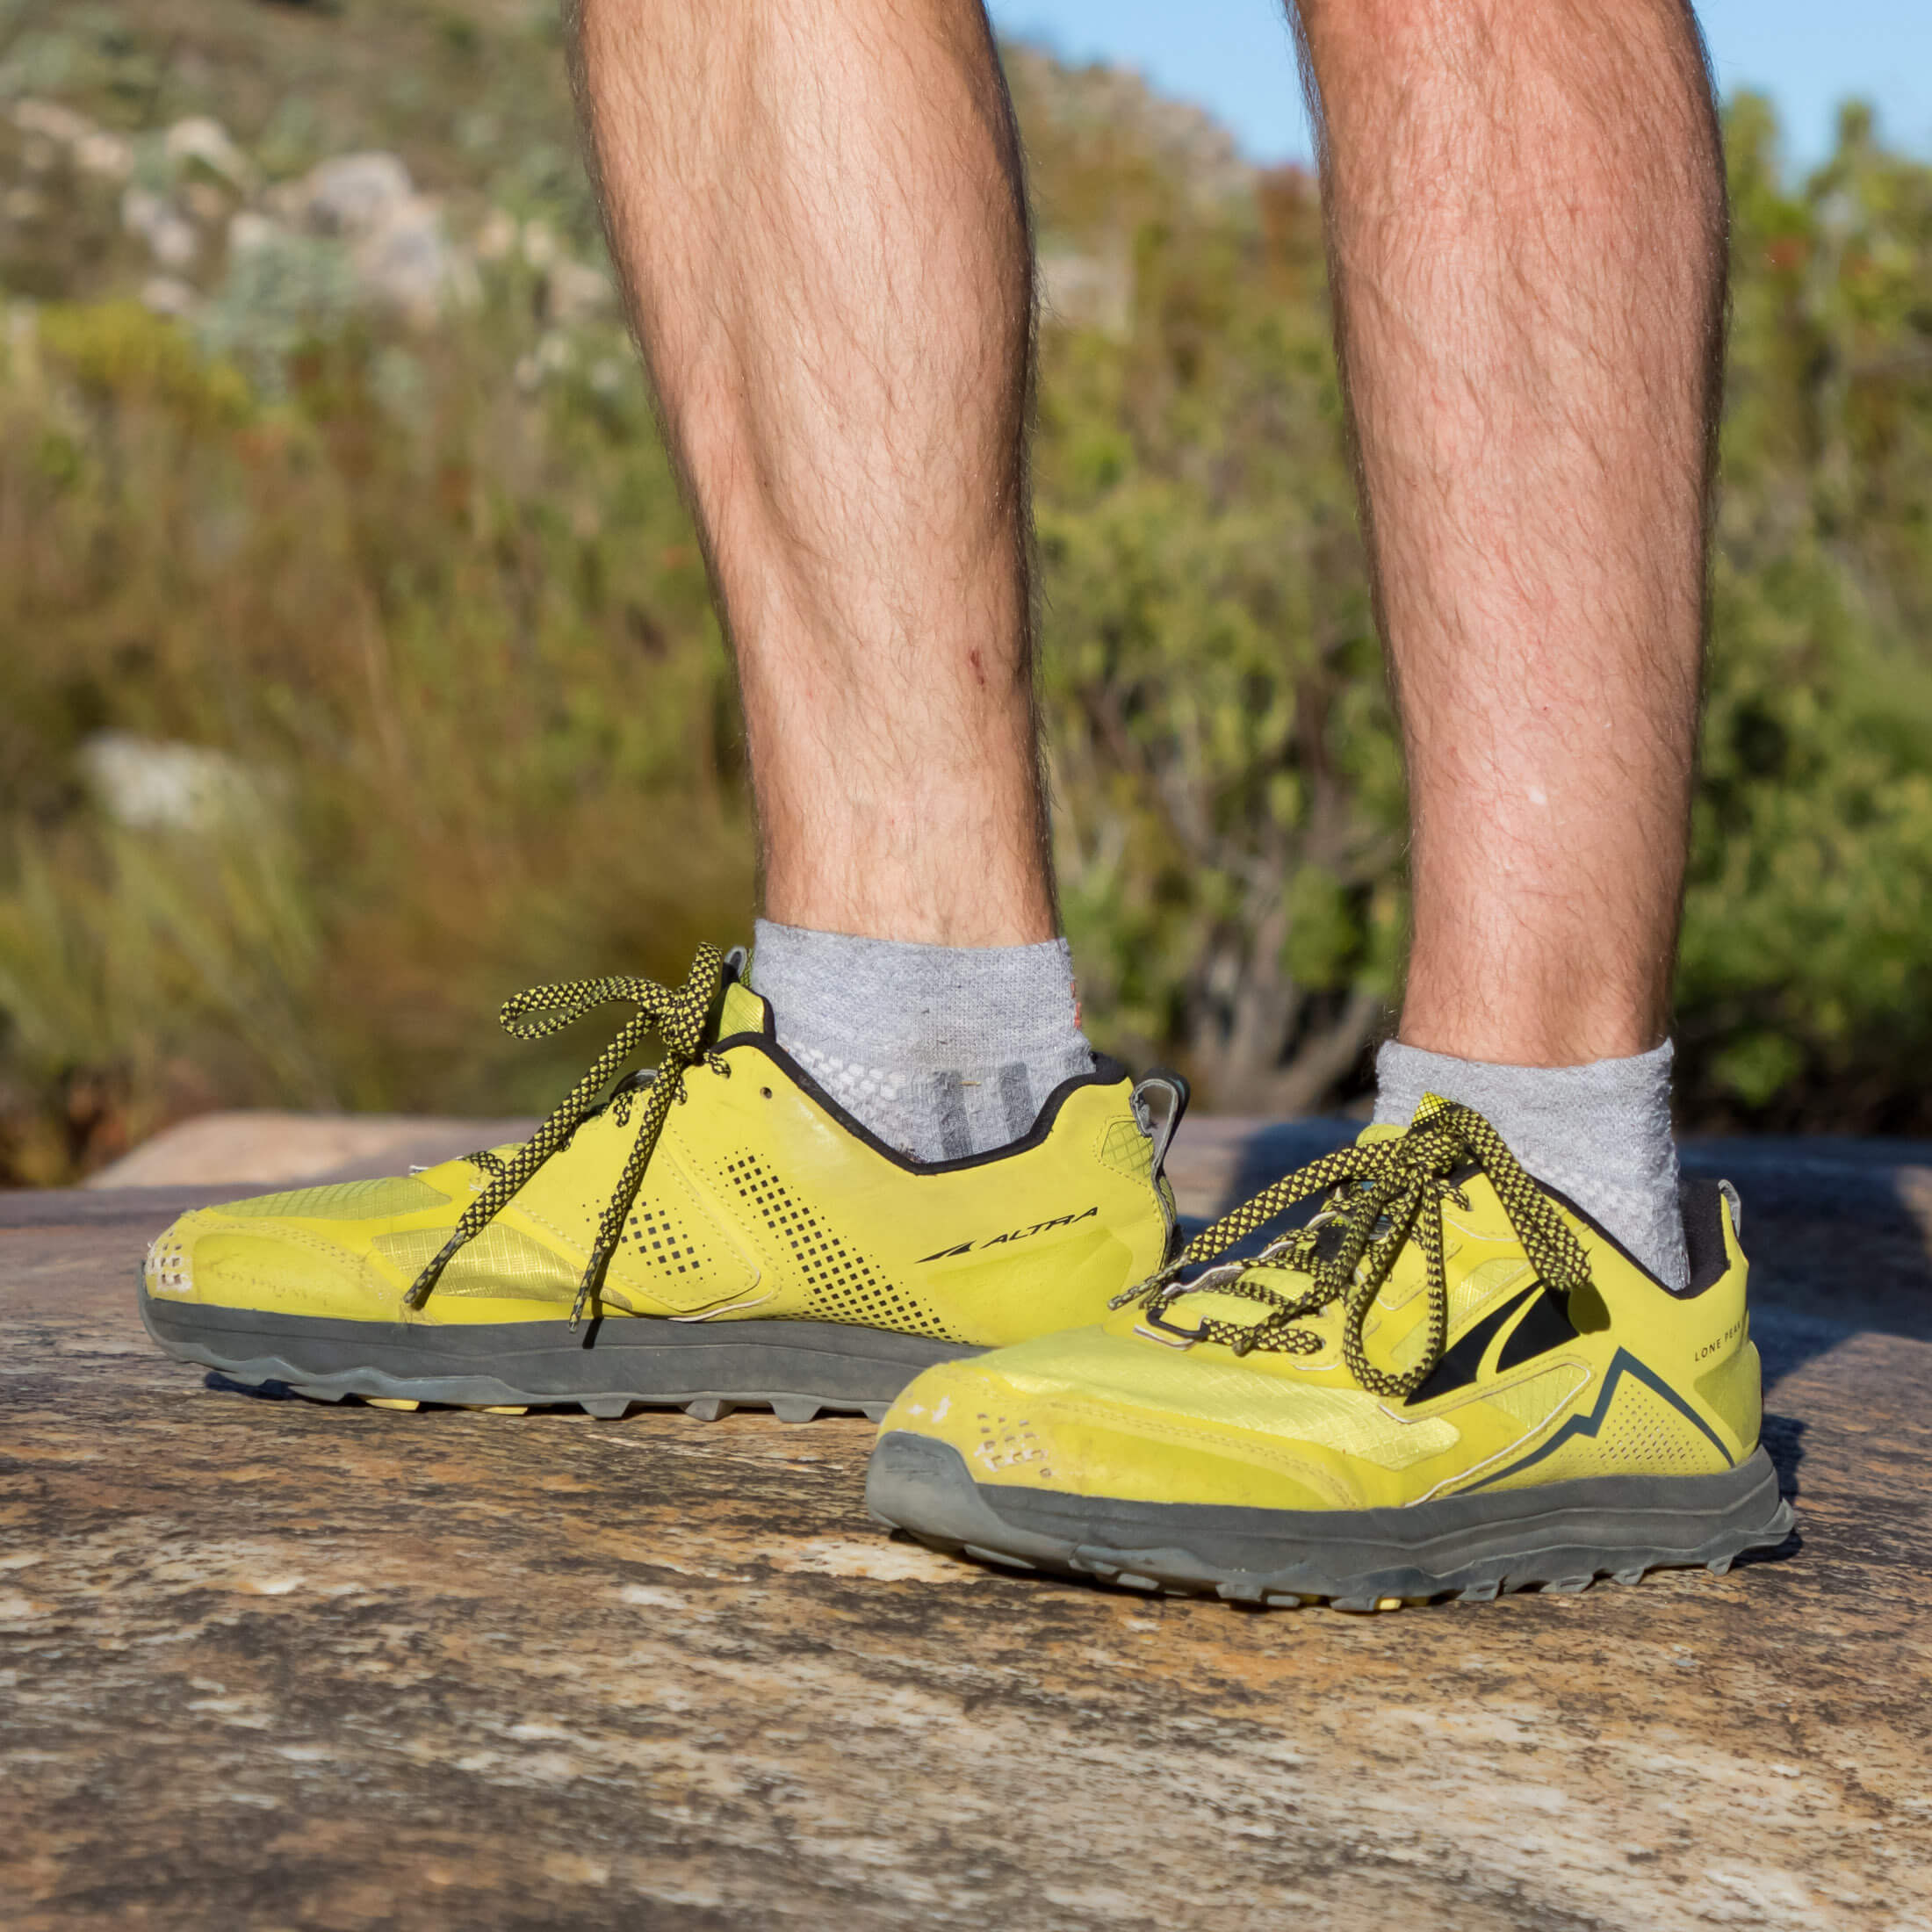
For fastpacking you can wear whatever you’d normally wear for trail running. I prefer zero drop shoes with at least 20mm of cushioning from front to back, and I’m on my umpteenth pair of Altra Lone Peaks. If you haven’t yet considered swapping to zero-drop shoes, see my guide on how to transition to minimalist and zero-drop shoes.
Running clothes
You don’t need to look any further than your regular trail running apparel. In warmer weather, you’ll only need a t-shirt and shorts while colder temps might call for tights, a baselayer top and a lightweight fleece (kept in your pack until you really need it). For more information on how to choose and wear pants for running, see my article on running pants and shorts. In terms of material, look for merino wool and synthetic fibres that will wick away moisture and dry quickly.
Camp clothes
In addition to your running clothes, you might want something dry, clean and warm to put on once you’ve reached camp. For me that’s a puffer jacket, spare T-shirt and pair of lightweight casual shorts or fleece pants. I also pack a woollen hat to sleep in if I’m carrying my quilt (the norm). Without a hood, a quilt doesn’t offer quite the same level of protection as a mummy sleeping bag, and a warm hat can prevent heat loss through your head on cold nights.
How to get started fastpacking
The best way to get started will depend largely on how much backpacking and trail running experience you have. If you have significant backcountry experience, having to get by with a minimal amount of gear won’t be foreign to you. And if you’re a seasoned runner, you’ll be able to do moderate distances on consecutive days without much of a problem. Still, fastpacking presents unique challenges, and aspirants should make the following preparations.
Build up your fitness
You’ll have a more enjoyable experience if you’re in better shape. Running on consecutive days can really take a toll on runners who are used to having a rest day between every hard run. The effects of a pack and any elevation gains can also make the average mile more strenuous than you’re used to. If your planned fastpacking trips are going to take you to altitudes higher than you’d normally venture, it would be a good idea to get in some training runs at similar elevations.
Research and assemble your kit
If you’re a seasoned runner, you’ll probably only need to buy camping gear and a pack to complete your fastpacking kit. But even just a tent, quilt and sleeping pad could set your back several hundred dollars. Before making such an investment, it would be wise to do some thorough research. Look at what other fastpackers are using, talk to outdoor store staff, and read my guide on how to choose fastpacking gear. But also consider your own needs and how your assembled kit will work together. Will your pack hold all your gear and put frequently used items in easy reach? Will your quilt work with your chosen sleeping pad?
Do a dry run
Once you’ve assembled your fastpacking kit, take it out to your local trails and do a couple of test runs. You don’t want to find out on your first trip that your pack bounces uncontrollably or causes chafing. Often, you just need to tighten a strap or shift some contents around to get your pack positioned properly, but you don’t want to have to do that while trying to keep up with the group on your very first run. You should also test your sleeping setup, preferably in inclement weather. It’s only in adverse conditions that you’ll learn whether your gear has any weaknesses and whether there’s something you can do to make it perform better.
Finetune your system
After becoming familiar with your kit, you might need to tweak your system. You might want to leave out a piece of gear, add another, or use something differently. A dry run will help you identify areas for improvement and test alternatives, but there’s no substitute for real world experience and time out on the trail. The lessons learned on your first few fastpacking trips will be the most important for honing your skills and finetuning your kit, and so your system will probably remain a work in progress for much of your first fastpacking season.
Hone your wilderness skills
If you have limited backcountry experience, you’ll have to work on your wilderness skills. Besides mastering the obvious tasks of tarp rigging, backcountry cooking, and water treatment, it would also benefit you (or even be essential) to learn wilderness first aid, basic survival skills, and orienteering. You hopefully won’t have to call on them nearly as often as skills that are put to use every day, but when they are needed, they can make the difference between life and death.
Partner with someone more experienced
If you’re new to fastpacking, partner with someone more experienced. Teaming up with a seasoned and safety-conscious fastpacker will not only make your first trips safer but will also give you the opportunity to learn from someone who can help you avoid common mistakes. Running and hiking clubs are obvious places to find and befriend such people, but online forums are also a good way to meet new adventure buddies. If experienced fastpacking partners are thin on the ground, it would be best to partner with people who’ve acquired backcountry skills through activities like backpacking or bikepacking.
Leave no trace
To lessen the effect of runners, hikers, and mountain bikers on our trails, the outdoor community has taken it upon itself to promulgate a set of principles aimed at ensuring that our wilderness areas get the respect they deserve. It’s an uphill battle but one that has been fought zealously by conscientious trail users everywhere. To be part of the solution and not the problem, practice and promote the seven Leave No Trace principles.
Get out there
The best way to hone your fastpacking skills is to get out there and put them to work. Only the wilderness will really test your outdoor skills. That said, if it’s further instruction you’re looking for, this site has many more fastpacking and hiking articles filled with pointers, practical tips, and valuable insights. Happy exploring.
