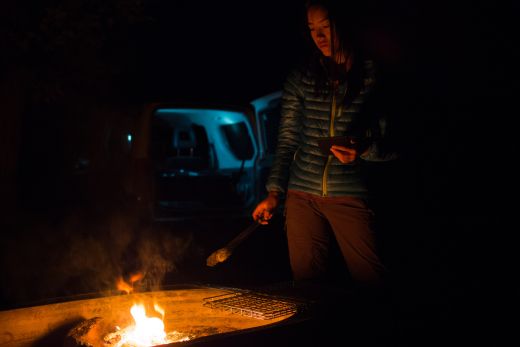
After a day out on the trail, there’s nothing quite as comforting as a crackling fire. At the heart of a campsite, the warm glow can draw in people to warm their hands, share stories, and enjoy a meal. But creating a campfire isn’t as simple as stacking some logs together and throwing a match under it. Fire making is an art, and like any creative process, it requires some skill, experience and know-how. This article will help you with the know-how part by giving you everything you need to know about building a campfire.
Check local restrictions
Before you even pack that hatchet and BBG grid, check that you are actually allowed to make a fire where you are going. If you are to be using a campground, check with the campground operator whether they allow fires and what the regulations around them are. And if you are venturing into the backcountry, check with the administering agency (Bureau of Land Management or Forest Service in the U.S.). You might need a campfire permit, and in some areas there might be restrictions are where you can make fires. In areas most at risk of wildfires, campfires might be banned altogether. Call the local ranger station if uncertain.
Find or make a fire ring
Regardless of where you’re camping in a campground or in the background, always use a fire ring or pit. Besides helping to contain burning embers, a fire ring limits the area in a site where a fire can be made, thereby limiting the impact on the environment. Campground campsites have designated fire rings, but if you are camping in the backcountry, you will have to create a fire ring if one doesn’t already exit. Again, always use an pre-existing fire ring if there is one.
Choose a suitable spot
If there isn’t already a fire ring and you need to make one, you’ll first need to find a good location. A good spot will be sheltered from the wind and away from any overhangining or dry vegetation. You’ll also need a level surface made of inorganic, non-flammable material. Dry dirt, gravel or sand is best. Try to avoid bedrock or areas close to boulders, where the fire can leave lasting soot marks.
Arrange your fire ring
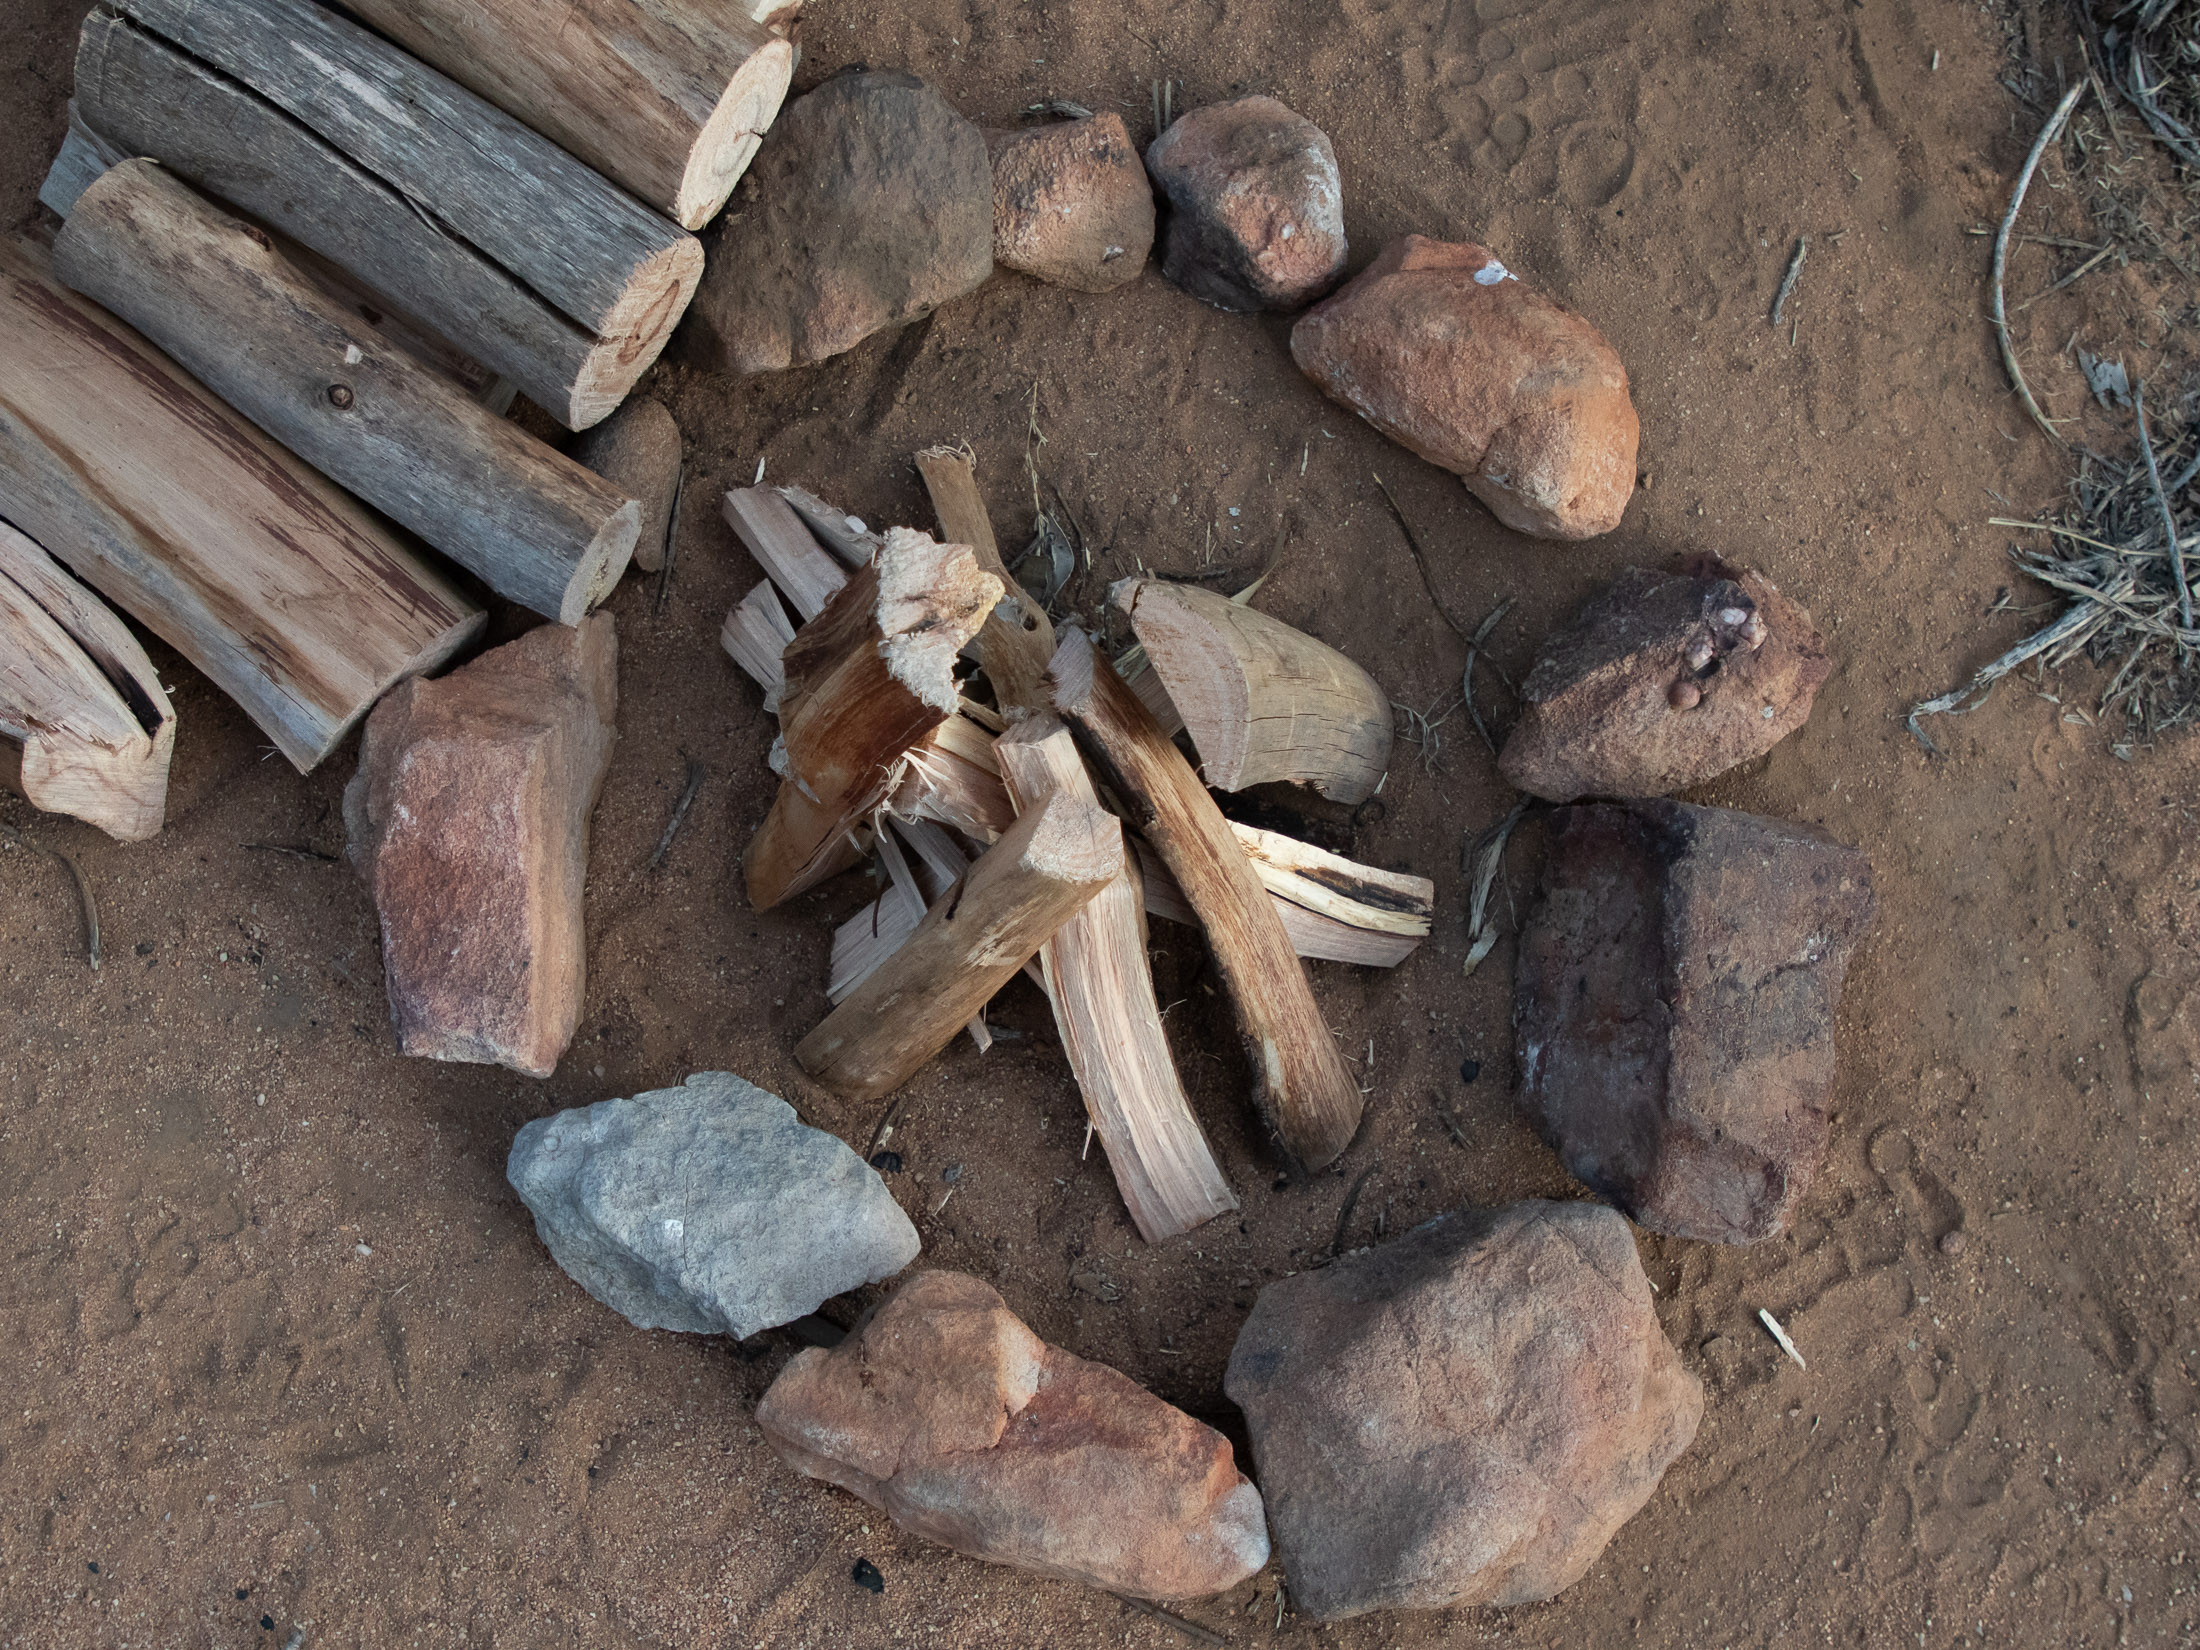
To create your fire ring, clear a space about 5 feet in diameter and remove all dry and flammable material. Then collect some rocks from the surrounding area and build a small ciculrar wall about six to eight inches tall around your cleared space. If moving a rock leaves an indent in the ground, cover this up. Do what you can to limit the visual impact of a rearranging of the environment.
Clear away brush or grass
Be careful to clear away anything close to the fire pit that might catch fire if a spark or ember strays from the fire. This measure is especially important if there is any wind. If you can’t ensure that an area is safely clear of flammable material, you should give up on the idea of making a fire or choose a different location.
Gather your fuel
To fuel your fire, you will need three things: tinder, which will get it started; kindling, which is thin enough to catch alight easily but will also provide enough fuel to get the core wood burning; and your firewood, which will provide the bulk of the fire’s fuel and will eventually create embers. Regardless of the fuel type, you’ll want it to be as dry as possible (I list some tips and tricks for using wet wood later).
Tinder
Tinder is the thin and combustible material that you use to get your fire started. It needs to be flammable enough to be able to light easily with a match or flint striker, but must also burn long enough to get your kindling burning. You can also use store-bought firelighters if you’re all about convenience, but knowing how to start a fire with tinder will prepare for those occasions when you don’t have firelighters at hand. All of these can be used for tinder:
- Untreated paper or cardboard (torn into pieces)
- Dryer lint
- Dry grass or leaves
- Wood chips, sawdust or shavings
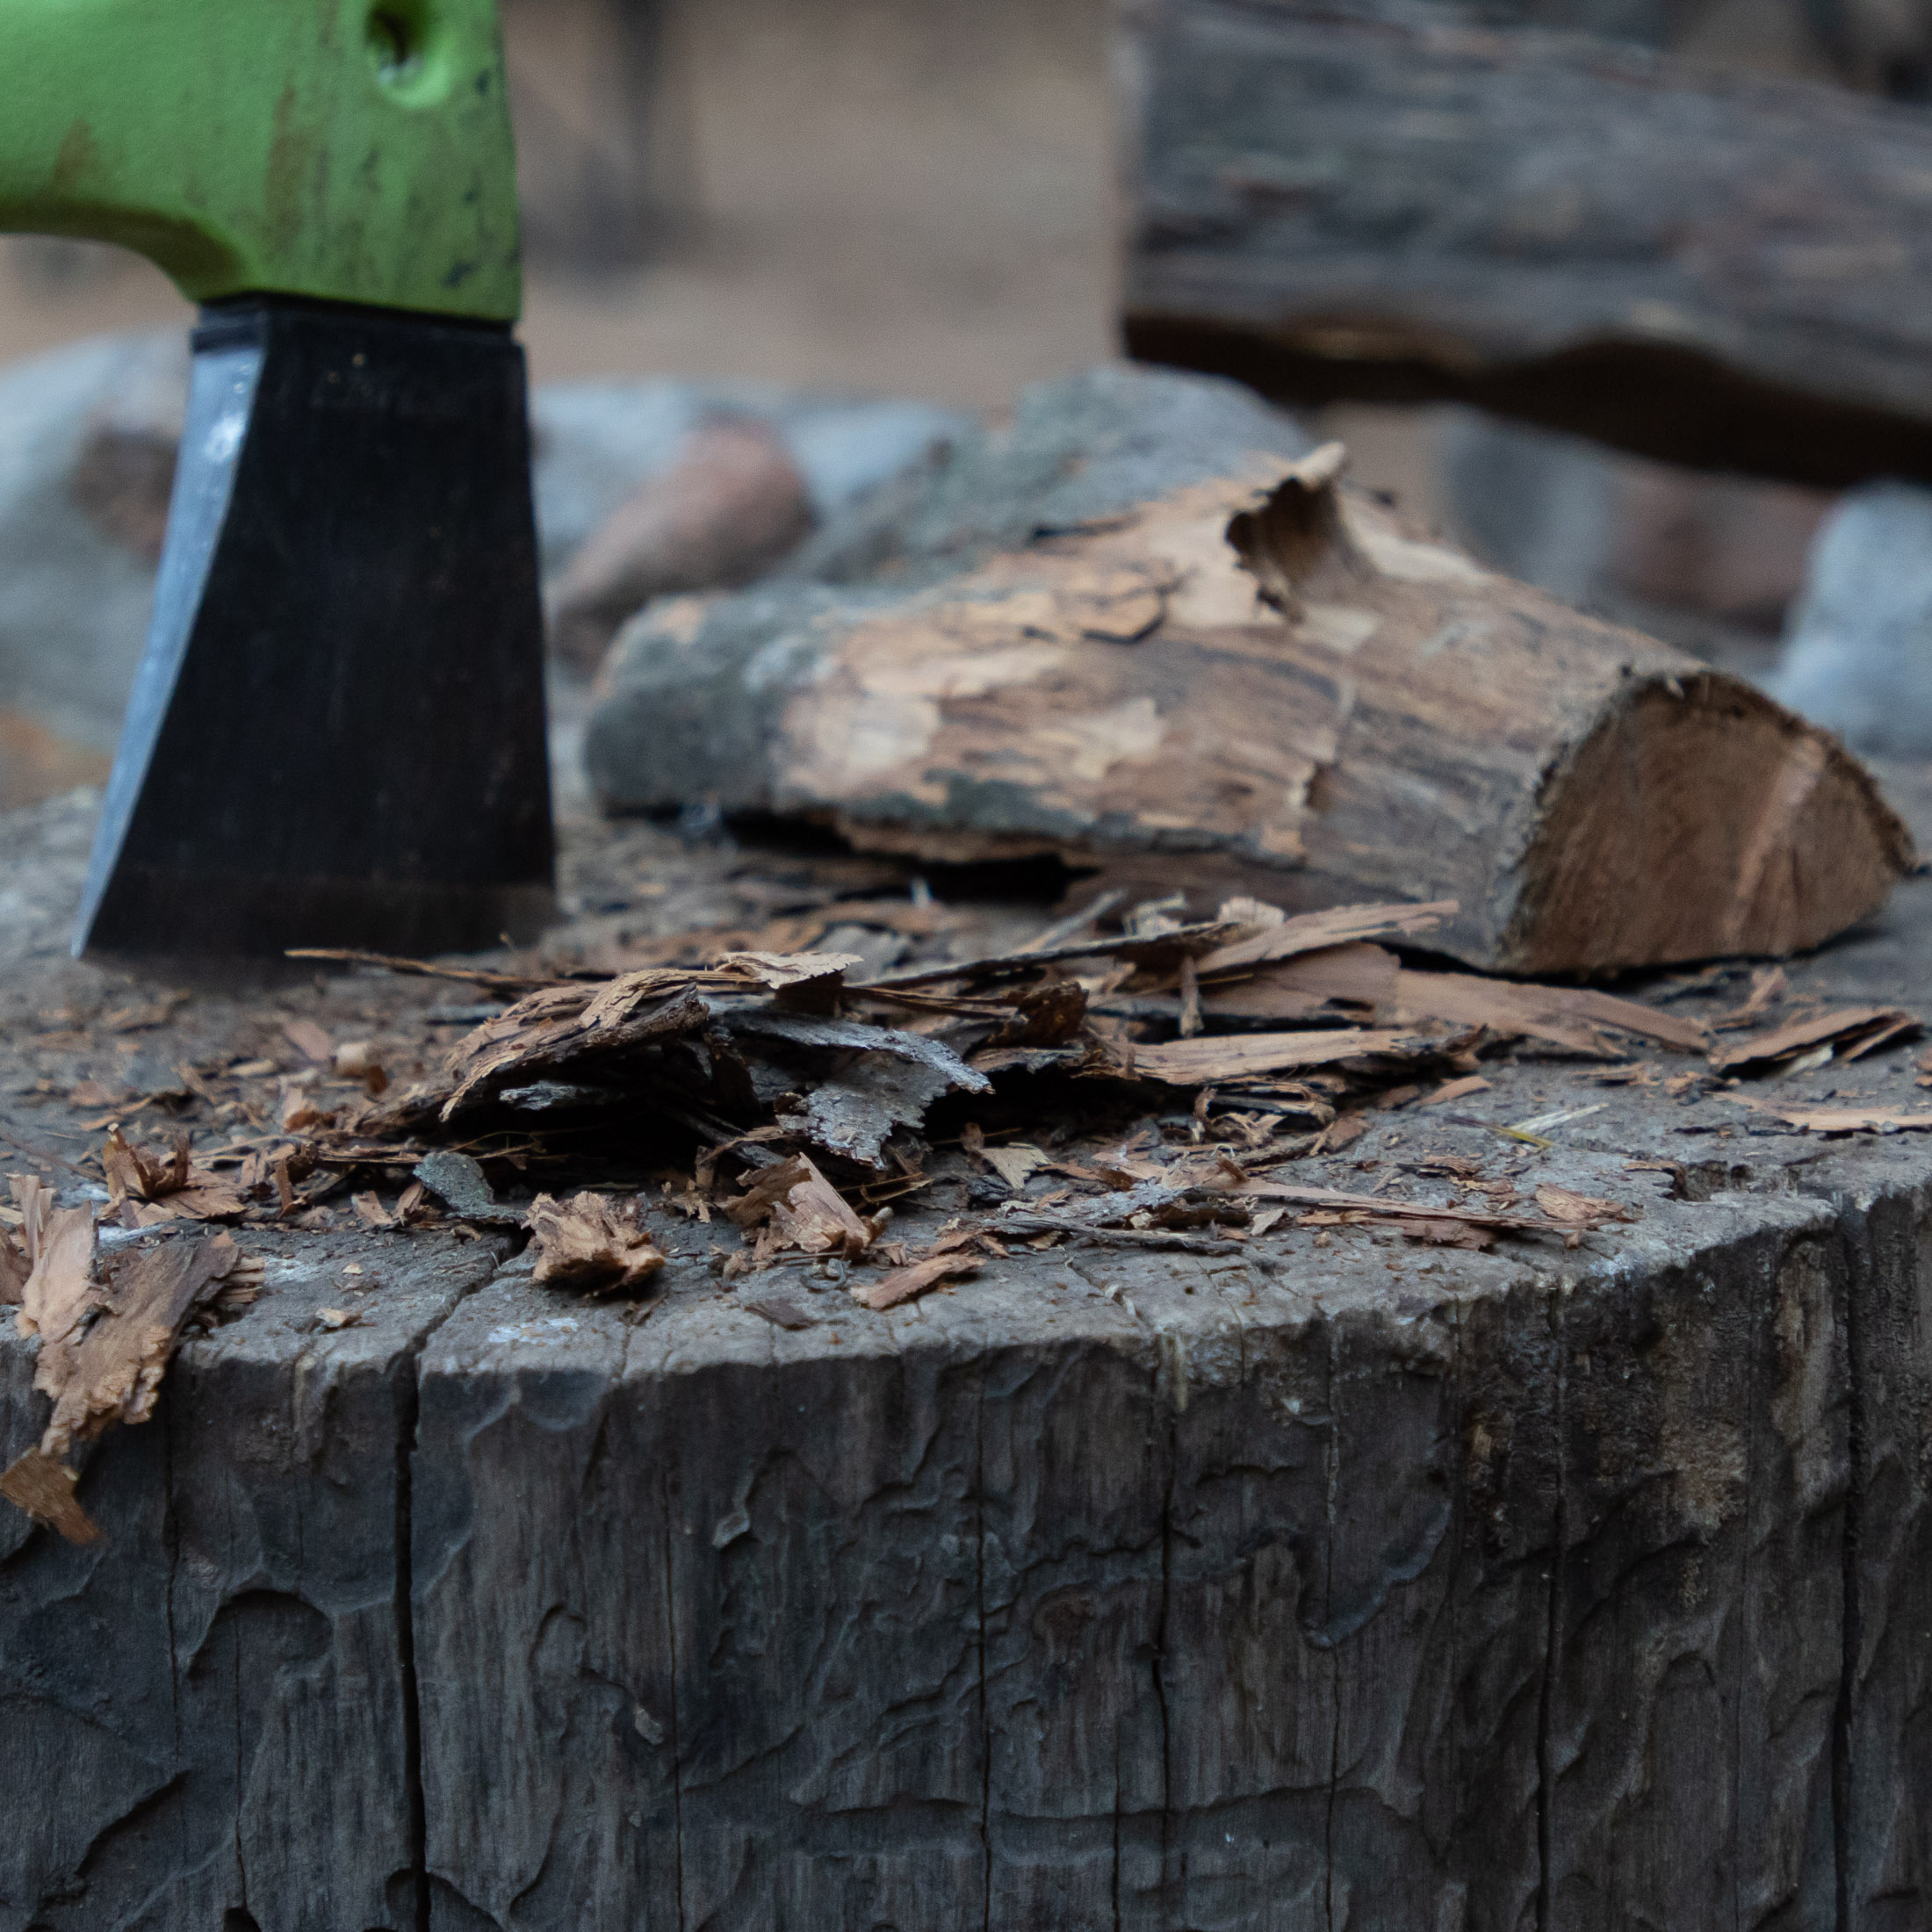
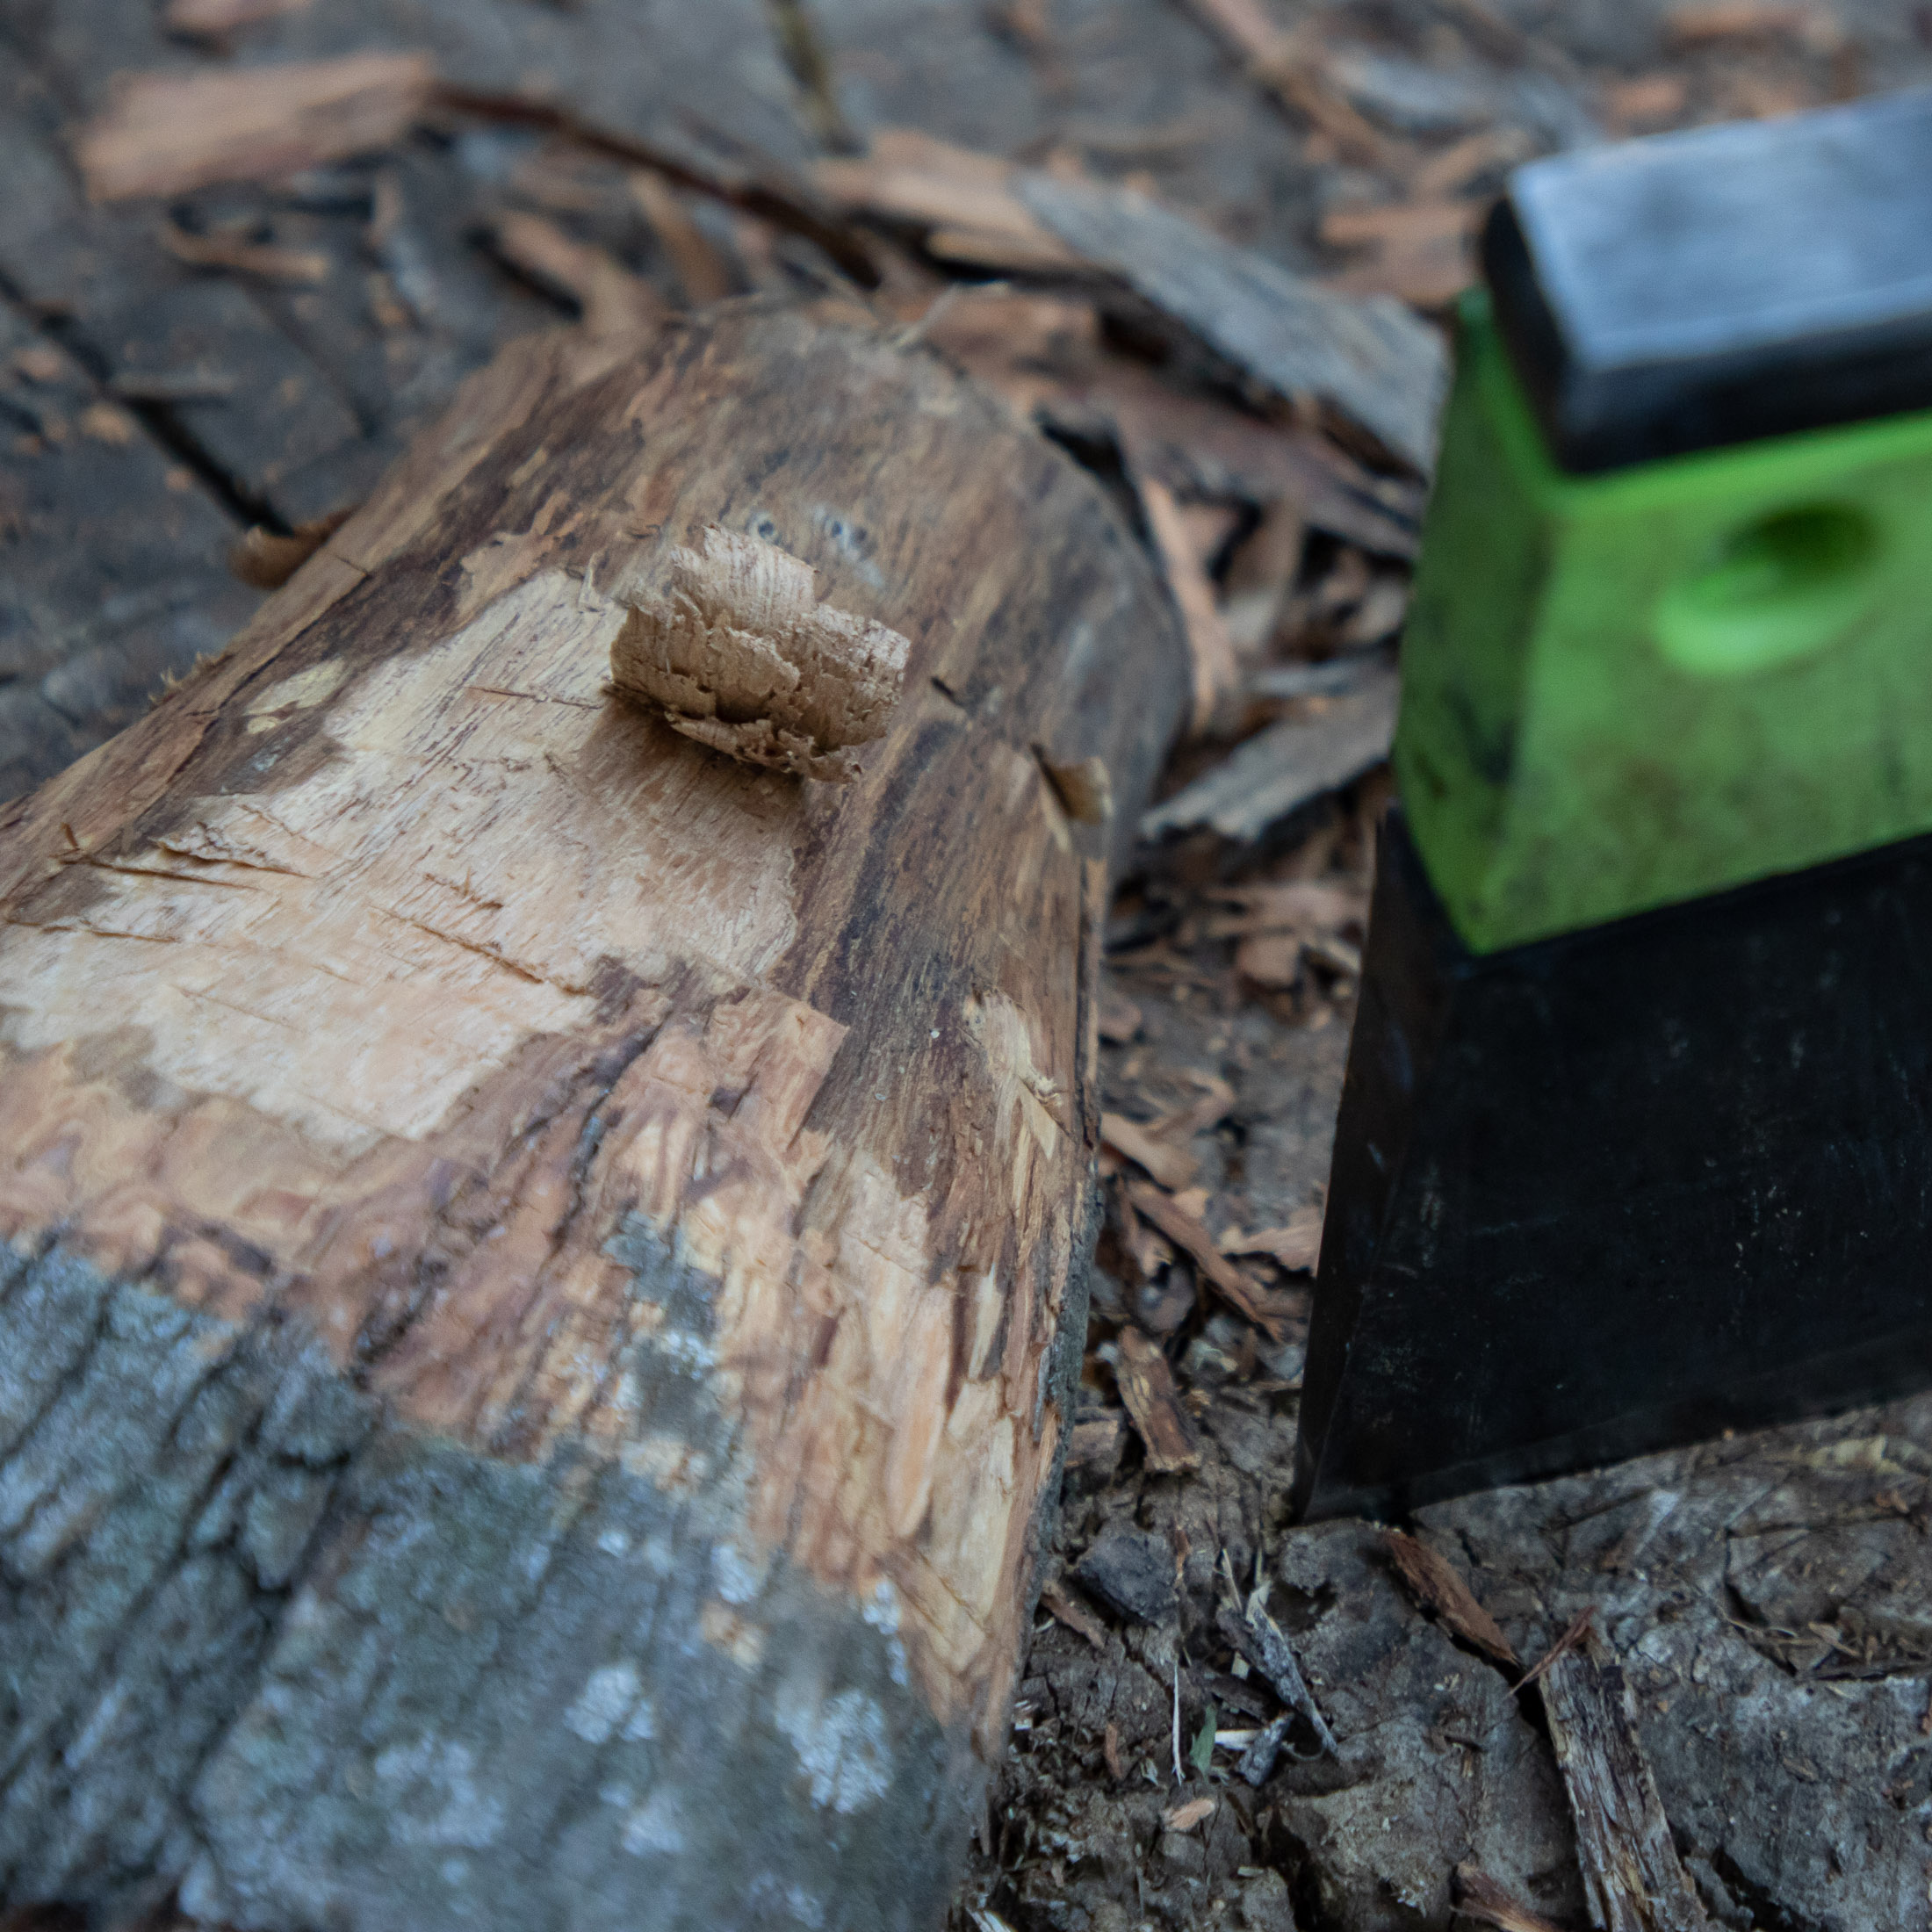
If firewood is your only fuel source, you can make your own tinder by shaving small slices off a piece of firewood. If the wood is even slightly damp, split a piece of wood into quarters and then shave slivers off the corner – that which was at the heart of the log. This will be driest.
Kindling
Kindling is thicker than tinder but thinner than firewood. It needs to catch alight easily enough with a smallish flame – that created by the burning tinder underneath it – but also be substantial enough that it will produce enough flames to set fire to the firewood. You can use twigs and sticks for kindling, but if there aren’t enough of these lying around, you can also split pieces of wood from a piece of firewood. You’ll need thin and thick kindling with the the thinnest being as thin a pencil and the thickest as thick as your thumb. Aim to collect or chop roughly twice as kindling as tinder.
Firewood
Finally, you will need your firewood or core wood. These roughly 16” pieces of wood will make up the bulk of your firewood and create embers. You can use whole logs but these will take longer to start burning if they still have bark on them. Often it’s better to split your pieces of firewood and then expose the split sides to the flames. As with kindling, you might want to have firewood that ranges in thickness, especially if you are using the teepee fire building method described below. The type of wood you use here is also important. Hardwoods are the best kind of wood for a campfire as they burn longer and hotter than softwoods. In North America that means looking for oak, maple, beech, alder, and poplar.
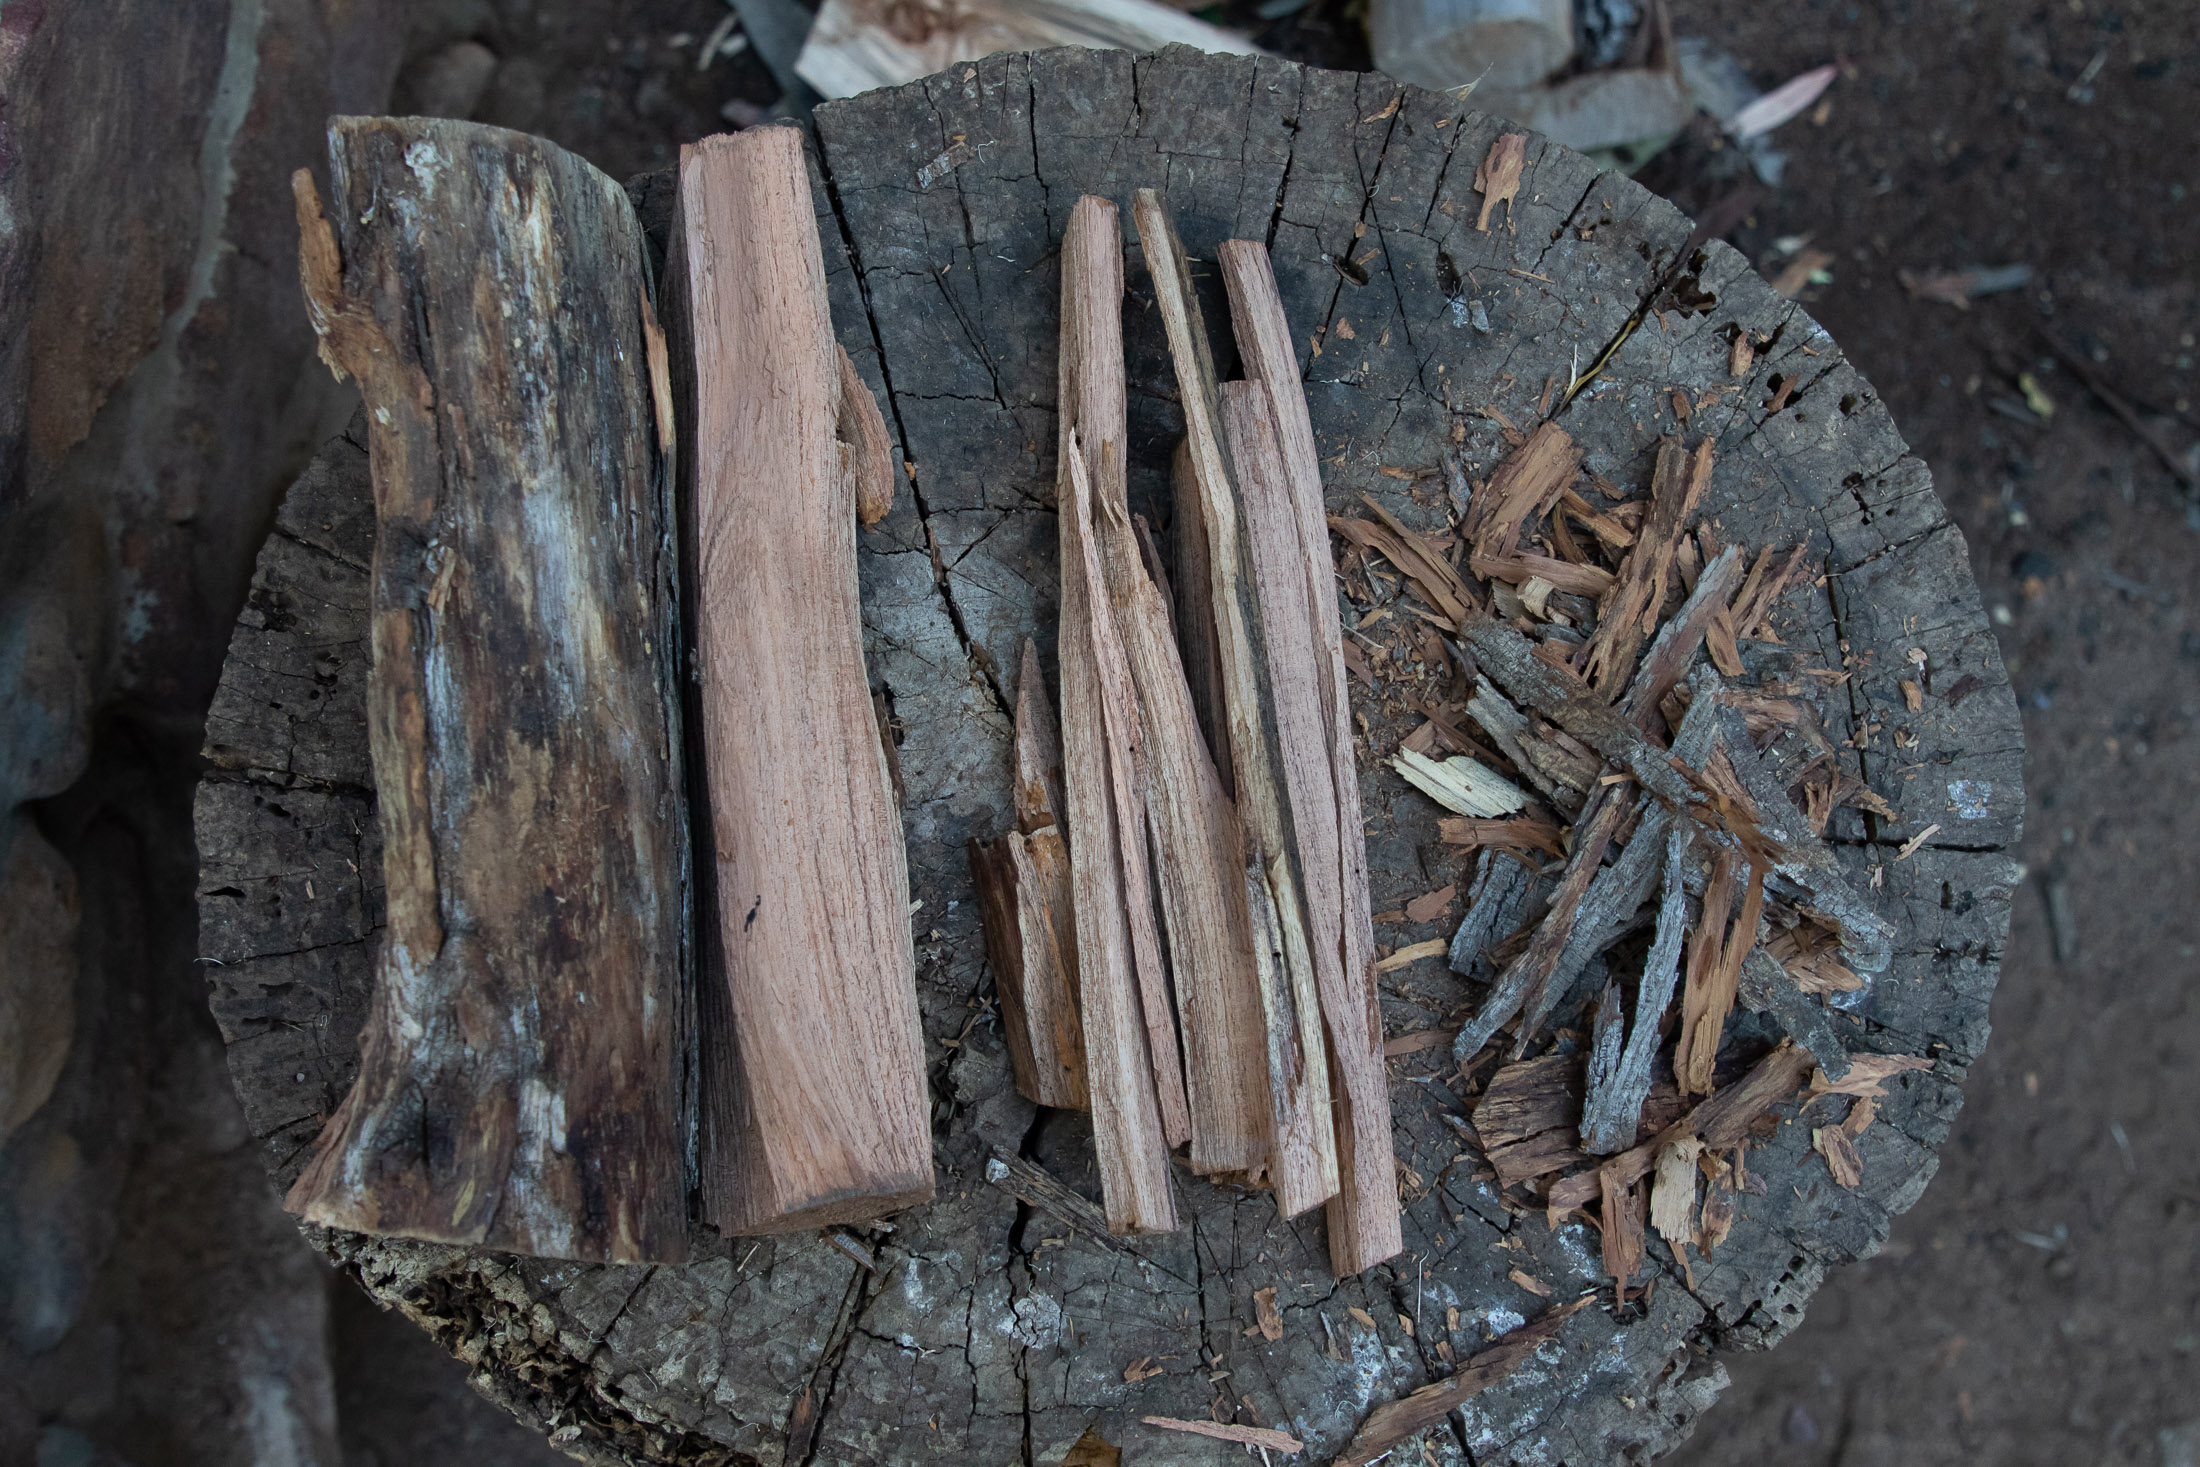
Before you start collecting your fuel, know that there are some rules and best practices that you should follow. If using a campground, only source firewood locally (no farther than 50 miles away). But check with the campground operator what the regulations around firewood are. Some campgrounds might ban wood brought from outside altogether to avoid the introduction of pests like beetles. And if collecting firewood for a backcountry campfire, only gather downed wood. Don’t break branches off trees, alive or dead.
Build your fire
There are many ways to build a campfire, but you only really need to know two: one for cooking over, and another for convenience or making the most of wet wood.
Teepee
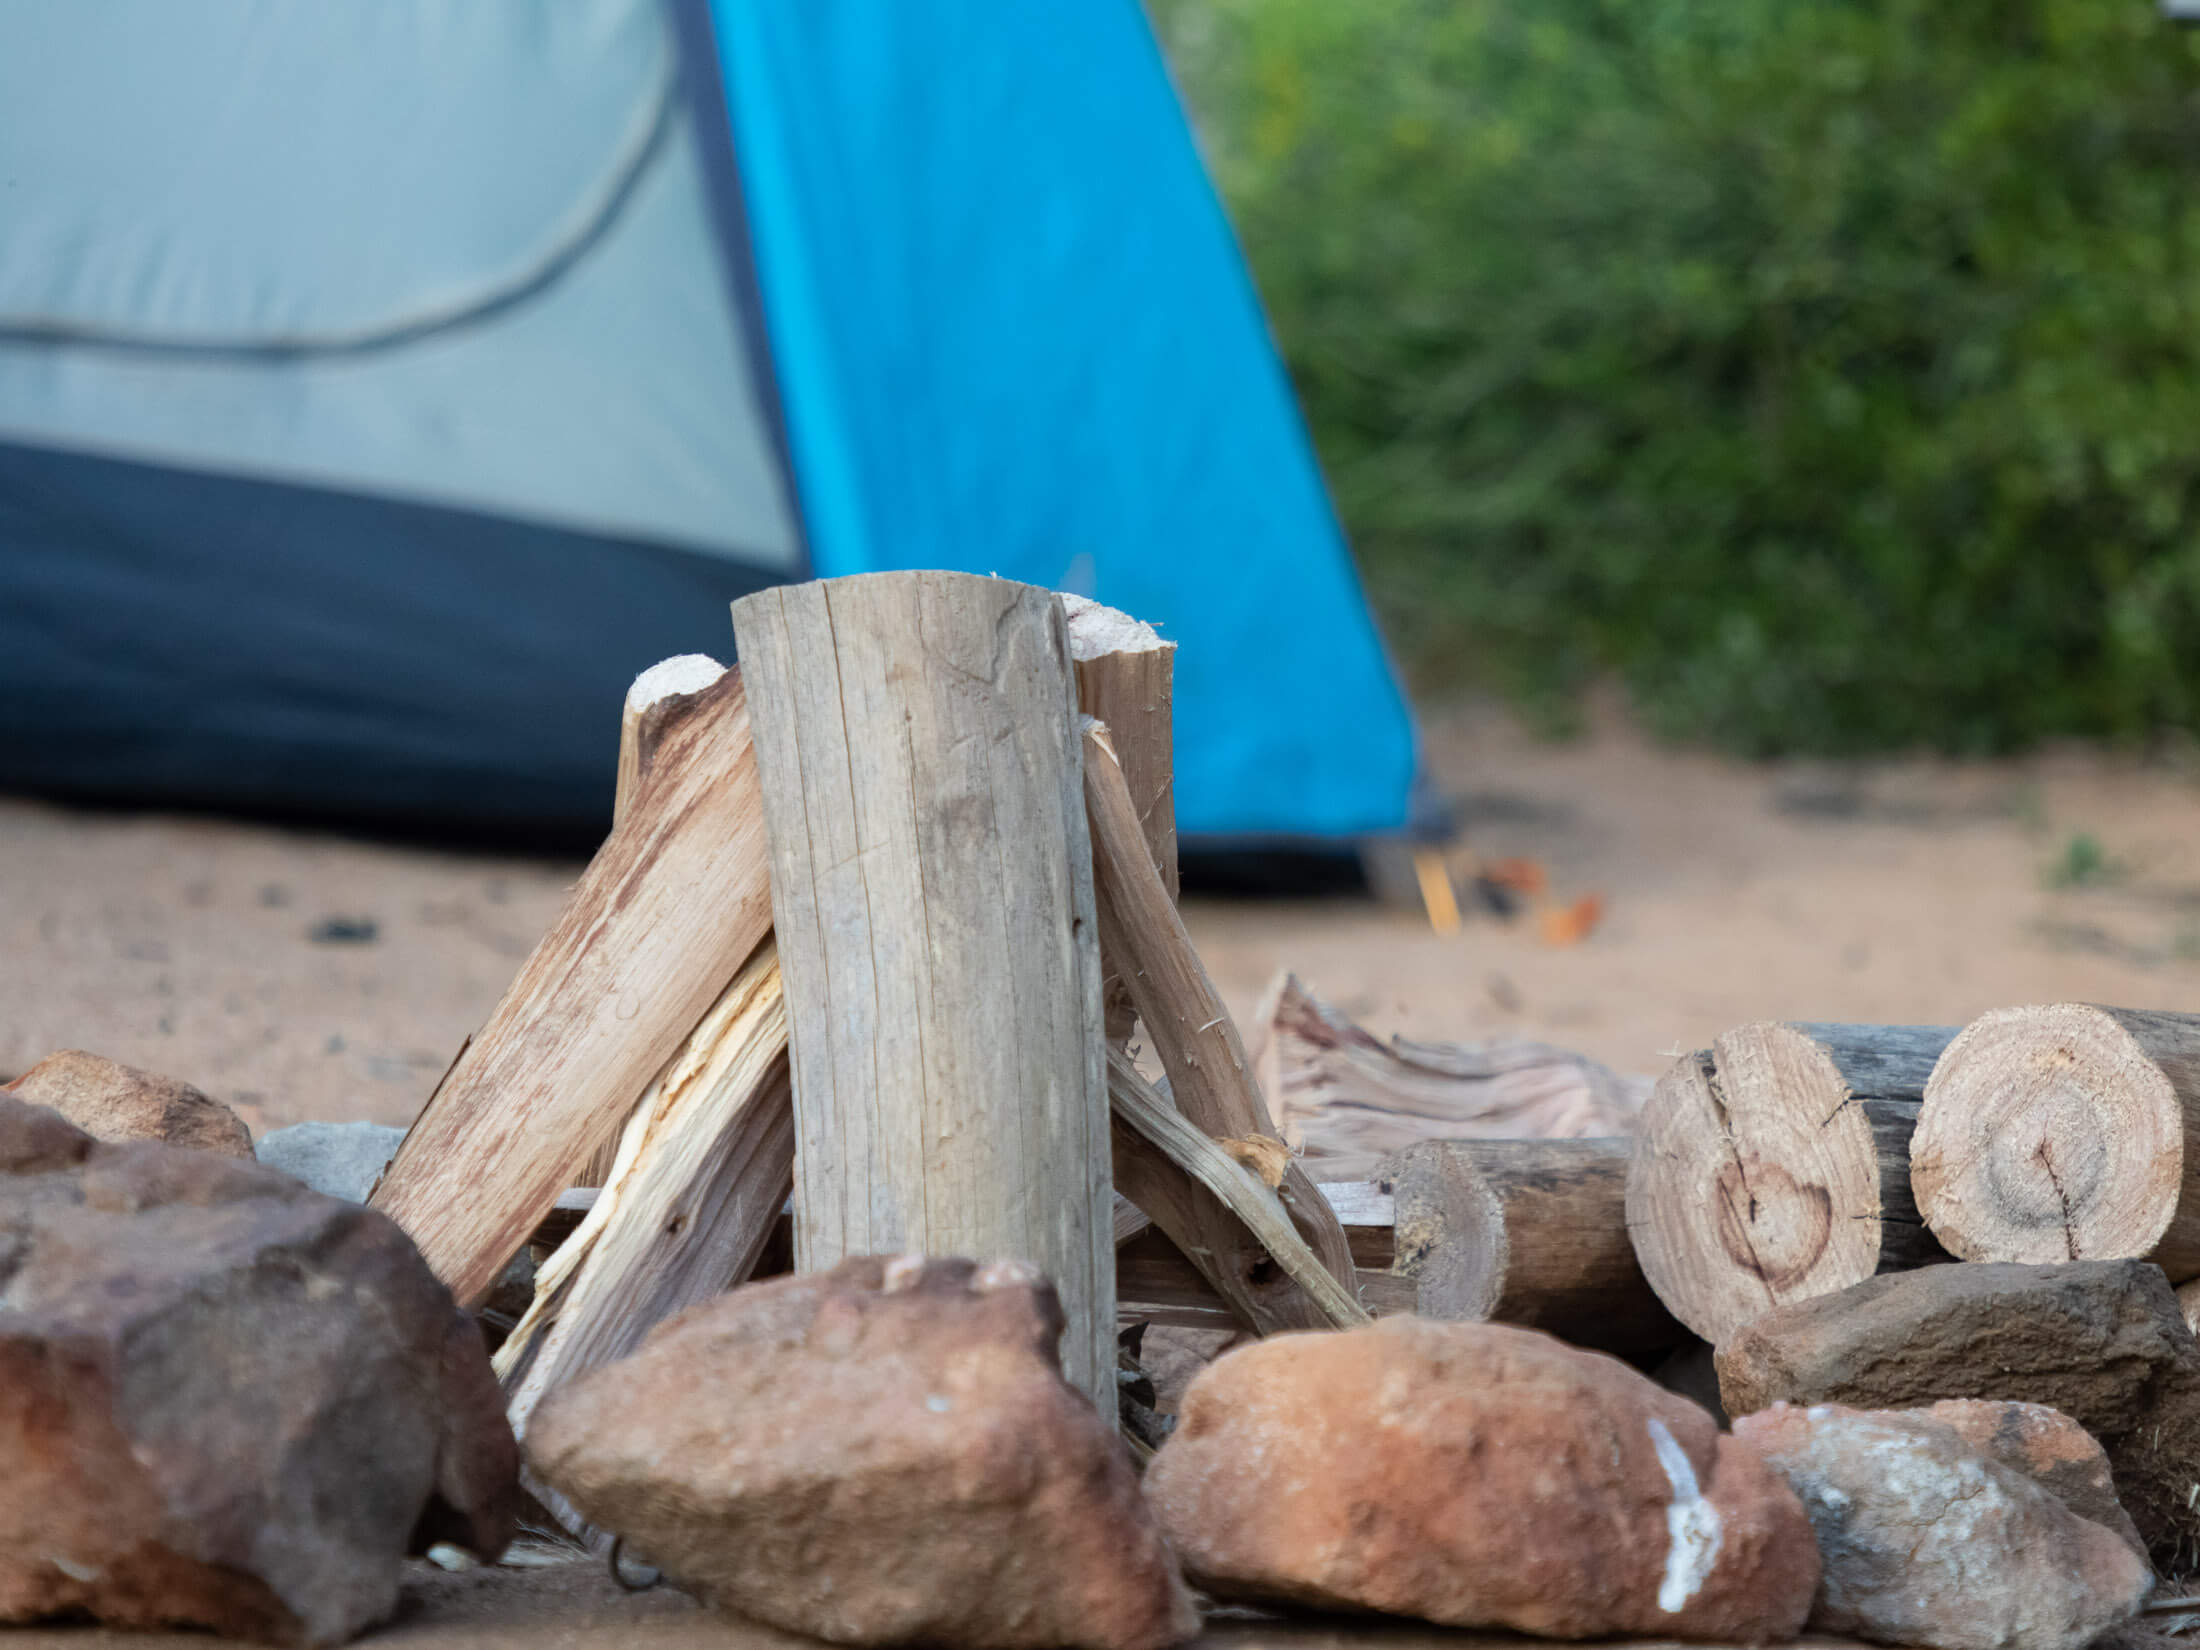
A teepee campfire is easy to build and burns hot quickly. To make one, start by putting a small amount of tinder in the center of your fire ring. Next place the thinnest pieces of kindling on top of your tinder, creating a small teepee-type arrangement. Then add the larger pieces of kindling, again sticking to the teepee design, and finally the fire wood to create the tallest outermost layer. When stacking the kindling and wood, remember to leave a small gap through which you can get to the tinder when you need to light it.
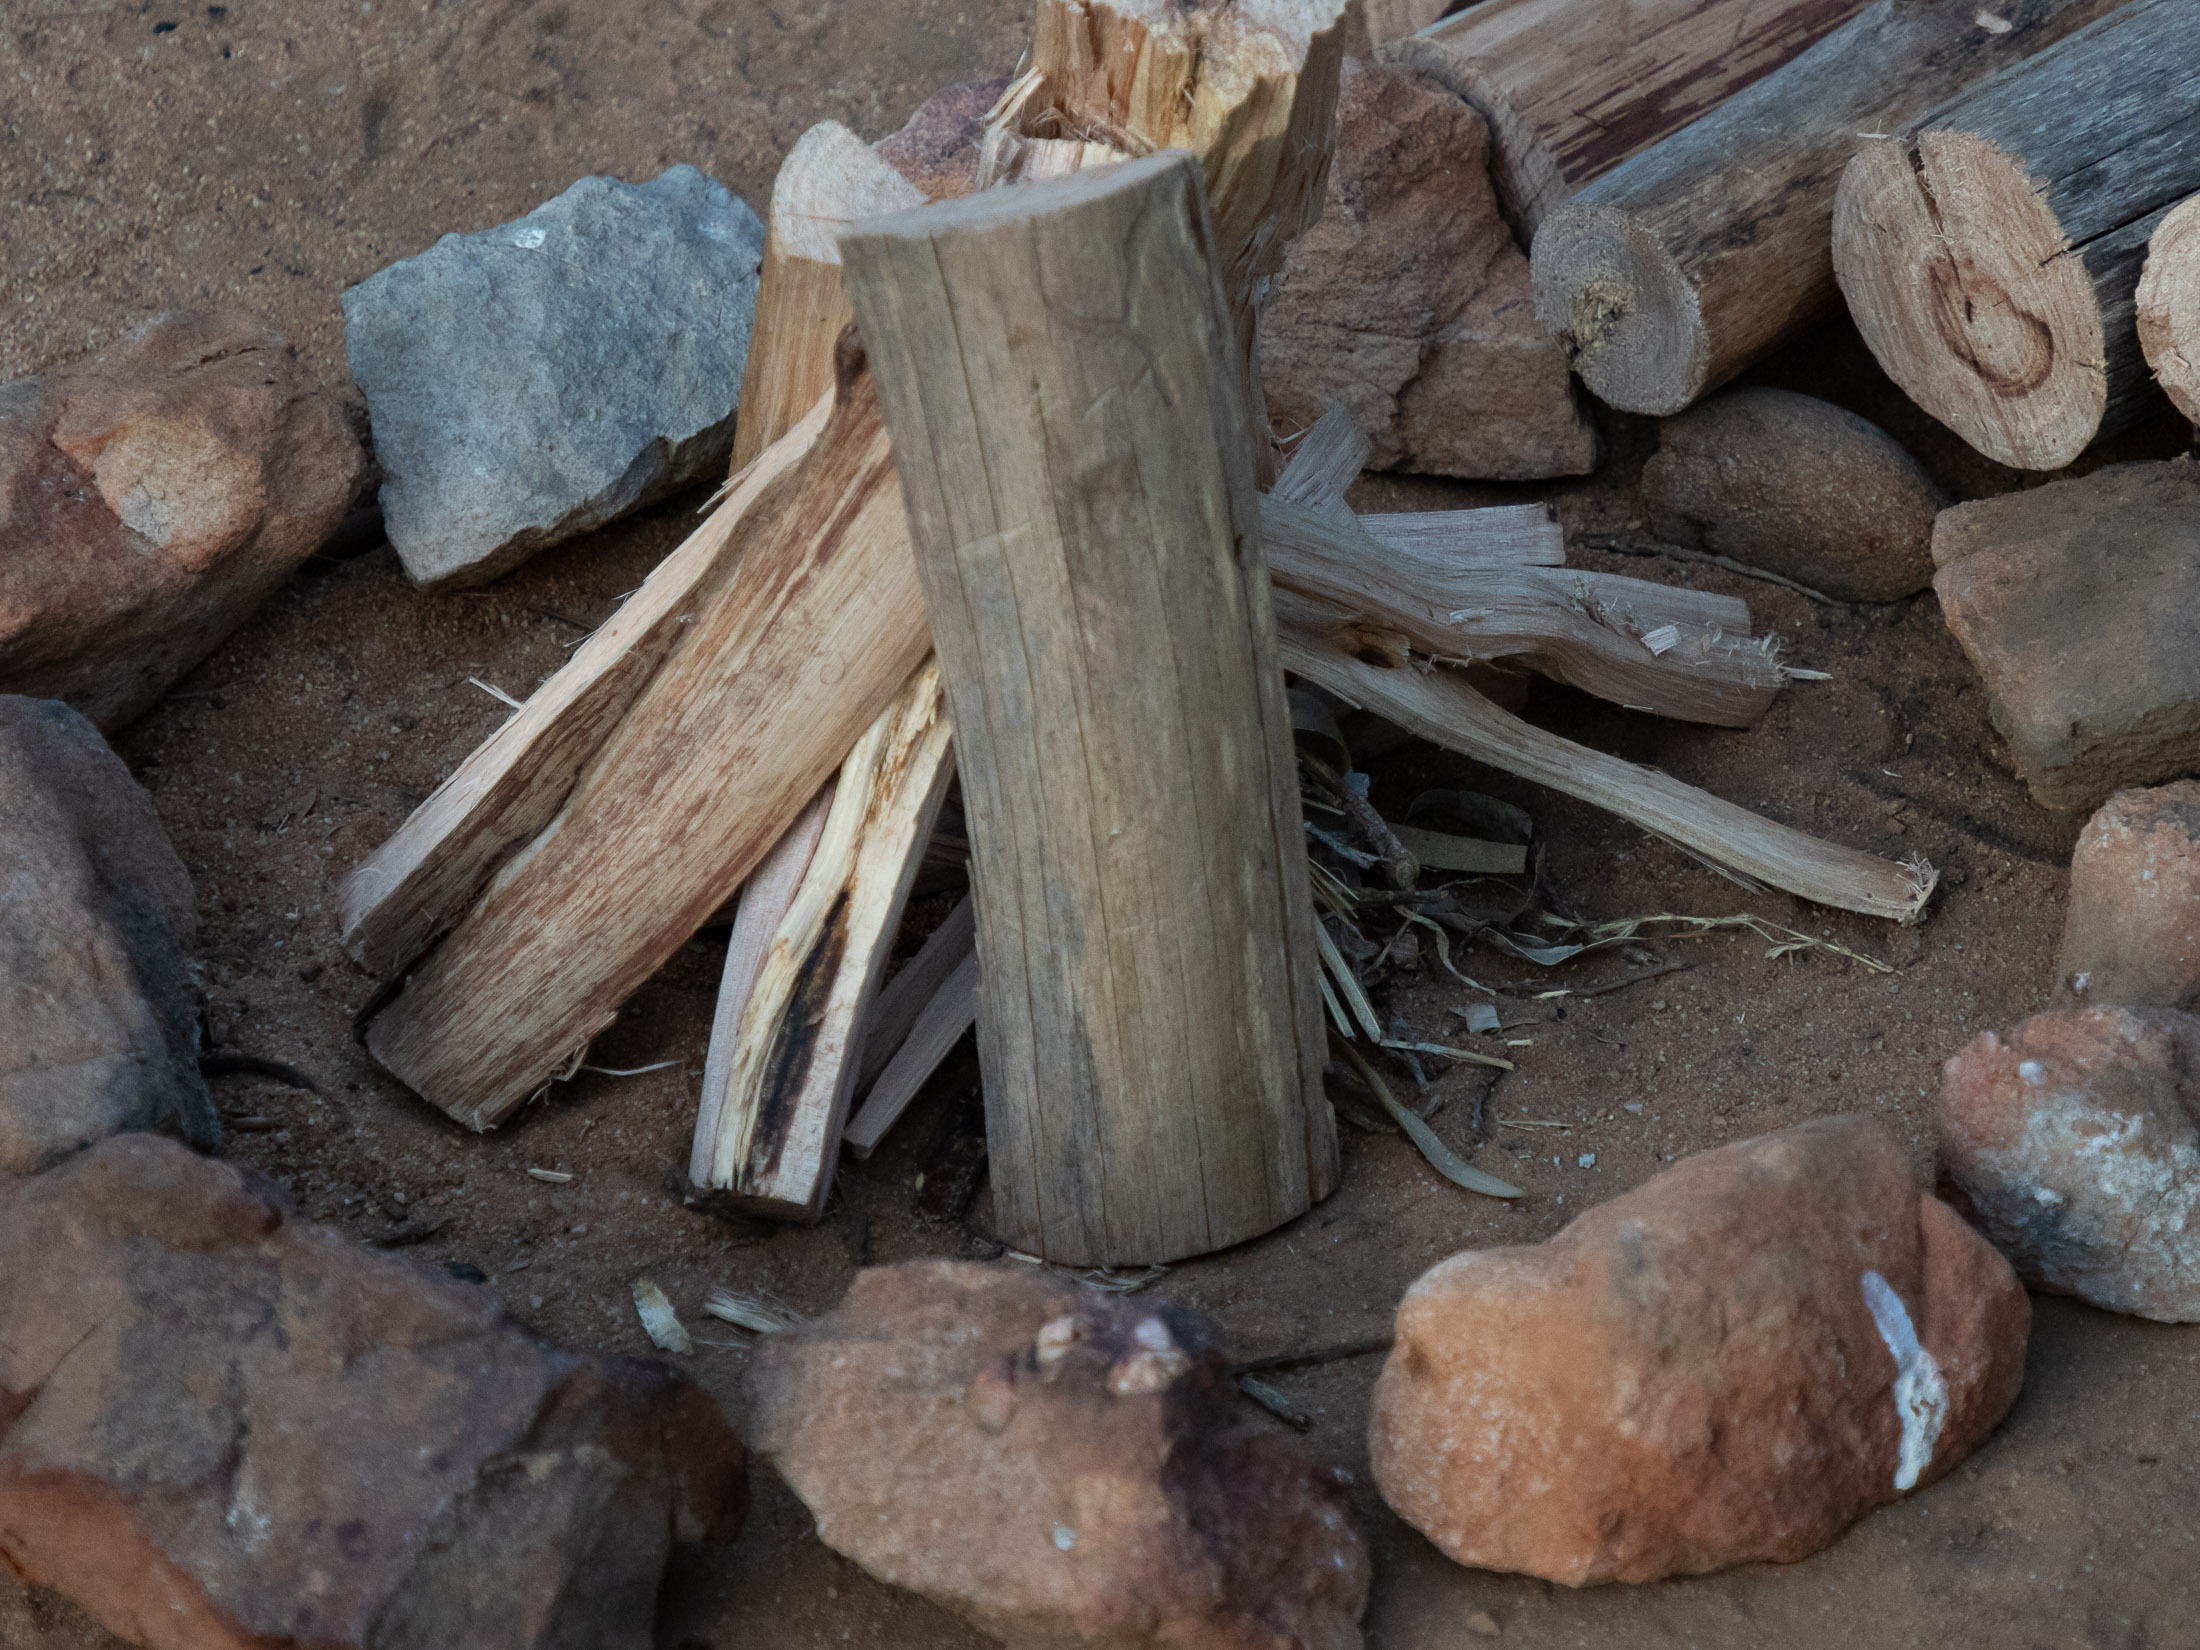
Once it’s burning, the innermost layers of the teepee will collapse into the center, creating a good bed of hot embers, and eventually the whole teepee will collapse. At this point you can rearrange your fire so that unburned pieces of wood are placed over the hottest part of the fire.
| Pros | Cons |
| Easy to build and light | Requires some maintenance or rearrangement |
| Tinder and kindling is protected from wind | Burns fuel quickly |
| Creates a tall flame quickly |
Log cabin
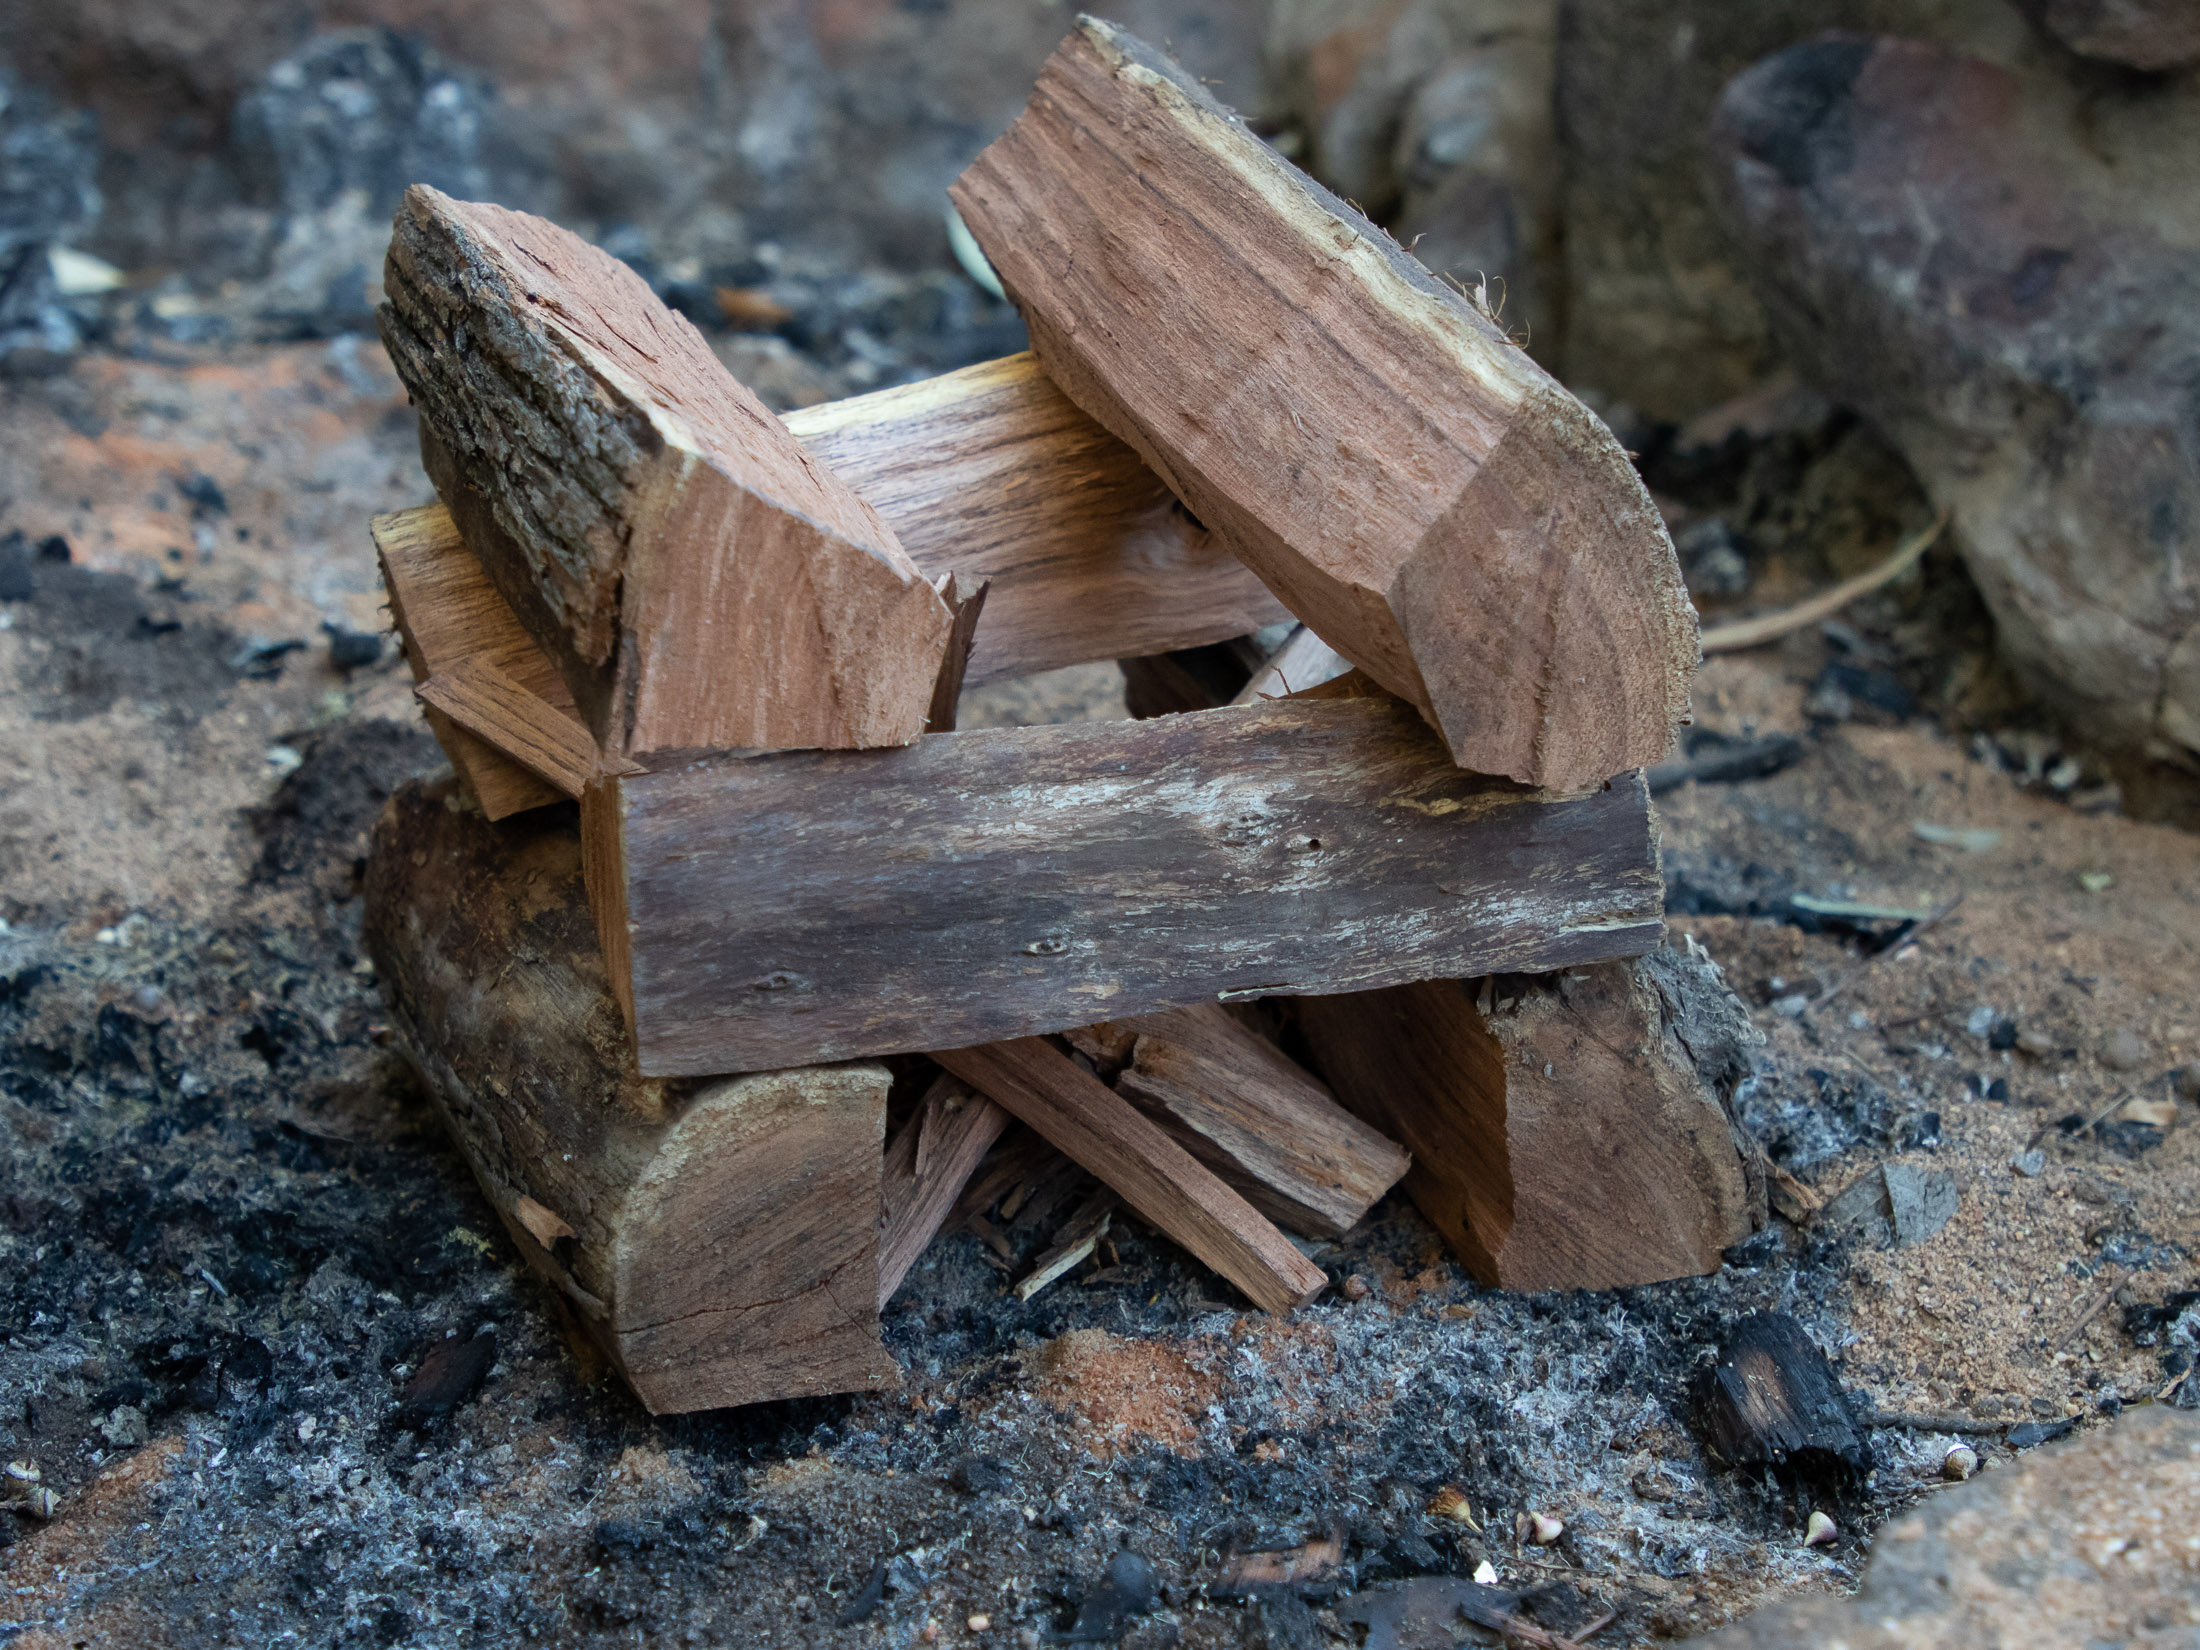
While a teepee fire is designed to burn hot and fast, a log cabin fire is designed to create a wide even bed of embers ideal for cooking over. To build your own log cabin, place two pieces of wood parallel to each other. Then place another pair perpendicular to these on top. Continue this pattern until you have a squarish arrangement about three to four log layers high. Lastly place the tinder and kindling inside of the log cabin. You’ll want to use a lot of kindling, and again it’s important to leave a gap through which you can reach the tinder when you need to light it.
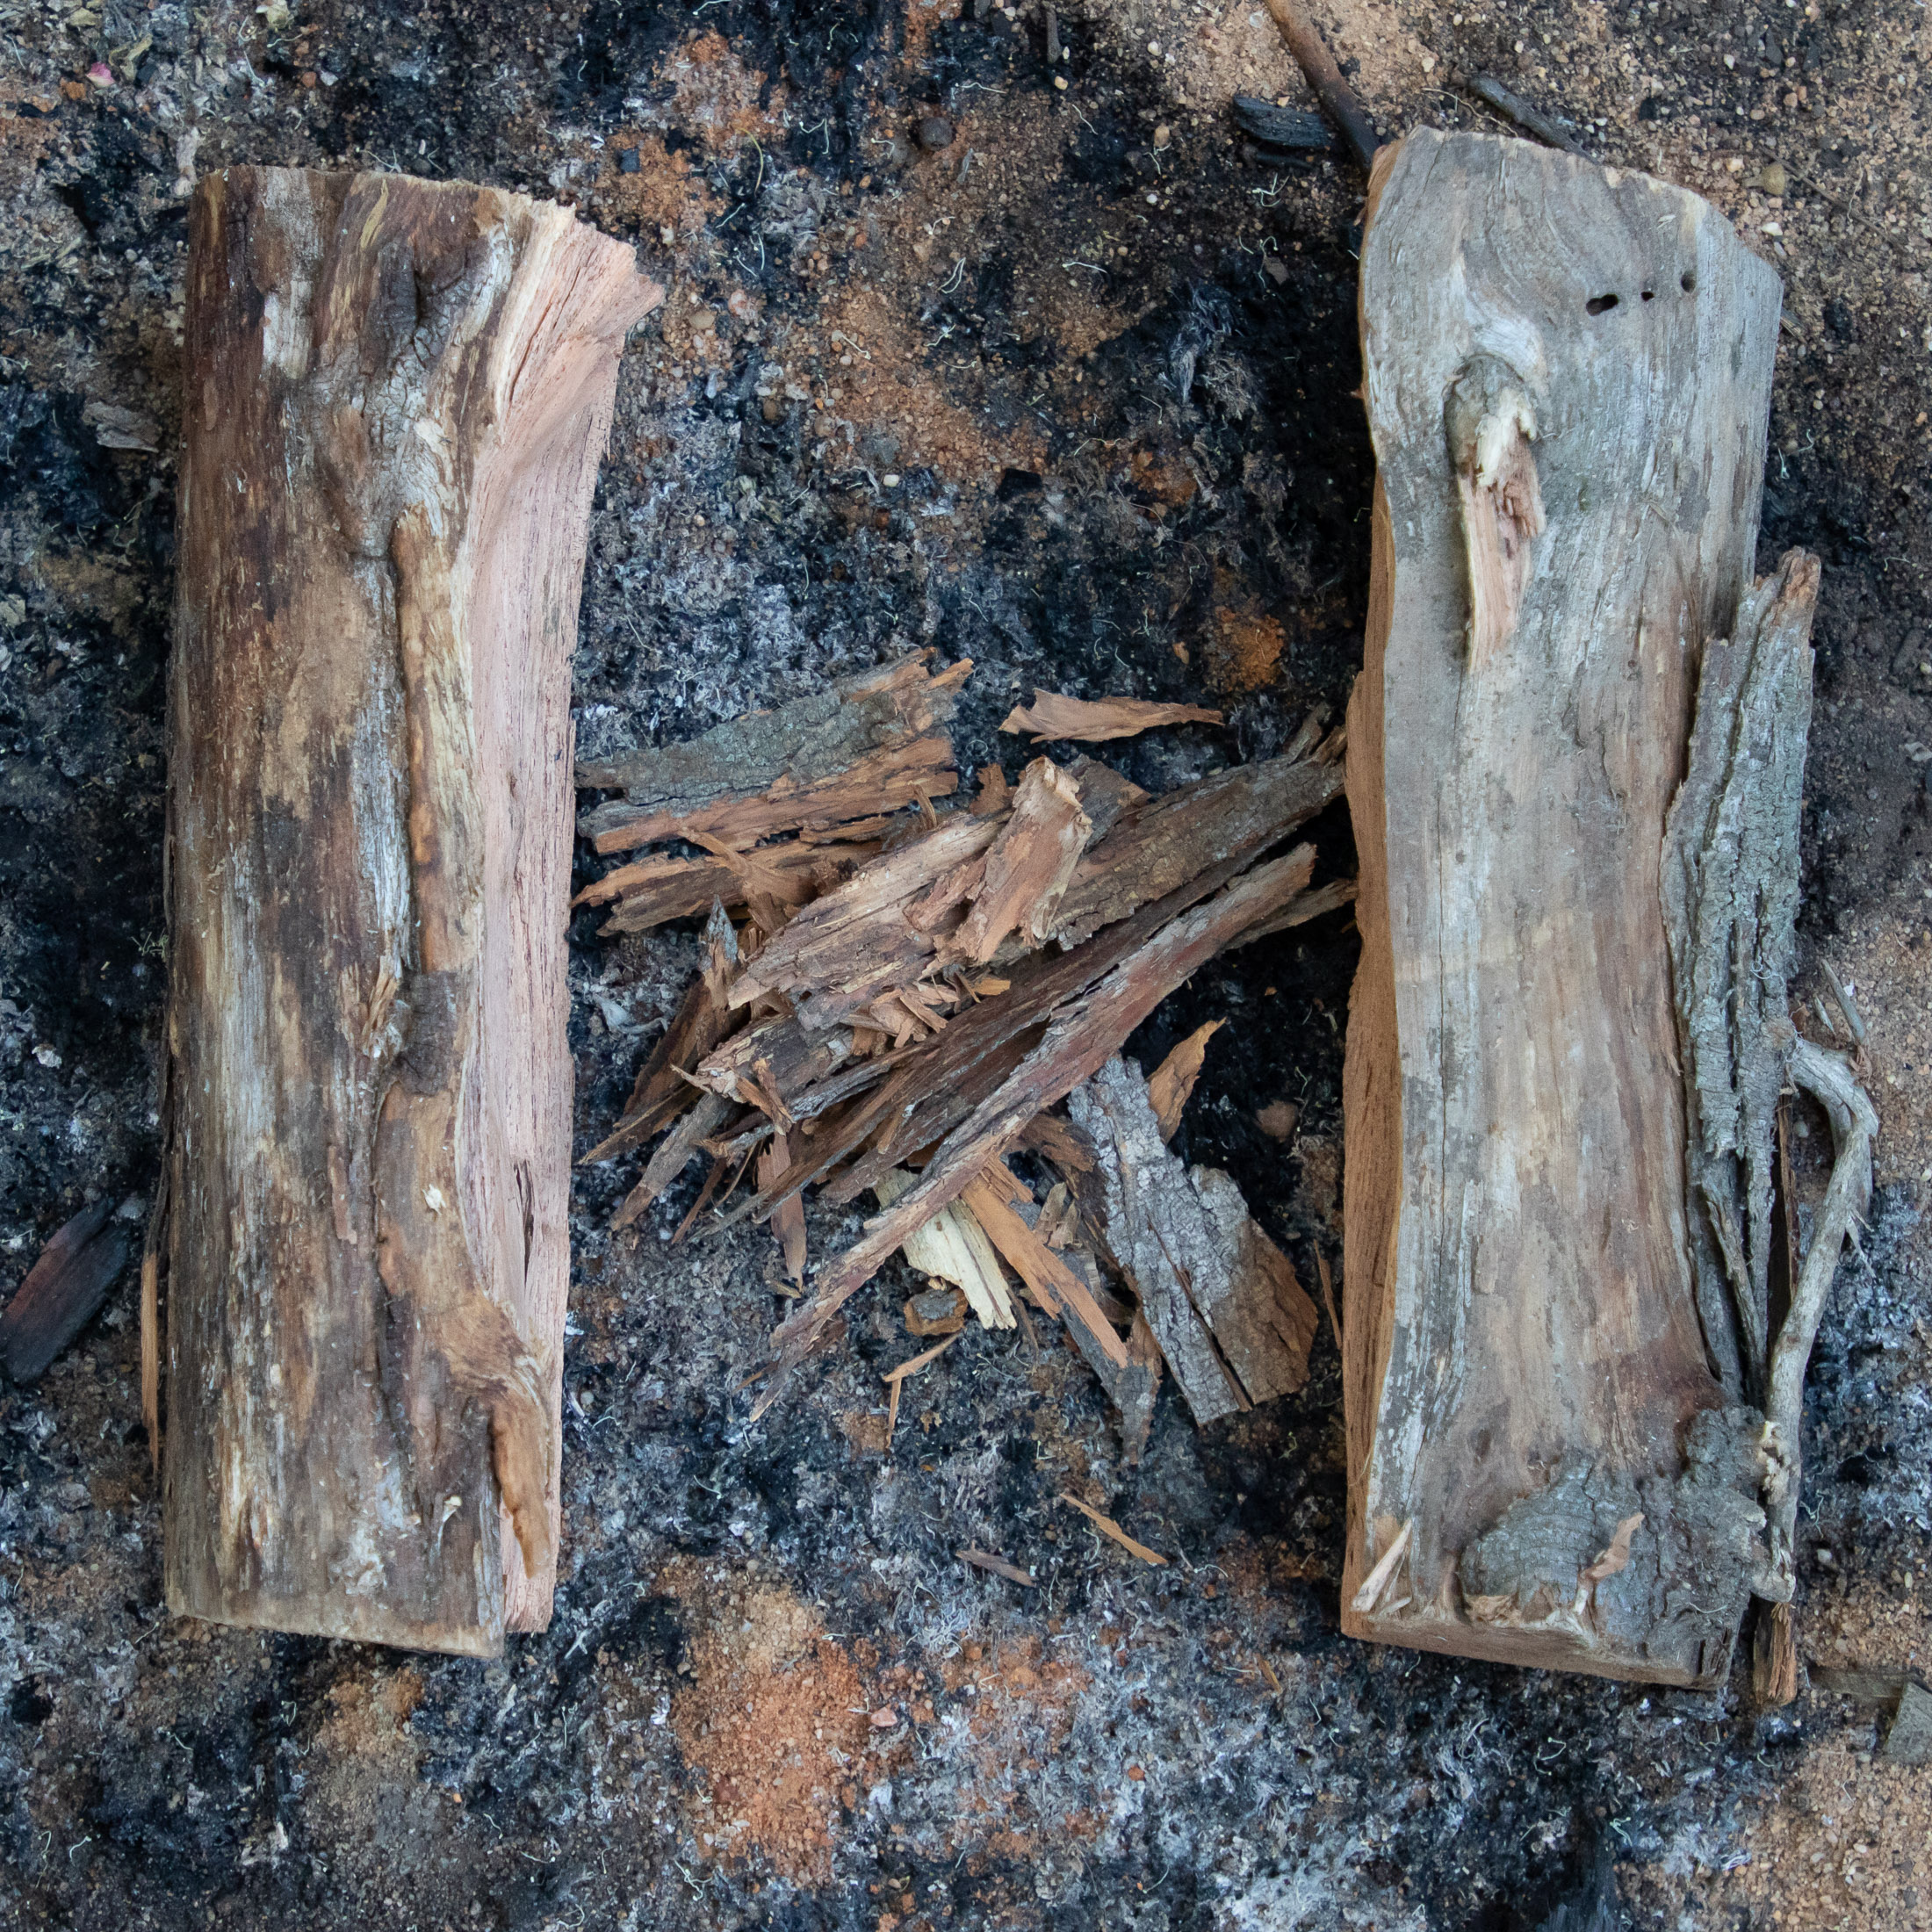
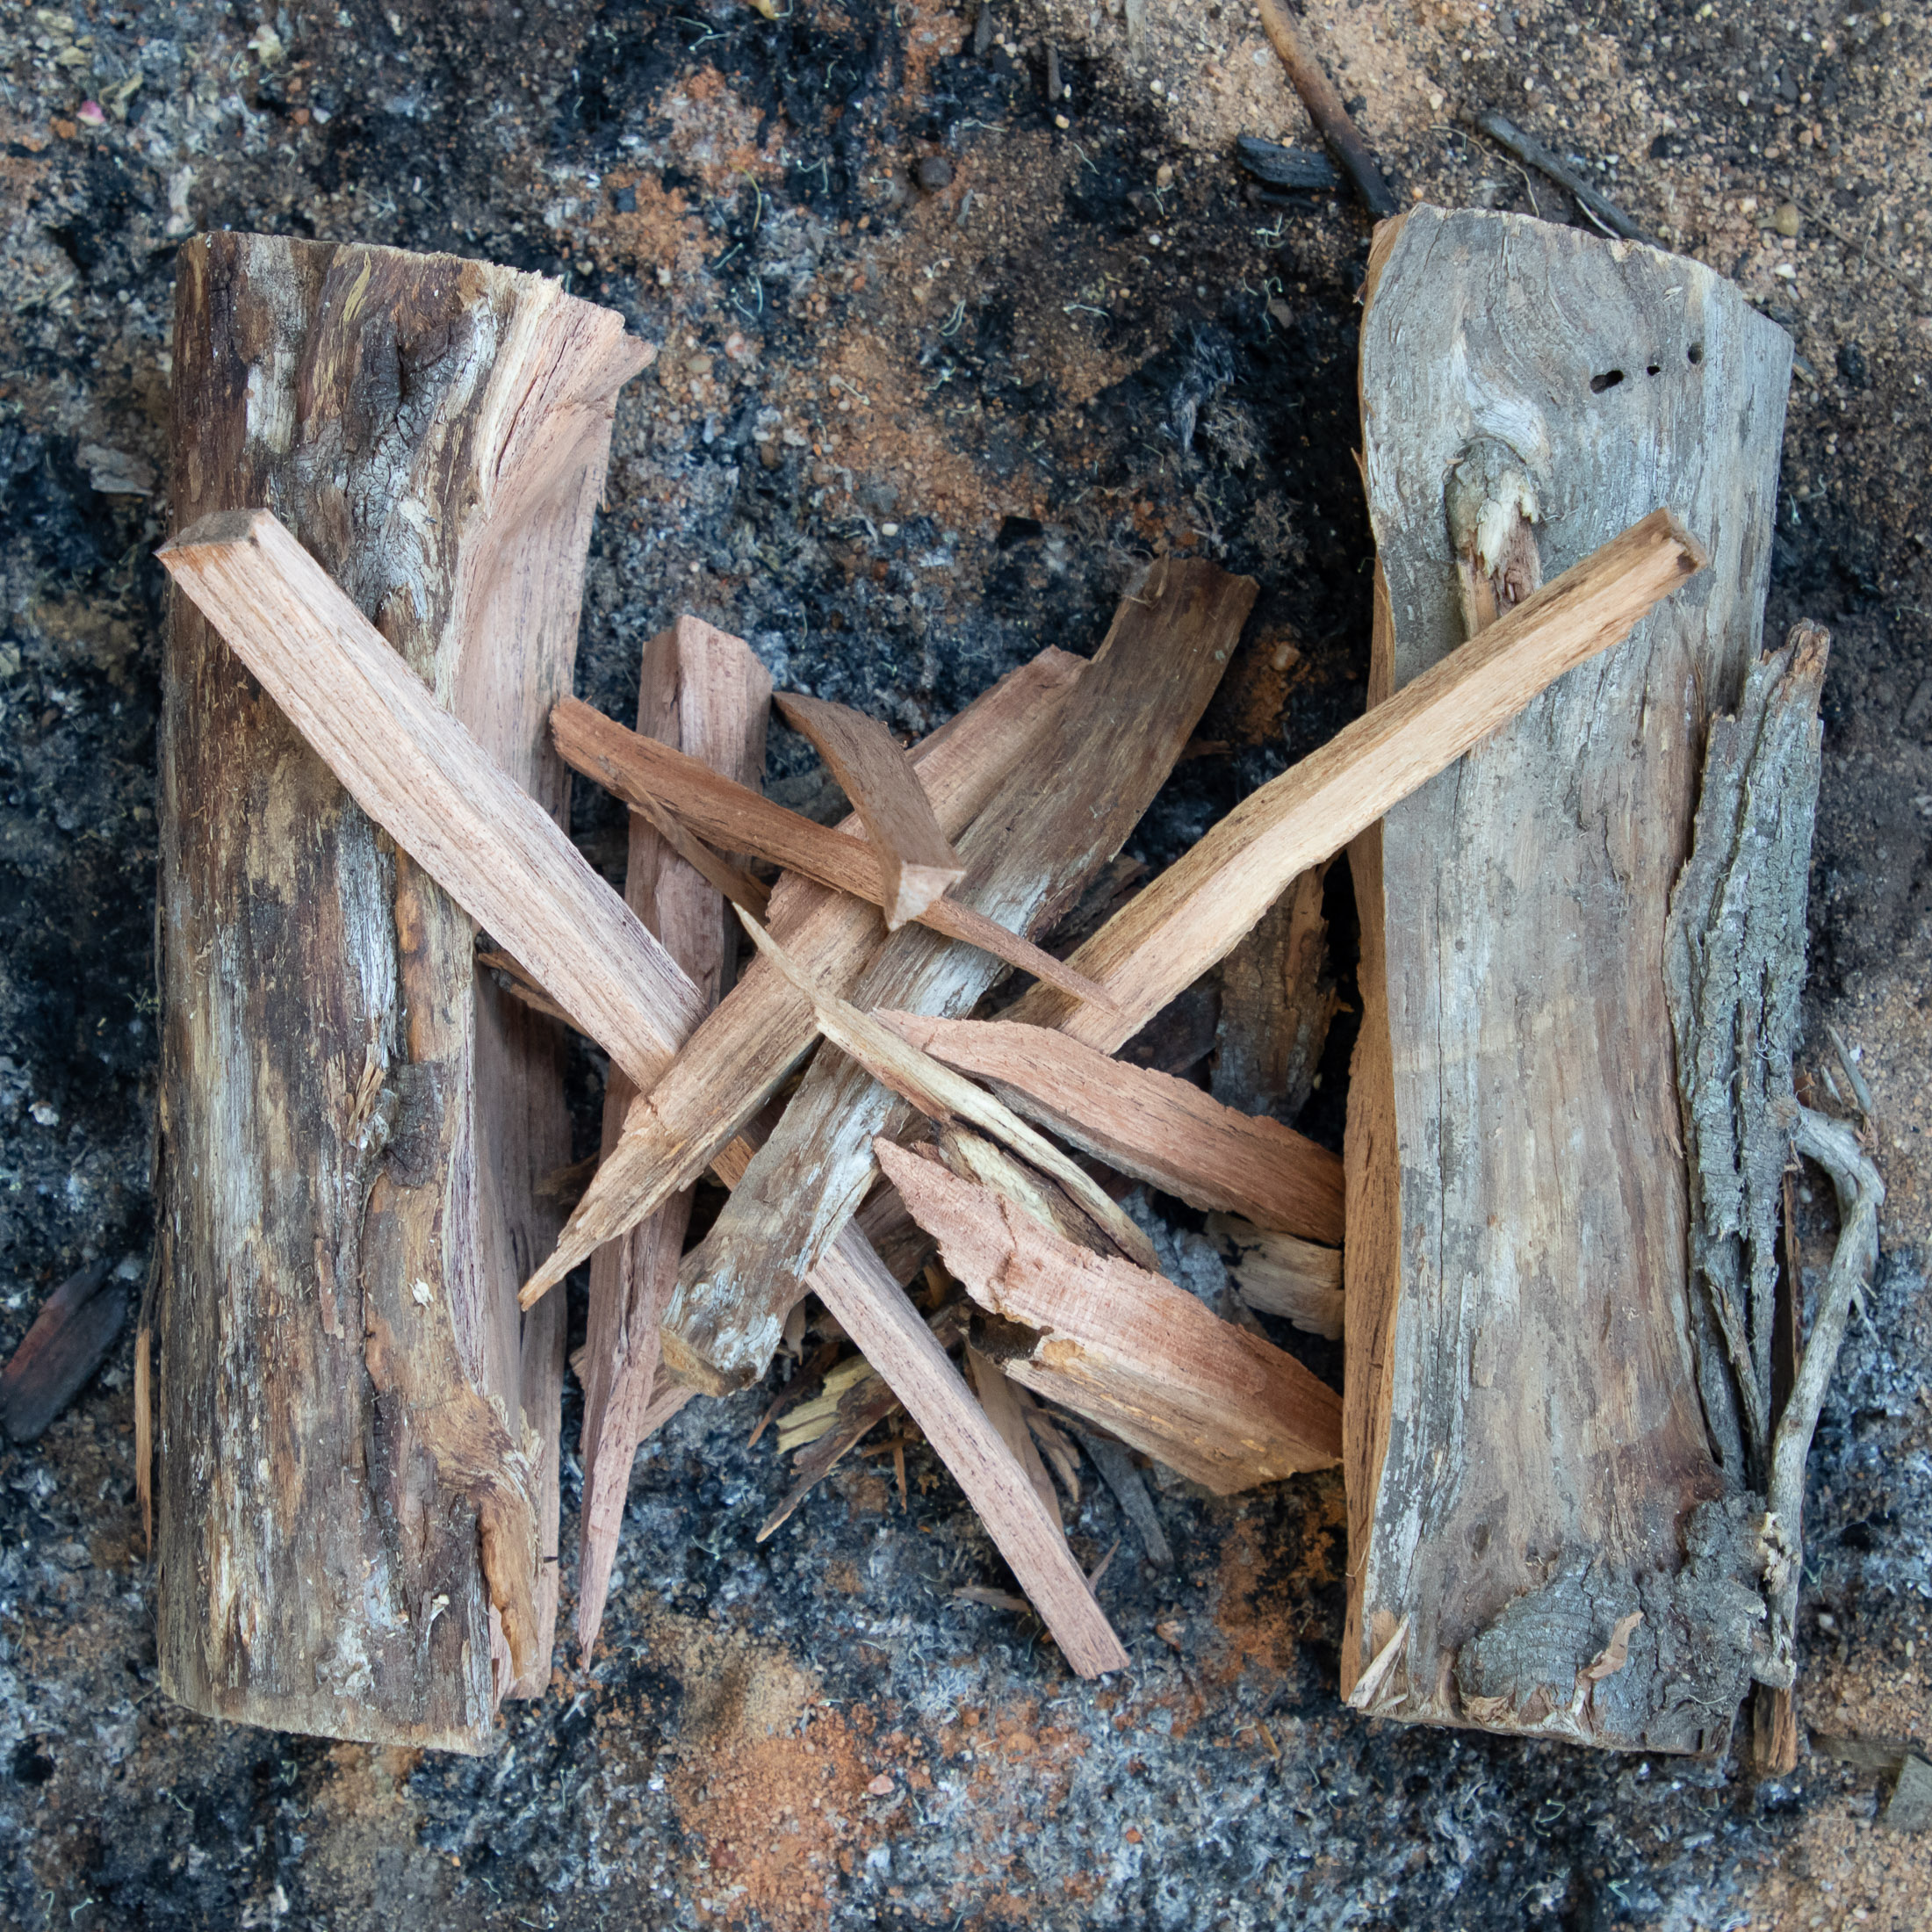
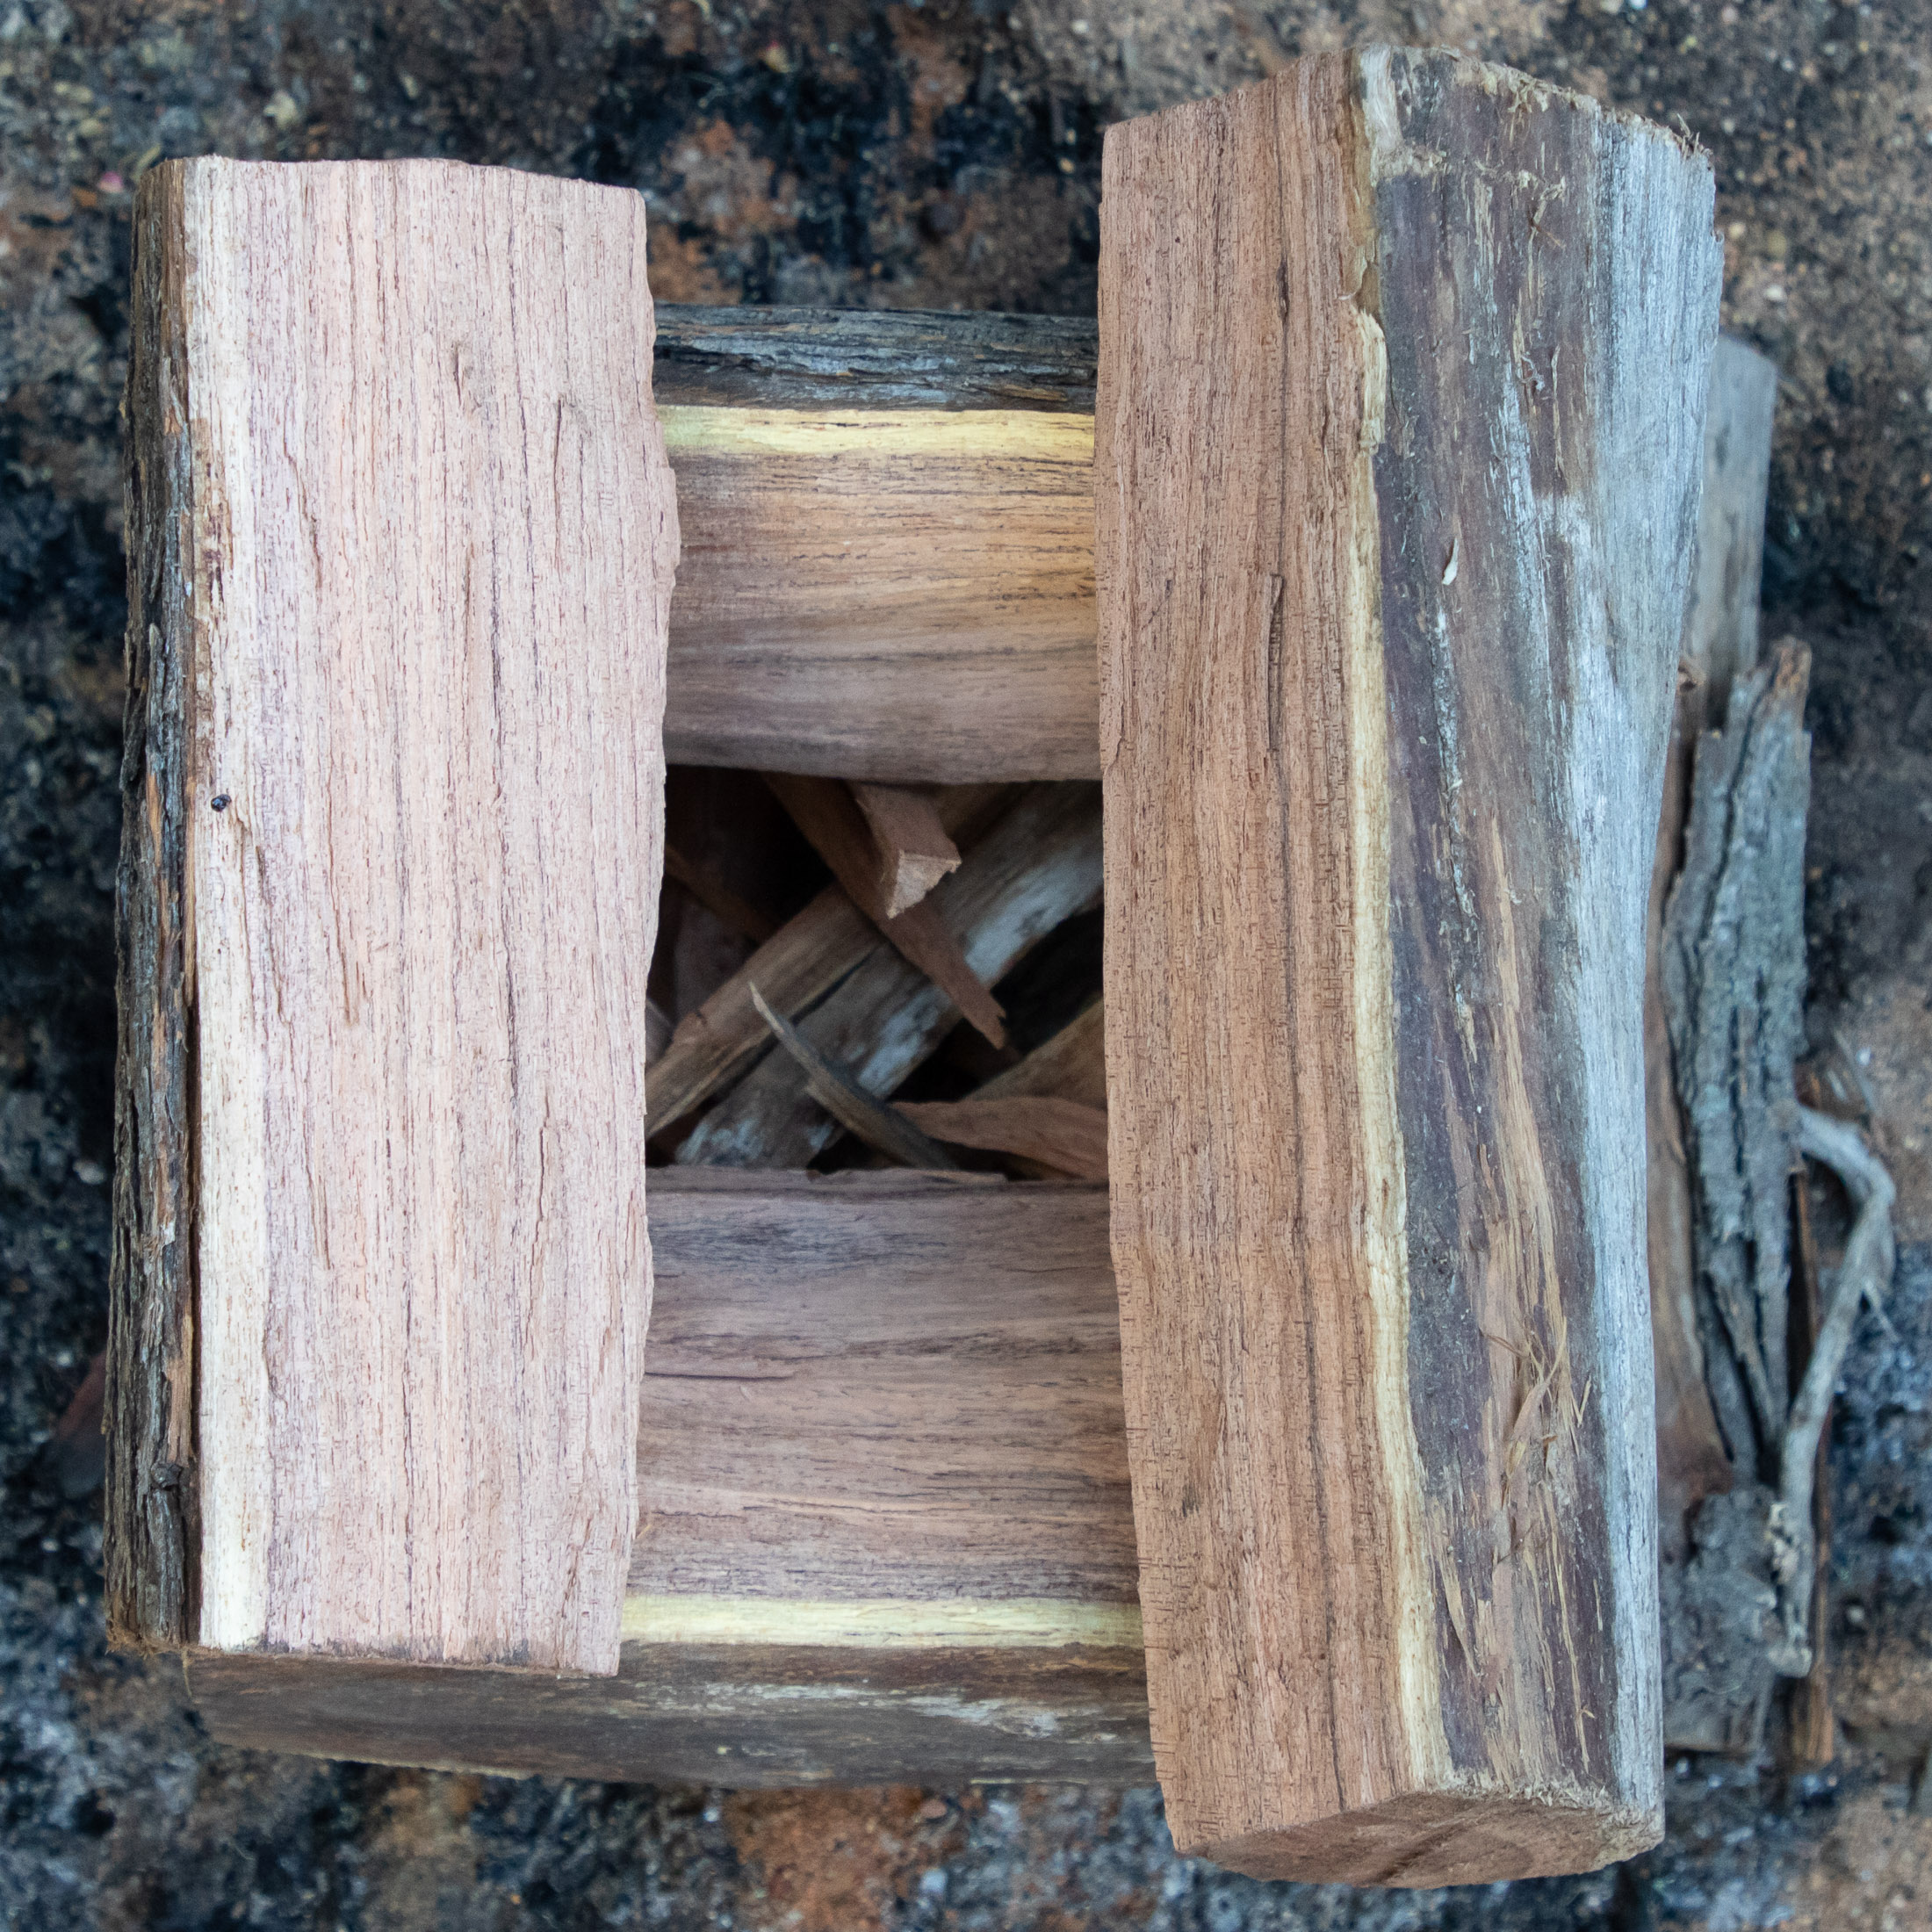
The advantage of the log cabin method is that it requires little maintenance as it will naturally create a nice wide even spread of embers as it burns. However it can require a little more effort to get the core wood burning, hence the generous use of kindling.
| Pros | Cons |
| Creates a wide even bed of embers | Doesn’t protect tinder and kindly from wind quite as well |
| Low maintenance | Can require more effort to get burning properly |
| Burns fuel at a more moderate rate |
Light your fire
So your fuel is nicely arranged and you are ready to light your fire. What next? First, it helps to you light your fire with the fuel downwind from the flame - something to think about when you leave that gap in the kindling and firewood for reaching the tinder. By staying upwind you can also position yourself between the fire and the wind, much like a windbreak. What you do then depends largely on your choice of ignition.
Flint striker
A flint strike is more reliable than any other way of lighting a fire, but it requires some skill. To get sparks from the ferro rod, you have to swipe the striker down its length, removing some of the incendiary material. This requires a vigorous striking action - a motion with which you could knock over your stack of fuel. That’s why I recommend pulling a little bit of tinder from your stack of fuel and trying to light this while you have it out in the open.
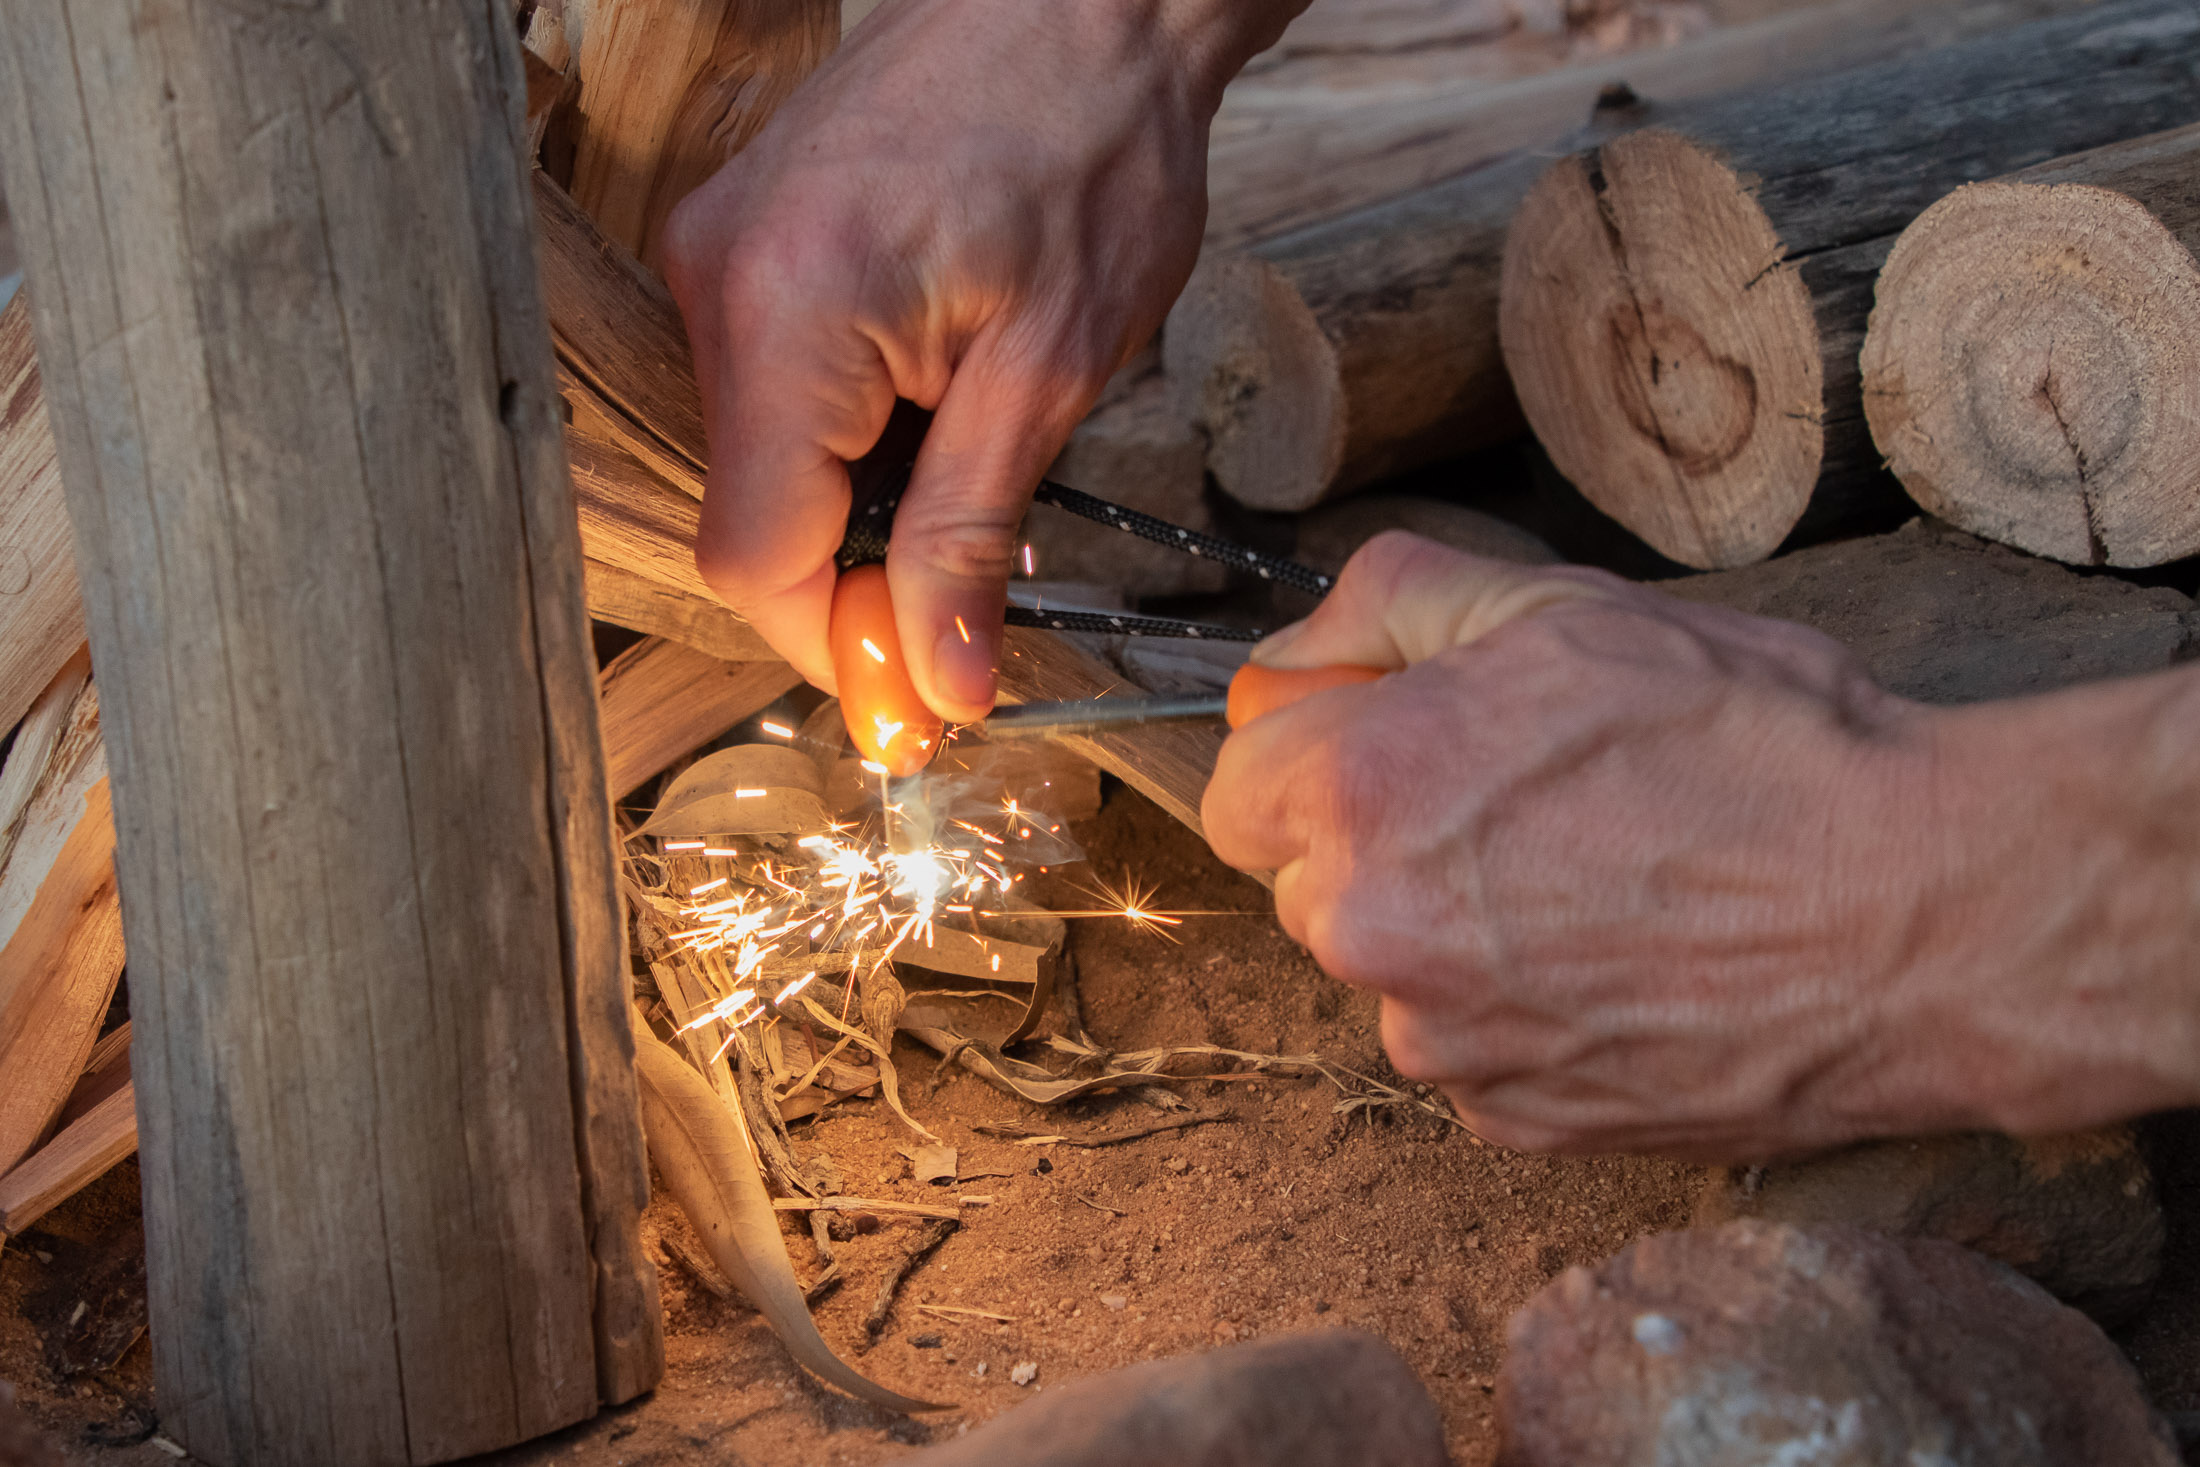
Once you’ve caught some sparks in your tinder and have it burning (you’ll have to blow gently to get a flame), you can poke it back into your teepee or log cabin. With practice, you can learn to cast sparks into your stack of fuel without knocking it over. Even if I’m staying in a campground and have a lighter with me, I will still have a flint striker as a backup.
Matches
Regular wooden matches can make it easy to light a fire, but they can become useless when wet. If you really want to use matches, a better alternative is wind resistant and waterproof survival matches. Regardless of the type, always carry more than you think you need. Also, to avoid going through matches faster than you need to, place lit matches into a fire rather than just throw them into your stack of fuel. Most of the time, a thrown match will be extinguished mid-air or be snuffed out when it hits the ground.
Lighter
A simple Bic lighter can be a very effective way to light a fire, and it’s more reliable than matches in that it’s water resistant. Still, if you’re venturing into the backcountry, don’t rely on a lighter alone. Murphy’s law states it will let you down when you need it most. On car camping trips, where the weight and bulk of gear is less of a factor, I suggest carrying a long neck BBQ lighter as this will make it much easier to get a flame to tinder in the middle of a fuel stack.
Blow torch
If you are using a propane camp stove, you can create a blow torch by screwing a torch attachment onto a fuel canister. Lighting a campfire with a flame this strong is very easy, and you can even dry out wet wood if that is all you have to work with.
Important: Once it’s burning, never leave a campfire unattended.
How to make a fire from wet wood
When it’s cold and damp out, there’s nothing as comforting as a warm campfire. The only trouble is that lighting a fire when the wood and ground is wet is notoriously difficult. You’ve probably endured enough smoky, smouldering fires to know this already. But there are ways to make the most of such situations.
Split wood and dry it out
Even if a piece of firewood is wet on the outside, it is likely dry on the inside. And even if it is wet on the inside, it will dry a lot faster if you split it into smaller pieces and lay it out in the sun to dry.
Use lots of kindling
Smaller pieces of wood burn easier, so it’s a good idea to break your kindling into smaller pieces - and lots of it - to help get it going. As with your firewood, it helps to first dry out your kindling in the sun if that’s an option.
Make a teepee fire
You want as much of your fuel above the flame to dry it out, and for that the teepee is the best way to build a fire. Stacking your fuel this way ensures that the natural updraft of the fire carries the heat and flames upwards through the stack of wood.
Use the wind
Pay attention to the wind direction: This is true for any fire, but when things are wet, you want to be sure to use every advantage. Light your fire from upwind, so that the wind blows the flame into the stack of fuel.
Dry out wood with the fire
Store your extra fire wood close enough to fire that the flames dry it out. However, always make sure that you keep fire safety top of mind at all times, even if it’s wet outside. Avoid putting the extra wood so close that it catches fire, and watch it carefully.
Cooking over a campfire
If you’re cooking anything other than s’mores, you’ll want a proper cooking fire. Open flames create a very inconsistent heat profile, create a lot of soot and smoke, and are prone to flare ups. A bed of hot embers, on the other hand, produces a strong consistent heat profile, with virtually zero smoke, making it perfect for all types of campfire cooking. While you can create a bed of ember with a teepee campfire, it’s much easier if you use the log cabin method.
If you need to cook a lot of food and want to keep your campfire going for a few hours, the best solution is to build and light a second log cabin fire close to the first. You will need to time the lighting of this, so that its embers are ready to use as those made by the first fire starts losing heat. Depending on the wood, embers will last around 30 minutes (embers from hardwoods last longer), so you’ll want to light your second fire about a half hour after the first.
If you want to create a lot of coals quickly, the best solution is actually to add charcoal to your fire once it’s going - there will be a gap in the middle of the log cabin once the tinder and kindling has burned up. Both hardwood lump charcoal and briquetts work great and can reduce the amount of wood you need to create a large cooking fire.
Extinguish and clean up your fire
The standard way to extinguish a fire is to pour water on it, but it’s a good idea to check with the campground operator or land administrator for their recommendations. Ashes should be cool to the touch before you leave the site - hold your hand above them to gauge the temperature before doing this. Be absolutely certain a fire and its embers are out and cold before you leave. You might have to pour water on a fire several times before it is properly out.
When in the backcountry, you should extract any charcoal pieces left inside the fire ring, crush the chunks, and then scatter the dust across a wide area. Or, better yet, ensure that your fire burns down to ashes.
Fire making tools
It helps to have a few key items when making a fire. On this list, the first two items are essential to the making of any fire while the latter two are useful if you’re going to cook on your fire.
Flint striker, matches or lighter
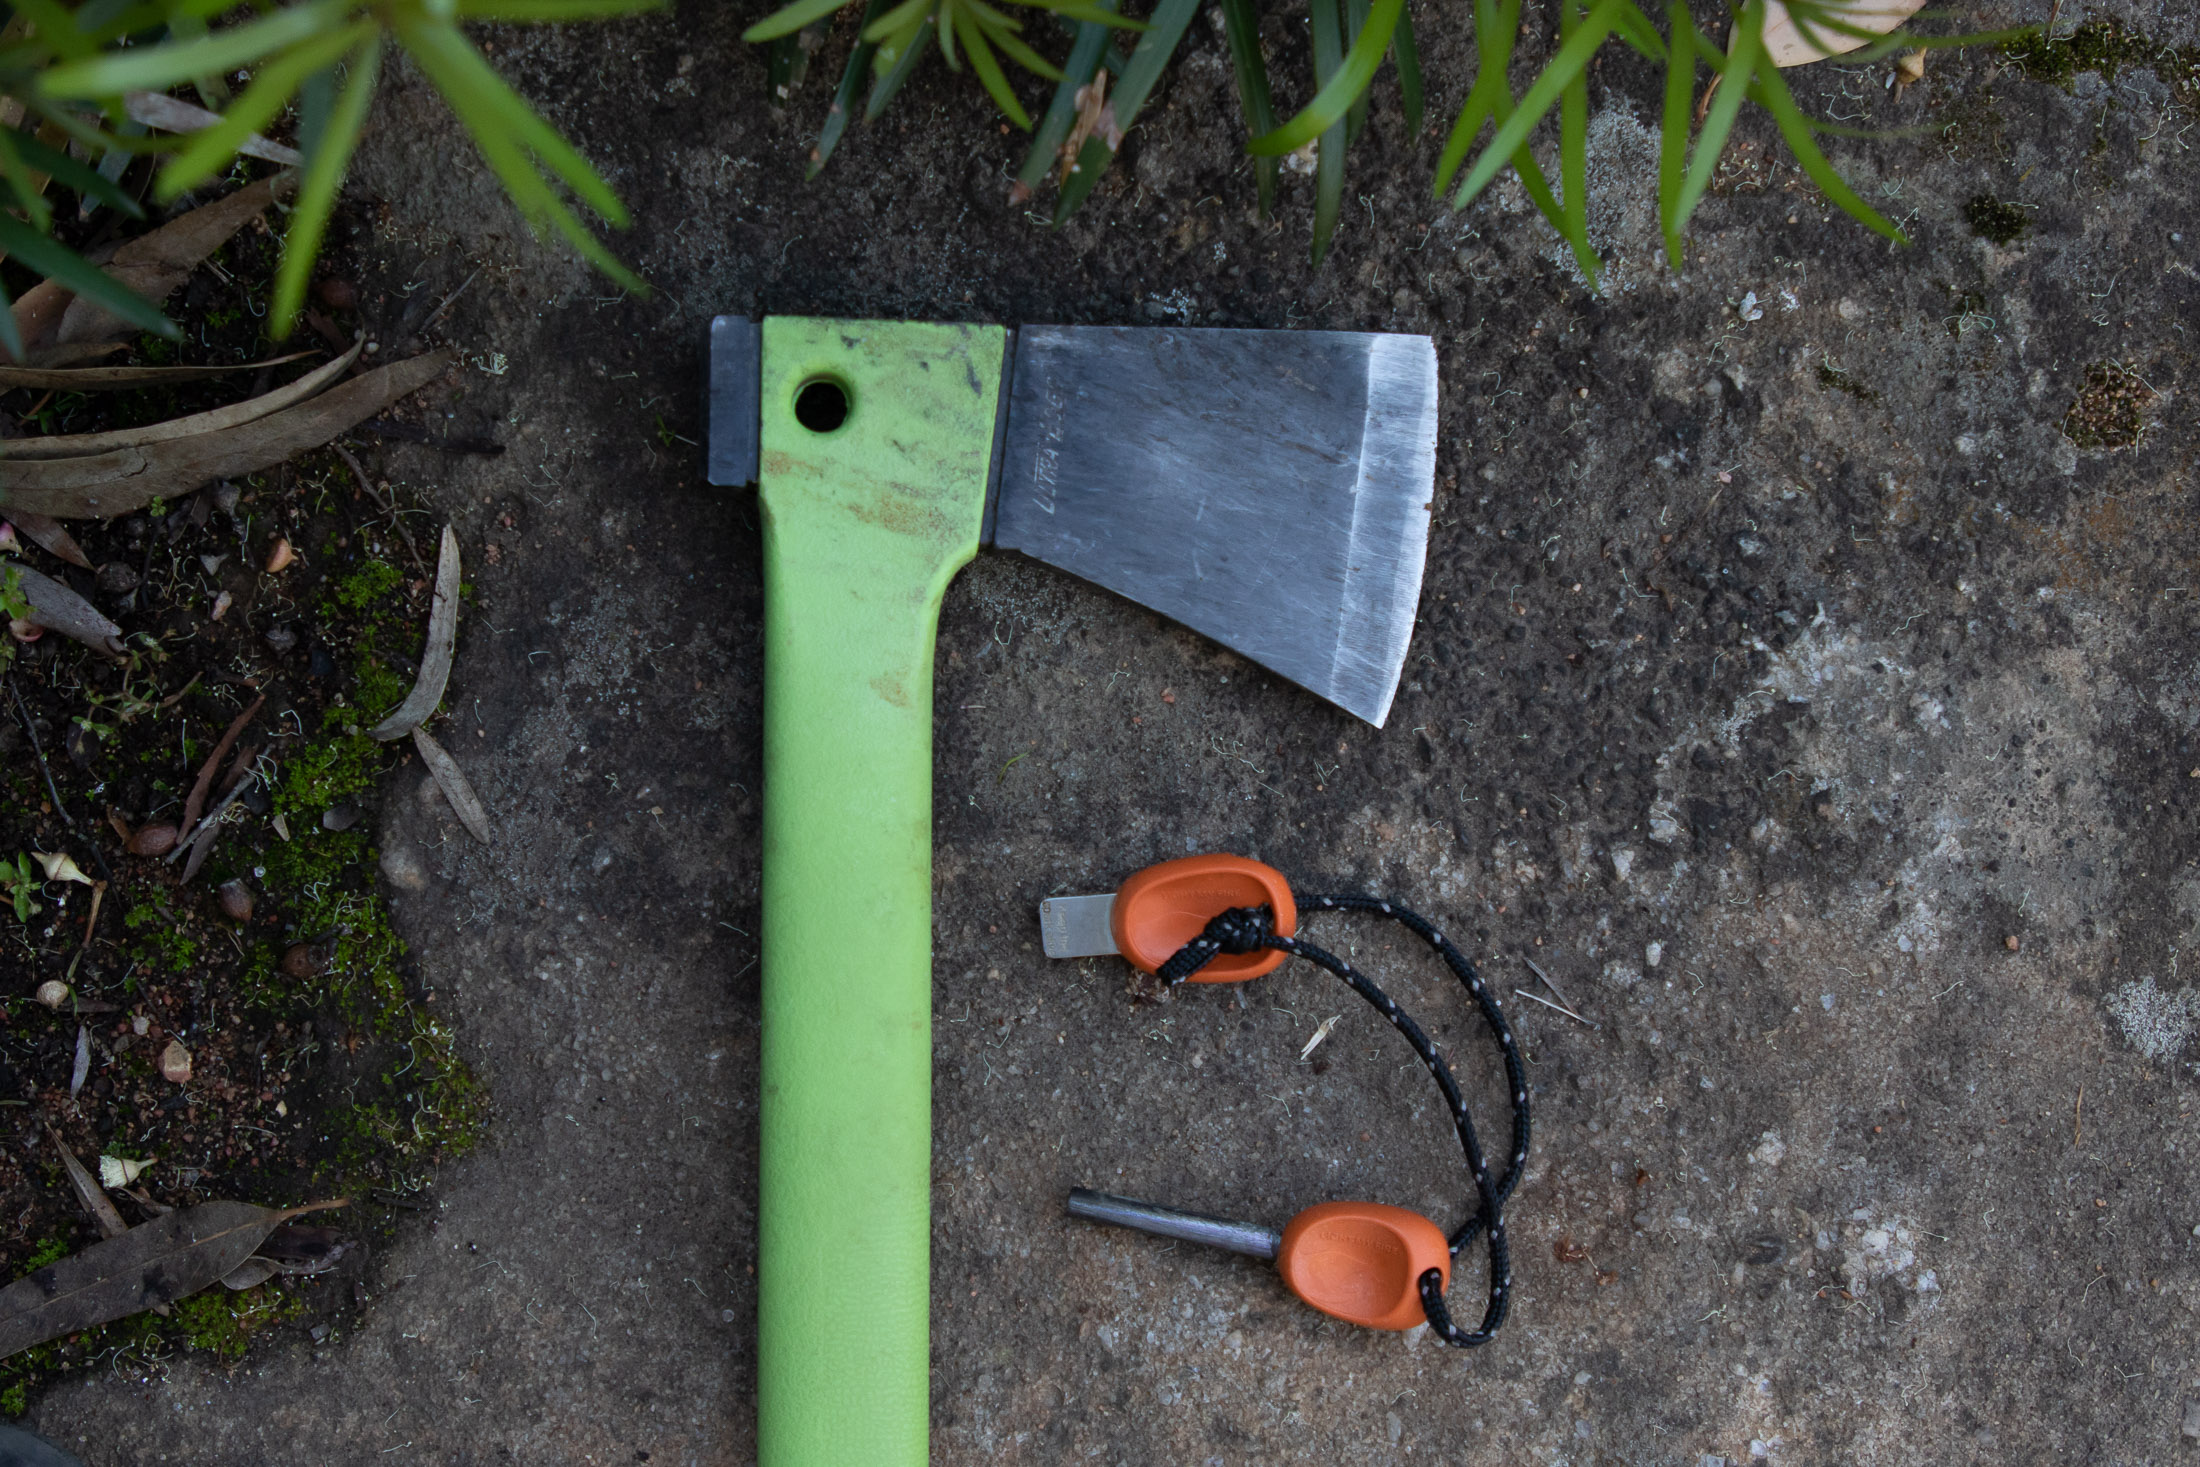
There is no item more important to creating a fire than that which you use to light it. You could use a blow torch, matches or lighter, but I prefer to use a flint striker most of the time. Even if I’d prefer the convenience of a lighter, I will still carry or pack a flint striker, as it is a lot more reliable than any other fire lighter.
Hatchet
You’ll likely need a hatchet or axe for splitting your firewood and creating kindling. But an hatchet is also useful for shaving kindling. The latter in particular requires a sharp edge, so you will want to keep it in good nick. It’s easy to sharpen an axe with a grinder or file but do so carefully.
Grill
You can cook food on a stick, but a grill will allow you many more options. Some grills come with folding legs for keeping the thing raised above the fire while others have to be suspended above a fire by some other means. The best option is often to use a few rocks of the right size.
Fire tongs
You could use a stick for rearranging burning wood and embers, but a pair of tongs will also allow you to turn food cooked on a grid and put veg that is wrapped in foil and put straight onto the embers.
Get out there
The best way to hone your outdoor skills is to get out there and put them to work. That said, if it’s further instruction you’re after, this site has many more how-to articles filled with pointers, practical tips, and valuable insights. If you haven’t already read my article on how to feed yourself in the backcountry, you might want to read that next.
