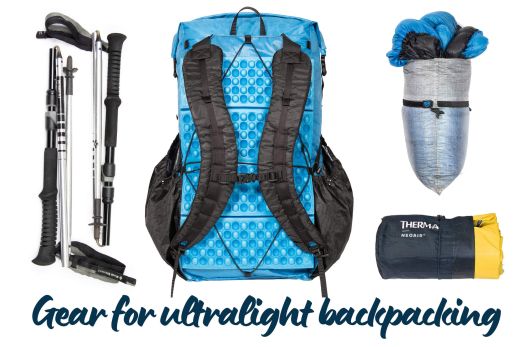
So you’ve decided that you want to try ultralight backpacking, and you need to upgrade some of your kit to reduce your base weight. The question now is which pieces of gear and what should you replace them with? In many cases, upgrading is not quite as simple as a like-for-like substitution, and you have to consider how new gear will work with the rest of your kit. Fortunately, you’ve found this useful guide which will give you some principles for choosing ultralight gear and provide some pointers on upgrading key pieces of gear. Although the title of this article has ‘ultralight’ in it, the strategy outlined here will be as useful to backpackers who just want to shave a few pounds off their kit as it will be those who are trying to get their base weight under 10 pounds – the target for ultralight backpackers.
Principles for choosing ultralight gear
Given the wide range of environments and conditions that hikers can experience, it’s almost impossible to recommend specific kit for ultralight backpacking, but there are several principles that can guide your gear decisions.
Treat your kit as a system
The best way to ensure that your gear works together and performs all necessary functions is to treat it as a system. That means knowing that you can’t simply replace one piece of gear with another before first ensuring that it compliments the rest of your kit. Your sleeping bag and pad in particular need to work together properly, but so should your stove, pot and spork (a short metal spork is not a good partner for a tall non-stick pot) and your dirty water bottle and filter. If you swap out any of these, I recommend doing a test run at home before embarking on a trip.
Aim for flexibility in your kit
To keep your base weight down, you want to avoid packing gear that does more than you need it to. For example, you don’t need a 0° mummy bag and a fleece-lined hardshell for a summer hike on the Appalachian Trail. If you expect only mild summery weather, you can probably get away with a 20° sleeping bag or quilt, a single moderately warm middle layer, and a poncho. Of course, there will be times when you need a little more insulation or wet-weather protection, and you might not want to buy two sleeping bags. There is a way around this, and it involves putting together a kit you can adapt for colder or wetter weather.
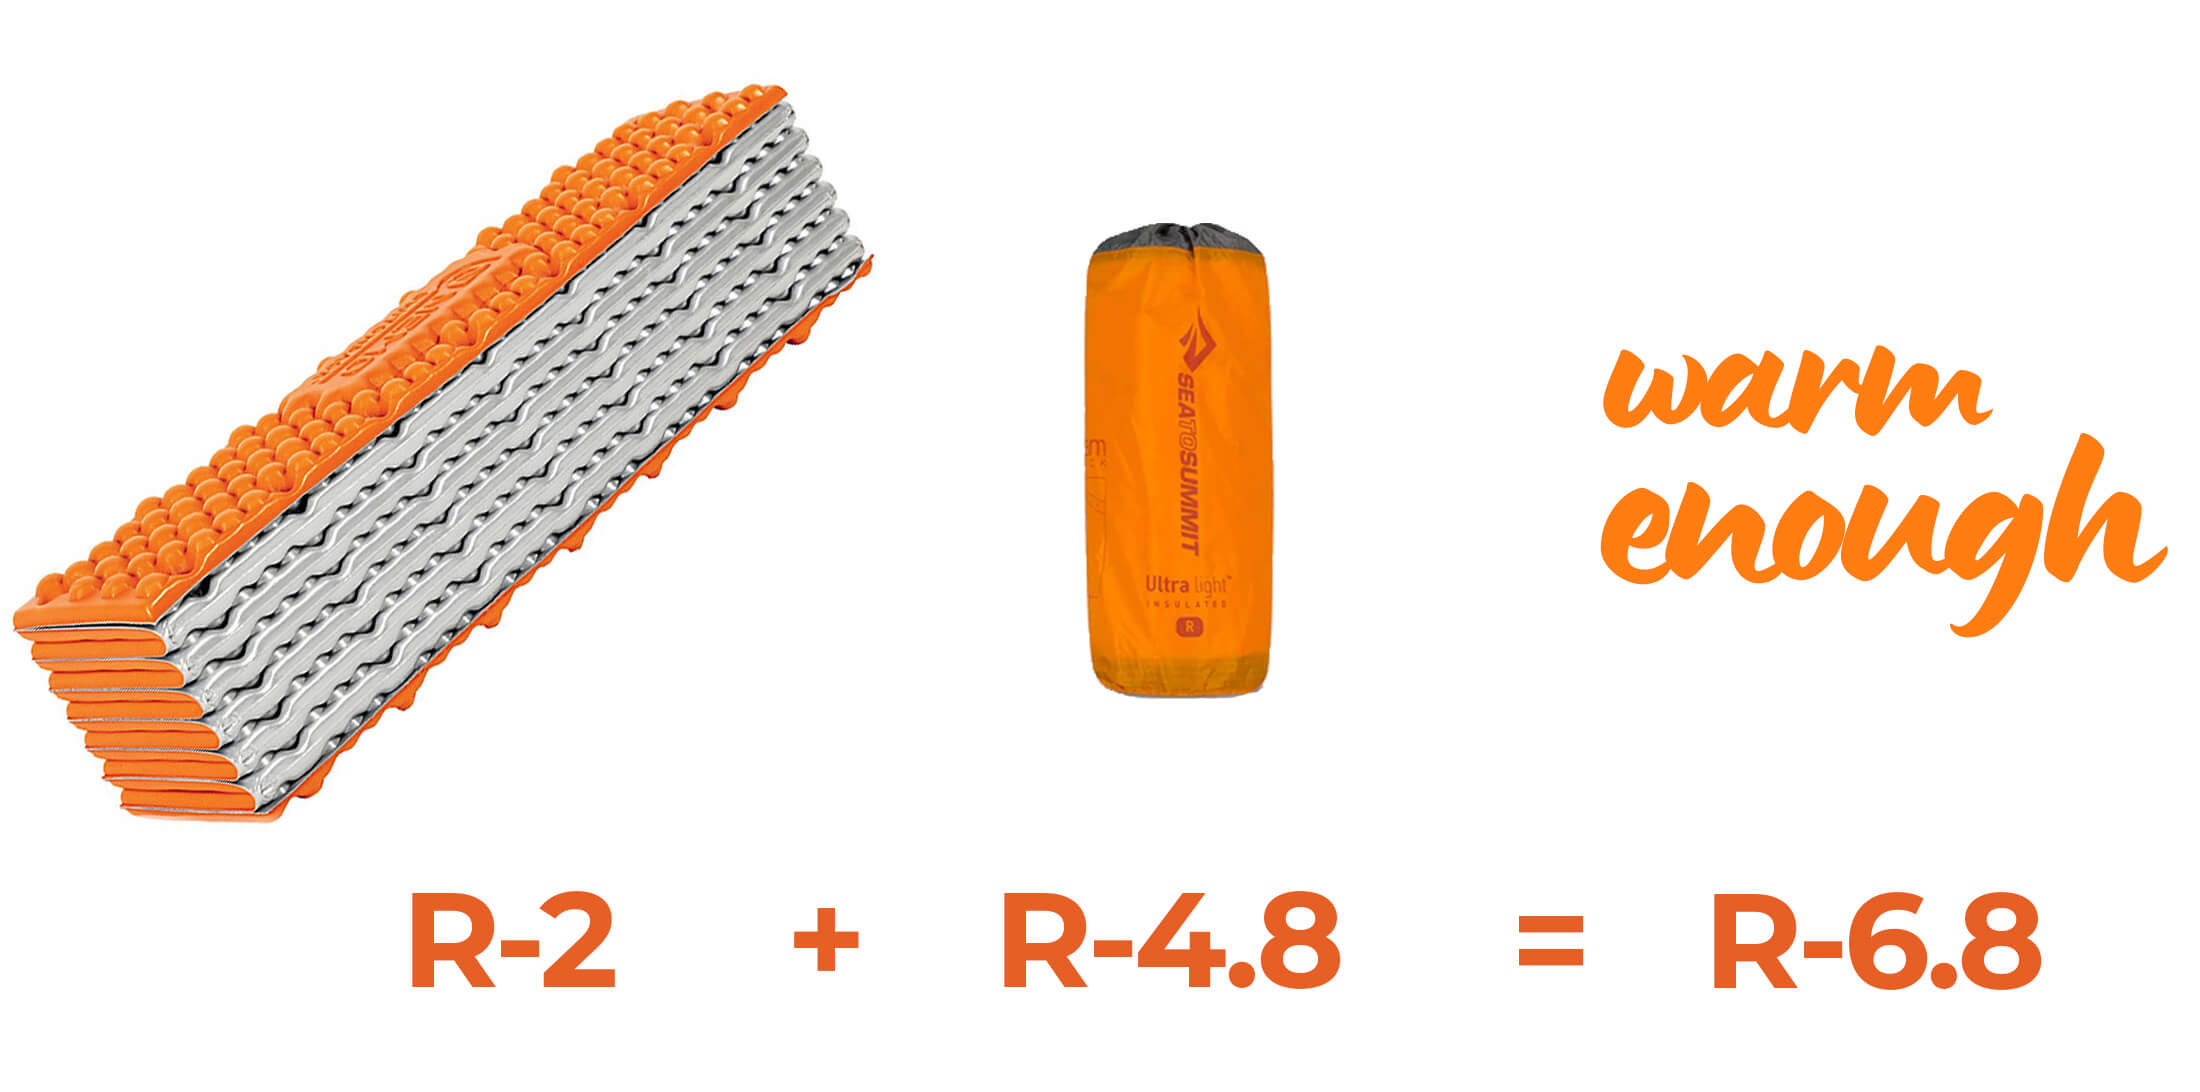
To put together such a kit, you should buy gear that is just warm or protective enough for the conditions you will face on your average hike. Then, when you expect colder temps, you can supplement your base kit with other gear to provide additional insulation or protection from the elements. A sleeping bag can be made warmer with the addition of a thermal sleeping bag liner or warmer sleeping clothes, and you can put a second pad under your regular sleeping pad if that doesn’t offer enough insulation. Likewise, if you expect sustained or heavy rain, you can supplement your layering system with waterproof hiking pants, a heavier rain jacket, or gaiters.
Prioritize multi-purpose items
Many pieces of kit can perform two roles, freeing you of the need to carry certain single-function items. The most commonly used multi-purpose items are a pot, which can be used as a bowl (and even a cup if small enough), trekking poles, which can double as tent supports, and a poncho can also serve as a ground sheet (some are made specifically for this purpose). But the ultimate piece of multi-purpose gear is a phone, as it can also be used as a navigational aid, a means of entertainment (when loaded with audiobooks and podcasts), and as a camera.
Start with the biggest items
The best way to significantly reduce your base weight is to focus on your four biggest pieces of gear: your tent, sleeping bag, sleeping pad and pack. If you can keep these under 6 pounds, you will have a good chance of keeping your base weight to under 10 pounds. That said, all weight savings add up, and you don’t want to pass up the opportunity to save weight elsewhere if you can.
| item | weight | item | weight | difference |
| synthetic 20° sleeping bag | 2 lb 14 oz | ultralight down sleeping bag 20° | 1 lb 6 oz | 1 lb 8 oz |
| mid-weight 2-person dome tent | 3 lb 2 oz | ultralight 2-person A-frame tent | 1 lb 2 oz | 1 lb |
| self-inflating pad | 2 lb 5 oz | ultralight air pad | 13 oz | 1 lb 8 oz |
| fully featured 40 liter pack | 3 lb | ultralight 40 liter pack | 1 lb 4 oz | 1 lb 12 oz |
You can save almost 6 pounds on just these four pieces of kit.
Tent or shelter
How light you need your shelter to be depends on two things: your target base weight and whether or not you’re going to share your shelter with someone. Sharing a tent with a hiking buddy will halve the weight of your shelter if you split it evenly, making this a good strategy for keeping your tent weight (that carried by you) to under 2 pounds – even a moderately light dome tent would be an option.
| gear type | model | weight |
| Ultralight dome tent | Big Agnes Copper Spur UL2 | 2 lb 14 oz |
| Double-walled trekking pole tent (2 person) | Six Moons Haven tent | 2 lb 5 oz |
| Single-walled trekking pole tent (2 person) | Zpacks Duplex tent | 1 lb 5 oz |
| Single-walled trekking pole tent (1 person) | Zpacks Plex Solo tent | 16.5 oz |
| Flat tarp + DCF ground sheet | Zpacks Flat tarp 8.5’ x 10’ | 12.5 oz |
I have included the weight of 8 stakes (2.5 oz) in the figures for the A-frame tents and tarp. These are not are not sold with these shelters or included in the manufacturer’s specified weights.
If, on the other hand, you were going to hike solo and still wanted to keep your base weight to under 10 pounds, you’d have to go with a lighter shelter like a trekking pole tent or tarp. Beyond the differences in weight, each of these options has its pros and 3406 – Gear Guide: hydration packs & vests for runnerscons – factors that you should be aware of before making such a purchase.
Tarp vs tent
The main advantage of a tarp over a tent is that it is much lighter – less than half the weight of double-walled tent – but it does give up a certain amount of protection from the elements and is probably not the best choice if you’re going to face swarms of bugs or a combination of wind and rain. You can supplement a tarp setup with a bivvy bag to protect your sleeping bag from runoff and rain that might otherwise splash onto it, but that will put the weight of your whole shelter close to that of a single-walled trekking-pole tent, which would provide better all round protection from the elements. The other advantage of a tarp, is that it can also be used with a hammock, which negates the problems associated with bounce back and runoff.
Dome tent vs trekking pole tent
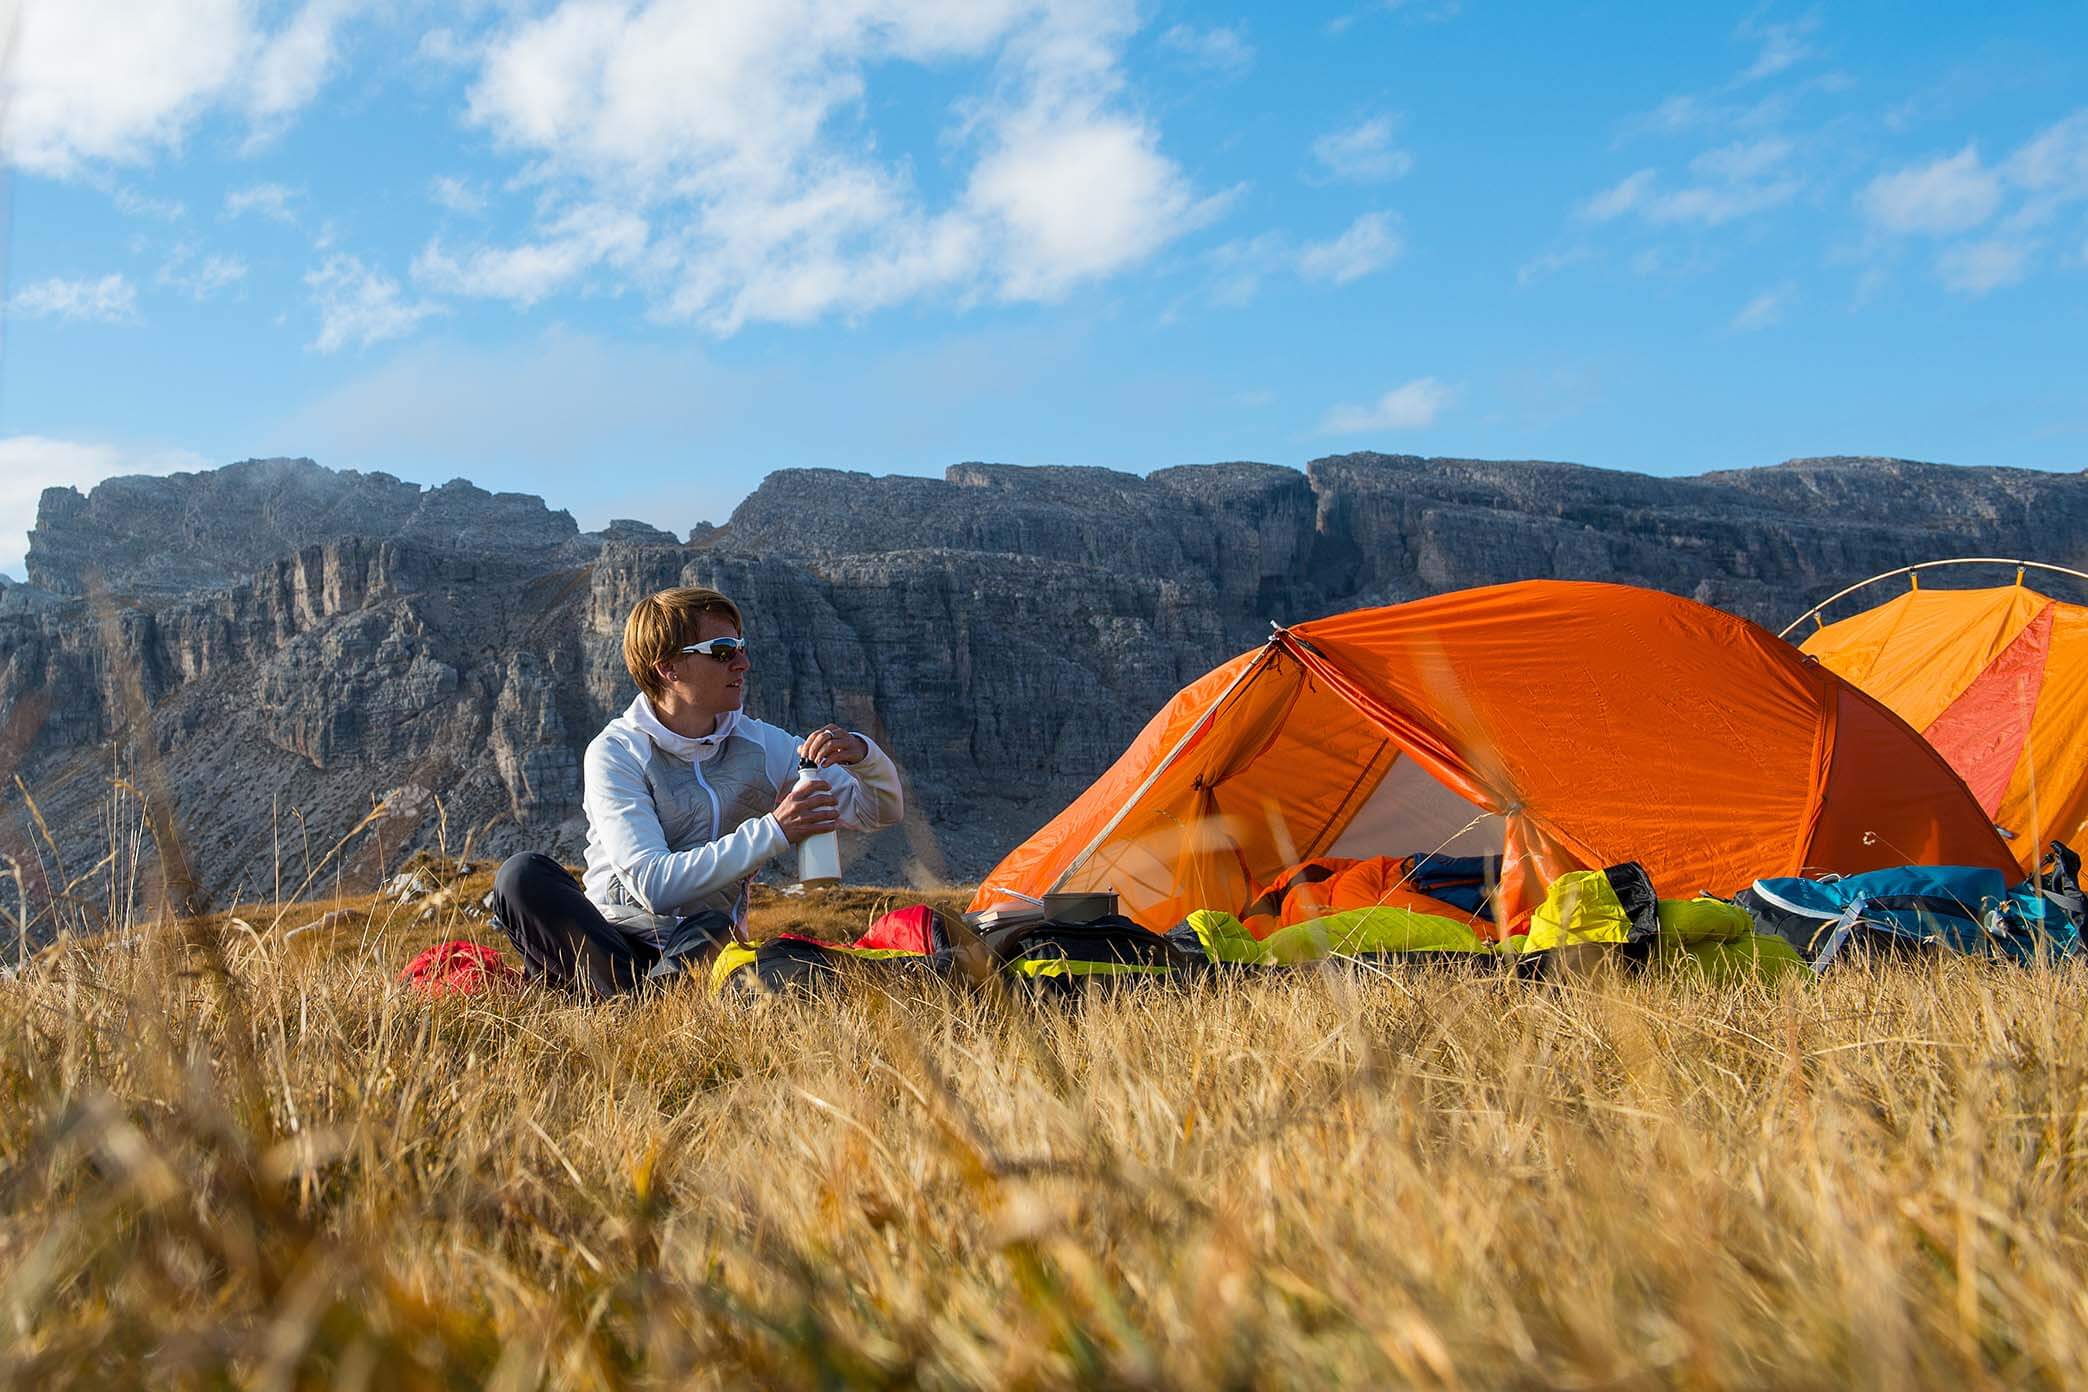
Like tarps, trekking pole tents can be made lighter than dome tents because they don’t require dedicated tent poles. Their downsides are that they require more effort to pitch properly and that single-walled models are more susceptible to developing condensation on the inside of their walls. You can avoid the latter by going with a double-walled trekking pole tent, but these are typically only slightly lighter than the lightest dome tents, making a decision between a freestanding tent and tensioned tent more complicated. If you find yourself choosing between one of these fully functional tents, consider both the ease of pitching and durability – DCF, which is used in most ultralight trekking pole tents, is a lot more durable than nylon.
Sleep system
The three components of your sleep system – sleeping bag, sleeping pad, and the clothes you sleep in – play different but equally important roles in ensuring a warm and comfortable night’s sleep, which is why you need to consider the whole system when thinking about your insulation needs. I deal with clothing in a separate section below, so here I will focus on how to choose a sleeping bag and pad.
Sleeping bag or quilt
After your tent, your sleeping bag is the piece of kit where you are likely to save the most weight by upgrading. This is especially true if you are still using a synthetic sleeping bag. Even though there have been significant improvements in high-end synthetic fill in recent years, quality down (800 fill power and higher) is still much warmer and more compressible than synthetic fill. In fact, the difference in insulating power can mean saving up to a pound in weight when you upgrade from a synthetic bag to a high-quality down one. But before you go out and splurge on a new sleeping bag, know that there are even lighter alternatives.
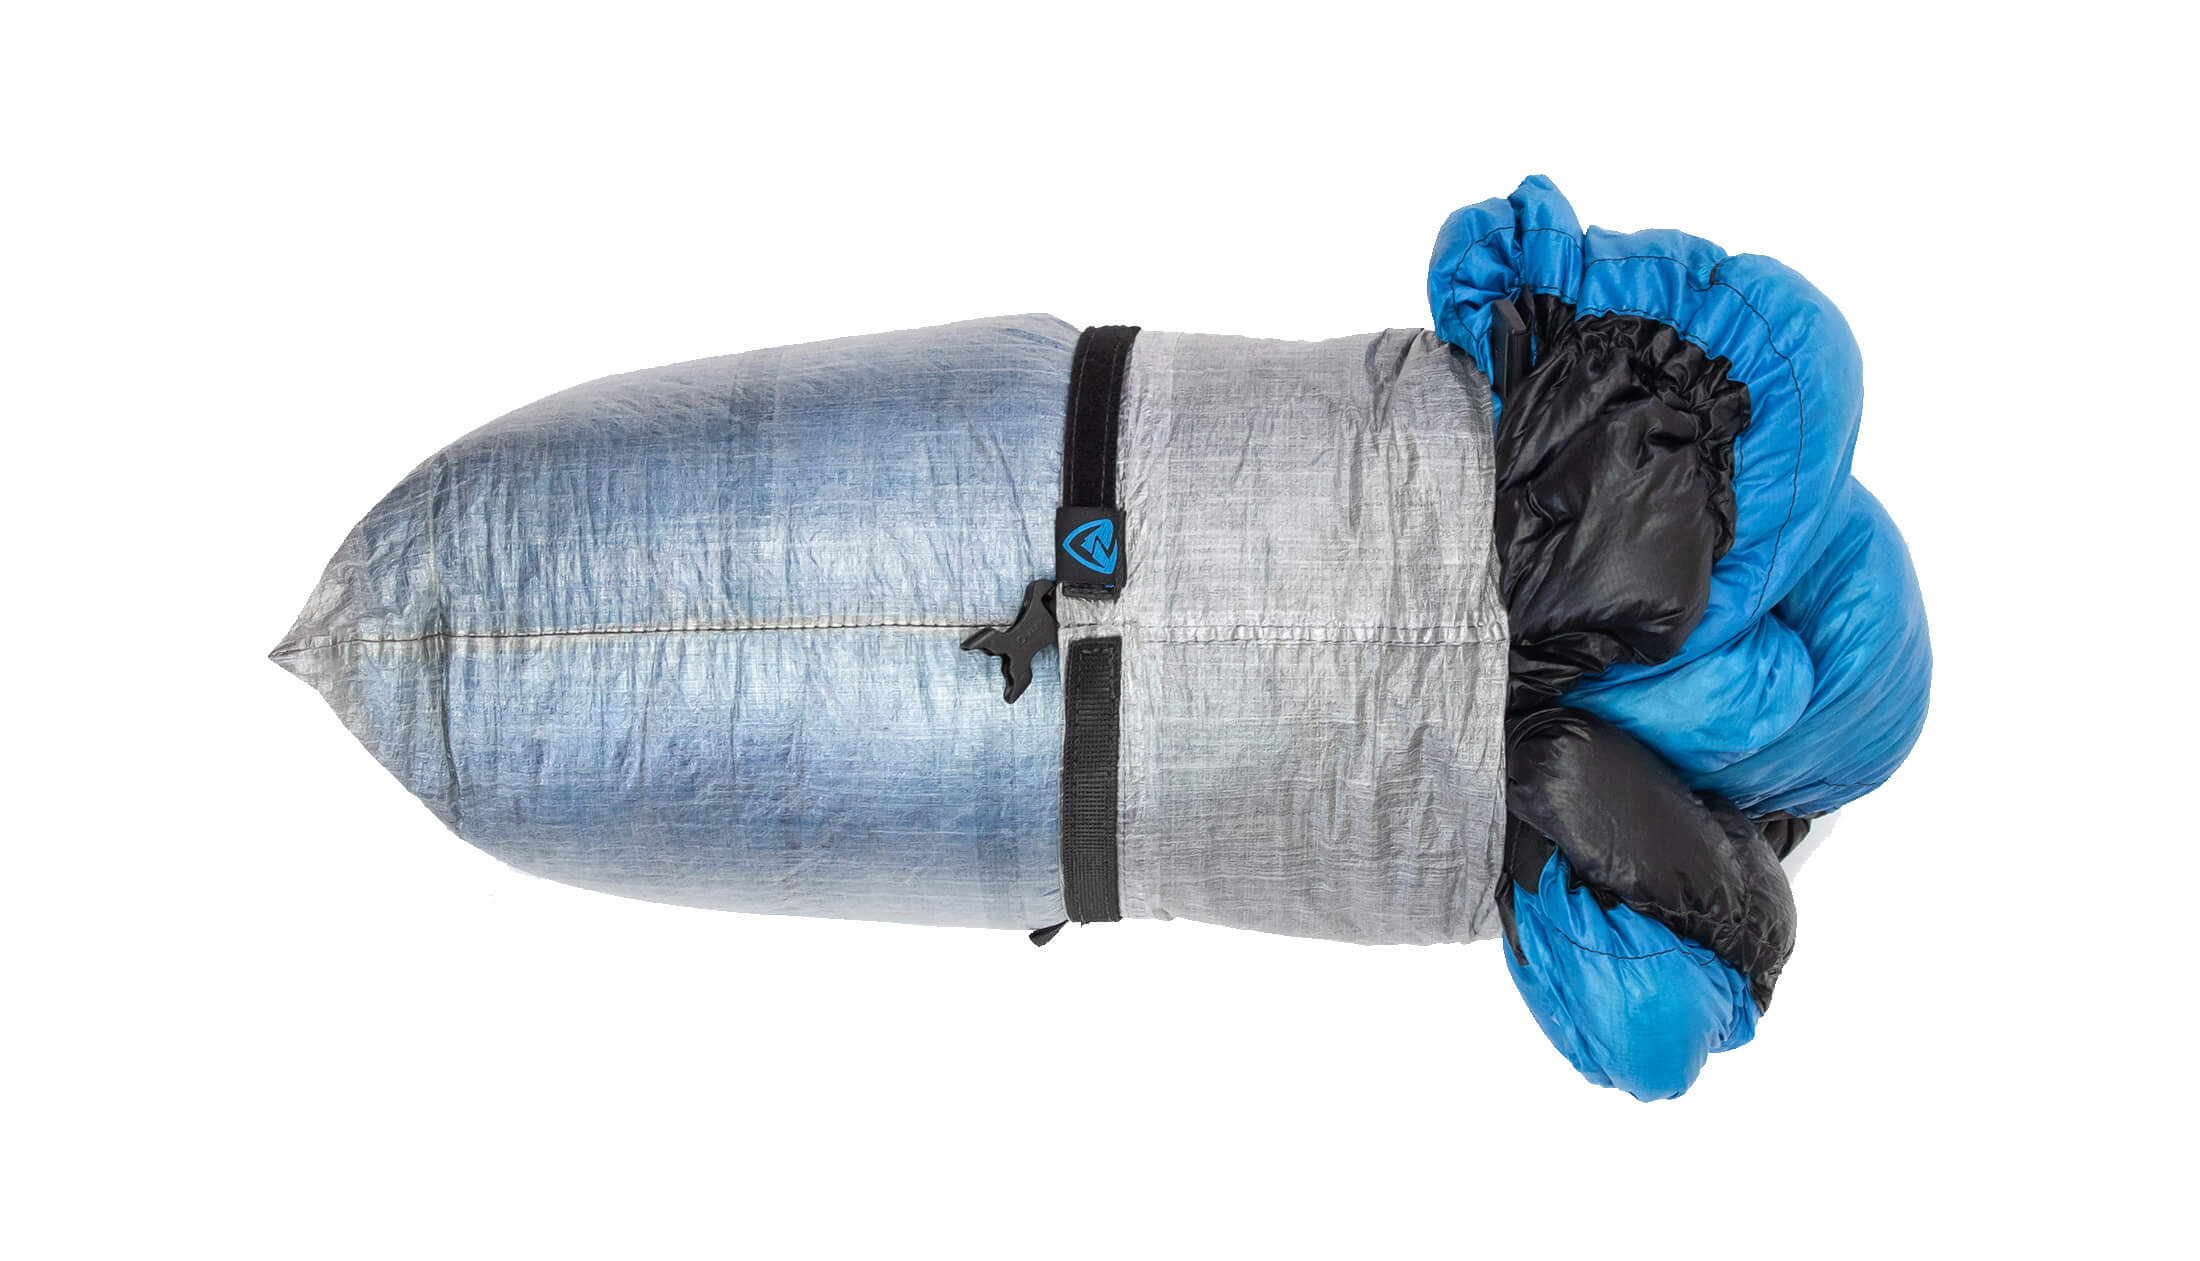
With no zips or hoods, down-filled backpacking quilts weigh even less than equivalent sleeping bags, making a quilt a good option if you need to keep weight to a minimum. Of course, there are also some practical differences between sleeping bags and quilts which you will want to familiarize yourself with before choosing a quilt over a sleeping bag. Regardless of the option you go with, it’s important to consider both the ISO rating of your sleeping bag, the R-value of your pad, and the temperatures you can expect. My advice is to choose a sleeping bag and pad that are just slightly less than warm enough for the coldest conditions you can face. That way, your setup will be sufficiently warm for most conditions, and you can still supplement your insulation with a liner or a few extra layers on those really chilly nights.
Sleeping pad
If you are currently using a self-inflating pad, you could knock a pound off your base weight just by upgrading to an ultralight air pad or closed-cell foam pad. Air pads are the more comfortable of these two options, but at around $200, they aren’t cheap. Closed-cell foam pads, on the other hand, aren’t as comfy, but then are more durable and affordable. Beyond weight and comfort, the other important thing to consider when choosing a pad for ultralight backpacking is insulation. While your sleeping bag is designed to trap body heat around you, your sleeping pad insulates you from the cold ground below.
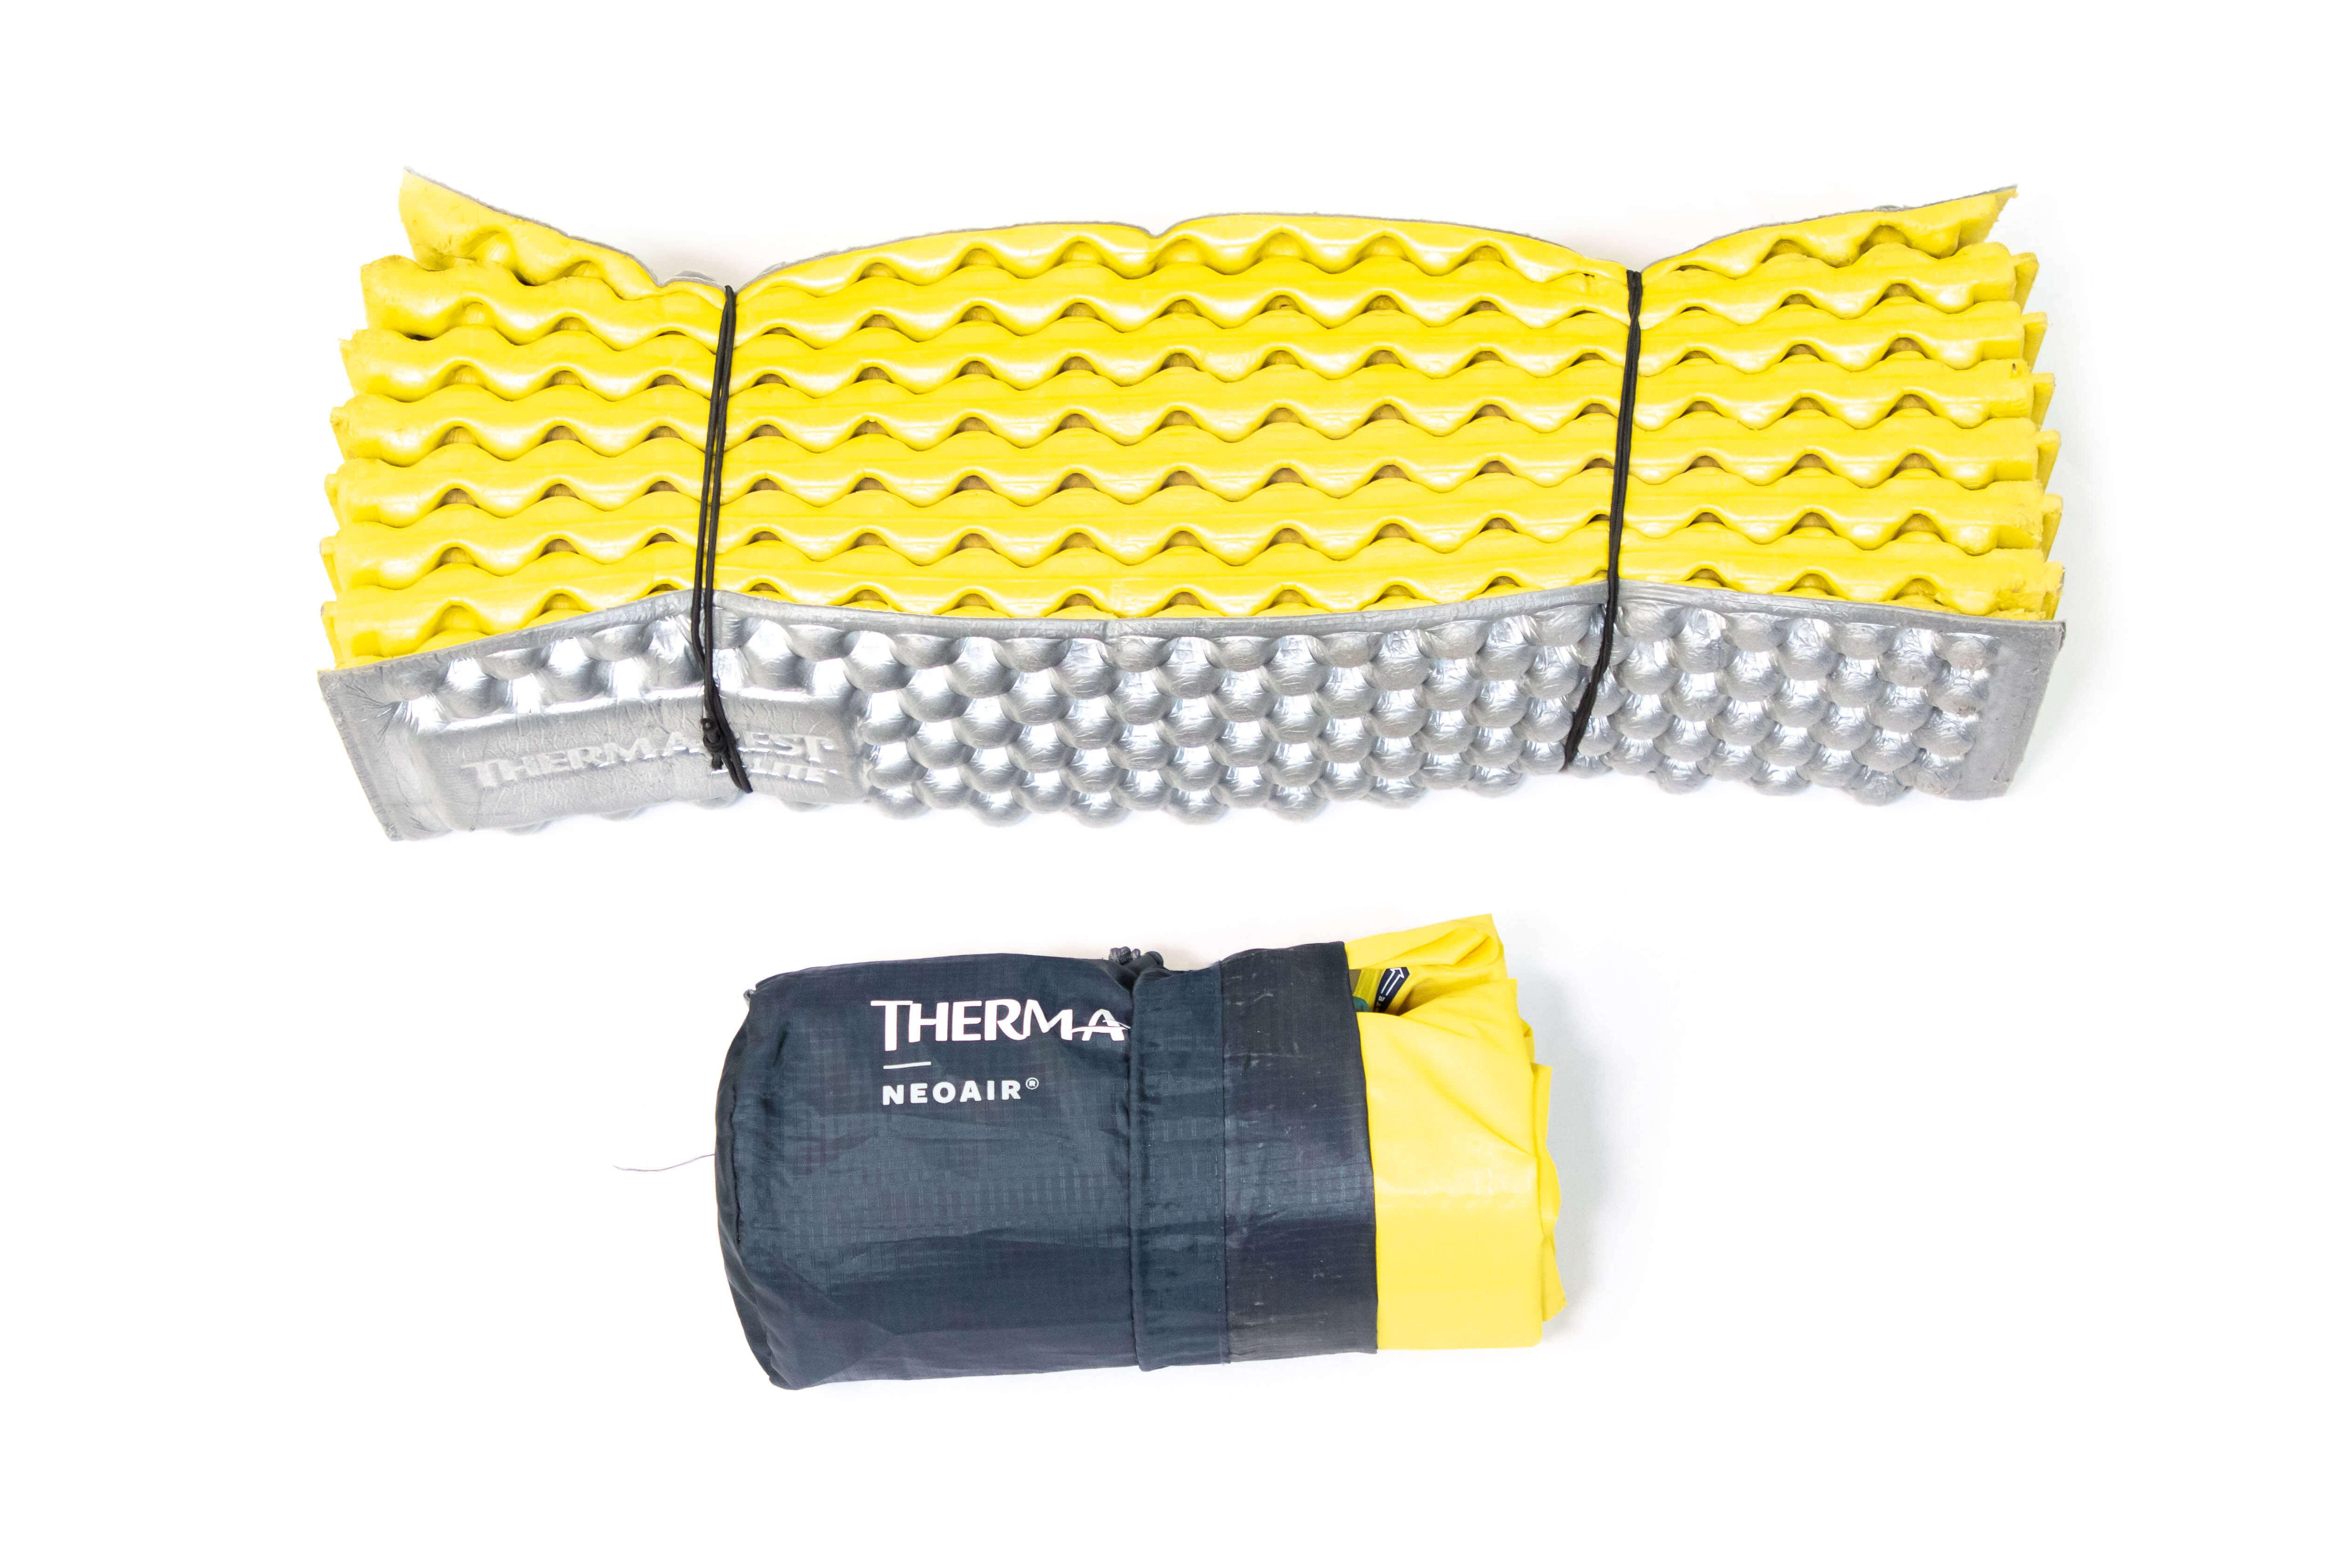
R 4.8 is the important number here. If your sleeping pad is rated to anything lower than this, your sleep system as a whole will be less warm than your sleeping bag’s ISO rating. One paper reports that pads with an R-value of R 1.3 or lower could reduce your sleep systems insulating abilities by as much as 10 F (6 C). This doesn’t mean that you need a sleeping pad rated to R4.8, but you do need to factor in the potential loss of insulation if you choose a sleeping pad with a lower R-value. You could make up for it by going with a slightly warmer sleeping bag, by doubling up pads in colder conditions, or by wearing an extra layer to bed – tactics that I go into in greater detail in my article on how to get your sleep dialed in.
Pack
Weight saved by going with a lighter pack can be as significant as that achieved by upgrading gear that goes inside your pack. While fully featured packs with multiple zippered compartments, tool attachment loops and reservoir sleeves can weigh between 3 and 5 pounds depending on capacity, an equivalent ultralight pack will likely weigh between only 1 and 2 pounds. You do, of course, give up some features when you go the ultralight route, but they aren’t the kinds of features that ultralight backpackers miss very much. Even a stripped-down DCF pack has the essentials: an adjustable harness system, compressions straps, water bottle pockets, and a large mesh outer pocket for stashing an extra layer.

Like traditional packs, ultralight packs come in a range of sizes, and you’ll need to give some thought to how much capacity you need, especially if you have upgraded several pieces of kit. For most ultralight backpacking, a pack between 35 and 40 liters will be the right size, but experienced ultralight backpackers who have their kit dialed in might get away with packs as small as 30 liters. Personally, I prefer a pack with a little more volume (around 40 L) – if I don’t need the extra capacity, I can always turn the roll-top lid over a few more times to reduce the volume of the pack.
Stove and cookware
You might decide to go without a stove on shorter trips, but on trips lasting more than a few days, you will likely need a stove for cooking meals and making coffee or tea.
As with many other gear choices, you will again be forced to choose between low weight and functionality. At the minimalist end of the scale, alcohol stoves weigh just a few ounces but have less energy than canister stoves and no flame control. At the hefty end of the scale, integrated canister stoves combine stove and pot in a single system (12 - 14 oz). And in the middle, there are compact canister stoves (2.5 - 3.5 oz), which offer many of the same features found on integrated stove systems (piezo lighter and flame control) but aren’t as fuel efficient or wind resistant.
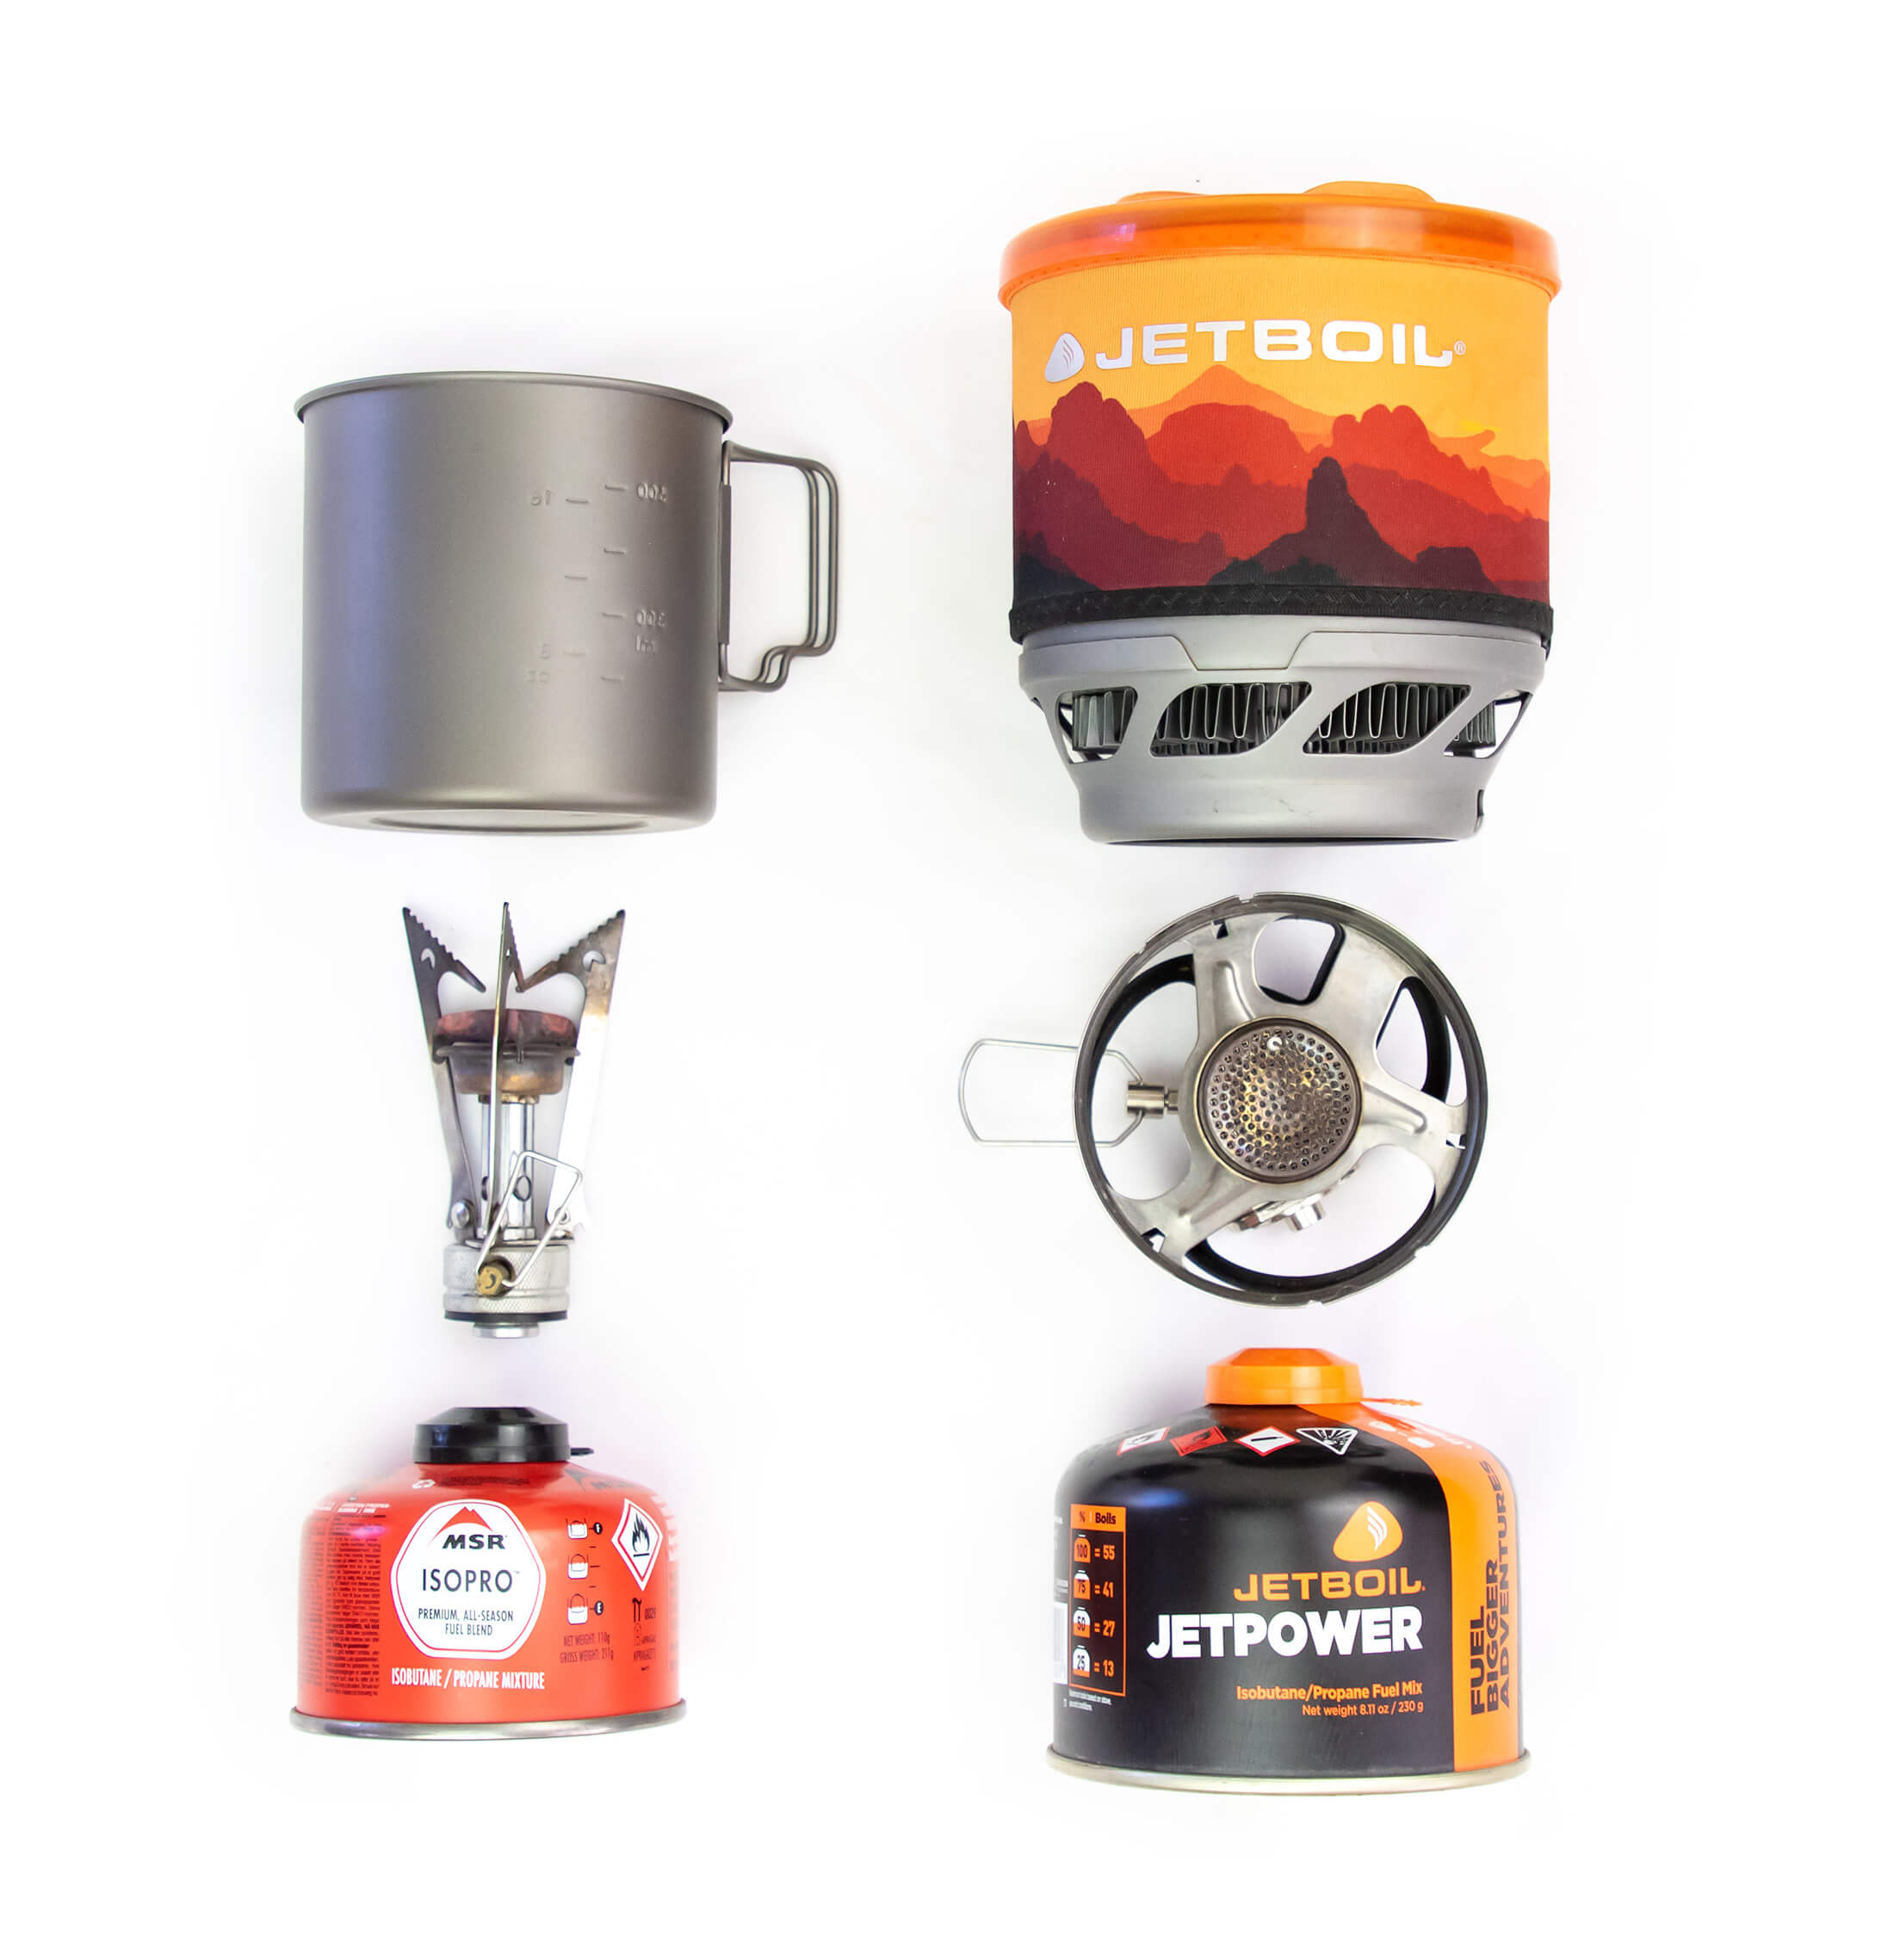
But before making a decision, bear in mind that the weight of an integrated stove system includes the pot and that to make a fair comparison, you have to factor in the weight of the cookware you’d use with an alcohol stove or compact canister stove. Solo ultralight enthusiasts will likely use a 750 ml titanium pot (4 oz) with their alcohol stoves, pushing up the weight of the kit up to 6 oz (excluding fuel), while adding a 1 liter alloy pot (7 oz) to a canister stove will increase the weight of the kit to around 10 ounces (without fuel). Next to these figures, the weight of an integrated stove system doesn’t look so prohibitively heavy, especially if you choose to share your stove with a hiking buddy.
Eating out of your pot
You can also opt to eat out of your pot, which saves you from having to carry a bowl and gives you one less thing to clean. This weight-saving strategy will limit you to using ingredients that can be cooked together or added to the same pot at different stages, but that’s most backpacking meals – so maybe not being able to cook ingredients separately is not such a big drawback. If you go this route, choose a pot that is easy enough to get to the bottom of using a spoon or spork. Those that are wider and shallower are generally better for this purpose.
Water bottle or reservoir
Some ultralight packs have sleeves for a reservoir, and others don’t. You’ll need to decide whether you really want to be able to use a reservoir before narrowing down your search. While a reservoir does allow for easy access to your water (it takes more effort to retrieve a water bottle from a side pocket), reservoirs also have their drawbacks. Unlike water bottles which are relatively easy to get to when you need to refill them, getting a reservoir out of a full pack and then back into it is no easy feat. Water bottles also make it easier to monitor your water levels and are easier to use with a sip n squeeze filter when you want to squirt water into a pot or ‘clean water’ bottle.
Clothing
One of the biggest mistakes made by inexperienced backpackers is that they take too many clothes. Beyond what you’re wearing when you start a hike, you really don’t need more than several pieces of clothing, but you do need the right clothes. To ensure adequate protection from the elements while keeping weight and bulk down, experienced outdoorsmen practice something called layering – a tried and tested strategy that involves regulating one’s body temperature by adding and removing layers as the weather and exertion levels change. To do that, they devise a system with pieces of clothing that will wick away moisture, trap heat, keep out rain and snow.
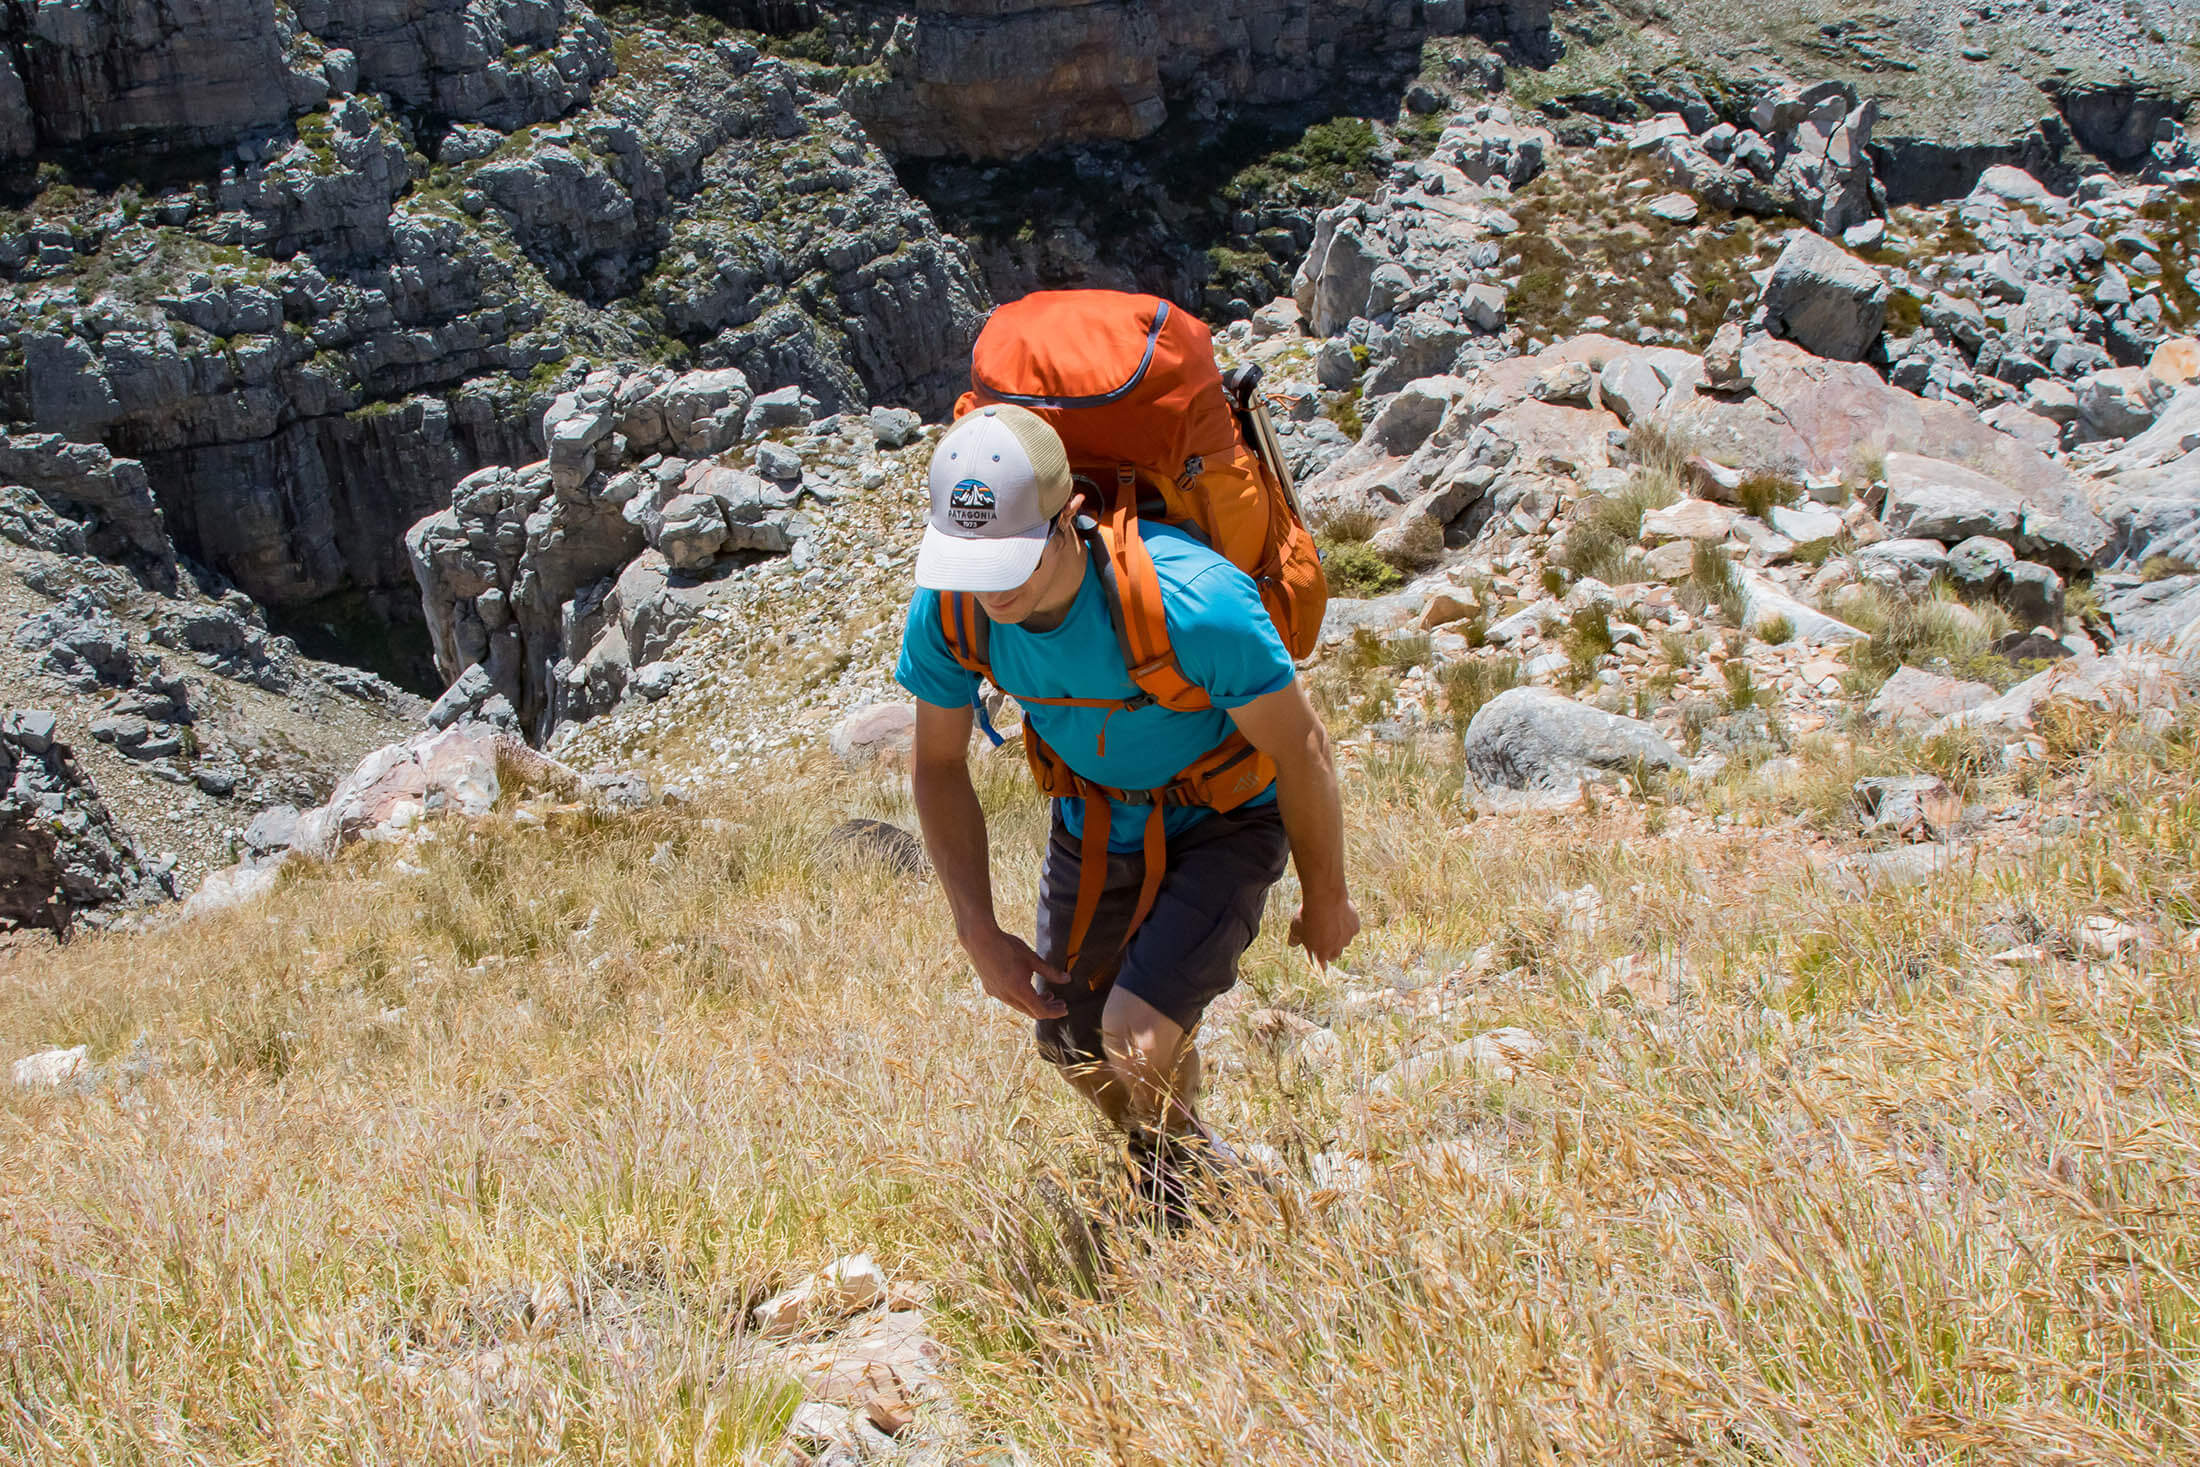
Your base layer – underwear and shirt – is worn next to your skin and should be made of a synthetic fiber or merino wool (cooler temps) to ensure that moisture is wicked away and doesn’t leave you feeling clammy. Your middle layers are designed to trap body heat and will most likely be worn in camp or in cooler temps. Most hikers carry a fleece or merino pullover and puffer jacket for this purpose. And lastly, you will need an outer layer or two to keep you dry if it rains. Here you can choose between a rain jacket and poncho, both of which can be supplemented with waterproof pants if the forecast is looking particularly wet. Many hikers put aside one set of clean clothes for camp, and hike in the same clothes every day – washing them when the opportunity arises. Some new hikers might worry about body odor, but there’s really nothing wrong with being a bit smelly. You’ll get used to it.
Footwear
When you’re carrying a heavy pack, having the support of a stiff midsole underfoot is an advantage, but with a lighter pack you’re more likely to benefit from lighter and more comfortable footwear, which besides being easier on your feet will drain faster when they become wet – something that is unavoidable in the soggiest conditions regardless of what footwear you use. For this reason, most ultralight hikers prefer trail runners, which are great for going fast and light or for encouraging a more natural gait. But they’re not your only non-boot option.

Sitting between trail runners and hiking boots, there are hiking shoes, which offer more support than running shoes but less support than boots. In a head-to-head comparison with runners, these in-betweeners are a little heavier, but then they are also more durable and offer more protection when you accidentally kick a rock or root. If you are new to hiking and your feet are still adapting to the rigors of the trail, these would probably be your best choice. And then there are approach shoes, which look like hiking shoes but have sticky rubber soles for better grip. Typically worn by climbers to help them get to the start of a climb, approach shoes offer a real advantage on steeper and more technical terrain – and situations where you really don’t want to fall. These are my prefered type of footwear for hikes that involve scrambling. For most other hikes I wear zero-drop trail runners.
Get more advice from this gearhead
You now have everything you need to know about choosing gear for ultralight backpacking. But don’t stop here. If your ultimate goal is to reduce your pack weight as much as possible, you’ll also want to know how to reduce the weight of consumables, and for that, there is another article, how to lighten your backpack. Having just learned what to look for in gear, you can skip the first section and get straight into the section on reducing the weight of food and supplies, and then the section on other ultralight backpacking tips. Happy exploring.
