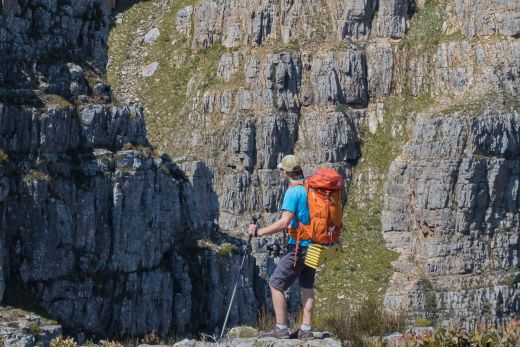
How you pack a backpack can make the difference between an enjoyable jaunt through the wilderness and an agonising ordeal that ends with a trip to the chiropractor. But ask any two people how to pack a backpack, and you’re bound to get different opinions. Sarah might assert that a trowel belongs in the main compartment, while Lindsay states that anyone who puts their shovel in their pack is clearly a moron. A trowel is best strapped to the outside of a pack, where it is easily accessible. But the truth is that there are no hard and fast rules for packing a backpack, only objectives. And so I’m not going to tell you exactly what should go where but rather what you should try to achieve by packing your backpack a certain way. These suggestions can then serve as practical guidelines regardless of what you're packing.
Gear considerations
Before you actually start packing, it’s a good idea to consider what you’re packing and how your gear list will determine the best place to put everything.
Access
Items that might be needed quickly should be packed in external pockets, in the lid of your pack, or at the very top of the main compartment. The following are just a few items that you might need in a hurry:
- first aid kit
- water bottle
- rain jacket & extra layer
- GPS or compass & map
- trowel & toilet paper
- headlamp
- phone
Orientation
Bottles like those used to hold your water and fuel should be placed upright to reduce the chance of spilling. Many packs have external pockets large enough to hold a water bottle (ensuring easy access). Still, remember to screw lids on tightly.
Hazard level
Some things should not be placed near each other. Do not pack your used toilet paper (even when zip-locked) or liquid fuel near your food. You might also want to keep paper documents and maps away from liquids if these aren’t being kept in a waterproof document protector.
Shape, hardness and fragility
Generally, you want to surround hard, angular objects with softer items to prevent corners from digging into your back or damaging the pack. Rounded objects might be kinder to your kidneys if you don’t pack them carefully, but it’s still a good idea to give them some protection from rough knocks.
Weight and size
Heavier items should be packed closer to your spine (ideally the middle of your back) when possible. It also makes sense to pack larger items first and then fill the gaps with smaller and more malleable items.
Backpack compartments
If your childhood involved many hours of Tetris, you’ll quickly recognise the challenge here. You want to build layers, solidifying one before adding another. This will involve placing some items upright, while others are placed flat. Add a few extra factors like weight and compressibility, and you can have a real puzzle on your hands.
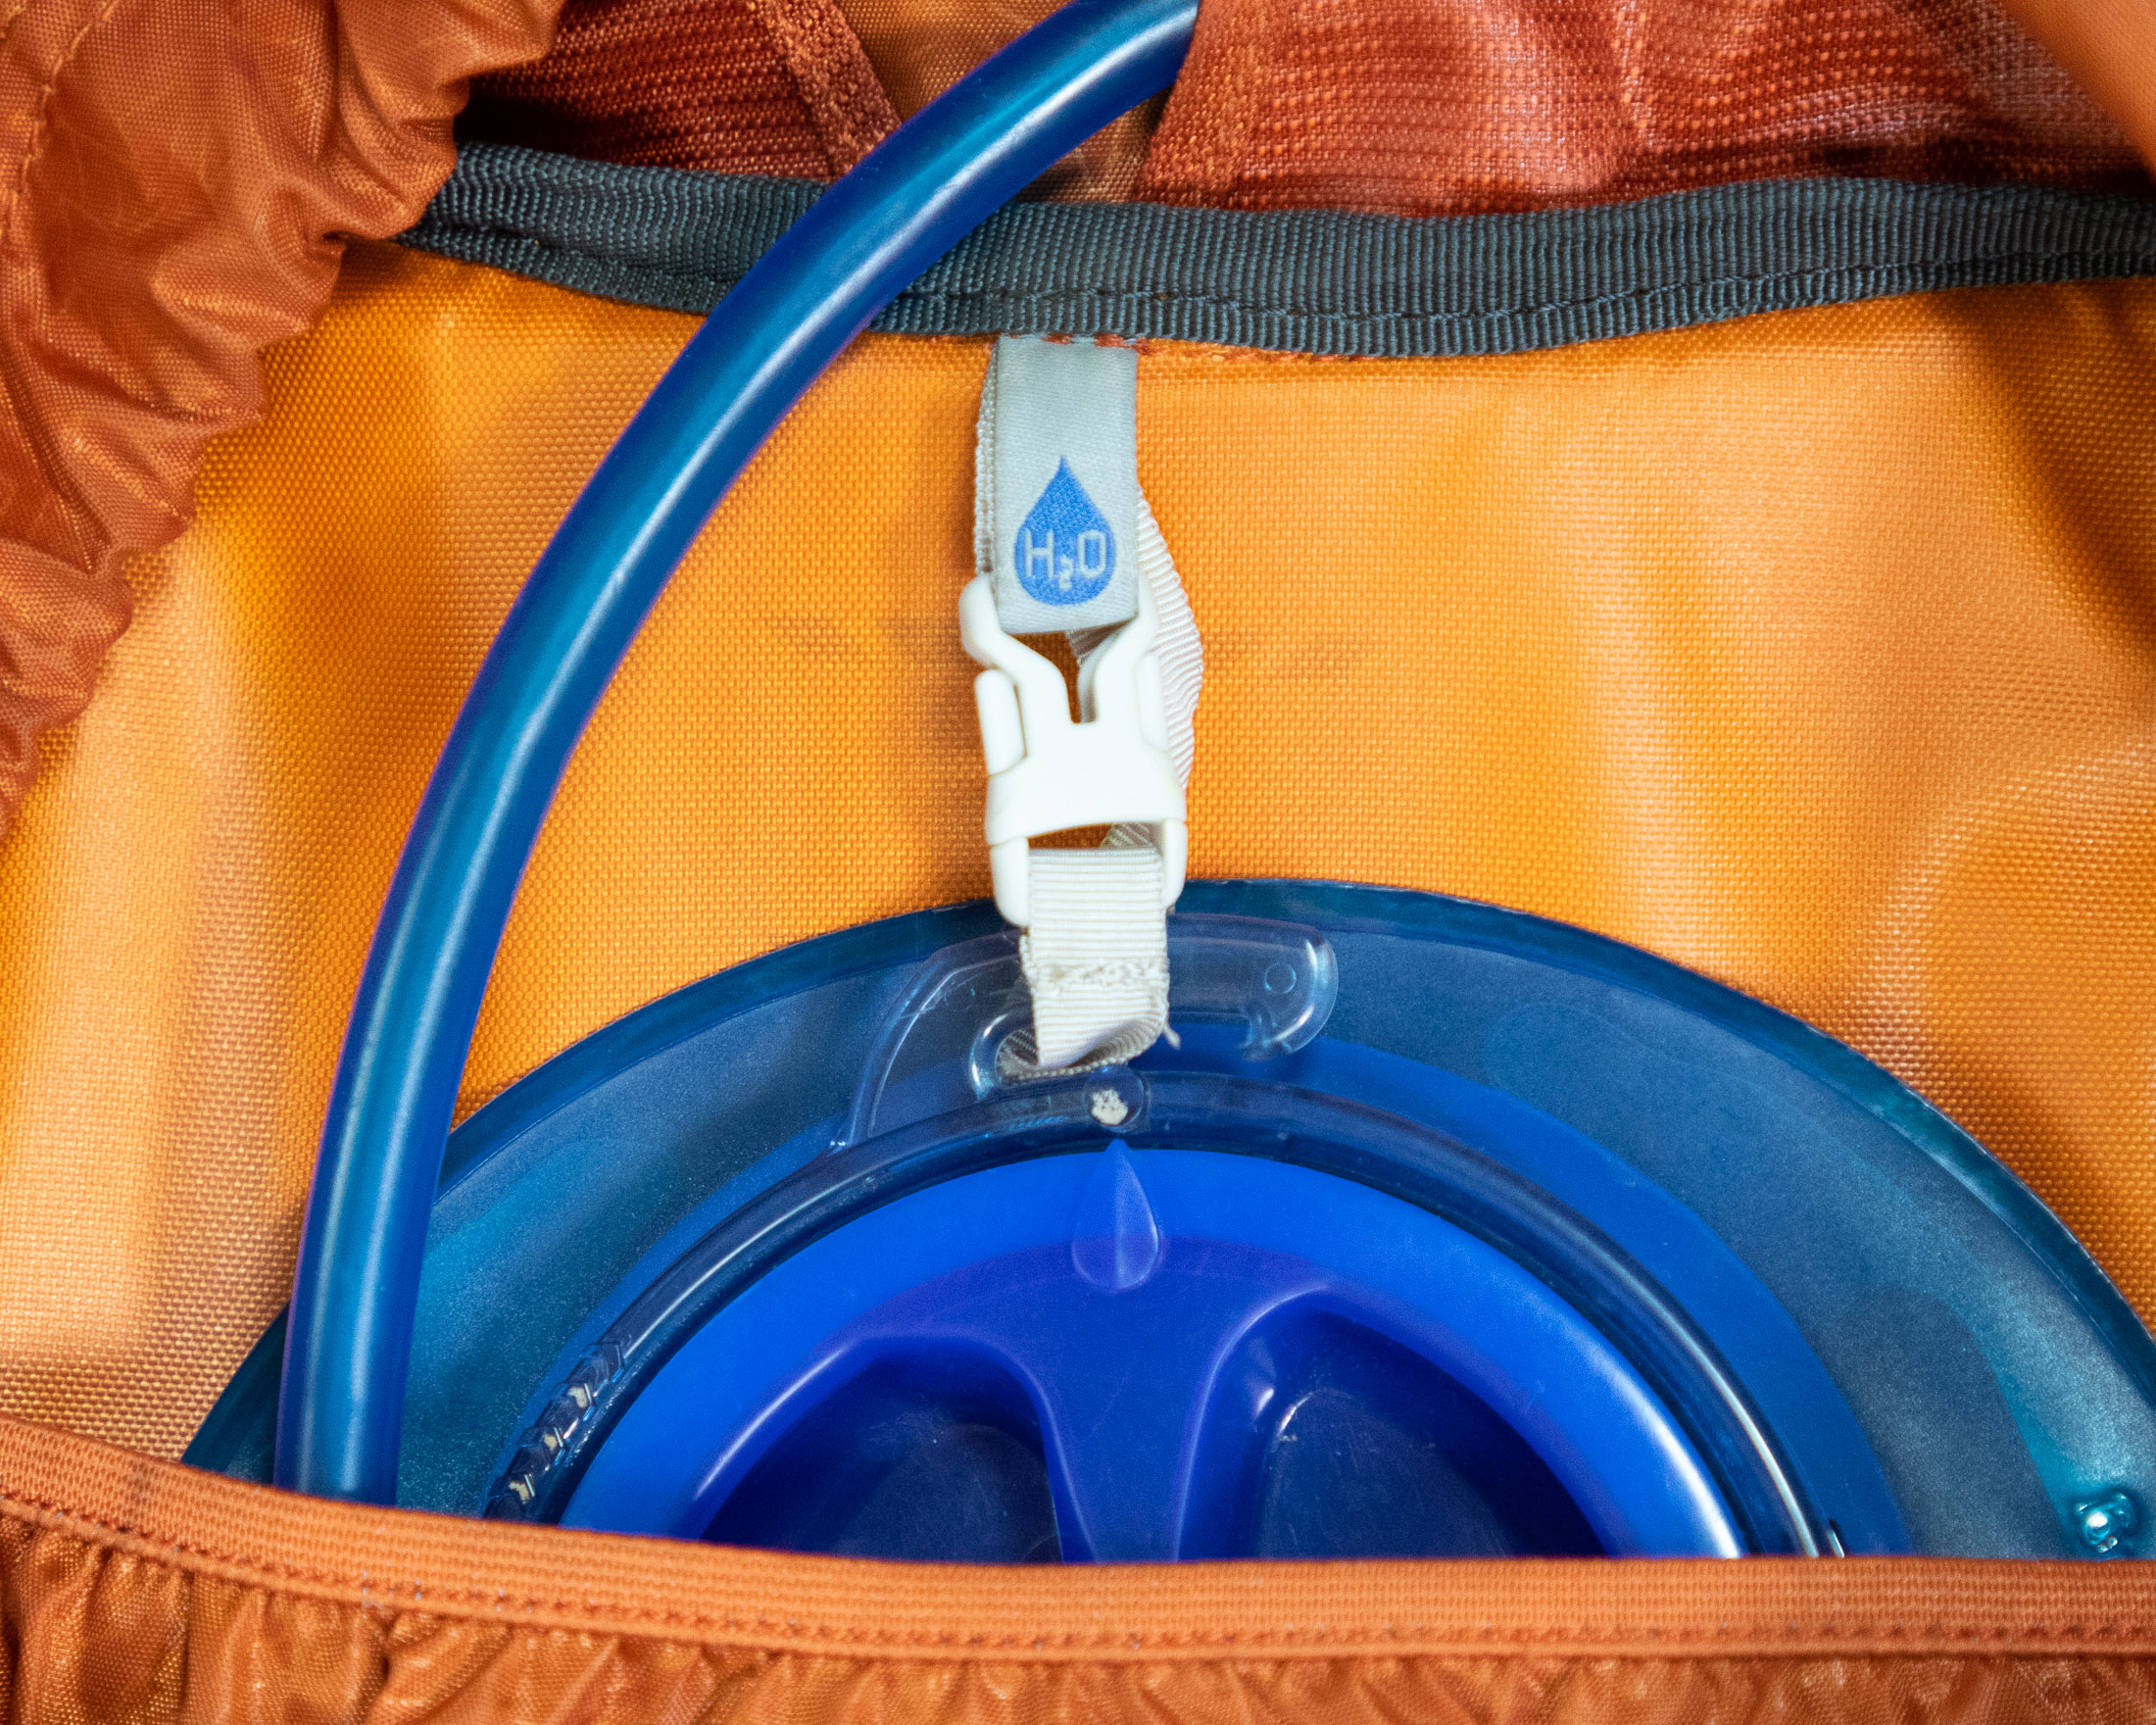
Luckily, there’s a method which makes everything a bit easier. But first, before you pack anything else, you should fit your reservoir if you’re going to use one. Trying to get a full reservoir into a full pack can be a frustrating and futile exercise. And you’ll have a better idea of how much space you have once you’ve packed the full reservoir.
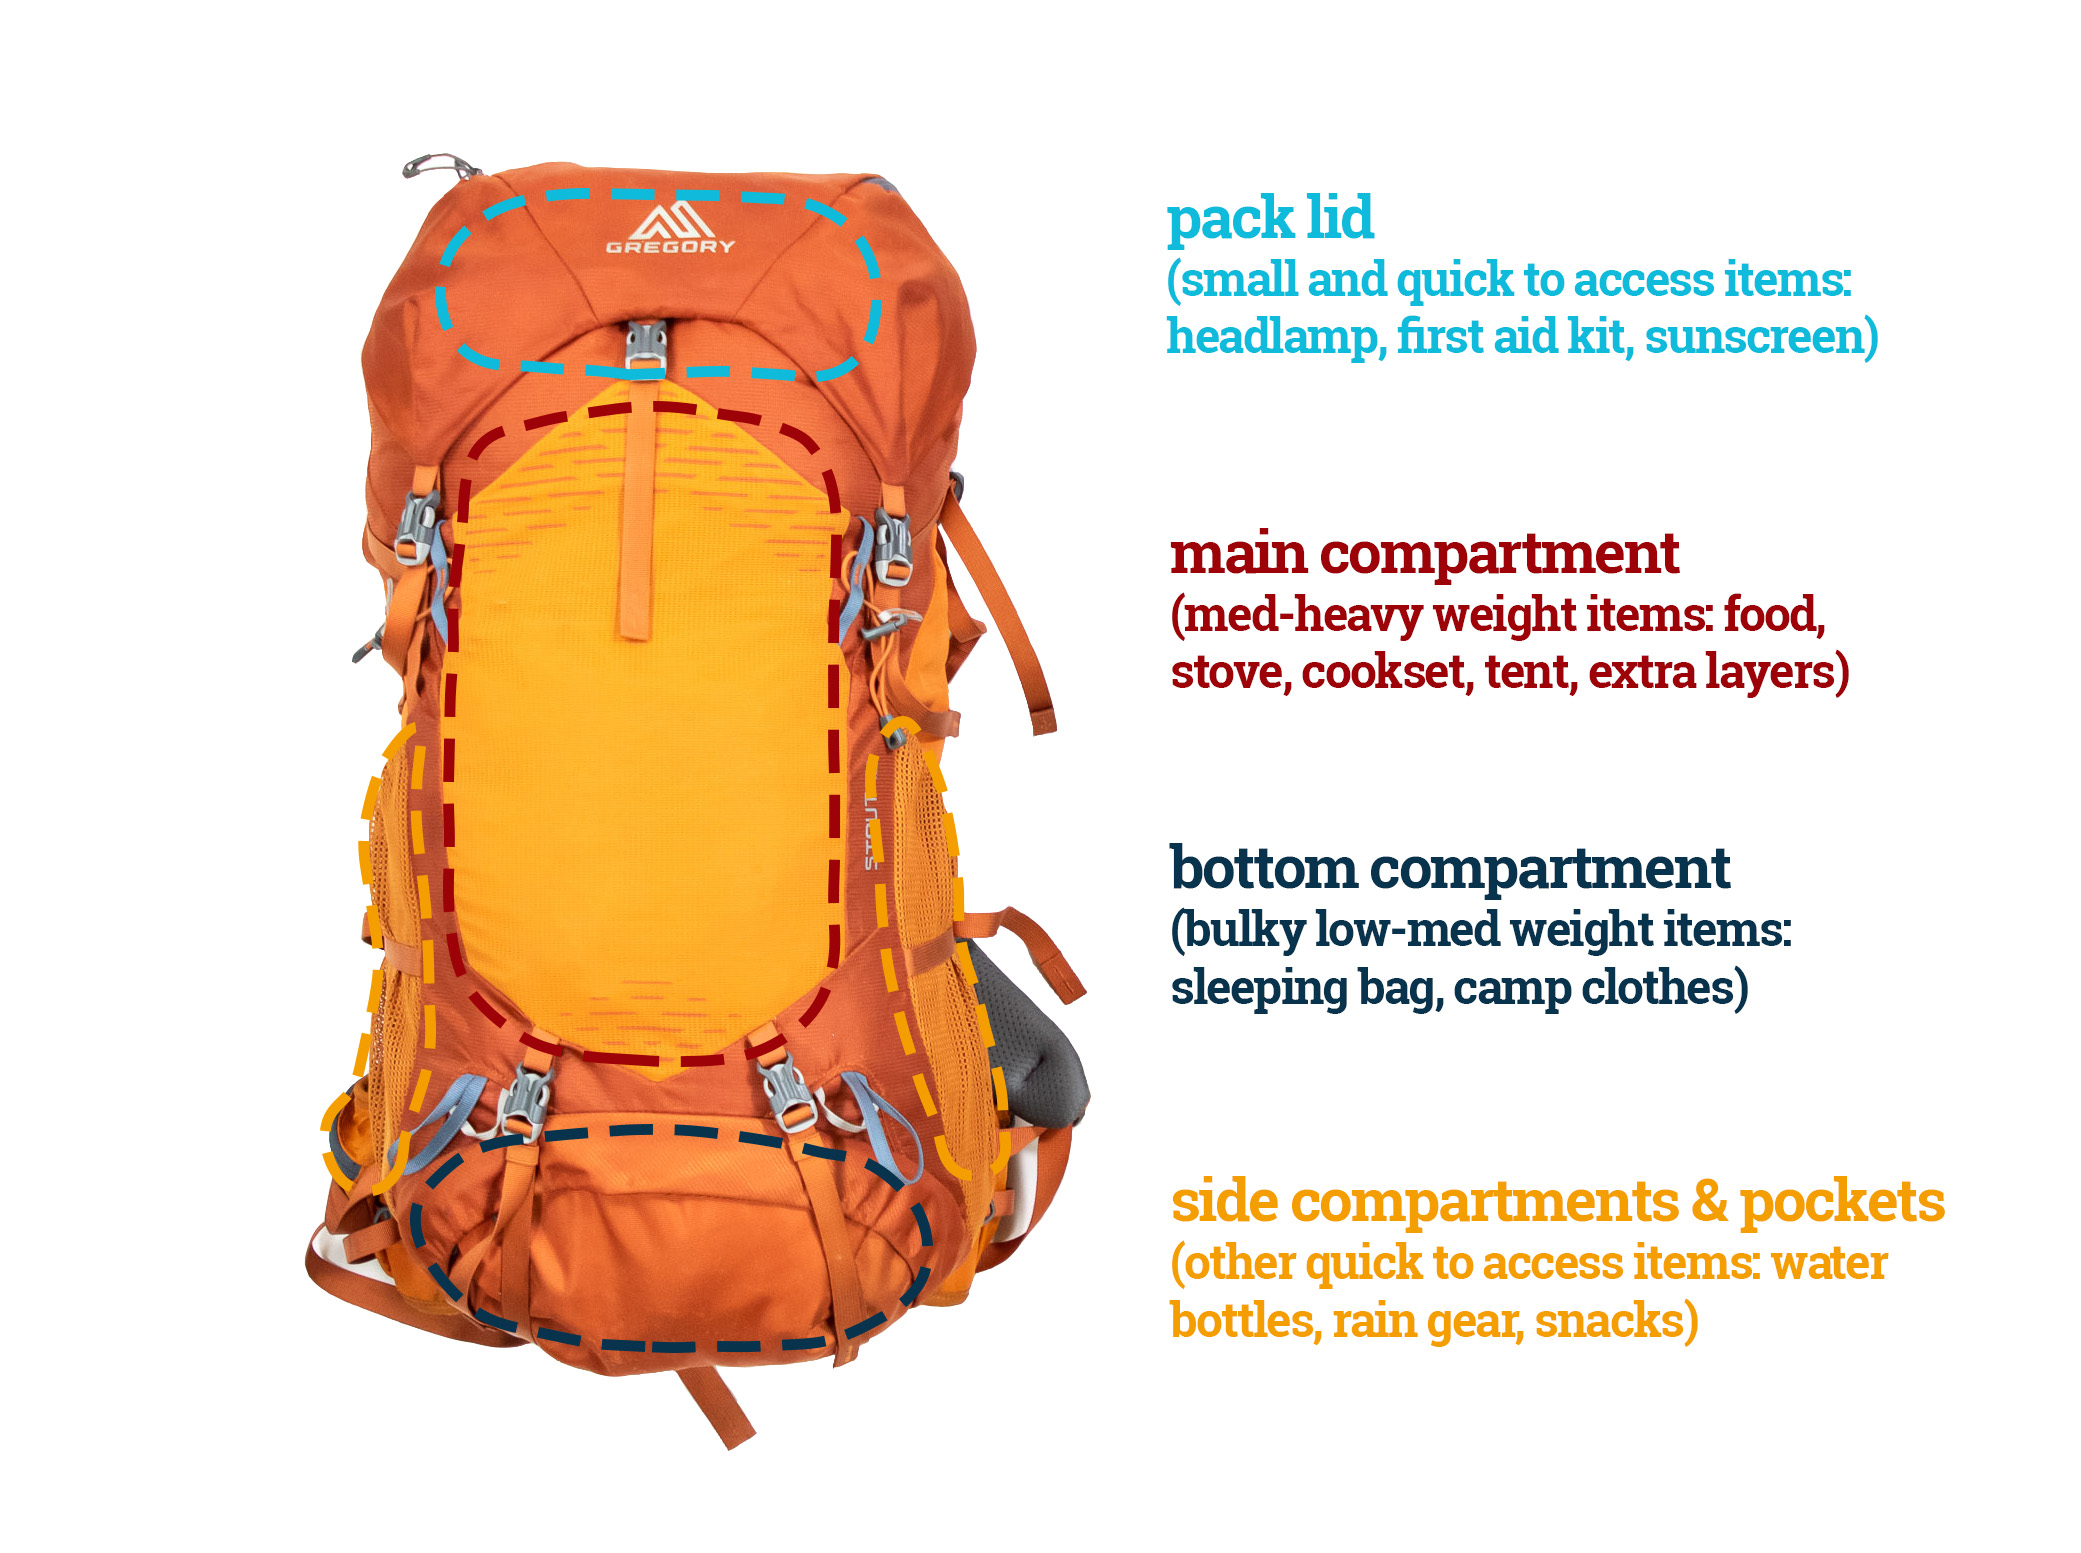
Bottom compartment
The bottom of your pack is reserved for bulky items that you won’t need until camp. Having all this softer gear at the bottom of your pack also protects fragile items when you drop your pack onto harder surfaces. And it creates more space in your pack since the softer gear at the bottom of your pack tends to get compressed by the weight of the gear above it.
- sleeping bag or quilt
- tent body + fly
- clothes
Main compartment
Put aside all items that you might need in a hurry (you’ll pack those last) and divide your remaining gear into two groups: harder, denser items and softer more malleable items. The heaviest items need to be placed closest to your spine, where they will create a stable center of gravity. Less dense items are then packed further from the padded back – with softer items used to fill spaces created between more awkwardly shaped items. Your rain jacket and extra layer should go near the top of the pack, where they will be easy to get to.
- tent poles
- sleeping pad
- toiletry kit
- microfibre towel
- toilet paper
- fuel canister or fuel bottle
- stove
- cookset
- food
- rain jacket
- fleece/extra layer
Pack lid
There are a few ‘access-critical’ items – first aid kit, camera, ect – that might be too bulky to fit into your pack lid or external pockets. Pack these into the top of your main apartment if you have space. Everything else can go into your pack’s lid and external pockets. Some packs have external straps and fasteners for attaching gear to the outside of your pack. Avoid using these if possible; gear on the outside of your bag tends to snag on branches.
- first aid kit
- sunscreen
- water filter
- map & compass
- satellite messenger
- headlamp
Tip: Your sunscreen should be in a bottle that won’t burst open under pressure. Sunscreen that comes in a stick is a good option.
Waist belt and external pockets
You don’t want to take off your pack to access your GPS or map. Snacks too are best kept within easy reach. Luckily, most packs come with waist belt pockets perfect for this purpose. Fully featured packs will also have side pockets for water bottles and attachment loops for trekking poles.
- GPS
- sunglasses
- snacks
- water bottles
Staying organised
Your pack will be easier to pack and unpack if you reduce the number of loose items. It’s best to put all gear and food belonging to a specific category into the same bag – stuff sack, zipped bag, or ziplock bag. This strategy will also make it easier to find and get to items when you need them.
Stove and cookset
Some pots are designed to fit a stove and canister inside them – a good strategy for saving space. If your pot won’t take a canister, put something else inside it. Tea or coffee makes the most sense if you’re going to have a mid-hike coffee break.
Food
If you’re hiking in bear country, you’ll have to put your food in a bear canister or, at the very least, a bear bag (only recommended if it’s essential that you travel light). Regardless of whether or not your food goes into a larger container, it still makes sense to put food into smaller bags for easy retrieval and organisation. One popular strategy is to have separate ziplock bags for every day or meal. As for liquids and things like honey, it’s best to put these into the smallest bottles possible.
Clothing
Layers that you might need while hiking should be packed loose. You can use these to fill gaps between other items near the top of the pack where you can get to them easily. Other clothes should be packed in a dry bag. A dry bag will protect your clothes from spills, like a leaky hydration pack, and will allow you to store your clothes compressed (just squeeze the air out of the dry bag before you roll it closed).
Once dirty, clothes are best put into a mesh stuff sack. Besides keeping your dirty and clean clothes separate, a mesh bag will also allow some odour and moisture to escape, thereby preventing your dirty clothes from getting too funky. If you are packing light (one spare T-shirt and a few pairs of underwear and socks) and aim to wash next-to-skin layers frequently, that might not be an issue.
Toiletry kit
A toothbrush in a ziploc bag will stay damp, inviting mold. A small zippered bag made of woven nylon is a better solution in that it will give contents a chance to air out. And if you pack shampoo and body wash (most biodegradable trails soaps are designed to be used as both), put these in the smallest screw-top bottles you can find.
Toilet paper
Keep toilet paper and a ziplock bag (for used TP) together in a small bag. When nature calls, everything you need will be in the same bag. Also it won’t be completely obvious to everyone else that your walk in the woods is a mission to relieve yourself. For more backcountry sanitary tips, see my article unambiguously titled How to Poop in the Backcountry.
Packing tips
These top tights can help you ensure that you get your gear to your destination dry and in one piece.
Double check your reservoir is properly sealed
Always check that your reservoir lid is screwed on securely and is properly sealed before putting it into your pack. Even if your clothes are in a dry bag, your sleeping bag or quilt could still get wet if it leaked. If you don’t need to carry a full reservoir, suck some air out of it (You’ll have to turn it upside down). This will reduce the amount of space it takes up and silence the irritating sloshing sound that a partially full reservoir can make.
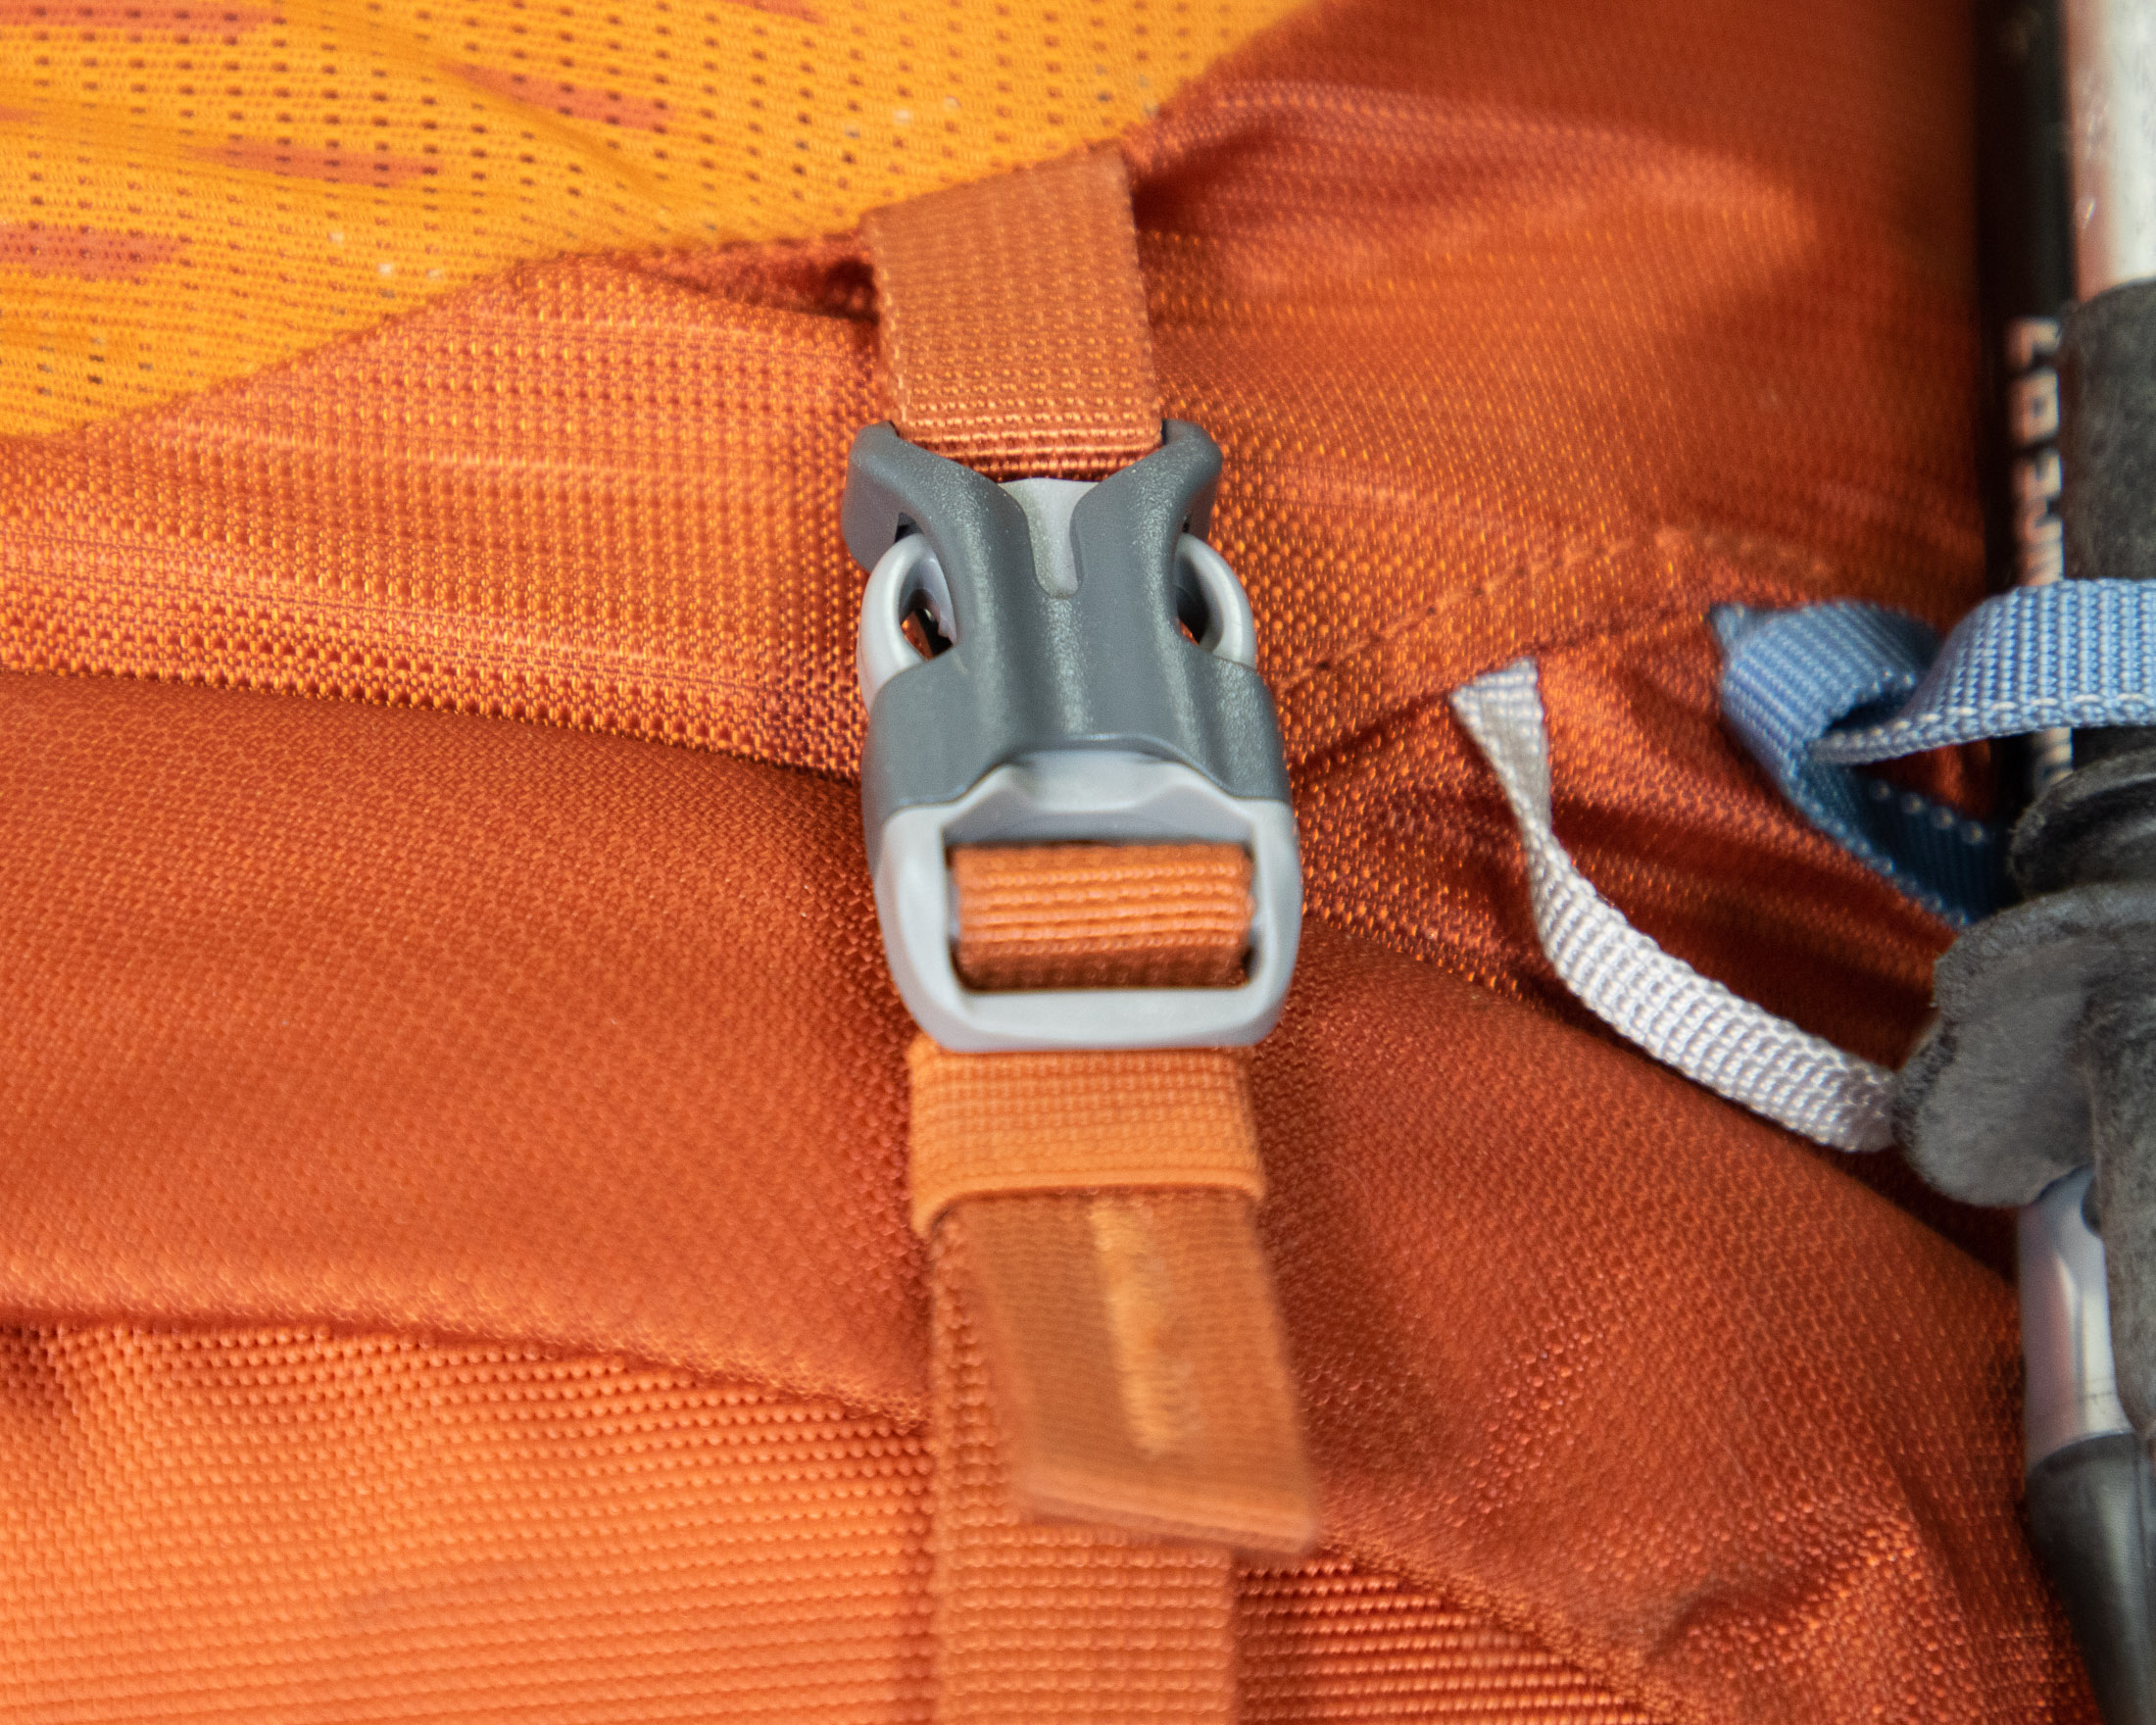
Tighten those compression straps
Besides being useful for attaching gear to the outside of your pack, compression straps are actually designed for cinching the bulk of the pack closer to your body. This makes for a more stable center of gravity and lowers the pack’s profile, making it a little easier to get through tight spaces. On that note, you want to tidy away any loose straps or cord that could snag on branches or rocks, and don’t attach anything to the outside of your pack that you don’t absolutely have to.
When your pack isn’t big enough for everything
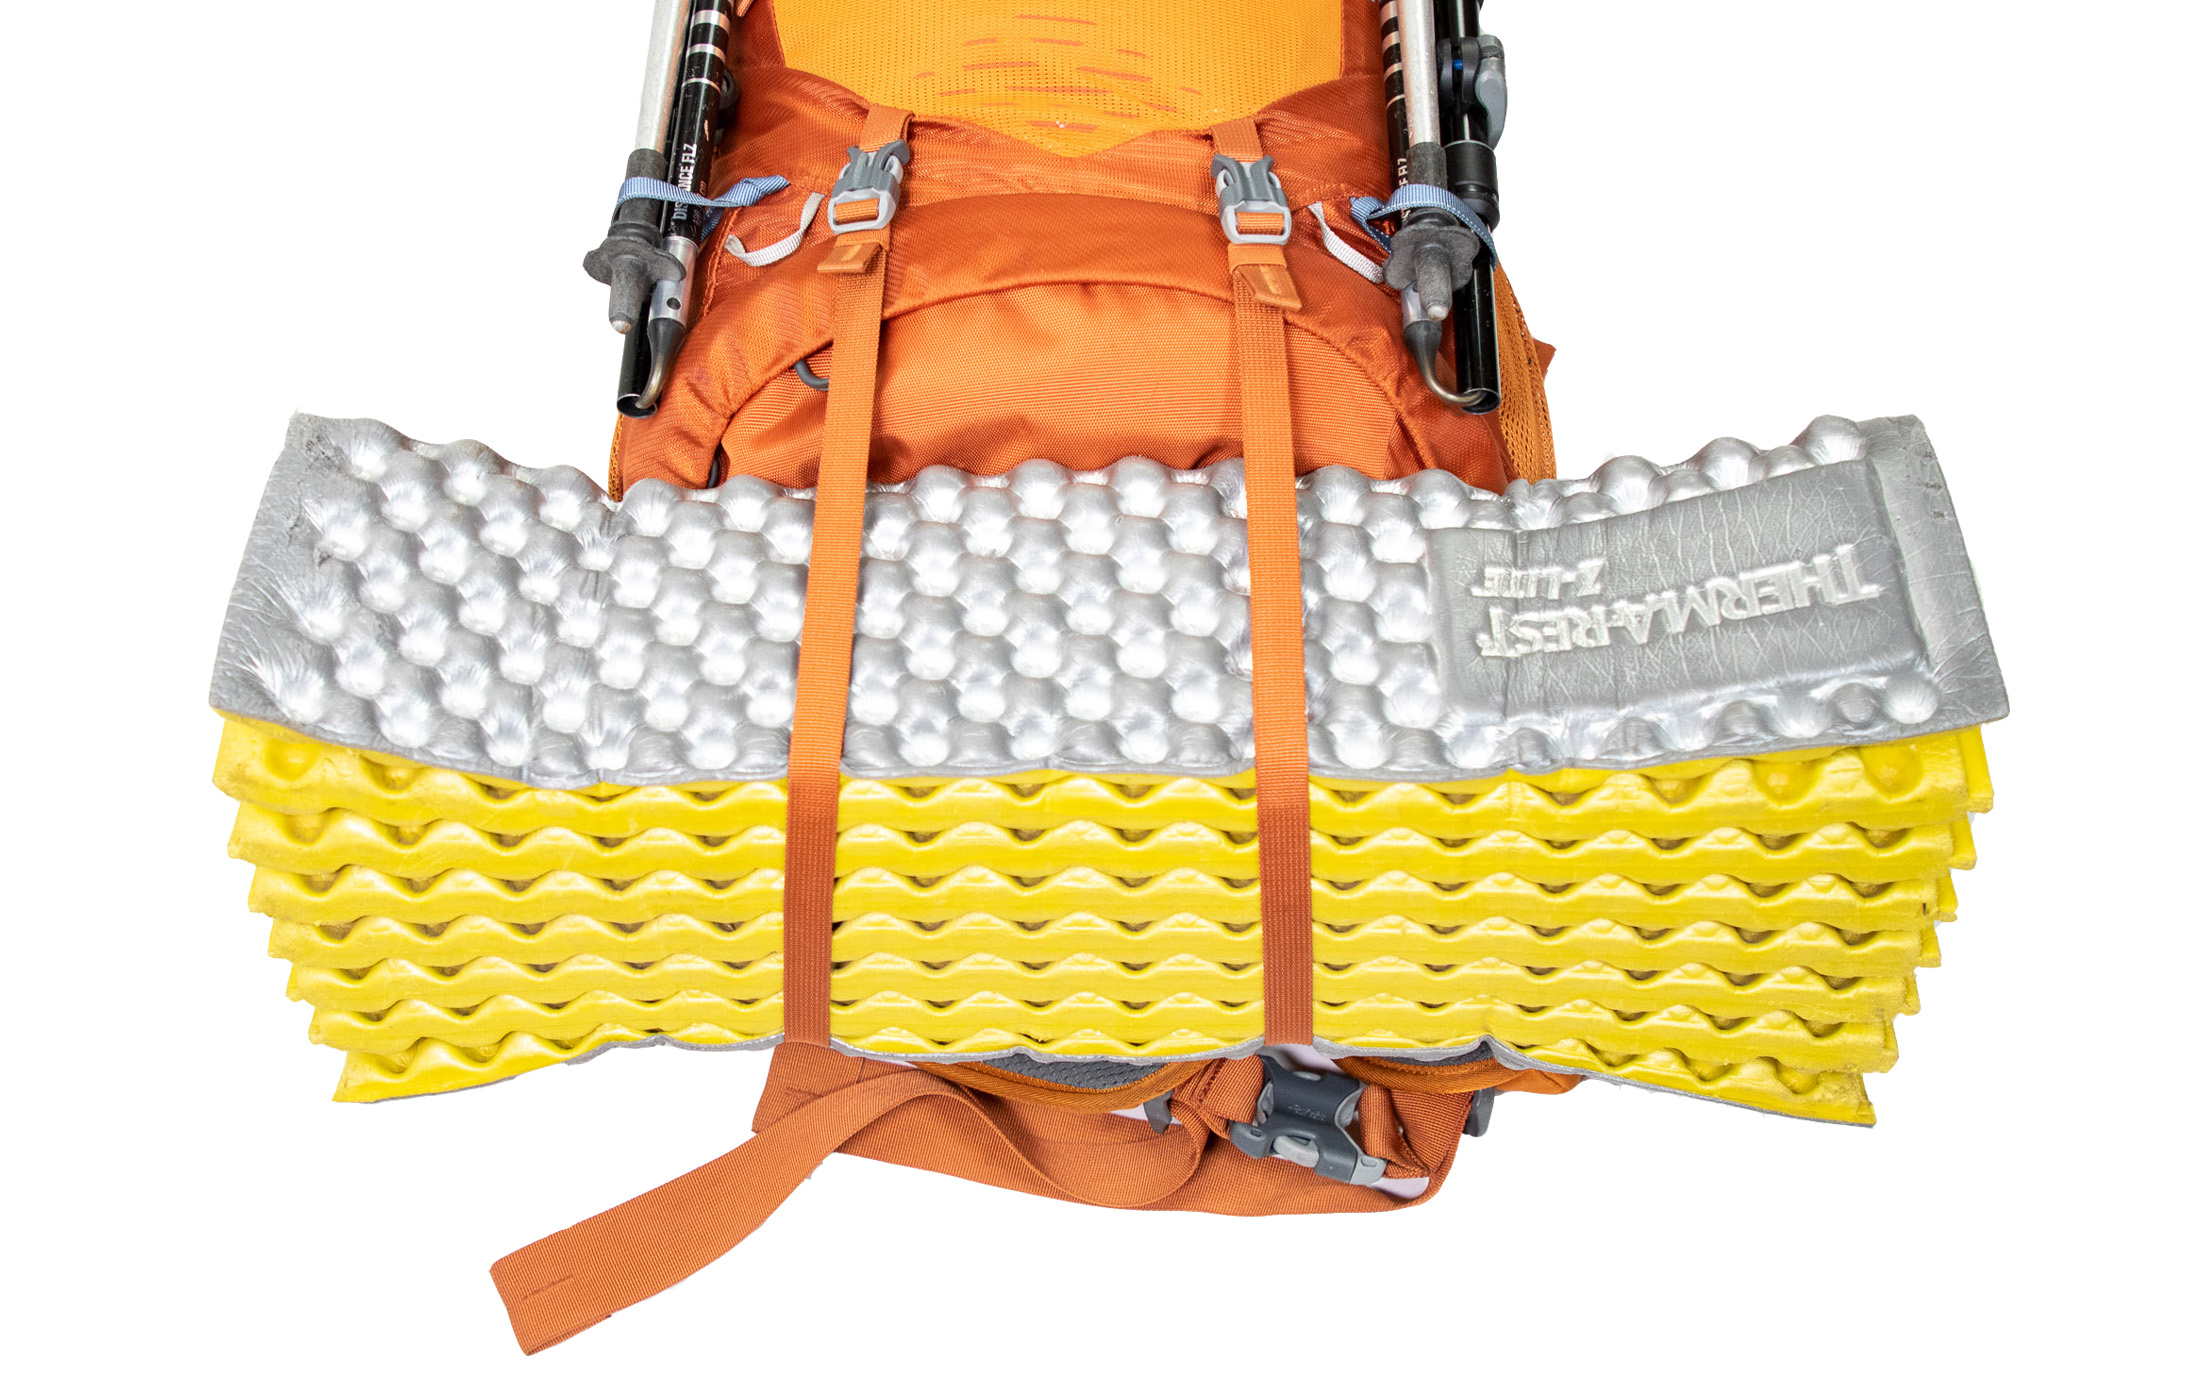
Ideally you’d get everything inside your bag. But if you end up short of space, you can attach some gear to the outside of your pack. Again, you want to avoid clipping bulky items to the side or even the back of your pack as these will almost definitely catch on vegetation and affect a pack’s balance. Trekking poles, which are both light and low profile, can be attached to the side of a pack using its compression straps, but larger items like your sleeping bag and sleeping pad are best attached to the bottom of the pack (many models have straps designed for this purpose).
Some packs have a daisy chain sewn onto the pack. These look cool, but their practical uses are limited. When packing in a hurry, you might be tempted to clip a pot or bottle to one of these loops, but you’ll regret this decision as soon as you as the thing starts to swing around, knocking into things (including your buddies) and causing unexpected shifts in weight distribution. Any gear attached to the outside of your pack should be secured properly.
Get out there
The best way to hone your backpack packing skills is to load up a pack and go for a hike. Only time on the trail will tell you what works and what you need to improve on. And that goes for almost all outdoor skills – there’s no substitute for experience. That said, if it’s further instruction you’re after, this site has many more hiking articles filled with pointers, practical tips, and valuable insights. Happy hiking.
