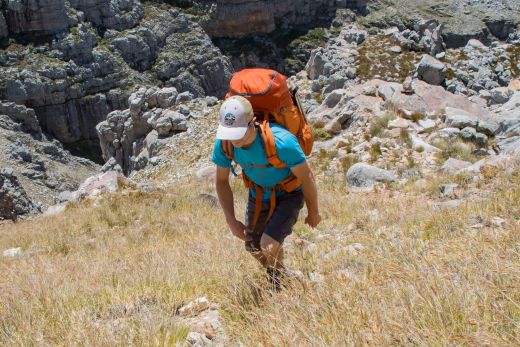
You know what’s fun? A multi-day hike through a pristine wilderness area. You know what’s not fun? Experiencing shoulder and back pain only ten miles in. Besides poorly chosen footwear, an improperly fitted pack is the one thing most likely to sour any backpacking trip. Fortunately there’s an easy way to ensure that this doesn’t happen to you. First, you choose a pack that fits properly, and then you take the time to make the little adjustments that ensure that it carries just right. In this guide, I will explain how to do both. Just know that this is not meant to be a guide on how to choose a backpack. There are many aspects to backpack choice that go beyond fit, and I suggest that you read my backpack gear guide first if you don’t already know what you want in a backpack.
Sizing
So, you know what pack you want, and the next step is to ensure the right size. In doing this, you need to check two things: the length of the suspension system (this should match your torso length), and the waist belt. Although manufacturers publish specs for both, it’s best to try a pack on in store as there are some aspects of a pack’s fit, like the shape of a waist belt, that cannot be expressed in numbers.
Find the right size for your torso
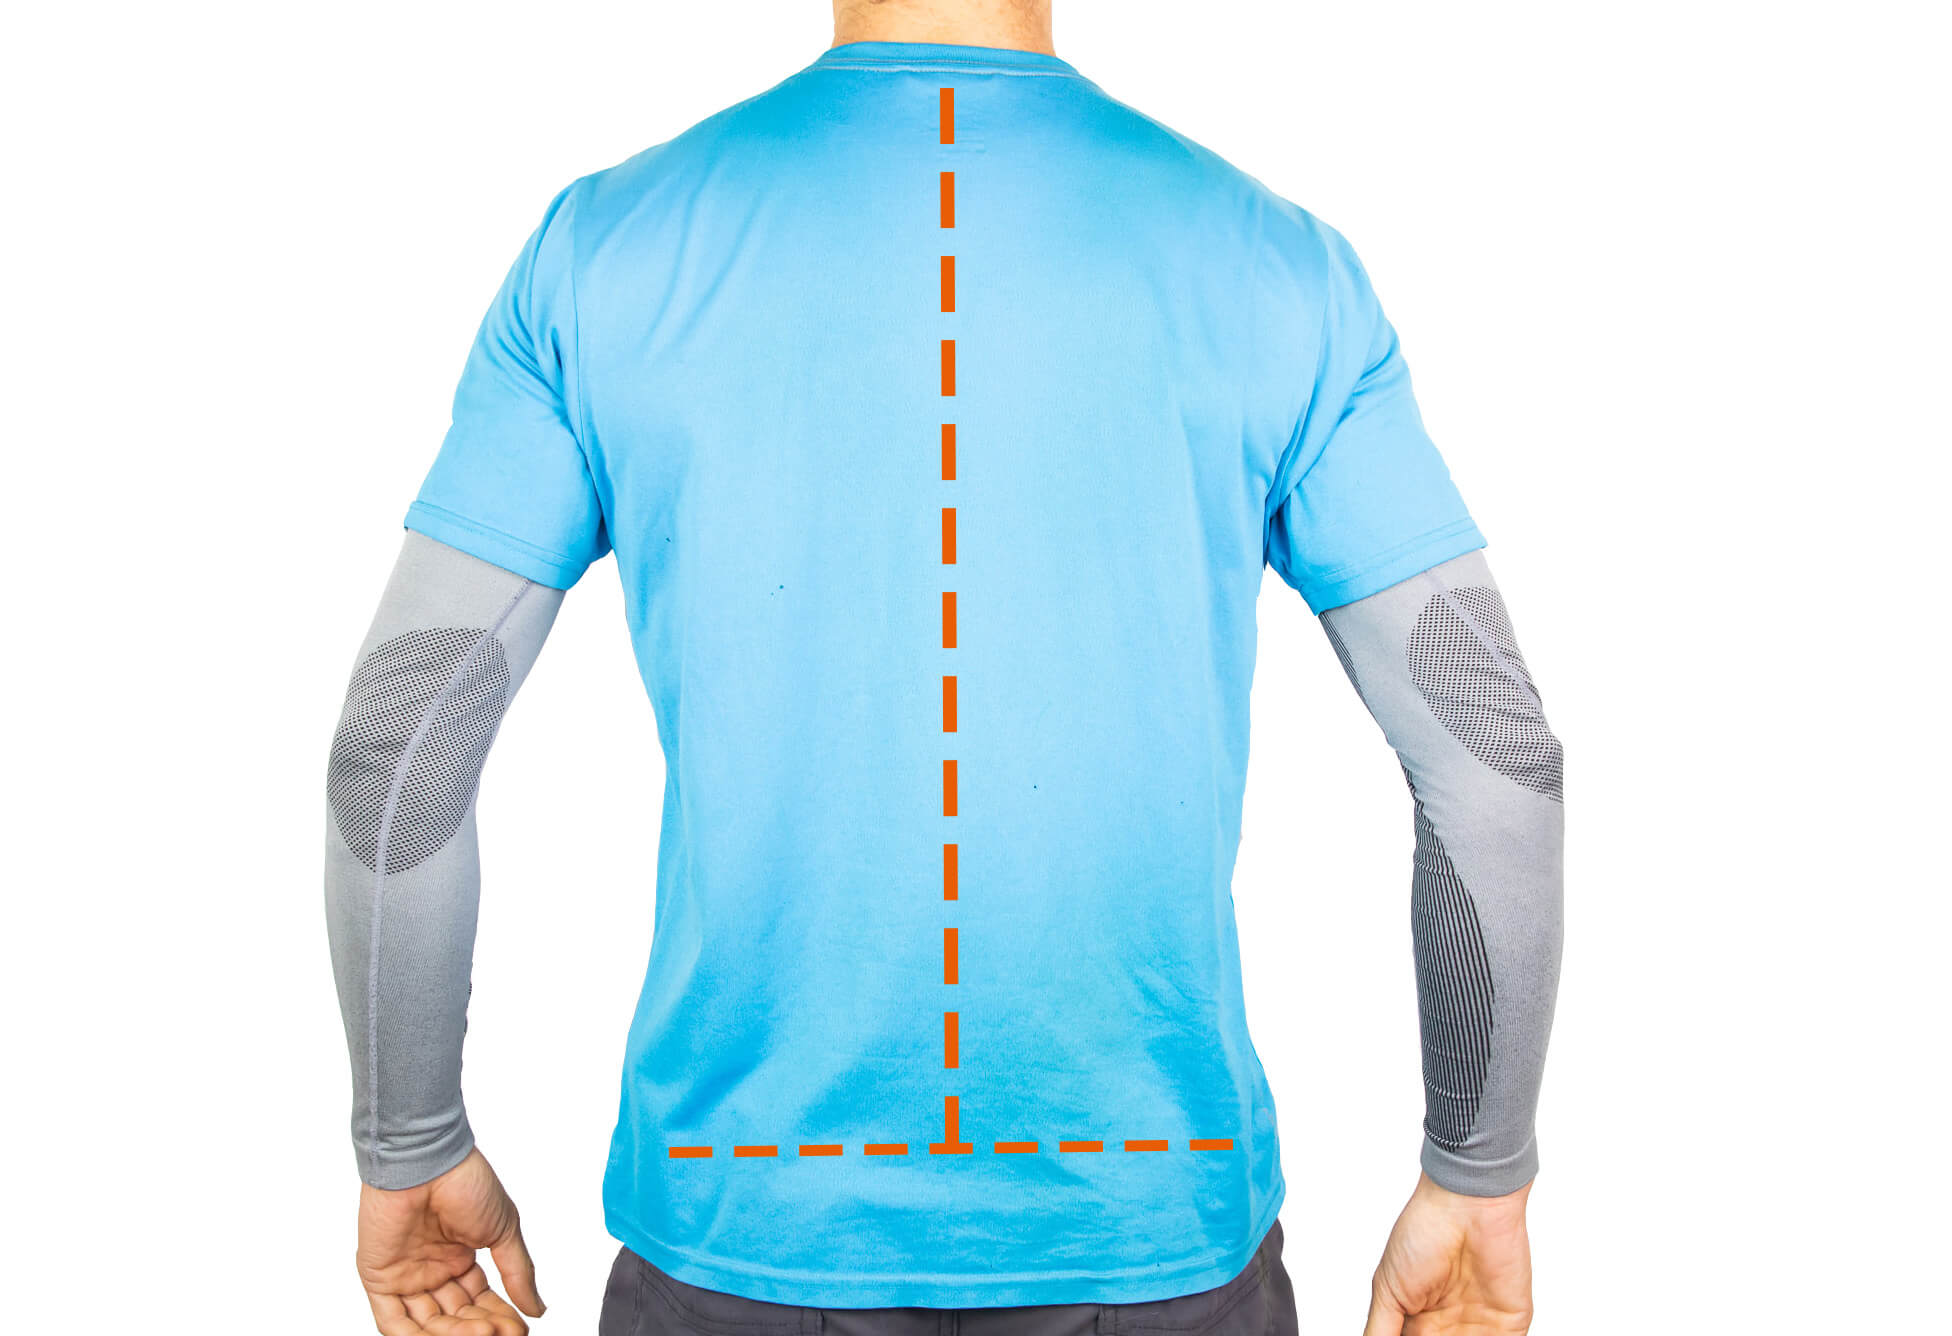
For the pack to fit correctly, the distance from the top of the shoulder strap to the hip belt needs to match the length of your torso. This is not the same as height. A tall person can have a short torso, while a smaller person can have a relatively long torso. To determine your torso length, reach behind your neck, bend your head forward, and find the C7 vertebra: It will be the bone in your upper spine that sticks out the most. Next, find your iliac crest – the highest point on the sides of your hips. Finally, have somebody use a measuring tape to measure the distance between the C7 vertebra and the point of your back that’s at the same level as your hips’ iliac crest. This is your torso length.
Make sure the hip belt is a good fit
Most of a backpack’s weight – up to 80% – should be supported by your hips. To enable this, your hip belt has to be the right length and be the right shape to ensure a comfortable fit. Most people won’t have any trouble finding a pack with a hip belt the right length, but people with narrow waists sometimes find that they cannot make a standard hip belt fit tightly enough. Some packs offer interchangeable hip belts, which can solve the problem, but in other cases, a hiker might be forced to go with a smaller pack. Besides simply ensuring that a hip belt matches the circumference of your waist, you should also make sure that it completely covers your hip bones to ensure a snug fit. It shouldn’t shift upwards or slip drop below your hips when you move.
Fitting
Once you have your new pack, you still need to make the adjustments that will make it comfortable to carry. To do this properly, you will need to perform these next four steps with the pack loaded.
1. Tighten the hip belt
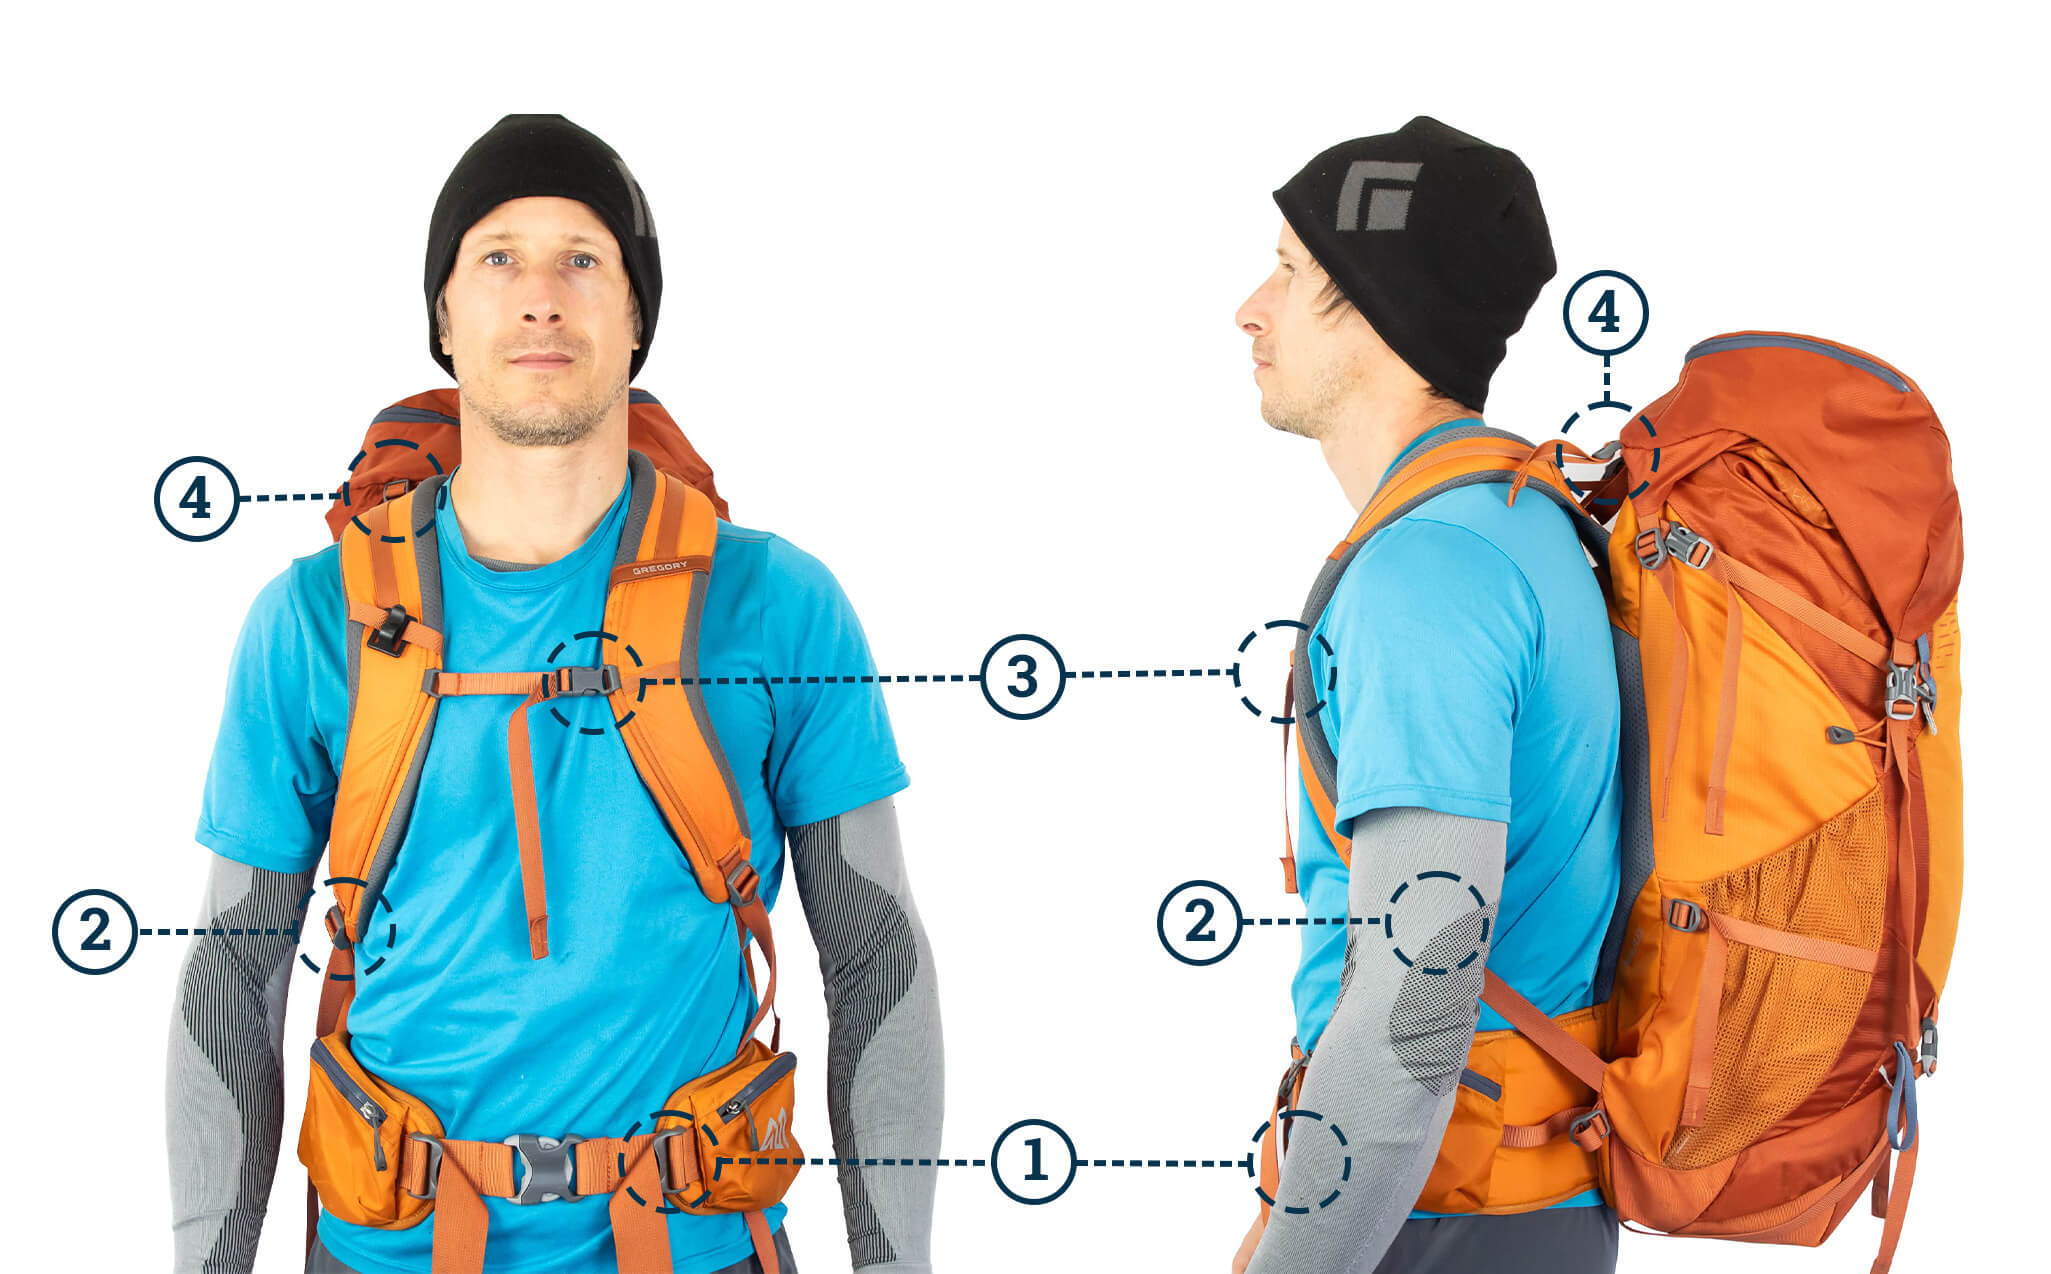
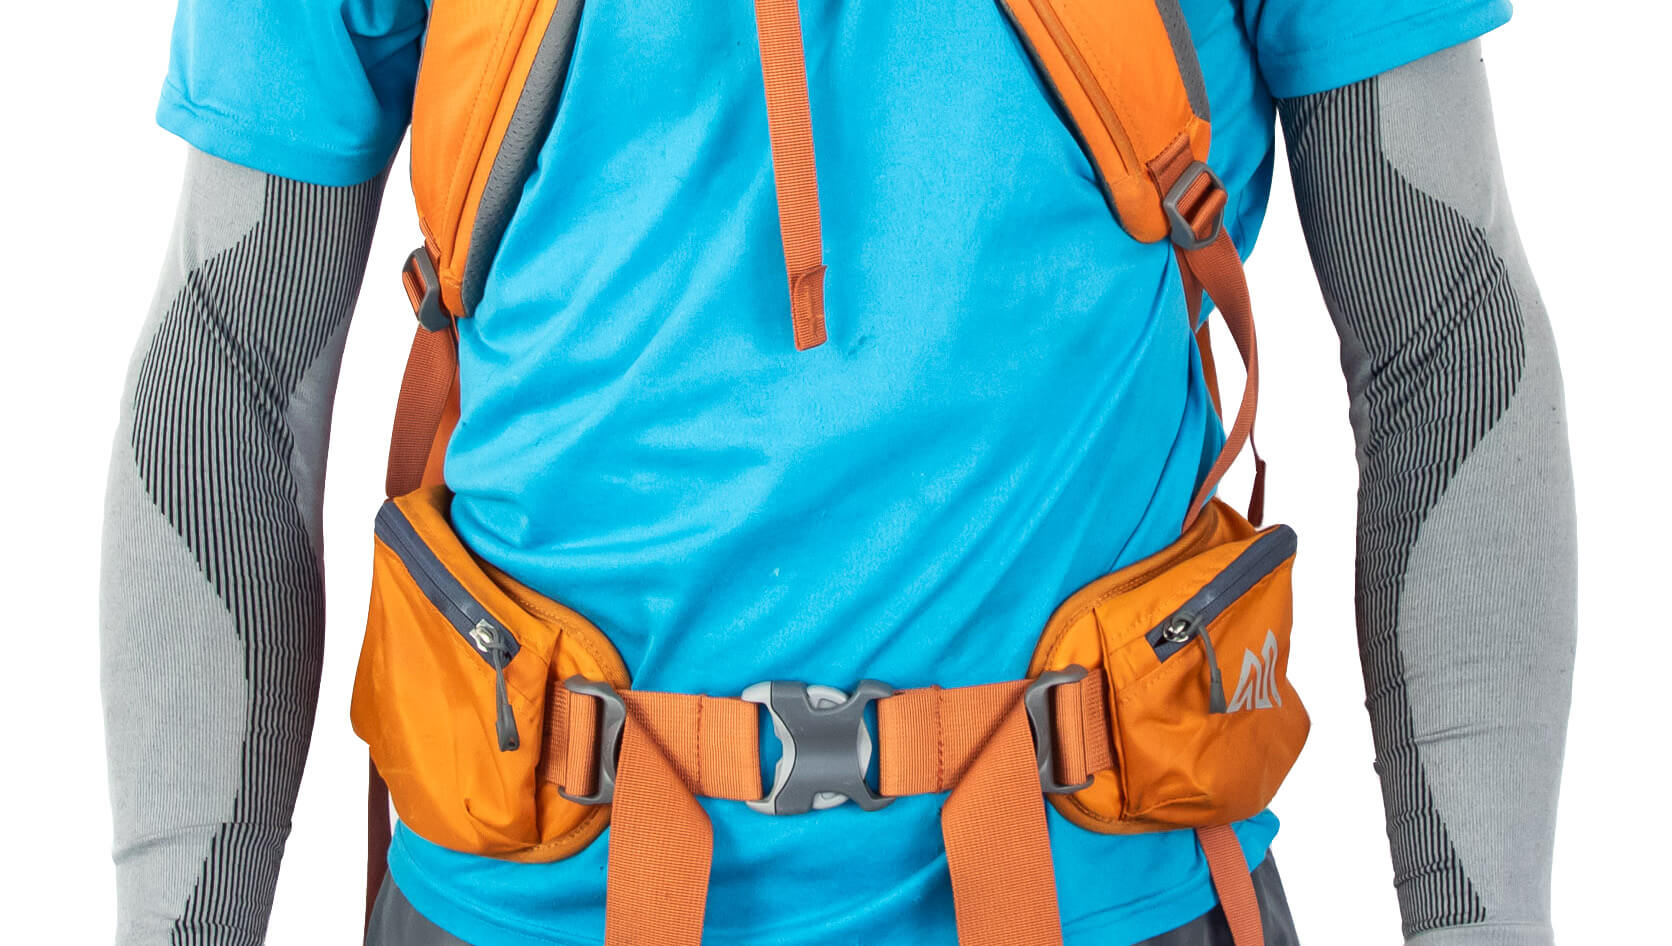
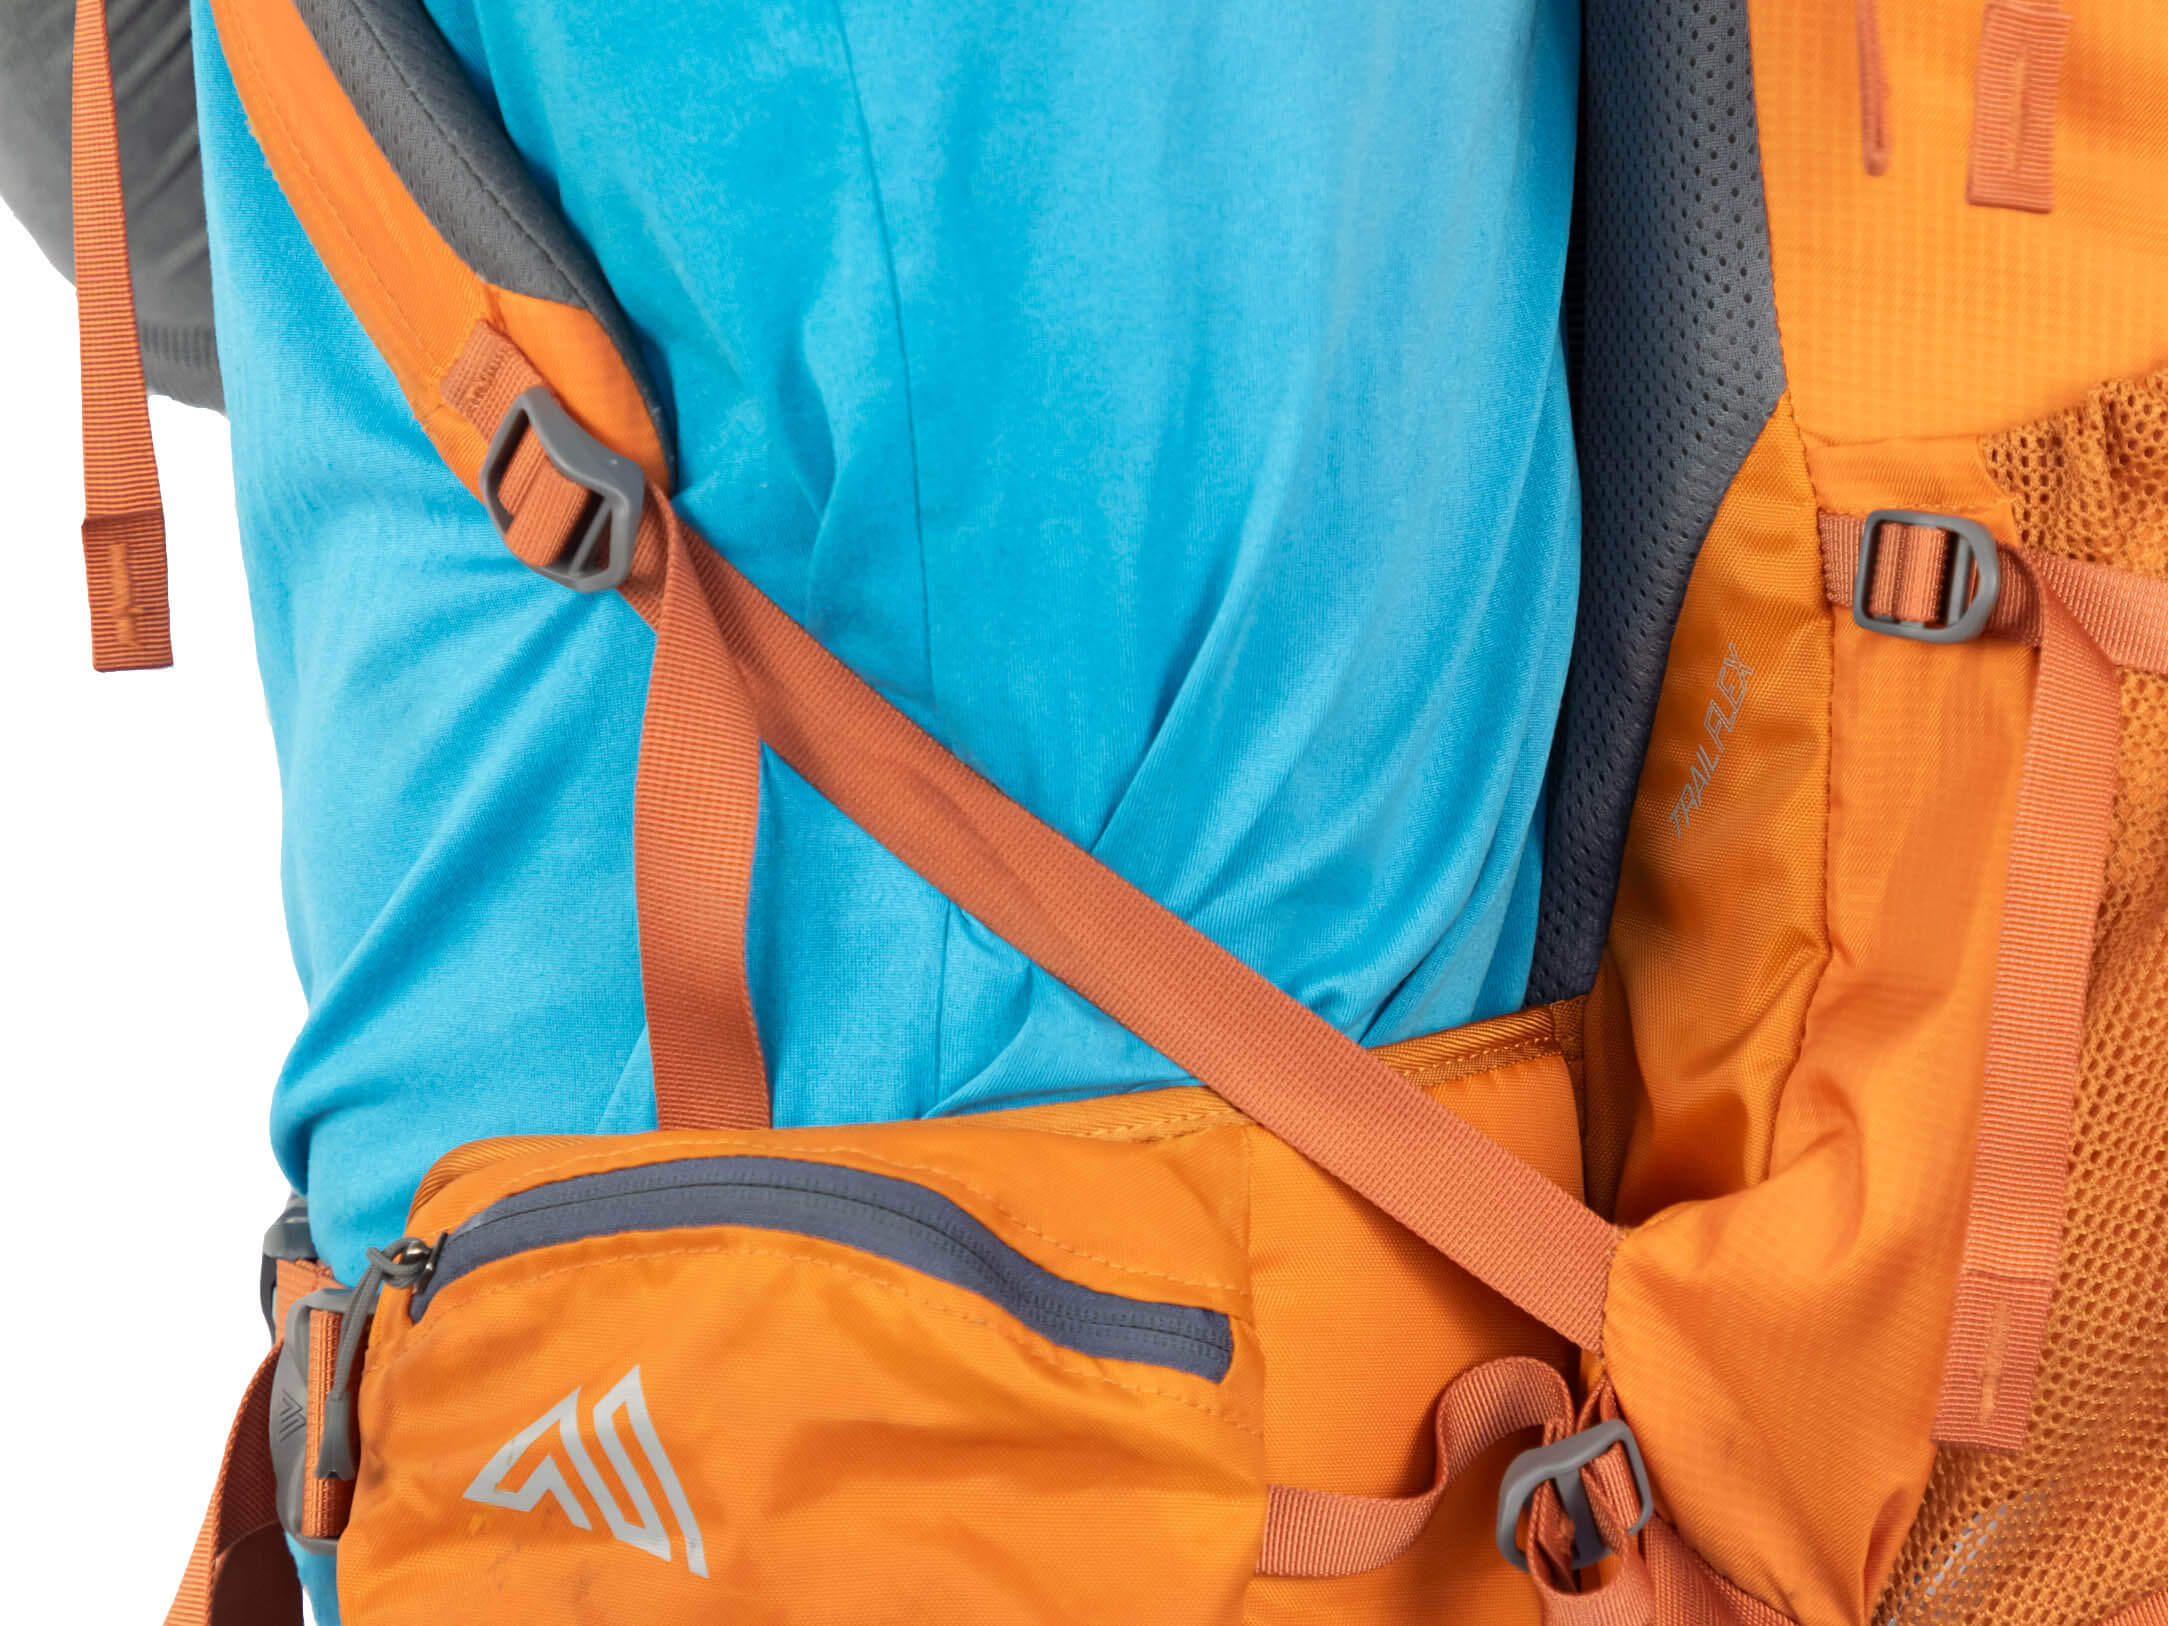
Most of the pack’s weight should rest on your hips, so you should start by raising the pack to a height where the hip belt rests on your hip shelf (the widest part of your hips). Then, tighten the straps on either side of the buckle until the belt fits snuggly around your hips. If your pack is heavy, it can help to balance your pack on the edge of a table and bend your knees to get your hips to the desired level relative to the pack.
2. Adjust the shoulder straps
Start with the shoulder straps longer than you need them – a little loose. Then pull down on the ends of the straps to shorten them. You want the straps to be snug against your shoulders – that is lying flat against your shoulders without a gap between the top of your shoulders and the strap. Just also be careful to not make them too tight. Most of the pack’s weight should be on your hips and not your shoulders.
3. Tighten the sternum strap
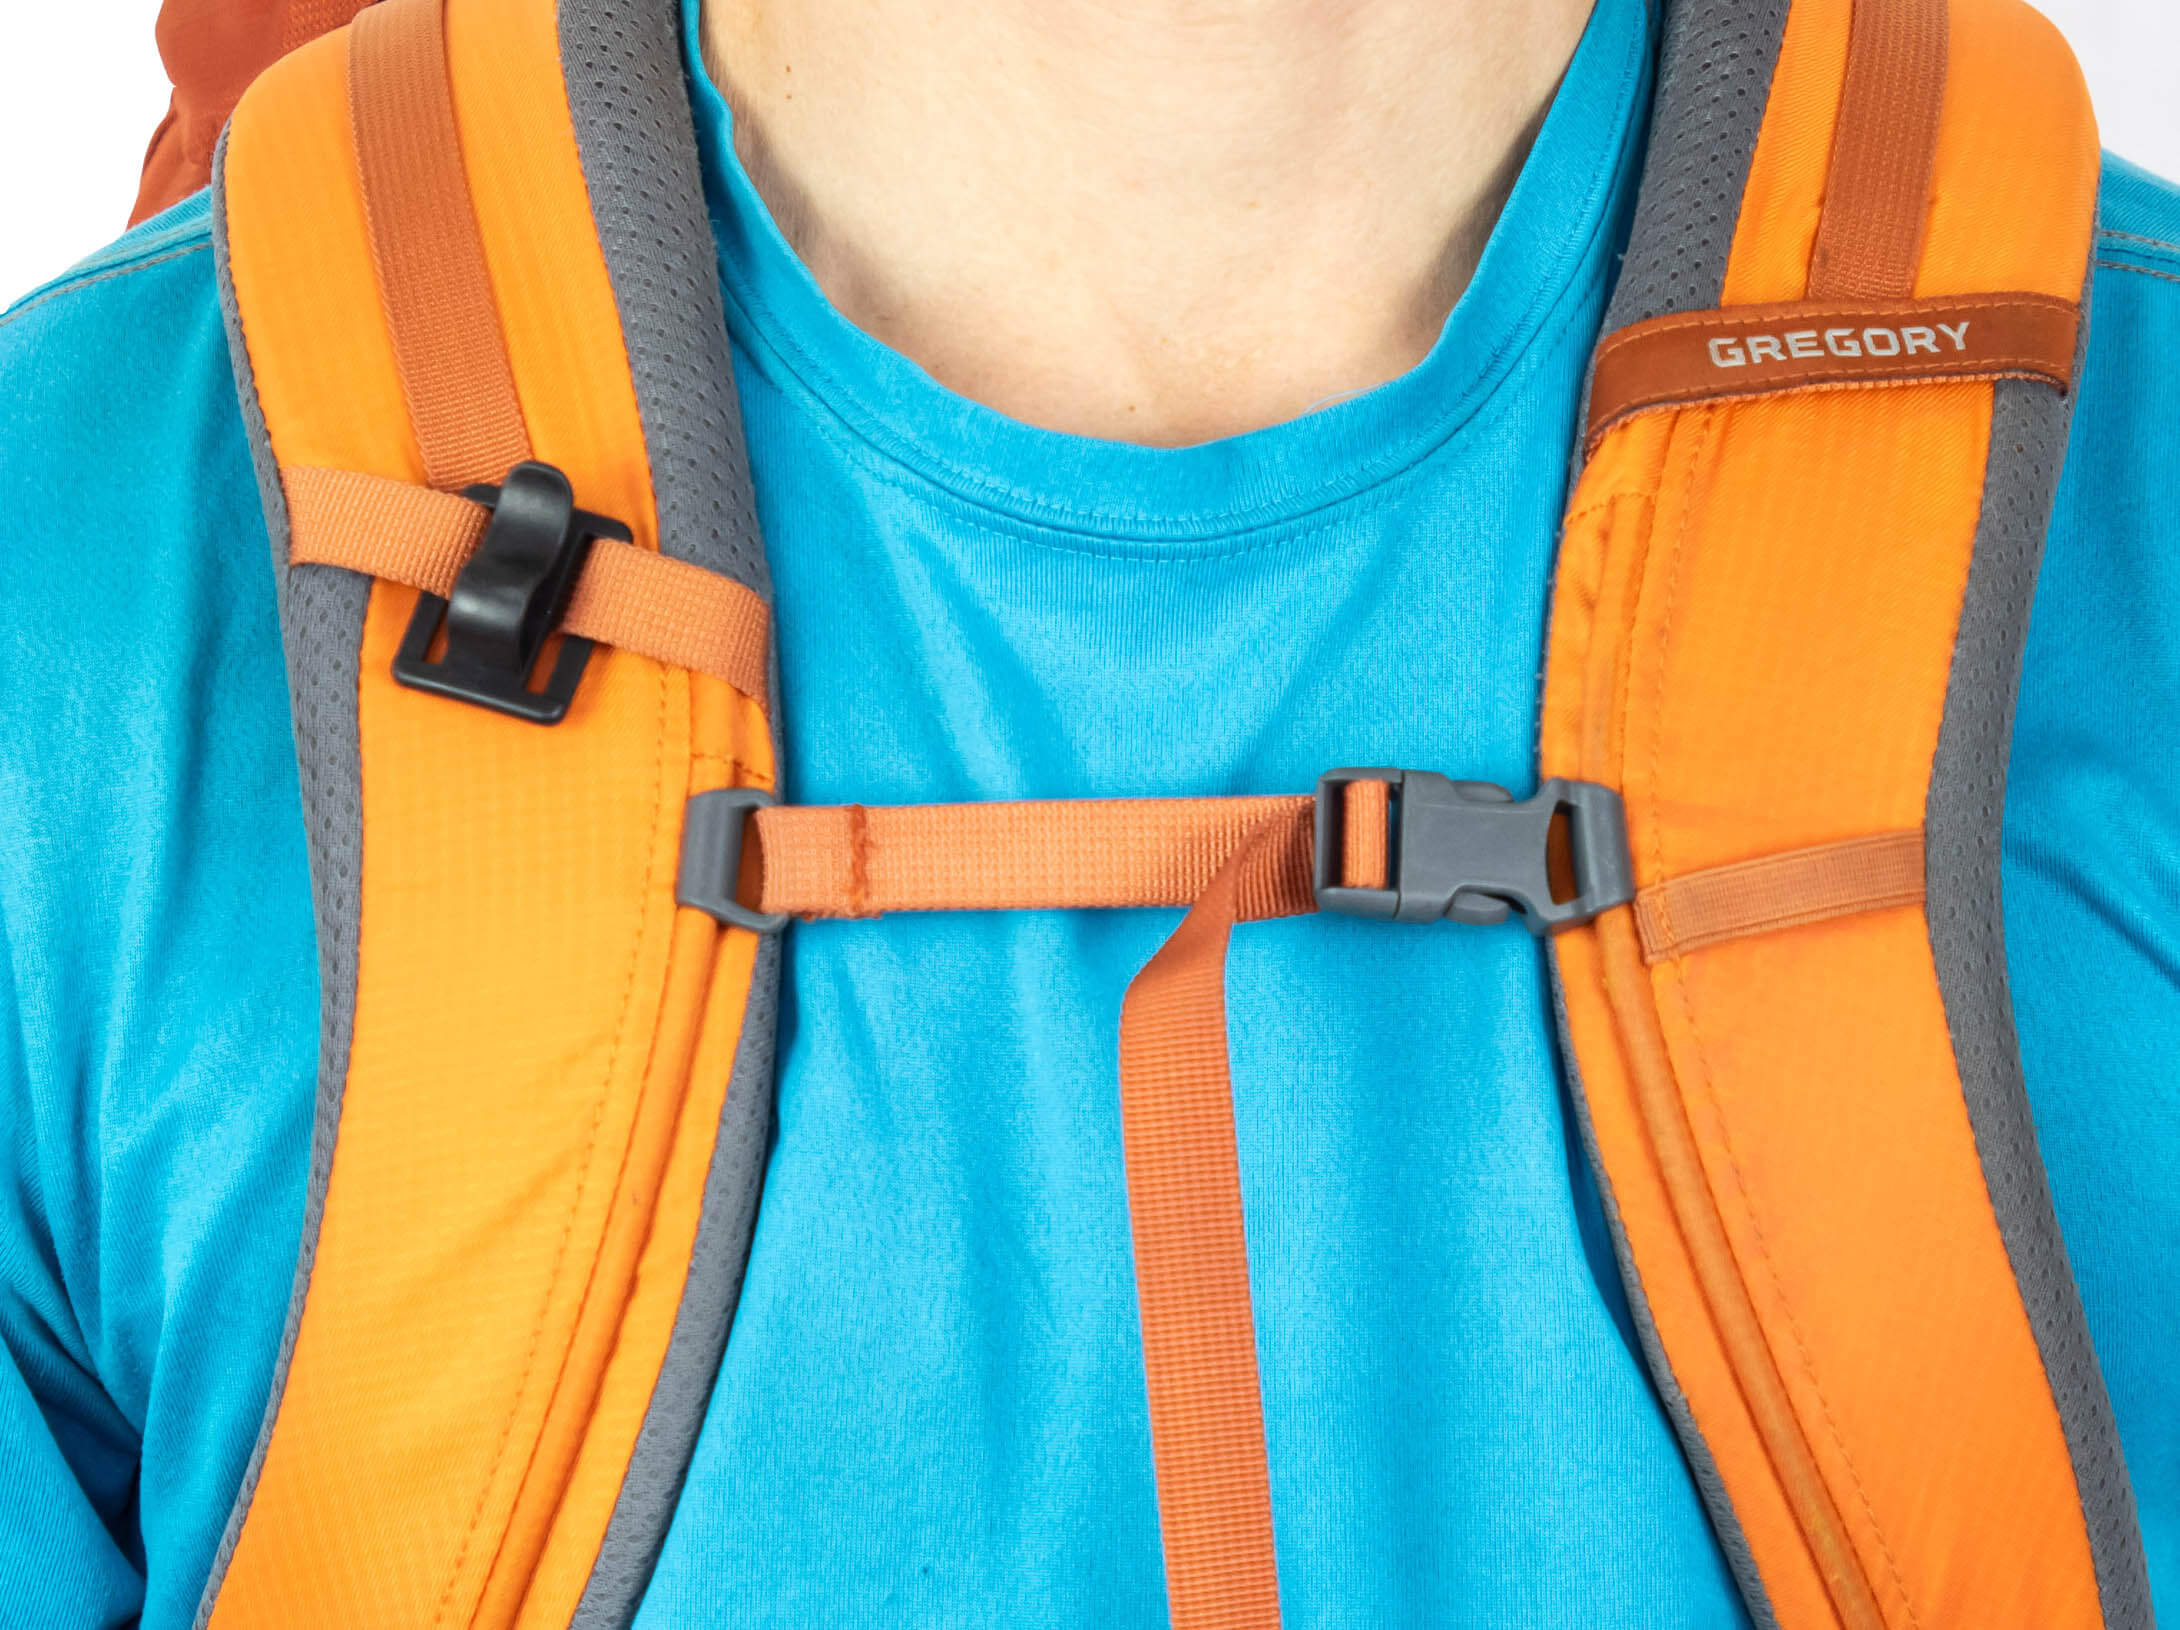
With your shoulder straps properly adjusted, you can now adjust the sternum strap. First, you’ll want to move the two ends of the strap up or down the sliders on the shoulder straps so that they’re at the right height (level with your armpits). You can then adjust the length of the sternum strap itself. You want it just tight enough to ensure that the shoulders straps fit snugly. It’s important that there is still space for your chest to expand naturally when you breathe.
4. Adjust the load lifter straps
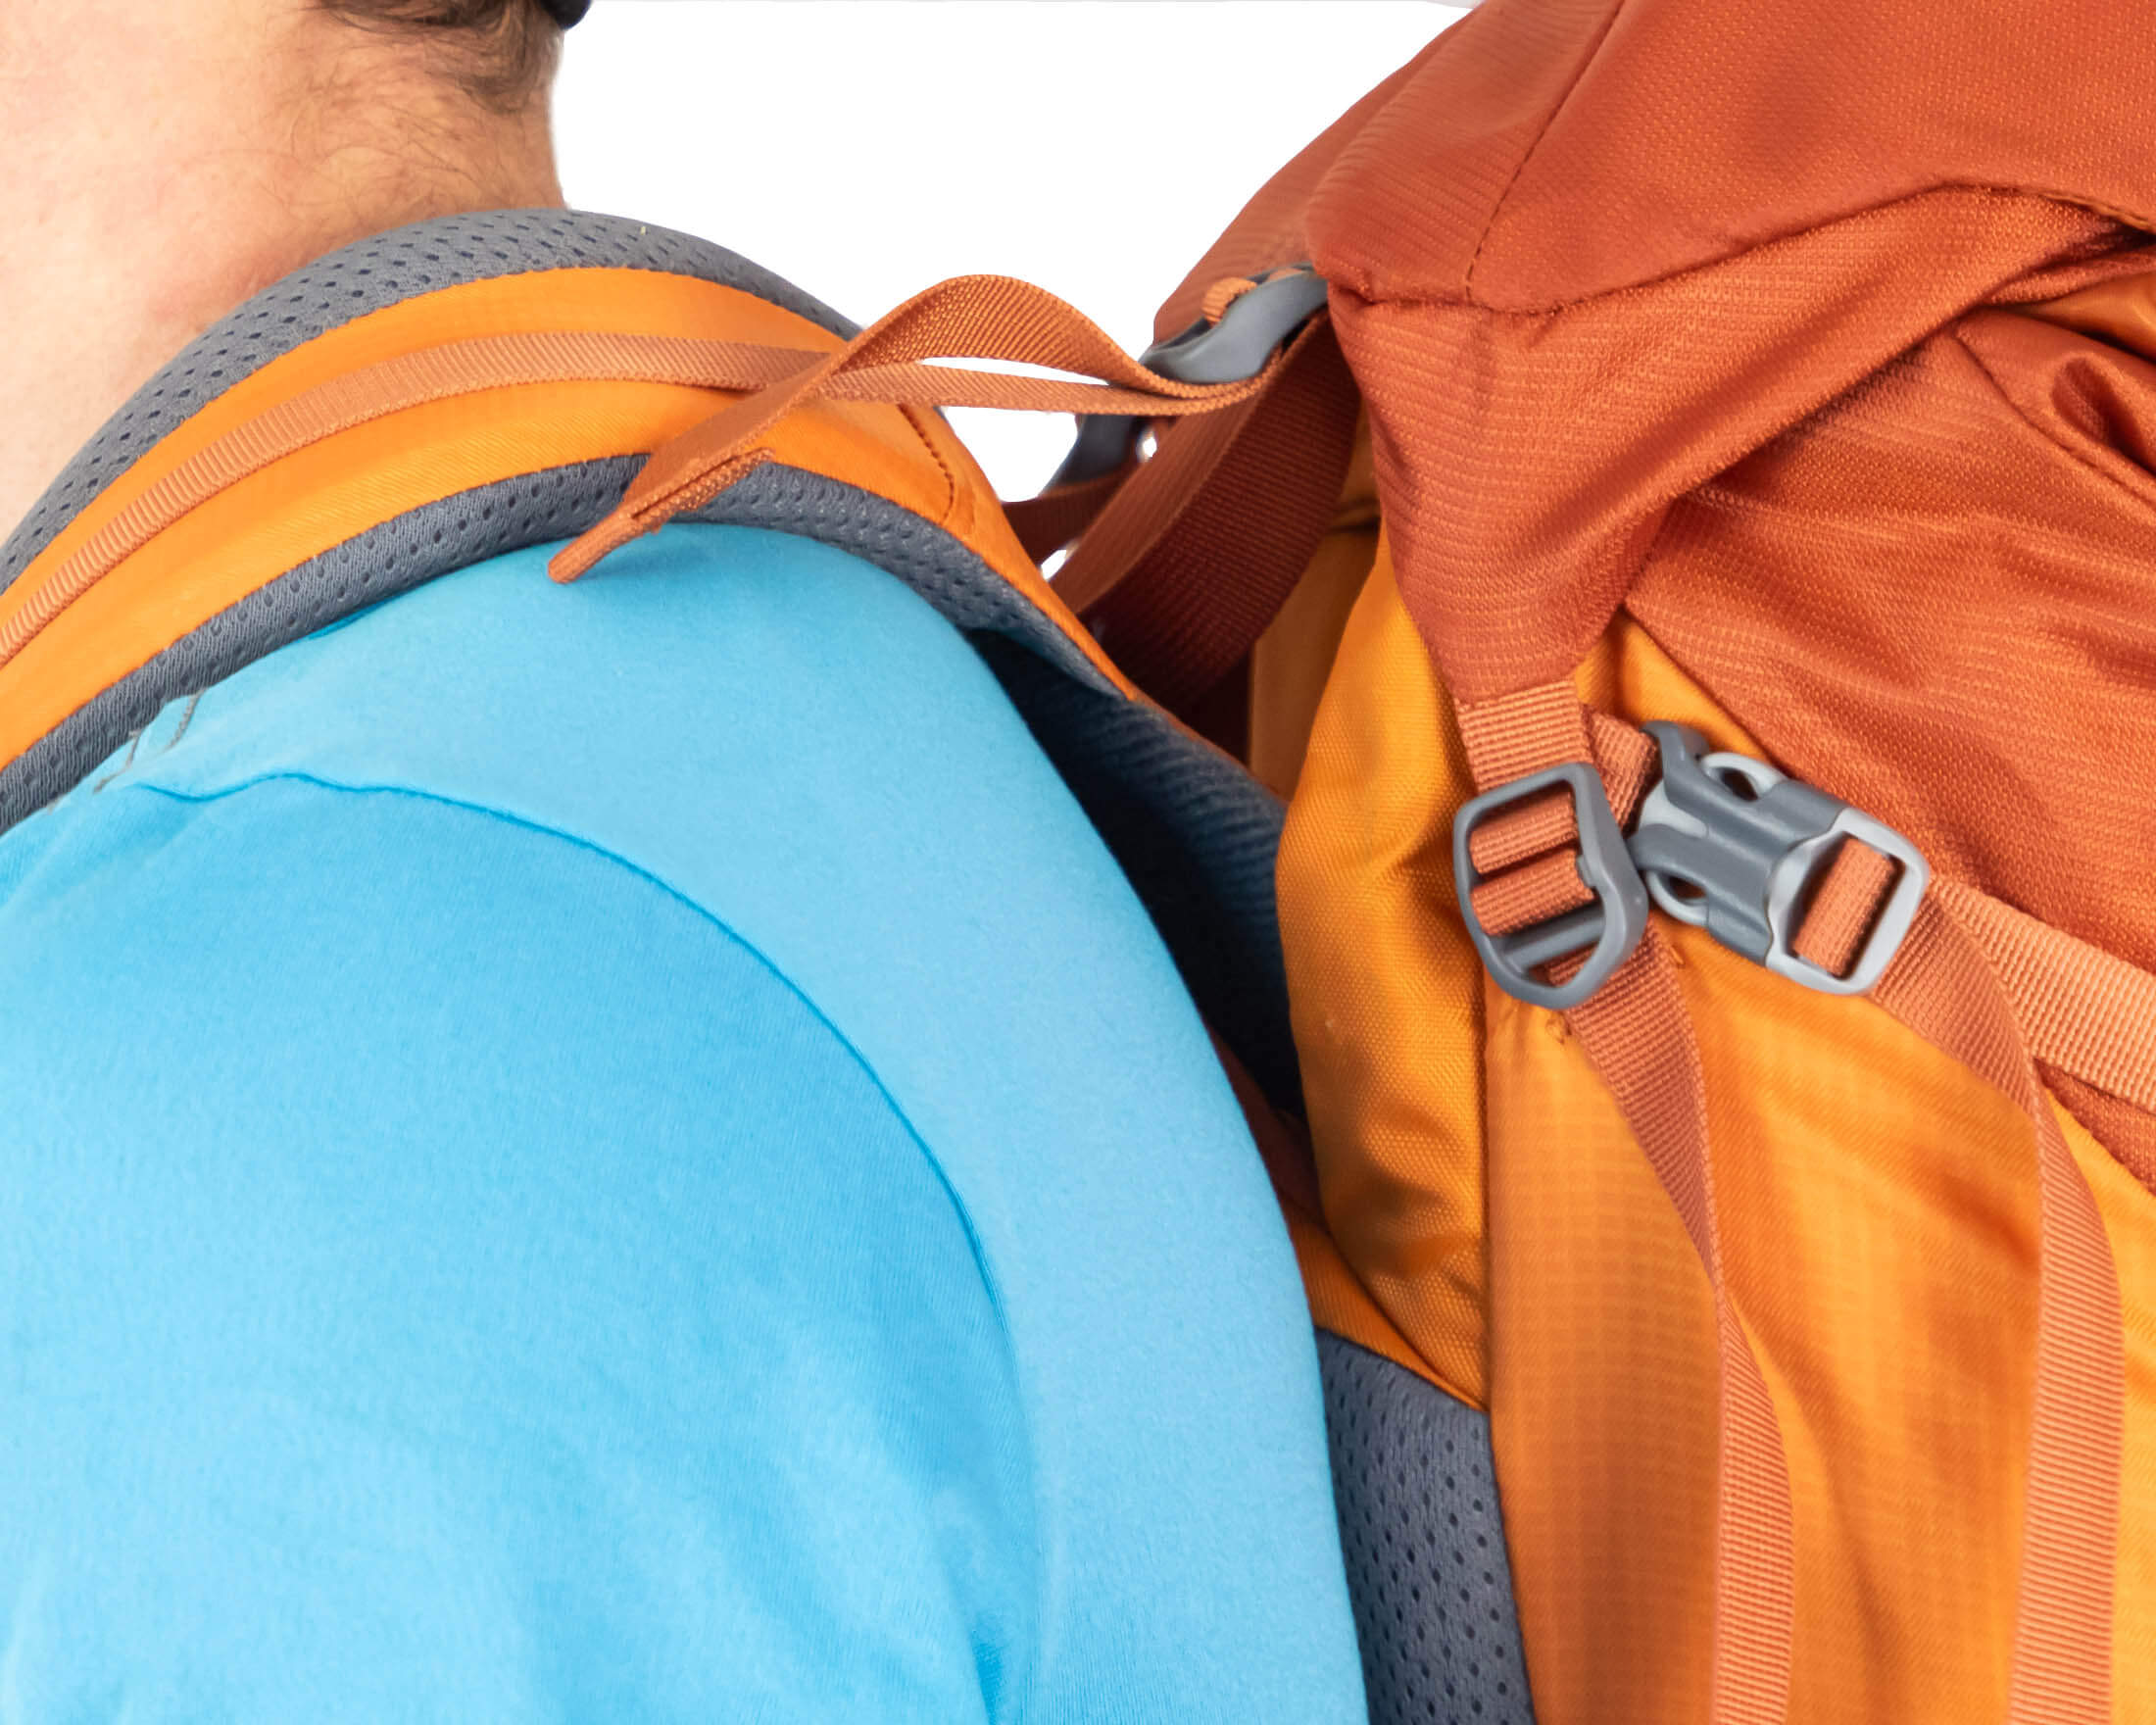
The last step is to adjust the load lifter straps. As with previous adjustments, you want to start with these loose. Then slowly pull on the straps until you feel weight on your shoulders. If they are too tight, they will pull the top of your shoulder straps away from your body. Once everything looks good, you should walk around and lean forwards and backwards to test the balance of the pack. If it doesn’t feel right, you might need to repeat the last three steps, but it could also be that weight needs to be distributed better inside the pack.
Get more advice from this gearhead
You now know how to size and fit your next backpack. All that remains is for you to get your pack and hit the trail. Okay, so maybe there are a few other things you need to do first. If you are brand new to backpacking, you might not have many of the other pieces of kit typically carried when backpacking. In that case you might want to know how to choose a sleeping bag or a backpacking stove. And then once you have all your kit, you still need to know how to pack it so that the weight is properly distributed and everything is easily accessible. Fortunately, this website has articles on all of these and more. Look for them under the Outdoor life and Running & Hiking categories, or use the search bar to look for something specific. Happy exploring.
