If you bike, hike, or run, you know that blisters can very quickly put an end to your fun. But they don’t have to. With proper prevention, you can stop many hotspots from developing into showstoppers. In this article, I show you how to prevent most blisters from becoming a problem and then go on to explain how to treat those that have already started troubling you.
What causes blisters?
In short, friction. When hotspots are subjected to increased friction, your body responds by producing fluid which builds up beneath the skin. This means that almost anything that intensifies rubbing can cause a blister – a faster pace, greater distances, poor choice of footwear or socks, and even foot abnormalities. But friction isn’t the only cause of these troublesome sores. In many cases, the effects of rubbing are compounded by moisture and swelling.
Friction, moisture and swelling
Over the course of a strenuous run, a runner’s feet can swell by as much as half a shoe size. This can make things a little more snug than you might want them – creating new hotspots and worsening those that were already there. Then, on top of that, you have all the sweatiness. Moisture makes your skin softer, and more friction plus softer skin usually equals blisters. This is why many runners only suffer blisters during races, especially marathons, during which they perspire more and run harder for longer.
And blood blisters?
When the friction is so intense that it ruptures tiny blood vessels, you get a blood blister. These usually form in bony areas such as the knuckles of toes and the ball of your foot, but they can also develop in fleshier high-impact areas or in places where the skin is severely pinched. Blood blisters require greater care since they pose a higher risk of infection if they are broken. I describe the treatment of blood blisters separately in the last section.
Preventing rubbing from the outset
The adage ‘prevention is better than cure’ has never been truer than when applied to blisters. Luckily, the list of things you can do to prevent blisters is a lot longer than the list of things you can do to treat them.
Change socks regularly
This is a strategy popular with marathon runners. Moisture is one of the biggest factors contributing to blisters, and if you can keep your feet dry, you’ll have a much better chance of preventing blisters. On longer, wetter runs, carry an extra pair of socks (or two) to change into when those on your feet start to get damp. Fresh, clean socks are also better if a blister ruptures or if you have to drain one.
Double up where necessary
Hiking with a heavy pack or boots? Double up your socks with a thinner pair over your feet and a second thicker pair over those. The inner layer will wick away moisture while the outer layer gives you extra padding. As with a single pair of socks, you need to match the thickness of your socks to the space around your feet. Boots should always be sized a little bigger. With this strategy, you often only need to change your thinner inner socks when they get wet.
Get better socks
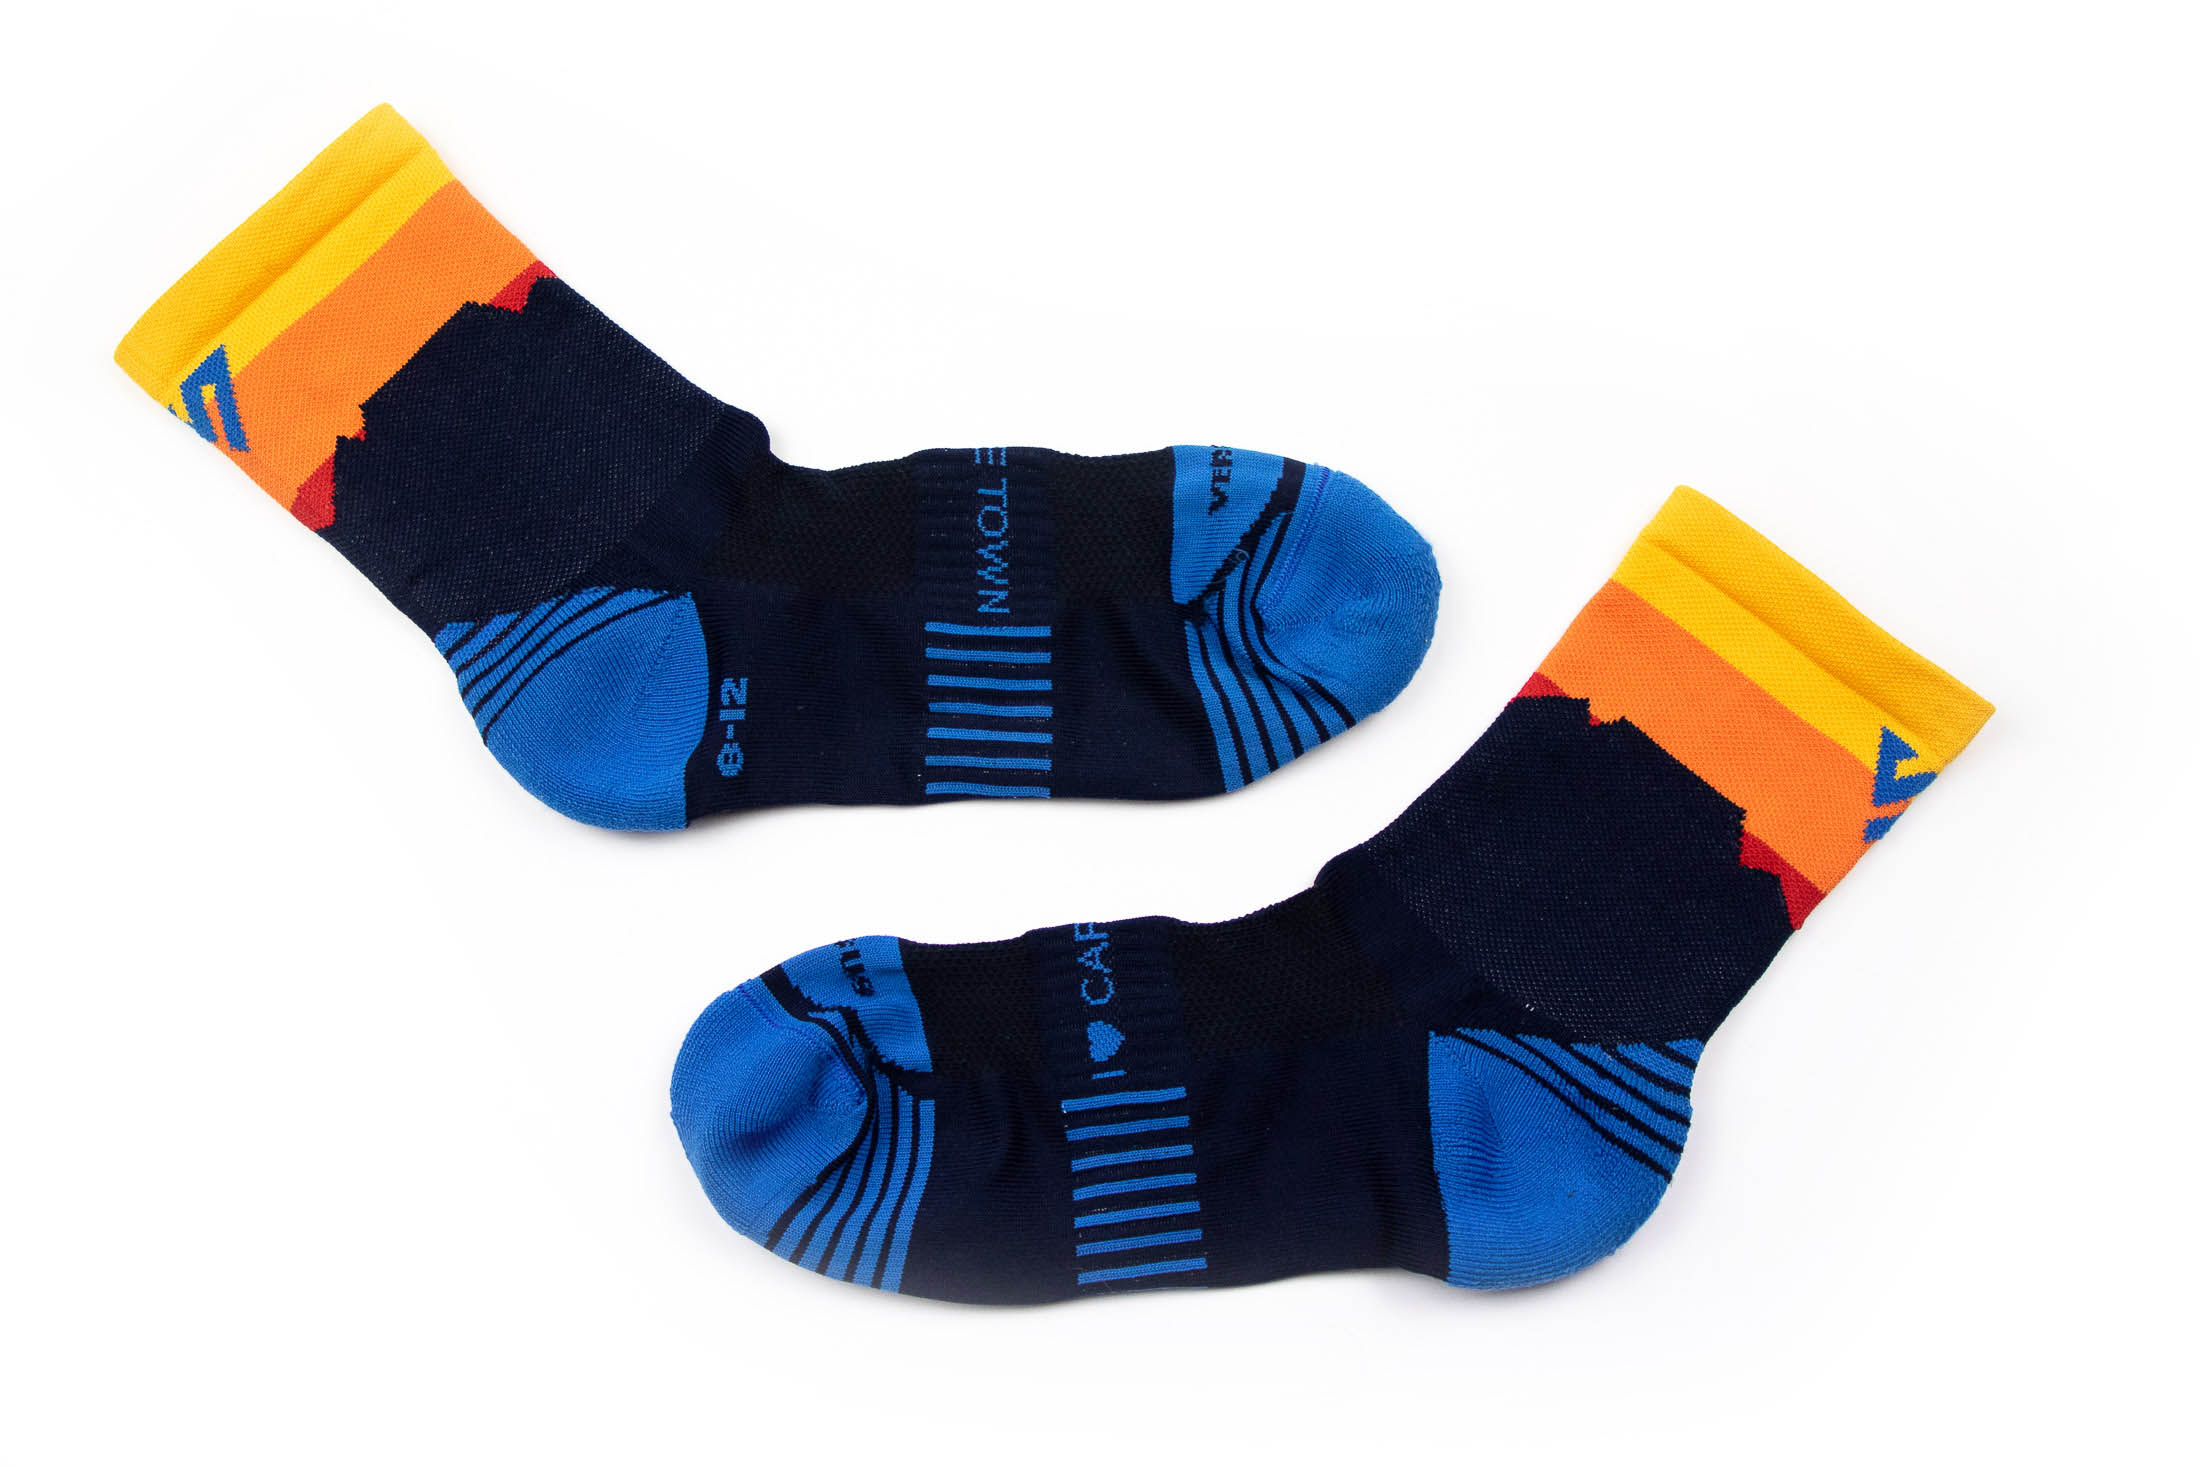
Good socks can be expensive, but they're worth it if they help prevent blisters. Quality synthetic socks will wick away moisture faster and provide extra padding where you need it – behind the heel and under high-impact areas. Size and thickness matters too. Your socks shouldn’t be so loose that they can bunch up (a common cause of blisters), and they should be just thick enough to fill the space between your foot and inside of your shoe.

Break shoes in before a big run
A new pair of shoes can give you blisters even if they’re the same model and size as the shoes you’re retiring. Your feet need time to get used to new shoes, and your shoes need time to conform to your feet. Take it slow and start with shorter runs. A good strategy is to break in a new pair of shoes while your old pair is still in service. That way you can still wear your old pair on longer runs and races.
Use powder
Another way to keep your socks dry is to powder the inside of your shoes and socks. Corn starch (yes, the stuff you cook with), talcum powder and baby powder can all help keep your feet dry. Sprinkle your chosen fairy dust into the inside of your shoes and on the inside of your socks (or inside and out if you aren’t using balm on your feet). You might even want to reapply mid-race. If you change your socks, you can do this at the same time.
Keep the calluses
Calluses protect your feet, so think twice before you file them down for cosmetic reasons. The only risk of not thinning them down is that they could harden and crack. To prevent them from drying out too much, moisturize your feet after each bath or shower with a good foot cream. You put them through so much, they deserve at least a little TLC.
Preventing hotspots from becoming blisters
If you start to get that hot, raw feeling, it’s not too late. With a few extra precautions, you can often still prevent a hotspot from developing into a blister
Pad hotspots
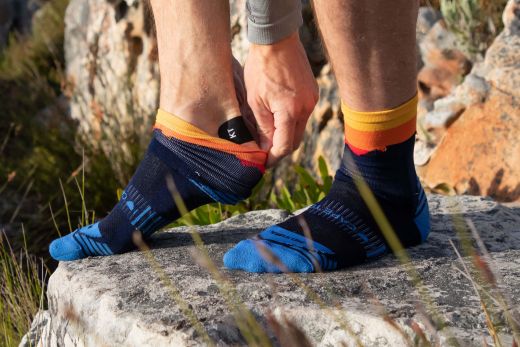
Moleskin and Compeed blister patches are both good options for preventing blisters. Regular sticky bandages can also work, but they don’t provide as much protection. Patches should always be larger than the hotspots they protect, and if you use Moleskin, you should round off the edges of your patches to stop them from lifting. Before a big run, cut several moleskin patches into patches of various sizes for use later.
Lubricate
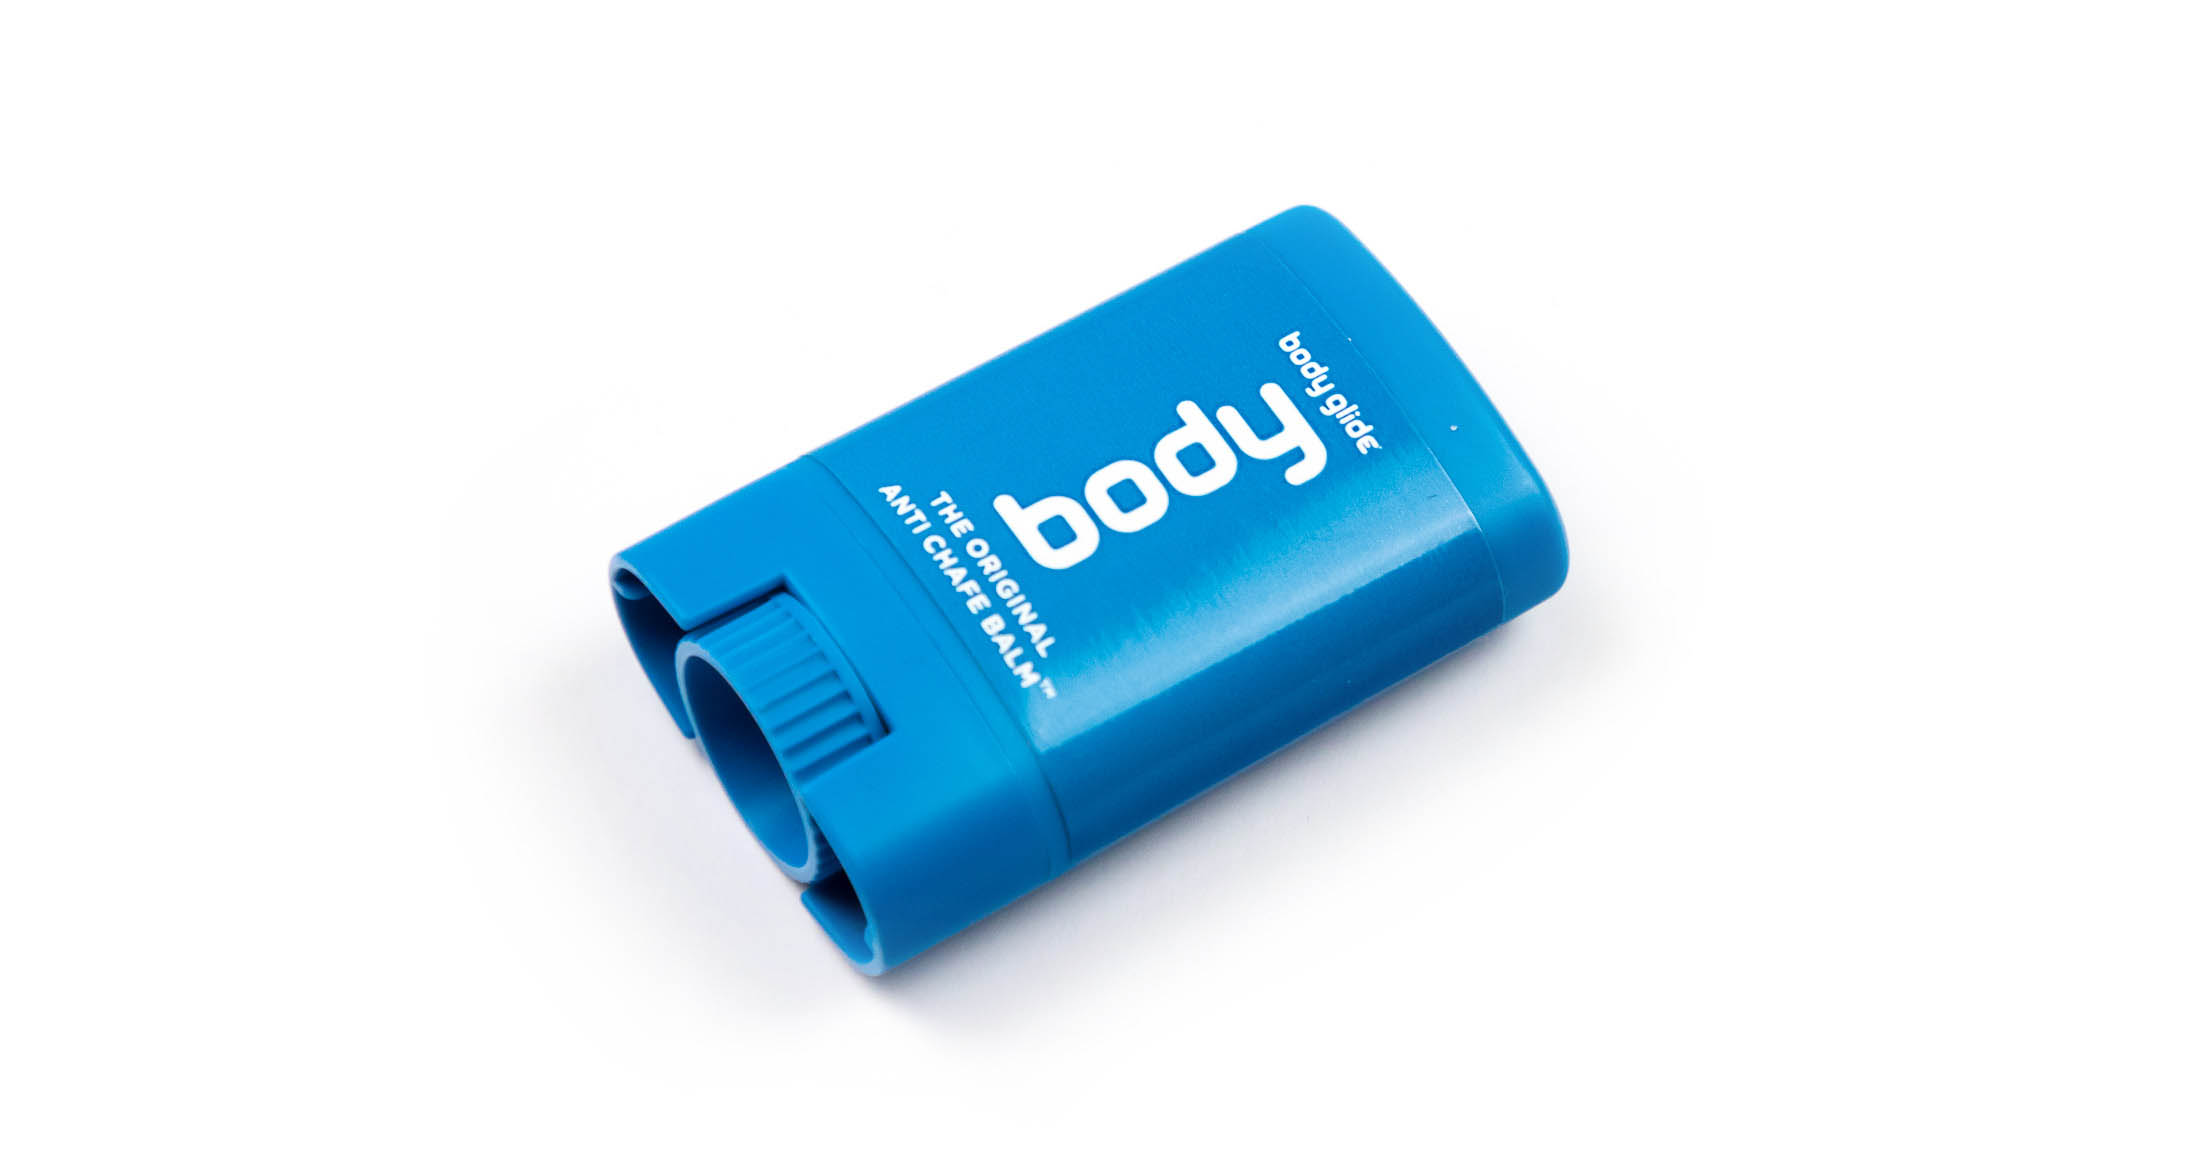
Most runners will be familiar with the strategy of using a little petroleum jelly or anti-chafing balm on your feet to reduce friction and rubbing, but you can do the same with patches and plasters by applying lubricant on top of these. Your sock’s fabric will slide more easily over a patch with lube on it, and the patch, in turn, won’t move around on top of the hot spot or blister as much. Bodyglide is the most popular brand out there, but Vaseline is also a good option.

Treating blisters that haven’t popped
If despite your best efforts, you still get a blister, it's important to stop whatever you’re doing and treat it. But think before you lance a blister. Your skin acts as a protective cover when a blister is still intact, and by opening a blister that doesn’t need to be drained, you only risk infection. Only lance a blister if you think it might pop inside your shoe if left intact. A blister left to pop in a dirty soft is more likely to get infected than one that has been drained and covered up.
Use Molefoam to create a protective barrier around smaller blisters
Instead of popping a small blister, rather use a piece of Molefoam cut into the shape of a donut to protect smaller blisters from further agitation. With the ring of raised molefoam circling the blister, the inside of your shoes will put pressure on the raised Molefoam walls around your blister before it presses on the blister. You can also cap the Molefoam donut with a circular piece of Moleskin or a Compeed blister patch for extra protection.
Lance blisters that are likely to pop
Pin holes made with a needle tend to close up. Rather, use a scalpel blade to make an incision when lancing a blister, and always at the edge of a blister. But, first sterilize the blade with an alcohol swab if you’re not taking it out of a wrapper. You can then use the alcohol swab to also clean the blister while it’s still intact. Once you’ve punctured a blister, carefully drain the liquid by pushing gently near the incision. Then, to dress it, follow the steps in the section below.
Treating open blisters
Too late. Your blister has popped. What do you do now?
Only remove skin that has to go
Do not remove the flap of skin unless it is torn or dirty. If you have to cut away some skin, try to remove as little as possible. This is where a scalpel is again better than a needle. With any dirty or ragged skin taken care of, you can then clean the blister, including any exposed raw skin with an antiseptic wipe (Benzalkonium Chloride). Allow to dry before applying the next step.
Cover the blister with a bandage
Before covering the blister with a bandage, apply antibiotic ointment but just over the incision. You can then cover the blister with either a plaster (small blisters) or a gauze pad and adhesive fabric tape (large blisters). A round Moleskin patch or Compeed patch with a smaller piece of gauze pad in the middle of it also works well. Round the edges of the patch to stop them from lifting.
Watch out for infection
If your blister gets infected, it’s important that you see a doctor as soon as possible. An infected blister can cause cellulitis, a bacterial infection that can become very serious if left untreated. Signs of infection include the following:
Treating blood blisters
Blood blisters are best left to dry and flatten on their own. If the skin over the blister is broken, it could become infected and create a scar. You should only ever consider lancing a blood blister if it’s very big and it risks popping by itself. To drain a blood blister follow the instructions described above while taking extra precautions to prevent infection. Due to the high risk of infection, you should never drain a blood blister if you have a condition such as HIV, diabetes, heart disease or cancer.
Assemble a blister kit
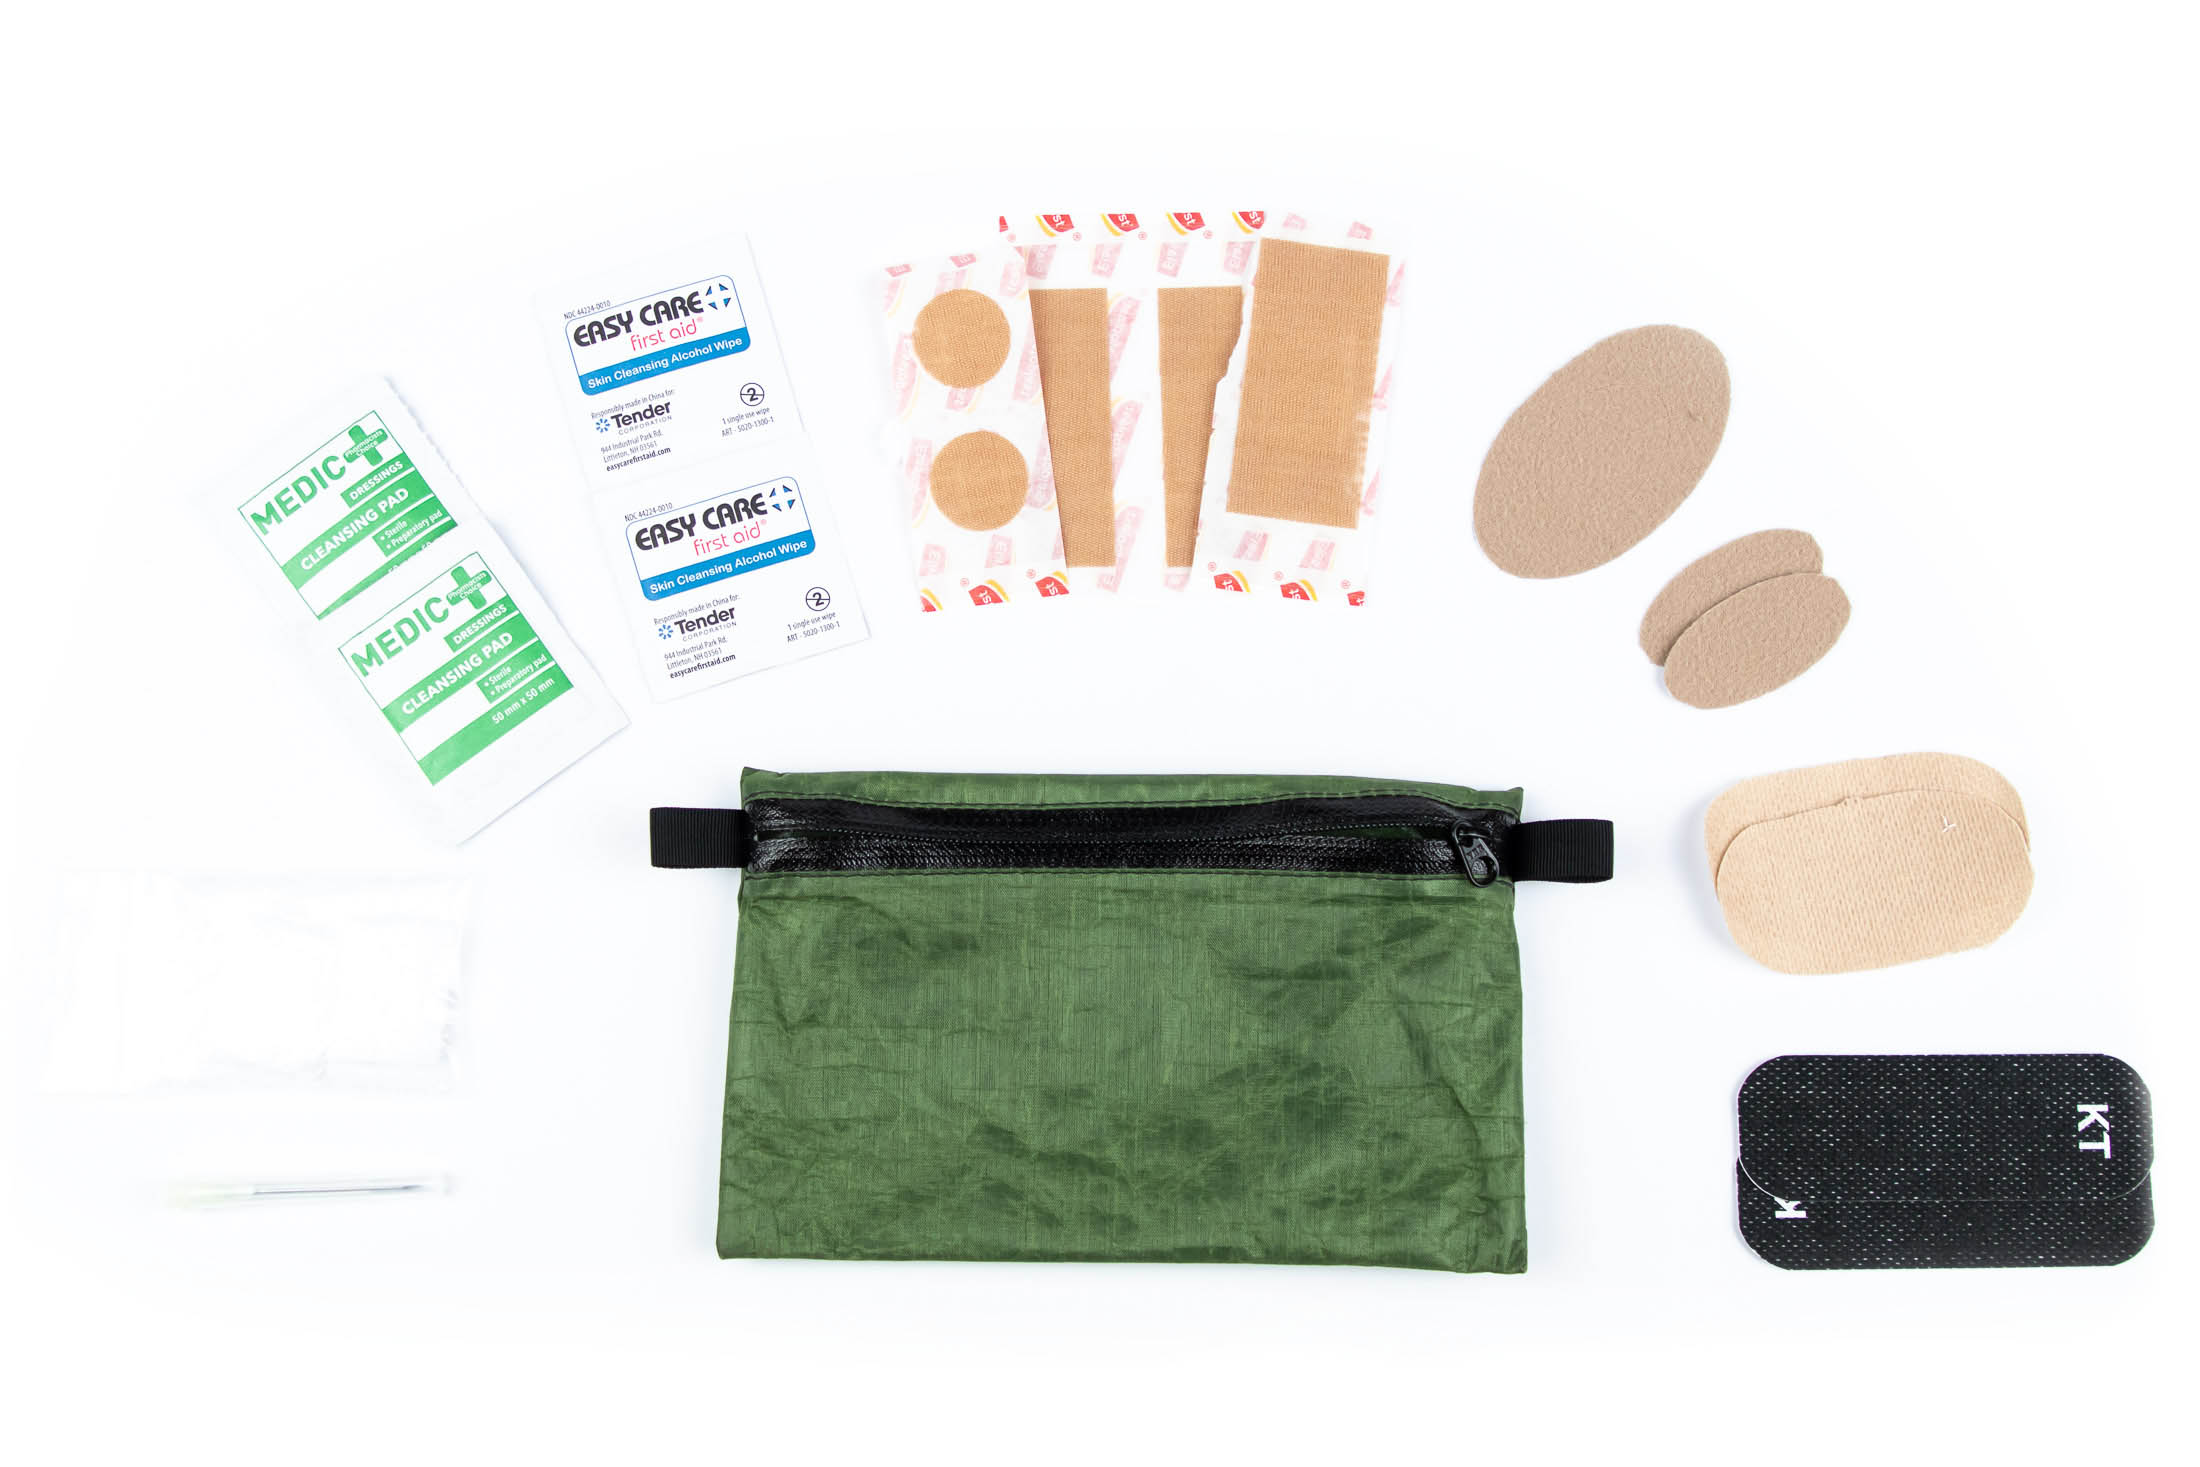
If you pack only the essentials, a blister kit can be small enough to fit into a small ziplock bag, making it a practical addition to even a light trail pack. To keep my kit as small as possible, I cut the Moleskin patches and Molefoam donuts in advance so that I don’t need to carry scissors, and I wind the adhesive fabric tape (just a meter or two) around an empty cotton spool to reduce bulk. You should have these same items in any wilderness first aid kit although maybe in larger quantities.

| scalpel blade | adhesive fabric tape |
| 3 x antiseptic wipes (Benzalkonium Chloride) | 3 x Moleskin or Compeed blister plasters |
| 2 x alcohol wipes | 2 x Molefoam cut into donuts |
| 3 x fabric band aids (different sizes | small Ziplock bag (for trash) |
| 2 x gauze patches (cut to fit under patches) | chlorine dioxide water purification tablets |
| gauze pad (cut big enough for a large blister) |
Get back out there
Blisters suck, but they don’t need to end a hike or run. By taking the preventative measures described above, you can prevent hot spots from becoming any worse. And even if one or two do develop into blisters there are ways to treat them so that you can get
back out on the trail. So, take care of your feet, and you’ll get more many more happy miles out of them. For more advice on all things running and hiking, sign up for Trail Mail and get the best tips and advice delivered straight to your inbox.
