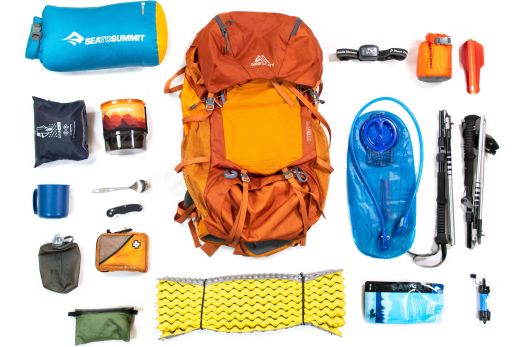
What you pack and how you pack it can make or break a backpacking trip. Pack too much and the weight of your backpack will wear you down. Pack too little and you’re going to leave some essentials behind. The trick is to know what you need and then curb the impulse to pack a book, board game, or pair of binoculars – the kinds of items that might seem fun or clever but will probably go unused. If you can convince yourself to take just the essentials, your only challenge is deciding what’s necessary. But that’s also no small task, and I’ll explain why in a minute.
First, a quick note on what’s not covered here: food and meal planning. I have a separate article on how to feed yourself in the backcountry, which is well worth reading after this. The guide you’re reading right now tells you only what gear you need and why.
- Factors affecting kit list
- General gear
- Sleep setup
- Camp kitchen
- Footwear and headgear
- Hiking clothes
- Packed clothes
It’s a long list, but you won’t need everything mentioned here. Personal kit that will be needed on most hikes appears under the subheading ‘personal’. Gear that’s only needed in certain circumstances appears under the subheading ‘optional’. And some kit has been categorised as ‘shared’, because you don’t need to carry everything yourself. By sharing certain items (You only need one stove between two of you), you can significantly reduce the weight of your pack.
General Gear
| Backpack | Shared |
| Headlamp | Water filter or purifier |
| Pack rain cover | Multitool or knife |
| Reservoir and water bottles | GPS, map & compass |
| Microfibre towel | First aid and survival kit |
| Toiletry kit | Optional |
| Go bag | Trekking poles |
| Satellite messenger | |
| Power bank or solar charge kit | |
| Trowel |
Sleep setup
| Personal | Optional |
| Sleeping bag or quilt | Inflatable pillow |
| Sleeping pad | Sleeping bag liner |
| Shared | |
| Tent or tarp | |
| Tent footprint or groundsheet |
Camp kitchen
| Personal | Provisions |
| Mug and bowl | Main meals |
| Utensils | Snacks |
| Shared | Electrolyte supplements |
| Stove | Spare gas canisters |
| Pot or cookset |
Footwear & headwear
| Essential | Optional |
| Boots or shoes | Sunglasses |
| Hat | Gaiters |
| Crampons or microspikes |
Hiking clothes
| Essential | Optional |
| Hiking shirt or T-shirt | sock liners |
| Hiking pants or leggings | |
| Underwear | |
| Socks |
Packed clothes
| Essential | Optional |
| Fleece midlayer | Rain jacket or poncho |
| Puffy jacket | Waterproof pants |
| Camp clothes | Thermal underwear or baselayer |
| Spare socks and underwear | Gloves and warm hat |
Factors to take into account when compiling a kit list
What’s essential on one hike might not be essential on another. The usefulness of your gear depends on factors like weather, trail conditions, water sources, and the length of the trip. To be properly prepared, backpackers have to do some research and anticipate how these factors will affect their needs.
Weather & trail conditions
You don’t need any more clothing for a week-long backpacking trip than you do a weekend hike under the same conditions. You just have to wash your clothes. The weather, however, will determine what you pack. You'll need extra insulating and wet weather gear if you expect wet and cold conditions.
Availability and quality of water sources
On a warm day, you might have to drink as much as 800 milliliters every hour to stay hydrated. Before setting off, you need to know where you’re going to get water, how much you’ll need to carry with you, and whether you’ll have to treat it (it’s always better to be safe). This could mean carrying a few water bottles as well as a reservoir and filter.
Time on trail
Besides determining how much food you have to carry, the length of a hike will also determine how many batteries you’ll need to keep headlamps powered as well as how much fuel you’ll need to keep stoves burning. On a trip lasting over a week, you will want to resupply en route to limit the weight of consumables. If your route doesn’t take you near any towns, you might have to drop caches along the trail before starting your hike.
Remoteness
When heading off into the back of beyond, you need to keep two things in mind: one, you probably won’t have cell signal for most of the duration of your hike, and two, you’re going to be far from help if you experience any kind of trouble. Backcountry adventures require a greater degree of self-sufficiency and preparation, and wilderness backpackers would be wise to carry some kind of GPS-enabled device as well as a survival and first aid kit.
Wildlife
Regardless of where in the world you choose to hike, you’re bound to share your surroundings with some furry friends that like human food as much as you do. And in certain parts of the planet, like North America, some of these animals will be large enough to be a danger. Being properly prepared means having what you need to protect both your provisions and yourself from the local wildlife.
General gear
Backpack
Besides fit, the most important factor to consider when choosing a pack is capacity. Some retailers will tell you that a day pack is 20 to 35 litres, a weekend pack is 40 to 60 litres, and multi-day pack is 65 litres or bigger. But these guidelines often aren’t very useful. Following this logic, you would need a 70-litre pack for a thru-hike. Imagine trying to carry a pack this size for 6 months. If you’re six foot plus and over two hundred pounds, maybe this wouldn’t be such a burden, but it would take a considerable and unnecessary toll on the average hiker.

The truth is that you don’t need more gear for a longer trip. You just need to wash and wear clothes repeatedly and plan your meals properly. On longer trips, it’s actually better to carry a lighter pack with less gear to reduce the physical strain of hiking day after day. Of course, you’ll only know what you absolutely need and what you can leave behind once you’ve gained some trail experience. And that’s why I say that experience and weather conditions should be the primary considerations when deciding on a pack’s capacity.
If you’re new to backpacking, you should err on the side of caution and get a pack large enough to carry everything you might need (This will differ according to conditions as well as your personal needs). Then, as you gain more experience, you’ll learn that you can comfortably get by without certain items and will pare down your kit. If you shave enough weight and volume from your kit over your first season, you might find yourself downsizing your pack or even going the ultralight route.
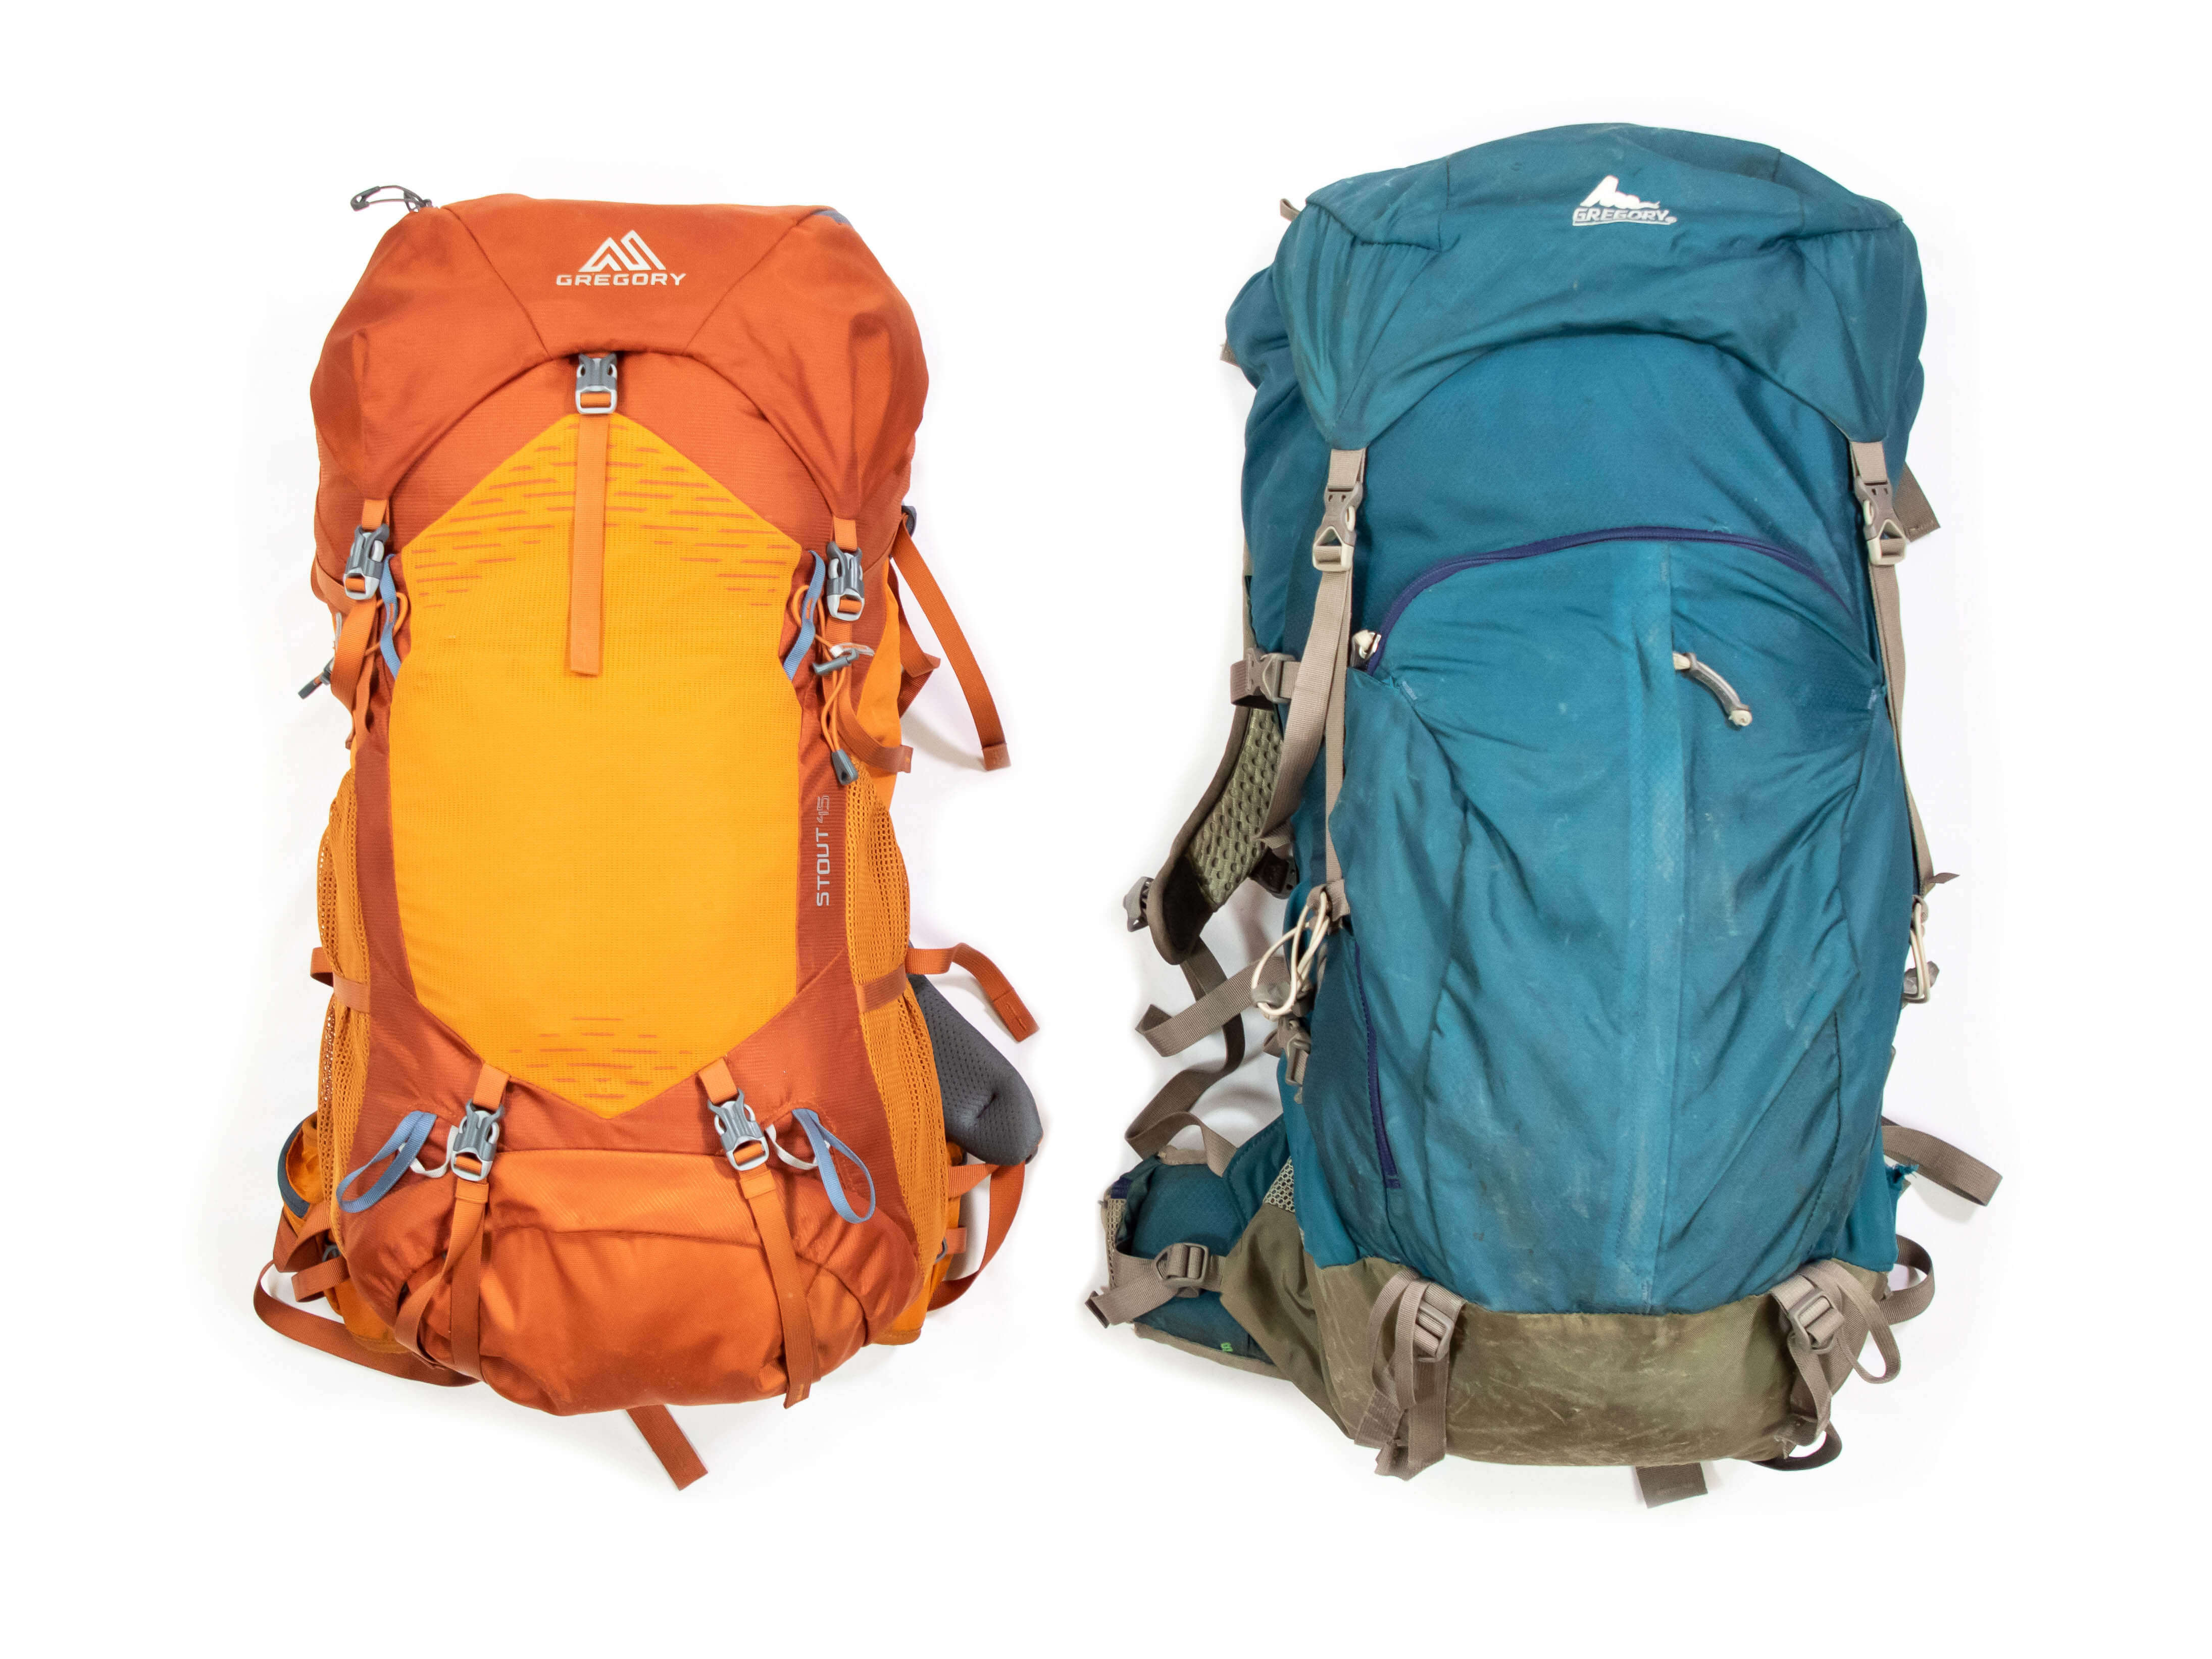
The other, equally important consideration is the weather you’re likely to encounter. Wet and cold conditions call for rainproof clothing, a warmer sleeping bag, and a fully-enclosed tent, all of which will add weight and volume to your pack. My advice is to do some research, compile a kit list, and figure out how large your bag needs to be to carry all your gear. You might be able to borrow a few packs of different sizes from friends and do a test to see which is the right size for your kit. In most cases, a good first pack will be somewhere between 50 and 60 litres. Don’t forget to factor in space for food and water.
Headlamp
The best headlamp for backpacking is a regular AA/AAA-powered headlamp or a hybrid model that can take a lithium ion battery or regular cylindrical batteries. The latter is useful if you’re going to be on the trail for over a week and want to recharge your headlamp with a power bank or solar charger. Just make sure you also carry some AA or AAA batteries for when the rechargeable battery runs flat. Finally, your headlamp should throw a good beam (at least 300 lumens) and offer decent weatherproofing (IPX4) – enough to keep out rain and humidity.
Pack rain cover
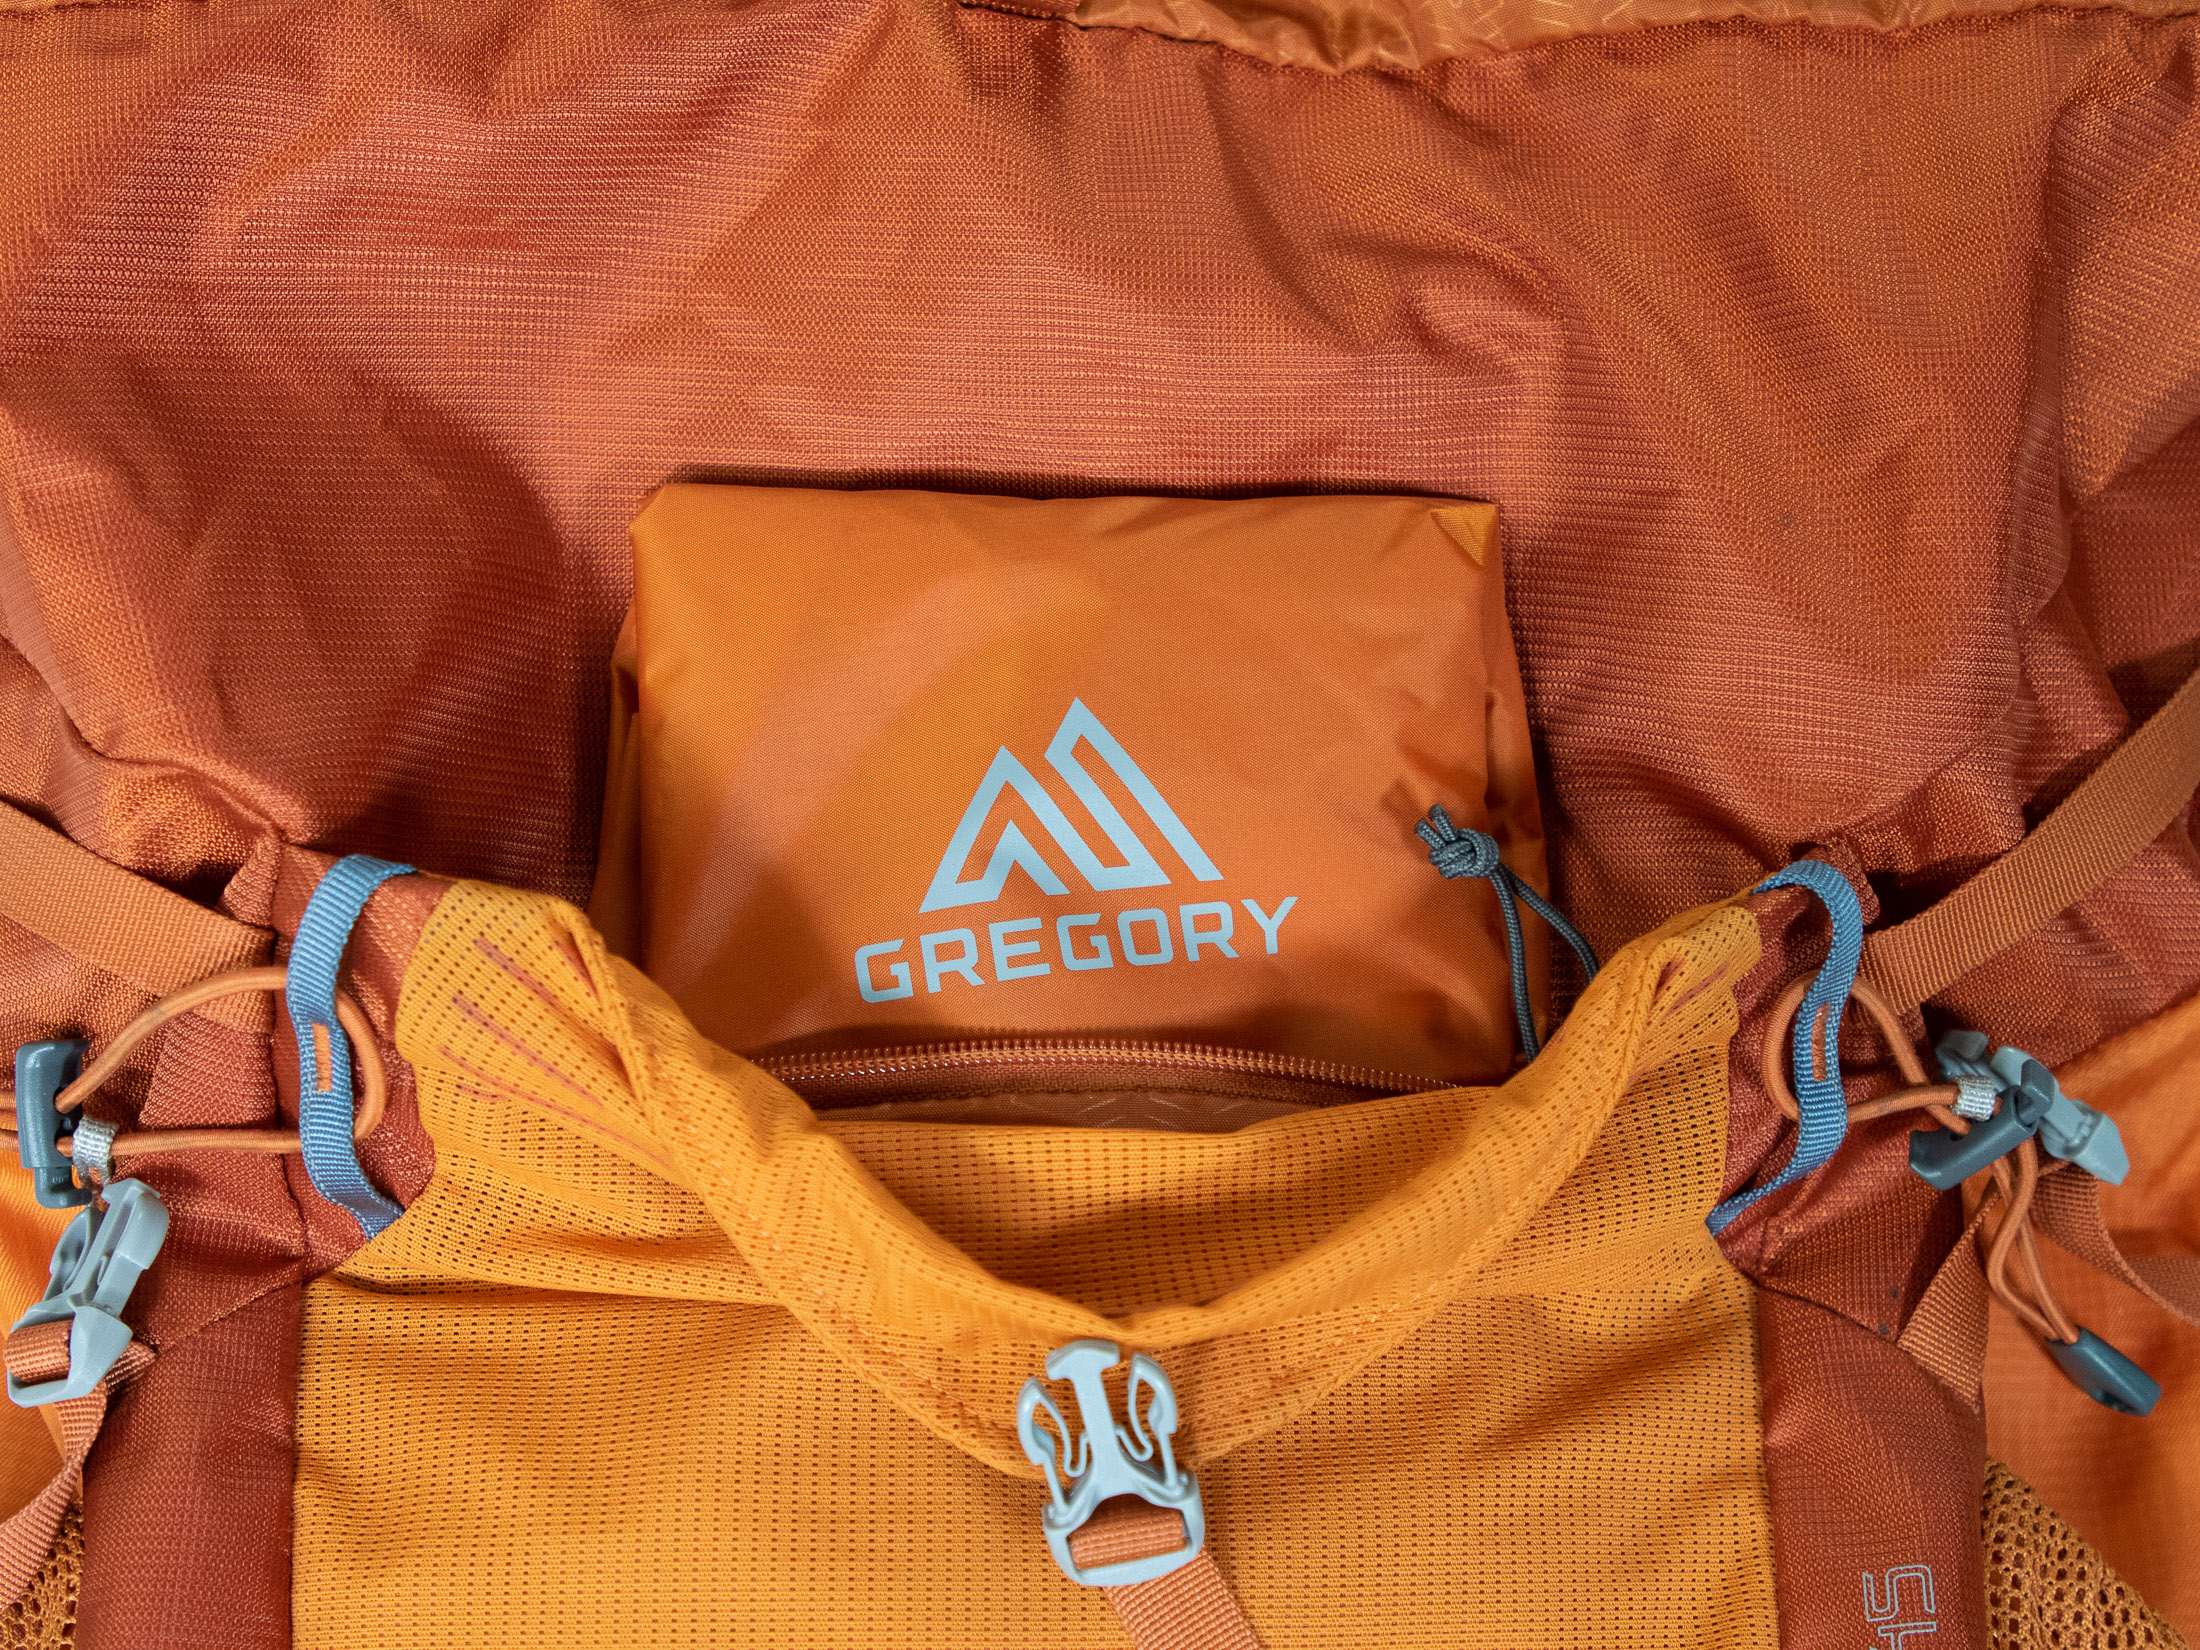
Many backpacks have their own built-in rain covers (usually sewn into a zippered pocket on the underside of the pack), but others will have to be covered with a separate rain cover when it starts to come down. The contents of your pack will weigh a lot more when wet, and you should definitely carry one if there is any chance of rain. If you opt for a poncho instead of a rain jacket, you can get by without a rain cover for your pack if the poncho also covers your pack.
Reservoir and water bottles
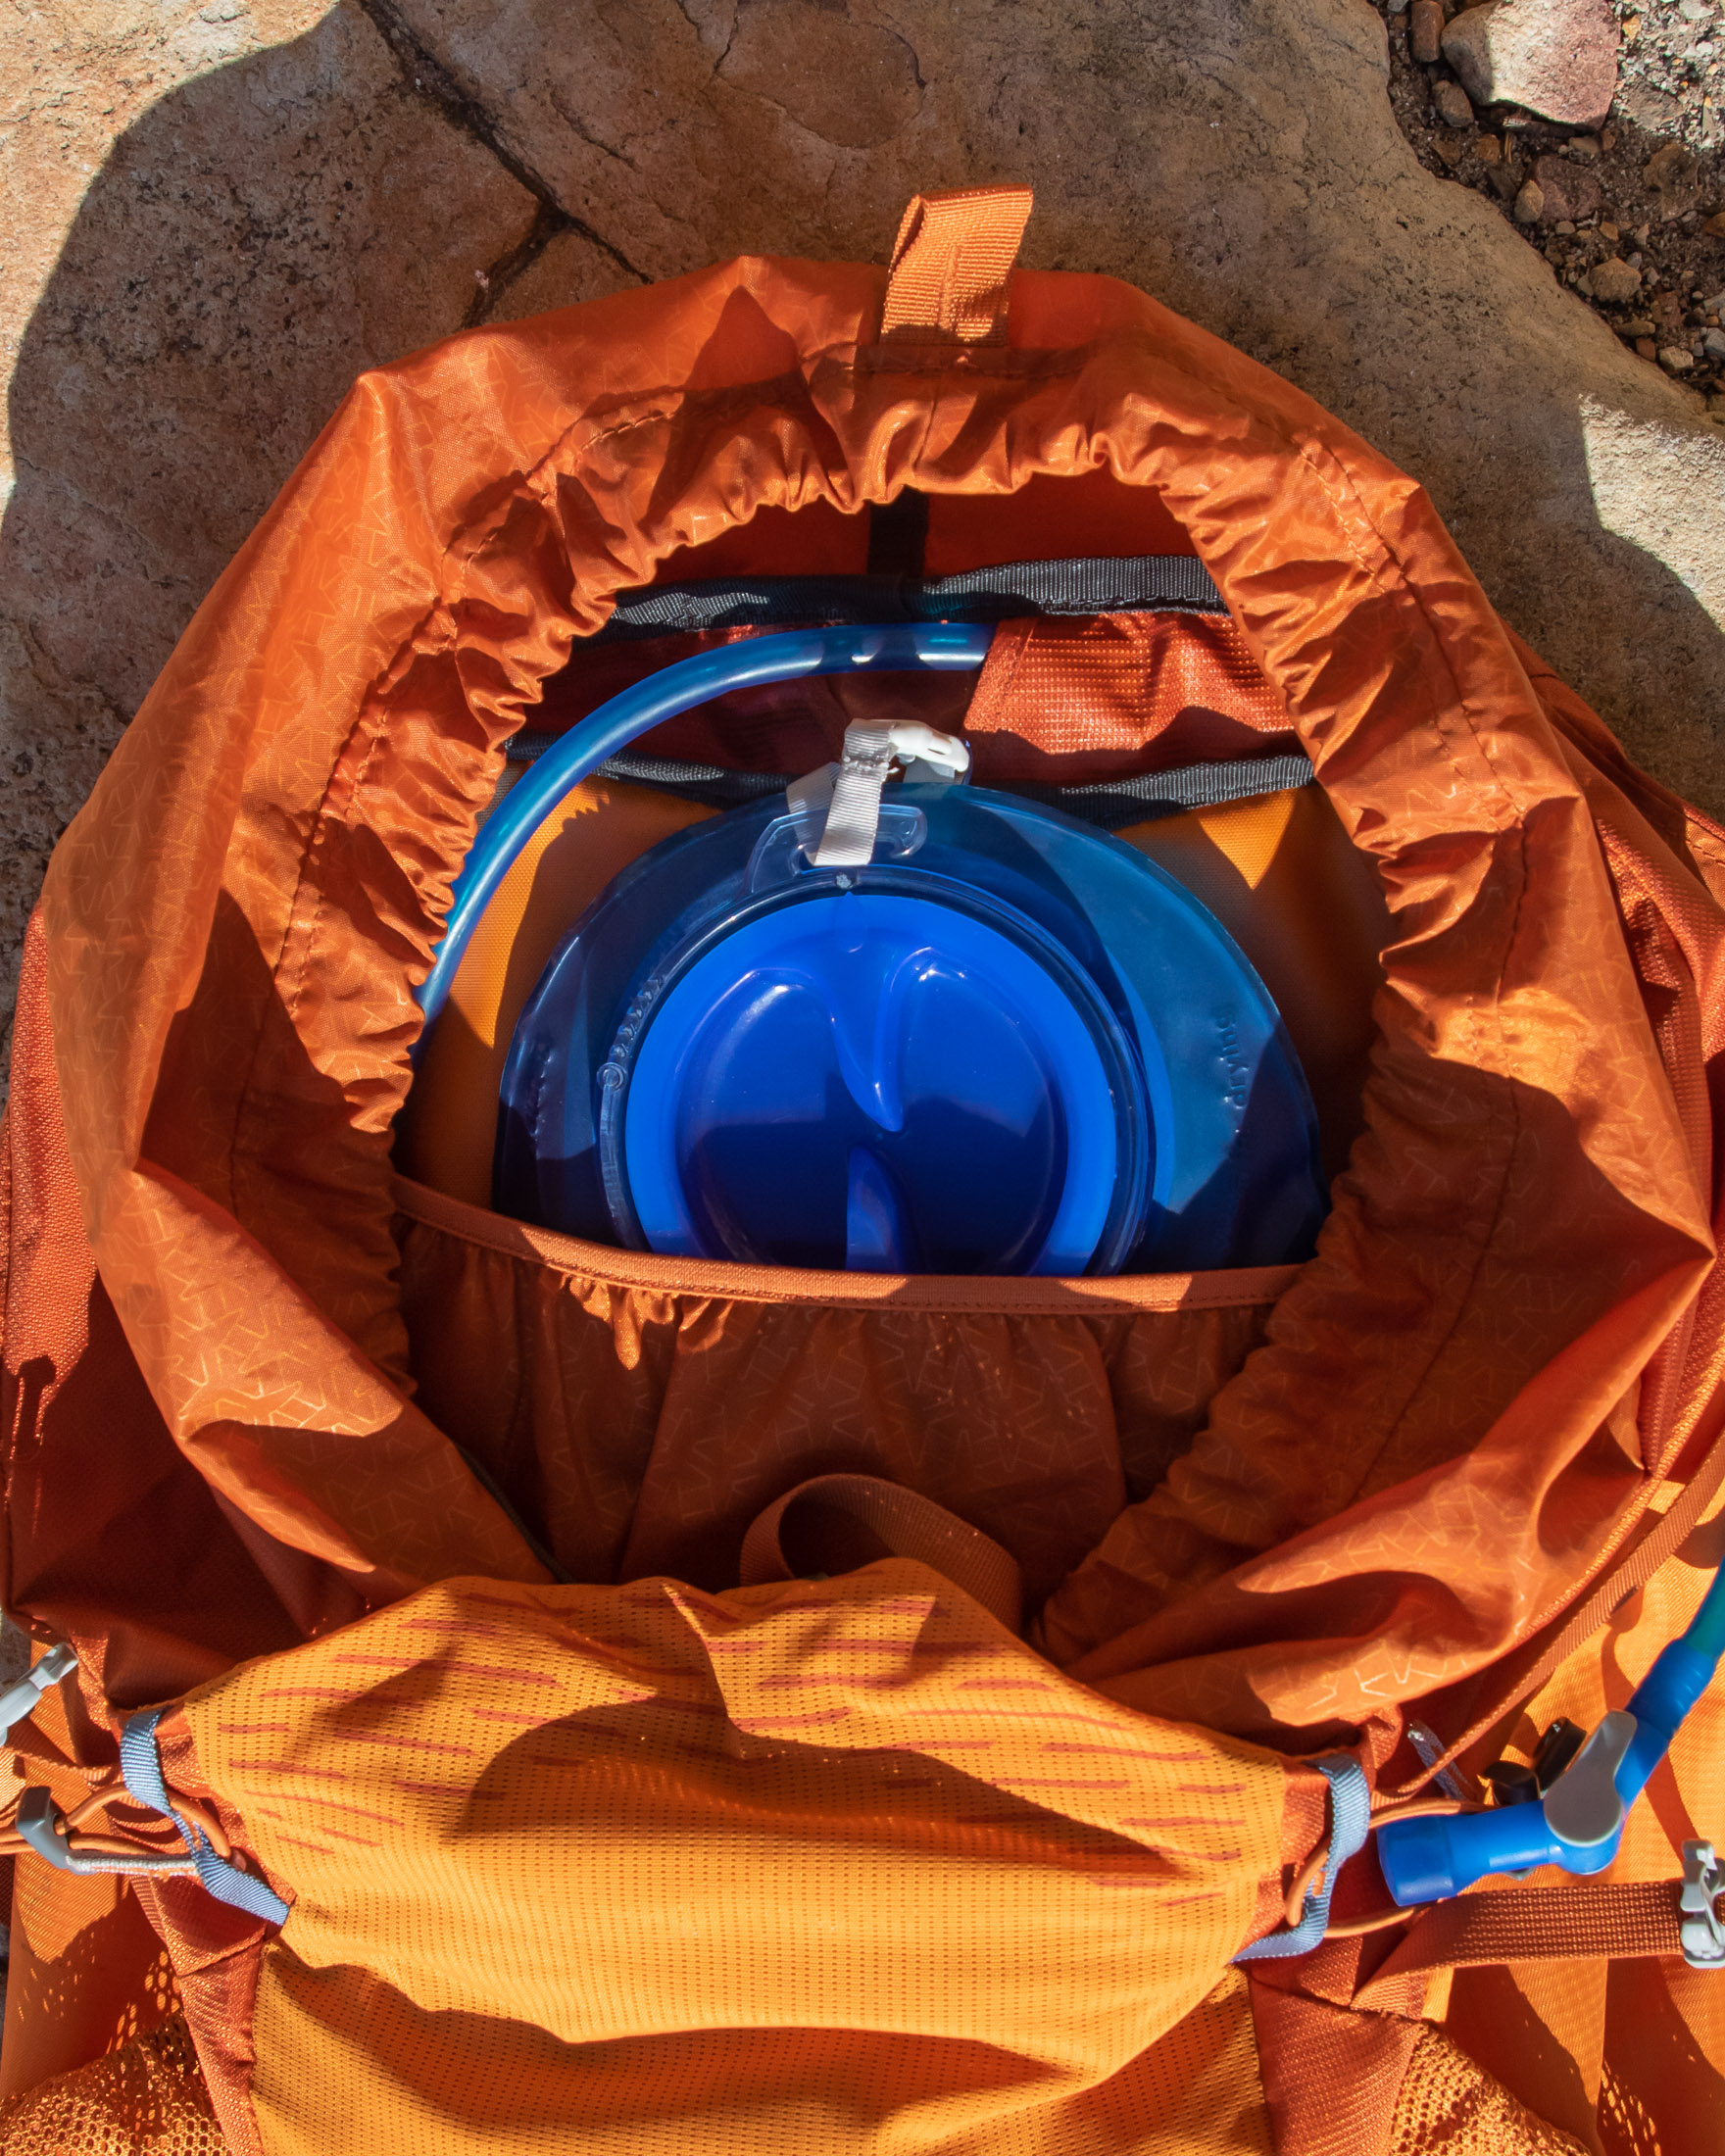
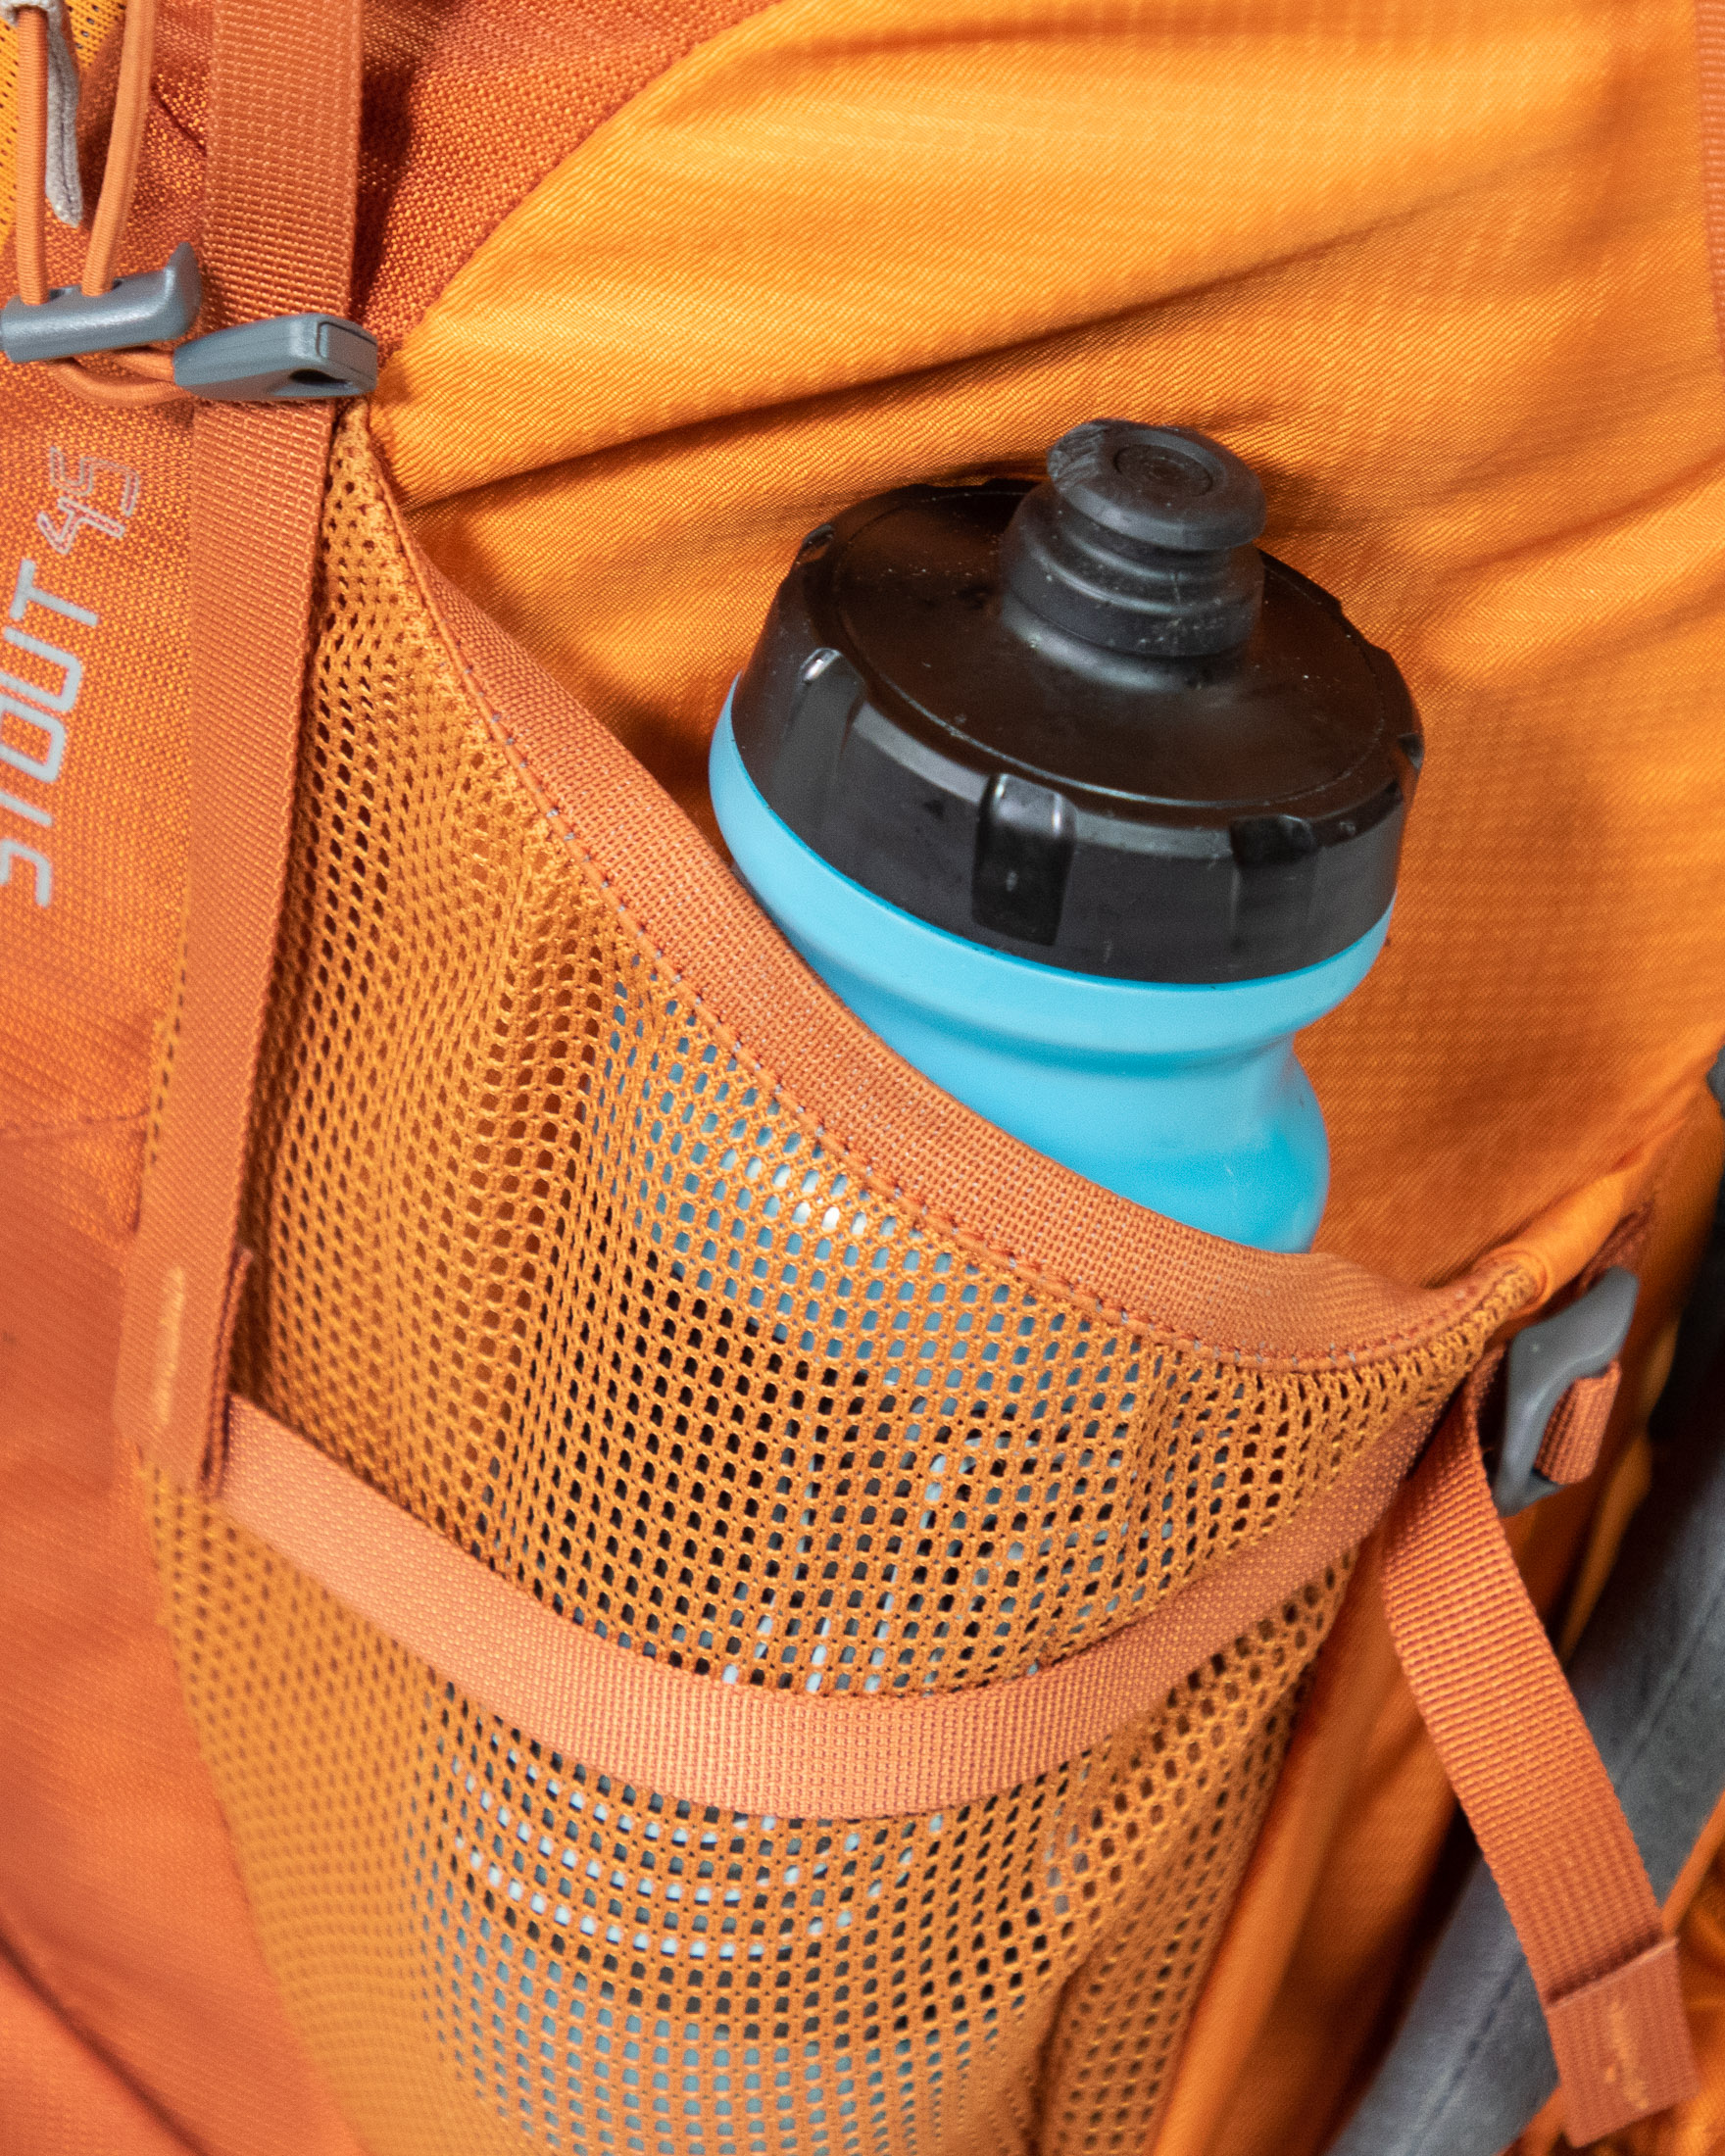
Depending on the weather and distances between sources, you might have to carry a reservoir in addition to a few water bottles. Bottles are much easier to refill than a reservoir (especially difficult to refill when your pack is full), and bottles with wide openings are easiest to refill than those with narrow mouths. If you’re going to filter water from one vessel into another using a sip & squeeze filter, you’ll want the ‘dirty water’ bottle to be a soft flask or something else you can squeeze. The best ‘clean water’ bottle will be something that can stand upright by itself – leaving your hands free for filtering.
Toiletry kit
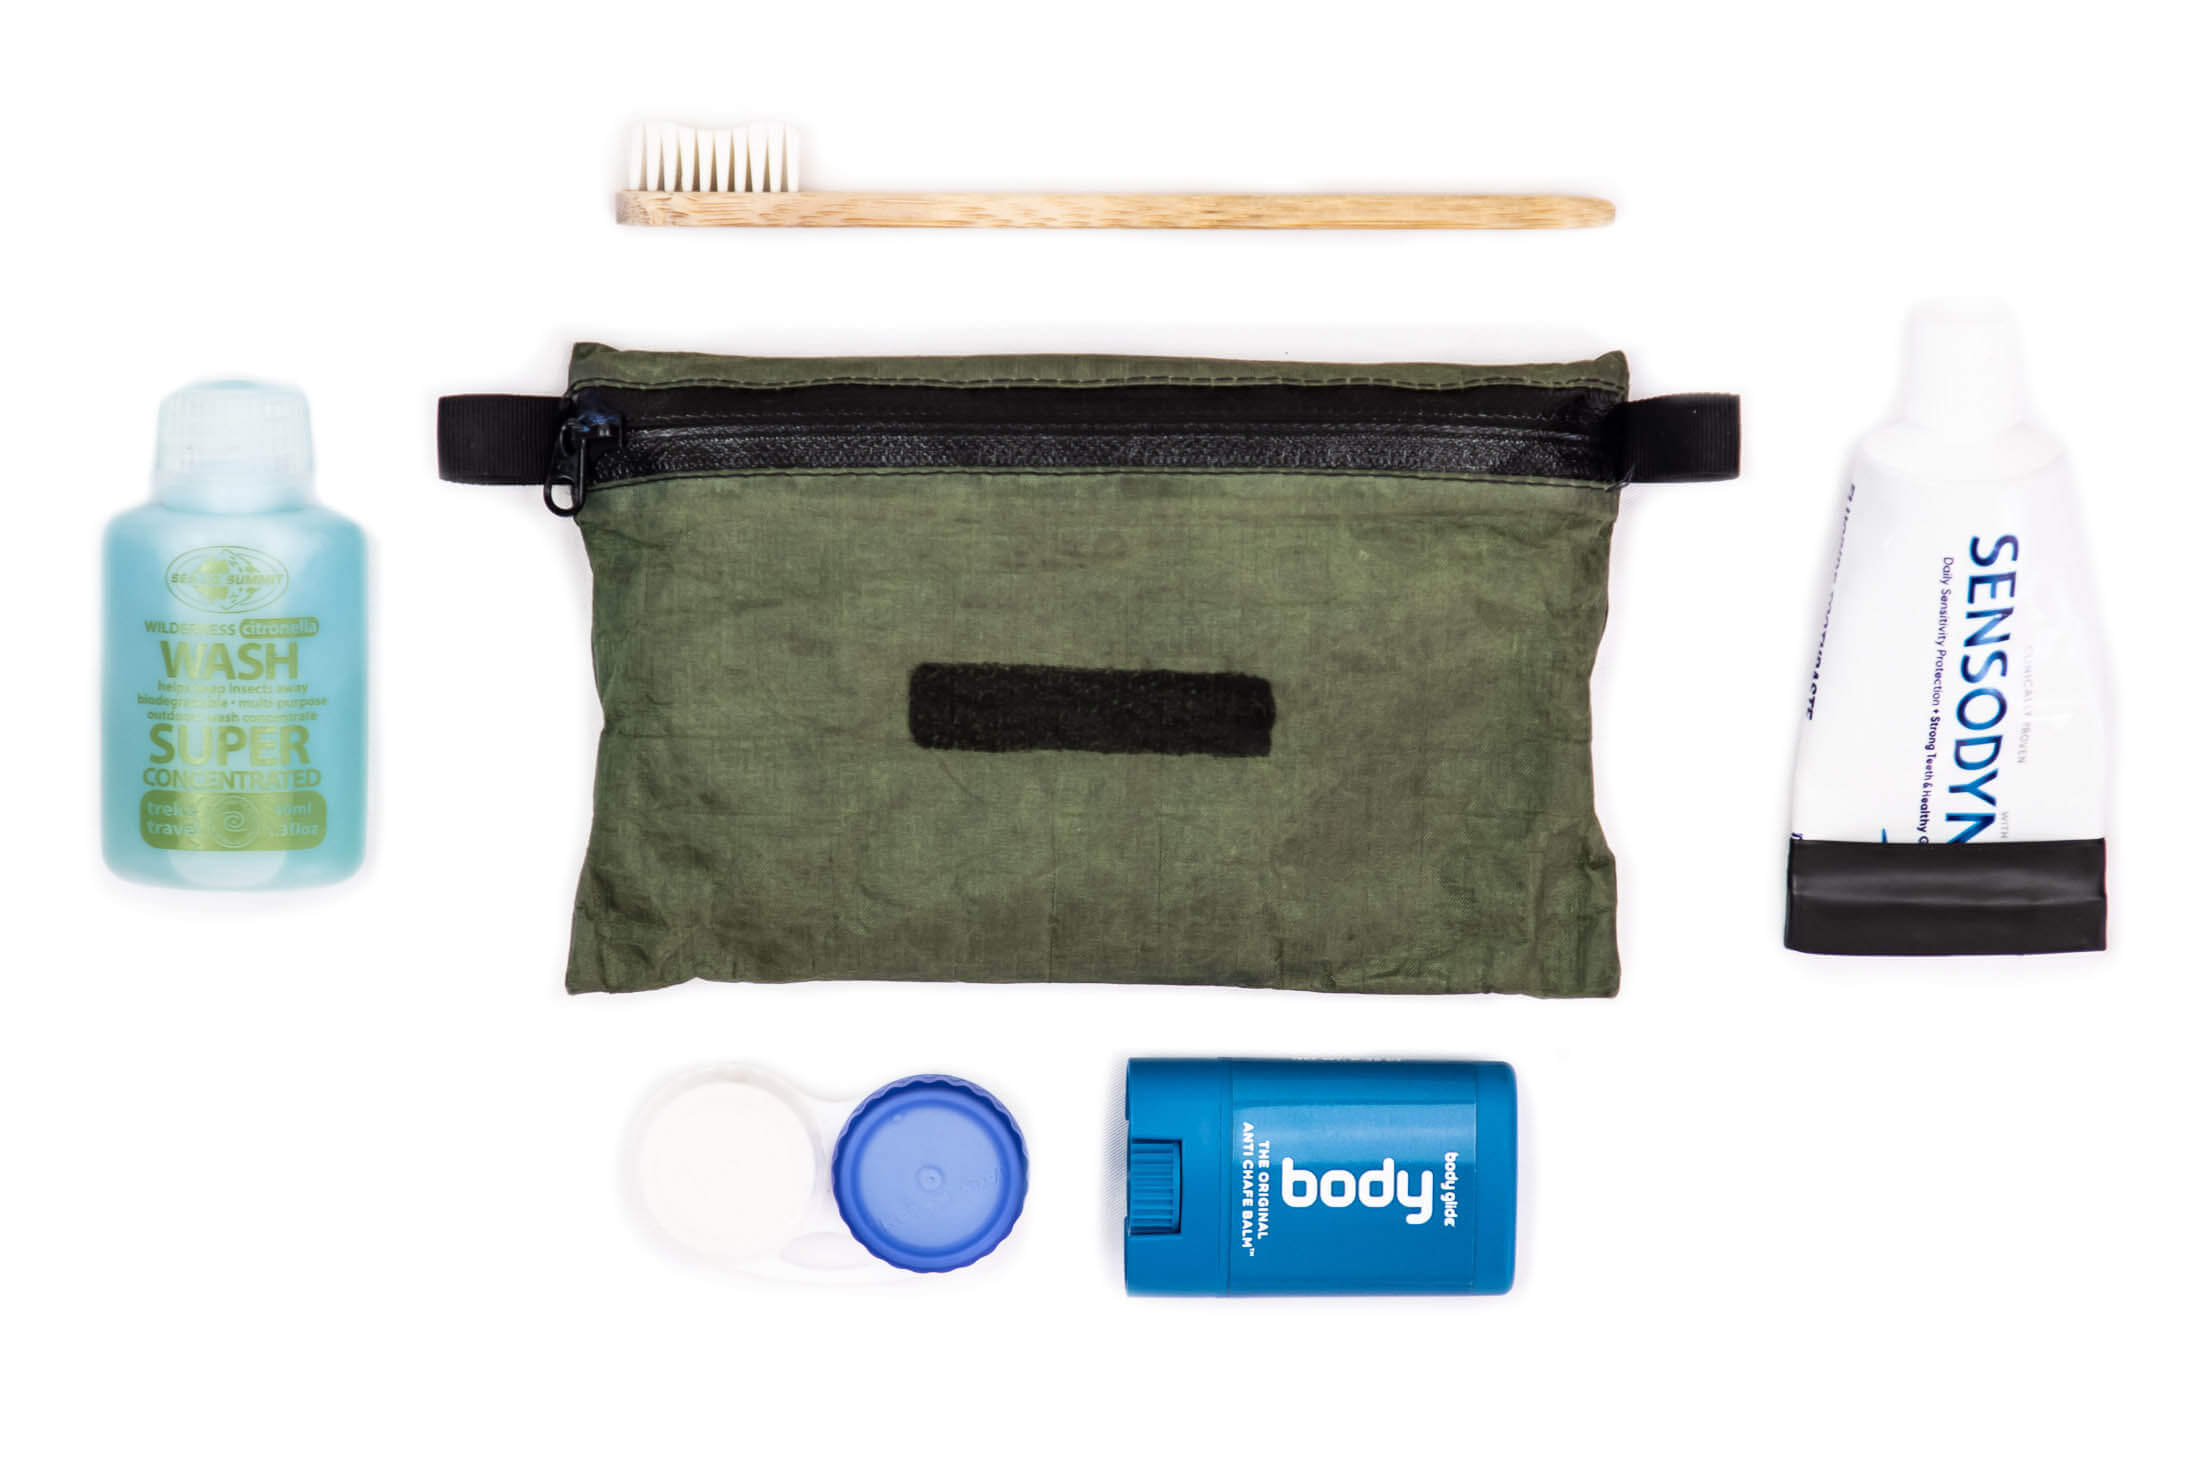
Pack the smallest bottles of biodegradable soap and hand sanitiser you can find (for when water is not available). On top of this, you’ll need a toothbrush and toothpaste, insect repellant, a few spare contact lenses, some anti-chafe lube (Vaseline or Glide) for blisters and raw skin, and possibly menstrual products. Some people use a plastic pouch as a toiletry bag, but that can result in lingering dampness and a manky toothbrush. A small zippered bag made out of breathable nylon fabric is a better option since it will allow contents to dry out.
Go bag
If you have to use a cathole instead of a real toilet, it’s best practice to pack out your used TP or wet wipes (even if biodegradable), and in some areas you’re actually required to. To do that safely (and make it a little less gross) I suggest a double-bag strategy. Put some of your favourite two-ply or wet wipes into a ziplock bag, and put this with a second ziplock bag for the dirty TP or wipes into a small dry bag (1L). When you’re done, you just fold over the TP or wipe so that the clean side is on the outside and put it into a ziplock bag marked ‘dirty’.
Microfibre towel
If you think you’ll need it, pack a small microfibre towel. It will take up very little space in your pack and will dry quickly. It’ll be a lot better than wiping yourself down with the same sweaty shirt you wore that day. Packing this little luxury is also a good idea if you expect heavy rain. It’ll give you something to dry off with before you change into dry clothes.
Shared
Water filter or purifier
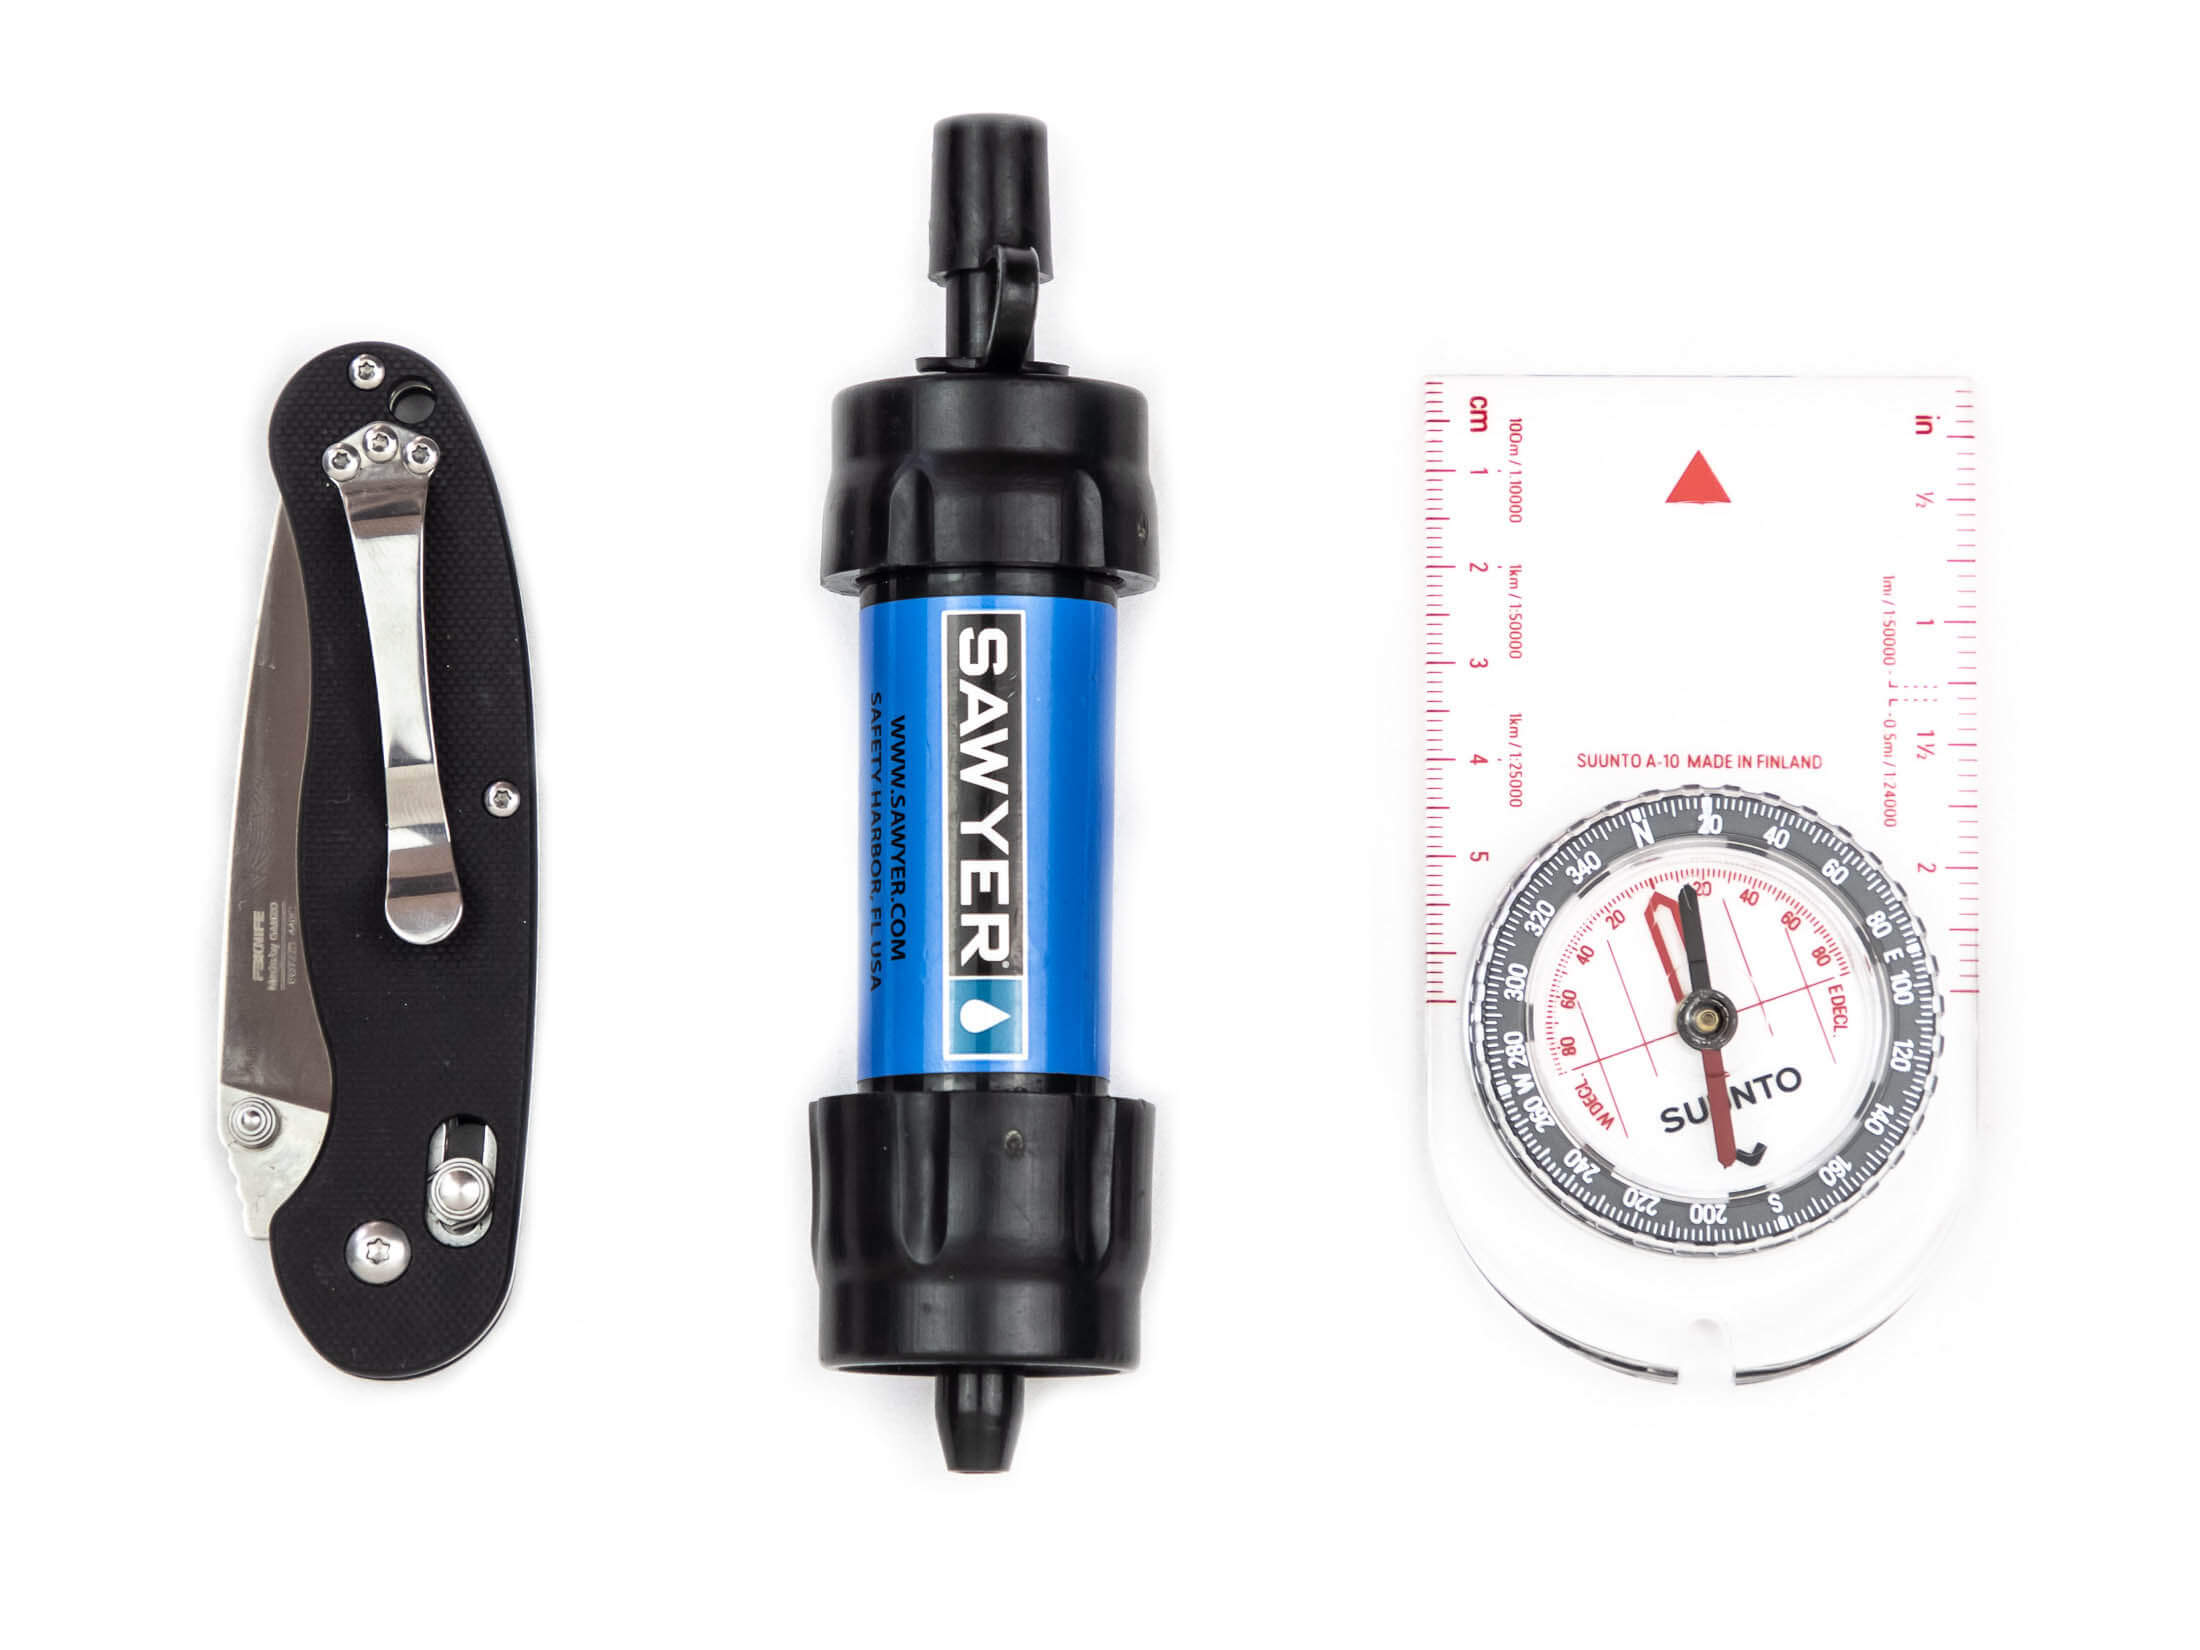
A filter offers sufficient protection against waterborne microbes in most North American backcountries. Sip & squeeze filters like the Sawyer Mini are compact and versatile, making them the most popular type of filter out there. If you’re visiting a popular area and you suspect that water sanitisation hasn’t been as good as it should be, taking the extra precaution of purifying your water would be a good idea. I go into backcountry water treatment in more depth in my article on water filtration and purification.
Multitool or knife
Multitools are loaded with features, but you have to ask yourself whether they’re worth the weight. The most important thing you need is a good blade. Anything more than that is extra. Pliers, tweezers, and scissors can be useful, but the latter two should already be in your first aid kit. My prefered implement is a small locking-blade knife, which offers the compactness of a pocket knife but with added security of a locking mechanism to prevent the blade from folding back into the handle (and onto your fingers).
GPS, map and compass
A GPS can make it easy to plot and follow a course, but there’s a danger in relying on technology: batteries can die and screens can break. A well-prepared backpacker carries a map and compass (and knows how to use them) even if he’s carrying a GPS. To acquire some reliable old school navigation skills, see my article on orienteering. It’s best to keep your map and other documents in a waterproof sleeve of some kind and have scanned copies on your phone if that’s your only backup.
First aid and survival kit
These could be combined, but I keep my first aid kit and survival kit separate for reasons I explain in this article. Don’t rely on an off-the-shelf first aid kit until you have carefully examined its contents. Many lack essentials like rehydration salts and blister patches. Your survival kit might also include spare batteries, water purification drops, shoe laces, duct tape and a sleeping bag or tent repair kit. Lastly, don’t underestimate the usefulness of a sewing kit, even if that’s just a needle and thread.
Optional
Trekking poles
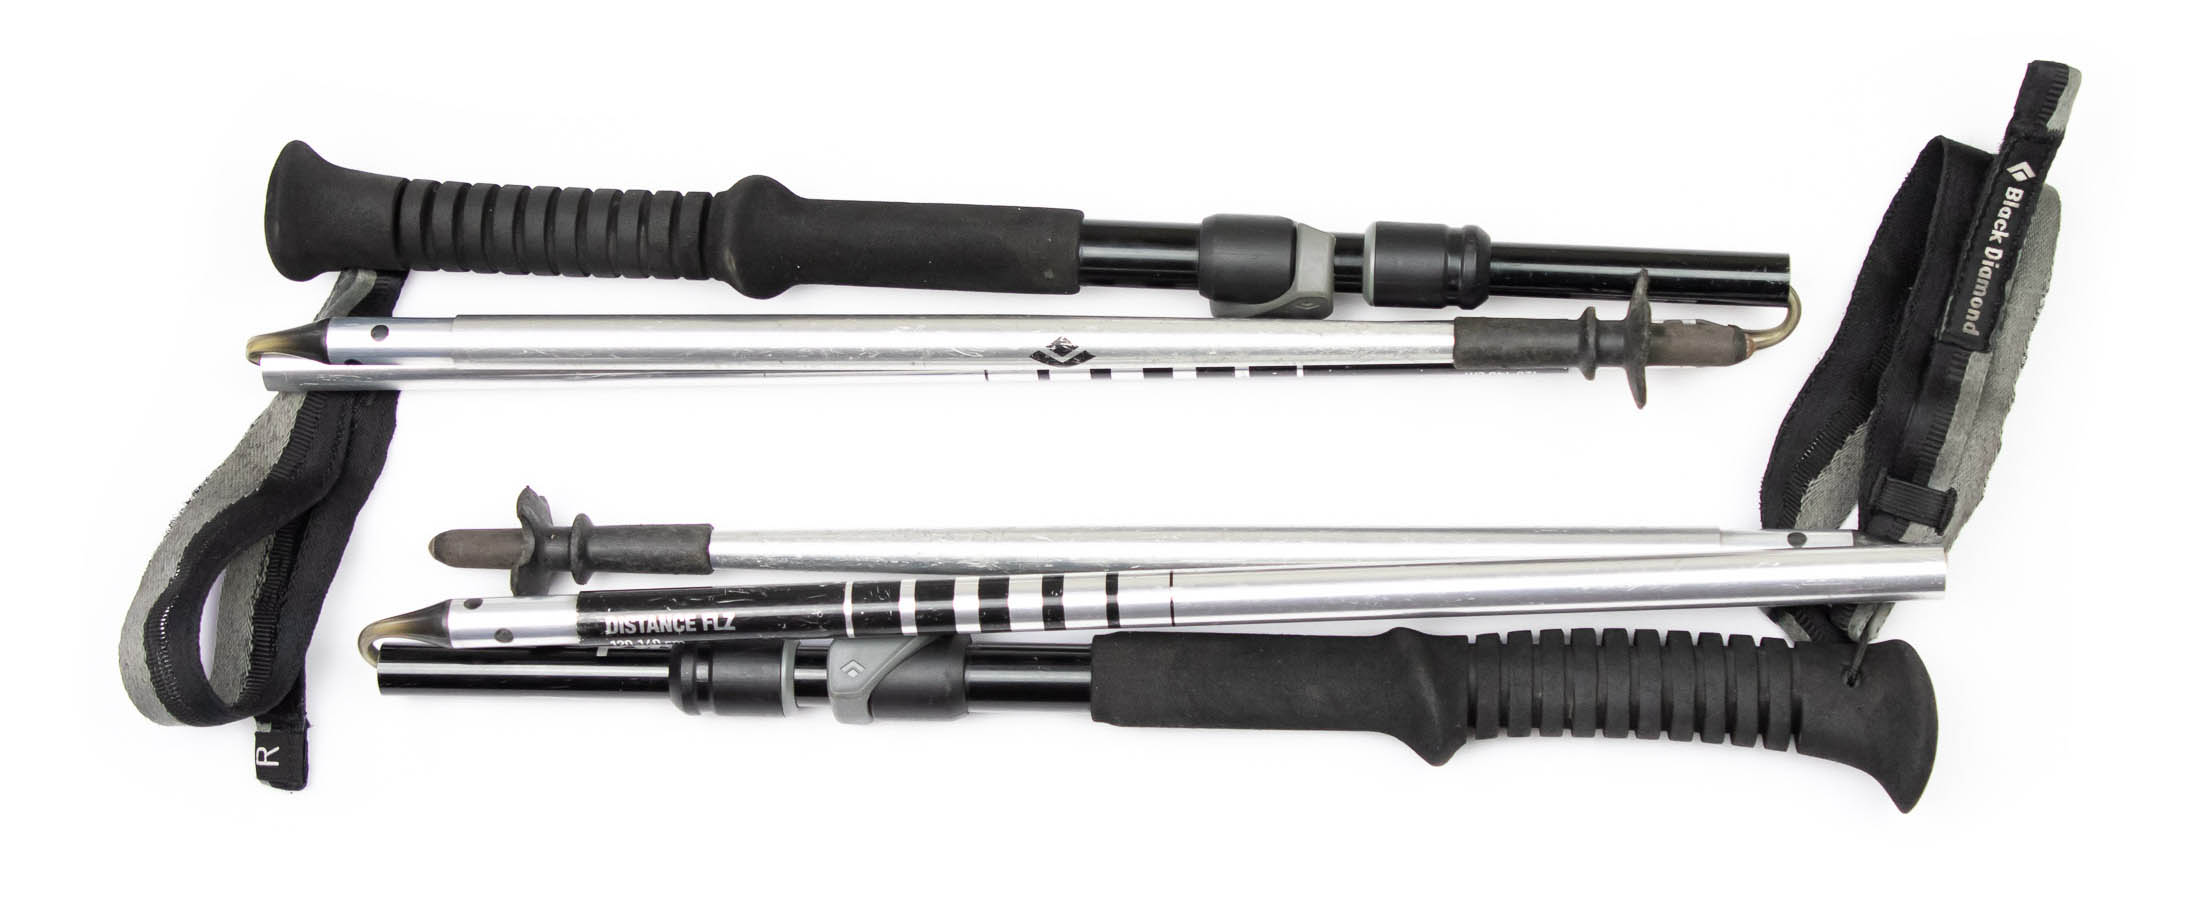
There are several reasons you might want to take trekking poles. Firstly, they make it easier to steady yourself when hiking with a heavy pack, especially when negotiating steep inclines and descents. Secondly, they make it easier to feel your way across a river or stream. And thirdly, they can be used for rigging an ultralight shelter or tarp and so can save you the weight of tent poles.
Satellite messenger
When cell signal fades, only a satellite connection can put you in touch with emergency services if you need them. Compact satellite messengers give you two-way messaging and a push-button come-get-me feature in a device no bigger than a handheld GPS, while larger devices also give you maps, waypoints, and an electronic compass. I carry a Garmin InReach Mini on me whenever I venture into the backcountry. For the lowdown on the InReach Mini and three other devices, see my guide to satellite messengers.
Power bank or solar charge kit
If you’re going off the grid for several days, you might need a power bank to recharge a GPS, phone, or satellite messenger. A 10,000mAh power bank can recharge such a device up to three times and can weigh as little as 250 grams (9 oz). And, if you’re heading off on a thru hike with no idea of when you’ll see a power outlet again, you’ll also need a solar panel to keep your power bank charged. Those made by Goal Zero feature mounting points that make it easy to attach a panel to the outside of a backpack.
Trowel
You could dig a cat hole (a 6-inch deep hole to poop in) with a tent peg or stick, but it’s really unnecessary to make things so difficult when you could carry a trowel at the cost of only 30 grams (1 oz). A trowel can also be used for digging a drainage ditch when tarp camping. If you intend to use a tarp but don’t know how this is done, see my Ultimate Guide to Rigging a Flat Tarp.
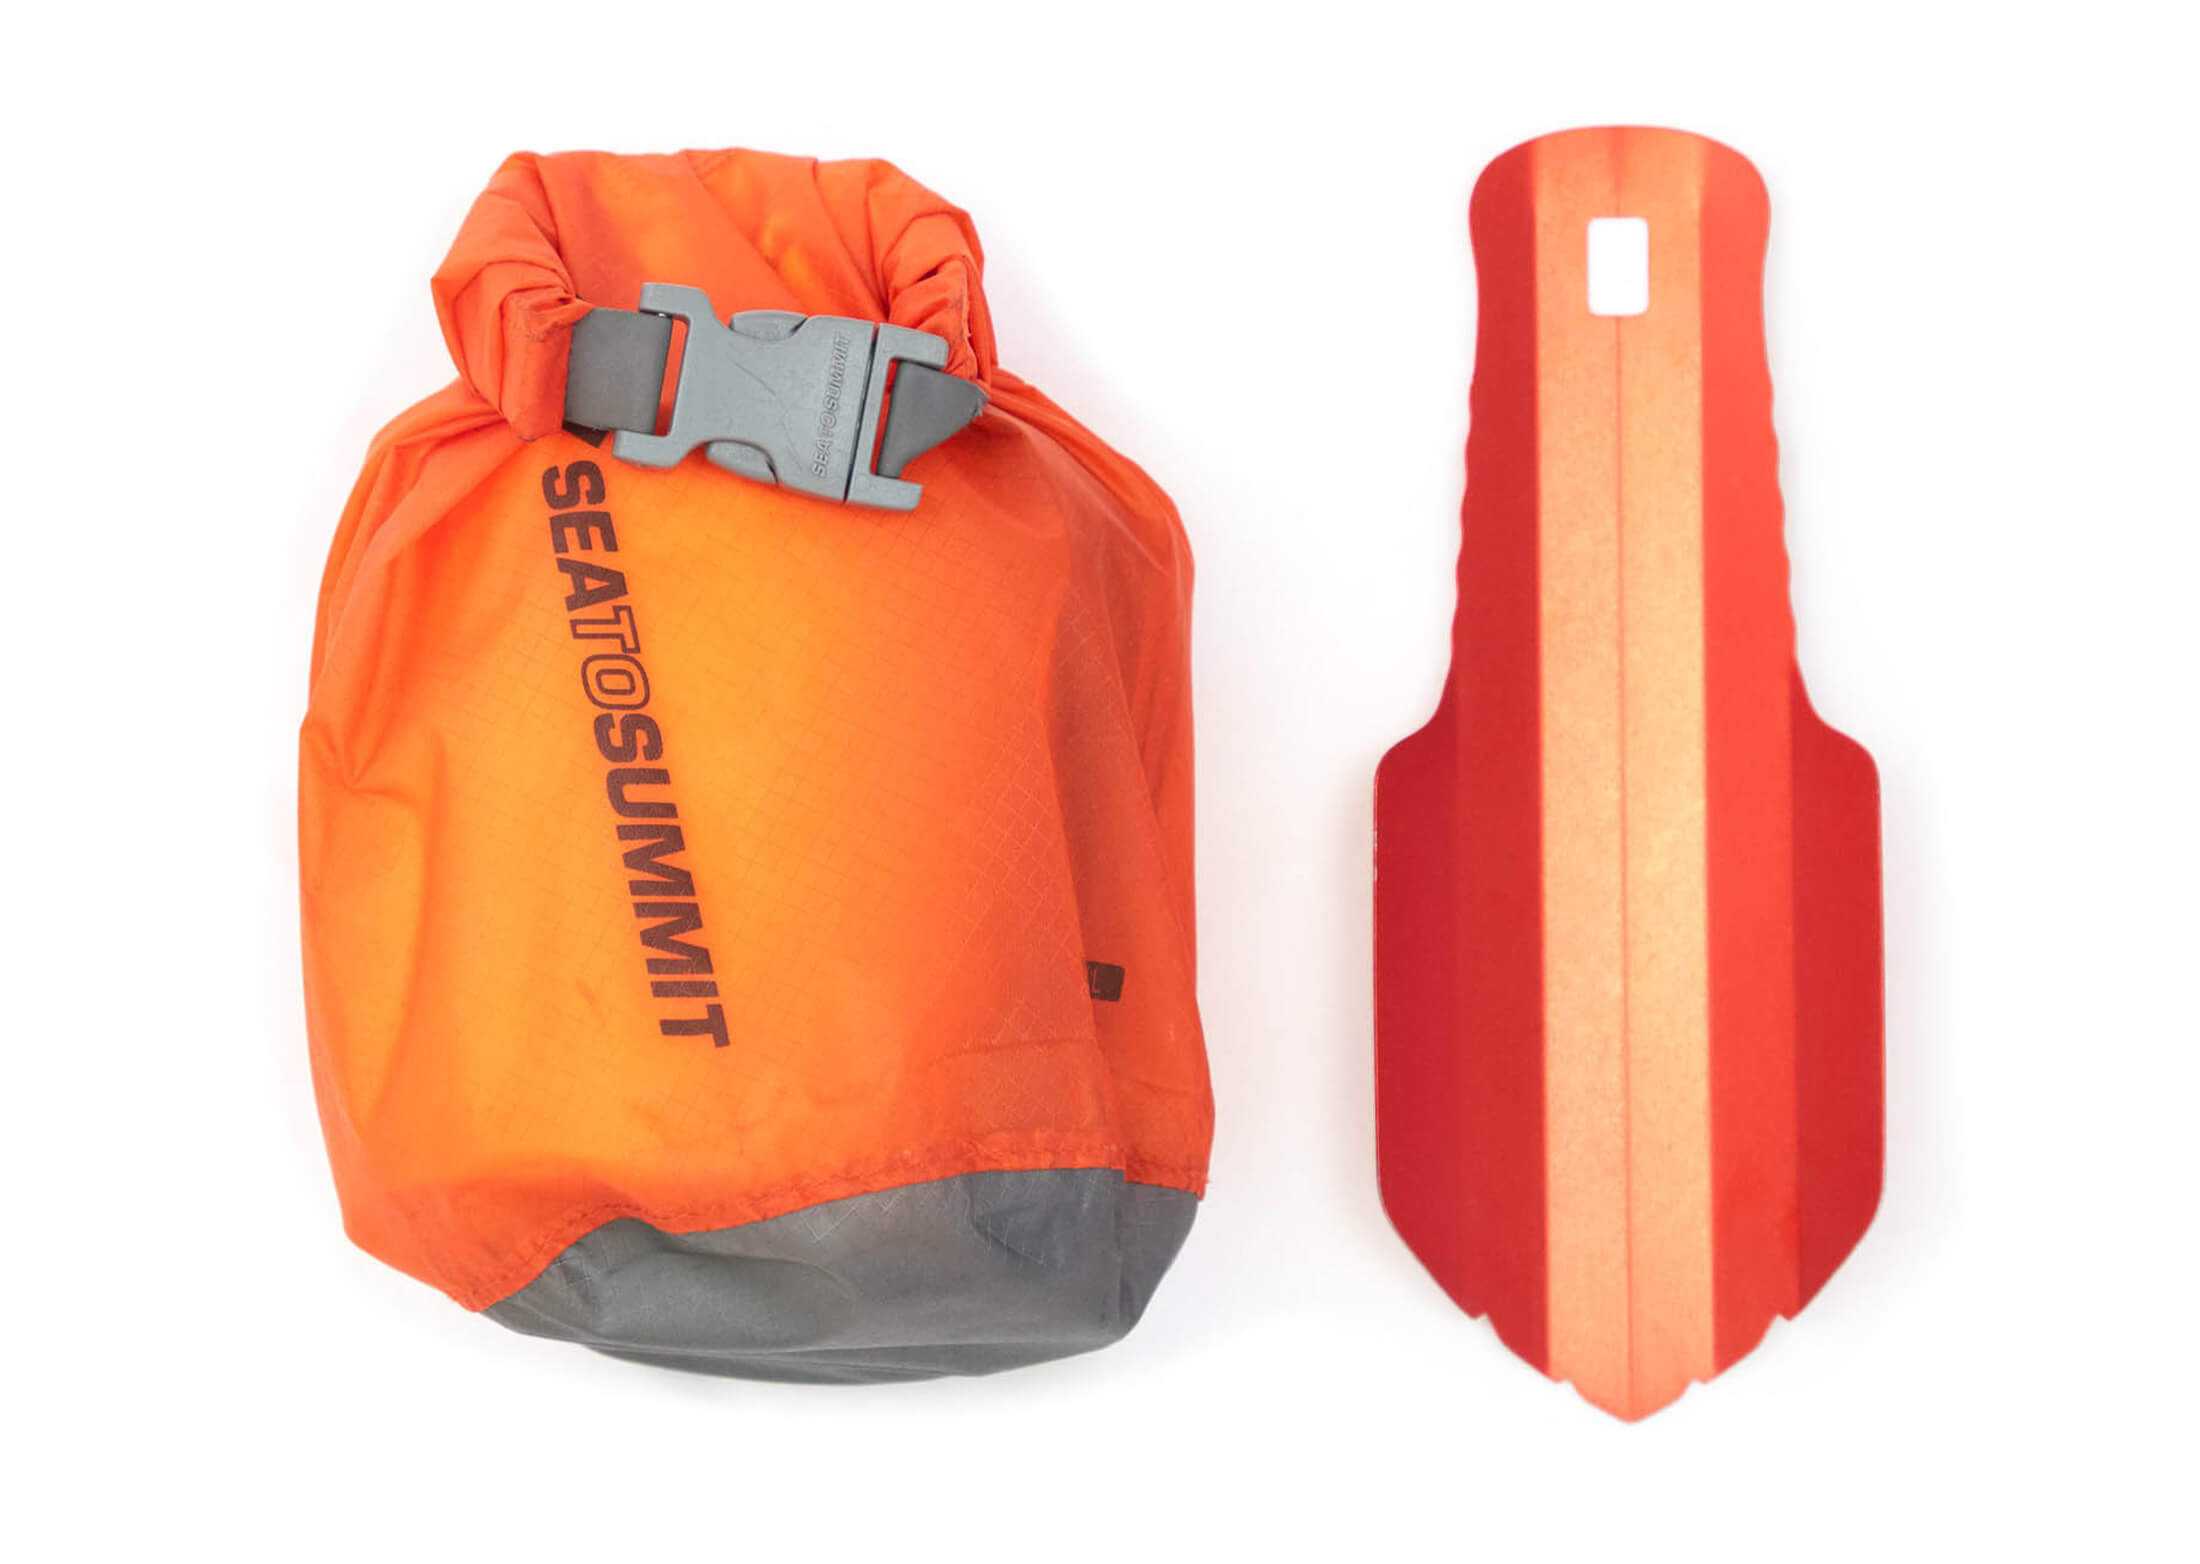
Note that in certain environmentally sensitive areas, you have to pack out human waste. In that case, you’d carry WAG bags instead of a trowel. Become familiar with the regulations in the area you’re visiting and strive to Leave No Trace.
Sleep setup
A good sleep setup can make the difference between a restful sleep and a night of fitful tossing and turning. It’s also one of those areas where an upgrade (down quilt or sleeping bag) can significantly reduce the weight and volume of your pack.
Sleeping bag or quilt
After deciding whether you want a sleeping bag or quilt, the next decision is whether to go with down or synthetic fill. The unmatched warmth-to-weight ratio and compressibility of down make it the preferred choice of ultralight backpackers, weight-conscious alpinists, and anybody who values a light and compact load (Your sleeping bag is one the bulkiest items you will carry). Some people cite Primaloft’s water resistance as a factor that might make it a better insulation in wet conditions, but your sleeping bag or quilt shouldn’t get wet. You only use it in your shelter, and if you use a tarp instead of a tent, you should know how to rig your tarp so that you don’t get wet. The real attraction of synthetics (even Primaloft) is that they are more affordable. For some backpackers the benefits of down just don’t warrant the cost.
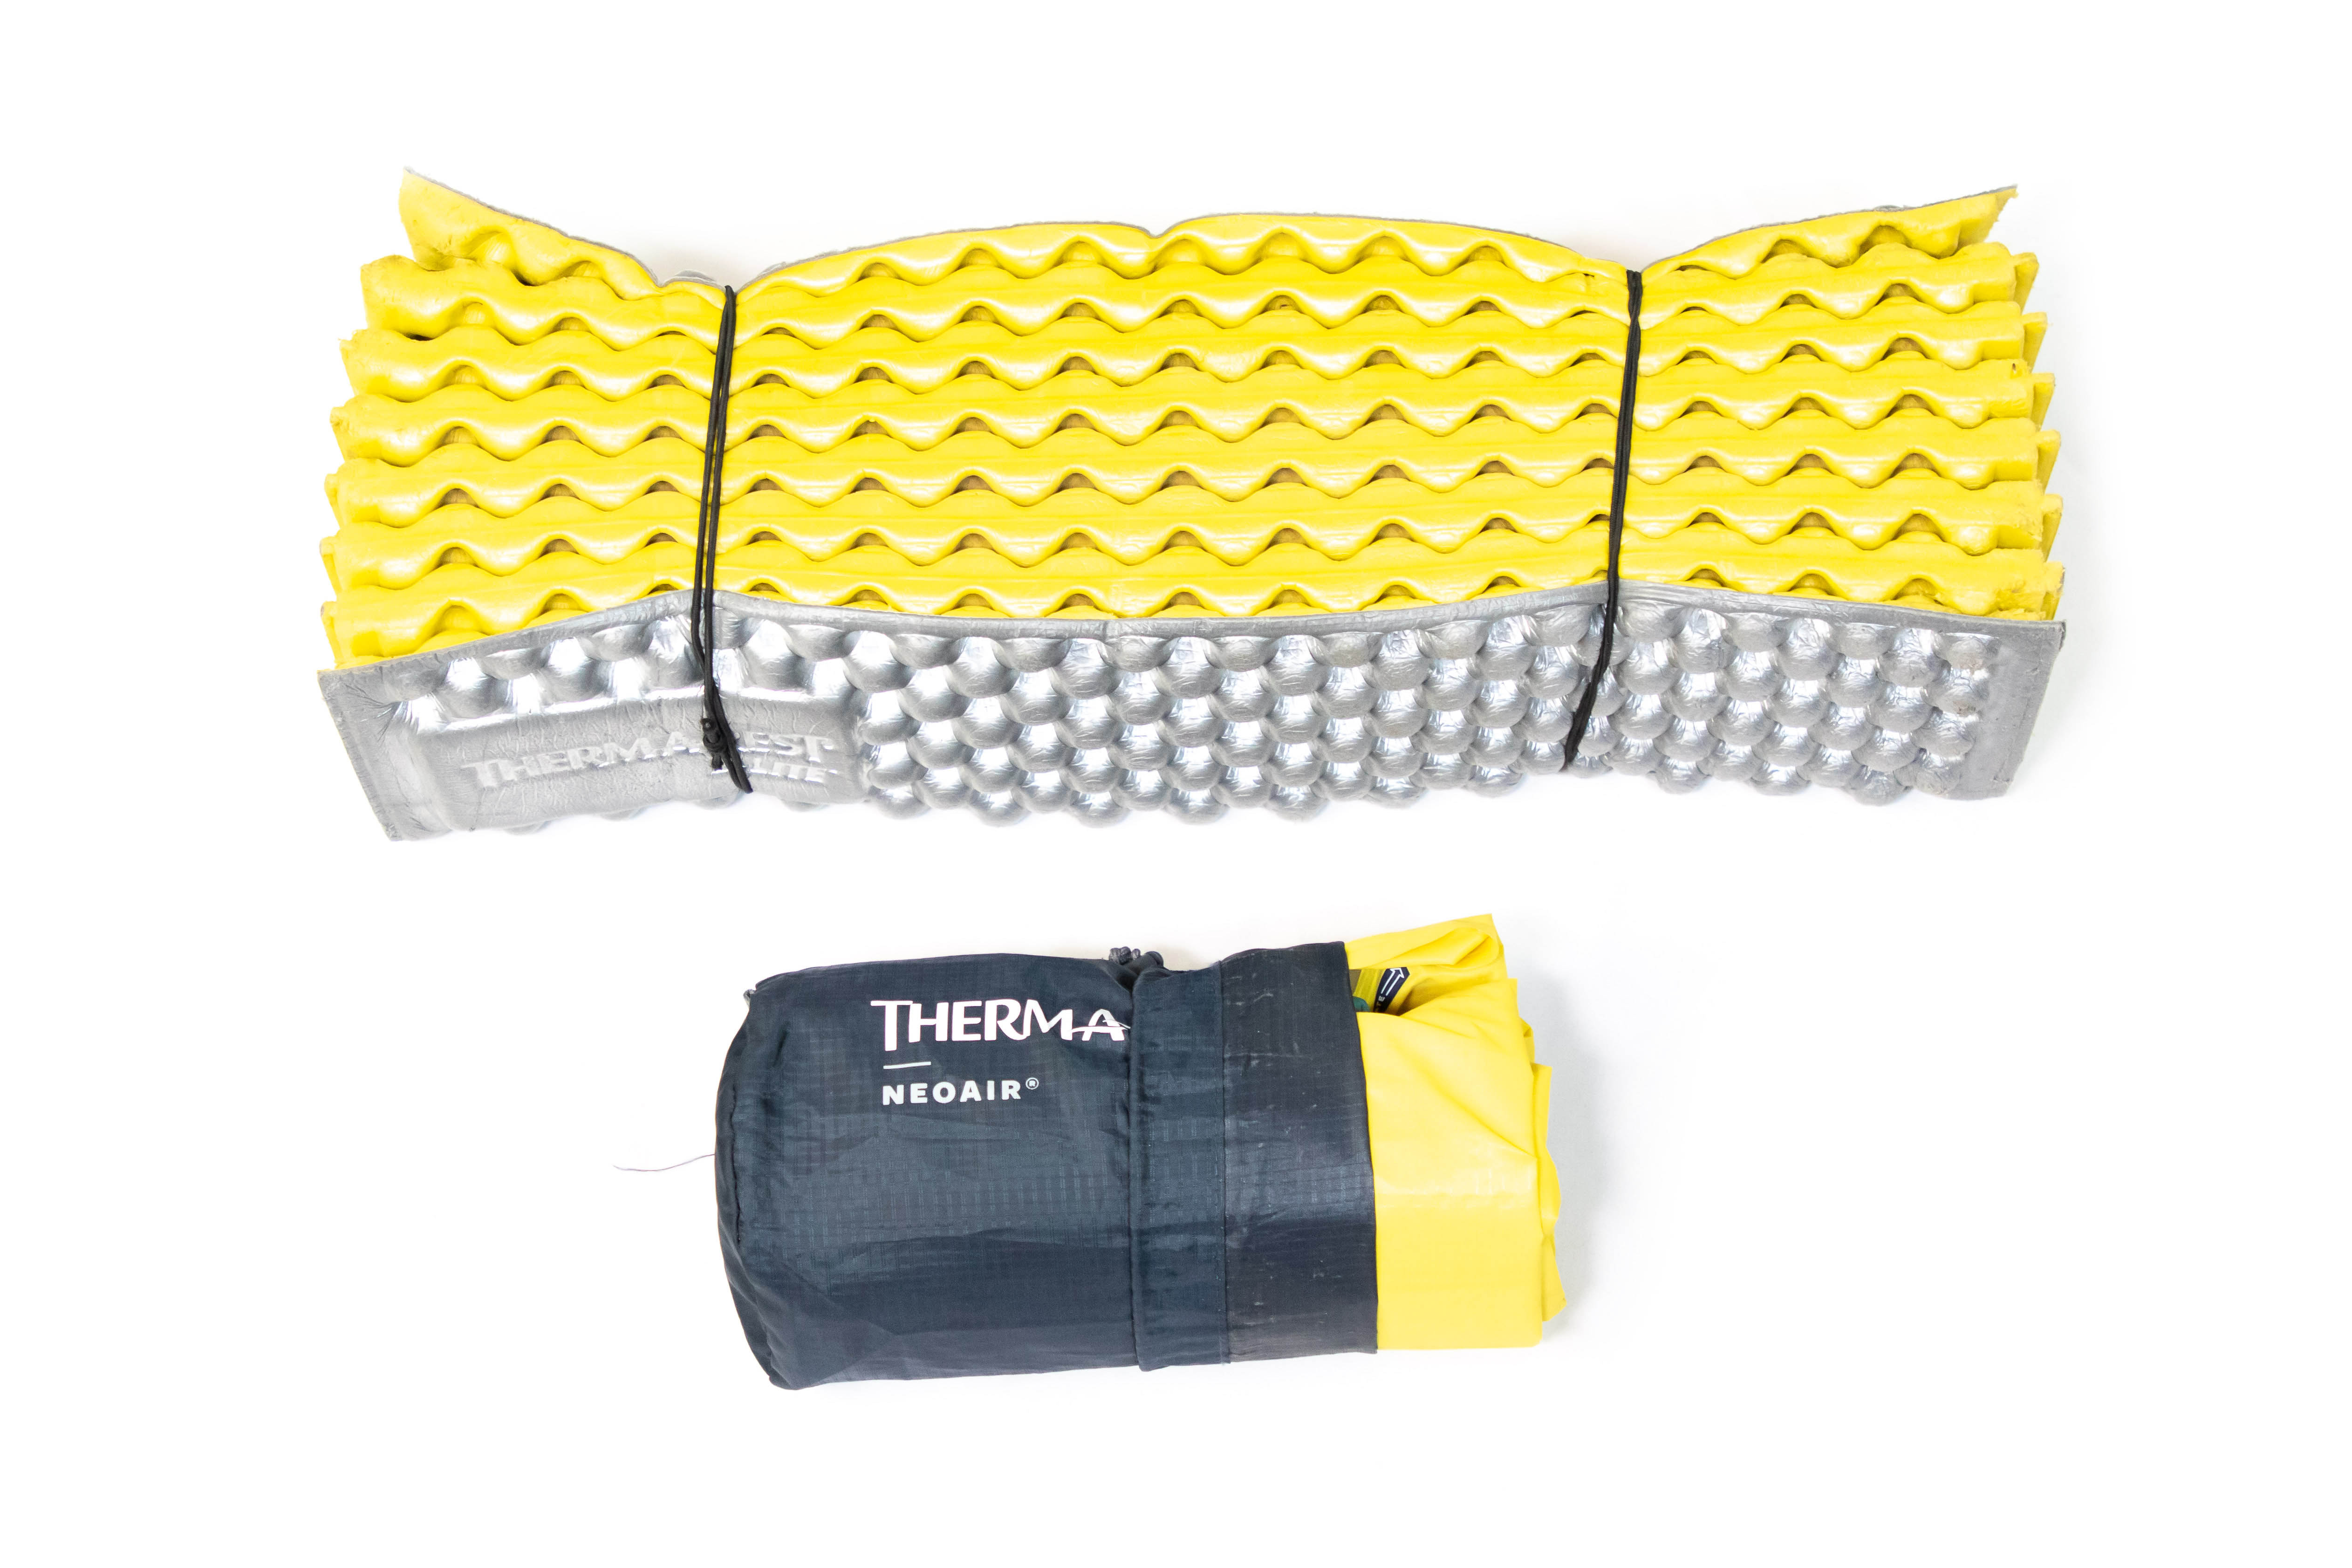
Sleeping pad
A good night’s sleep depends as much on what you sleep on as what you sleep in. But you also don’t need to pay top dollar for a self-inflating pad. The three different types of sleeping pad each has its pros and cons, and air pads and self-inflating pads aren’t necessarily better than closed-cell foam pads, despite the significant difference in price. Closed-cell foam pads are more bulky than air pads or self-inflating pads (hybrid air pads that have some open-cell foam in them), but they don’t puncture and can be carried on the outside of the pack without fear of damage. However, if compactness and comfort are your main concerns, you might want to fork out for an air pad or self-inflating model.
Shared
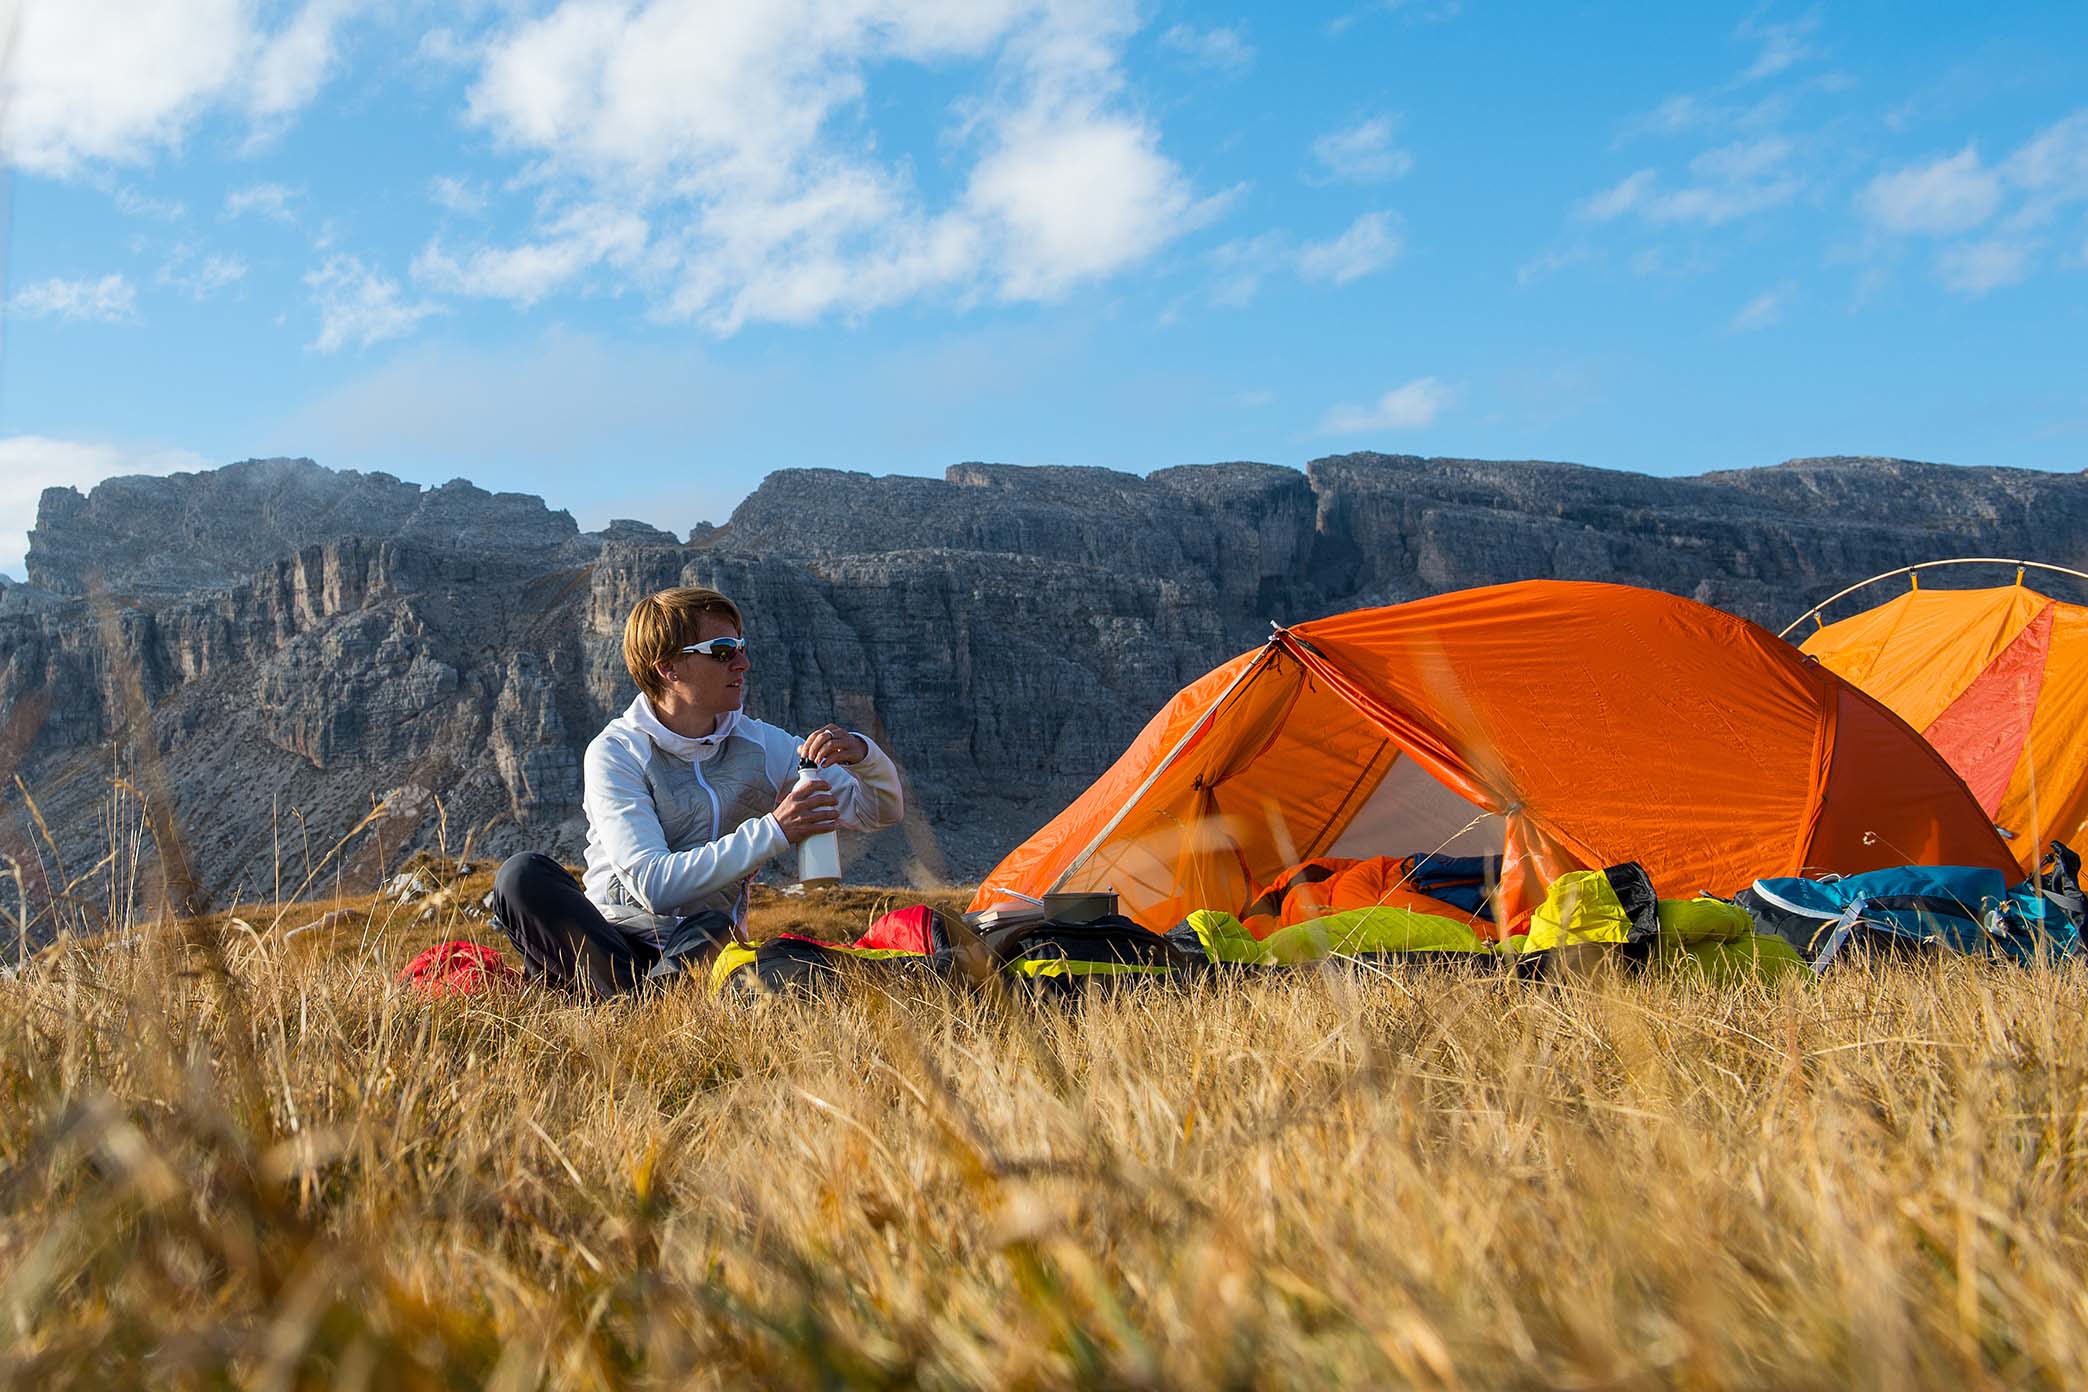
Tent or tarp
Sleeping under the stars is great if the weather is mild and bugs aren’t a problem. But there’ll be just as many nights where you need at least some protection from the elements and wildlife. If your only concern is light rain, a tarp and ground cloth might be all you need (along with a pair of trekking poles, pegs and guylines). But if you expect swarms of mosquitoes or rain and wind, a tent would be a better choice. There are other types of shelters, but for a full explanation of your options, check out my guide to tents and shelters.
Tent footprint or groundsheet
A tent footprint protects the floor of your tent from abrasion that could damage it’s waterproof coating. Of course not everyone carries a footprint, and your decision to do so will depend on how willing you are to carry the extra 150 grams (5 oz) and how badly you want to protect your investment. I’d consider packing a footprint if I was planning to hike and camp in rocky areas. If you take a tarp instead of a tent or even opt to sleep under the stars, you should at least pack a groundsheet (50 g / 1.8 oz) to protect your sleeping pad from dampness and help keep your gear out of the dirt.
Optional
Inflatable pillow
You can use a dry bag stuffed with clothing to make a pillow, but that’s only guaranteed to work if you have enough clothing to fill it. That obviously won’t be the case if you’re wearing a few layers for extra warmth (a strategy popular with ultralight backpackers – those who often carry only a light quilt to sleep in). You can also fill the dry bag with air before sealing it, but my experience is that most light dry bags will lose air with time. The surest way to ensure that you have something soft to put your head on is to carry an inflatable camping pillow. At 45 grams (1.6 oz), it’s going to add very little weight to your pack.
Sleeping bag liner
The idea of sleeping in the same bed sheets will gross out many people, yet many of us would be prepared to go a dozen nights in a sleeping bag before even thinking of washing it. If you don’t like the idea of having to wash your sleeping bag regularly, a sleeping bag liner can act as a removable and washable barrier between you and the inside of your sleeping bag. Most weigh next to nothing.
Camp kitchen
When it comes to your camp kitchen, simpler is better. If you only ever backpack with a partner, a 2-person cookset consisting of a pot and matching mugs and bowls can work for you. But a self-assembled kit will be more versatile since it will contain what you need to hike solo or join a group that already have their own kit. That said, sharing a pot will help you save weight. Ultralight backpackers take weight saving a step further by combining their pot, bowl and cup in one, but you don’t need to resort to such extremes. Still, I wouldn’t pack a dedicated coffee press unless there were several serious coffee drinkers in your group.
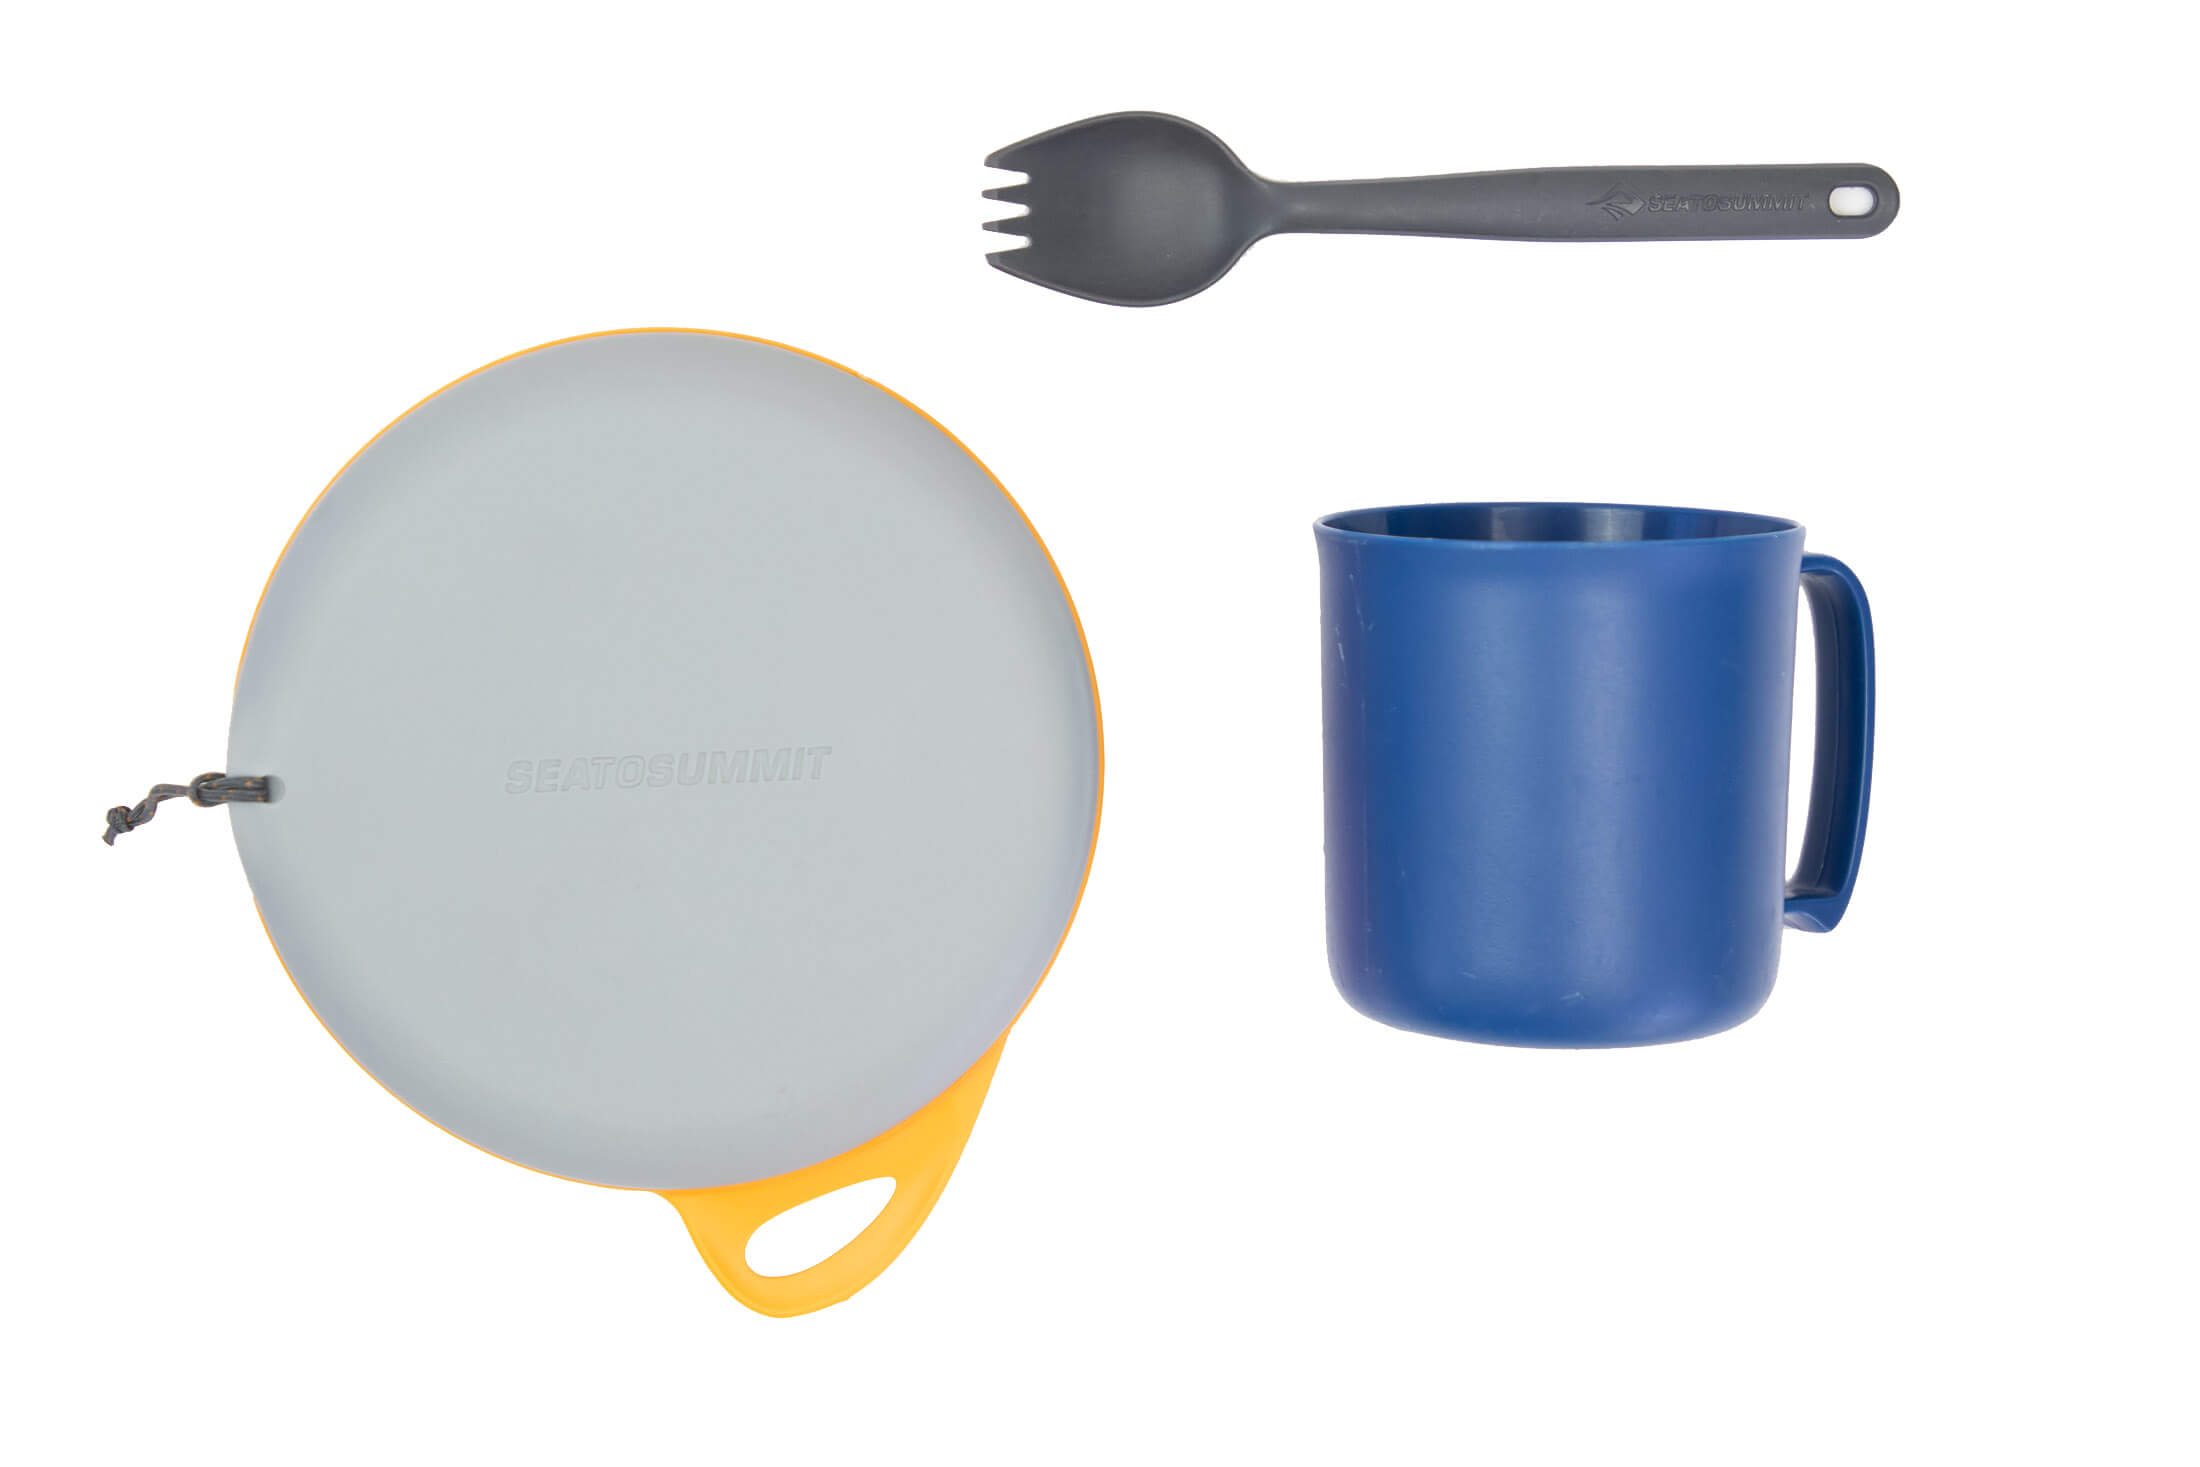
Mug and bowl
You don’t need a bowl and a plate, and since a bowl is more useful (it can hold sloppy food), it’s this piece of kit that makes the list. Your mug can be plastic or metal, but know that a metal mug can be put directly onto a stove, negating the need for pot if all you want to do is boil water (good for going fast and light). You could also go without the mug and drink straight out of the pot if it’s the right size and shape.
Utensils
If you don’t need a knife for eating with, don’t take one. Even if you do, remember that you already have a pocket knife. You can then take things a step further by combining the functions of a fork and a spoon with a spork. If you’d prefer to use separate utensils, a lightweight backpacking-specific utensil set (the kind kept together with a carabiner) is a good option. To prevent a metal fork from damaging the other contents in your pack, put your utensils in some kind of case, or wrap them in an ultralight dish towel.
Shared
Stove
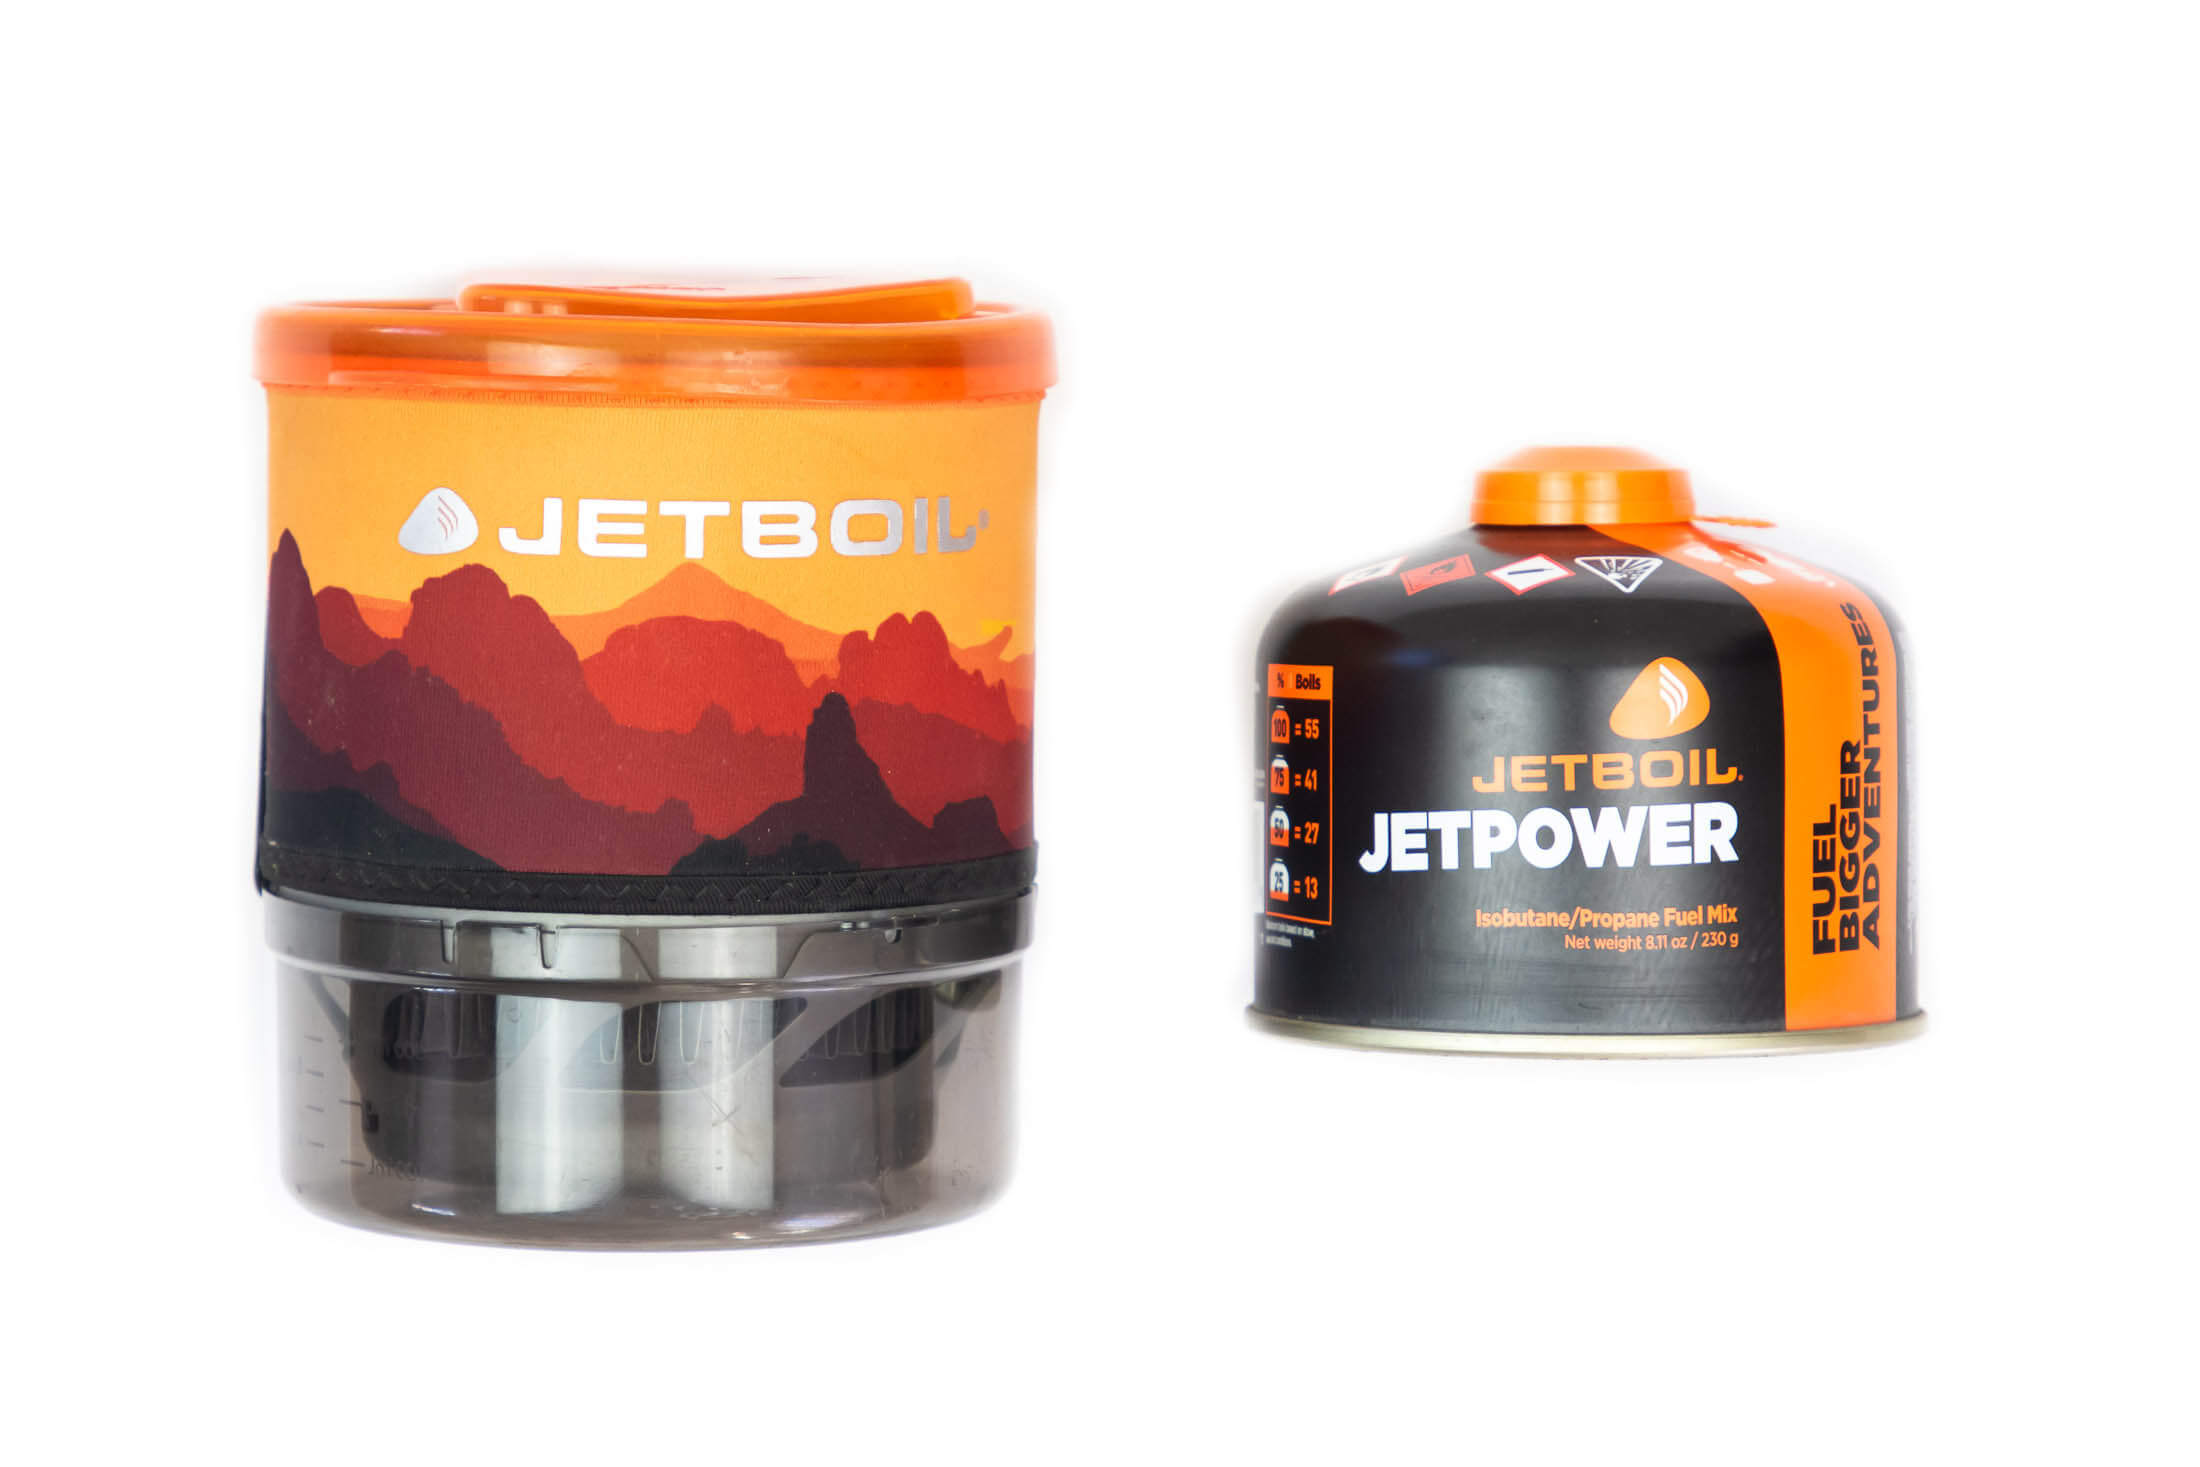
Propane canister stoves like the MSR Pocket Rocket and JetBoil MiniMo are easy to use and require almost no maintenance, making them the preferred choice of most backpackers. But liquid-fuel stoves also have their advantages and can be a good choice for winter hikes (white gas burns well even in below-freezing temps) and for international travellers whose only options might be kerosene or white gas. Beyond these factors, also consider temperature control. Some stoves allow you to lower the flame for simmering while others are really only good for boiling water. See my guide to backpacking stoves for a full description of the pros and cons of different stoves.
Pot or cookset
A 1-litre pot is big enough for two campers and won’t be too much for a solo backpacker. After size, consider material. Titanium is light, strong and expensive; stainless steel is strong but heavy; and aluminium is light but less durable. Aluminium has one more advantage in that it distributes heat the most evenly (best for actually cooking in). If you’re going to eat out of your pot (and go without a bowl) it would be best to get one with some kind of insulating sleeve that will make it easier to hold while still hot.
Tip: a flint striker is a lot more reliable than a lighter or matches
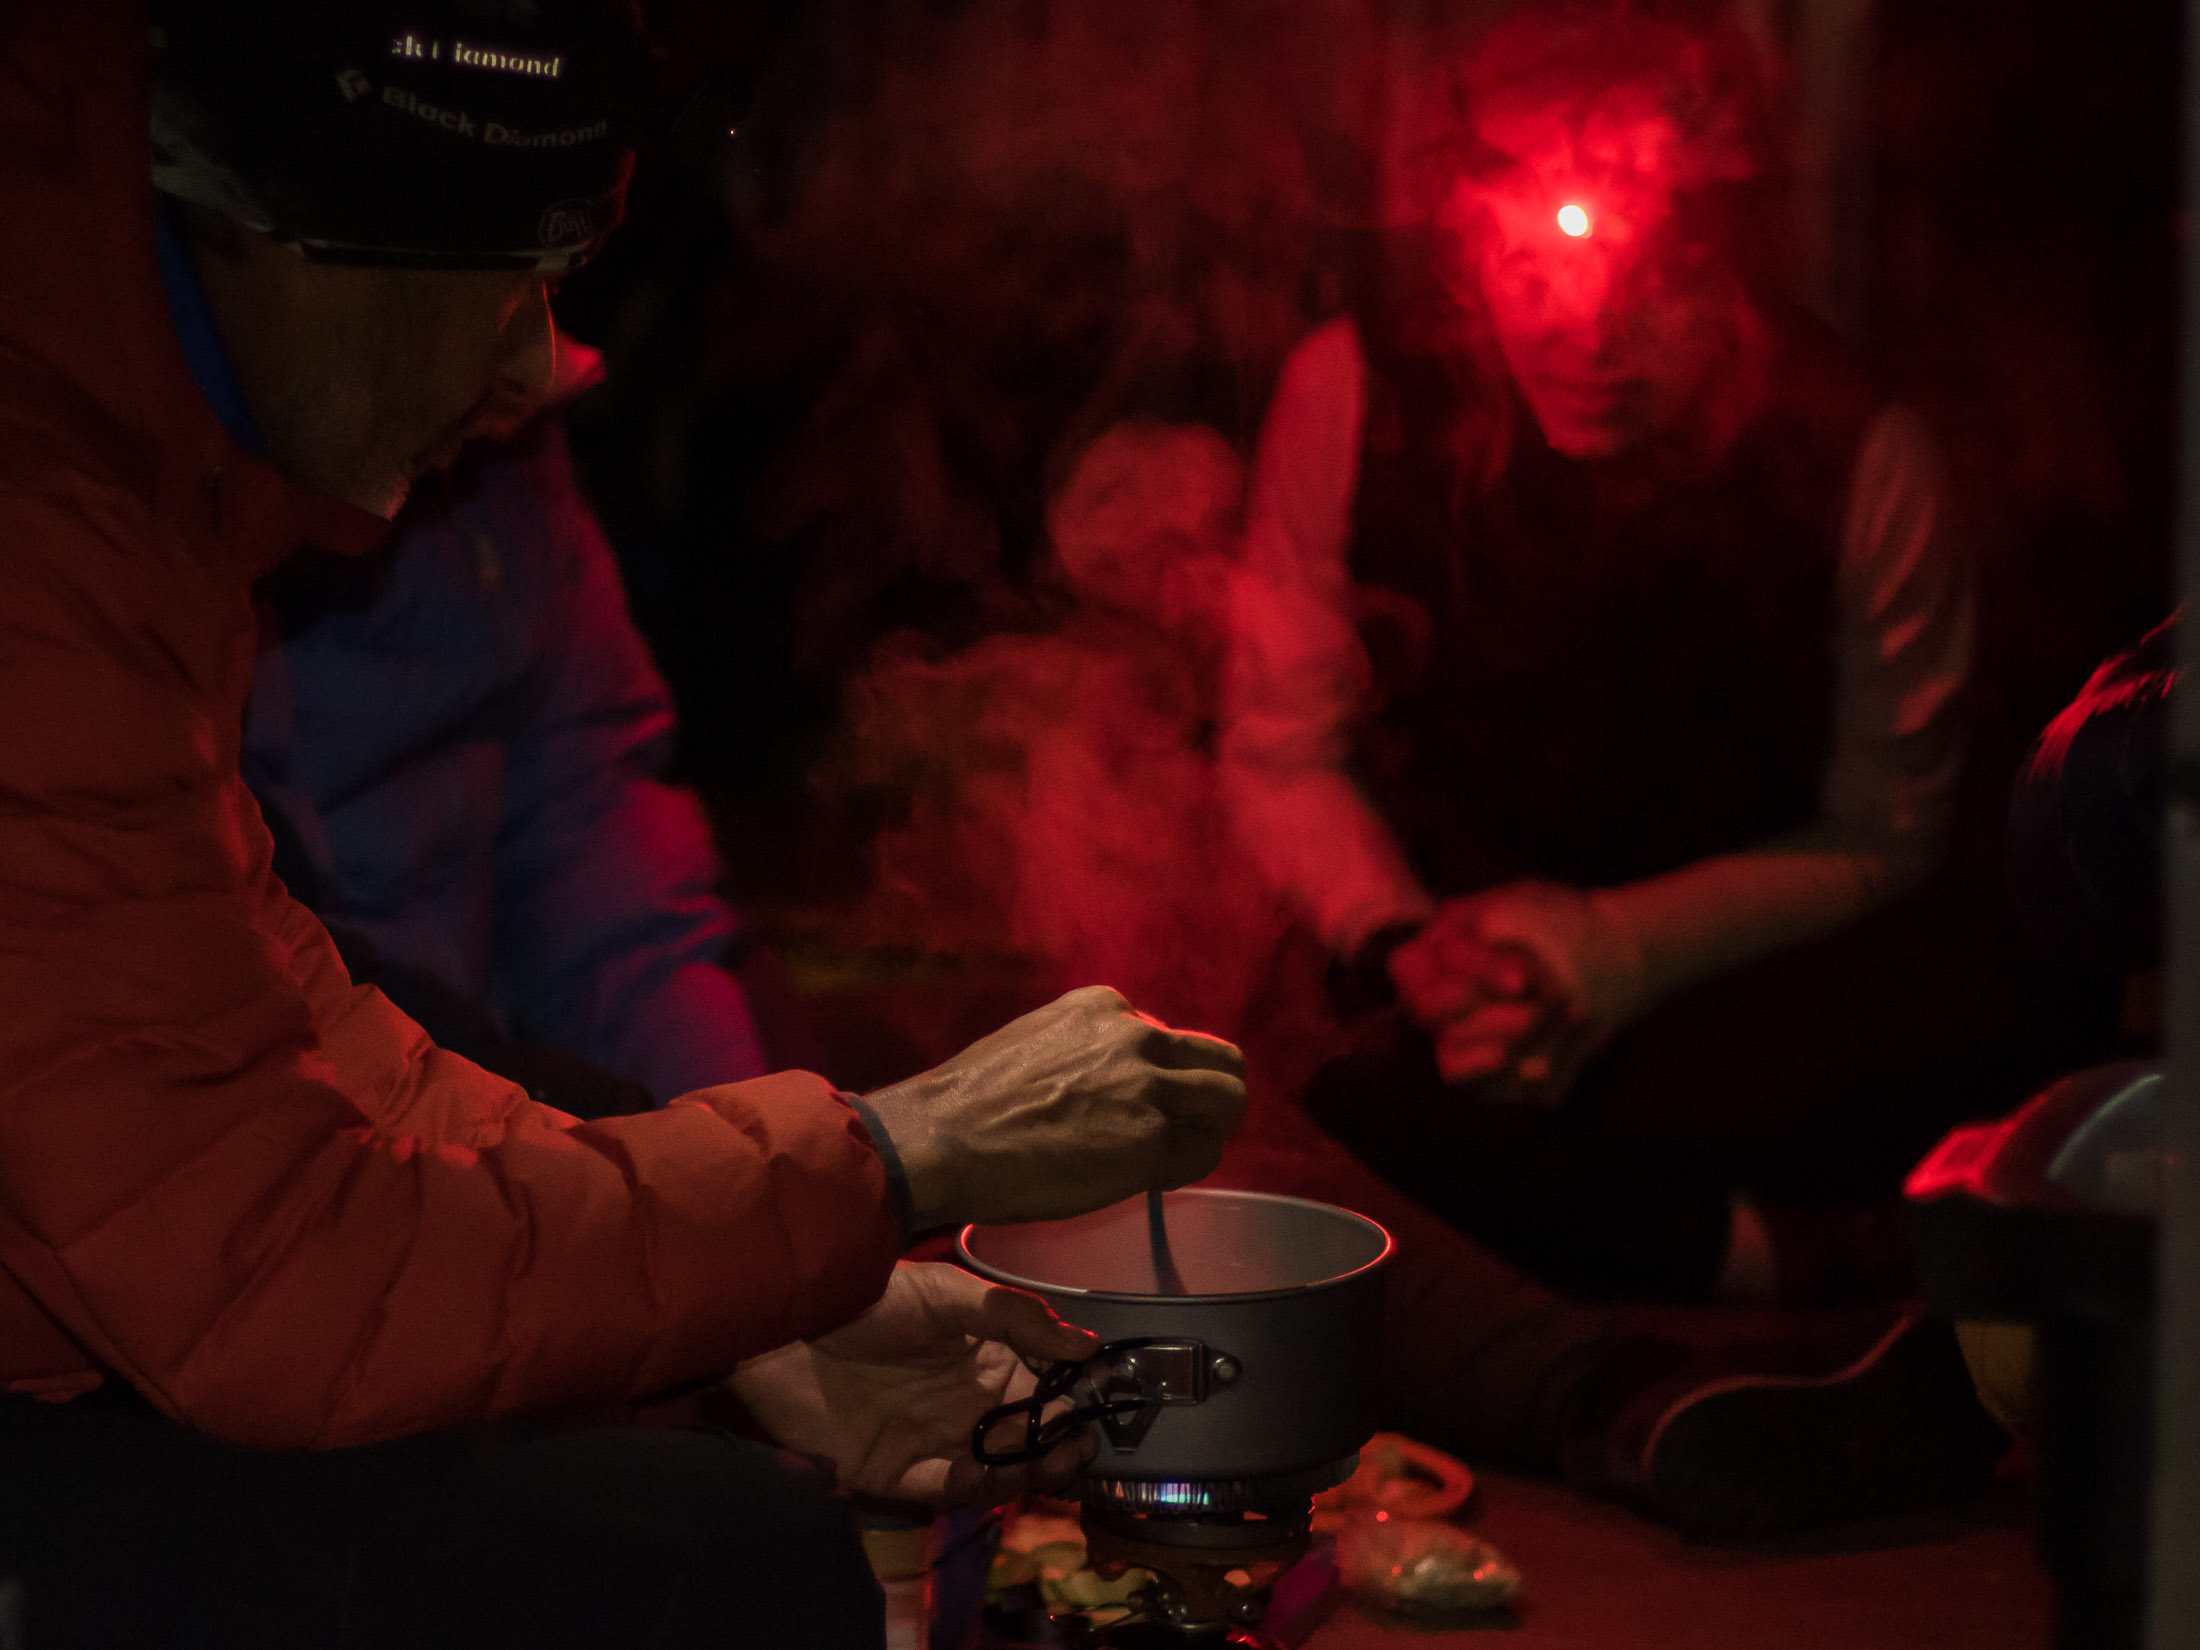
Even if your stove has a piezo ignition, you should still carry a flint striker as a backup fire source. These simple tools are a lot more reliable than either matches or a lighter. I keep mine in my survival kit along with a dozen other small but very useful items.
Provisions
Food
The average person needs 2500 to 4000 calories or as much as 900 grams (2lbs) of food per day while backpacking. Store-bought freeze-dried meals are very convenient but aren’t cheap. If you don’t want to fork out for low-weight, calorie-dense meals, you can prepare your own home-dehydrated meals or create meals around a dry starch like rice, pasta, quinoa or couscous. You then just need a little fat or protein. Cheese and cured meat will usually last several days while dried meat will last even longer. Lastly, you’ll want some snacks to keep sugar levels topped up throughout the day. See my article How to Feed Yourself in the Backcountry for a full explanation of my strategy.
Electrolyte supplement
Water alone is not enough to keep you hydrated. In addition to H20, a sweaty hiker also has to replace electrolytes – the electrically conductive minerals that enable your digestive system, muscles, and nerves to work properly. These all important micronutrients include magnesium, potassium and calcium, but sodium is the big one. You can get some of this in the form of salty snacks, but if you’re really working up a sweat, you should also add an electrolyte supplement to your drinking water. If you failed to replace enough sodium, you’d run the risk of hyponatremia or low blood sodium, a condition with symptoms that range from mild to serious.
Spare gas canisters
If you’re going to be on the trail for several days or are hiking with a big group, you’ll need an extra canister or two (if using a canister stove). The exact number will depend on time on trail, the amount of cooking or boiling you do, altitude, and average temp (low temps and high altitudes require more fuel). Manufacturer guidelines like burn time and amount of water boiled per canister can help you calculate estimates, but you can also see my article that explains how to calculate how much stove fuel you need.
Footwear and headwear
Footwear choice is one of the most important decisions you’ll make, but also don’t forget to protect your head from the elements.
Boots or shoes
You don’t necessarily need boots for backpacking. Trail shoes are light, fast drying, and supportive enough for most backpackers. But footwear choice is a complex topic, and I suggest you read my article on hiking boots vs trail shoes for a complete explanation of how to choose hiking footwear.

Hat
Trucker caps are currently in vogue, but a wide-brimmed hat will keep the sun off your neck and be more practical. If you don’t expect much sun and you just want to keep sweat out of your eyes (or your hair out of your face), a Buff worn as a bandana can be very useful.
Optional
Sunglasses
In clear weather, a good pair of sunglasses are almost as important as a good pair of footwear. Do not wear cheap sunglasses. They do not block ultraviolet light and so will do more harm than good. Look for a pair of shades that are rated to filter out 99-100% of UV rays (UV400 or higher).
Gaiters
When hiking in the rain, you can either accept that your feet are going to get wet (and choose footwear that will dry faster) or do your best to keep damp out (and go with heavier, more waterproof footwear). If you take the second approach, a pair of gaiters can help prevent water from running down your legs and into your boots or shoes.
Crampons or microspikes
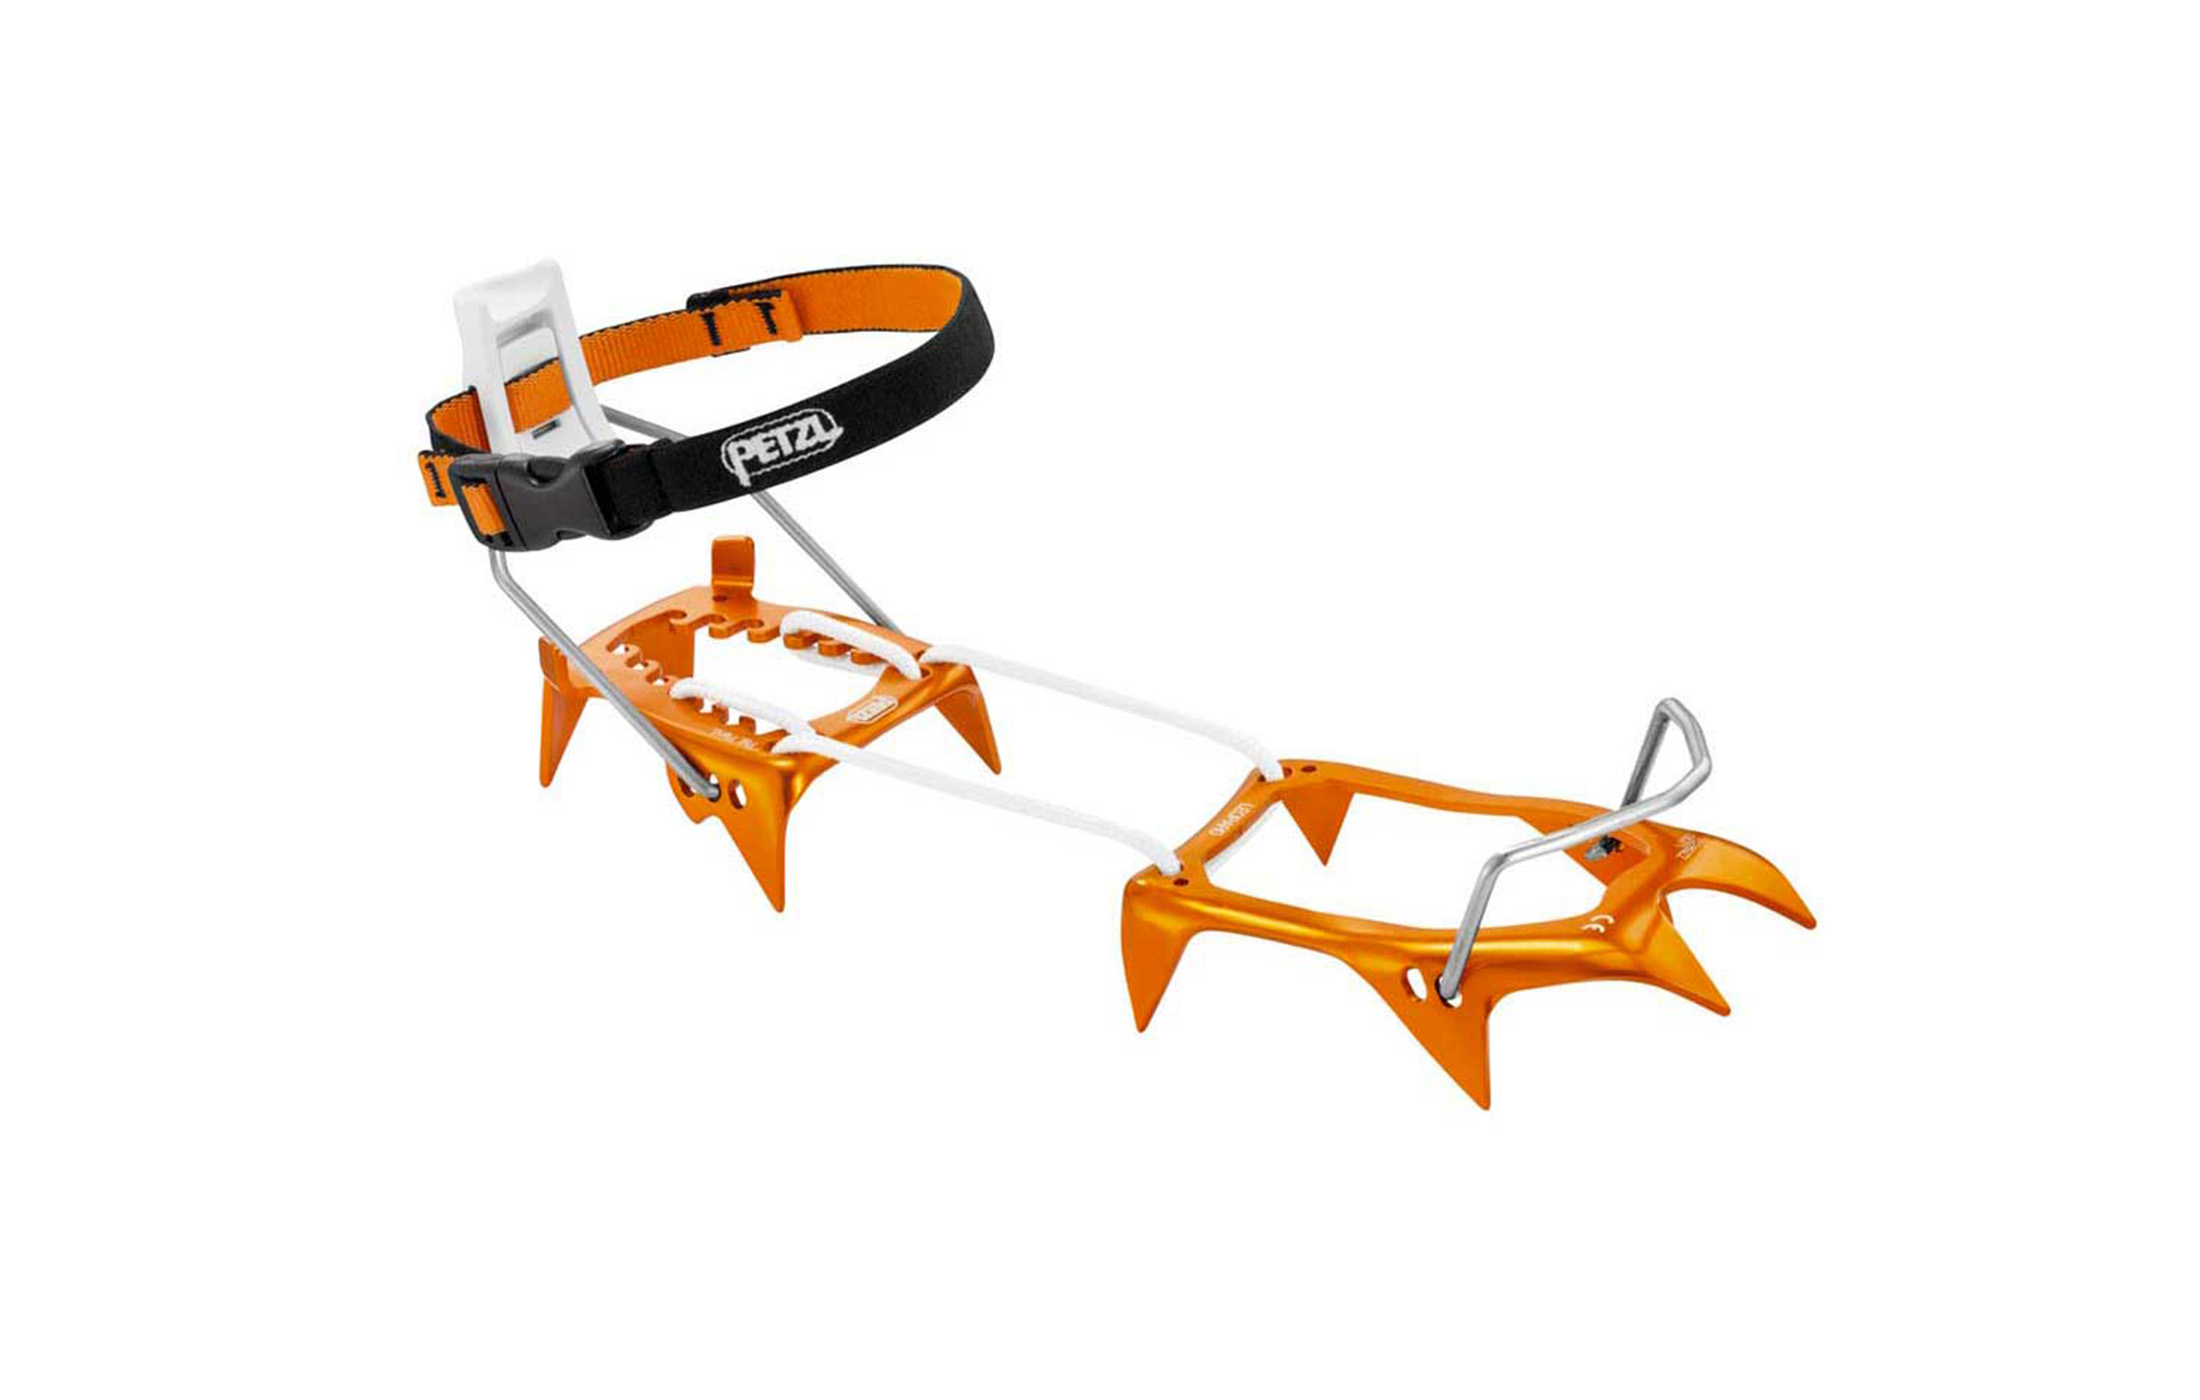
If you expect to find snow or ice on the trail, you should pack a pair of crampons or microspikes. In most cases microspikes will be enough – crampons are overkill unless you’re going to tackle steep terrain in icy conditions. I recommend reading Clever Adventurer’s excellent article for a proper description of the differences between these two kinds of traction devices.
Hiking clothes
These are the clothes you’d be wearing if you started hiking in fair weather. I list wet-weather gear under ‘Packed clothes’. When it comes to activewear, stay away from cotton – it holds water and is not a good material to have next to your skin. Wool and quick-drying synthetics like polyester and nylon are much better options since they retain some of their insulating properties even when wet.
Hiking shirt or T-shirt
Like your other activewear, your hiking shirt should be made of a fast-drying material that will wick moisture away from your skin. A short-sleeved shirt or T-shirt will offer the most ventilation, but a shirt with long sleeves will offer better protection from the sun, especially if it is UPF rated. If you go the long-sleeve route, know that a shirt can be unbuttoned both at the neck and cuffs, improving ventilation when it gets warm.
Hiking pants or leggings
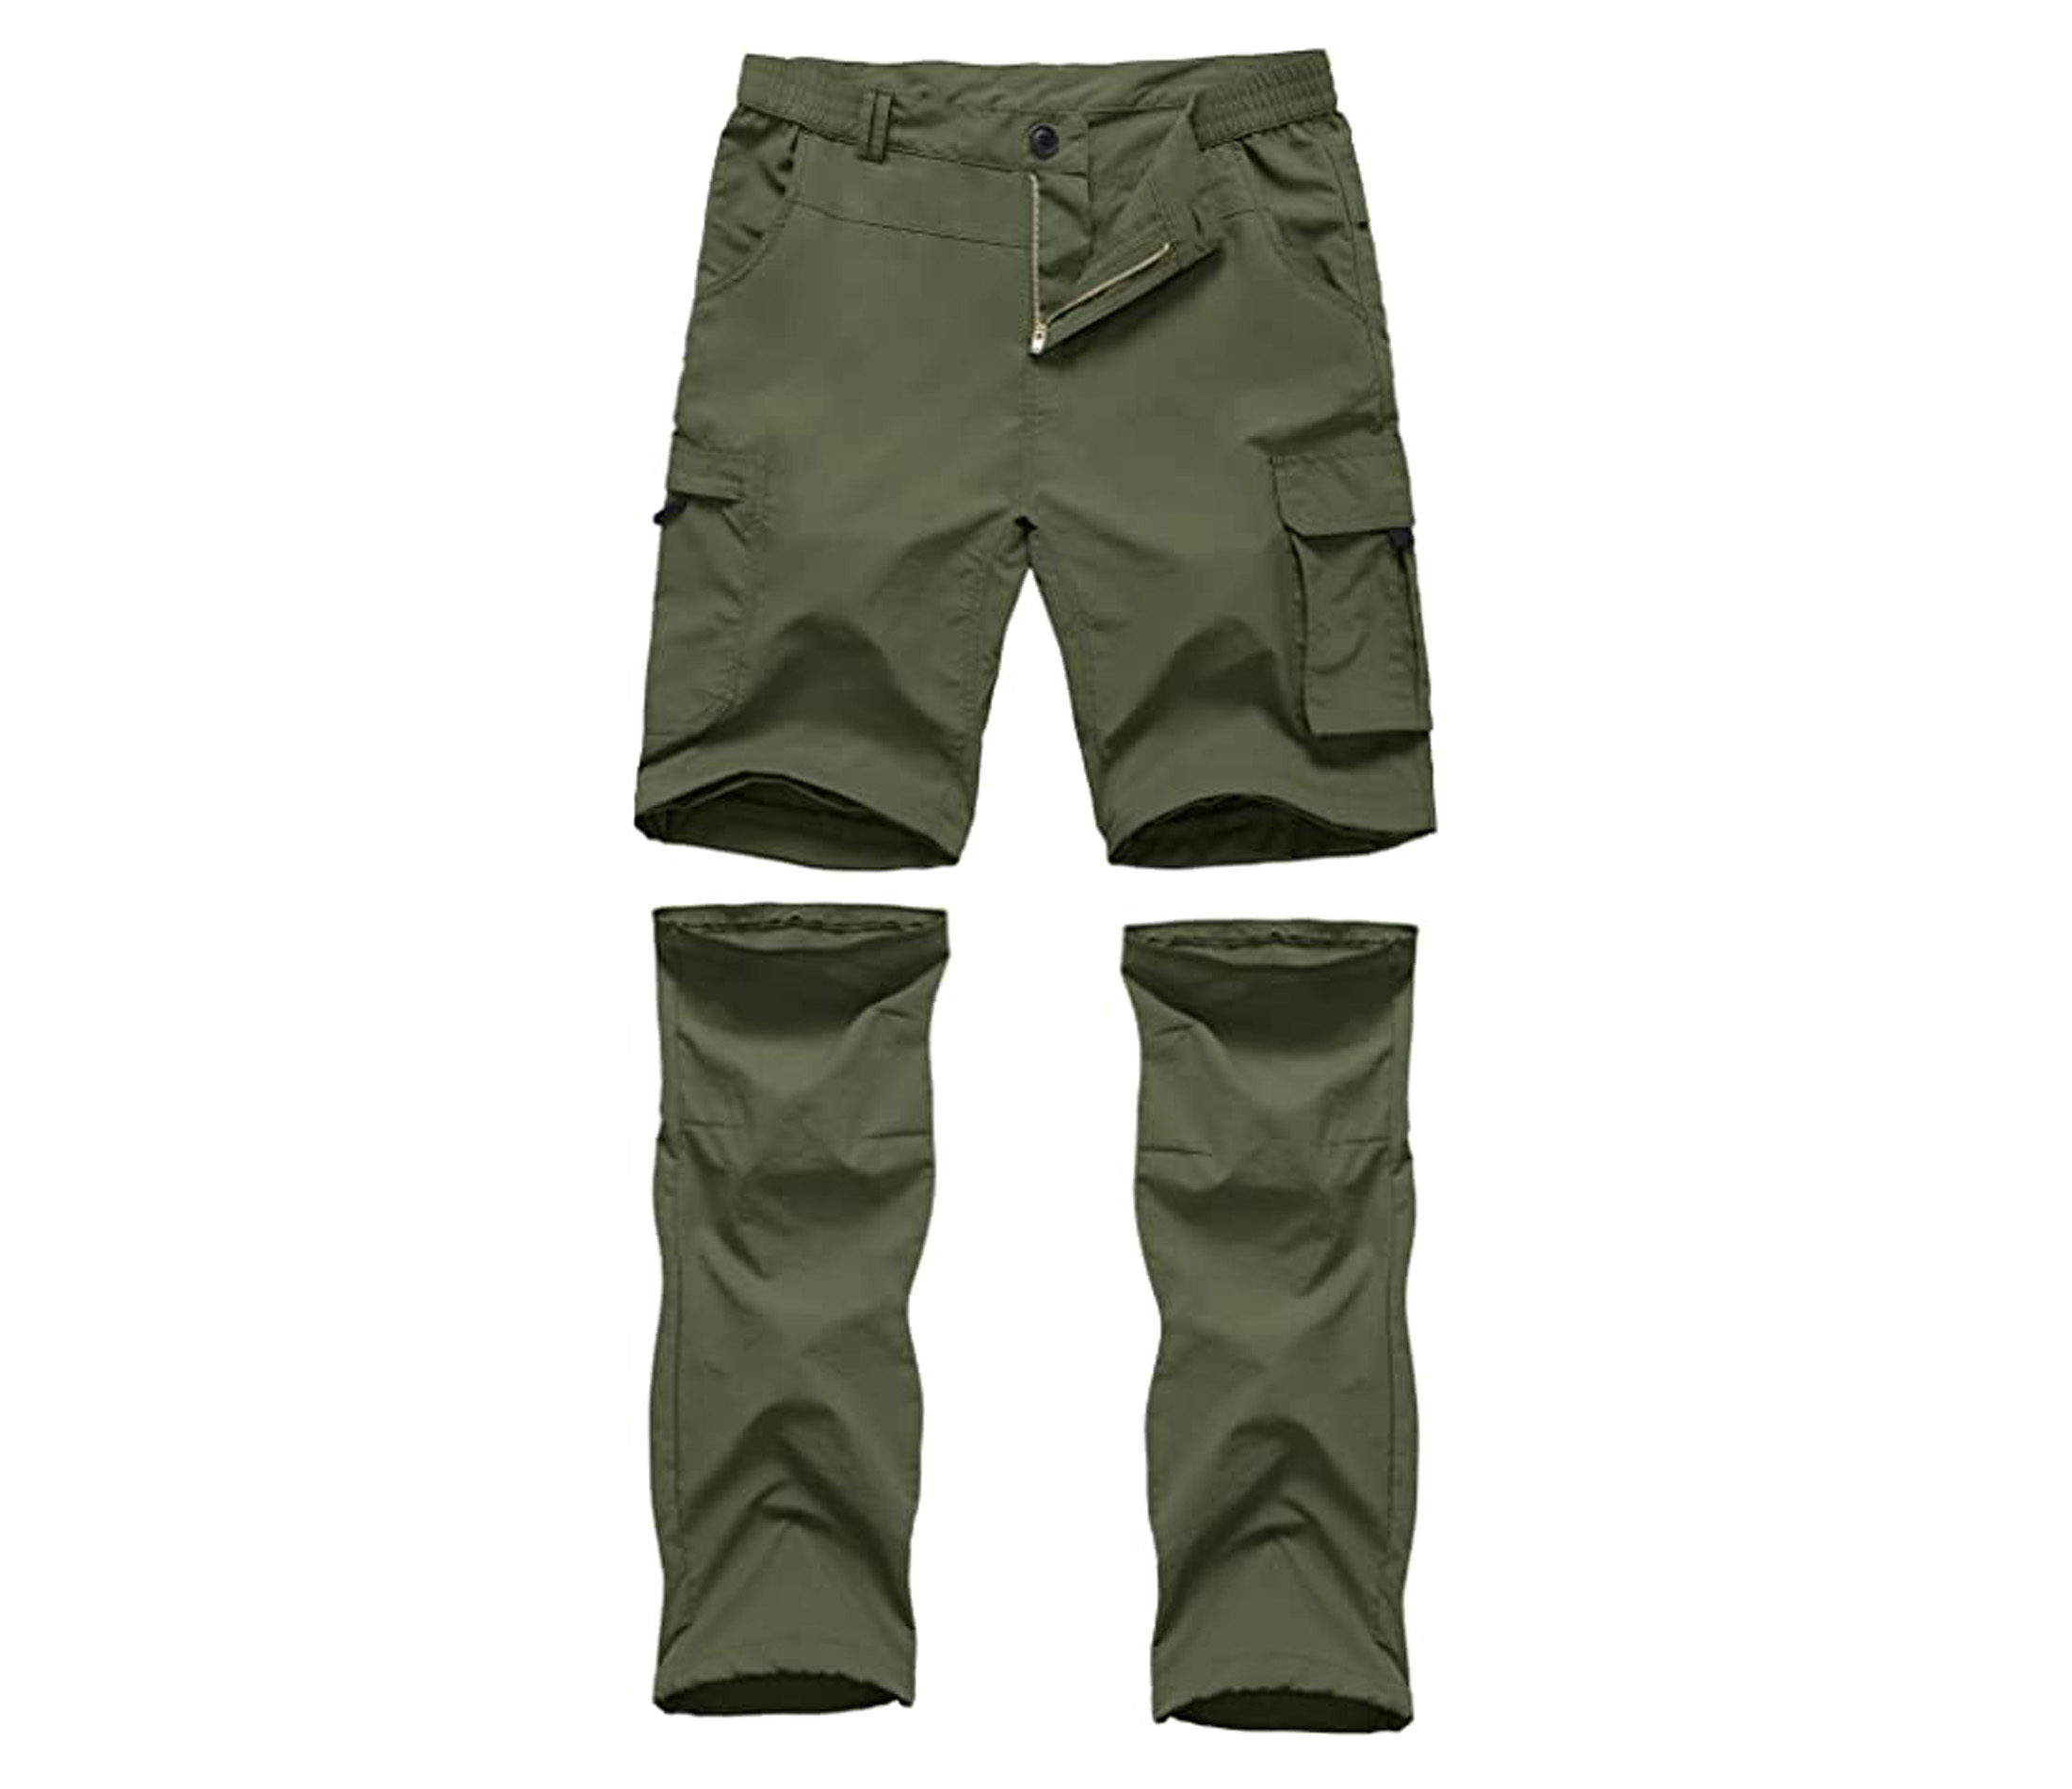
Hiking pants can be long or short, but they need to allow for freedom of movement and should be fast drying. You don’t need more than one pair unless you are expecting large temperature fluctuations or want a pair of waterproof pants for when it really starts to come down. Zip-off convertibles can be a good option if you expect big changes in temperature and you don’t want to carry both longs and shorts.
Some people prefer to hike in tights or leggings – a great option in colder weather. While these are often worn without underwear, there is an advantage to wearing underwear under your leggings when backpacking. If you want to wash and wear your next-to-skin layer, a pair of underwear will dry a lot faster than leggings and take up less space in your pack. Tights made of synthetics will wick away moisture better, and those with more wool in them will be more insulating.
Underwear
Underwear, like socks, should be chosen for their quick-drying and moisture-wicking properties – all next-to-skin layers should be either synthetic or a mix or synthetic and merino wool. But also look at the seams when choosing underwear to hike in. You don’t want thick seams which will contribute to chafe. No sport bra should contain cotton, but always check the label anyway.
Socks
The right socks will help prevent blisters and will keep your feet warm and dry. To do this, your socks have to fit snugly – so they don’t slide around or form wrinkles – and be breathable, moisture-wicking, and quick-drying. The best material is often a blend of merino wool and nylon (or other synthetics). Also ensure that your socks are high enough to offer your legs adequate protection from your footwear.
Optional
Sock liners
Sock liners are thin socks designed to be worn underneath your main hiking socks. Their purpose is to wick away moisture and reduce friction, thereby helping prevent blisters. These are particularly useful if you are going to hike in boots. As with your main socks, you want to avoid cotton. Look for sock liners made from synthetic fibres if moisture management is a priority, and merino wool if you need the extra insulation.
Packed clothes
You don’t need to pack lots of clothes for a backpacking trip, but you do need to pack the right items – everything you need for an effective layering system, a set of clothes for camp, and a few extra next-to-skin layers.
Fleece midlayer
Fleece is breathable, moisture-wicking and quick-drying, which makes a fleece pullover the best midlayer for hiking in a variety of conditions. A fleece mid-layer will also do a better job retaining some of its insulating properties when damp, and it won’t get as heavy as a merino jersey when wet. In my experience, a lighter pullover like the Patagonia R1 Air Crew is more versatile when used in a layering system, and it takes up less space than a fleece jacket.
Puffer jacket
Down jackets pack down very small and offer unparalleled warmth when dry, but they’re not your only choice. Synthetic fill isn’t quite as insulating as down (To achieve the same level of warmth, synthetic-insulated jackets have to be packed with more fill), but a synthetic fill jacket will retain some of it’s warmth when damp (down doesn’t), and it will be more affordable and easier to clean.

Camp clothes
Having a set of dry clothes exclusively for camp is essential for protecting yourself against hypothermia if you got cold and wet, and it can help lift your spirits at the end of a hard day. For most hikers these will be a pair of leggings or lightweight longs and a clean T-shirt. In cold and wet conditions you might want to carry a spare long sleeve baselayer. You can pair these with your fleece and puffer. The jacket, at least, should still be dry.
Spare socks and underwear
In addition to those you’re wearing, you will need an extra pair of socks and another pair of underwear (maybe two if you’re not going to wash and wear next-to-skin layers in rotation). If you’re using sock liners, you’ll need an extra pair of these as well. These thinner socks will dry faster than your regular socks after they’re washed, which will allow you to change out your sock liners even if you have to go another day in your regular socks – in colder conditions it can take two days for a pair of thick woolen socks to dry.
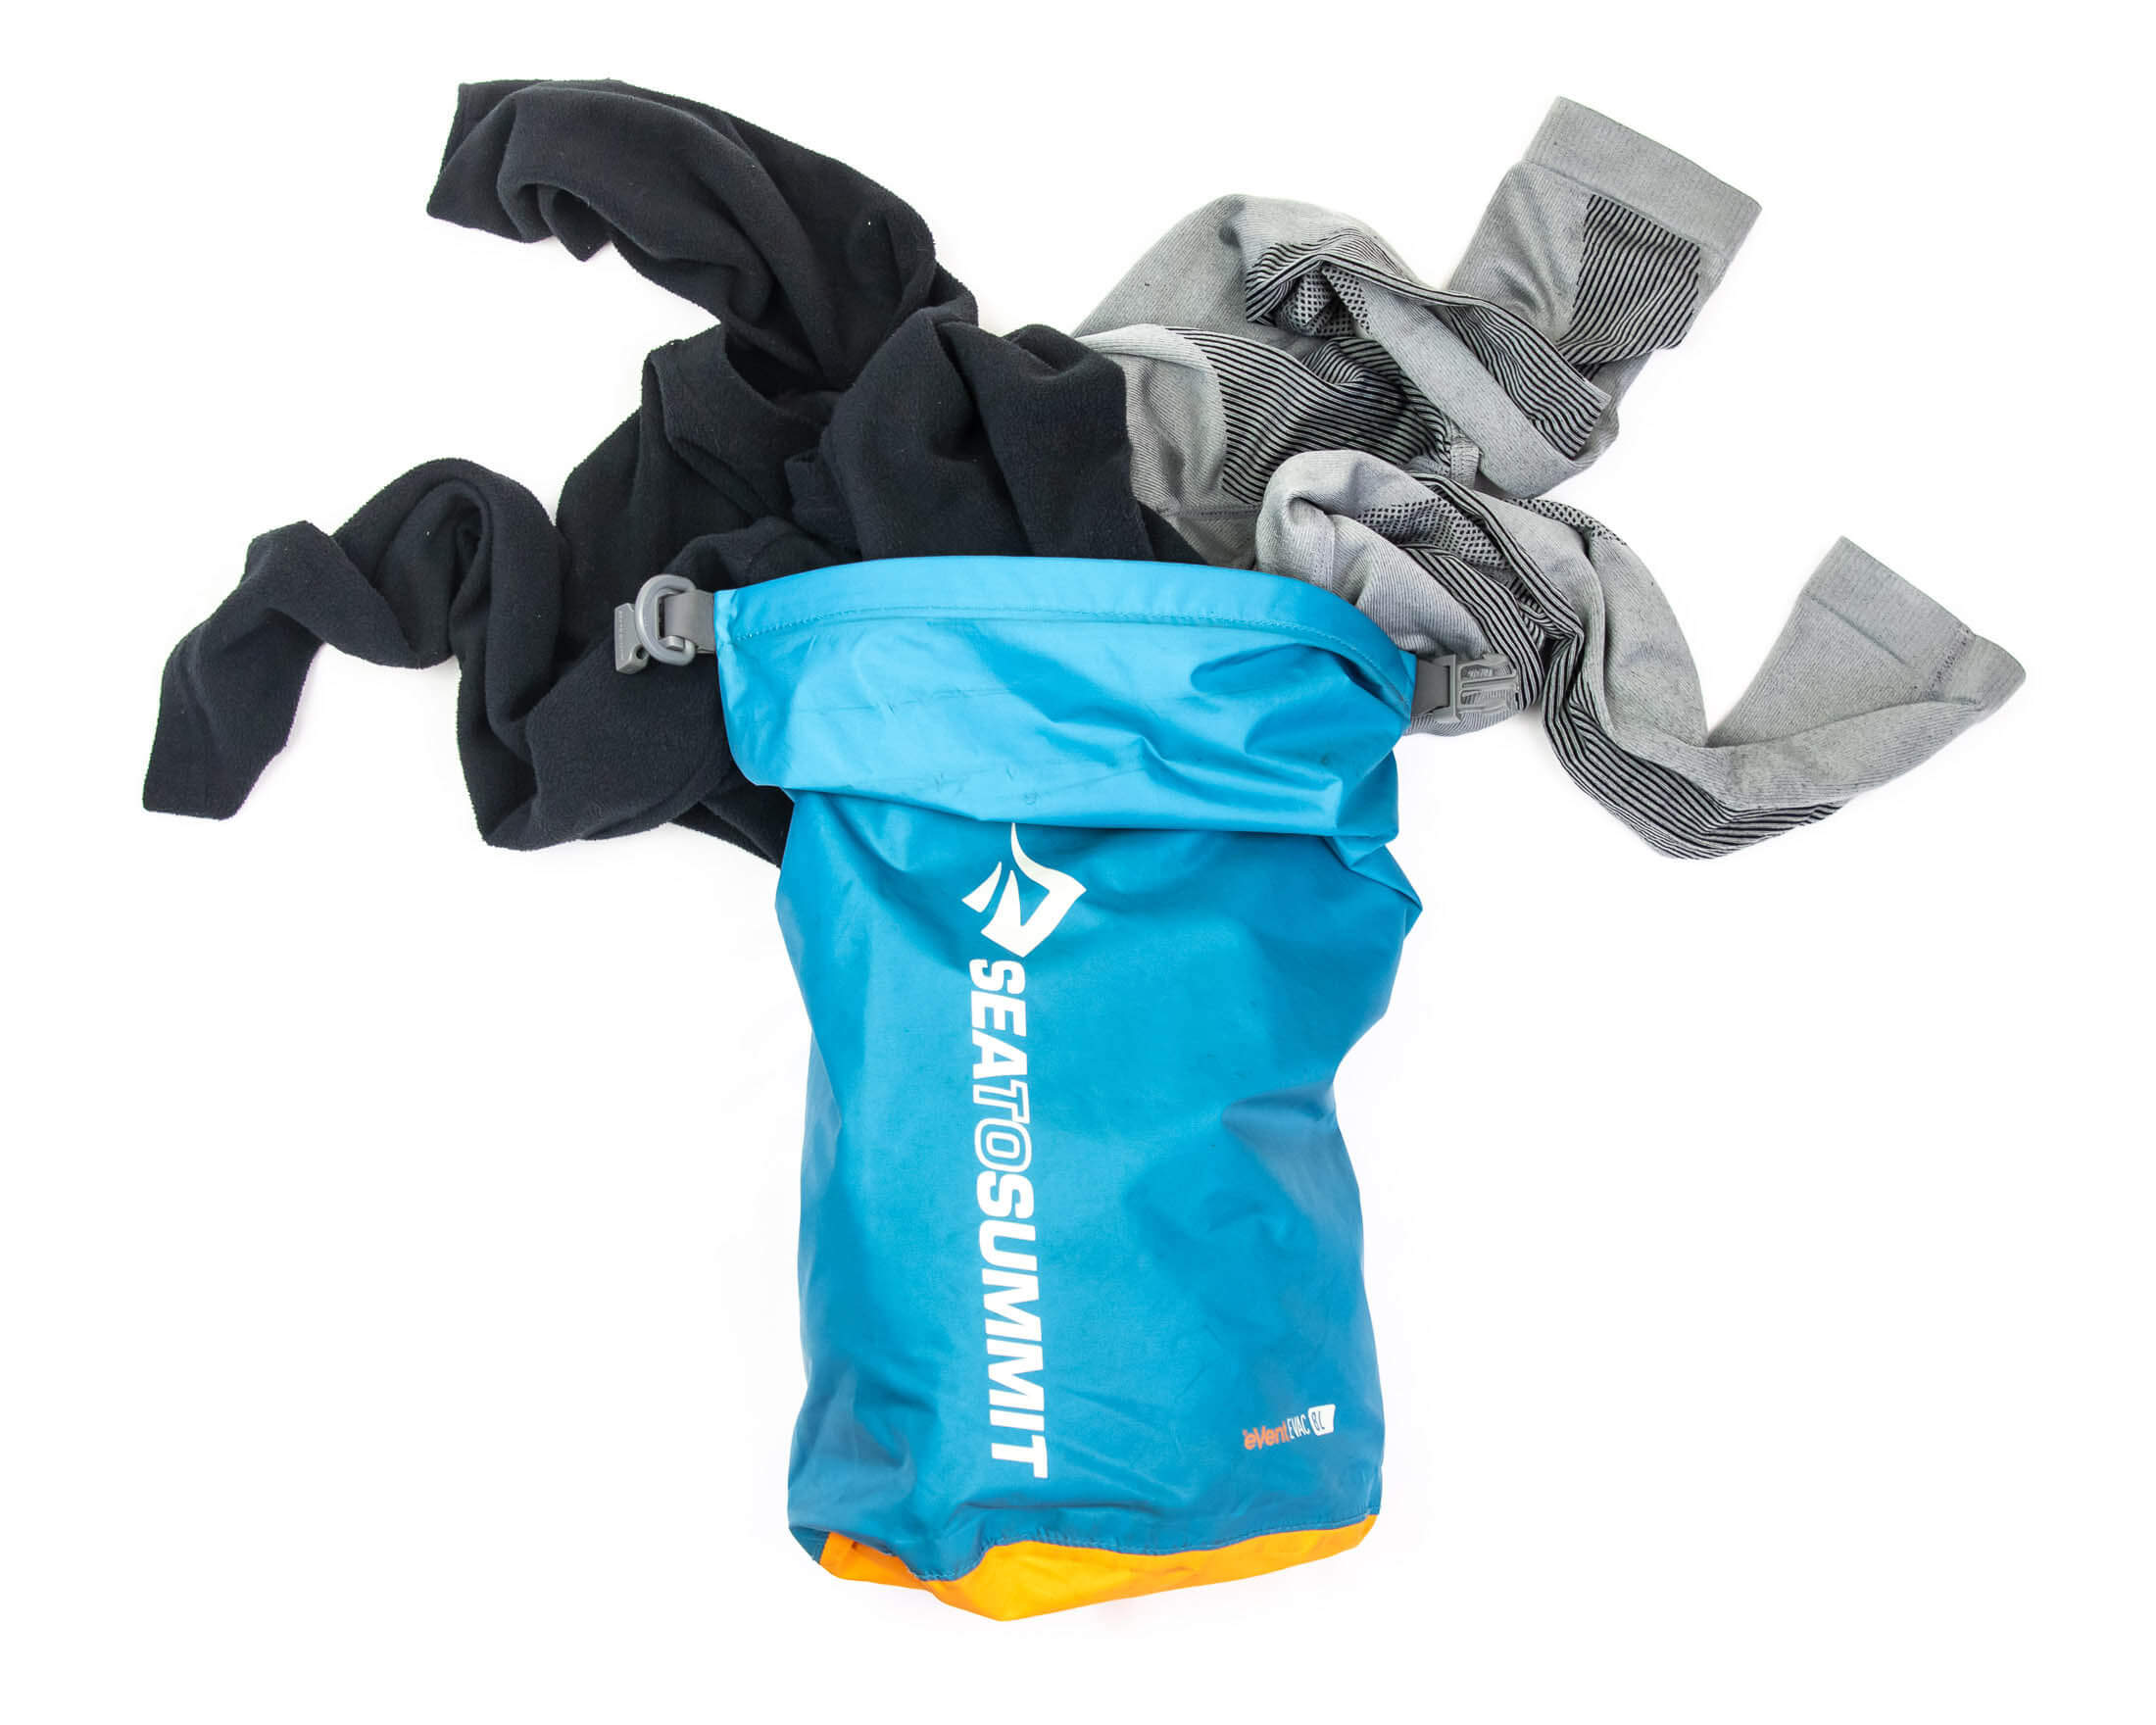
Tip: Keep your spare clothes in a dry bag
Compressing and sealing your clothes in a dry bag can save space in your pack, and then you can also use the bag to wash your clothes. As for dirty clothes, it’s best to keep these separate by putting them in a smaller mesh stuff sack. An airtight bag would only lock in moisture and odour – not what you want.
Optional
The following might be necessary in cold or wet conditions.
Waterproof pants
Waterproof hiking pants are essential if you are going to spend a lot of time hiking in the rain. These vary widely on price depending on the material (Gore-Tex breathes better but is more expensive), but almost all are designed to be worn over a base layer or hiking pants. A pair with zippered leg vents will allow for improved ventilation when you need it and will make it easier to get the pants on and off while you are wearing boots.
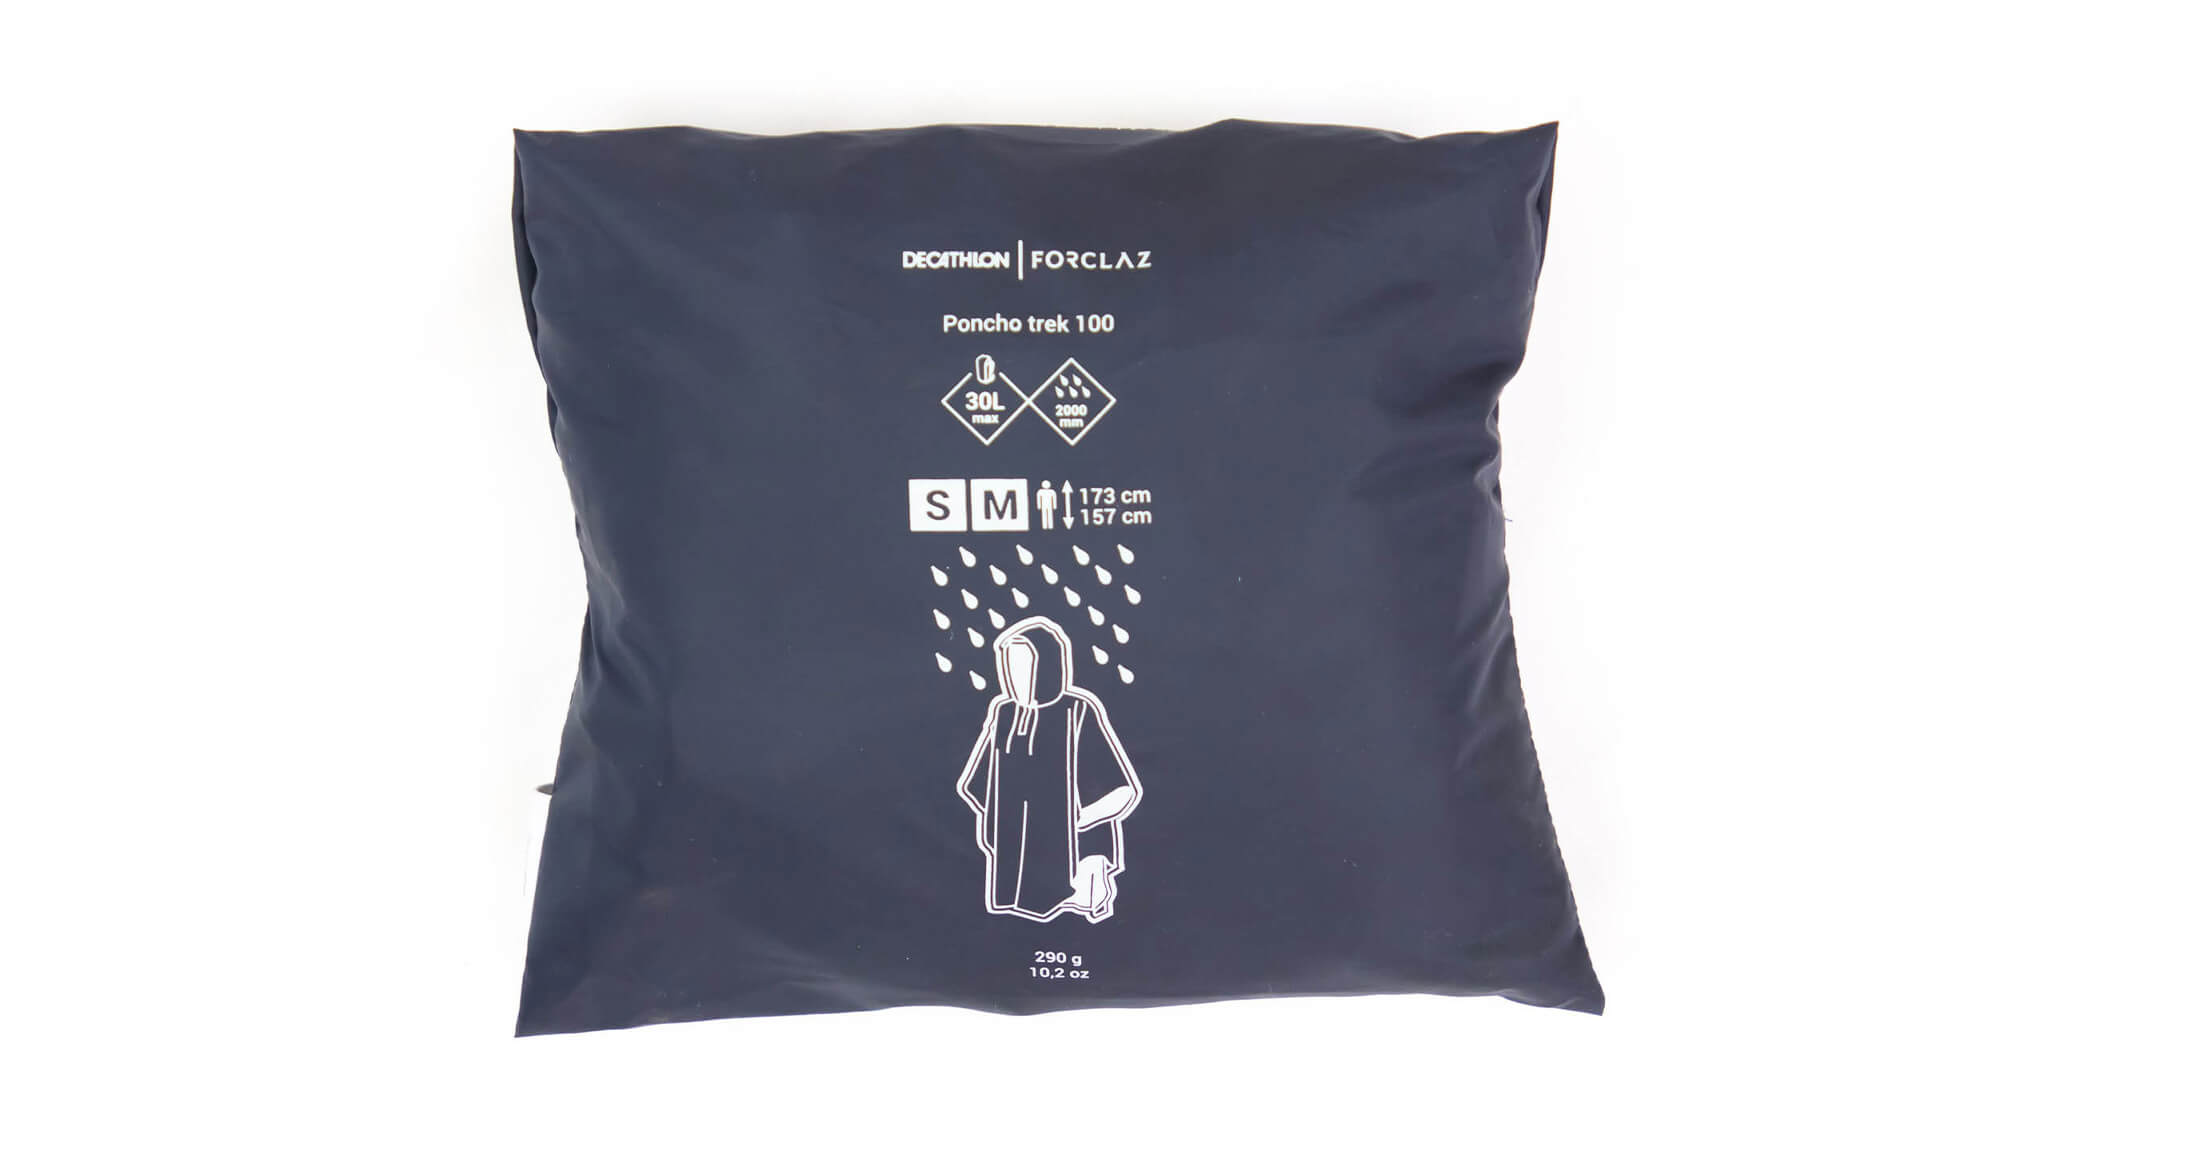
Rain jacket or poncho
Ponchos are less expensive than rain jackets. But they’re not breathable, and they fit more loosely, making it easier for them to snag on branches. If you’re going to do a significant amount of hiking in the rain, a waterproof jacket would be a worthwhile investment. Look for a shell (no insulating liner) that will pack small and provide layering options when paired with your mid-layer fleece and other garments.
Thermal underwear or baselayer
It’s hard to beat merino wool for its warmth and anti-odour properties (useful when you’re going to wear the same pair for days on the trail), and the best long johns will be made of merino wool or a blend containing a significant amount of this natural fibre. But if you’re not expecting freezing temps and think that you might work up a sweat, a synthetic baselayer will do a better job of keeping you dry (as in not sweaty) and regulating your temperature.
Gloves and warm hat
Gloves and hats aren’t just for wearing around camp on chilly evenings. If you use a quilt or a sleeping bag without a hood, you’ll also need a warm hat to keep your noggin toasty on colder nights. Both fleece and merino wool are good materials although the latter is often preferred for its odour resistance and texture – soft to the touch. With gloves, fleece is generally better for ensuring finger dexterity and breathability.
Get out there
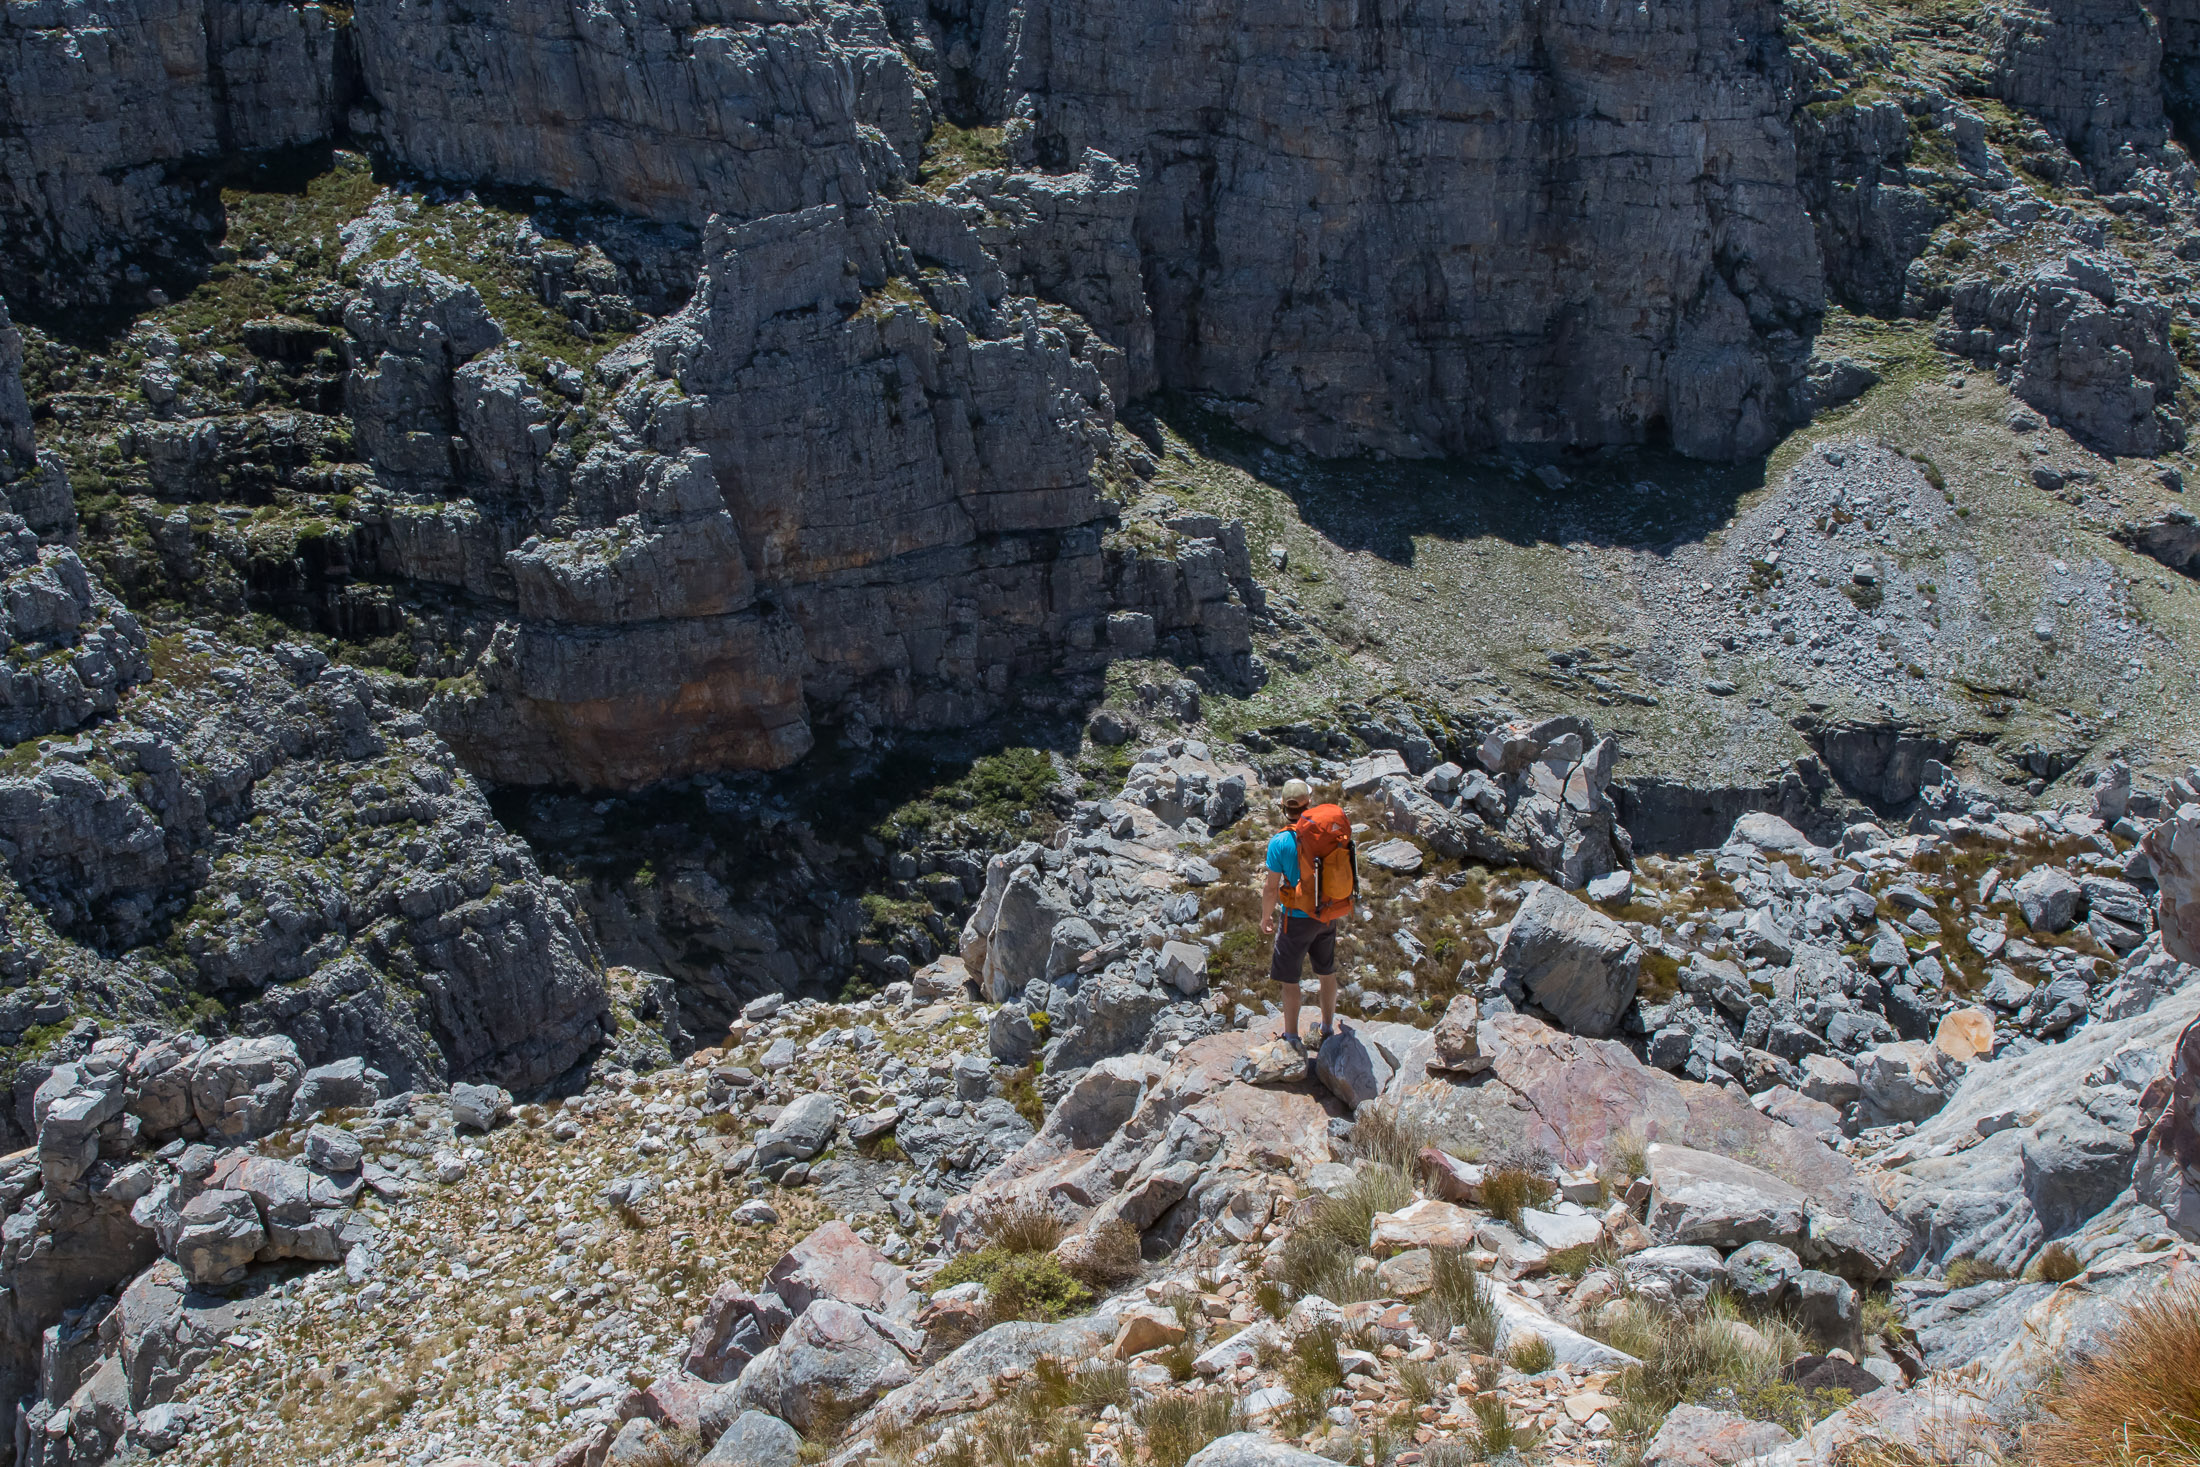
The best way to fine tune your kit list and hone your backpacking skills is to get out there and get some practical experience. Only time on the trail will really teach you what you need to pack and how to approach certain challenges. That said, if it’s further instruction you’re after, this site has many more backpacking articles filled with pointers, practical tips, and valuable insights. Happy hiking.
