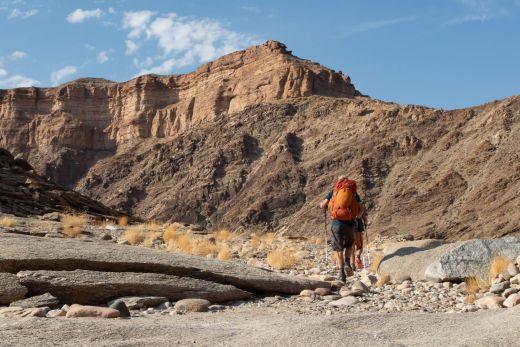
A heavy pack sucks all the fun out of a backpacking trip. And while ultralight backpackers will tell you the first thing you should do to lighten your pack is buy a scale and weigh your kit, that will only tell which items are contributing the most to your pack weight. To actually lighten your pack, you need to employ some tried and tested methods for shaving off unnecessary weight. Some of these tactics are aimed at reducing your base weight while others are aimed at reducing the weight of the consumables you carry. Use them all, and you’ll be able to save a significant amount while still ensuring that you still have what you need to be safe and comfortable.
Base weight vs pack weight
Unless you’re very new to backpacking, you’ve probably heard the words ‘base weight’ and ‘pack weight’ thrown around. But maybe you don’t know exactly what they mean or how they can guide gear and packing decisions.
Base weight
Your base weight is the weight of your pack plus the weight of contents that won’t fluctuate over the course of a hike. Usually, this means that only your gear contributes to your base weight since your food, water, fuel and other supplies diminish as they are used. Typically a base weight of 11 to 17 pounds is considered lightweight while a base weight of 10 pounds or less is ultralight.
Pack weight
Pack weight is the weight of your fully loaded pack with gear, supplies, food, and water. Depending on the length of the trip or the distance between resupplies, your pack weight can fluctuate significantly with your pack being much heavier at the start of a trip or leg than at the end. As a rule of thumb, your pack weight should not be more than 20 percent of your body weight.
Reduce the weight of your kit
The surest way to significantly reduce your base weight is to focus on the big three: your tent, sleeping bag, and sleeping pad. If you can keep these pieces of gear under 5 pounds, you will have a good chance of keeping your base weight to under 10 pounds. That said, all weight savings add up, and you don’t want to pass up opportunities to save weight elsewhere.
| mid-weight kit gear | weight | ultralight gear | weight | difference |
| synthetic 20° sleeping bag | 2 lb 14 oz | ultralight down sleeping bag 20° | 2 lb 6 oz | 1 lb 8 oz |
| mid-weight 2-person dome tent | 3 lb 2 oz | ultralight 2-person A-frame tent | 2 lb 2 oz | 1 lb |
| self-inflating pad | 2 lb 5 oz | ultralight air pad | 13 oz | 1 lb 8 oz |
You can save 4 pounds on just these three pieces of kit.
Upgrade your sleep system
If you have a synthetic sleeping bag, a down bag is one of the biggest upgrades you can make. Over the past several years, there have been improvements in high-end synthetic fill, but quality down (800 fill power and higher) is still much warmer and more compressible than synthetic fill. But before you go out and buy a down sleeping bag, know that there is another option. Down-filled backpacking quilts are even lighter than equivalent sleeping bags, making a quilt a good option if keeping weight down is your top priority. Beyond weight and bulk, there are also a few practical differences between quilts and sleeping bags which you should familiarize yourself with before choosing one over the other.
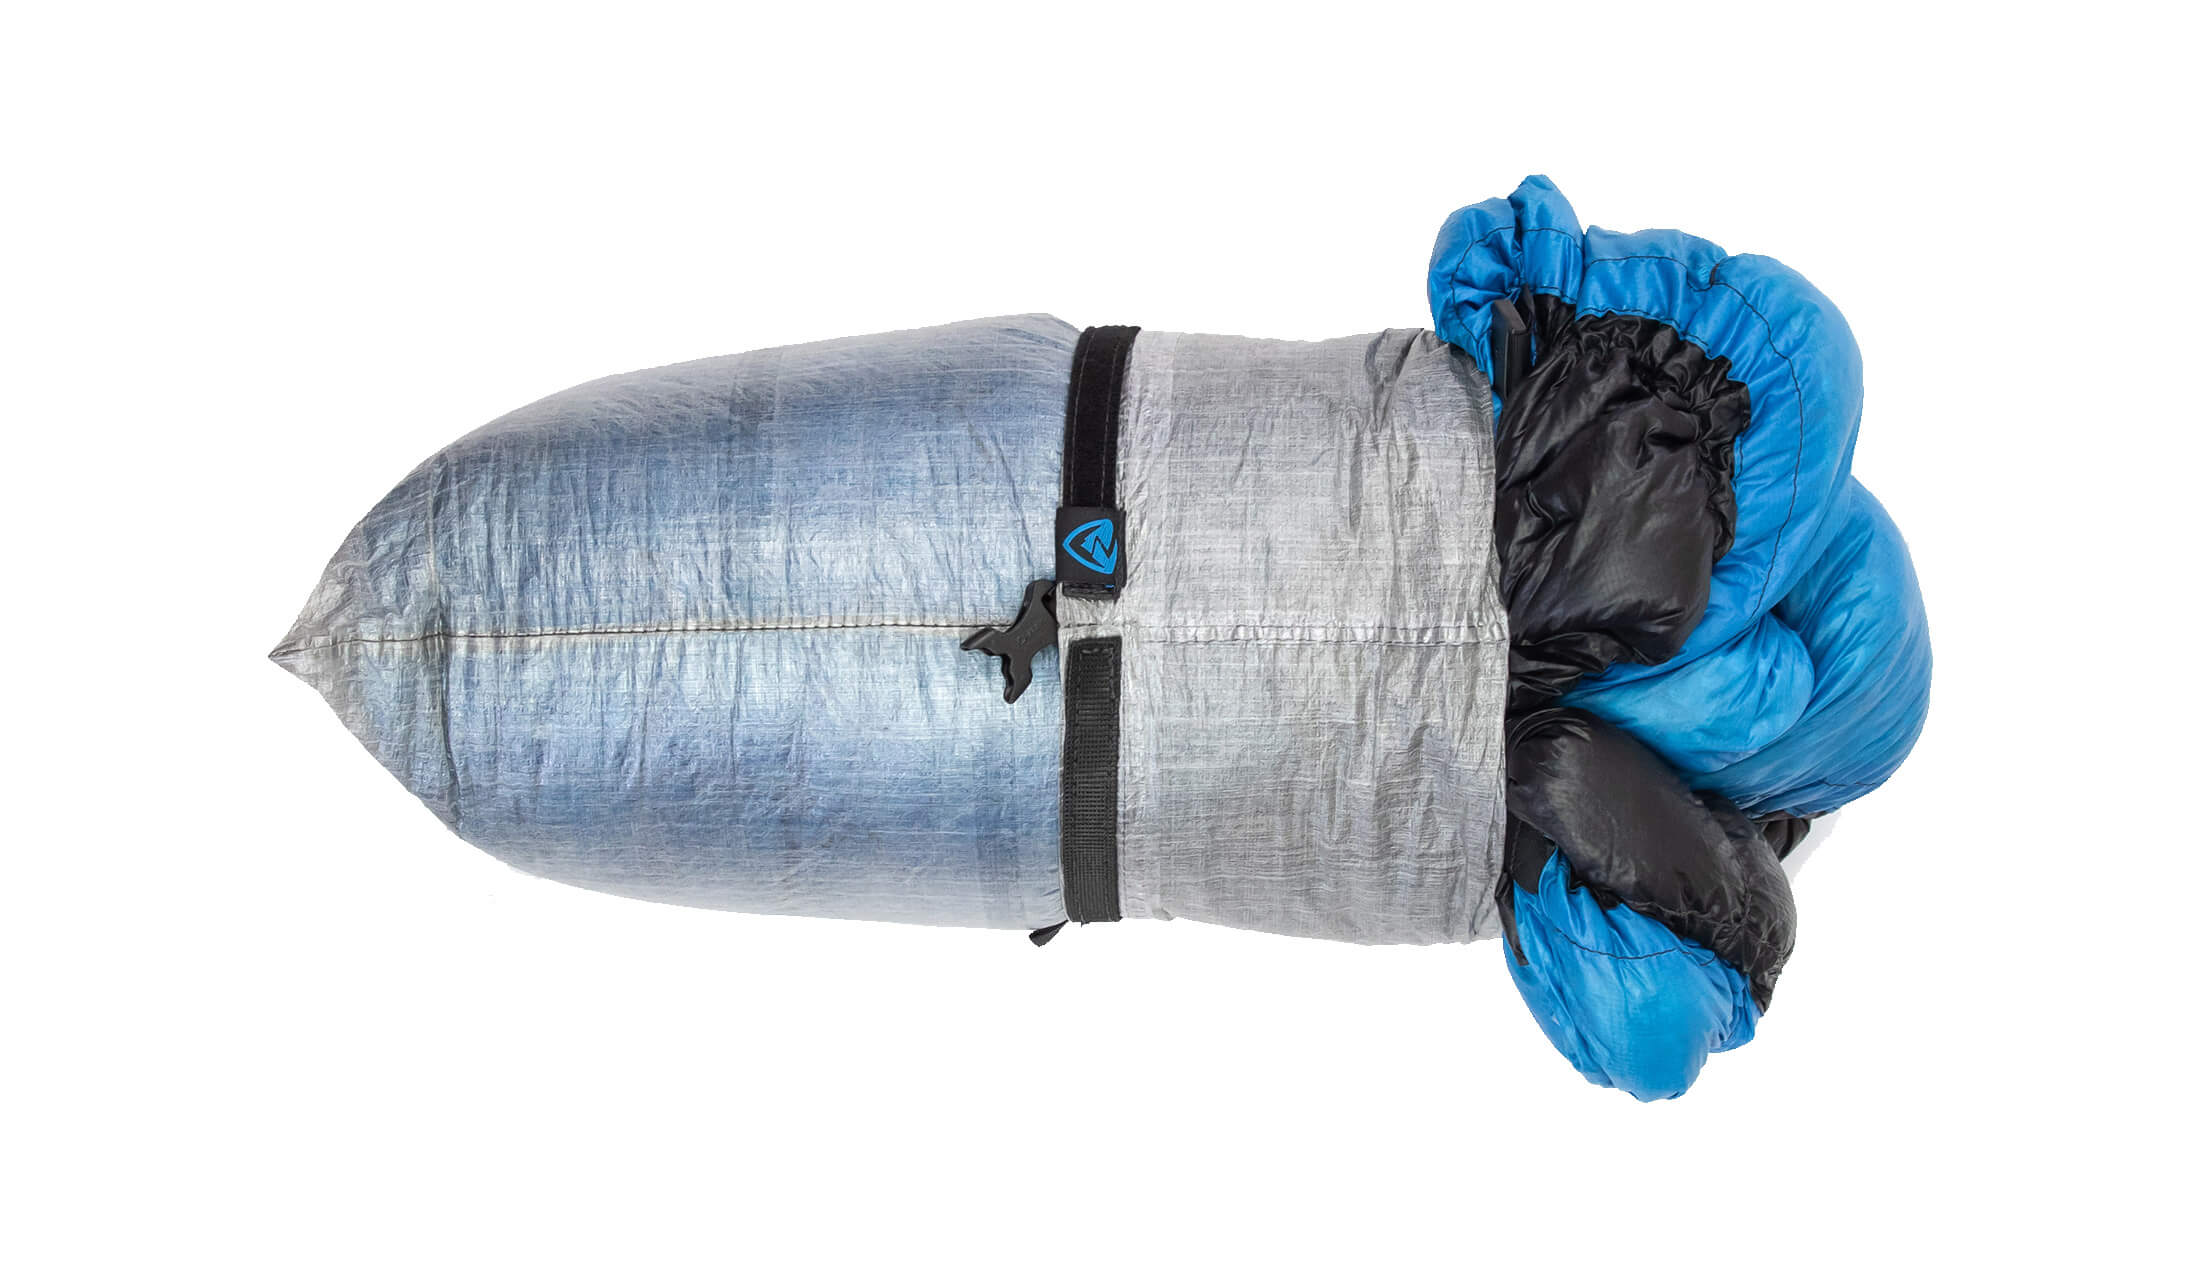
Still using a self-inflating pad? You might also want to upgrade your sleeping pad. While self-inflating pads might make inflation a little easier, they weigh up to two times more than ultralight air pads. If the idea of forking out $200 for a Therm-A-Rest NeoAir doesn’t appeal to you, you can also opt for a closed-cell foam pad, which besides being much cheaper, has the added benefit of being very durable (cannot be punctured). Of course, here you will make a compromise, as an inch of closed-cell foam just isn’t as comfortable as a 3-inch air pad.
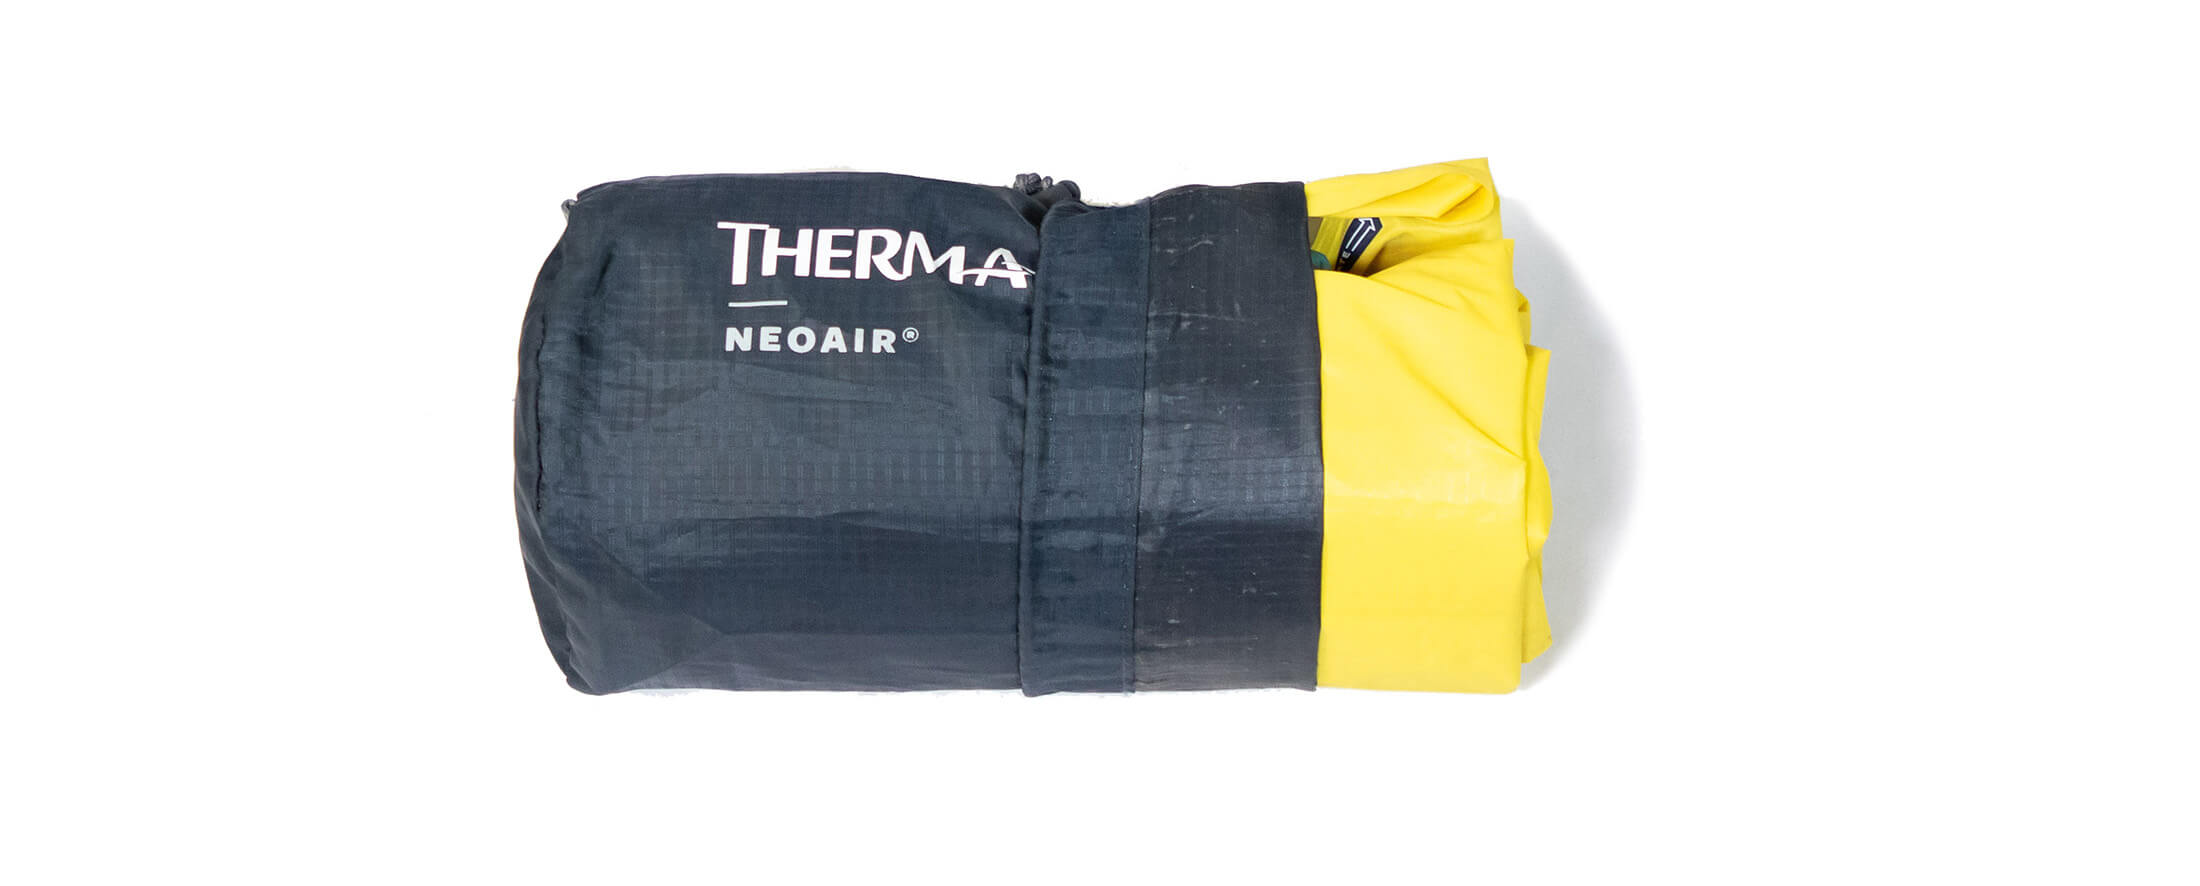
When choosing a new sleeping bag or pad, it’s important to consider the insulating properties of your sleep system as a whole (sleeping bag, pad and clothes) and calibrate your sleep setup so that when you include all its components, it will warm enough for the lowest temperatures you could face at night. To achieve this, I recommend choosing a sleeping bag and pad that will be just slightly less than warm enough (-5°) for the coldest conditions you could face. That way, your setup will be sufficiently warm for most conditions, and you can still supplement your insulation with a few extra layers of clothing for those really chilly nights.
Go with a lighter shelter
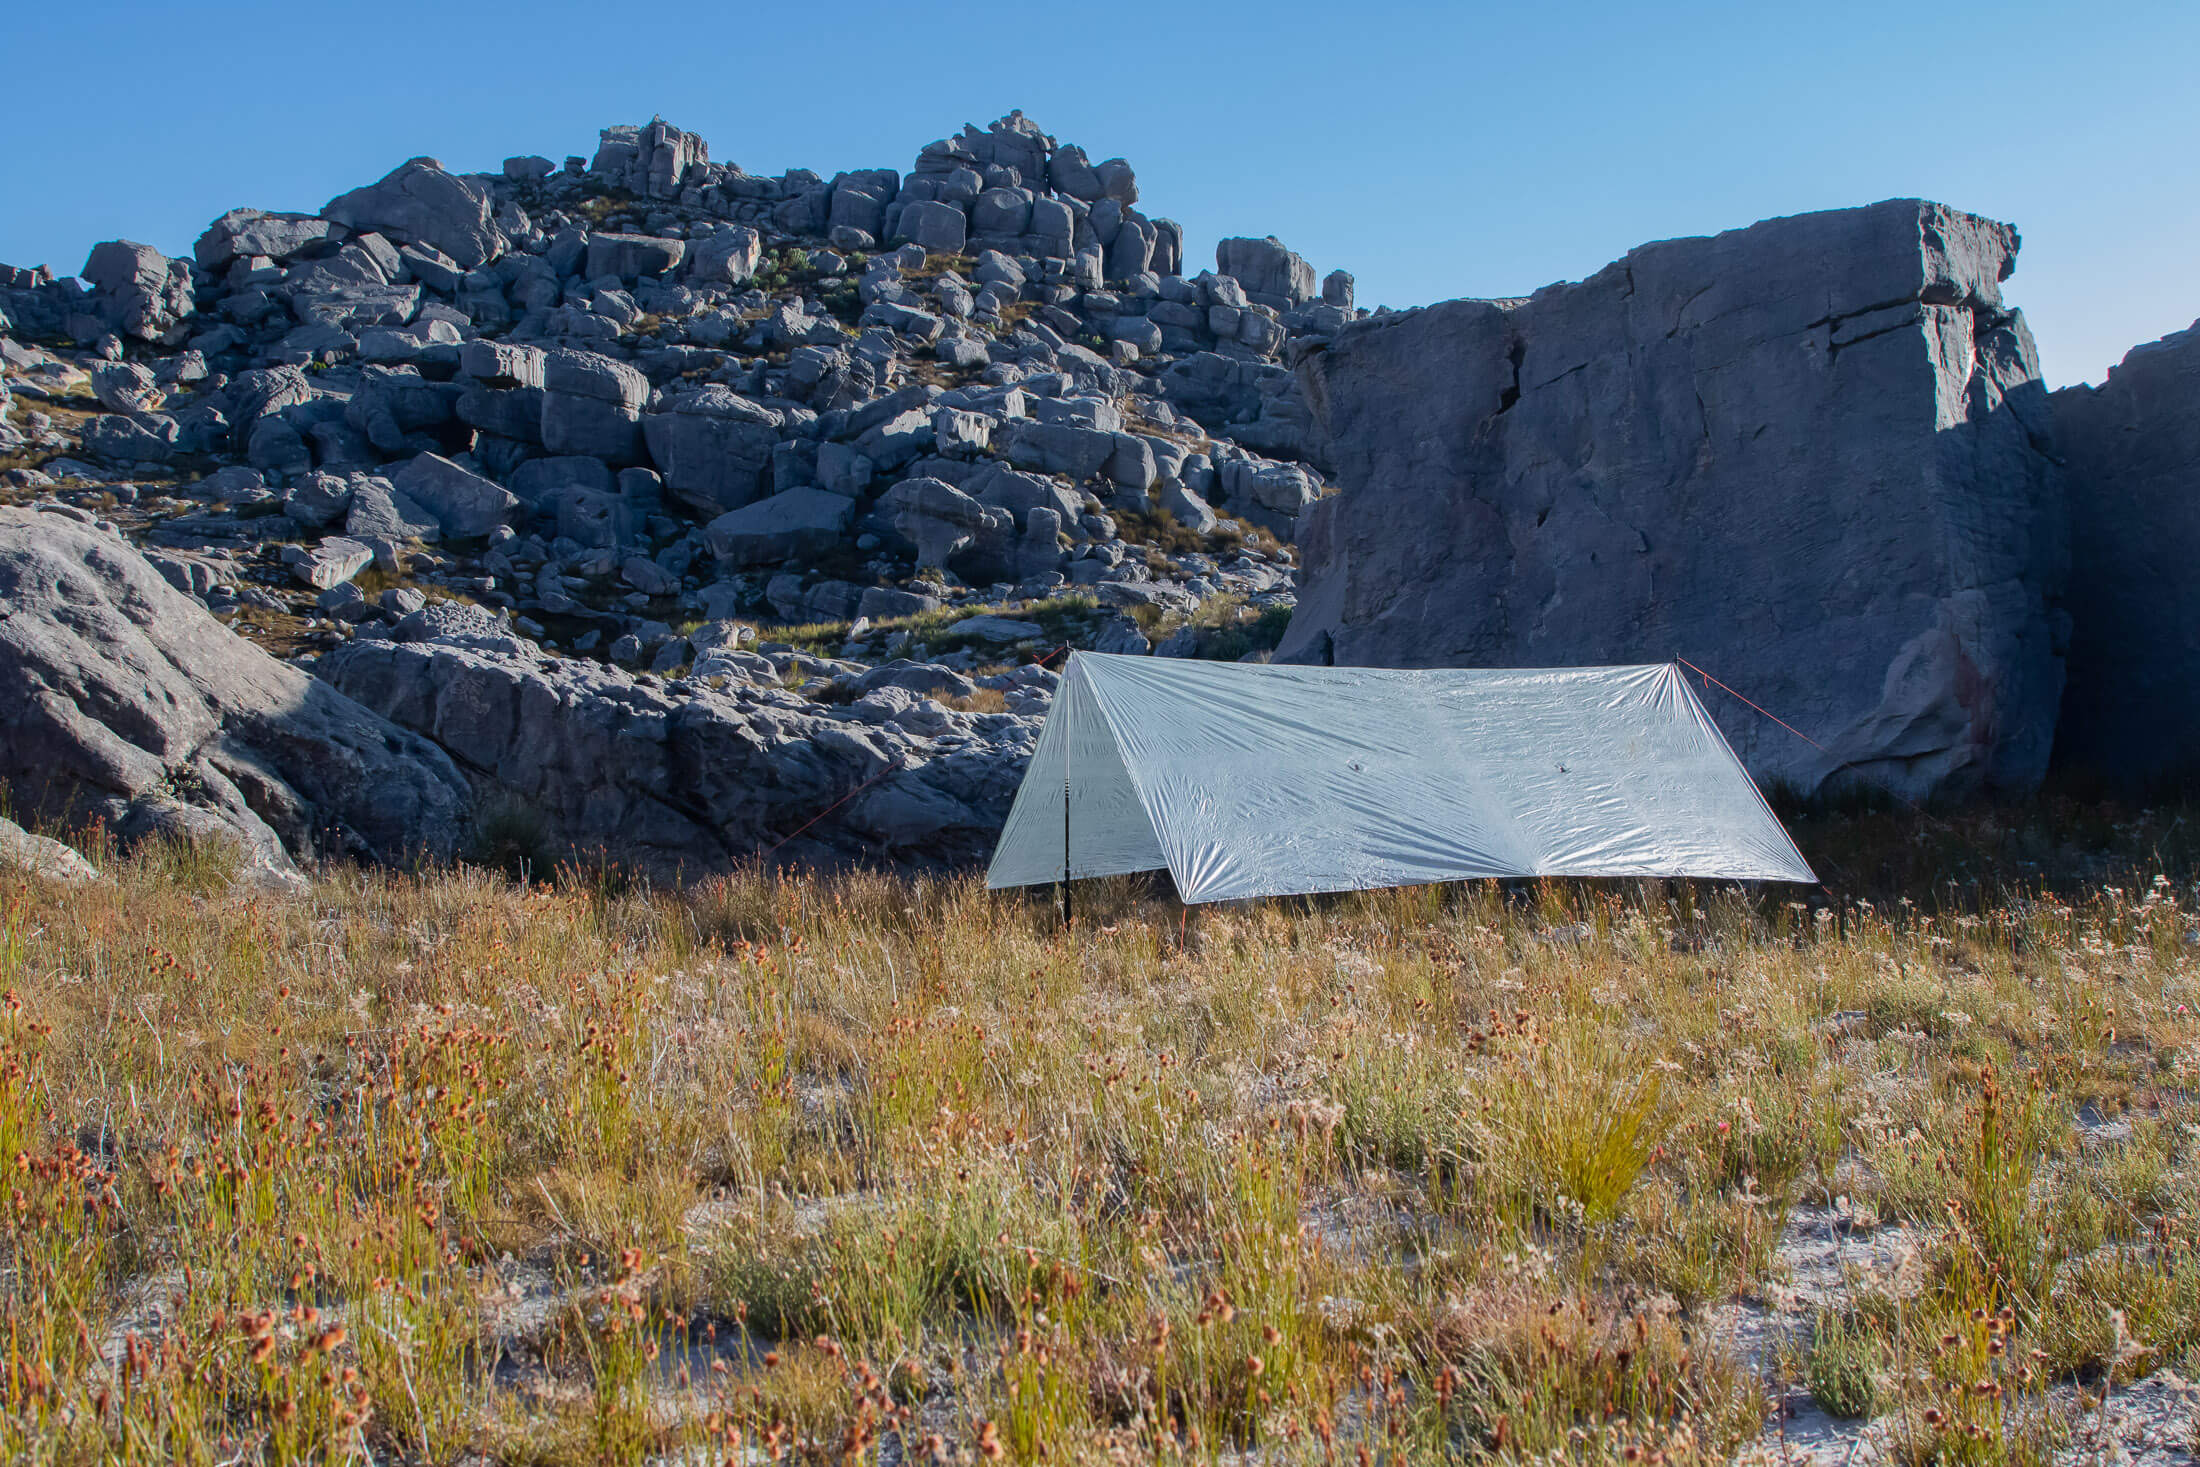
There was a time when putting together an ultralight setup meant choosing a tarp or single-walled trekking pole tent. While these options involved making compromises in terms of weather protection or condensation build up, they were unrivaled in the weight department, making them the obvious choices for any ultralight adventure. Today, deciding on an ultralight shelter isn’t nearly as easy. Although still not as light as tarps and single-walled tents, modern double-walled tents are very light. And you now have to ask yourself which is more of a priority – having the lightest shelter possible or having a greater functionality.
| gear type | model | weight |
| Ultralight dome tent | Big Agnes Copper Spur UL2 | 2 lb 14 oz |
| Double-walled trekking pole tent | Six Moons Haven tent | 2 lb 5 oz |
| Single-walled trekking pole tent | Hyperlite Mountain Gear Unbound 2P | 1 lb 10 oz |
| Flat tarp + DCF ground sheet | Zpacks Flat tarp 8.5’ x 10’ | 12.5 oz |
I have included the weight of 8 stakes (2.5 oz) in the figures for the A-frame tents and tarp. These are not are not sold with these shelters or included in the manufacturer’s specified weights.
How light you need your shelter to be will depend on two things: your target base weight and whether or not you’re going to share your shelter with a hiking buddy. Sharing a tent with a friend halves the weight of your tent if you each carry only a part of the tent. Such an arrangement has very little downsides (besides less personal space) as you can have all the benefits of a double-walled tent while keeping the weight of your tent (the portion you carry) to under 1.5 lb.
Downsize the essentials
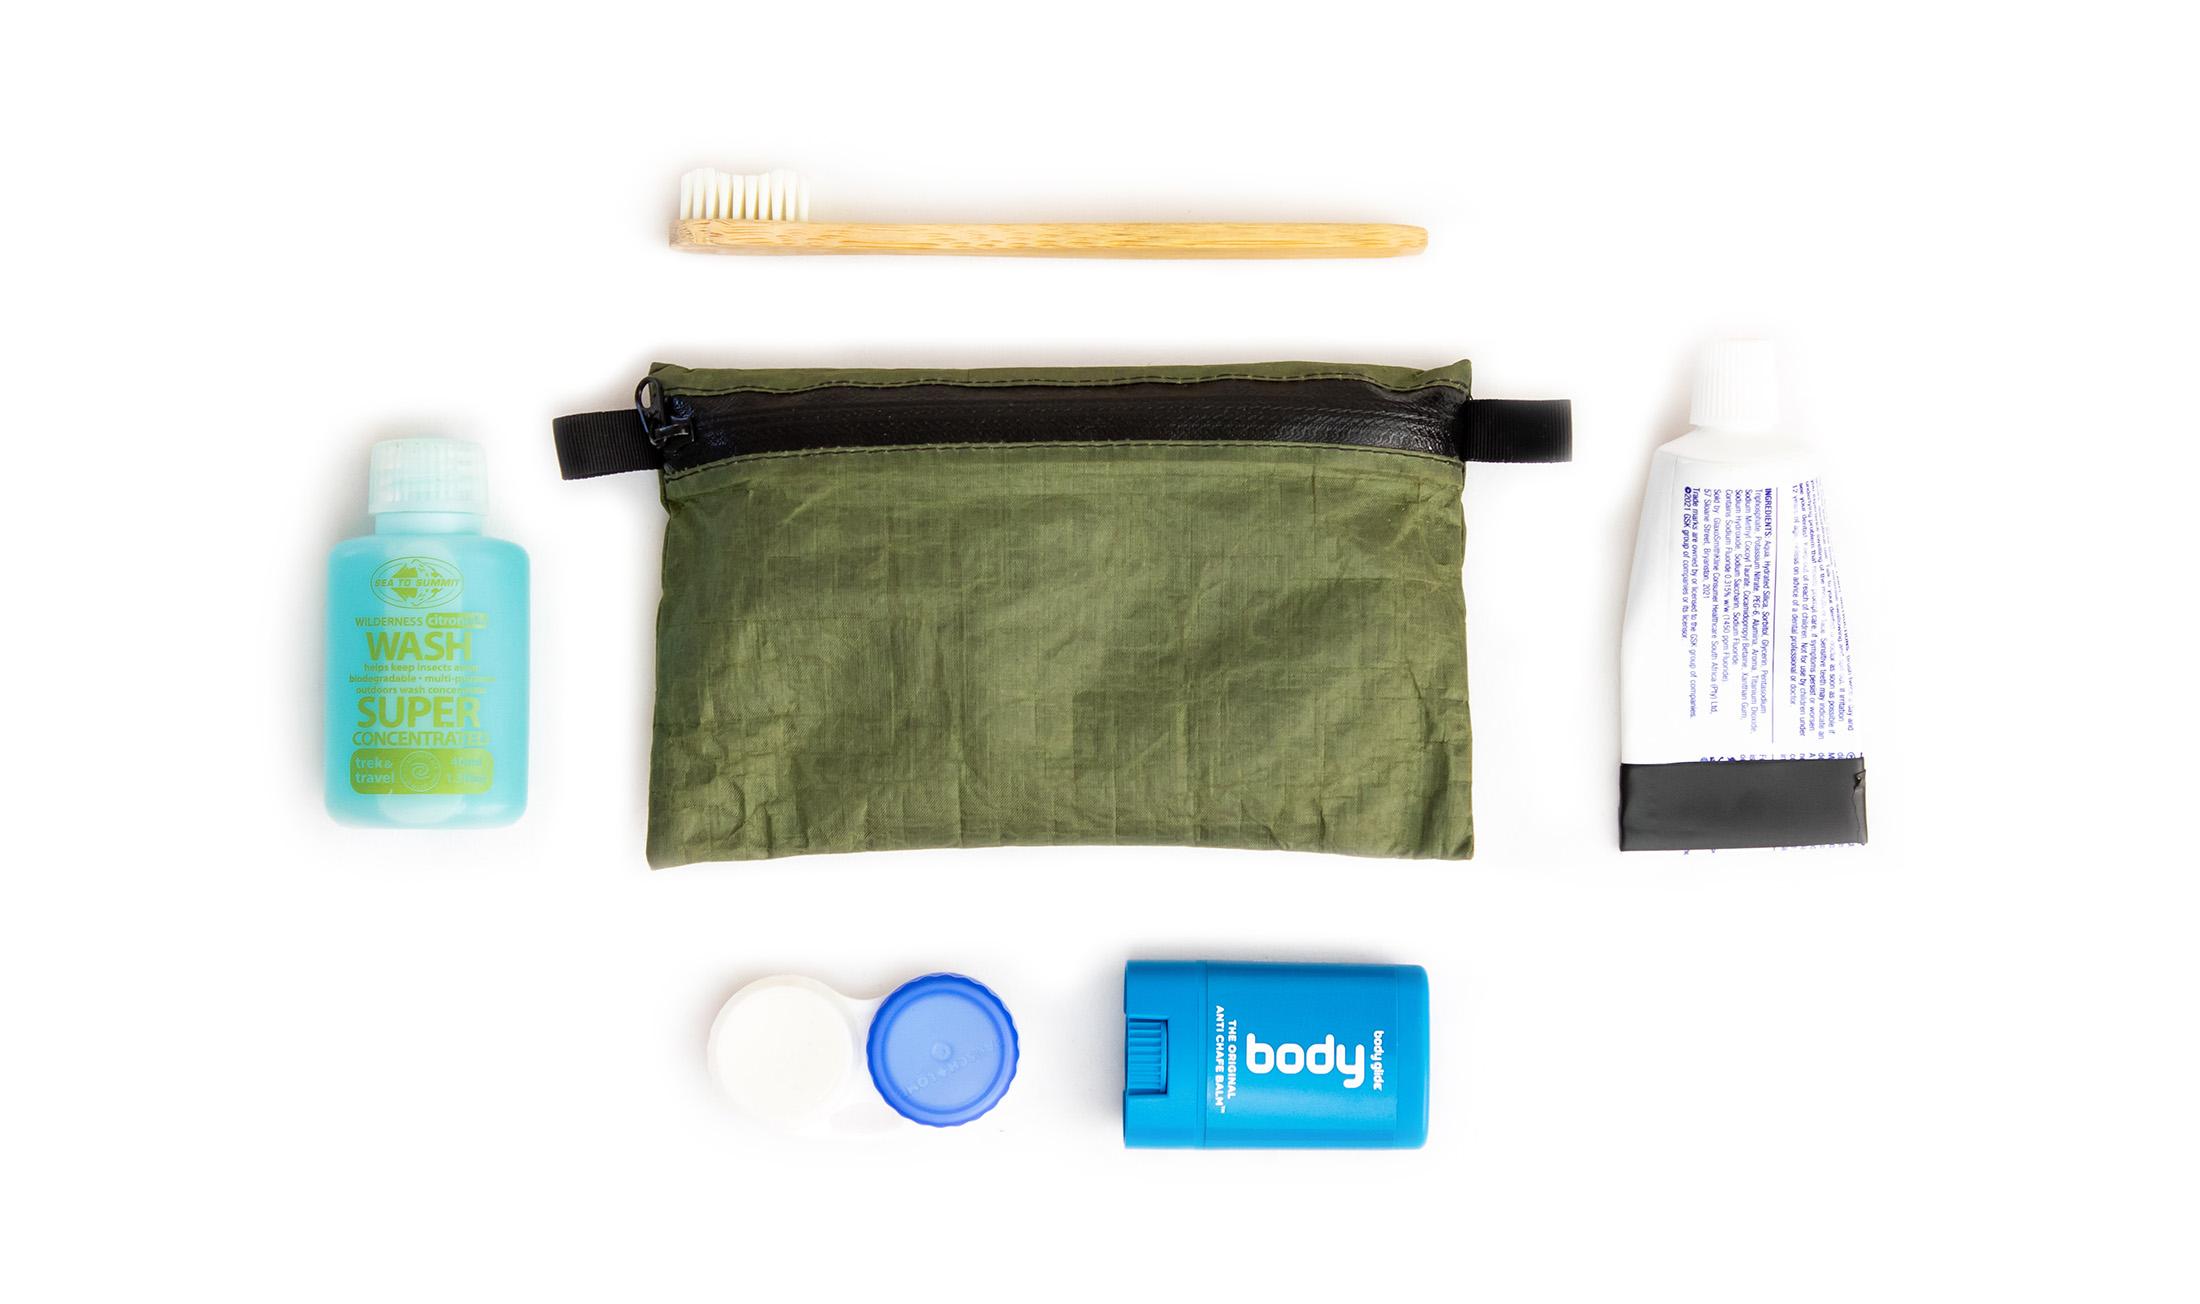
You don’t need to carry a whole roll of toilet paper, 6 ounces of sunscreen, or a full tube of toothpaste on a 3-day hike. Your weight saving strategy requires you to carry only as much as you need, so it only makes sense to either repackage your consumables or buy them in smaller units. Sunscreen and wild wash come in smaller bottles, and it’s very easy to put several wet wipes of sheets of toilet paper in a ziplock bag. As for toothpaste, I save half empty tubes just for hiking trips and then make these even more compact by cutting the empty ends off and folding them over (using super glue and electricians tapes to keep the ends permanently closed).
Leave behind the non-essentials
Each piece of kit you carry should be worth its weight. That means no redundant or unnecessary gear. Before putting something on your kit list, ask yourself if you really need it and what would happen if you didn’t have it with you. You really don’t need a 20-piece multi-tool and coffee maker when you can get by with a light pocket knife and instant coffee. And you definitely don’t need a paperback novel (the thing that most backpackers regret carrying) or even a guidebook when you can save photos of the relevant guidebook pages on your phone. Alternatively you can carry a hiking map, which will be easier to read in bright light and negate the risk of a dead battery.
Devise an efficient layering system
The main challenge in ultralight backpacking extends to what you wear. You have to pack clothes that meet your needs while also keeping weight and bulk down. To do this, you will need to devise a layering system with items that can be worn in different combinations depending on the conditions and the level of exertion. Typically this will mean having a base layer or two (synthetic or merino to dry quickly and wick away sweat), a few middle layers (usually a puffer jacket and a merino or fleece pullover) and a waterproof outer layer (poncho or rain jacket and possibly waterproof pants).
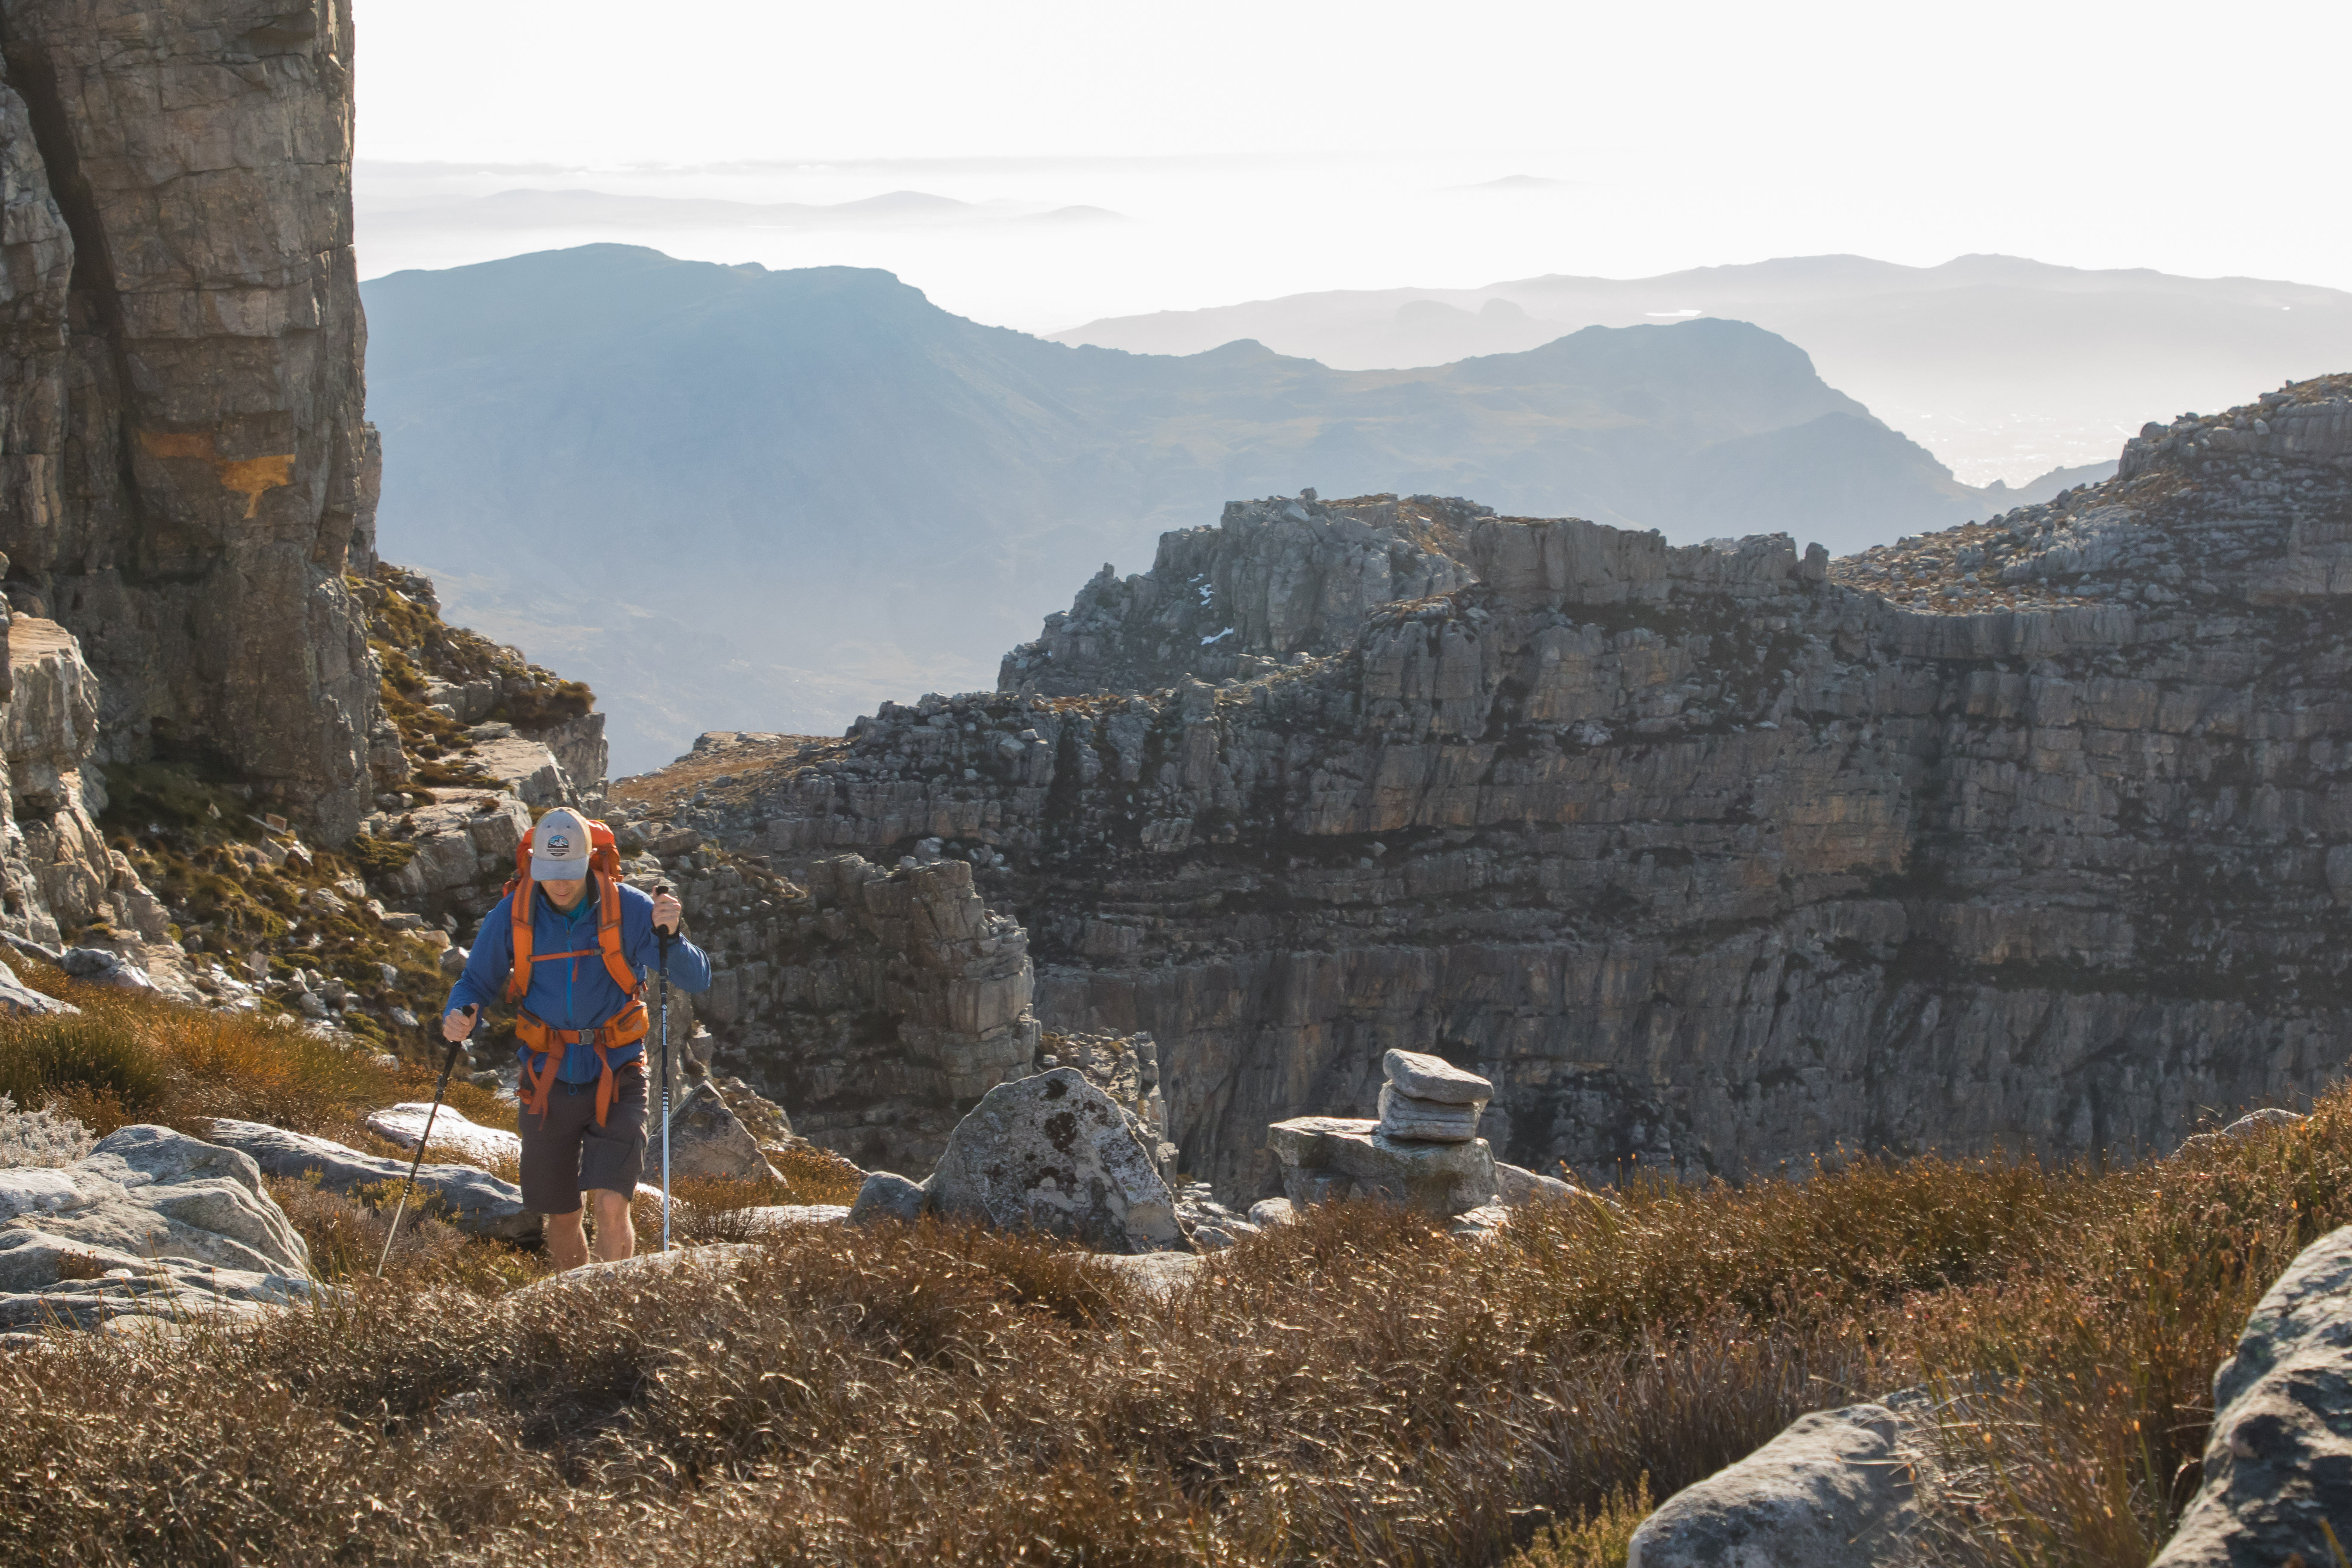
Many hikers prefer to have one set of clothes reserved for camp – usually a pair of pants and a shirt. This way they always have dry and relatively clean clothes to change into at the end of the day. As for hiking clothes, they will have only the pants and shirt they start the hike in (besides their rainwear). These are worn every day and washed when the opportunity arises. Some new hikers might worry they will get smelly, but there’s really nothing wrong with a little body odor. Everybody will be just as smelly as you, and you’ll all get used to it.
Go ultralight with your stove and cookset
When it comes to saving weight on your stove, there are three things you can do. You can go without a stove completely, but this option is only really practical on trips lasting just a few days. You can share your stove kit with a friend – a good solution if you want the benefits of an integrated stove system (wind resistance and fuel economy) but want to keep your share of the weight to under 8 ounces (or under 11 oz with fuel). Or if you are traveling solo, you can simply downsize your stove. This last strategy can result in significant weight savings if your current stove is an integrated system or liquid fuel stove.
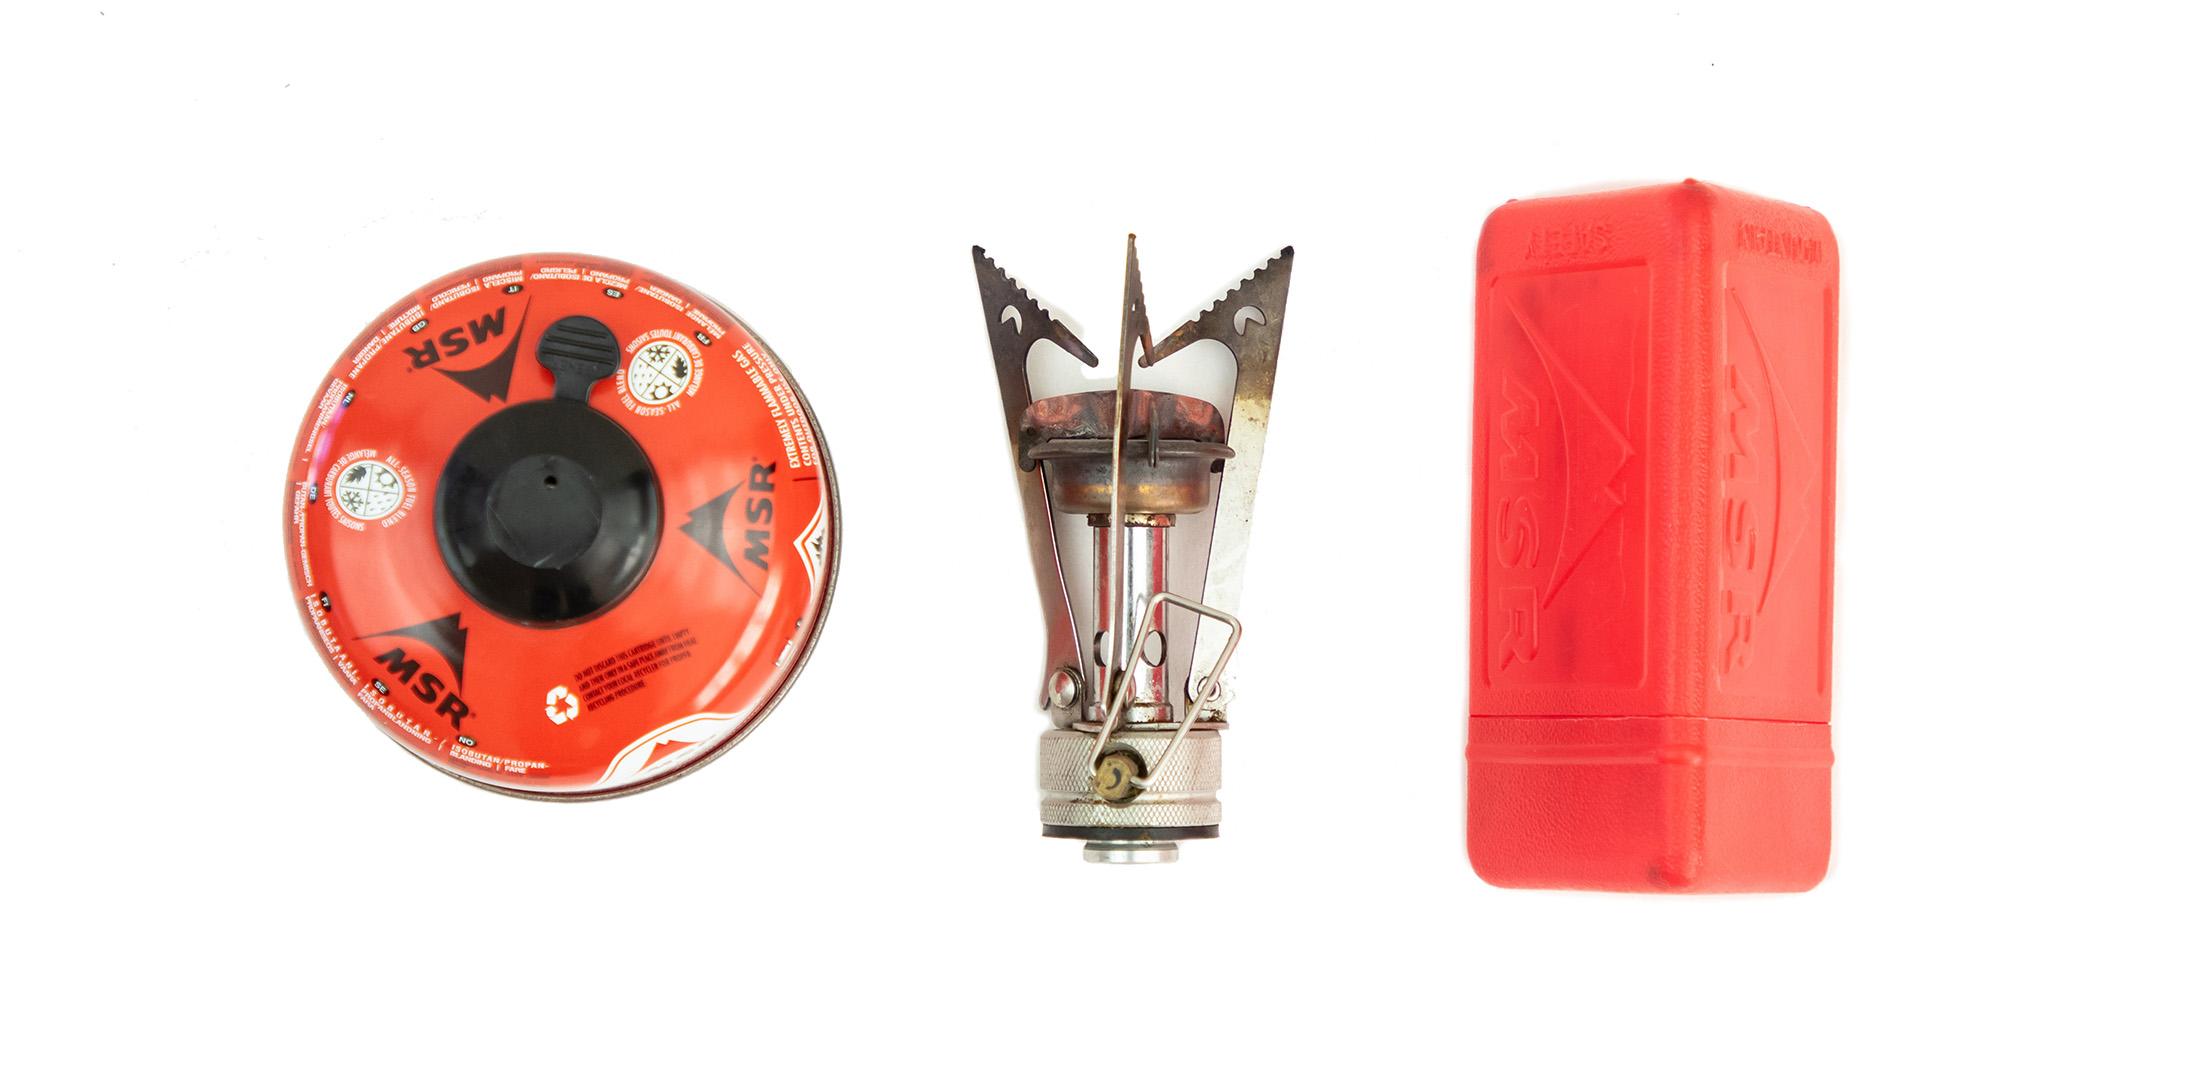
When making a decision based on weight, it’s important to consider the weight of your whole stove kit (stove, pot, and fuel). While alcohol stoves and compact canister stoves are lighter than integrated stove systems (even without the integrated pot), downsizing won’t save you much weight if you pair your stove with a heavy pot or carry more fuel than you need. But if you optimize your whole system – choose a light pot and carry only as much fuel as is necessary – you can shave several ounces off your stove kit. Just also bear in mind that going with something as minimalistic as an alcohol stove will mean giving up some functionality – simmer control, easy ignition, and fast boil times.
Eat out of your pot
By eating out of your pot, you can avoid having to carry a bowl and give yourself one fewer things to clean. The only downside to this weight-saving tactic is that you will be limited to using ingredients that can be cooked together or added to the same pot at different stages. But that’s most backpacking meals, so maybe not being able to cook ingredients separately is not such a big drawback. If you choose to go without a separate bowl, you will need a pot that is easy enough to get to the bottom of using a spoon or spork. Pots that are wider and shallower are generally better for this purpose.
Prioritize multipurpose gear
Many pieces of gear can perform two or even three functions, and free you of the need to carry certain single-function items. Your pot can be used as a bowl (and even a cup if small enough). Your trekking poles can double as tent supports. And a poncho can also serve as a ground sheet (some are made specifically for this purpose). But the ultimate piece of multi-purpose gear is a phone, which can be used as a navigational aid, a means of entertainment (when loaded with audiobooks and podcasts), and as a camera. Given how important a working phone is, you will want to carry a powerbank to recharge it, or carry two phones in your group (with the map on both).
Reduce the weight of consumables
No weight-reduction strategy is complete without a look at your consumables. The more days you spend on the trail – or between resupplies – the more important it is to cut down on the weight of food, water and stove fuel.
Plan your water refills
Liquids are among the heaviest things you’ll pack, and you’ll want to keep the amount of water you carry to a minimum. That will mean planning ahead so that you carry only as much water as you need between water sources. Such a strategy will require you to know where those water sources are and how reliable they are. As for actually calculating how much water you need for each leg, you need to combine the water needed for cooking (use your meal plan) with an estimate of the water you’ll drink while hiking (between 400 and 600 ml in warm conditions for most hikers). It’s best to be conservative while making such calculations.
Practice weight-efficient meal planning
On a long hike, food will be the second biggest contributor to your total pack weight after your gear, and you can achieve significant weight savings by preparing calorie-dense meals and portioning sensibly. The average hiker needs somewhere between 2500 and 5000 calories a day depending on their physical size and the strenuousness of the hiking. Figuring out your energy requirements can take a little trial and error, and until you have a good idea of how many calories you need daily, it’s best to err on the side of caution. For a 150 lb hiker embarking on a moderately difficult hike, 4000 calories is a good target.
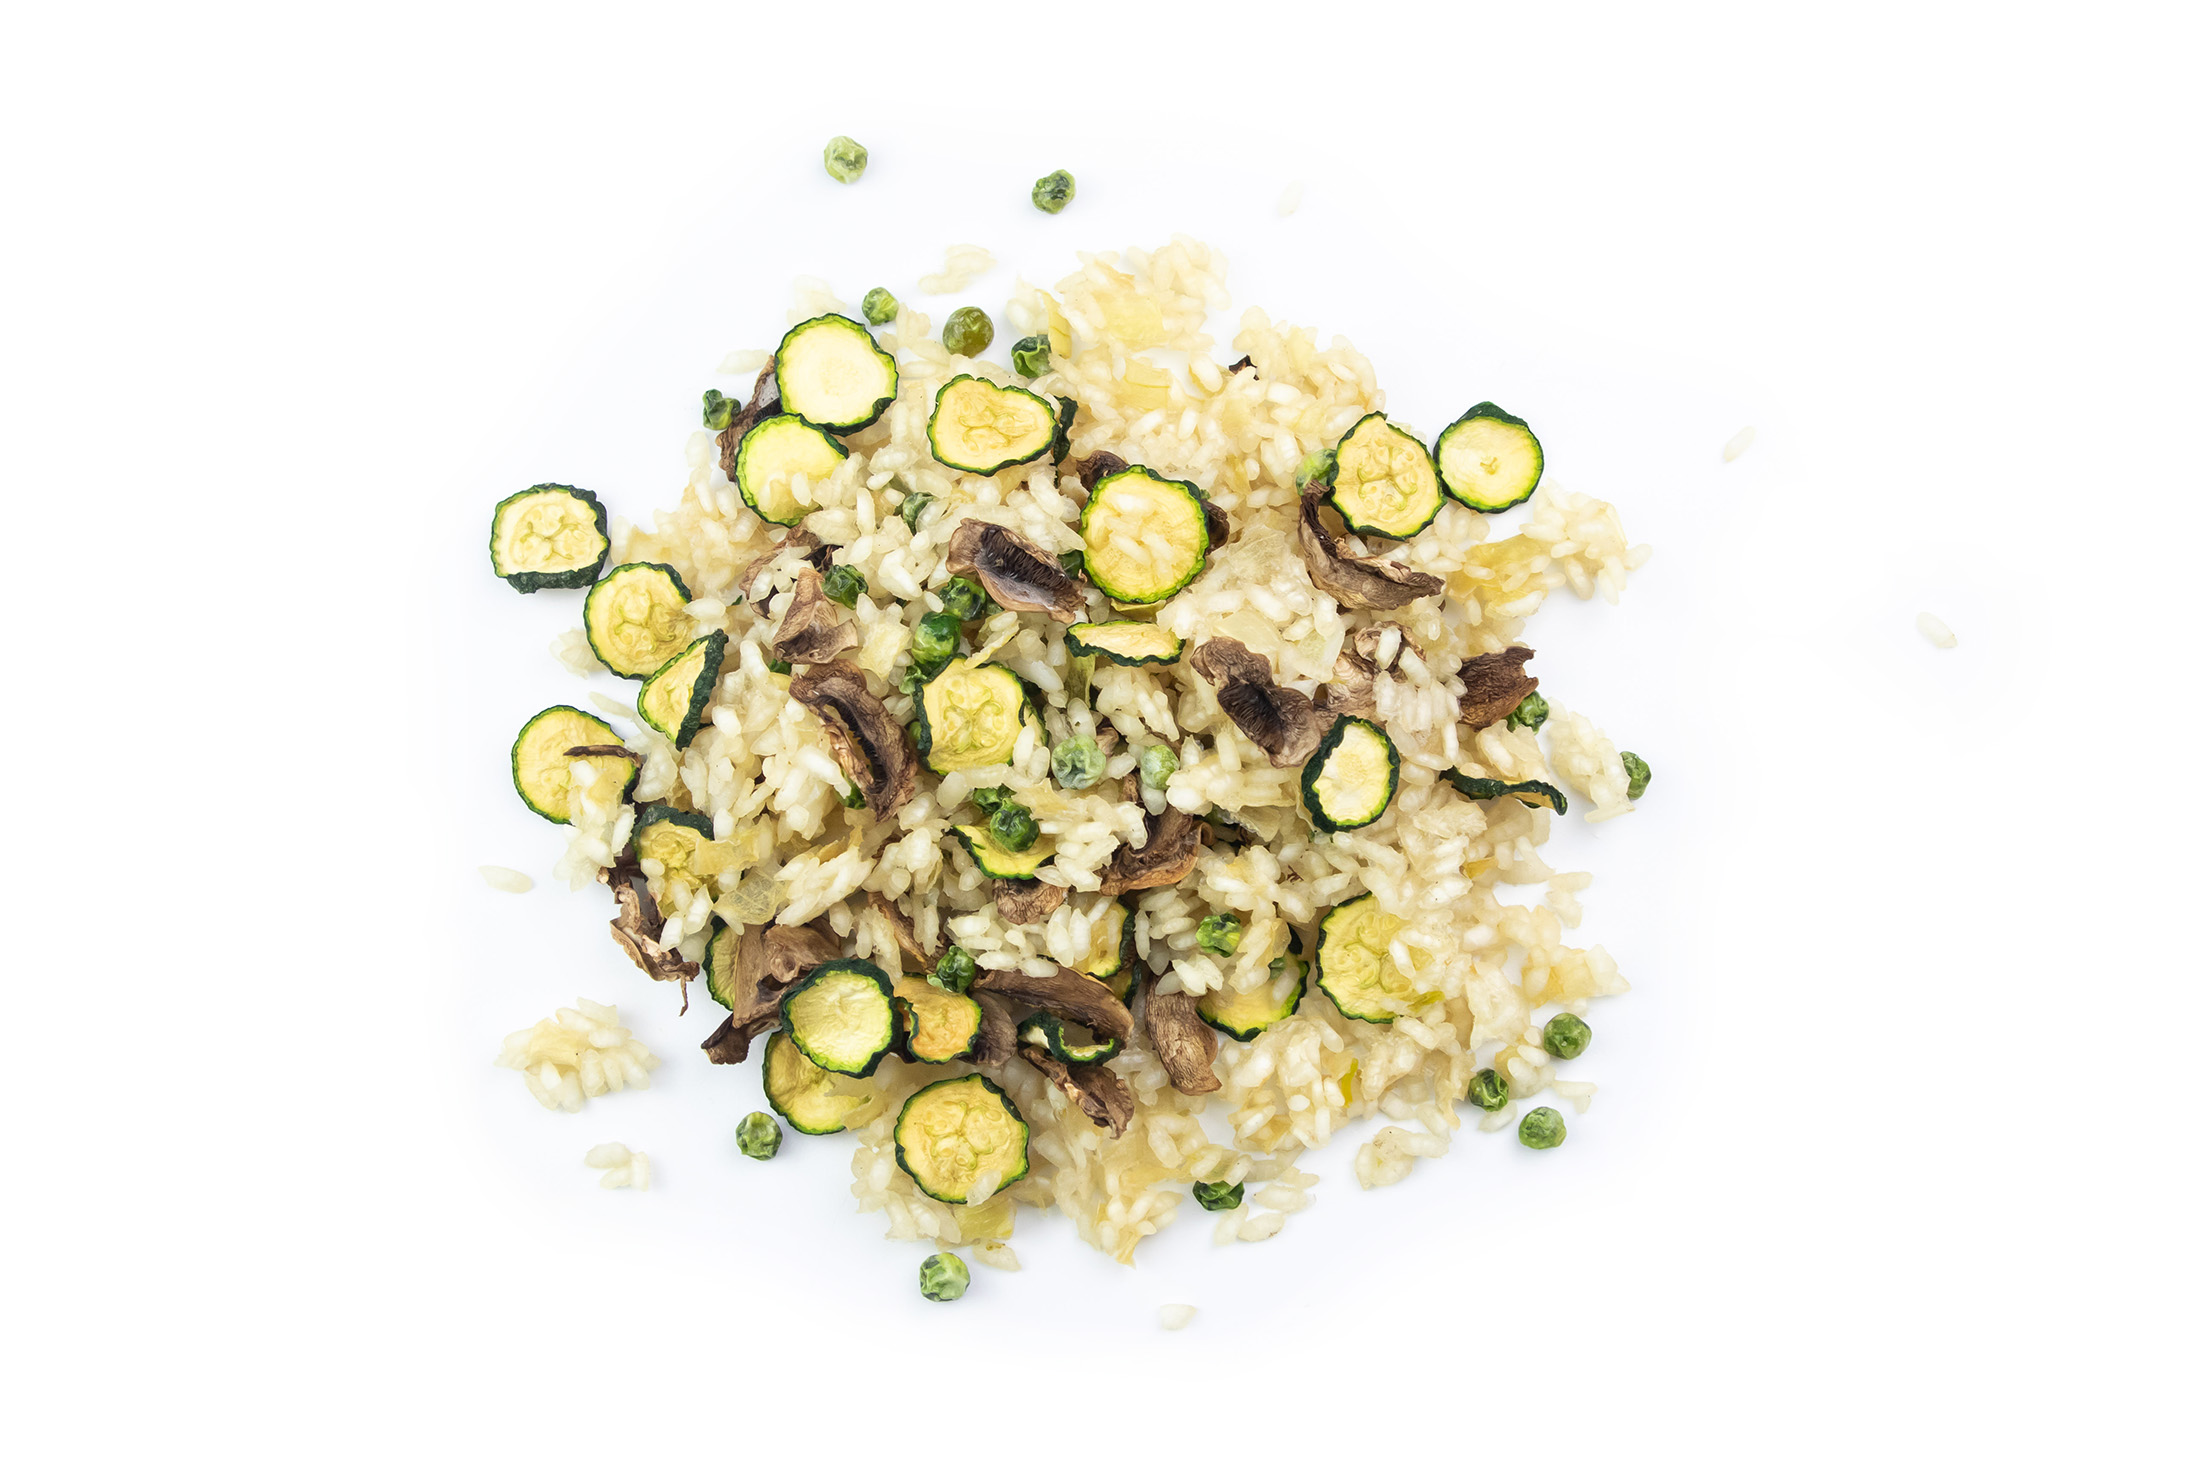
Once you have a daily calorie target, you can put together a meal plan. This should aim to accomplish three objectives: meet your daily energy needs, replace important micronutrients, and minimize the weight of your food. To do this, most backpackers will resort to a combination of freeze-dried or dehydrated meals and energy-dense snacks. Both store-bought freeze-dried meals and home-made dehydrated meals can meet your calorie and nutritional needs while keeping weight down, but there some differences between these options – factors that I go into greater detail in my article How to Feed Yourself on a Backpacking Trip. As for trail snacks, backpacking favorites include trail mix, dried fruit, energy bars, and jelly sweets.
Once you’ve bought all your food and dehydrated what you need to, repackage everything except for the freeze-dried backpacking meals, which will hopefully be appropriately portioned already. Repackaging everything in ziplock bags (or vacuum-sealing them, in the case of dehydrated meals) will allow you to portion food properly, limit the amount of unnecessary packaging, and make it easier to reseal snacks that aren't finished soon after opening. Even liquids and semi-solids like honey, peanut butter, and oil should go into plastic bottles and jars just large enough for what you need.
Pack only as much stove fuel as you need
Although not as significant as the weight of your food and water, stove fuel does contribute to your total pack weight and should be given some consideration, especially when planning longer trips and those that involve going several days between resupplies. Calculating your fuel needs can be done in two ways. You can either do a rough estimate based on how much fuel you used on past trips, or you can make a more accurate calculation based on your meal plan and your stove's fuel economy. The latter is a little more effort, but it will get you a much more accurate figure and can be used to make more accurate estimations in the future. If you prefer to use a rough estimation, it’s best to be conservative.
Other tips for reducing pack weight
Besides lowering your base weight and reducing the weight of consumables, there are a few other things you can do to lighten your pack.

Pack for the conditions
Before packing, check the forecast and adapt your kit to the conditions. If you expect mild summery weather, you can probably get away with a single closed-cell pad, a 20° sleeping bag or quilt, and just a single middle layer. If, on the other hand, the forecast predicts cooler temps, it would be sensible to pack a second pad, a thermal sleeping bag liner, and a few extra insulating layers. When you first buy your gear, this kind of flexibility should be one of your goals. For example, don’t buy a 0° mummy bag if most of your trips are going to be done in the summer. You will save weight and ensure greater flexibility by choosing a lighter bag and then supplementing it with a sleep liner and warm sleep clothes on colder nights.
Resupply en route
On longer trips, one of the best ways to keep weight down is to resupply en route. There are a few ways you can do this. The easiest option is to buy food at grocery stores in towns along the trail. Although convenient, this strategy will limit your food options to instant noodles, tortillas, cured meats, cheese and the like. The second strategy is to use mail drops – send boxes of supplies to pick-up points like post offices or hostels along the trail. This strategy allows you to pack a wider range of non-perishables including dehydrated and freeze-dried meals. And thirdly, you can drop food caches along the trail before your hike. The downside to this last option is the logistics: hiding your food in critter-proof containers and recording their GPS coordinates.
Keep a record of things that you don’t use
And then think twice before packing them the next time. Some things – like a first aid and small fix-it kit should always be packed even if you hardly ever use them, but everything else should earn its place in your pack through frequent use. If you’re packed a pair of gaiters for your last three hikes but have yet to use them, it’s probably best to leave them at home next time, provided that conditions don’t look any wetter. This practice can be extended to food and supplies as well. If you find that you’re not eating all your food, pack a little less next time, bearing in mind how your energy needs can differ from hike to hike depending on the physical difficulty.
Get out there
The best way to hone your backpacking skills is to get out there and put them to work. Nothing will test outdoor skills quite like time on the trail. That said, if it’s further instruction you’re after, this was just one of many articles in a whole series on ultralight backpacking. If you want to deep further into this topic, I recommend reading Ultralight Backpacking 101 or How to Choose Gear for Ultralight Backpacking next.
