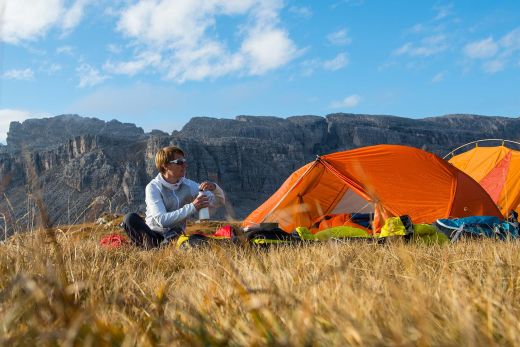
As one of your most important pieces of gear, your tent can make all the difference on a backpacking trip. But with so many options out there, choosing the right one is far from straight forward. To select a tent that will meet your needs, you need to consider factors like living space, durability, weather protection, and ventilation – just to name a few. Fortunately, you’ve found one of the most comprehensive guides on how to choose a backpacking tent anywhere, and you’re about to learn everything you need to know about choosing the right tent for your next adventure, whether that’s a weekend jaunt in your local hills or that once-in-a-lifetime thru-hike.
- Capacity
- Tent shapes
- Season ratings
- Tent features
- Other factors
- Types of tent
- Tents for specific activities
- Use and care
Capacity
Backpacking tents are often categorized according to size, with most being described as 1-person to 4-person. The problem is that there’s no industry standard that dictates how much floor space a single person needs, and one brand’s 2-person tent might be another brand’s 3-person tent. The most reliable way to determine the amount of space inside a tent is to look at the floor area and headroom or crouch space. For reference, 2P tents average around 30 square feet while most 3P tents are typically around 43 square feet.
Floor area and dimensions
Floor area indicates the total square footage of floor space – a good indication of how cramped or roomy a tent of a claimed capacity will be. But this metric alone won’t give you the full story. To understand how floor area translates to liveable space, you also have to consider floor dimensions.
Some smaller shelters have tapered designs that create more space where you need it most (around the shoulders arms) and less where you don’t (around your feet), making the best use of available floor area. Some larger squarish tents, on the other hand, might not be long enough for tall people. If you are over six foot, consider floor dimensions carefully, especially if choosing a single-walled tent or shelter. You will get wet if you regularly come into contact with the side of your tent.
Crouch space
Many manufacturers specify the peak heights of their shelters, but this spec only tells you the height of the highest point of the tent. What you really want to know is how much of your shelter you can sit upright in. The best way to get an accurate idea of how much liveable space a shelter offers is to get inside one – your local outfitter may allow you to pitch a demo tent inside the store. If your only option is to study a catalog, look at the shape of the walls of a tent and how they affect the amount of internal space. A shelter with a peaky roof that slopes steeply down to the ground is going to give you a lot less internal space than a tent with a square or domed roof.
Gear storage
You don’t want to share the warm, dry interior of your shelter with wet gear, but you also don’t want to leave your pack and boots in the rain. The solution is to stash them in your tent’s vestibules. Ideally, these will allow you to store gear where it won’t be directly in line with the door and the space you step out into – something to think about if you hike in wetter climes. Also consider features designed for storing gear inside your tent. Besides side pockets, a fully kitted-out tent will have an attachment point for a light, a gear loft, and a ceiling pocket with cable routing for devices.
Season ratings
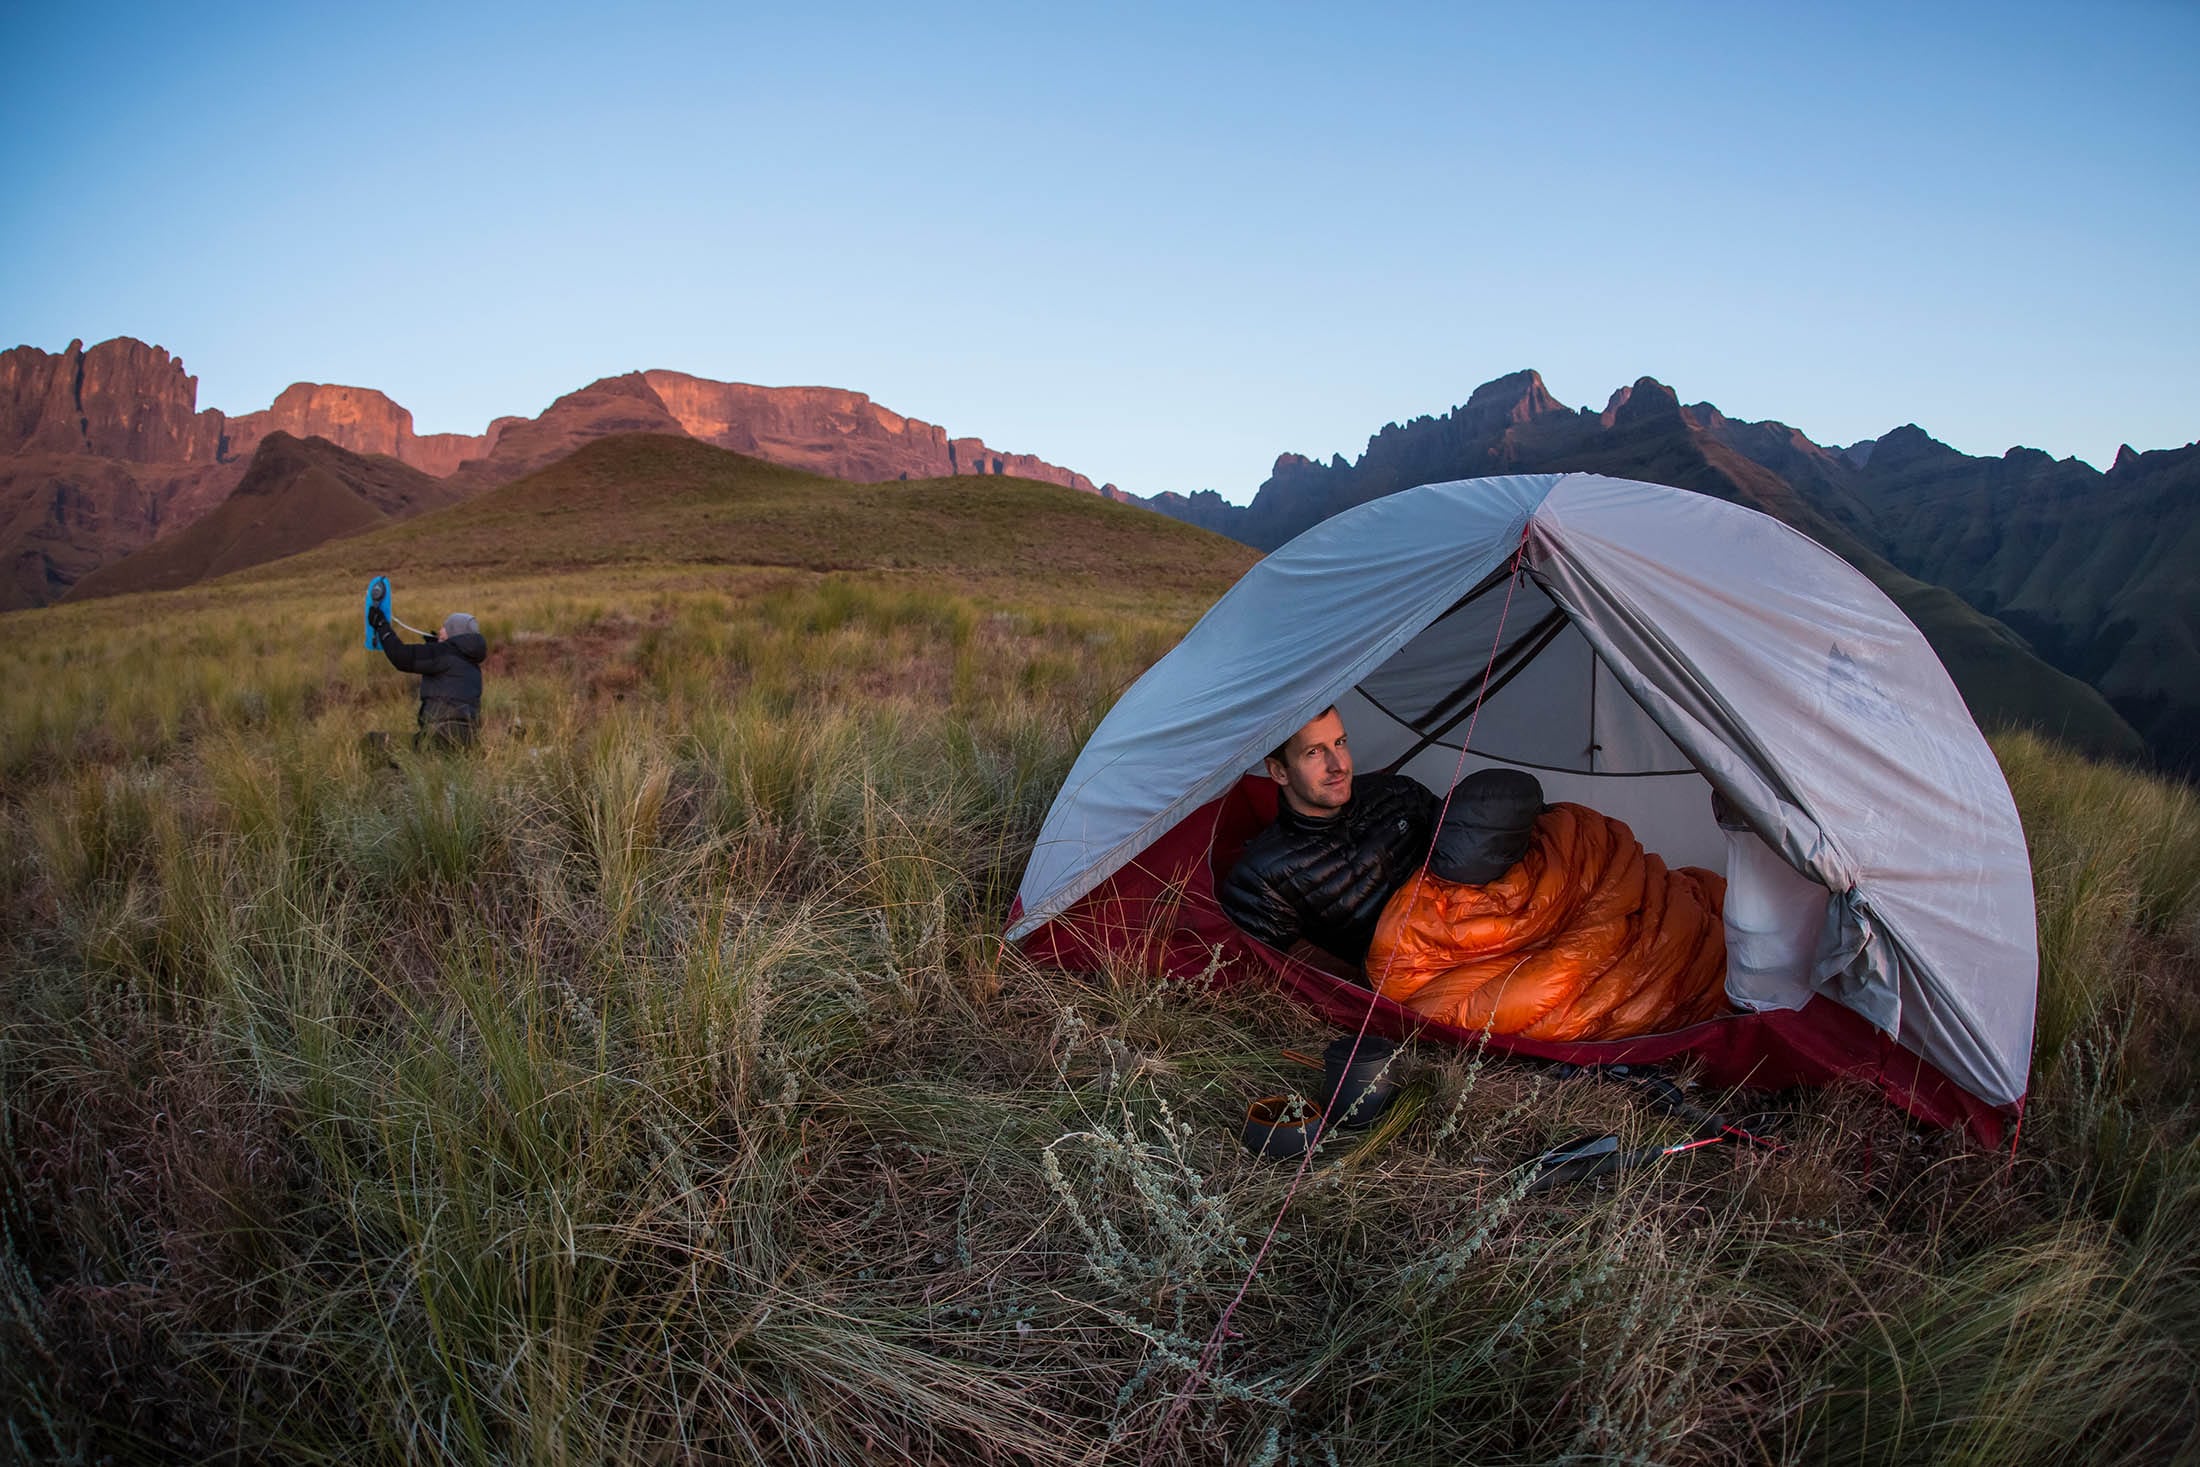
One of the first things you need to consider when choosing a new tent is the conditions you’re going to use it in. A 3-season tent isn’t going to stand up to a snow storm, and a true 4-season tent is unlikely to ventilate well in hot and humid weather. Narrow your search by looking only at tents and shelters that have been designed to meet a camper's needs in specific conditions.
3-season tents
Balancing light weight with adequate protection in moderate conditions, 3-season tents will keep you dry and warm in heavy rain, moderate winds, and light snow – the kind of conditions you expect to find between spring and fall. They generally have thinner poles and lighter materials than the next two categories and are usually designed with large mesh panels and vents to aid ventilation. Some of these tents fall into the ultralight category so popular with ultralight backpackers, fastpackers, and bikepackers.
3+ season tents
Sometimes called extended season tents, 3+ season tents look a lot like 3-season tents but with studier poles and thicker fabrics to better withstand the effects of snow and wind. Designed to let you stay out later in the season (or start earlier), these in-betweeners provide adequate protection against moderate winter conditions and can be used below the treeline right through the snow season. These are a good choice for fast and light winter activities like ski touring but can also be a good option for the outdoorsman who wants one tent to do it all.
4-season tents
A 4-season tent should protect you from heavy snow, but beyond that, 4-season tents vary greatly in the amount of protection they offer. A bombproof expedition tent with its many thick poles and heavy fly will allow you to sit through a snow storm in comfort while lighter winter tents are best used below the treeline. Regardless of the pole system, almost all 4-season tents feature fewer doors and mesh panels to retain heat better and steeply pitched roofs to shed snow and deflect wind. Pyramid shelters also fall into this category.
Types of tent
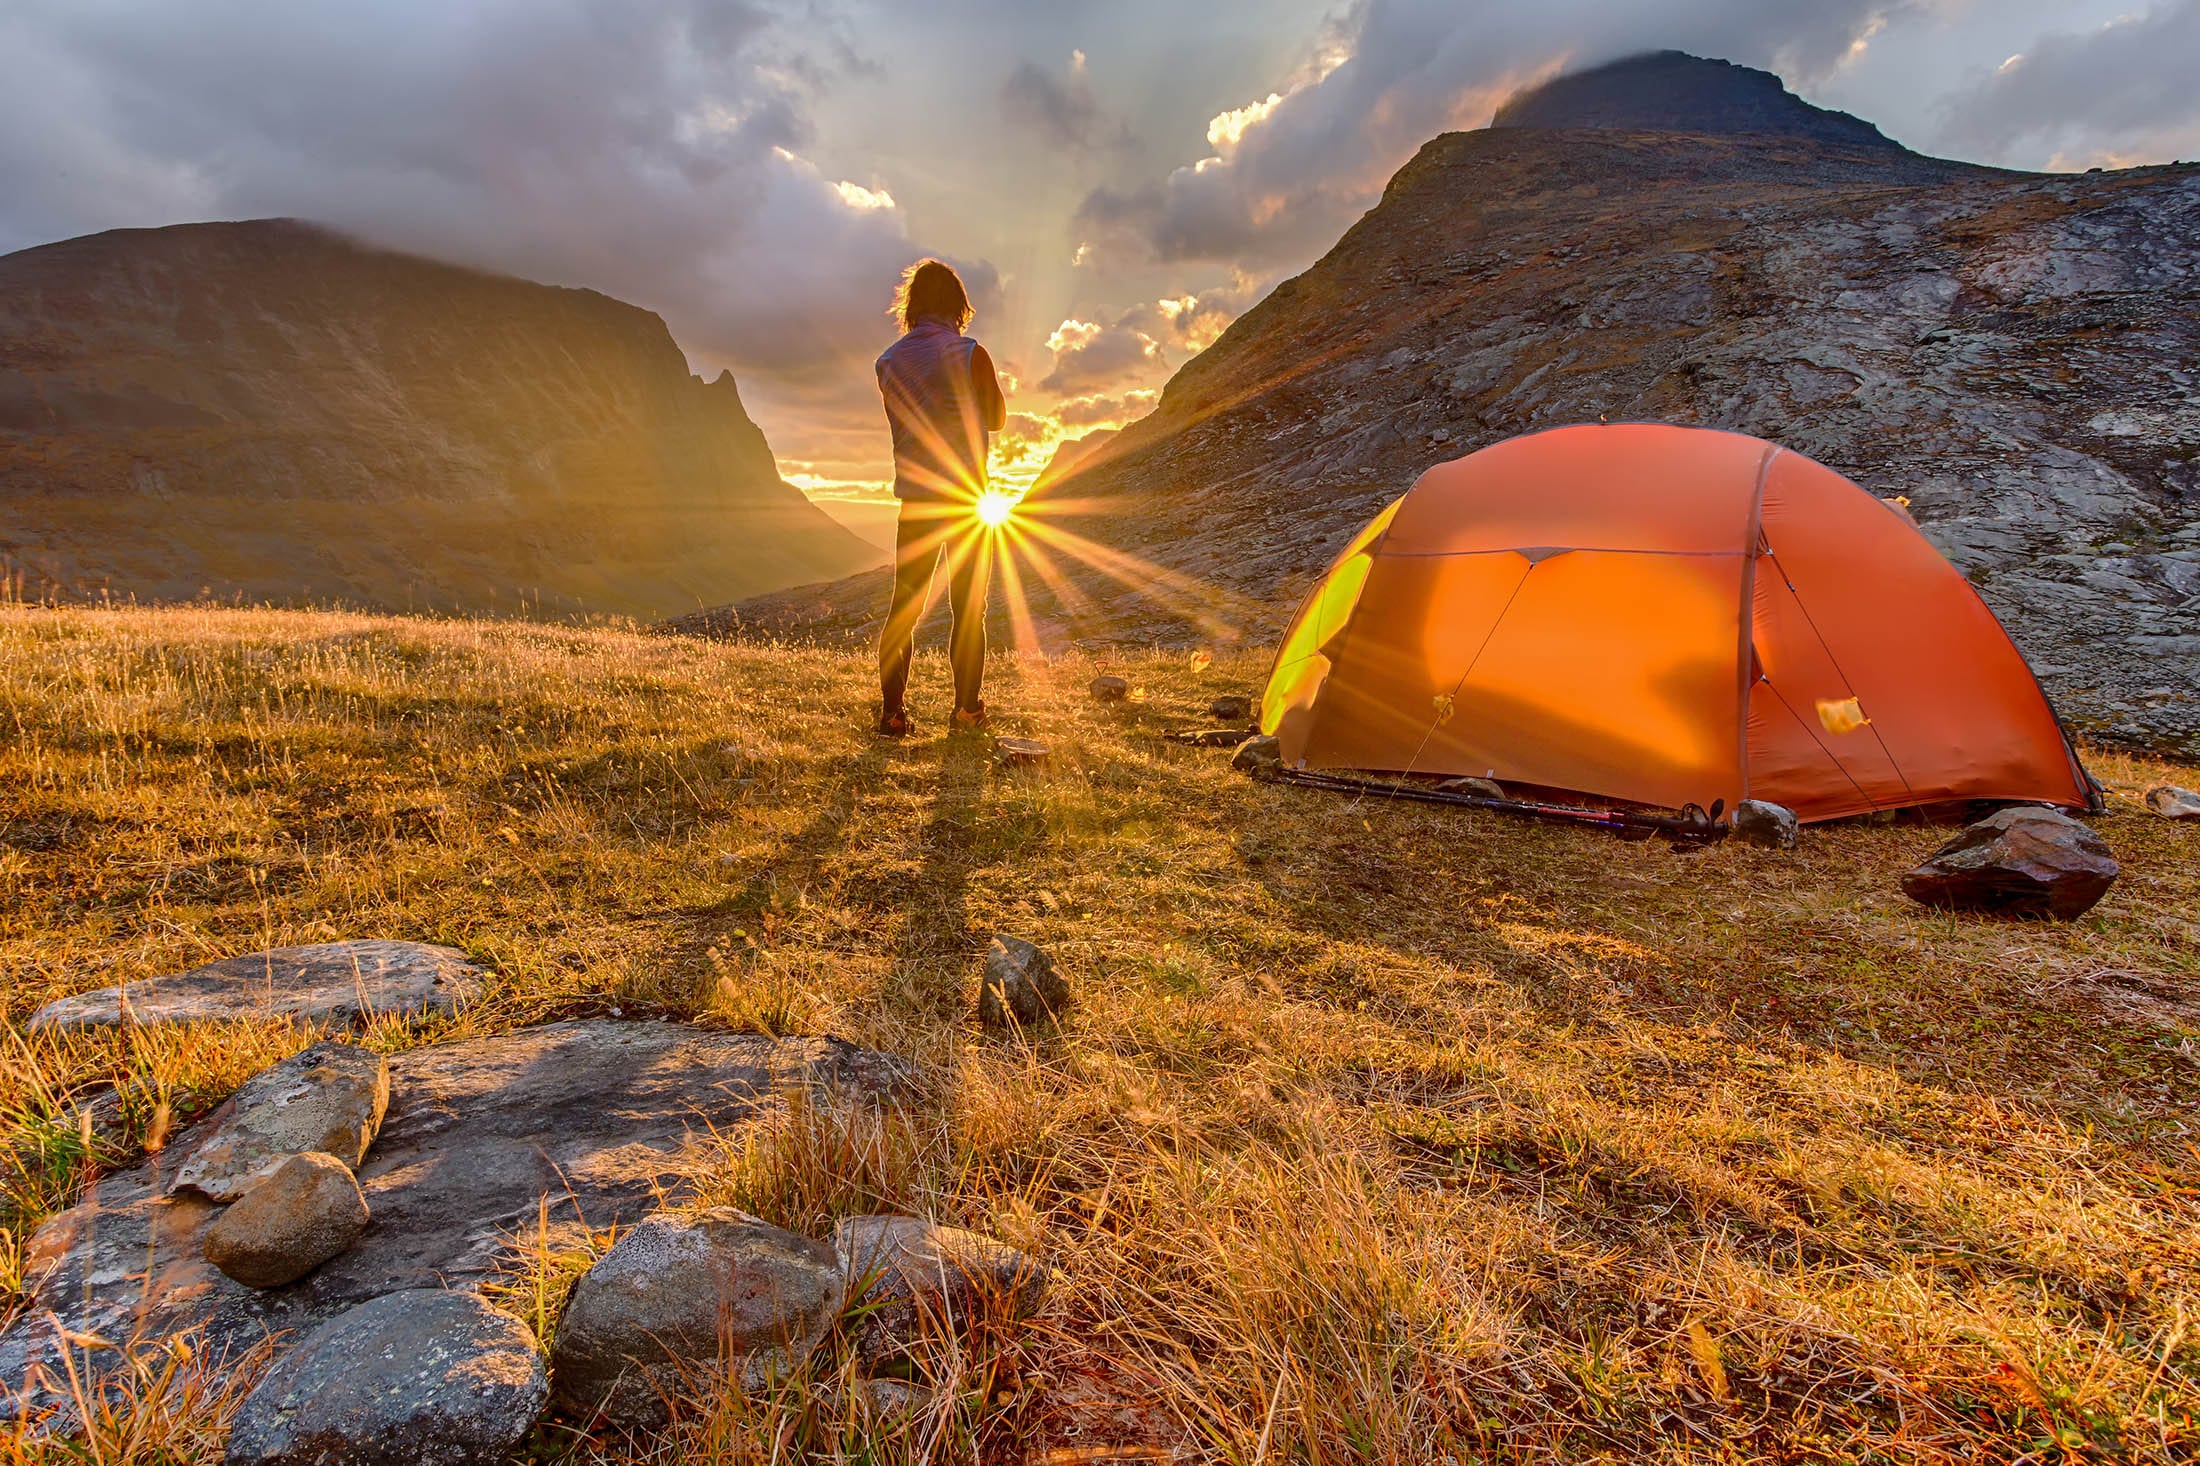
Besides determining how much crouch space there is relative to floor area, the shape and basic design of a tent also affects how well it stands up to wind and how it sheds rain and snow.
Tensioned tents
A tensioned tent is any kind of shelter that relies on properly tensioned guylines to keep its shape. These tents are often lighter than freestanding equivalents since they can be made with DCF and can be supported with trekking poles, saving the weight of dedicated tent poles. However, tensioned tents do also have their downsides: given that they rely on properly staked guylines, they are not nearly as easy to pitch as freestanding tents, especially when the ground is rocky or very sandy.
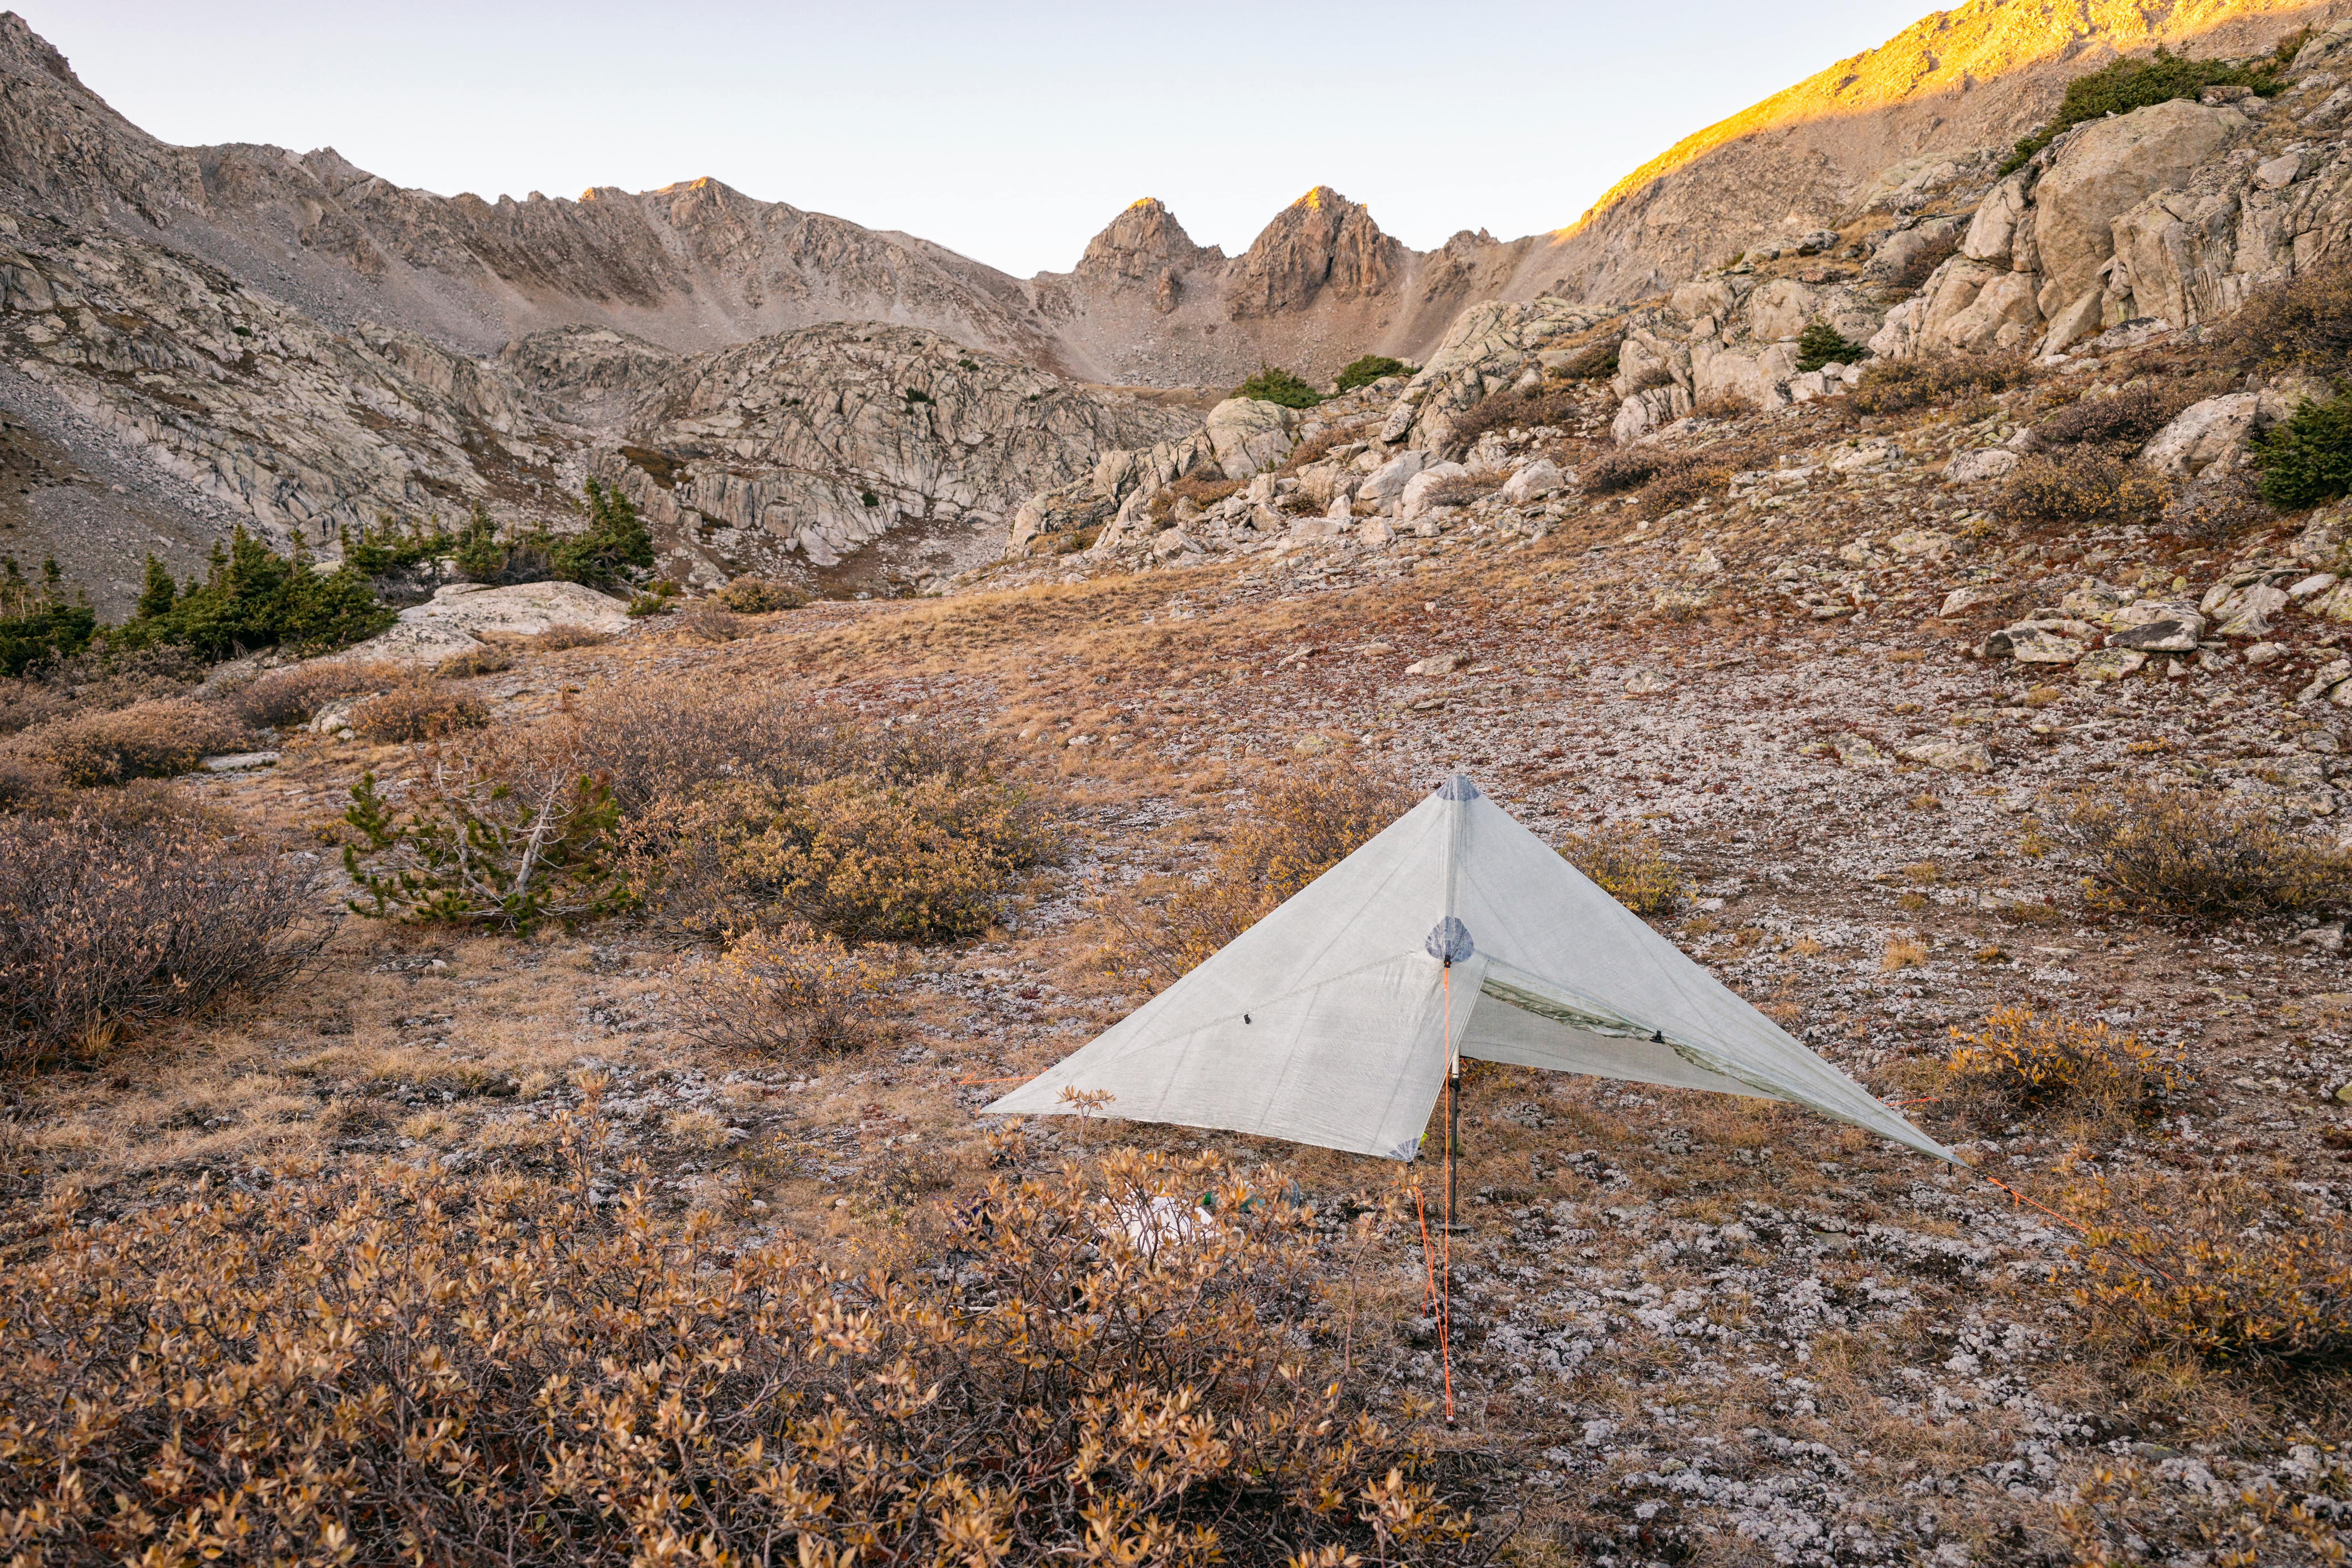
Pyramids
For lightweight 4-season versatility, there’s no beating a pyramid. While a tarp tent will warp in the wind or under the weight of heavy snow, a mid will shrug off the elements. That said, the conical shape of a mid means that it offers less headroom than a tarp tent. In fact, you will almost certainly sleep with your head close to a wall. Mids also don’t ventilate as well as tarp tents or 3-season freestanding tents. They are, after all, designed to retain heat in colder temps, and you can’t have it all. It’s for this reason that I’d only recommend a mid if you know you’re going to use it in winter conditions. Many manufacturers sell their mid tarps and inners separately.
- Big Agnes Gold Camp (Buy at REI)
- MSR Front Range Insert (Buy at Backcountry.com)
- Hyperlite Mountain Gear UltraMid 2 (Buy at Backcountry.com)
A-frame tarp tents
Tarp tents look a lot like the tents that pioneering outdoorsmen used. A steeply pitched roof supported by a pole at each end creates the classic A-frame shape that was once synonymous with camping tents. But the similarities stop there. Modern tarp tents are constructed with space age materials and boast the kinds of features that demanding outdoorsmen have come to expect. Double-walled models are often modular in design and can be bought with either a solid or mesh inner wall sewn into a bathtub floor. And then there’s the weight factor. Unlike freestanding tents, which require dedicated poles, tarp tents are designed to be set up with trekking poles.
- REI Flash Air 2 (Buy at REI)
- Black Diamond Beta Light (Buy at Backcountry.com)
- Six Moons Designs Haven (Buy at Six Moon Designs)
Tunnel tents
With two or more parallel half-hoop poles giving them their shape, tunnel tents have a relatively consistent height and width through their lengths. Besides ensuring a better space-to-weight ratio than other types of tent, this design also makes tunnel tents easier to pitch than other non-freestanding tents. Traditionally, tunnel tents have relied entirely on properly tensioning for their rigidity, but more modern designs, like the Sierra Designs Convert, use a spine to connect the separate half hoops, adding extra strength and making the tent easier to pitch.
- Sierra Designs Convert 3 (Buy at REI)
- Snow Peak Vault (Buy at Backcountry.com)
- Black Diamond Mission Tent (Buy at Backcountry.com)
Freestanding tents
Unlike tensioned tents, which rely on the use of guylines, freestanding tents hold their shape even when they aren’t staked out. This negates the need for guylines (although you should still stake down the corners), which makes these tents easier to pitch and leaves more space for campers to move around them. The vast majority of freestanding tents use a double-wall construction with a fly made from nylon or polyester.
Dome tents
Dome tents are given their shape by two flexible poles that cross at the top of the dome and bend to each of the four corners of the tent floor. As with other types of freestanding tent, the poles usually attach to the outside of the inner tent using clips or sleeves, and the waterproof fly goes on over both poles and inner (if the fly is even needed). The advantages of this design are that it is easy to pitch, it offers a decent amount of head room or crouch space relative to floor area, and it allows a tent to be pitched without the fly. A few dome tents, like the Black Diamond HiLight, are designed specifically for 4-season use.
- Kelty Late Start (Buy at Backcountry.com)
- Mountain Smith Morrison Evo (Buy at Backcountry.com)
- Black Diamond HiLight 2P (Buy at Backcountry.com)
Geodesic tents
Geodesic tents add strength and rigidity to the basic dome tent design by adding two or more extra poles. Of course, some dome tents also have more than two poles, but what makes geodesic tents different is that their poles cross at least five times. These intersections give geodesic tents greater structural strength and makes them better suited for 4-season use and very windy conditions. The downside to geodesic tents is the extra weight. Poles are often the heaviest part of a tent, and adding two extra poles makes this type of tent heavier than any other category.
- North Face Trail Lite 3P (Buy at Backcountry.com)
- Mountain Hardwear Trango 2 (Buy at Backcountry.com)
- Big Agnes Battle Mountain 2P (Buy at Backcountry.com)
Y-hub tents
The Y-hub design represents an improvement of the traditional dome tent design in that it allows manufacturers to make tents lighter while still maximizing space. It does this by using pole hubs at either end of the tent to split a single primary roof pole into two legs. This reduces the length of poles needed to support a tent by about 35% and makes it easier to pitch since all the poles are permanently attached together even when folded (negating the need to make sure that poles go into the correct sleeves or clips). Some Y-hub tents, like the Big Agnes Copper Spur, can be set up as a lightweight shelter using just the fly and footprint. This option can reduce weight and improve ventilation in warm and bug-free conditions.
- Big Agnes Copper Spur HV UL2 (Buy at REI)
- Nemo Dagger OSMO 2P (Buy at REI)
- MSR Hubba Hubba (Buy at Backcountry.com)
Tent features
After shape and construction (one vs two walls), a tent’s features are the next big consideration when choosing a new tent.
Single vs double walls
Almost all freestanding 3-season tents are double-walled (with a fly sheet of over a mesh inner), but if you decide that you would prefer a tensioned tent, you’ll be able to choose between a single-wall and double-wall design. The advantage of a double-wall construction is that it allows for better ventilation and helps prevent the buildup of condensation on the inside of a tent’s walls. But if you are trying to keep your base weight to a minimum, a single-wall tent will be lighter than a double-wall model. Of course, there is more to this decision, and if you are thinking of going with a single-wall tent, I strongly recommend that you read my guide to ultralight tents first.
Poles and attachment system
Besides giving a tent much of its strength and rigidity, a tent’s poles can also make it easier or more difficult to pitch. Poles can connect to the body of the tent with clips, sleeves or a combination of the two. Sleeves generally ensure a tauter pitch, while clips make the poles quicker and easier to attach. If easy pitching is a priority for you, you should also look for pole-hubs (as are used in Y-hub tents) or, if a tent has separate poles, color-coding, which will make it easy to see which poles go where. Some tensioned tents use trekking poles for support. If you go with this type of shelter, you will likely need adjustable length poles.
Doors and vestibules
Vestibules offer storage for boots and other gear that you want to keep under cover but don’t want in your tent, as is often the case when you have been hiking in the rain. If you are going to share your tent with someone, it’s nice to have two doors and vestibules as this makes it easier to get to your gear from inside the tent and makes it easier to enter and exit. Manufacturers will typically show the size of the area covered by a tent’s vestibules (in square feet) in the floor plan. If the vestibules on a certain model aren’t particularly roomy, you can get a bigger version of the same tent, but that will add more weight than larger vestibules would.
Mesh panels and vents
In warmer and more humid conditions, it’s important for your tent to have features that will improve ventilation and prevent it from becoming too stuffy and developing condensation on the inside of the walls. The best way to ensure adequate air flow is to actually choose a double-wall tent with a inner comprised largely of breathable mesh panels, but even single-wall tents can be made to ventilate better if they are designed with vents and doors that can be pinned back to improve ventilation when conditions allow for it (when the rain isn’t coming at you sideways).
Fabrics
Tent flies and floors are commonly made of three types of fabric, each with its pros and cons. Nylon, with its high strength and abrasion resistance, is the preferred material for most tent manufacturers. It’s also one of the two more wallet-friendly fabrics, meaning that you find it used in tents spanning the full range from budget to high end. Polyester, the other woven tent fabric, isn’t as strong or stretchy as nylon, but, because it’s less stretchy, it does allow for a tauter and more stable pitch, especially in wet in humid conditions where nylon can absorb water and sag. Polyester has also proven itself to be more UV resistant than nylon.
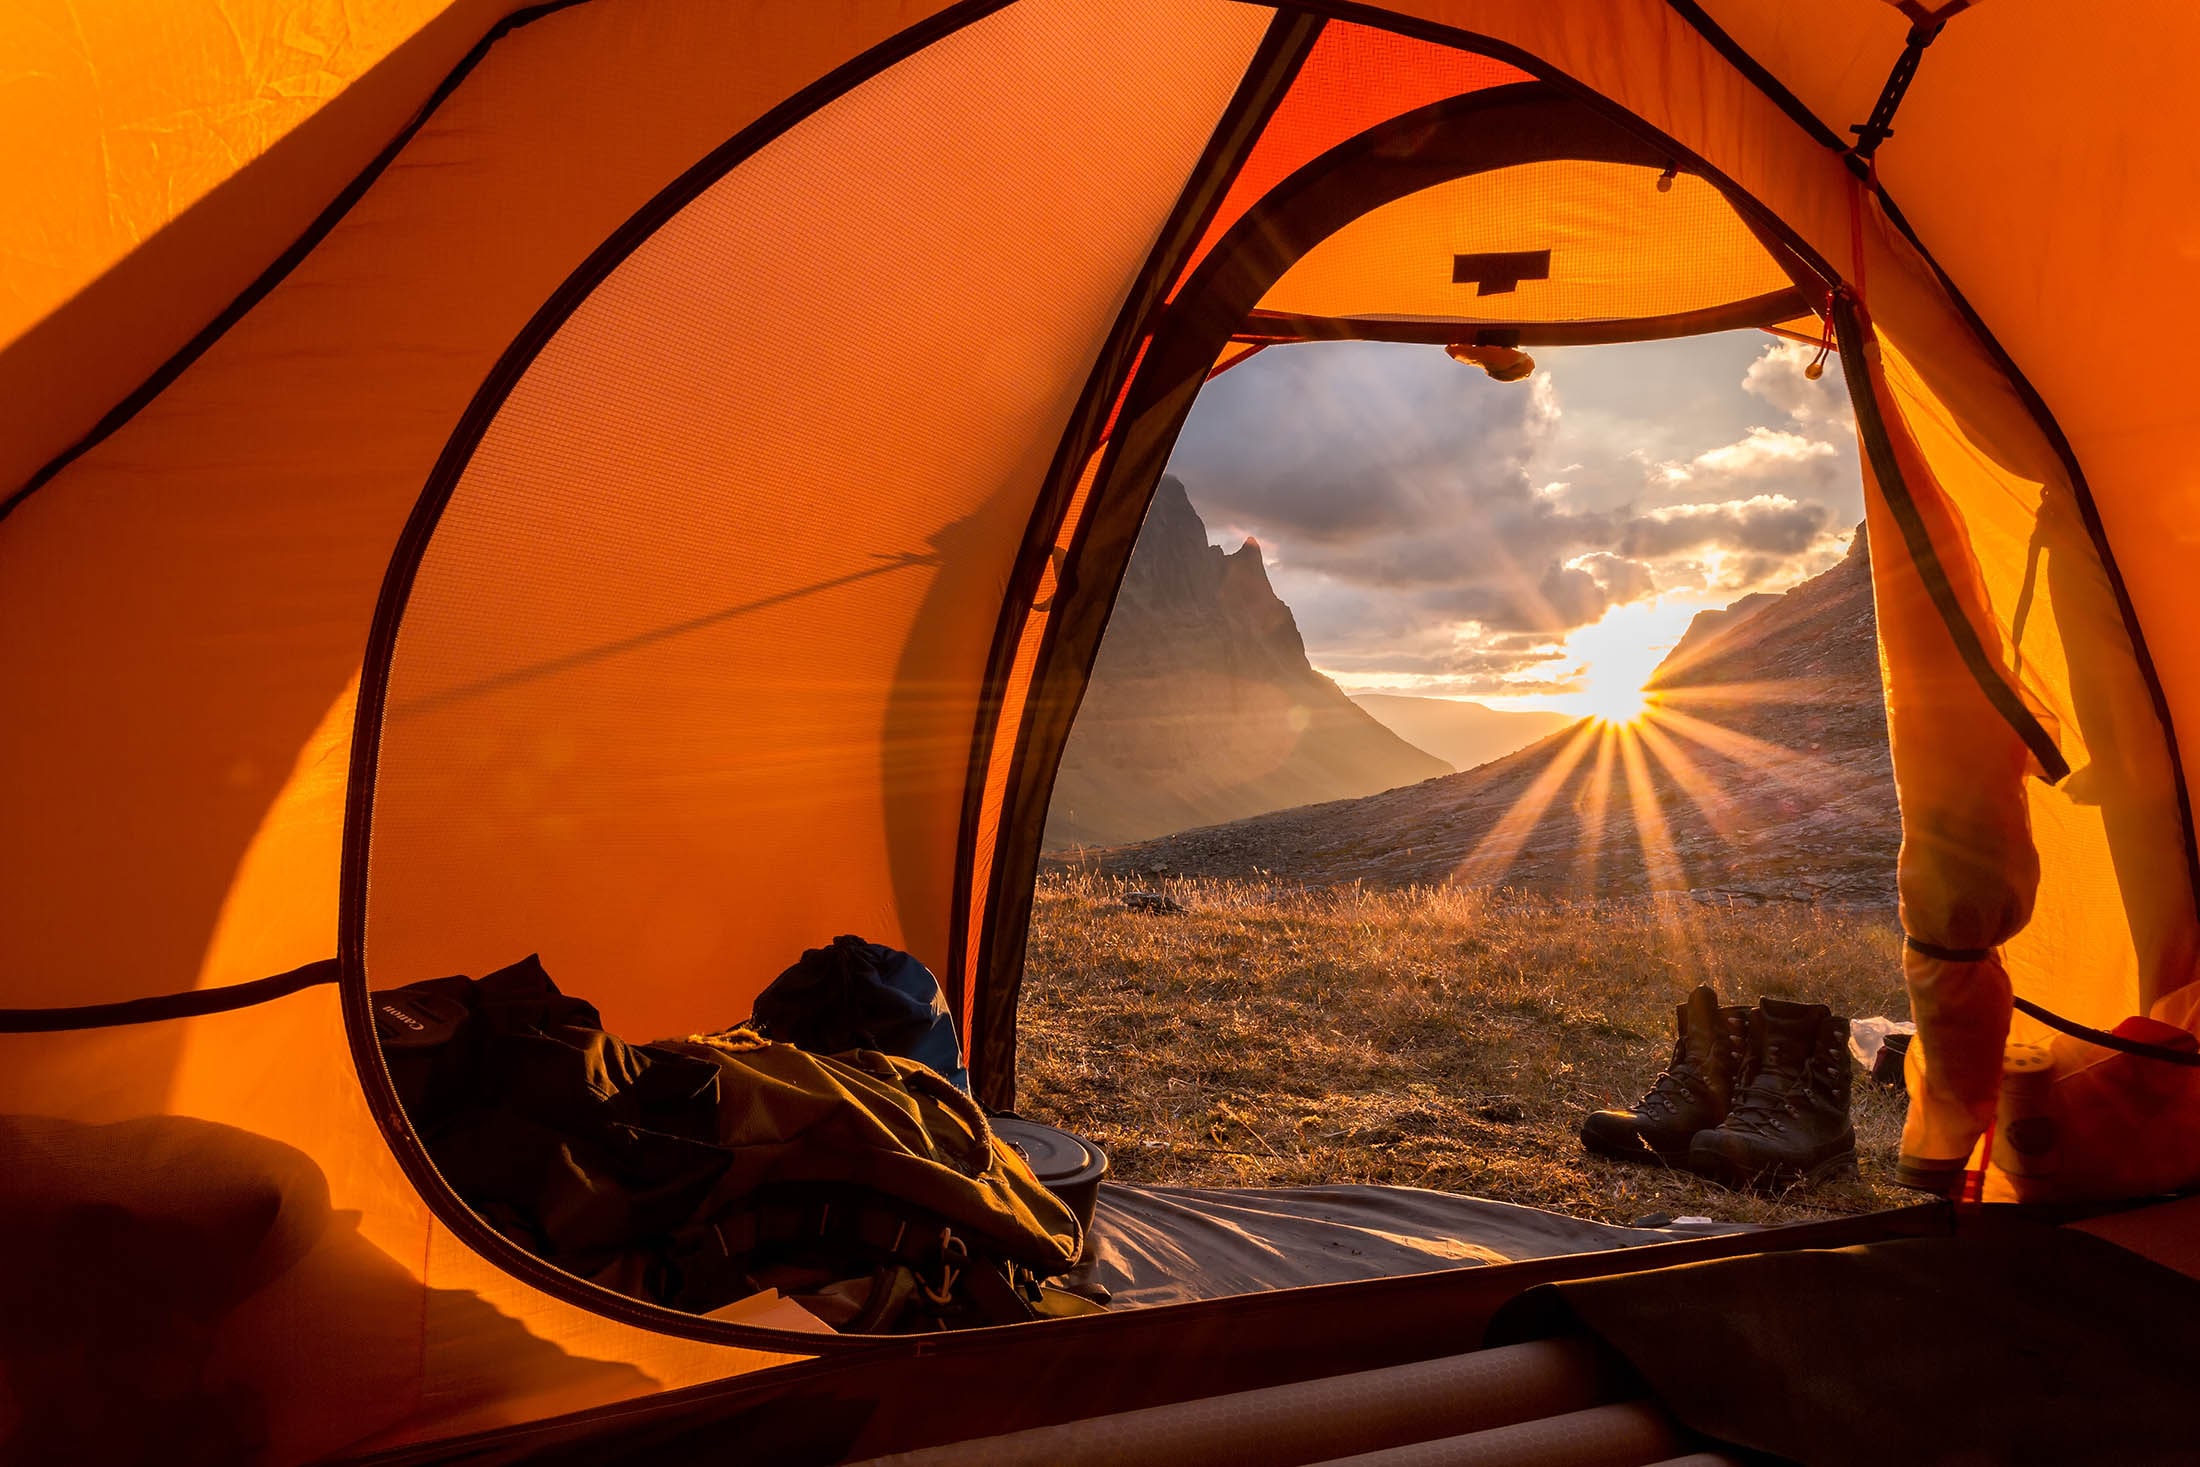
Then there is dyneema composite fabric, previously known as cuben fiber. This space age material offers a higher strength-to-weight ratio than either of the two woven fabrics, making it an ideal choice for high-end ultralight tents. It also stands up to UV exposure better than nylon and is inherently waterproof – doesn’t absorb water like nylon. Its downsides are that it is very expensive and that it has no stretch, which makes it a poor choice for curvier tent shapes that require the fly to conform to the shape of the poles. Each of the three fabrics described above can be thicker or thinner, depending on the denier. To learn more about this and the other factors, read my article on tent fabrics next.
Other factors
Depending on your needs, you might want to look for a tent that is lighter, easier to pitch, or more durable.
Ease of setup
The ease with which a tent can be pitched is also a factor, especially if you’re going to move everyday, as you would on a backpacking trip. Freestanding tents are inherently easier to pitch than tensioned tents, but there are several other design elements that can make a tent easier to pitch. The most important features are the pole system and the pole-tent interface. Poles should be easy to assemble and attach to a tent. This task will be easiest with tents that use pole hubs, but even tents with multiple poles can be easy to pitch if poles and clips (or sleeves) are color coded. Beyond these, you also want to consider door keepers, guylines and how easy these are to adjust.
Durability
It’s easy to assume that the lighter a tent, the less durable it is, but in reality, things are not quite so straightforward. Given how the high-wear parts of a tent are subjected to different forces, durability has to be defined differently depending on whether we are talking about the fly or floor. In the case of the fly, UV damage is the biggest consideration, and here a DCF (the lightest material) tent will outlast one made from nylon or polyester. In the case of the latter two materials, thinner flys will weaken and become susceptible to ripping sooner than those with a higher denier. When it comes to the floor of your tent, the tables are turned. Nylon is significantly more abrasion resistant than DCF.
Weight
Regardless of whether you are trying to go ultralight or just keep your base weight under 20 pounds, weight is always a factor when choosing a tent for backpacking. You will feel every ounce that you don’t need to carry, so it’s important that your tent isn’t heavier than it needs to be. The packed weight of the average two-person backpacking tent is around 4 pounds or 1.8kg - a figure you can use as a benchmark if looking for a similar sized tent. Just bear in mind that manufacturers will use two different specifications for weight:
Packed weight
The packed weight includes everything that comes with your tent: body, ‘fly, poles, stakes, stuff sack, pole sack, repair kit and instructions. You’d only carry all of this if you were car camping. If you were an incurable ounce counter and wanted to know exactly how much you’d carry, it makes more sense to look at the next specification.
Minimum weight
The chances are that you’ll pack your tents components separately (it’s just easier to get them into a pack this way). A tent’s minimum weight includes the tent body, flysheet, and poles only, making this specification a more accurate reflection of what you’ll carry. Just add the weight of stakes.
Tents for different activities
Depending on your needs, you might want to look for a tent that is lighter, easier to pitch, or more durable.
Alpine climbing
Pyramids are also sometimes used in alpine climbing, but here they have a significant drawback – mids require more space than a freestanding tent. As a result, they’re really only useful as basecamp shelters. For allround alpine use, narrow 4-season tents, like the Bibler tents made by Black Diamond, are generally a much better option since they can be pitched on the kind of narrow shelves that alpine climbers often find themselves overnighting on. These tents also handle wind better than a mid and so fare better above the treeline in challenging conditions.
Ski-touring and snowshoeing
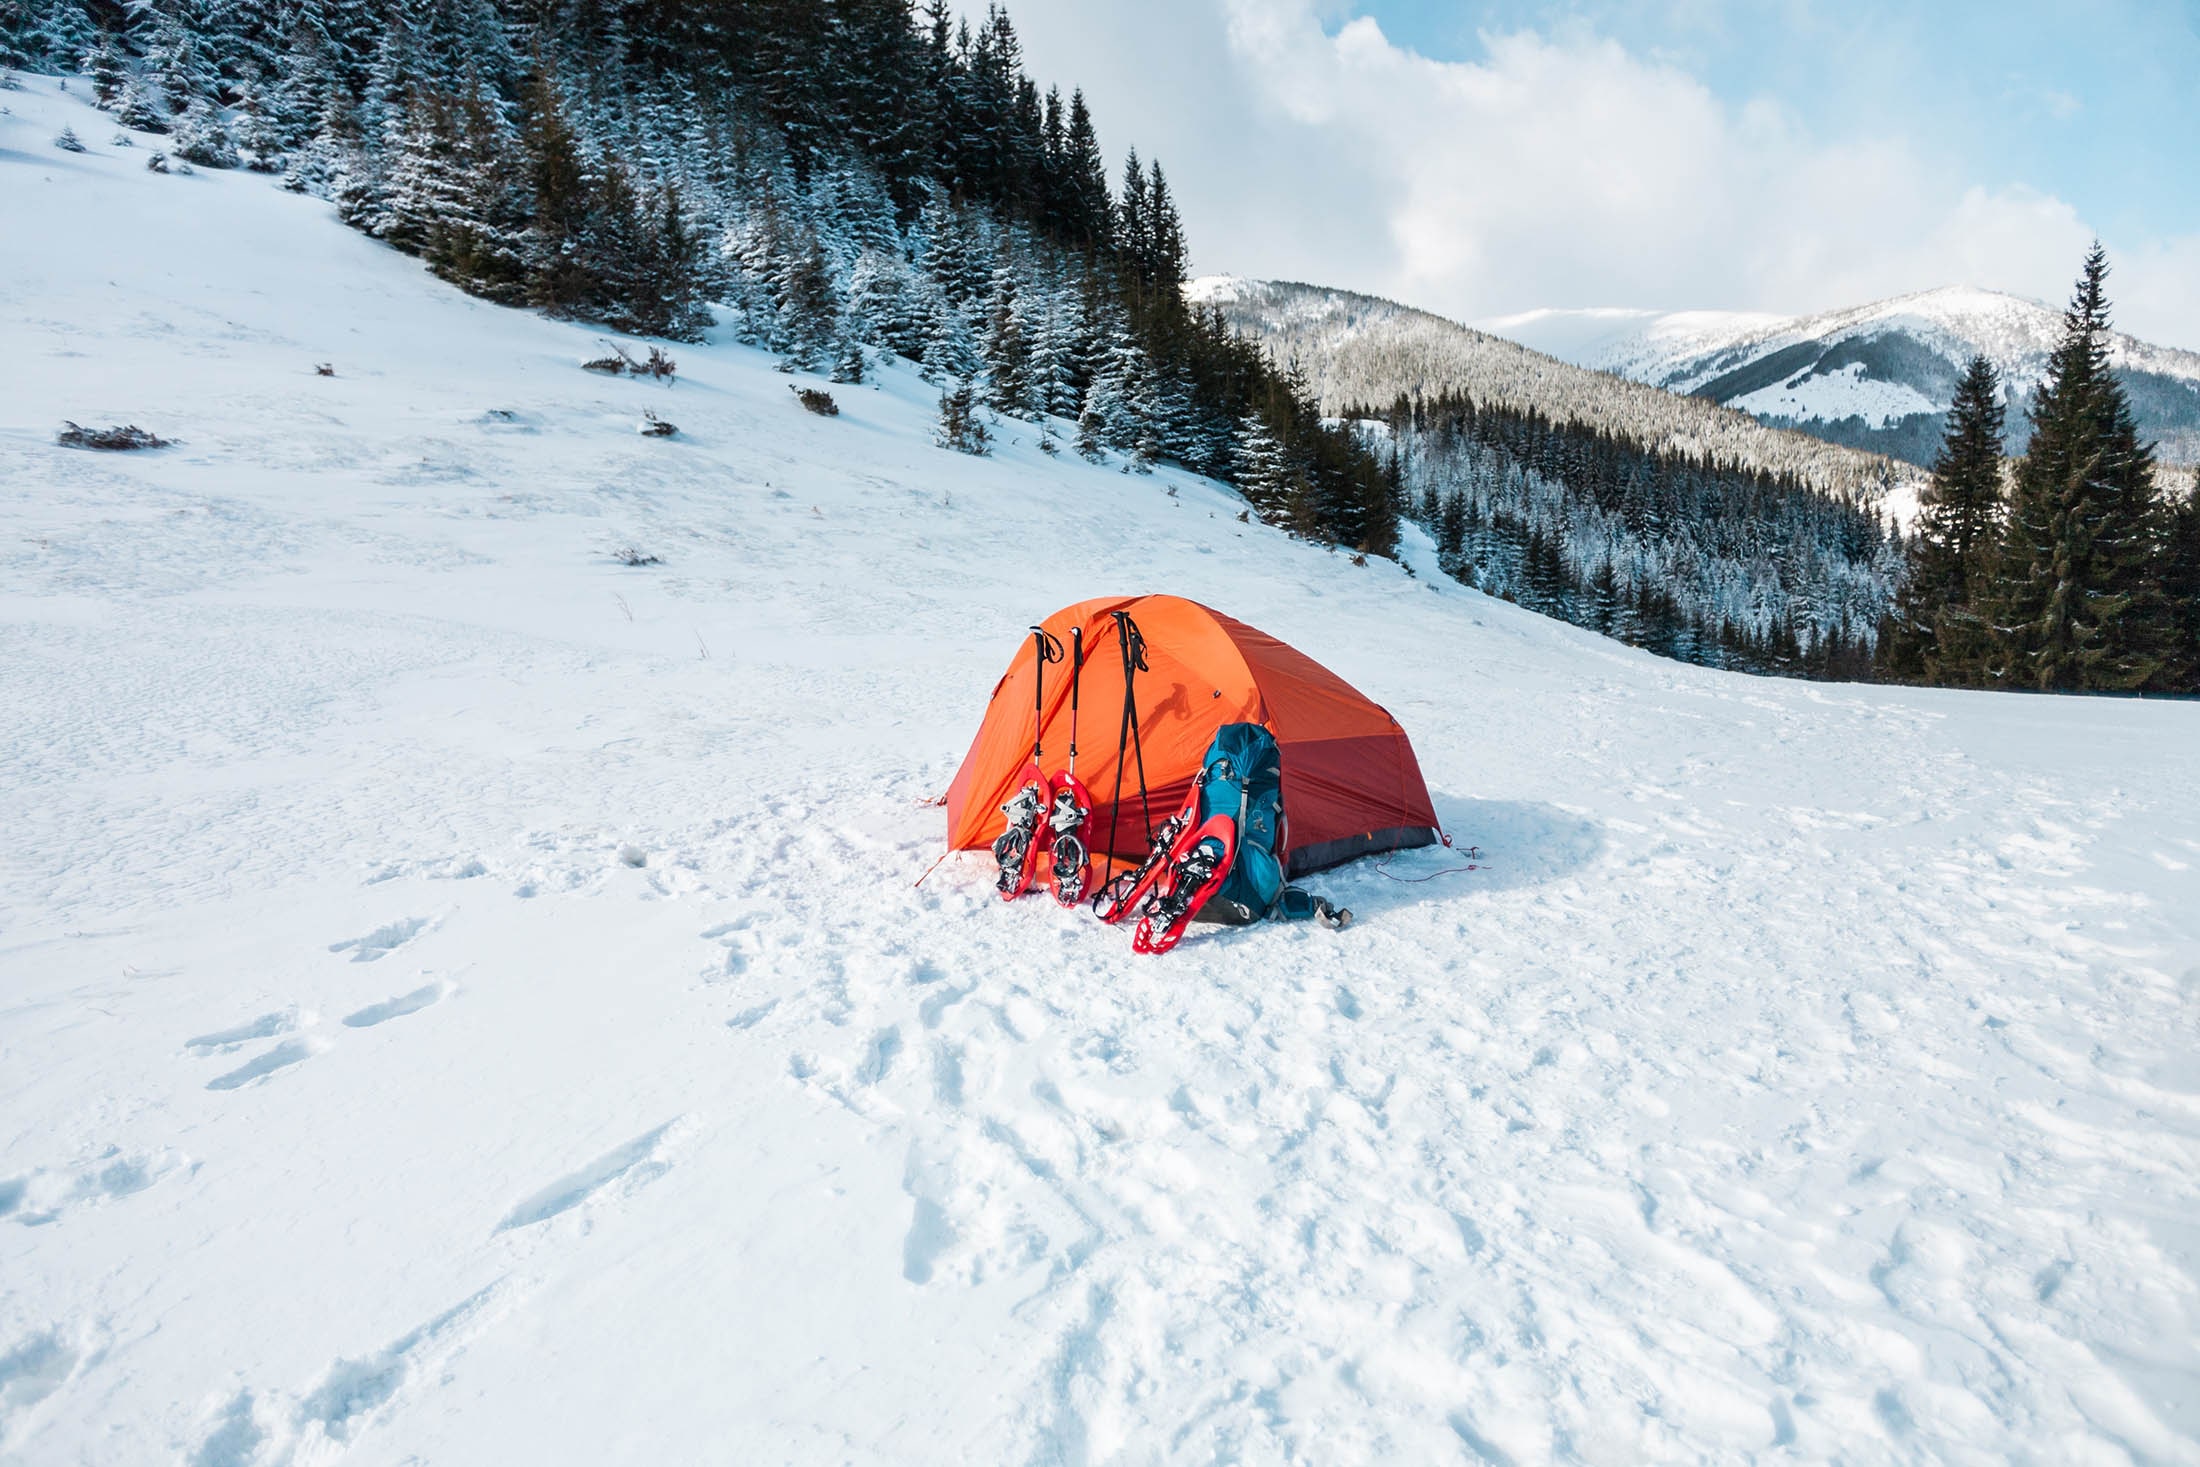
Like bikepackers, ski tourers need to be able to go fast and light, but they also need more protection than that offered by an ultralight 3-season tent. The solution is a 3+ season tent, like the Big Agnes Bird Beak SL2 or Nemo Kunai, or a pyramid. Mids have long been a popular winter option for weight conscious adventurers. Just bear in mind that in winter conditions, pyramids have to be tensioned against solid snow anchors, which can take both time and skill. It would be best to brush up on your snow anchor skills before setting off into the frozen wilderness with a mid.
Bikepacking
One of the big advantages of non-freestanding shelters – that they use trekking poles for support – is negated by the fact that you’re not going to take poles bikepacking. As a result, you’d have to carry dedicated poles for a tarp tent or pyramid, making these shelters roughly the same weight as an ultralight tent. Of course you could go lighter with a tarp, but bikepackers aren’t as limited to how much they can carry as fastpackers are. Personally, I find that the extra half a kilo is well worth the easy pitching of a freestanding tent.
Backpacking and thru-hiking
For backpacking, you want to go as light as you can without compromising too much on comfort. Keeping pack weight down is especially important on a thru-hike, which can require you to carry your kit day after day for several months, but you also don’t want to skimp on your shelter if it could compromise your sleep quality. Beyond these factors, it really comes down to your priorities. Many backpackers prefer easy pitching to having the very lightest tent available and will opt for a nylon dome or Y-hub tent over a featherweight DCF shelter.
Fastpacking and ultralight backpacking
If your goal is to go fast and light, you should aim to keep your shelter to under one pound (600 g) per person. This will probably mean a single-wall DCF tarp tent if you’re traveling solo or a double-walled tarp tent or ultralight freestanding tent if you have an adventure buddy. Just bear in mind that tensioned tents rely on trekking poles for support. If you don’t use poles, you’ll need to factor in the cost and weight of accessory support poles. In colder climes and snowy conditions, a pyramid can be a better ultralight option than a tarp tent.
Use and care
With proper care, your tent or shelter will last many more seasons than the throwaway you binned after your last music festival.
When to use a footprint
A footprint will prolong the life of your tent, but at an additional weight of 150 g (5 oz), this is the one accessory most likely to be left at home by weight conscious adventurers. That now begs the question, when should you use a footprint with your tent? There is, unfortunately, no easy answer to that question. If weight isn’t a concern, such as when car camping, I always use a footprint or groundsheet, but if I’m trying to keep pack weight down I’ll first consider the difference that could be made by using a footprint. On rough, gritty ground and snow, it could be worth carrying.
Seam sealing
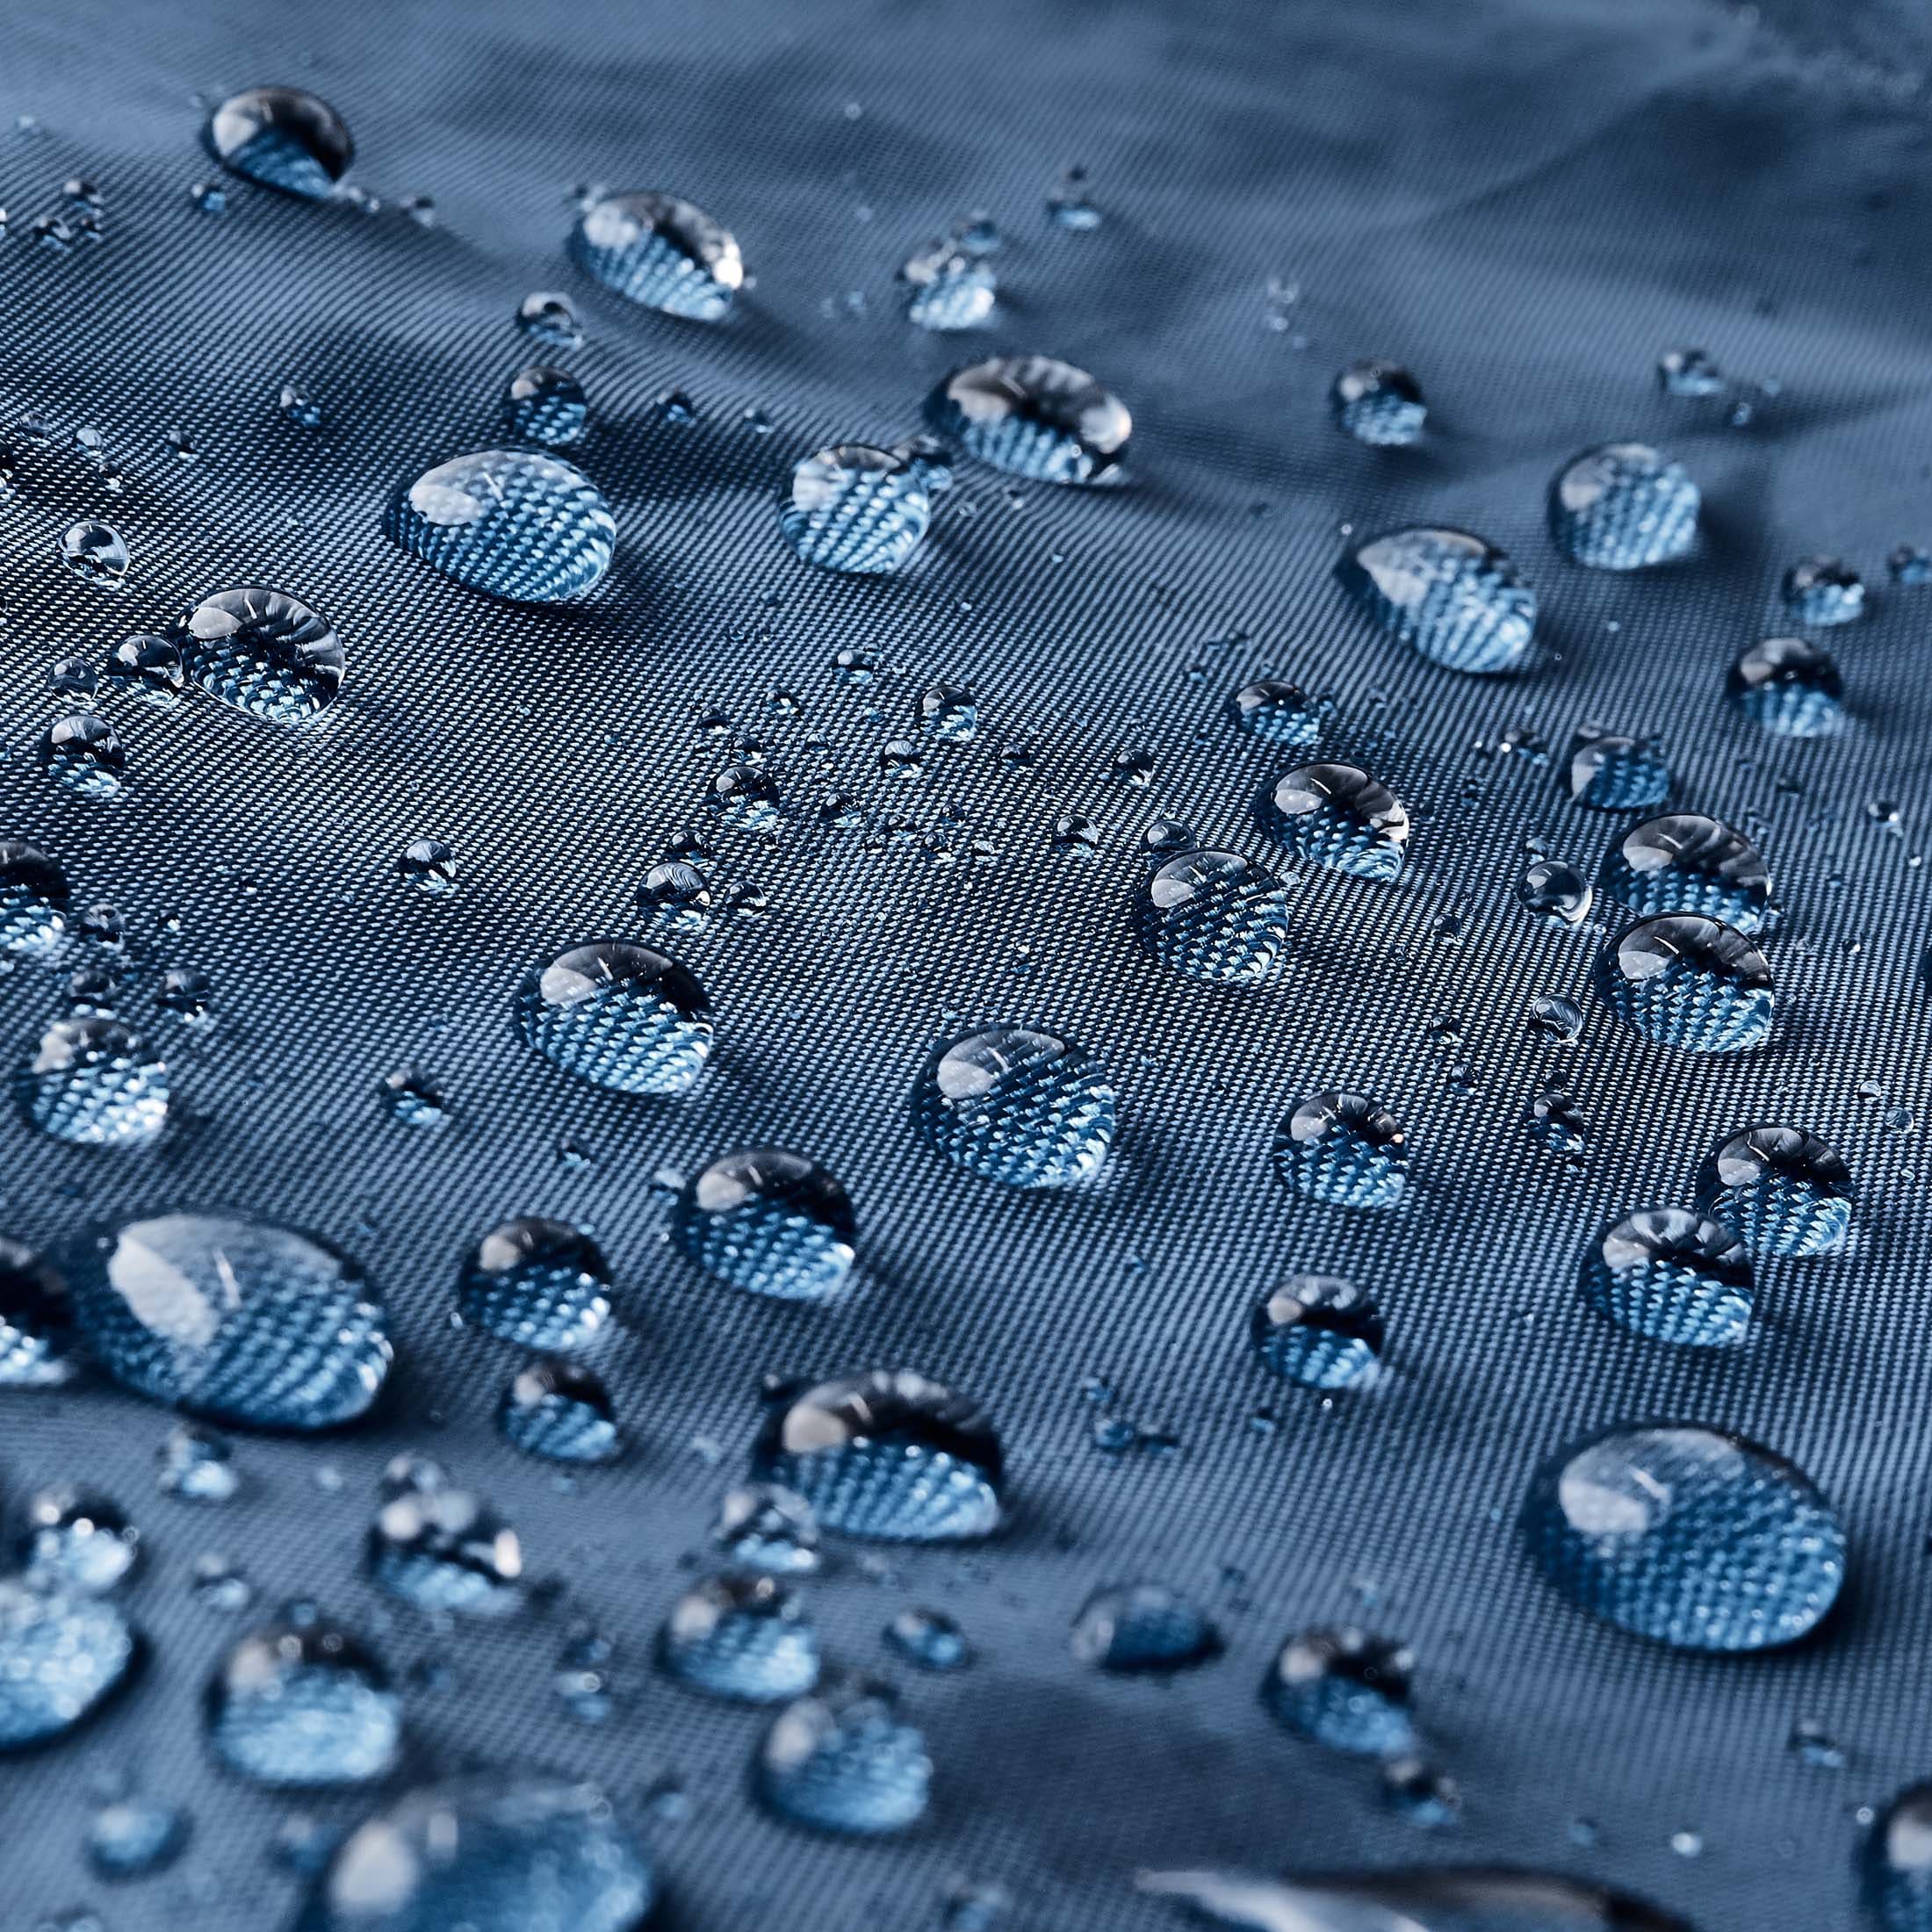
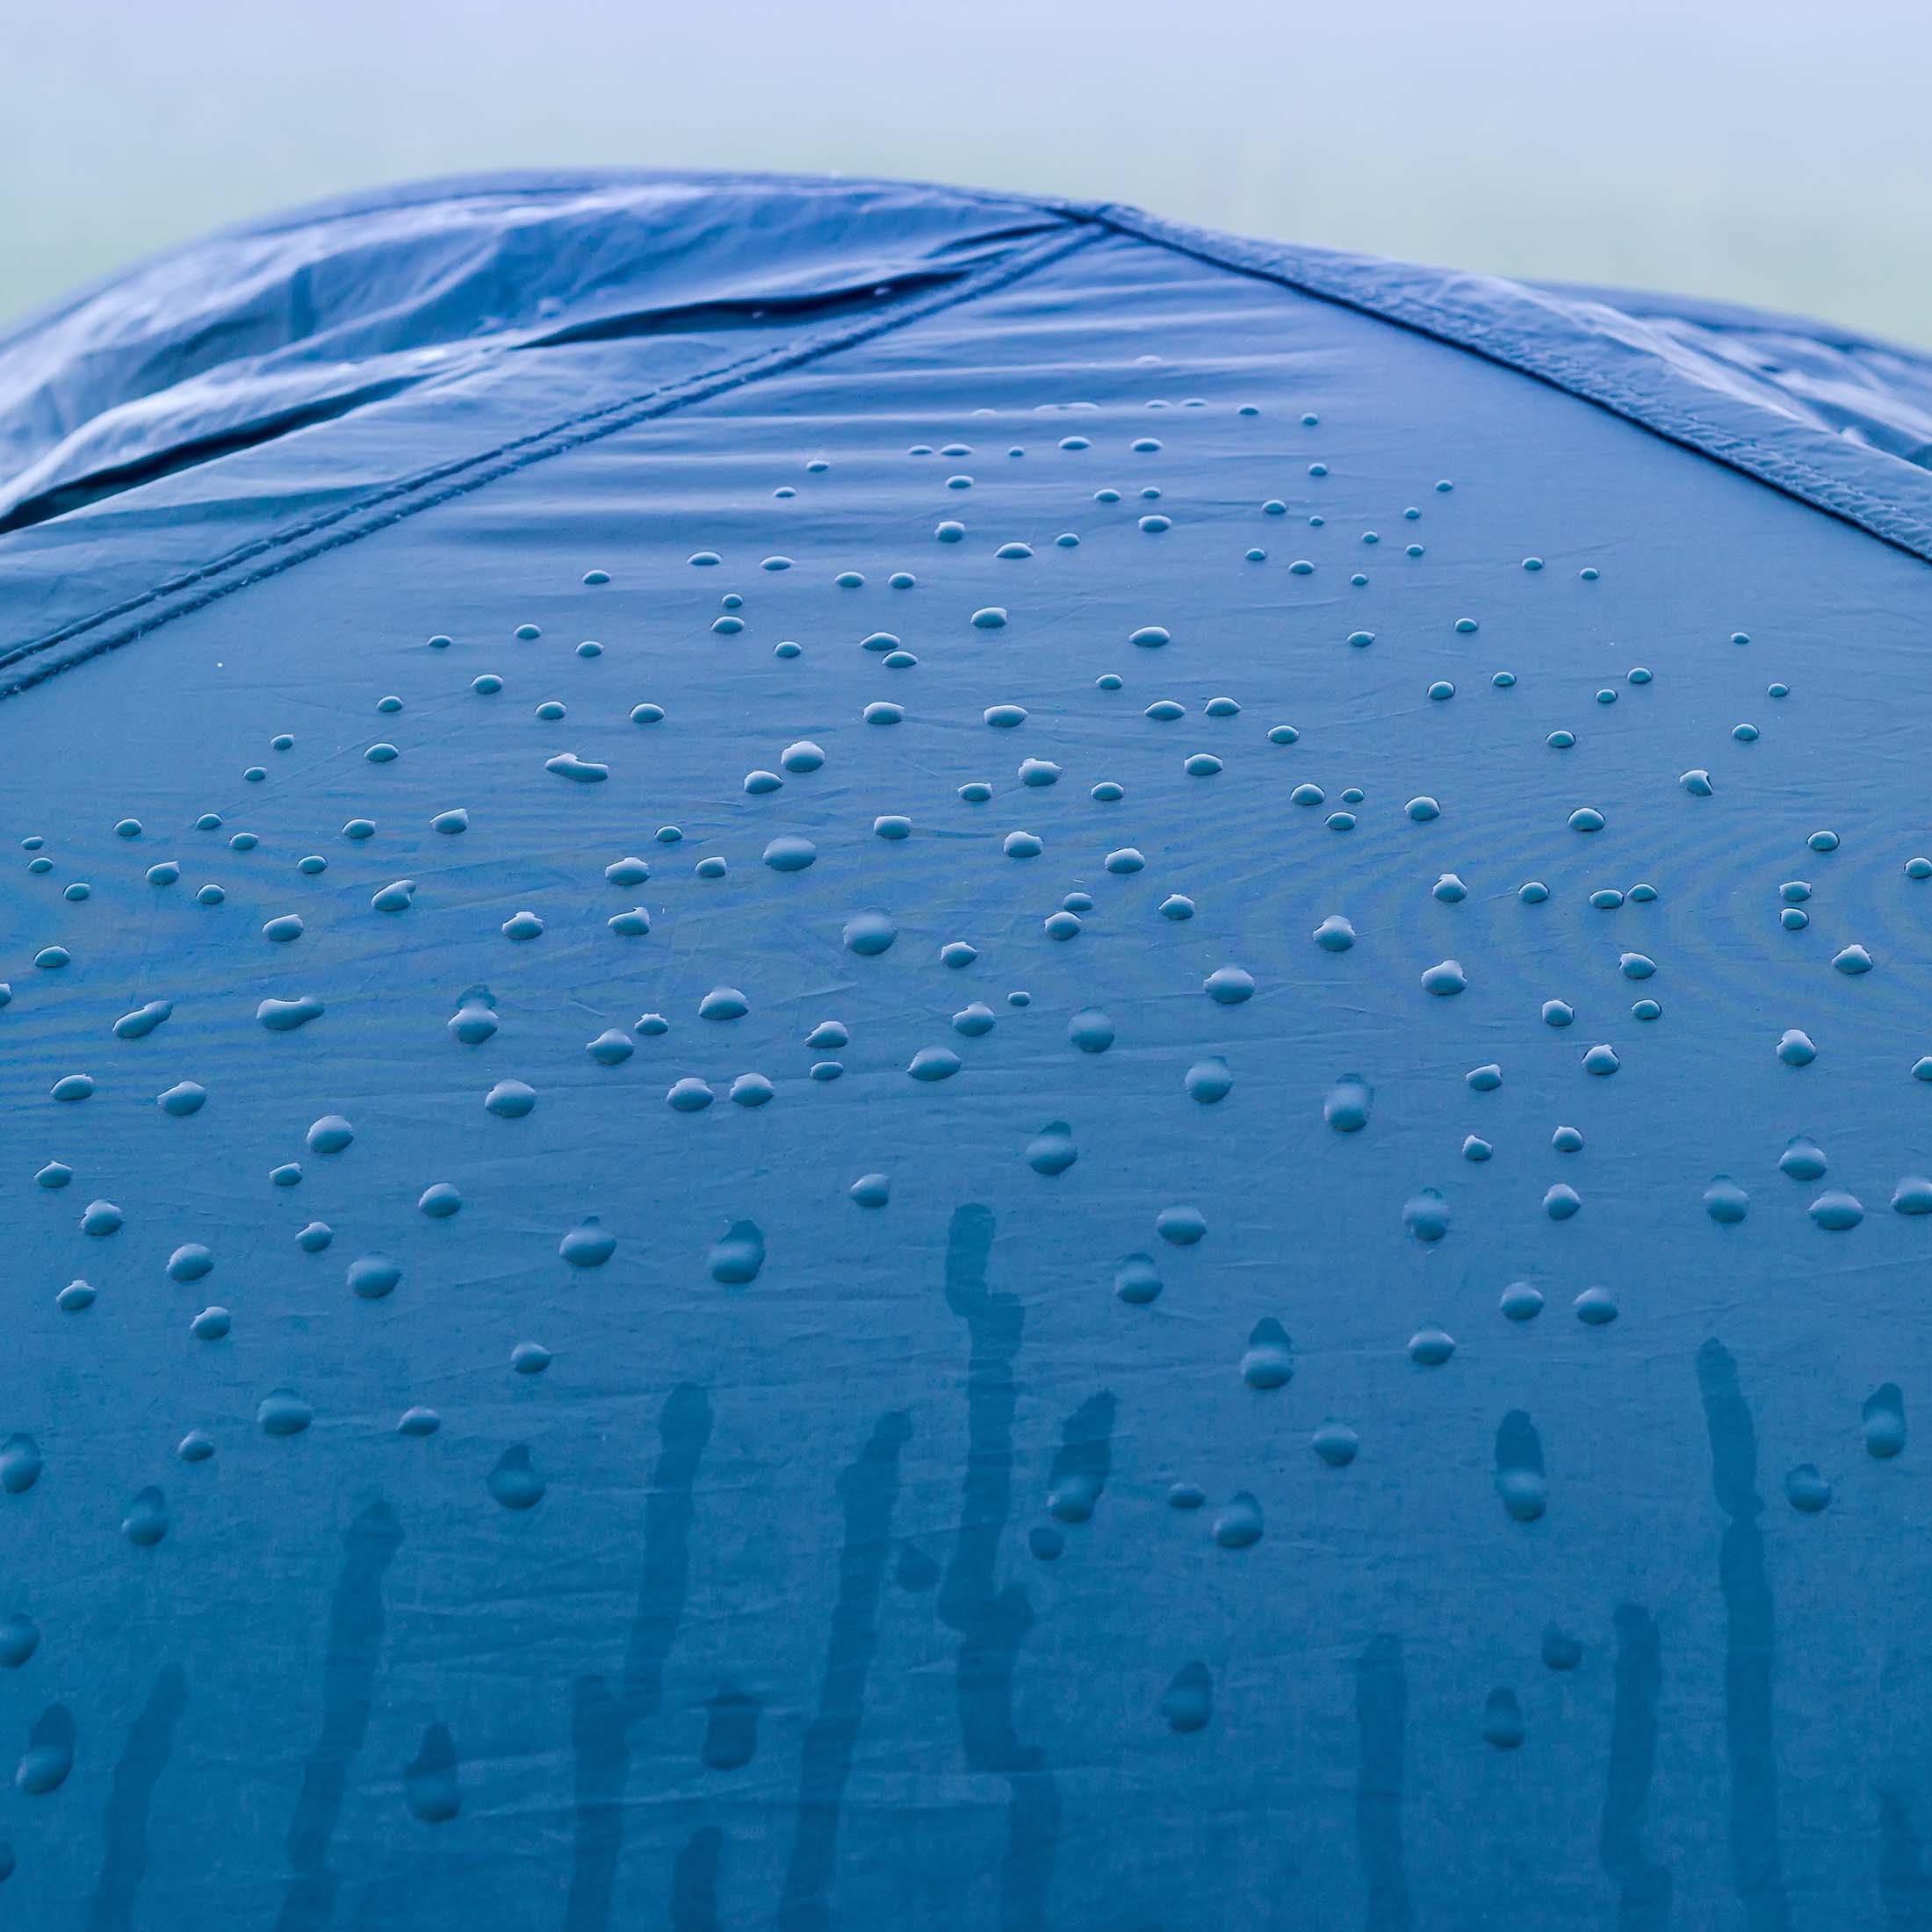
Most shelters made from silnylon have to be seam-sealed before they’re properly waterproof. This is something you can do yourself at home by pitching your tarp or shelter and then applying silicone solution to all seams and stitching. You can use either a premixed commercially available sealant or make your own by mixing equal parts silicone and mineral spirits or white gas. You can also seam-seal an older tent when the seam tape starts to perish. As with shelter, you apply the seam sealer with a brush and then wipe off the excess with a cloth.
Use the right stakes
To achieve a taut pitch you have to choose the right stakes for the kind of environment you are going to pitch your tent in. Some types of stake are easier to get into hard ground, and others hold better in loose or sandy soil. To learn what kinds of stakes work best in certain conditions, see my article on how to choose tent stakes.
Store a tent dry and uncompressed
If there is one thing you should do to prolong the life of your tent, it’s make sure that your tent is dry before you store it. A tent that is put away damp will develop mildew, which will give your tent a funky smell, create unsightly black spots, and even weaken the fabric over time. Once it’s dry, avoid storing your tent in its stuff sack. You want the tent fabrics to relax and breathe, and an old pillowcase or similarly sized mesh bag make for better long-term storage.
Get more advice from this gearhead
You now know everything you need to know about tents and shelters. But don’t stop here. On this website you’ll find many more in-depth gear guides on everything from trail shoes to carabiners as well as many more how-to articles. See the links below for favorites or, even better, sign up for my newsletter to get all the latest from trail and crag delivered straight to your inbox.
