Soloists might tell you otherwise, but the truth is that there’s no piece of climbing gear more integral to the activity of climbing than a rope. The early pioneers didn’t have chalk, sticky rubber shoes, or even harnesses. They had rope, and that was it. It was rope that allowed them to safely (a relative term) go beyond the previous no-fall limit and into a vertical realm prime for adventure and discovery. And it was rope that enabled pioneering feats like the first ascents of the North Face of the Eiger and El Capitan, long before sticky rubber was invented.
Of course, climbing ropes have come a long way since then. Over the course of their evolution, they have become lighter, stronger, and more specialised. Just visit any climbing gear store, and you’ll be presented with a myriad options in different lengths, diameters and weave patterns. With so many choices, deciding on a new rope can be difficult. But you’ve had the good sense to go to Google for answers, and have found this – the ultimate guide to buying a new climbing rope. Read on, and you’ll learn all there is to know about this essential piece of gear:
- Dynamic vs static ropes
- One vs two ropes
- Types of climbing ropes
- Climbing rope features
- Ropes for different styles of climbing
- Safety ratings and testing
- Rope care
Dynamic vs static ropes
Modern climbing ropes consist of two parts: a protective outer sheath and an inner core composed of bundles of twisted nylon strands. It’s these woven bundles that give a rope its dynamic properties and allow it to stretch when it is subjected to a sudden load. Without this shock-absorbing elongation, a fall could result in injury or gear failure. That’s why you must ensure that you climb with a dynamic rope.
Static ropes – those that don’t stretch – are only ever used used in activities where loads are relatively constant and there’s little chance of slack developing in the system. These ropes are sometimes used for rappelling, hauling and jumaring by canyoneerers and big wall climbers, but they should never be used for lead free climbing.
One vs two ropes
Zig-zagging a single rope all over a meandering route can cause significant rope drag, and you don’t need that kind of handicap when you’re trying to clip the run-out crux piece on pitch 13. With a double rope system, you can clip protection on the left with one rope and protection on the right with the other. This tactic keeps your rope relatively straight and drag free, making half ropes a popular choice for wandering routes.
By tying two ropes together, you can make longer rappels. This is particularly useful on multi pitch routes where longer rappels can save time and allow you to reach rap anchors that are out of reach of a single rope (the alternative is to use a single rope and tag line). Thinner ropes also stretch more and so result in lower impact forces during a lead fall. This is an advantage if you want to reduce the forces on marginal protection.
- Double-rope rappels
- Less drag on meandering routes
- More elongation reduces forces on marginal gear
If you decide that you’d benefit from double ropes, you should then consider the choice between half ropes and dual-rated ropes (described below). I go into the pros and cons of each of these in my article on the question of single vs double ropes.
Types of climbing rope
When choosing a new rope, consider rope type first. Single ropes are used, well… singularly, while half ropes and twin ropes are always used in pairs although not in the same way.
Single ropes
Single ropes – those that are designed to be used as a single strand – are the most common type of rope. They typically range from 9 mm to 11 mm and come in a variety of lengths, making them suitable for a wide range of climbing styles. They’re the preferred rope type of sport climbers and are a good choice for trad routes that follow a more direct line. You can identify these ropes by the single rope designation tag: a “1” inside a circle.
Half ropes
Half ropes are used in pairs and are skinnier than single ropes – usually 8 mm to 9 mm – but, like single ropes, they’re designed to hold a fall with a single strand. However that’s with ‘rest time’ between falls and not in quick succession. Still, half ropes are thicker and stronger than twin ropes, which have to be run in parallel. Half ropes can be run through different pieces of protection, which makes them a popular choice for trad and alpine climbing where they can be used to reduce drag-inducing zigzagging on wandering routes. Half ropes are usually different colors and are marked with a ½ symbol inside a circle.
Twin ropes
Twin ropes are different to half ropes in that both ropes in a pair have to be clipped into each piece of gear. In this way, they are used more like single ropes. They are thinner than half ropes – 7mm to 8mm – and are not designed to withstand a fall when used alone. This is why it’s important that a pair of twin ropes are run through every piece of protection together. This type of rope is mostly used for alpine climbing and ice climbing, and even in these disciplines, they are becoming less common. In rock climbing a single rope or two half ropes will serve you better. Twin ropes are marked with a sideways eight inside a circle.
Rope features
Once you know what type of rope you need, you can narrow down your search by considering the following.
Length
The original standard length for ropes was fifty meters, but those ropes have since been superseded by 60-meter and 70-meter ropes. At most crags around the world, one of these will get you up the vast majority of routes. But that’s only the majority. Depending on the area, you could arrive at your destination only to learn that most of the classics on your tick list top out at over 35 meters and call for a 80-meter rope.
If you are only going to ever own one rope, it would be wise to look at the length of routes at your favourite areas and then decide whether you want a 60-meter, which will allow you to climb most single pitch routes and cruise multi-pitch routes, or a longer rope which will give you access to all routes. Why not just get the longest rope possible, you ask? Most multi-pitch routes can be climbed with a 60-meter rope, and the additional ten or twenty meters on a longer rope can create more work for you at multipitch belays.
Diameter
It seems logical that a thinner rope would weigh less and therefore be easier to clip. But that’s only half true. Thinner ropes are generally easier to clip, but that’s largely the result of less friction (less rope running over rock and through gear) and not purely a result of reduced weight. Skinnier ropes are lighter than thicker ropes but not by as much as you might think. In keeping with a trend towards skinny ropes, manufacturers are weaving their sheaths tighter and tighter to reduce diameters.
The result is that ropes are significantly thinner but only slightly lighter. Does that mean that there’s no point in going with a thinner rope? No. The reduced rope drag can be a big plus, especially on harder, longer routes. Just know what you're paying for when you fork out for your skinny sending cord. And bear in mind that thinner ropes aren’t as durable as thicker ones. I’ll elaborate on the importance of this in the section that covers ropes for different styles of climbing.
Coating
Water makes a rope both heavier and weaker (supposedly up to 30%), and it’s always best to keep your rope out of the wet. However, weather can move in when you’re not prepared for it, soaking both you and your gear. A dry-treated rope mitigates your problems in such circumstances by limiting the amount of water absorbed by your rope. Every manufacturer has their own method, but a dry treatment generally involves coating the sheath with a water repellent coat, although some more expensive ropes also have dry-treated cores.
Besides protecting your rope from water, a dry treatment also makes a rope more durable, and treated ropes generally take longer to get fuzzy. The only downside is the price. All that clever technology comes at a price, and dry-treated ropes are, on average, $25 more expensive than non-treated equivalents. Is it worth it? In my opinion, yes.
Weave & pattern
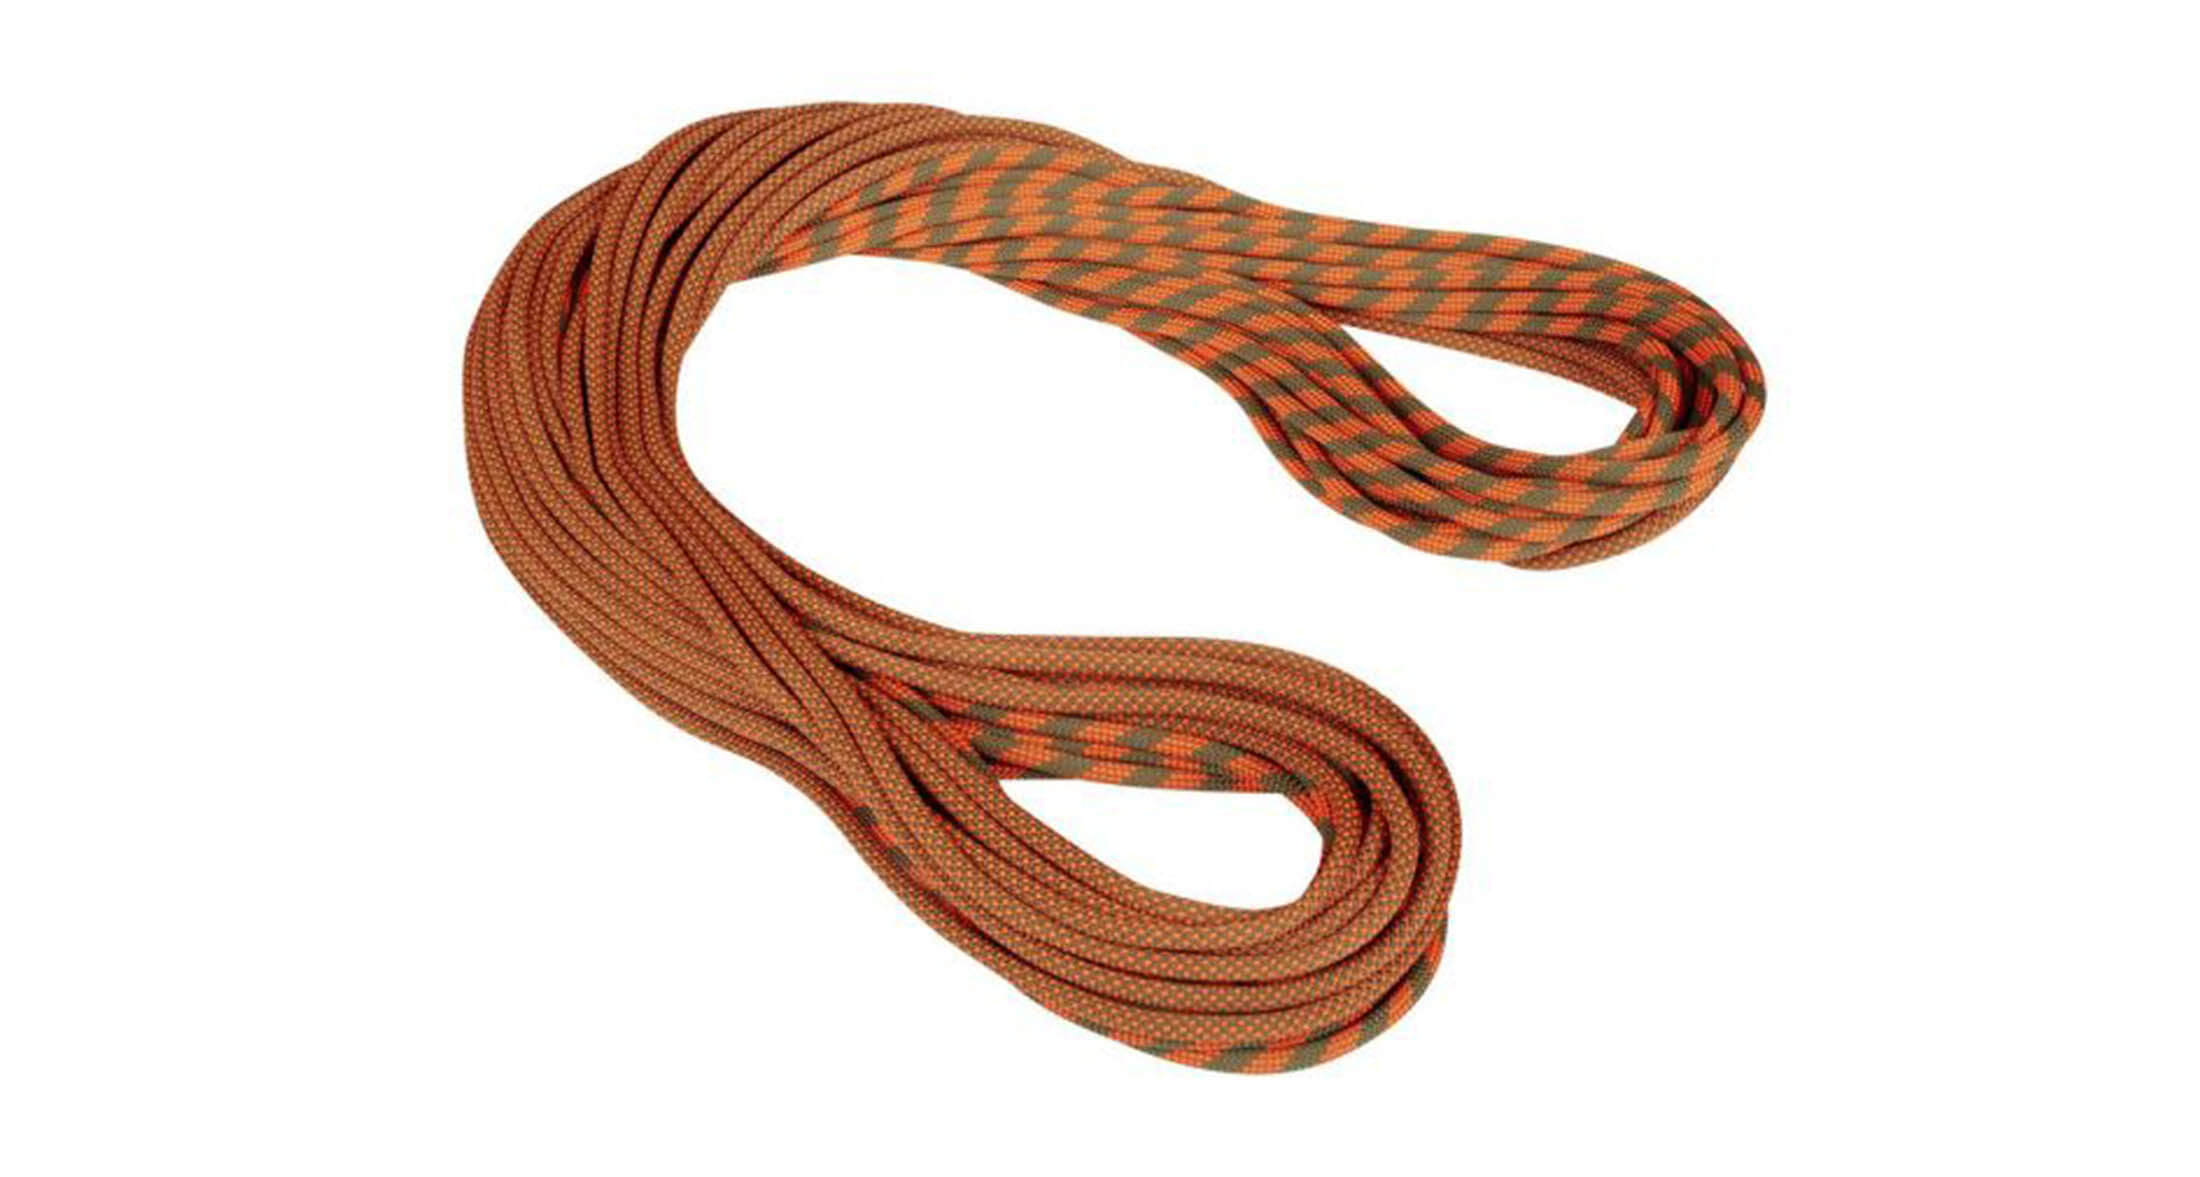
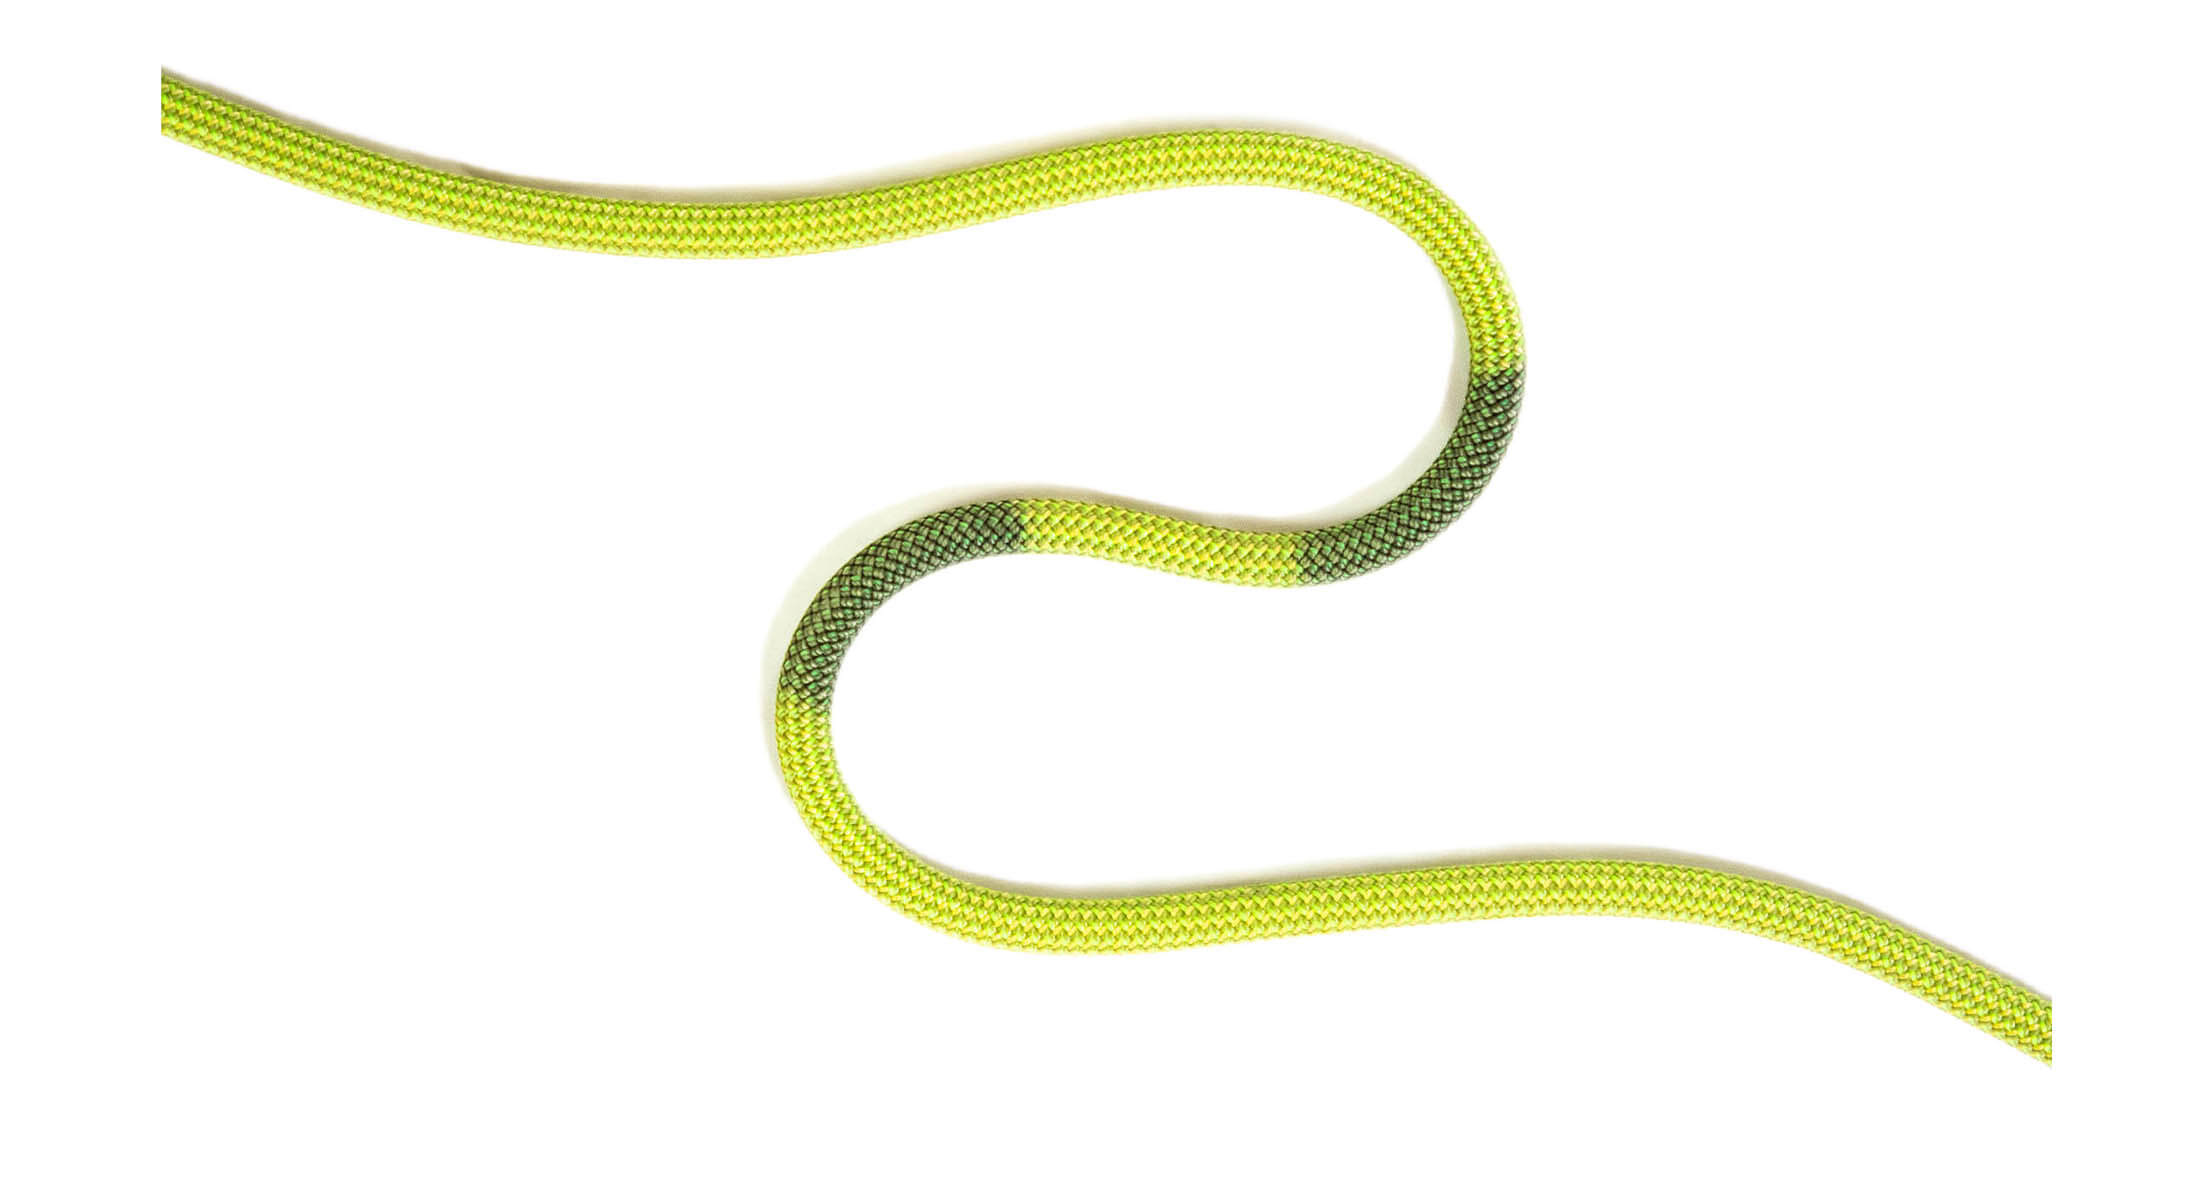
When setting up a single-rope rappel, you usually have to find the middle of the rope. This can be marked in two ways. If you have a rope with a pattern that is consistent throughout its length, you can mark the middle with a rope marker (black dye). Alternatively, you can buy a bi-color rope – that is a rope with a weave that changes its pattern at the halfway mark. This doesn’t fade, and it makes finding the middle of a rope a lot easier. Again, this extra feature comes at price.
Note that it’s also important to know where the middle of your rope is when belaying a climber on a long route. If your climber climbs more than a few meters past the middle of the rope, they risk not having enough rope to reach the ground. Keep this in mind everytime you climb a long route for the first time, and don’t forget to tie a knot in the end of the rope.
Ropes for different styles of climbing
Within the larger activity of climbing, there is a diverse range of styles, each with its own challenges and demands. To meet these needs, climbers usually look for ropes of a certain thickness, weight, and length.
Sport and trad cragging (9.5 – 10.0mm; 57 – 65g/m)
Medium diameter ropes offer a good balance of durability and lightness, making them a popular choice for general sport climbing (single pitch and multipitch routes) and trad cragging (unless these routes wander). In terms of length, 60 m and 70 m are the most useful lengths unless you live somewhere with single pitch routes longer than 35 meters. In this case you might need an 80 m rope. If you choose a longer rope, I recommend not going any thicker than 9.7 mm as the extra weight of a thicker rope will definitely make itself felt towards the top of longer routes.
Redpointing projects (9.1 – 9.4mm; 53 – 57g/m)
The last thing you want on a hard redpoint attempt is for your rope to make things more difficult for you. Skinny ropes keep weight down when it matters most (towards the end of a long route), but that performance comes at a cost. Skinny sending ropes are generally more expensive, and they wear faster too. Most climbers will only buy one of these as a second rope to be taken when they really need it. 70 meters is the standard here, and some climbers might even opt for 80 meters.
Long trad routes and alpine rock (9.3 – 9.8mm single or half ropes)
For direct routes (those that follow a relatively straight line), a single rope will suffice, but when routes start to wander, double ropes become necessary to reduce drag. The other advantage of half and dual-rated ropes is that they generally have more dynamic elongation than single ropes, thereby reducing the load on gear in a fall (very helpful if you’re worried about marginal gear). The other big advantage of double ropes, is that they also allow you to make longer rappels, although you could also use a single rope and tag line.
Guiding and big wall (10.1 – 11.0mm; 65 – 77g/m)
For guiding, extended top-roping and big walls, you need a rope that can take a lot of abuse. Enter the workhorse in our stable, the heavy use rope. Averaging 70 grams per meter, these ropes won’t win any weight watching competitions, but then they aren’t meant to. They’re meant to be durable, and that they are. If you’re going to repeatedly fall on a rope, run it over rough rock, or thrash it with an ascender, you’d best get one of these. When choosing a rope this thick, it’s important to keep rope-device compatibility in mind. Some devices won’t accept a rope any thicker than 10.1mm.
Safety ratings and testing
As long as your new rope has the UIAA (Union Internationale des Associations d'Alpinisme) label, it’s safe to use it as it was intended (as a single, double, or half rope). That said, you still might want to know how a rope is deemed safe. There are many standards that tested ropes have to meet, but the following four will do a better job of telling you how a rope will perform.
Maximum impact force
During a fall, a dynamic rope absorbs only some of the energy through elongation. The remaining energy – that not absorbed by the rope’s elastic properties – is acted upon the falling climber, the belayer, and the gear. This is the impact force. In trad and alpine climbing (especially climbing where marginal gear is likely), a low impact force is desirable as it reduces the chances of gear being ripped from the rock. But for general cragging, this might not be ideal as it could mean more elongation than you might want.
Dynamic & static elongation
Ropes only undergo Dynamic elongation when they are subjected to a sudden load, such as a fall. Low impact forces usually equal higher elasticity. This reduces the load on gear while increasing the length of falls. Static elongation, on the other hand, is the amount that a dynamic rope stretches with a weight hanging from it (statically). This is an important factor to consider when top-roping, hauling gear, and climbing fixed ropes with ascenders. In these activities, more elongation generally results in energy being wasted through rope stretch.
Fall rating
The UIAA also tests ropes to see how many falls they can hold before failing. The forces generated in these drop tests are much greater than those generated in real-world climbing falls, and you shouldn’t read too much into these ratings. Any UIAA-rated rope is going to be strong enough for its intended purposes, and while a rope with a higher fall rating might last longer, it’s more important to look for a rope that has the right degree of elongation for your purposes.
Marking the middle of your rope
It’s important to mark the middle of your rope, as you will need to find it when setting up a rappel and when trying to determine if you have enough rope to lower a climber off a long pitch (one that might be longer than half the length of your rope). Many outdoor stores actually mark their ropes before they go onto the shelves, and others offer a rope-marking service. If your local gear shop doesn’t, it’s easy enough to do this yourself with a bottle of rope marker (sold at most stores).
Rope care
Caring for your rope will go a long way to extending its life. Here are three three things you can do to ensure that you get the most use from your new purchase.
Keep it out of the dirt
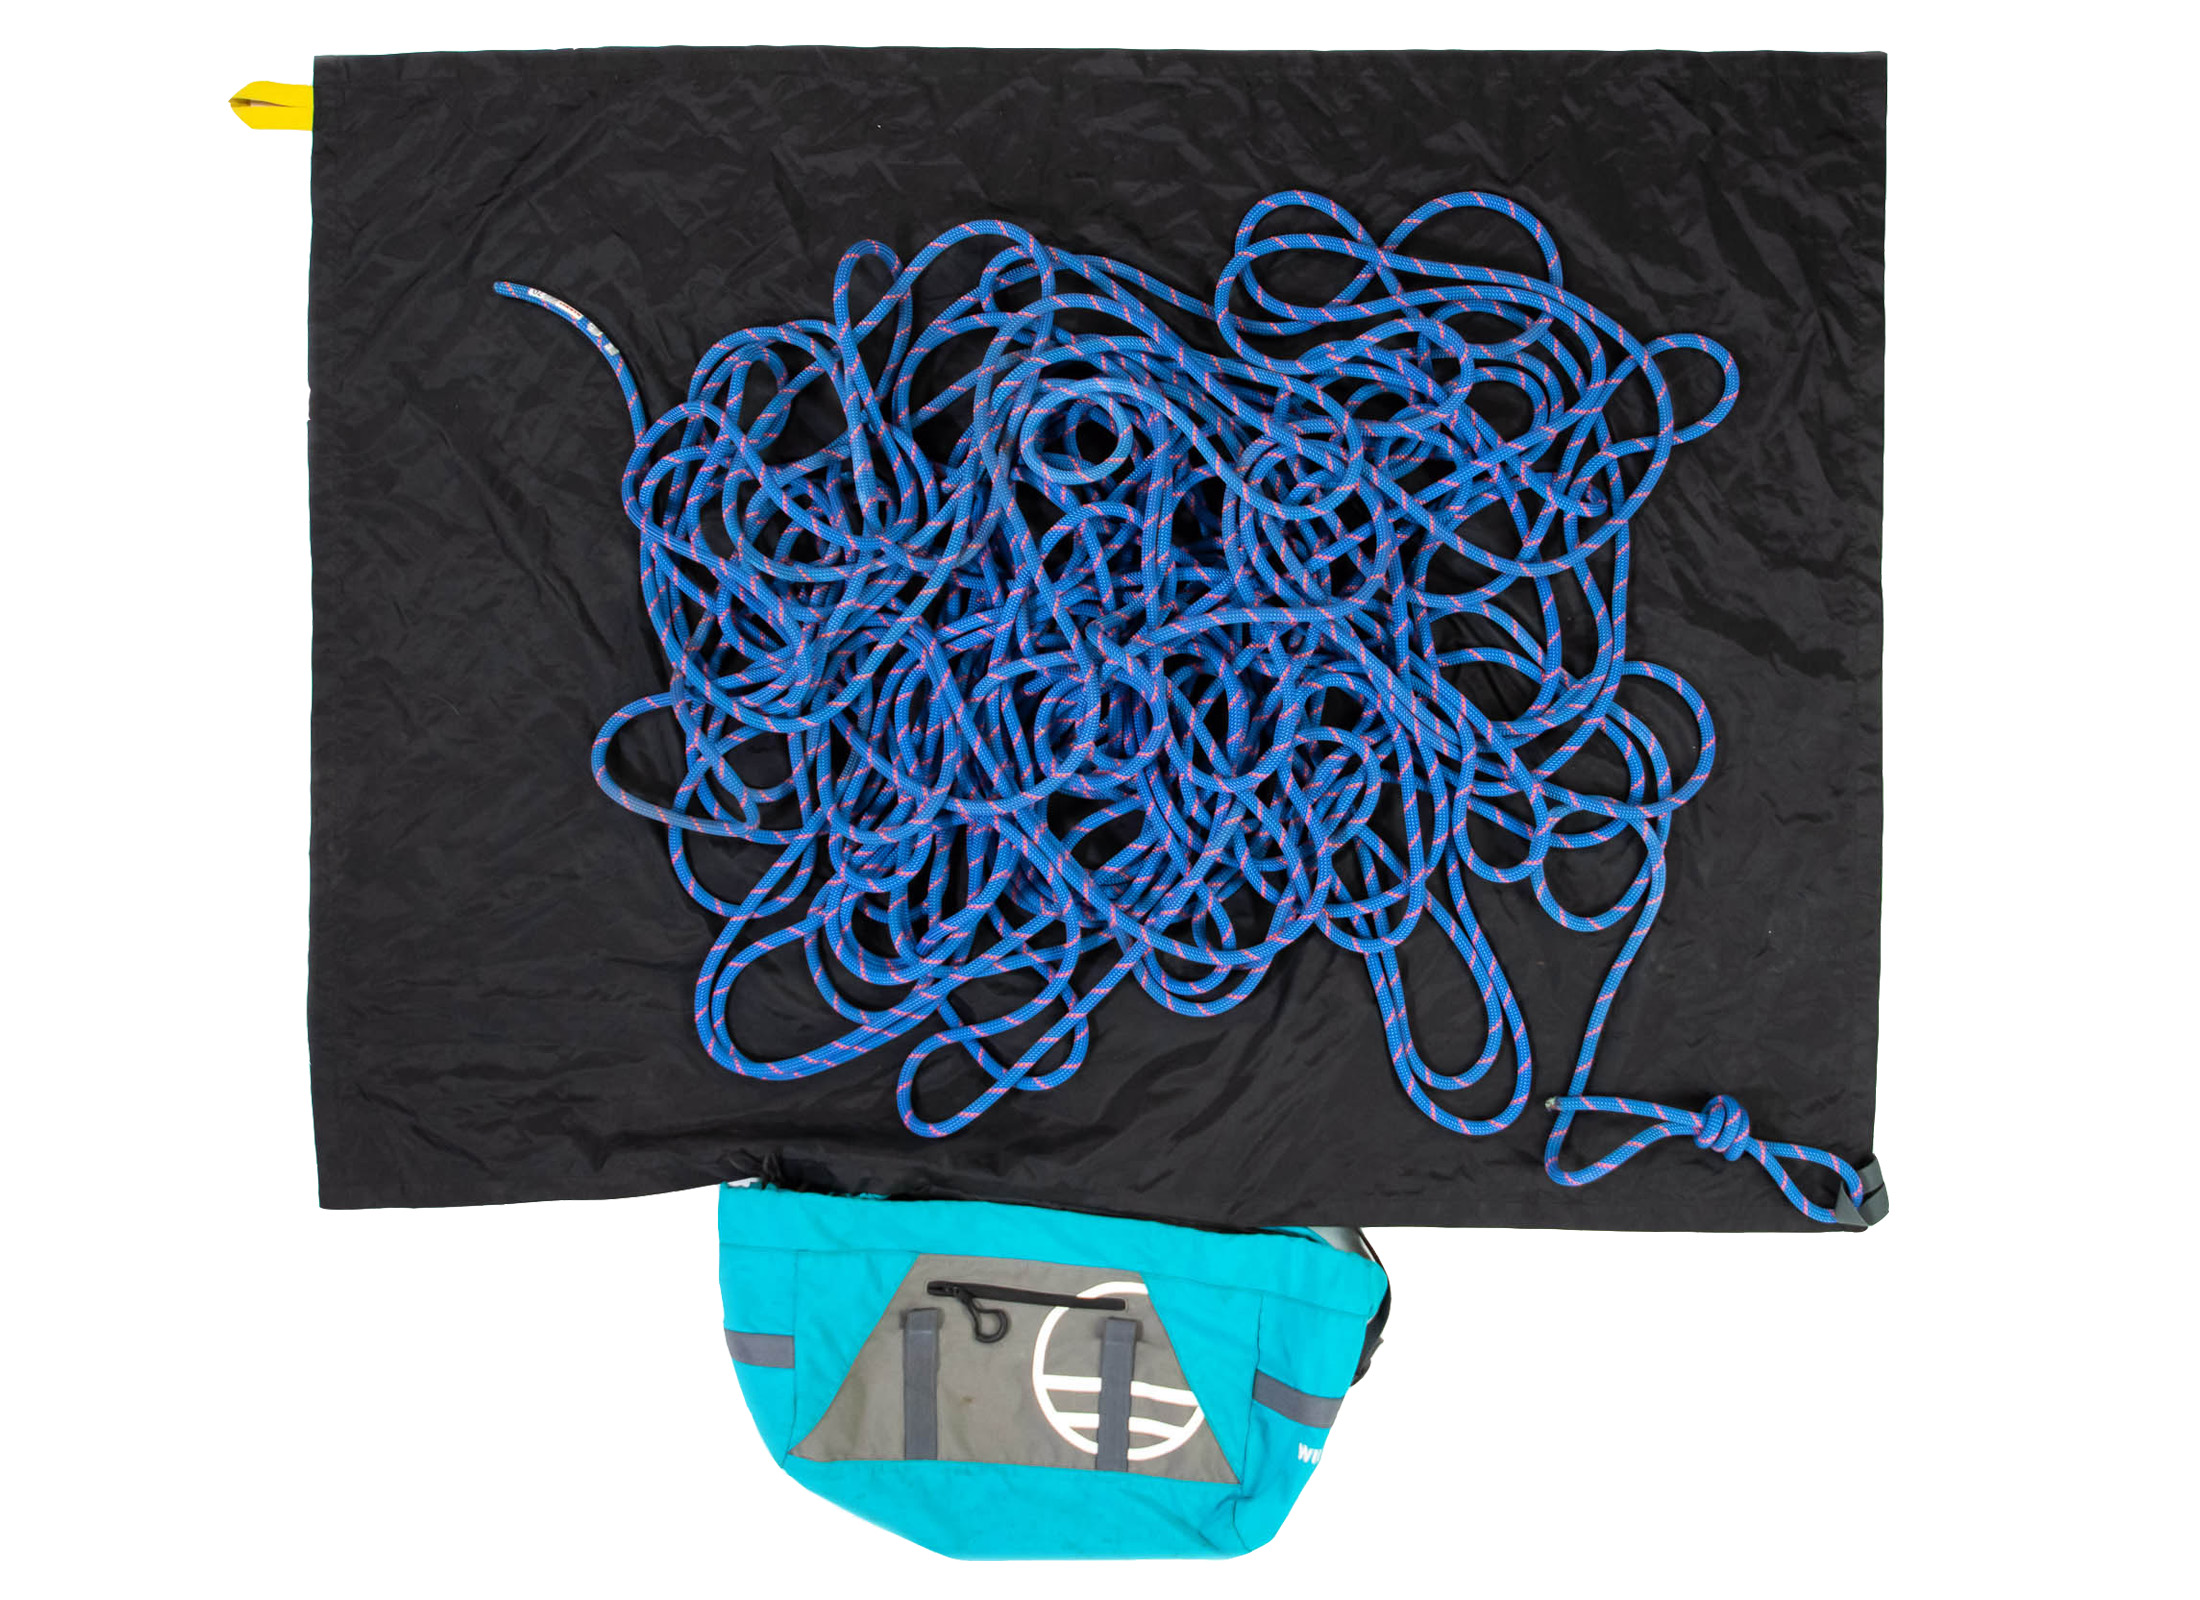
Dirt is not your rope’s friend. When sand particles get into the sheath, they break down its fibres, giving your rope a fluffy worn look, and generally shorten its life. Obviously it’s impossible to keep a new rope spotless, but any effort to keep it out of the dirt will prolong its life. If you do a lot of single pitch climbing, the best thing you can do for your rope is use a rope mat. Today almost all rope bags have a rope mat sewn into them, making it very easy to bundle up your rope and move it between climbs.
Wash it
Despite your best efforts, your rope will get dirty and will benefit from a wash every once in a while – how often will depend on how quickly you dirty your rope. If your hands become dirty while belaying, it’s probably time to wash your rope. The best way to do this is to run your rope through a spiralled rope brush while submerging it in soapy water and then rinsing it, but you can also put your rope in the washing machine if the manufacturer recommends it. In both cases it’s important to use rope wash or a gentle soap, never a harsh general purpose detergent.
Cut it when it needs cutting
Many climbers only cut the ends off their ropes when they have become very worn. The problem with this strategy is that you end up having to cut off around four to five meters at a time – this is the high-wear point for most climbers. A better alternative is to cut off only a meter from each end of the rope more but more regularly. This will shift the high-wear area down the rope and save you from having to bin the rope between the worn patch and the very end of the rope (which in many cases is still in good condition when it is cut off).
Get more advice from this gearhead
You now know everything you need to know about climbing ropes, but don’t stop here. On this website you’ll find many more in-depth climbing related articles on everything from rappelling to climbing technique as well as many more gear guides. You can find these under the different sections in the categories menu, or, better yet, sign up for my newsletter to get all the latest from Trail & Crag delivered straight to your inbox.
