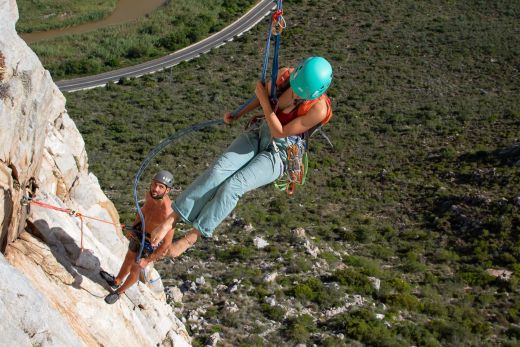
Big routes involve big descents, many of which cannot be walked off. When a climb doesn’t top out or cross an escape ledge, the only way down is to make several rappels, an exercise that poses unique challenges and dangers. In this article – the second in a whole series on rappelling – I aim to help you mitigate those risks by recommending a protocol designed to ensure redundancy at crucial steps in changeovers and by giving you what you need to know to make better decisions. It doesn’t matter if you’ve never rappelled more than a single pitch or you’re an experienced rappeller and want to hone your systems and processes – this practical guide will give you everything you need to know to make multi-stage rappels safer and more efficient.
Warning: Rappelling is one of the most dangerous activities in the broader field of climbing. To mitigate the risks, it’s important that you learn the proper techniques and then exercise vigilance and sound judgment when you put these skills into practice. The aim of this article is to explain the techniques and protocols specific to multi-stage rappelling. This guide does not cover the basics of rappelling – it assumes you already have the fundamentals. That’s because you should really only attempt a multi-stage after having mastered the basics on single-stage rappels. You can learn more about these techniques in the introduction to this series Rappelling 101.
The challenges and dangers of multi-stage rappels
To lower the chances of an epic or accident, it’s important to be aware of and prepared for the many risks involved with rappelling so far from the ground.
Navigational challenges
When positioned off to the side of the current rappel line, a pair of bolts isn’t always easy to spot. Add low light to the equation, and finding your next rappel station can actually be very difficult. To avoid unnecessarily wasting time searching for rappel stations, study the descent description in the guidebook so that you know what to expect and where to look. Note the distances of each rappel (if given) as well as the type of rappel anchor (tree, rock feature or bolts) you expect to find at every station.
Inconveniently positioned rappel stations
Ideally, every rappel would deposit you at the next rappel station. In reality, many rappel anchors are left or right of the one above (sometimes by several meters) and can require you to swing or traverse to reach them. In the most extreme instances, the next rappel station can be so far over that you have to pull the rope before you can traverse (unroped) to reach it.;
Risk of getting the rope stuck
A stuck rope is a real risk on a multi-stage rappel as it can leave you with no way of getting off the mountain. In some instances, you might be able to might to make a plan, but even then you’re in for an epic. To avoid finding yourself in such a position, it’s best to avoid rappelling down routes that are known to snag ropes or have rap stations in positions that make it difficult to pull the rope. And if you do decide to rappel, make sure to take out the knots in the ends of the rope before you pull it.
Long rappels
Many rappel routes include raps that are longer than 35, or even 40 meters, meaning that they can’t be made with a single rope. Rappels this long require the use of double ropes or a single rope and tag line. Both options complicate things by requiring the use of knots to join two ropes (or rope and cord). Besides raising the risk of your rope snagging when you try to pull it, a joining knot also requires you to keep track of which rope has to be pulled (although I have a tip for that).
Questionable anchors
Trees can die, hardware can rust, and anchor cord can become frayed or sun damaged. Never assume that an anchor is safe simply because it is the established way down. Always inspect an anchor visually and then test it while still on rappel before committing your weight to it (where possible). When climbing in areas where trees and rock features are used as rappel anchors, expect to have to replace damaged tat and possibly even a maillon on the occasional anchor.
Time pressure
A multi-stage rappel might seem like it should go quickly, but there are many things that can make rappelling more time-consuming than hiking off a route. Besides the time taken to rappel each stage (which you and your partner will do separately), there is also the time that it takes to rig rappels, and the time that you could waste trying to find anchors or sort out tangled ropes. Bottom line: if you are under any kind of time pressure (maybe you are running out of daylight), rappelling is not a great option.
When to rappel a multi-pitch route
Some routes can be hiked off. After topping out on such a climb, there’s no reason to rappel. Just pack up your gear, change into your approach shoes, and head down. However, the decision to rappel can become more complicated when the route description recommends rappelling over a possibly sketchy scramble or when you have to descend in a hurry and there’s no easy exit, like a ledge on which you can walk off.
When to rappel
- The route does not top out, and the only way to get down is to rappel.
- Reaching the top is not feasible due to time constraints or the difficulty of the route.
- You need to get down immediately as can happen when bad weather blows in.
- The guidebook or route description recommends that you rappel.
- You have what you need to rappel safely.
When not to rappel
- You can hike down. Hiking is safer and, in many cases, can save time.
- The guidebook or route description tells you to not rappel.
- Your rope isn’t long enough to reach every rap station.
- There are climbers below you. You don’t want to have to share stances with other climbers or risk kicking rocks down on people.
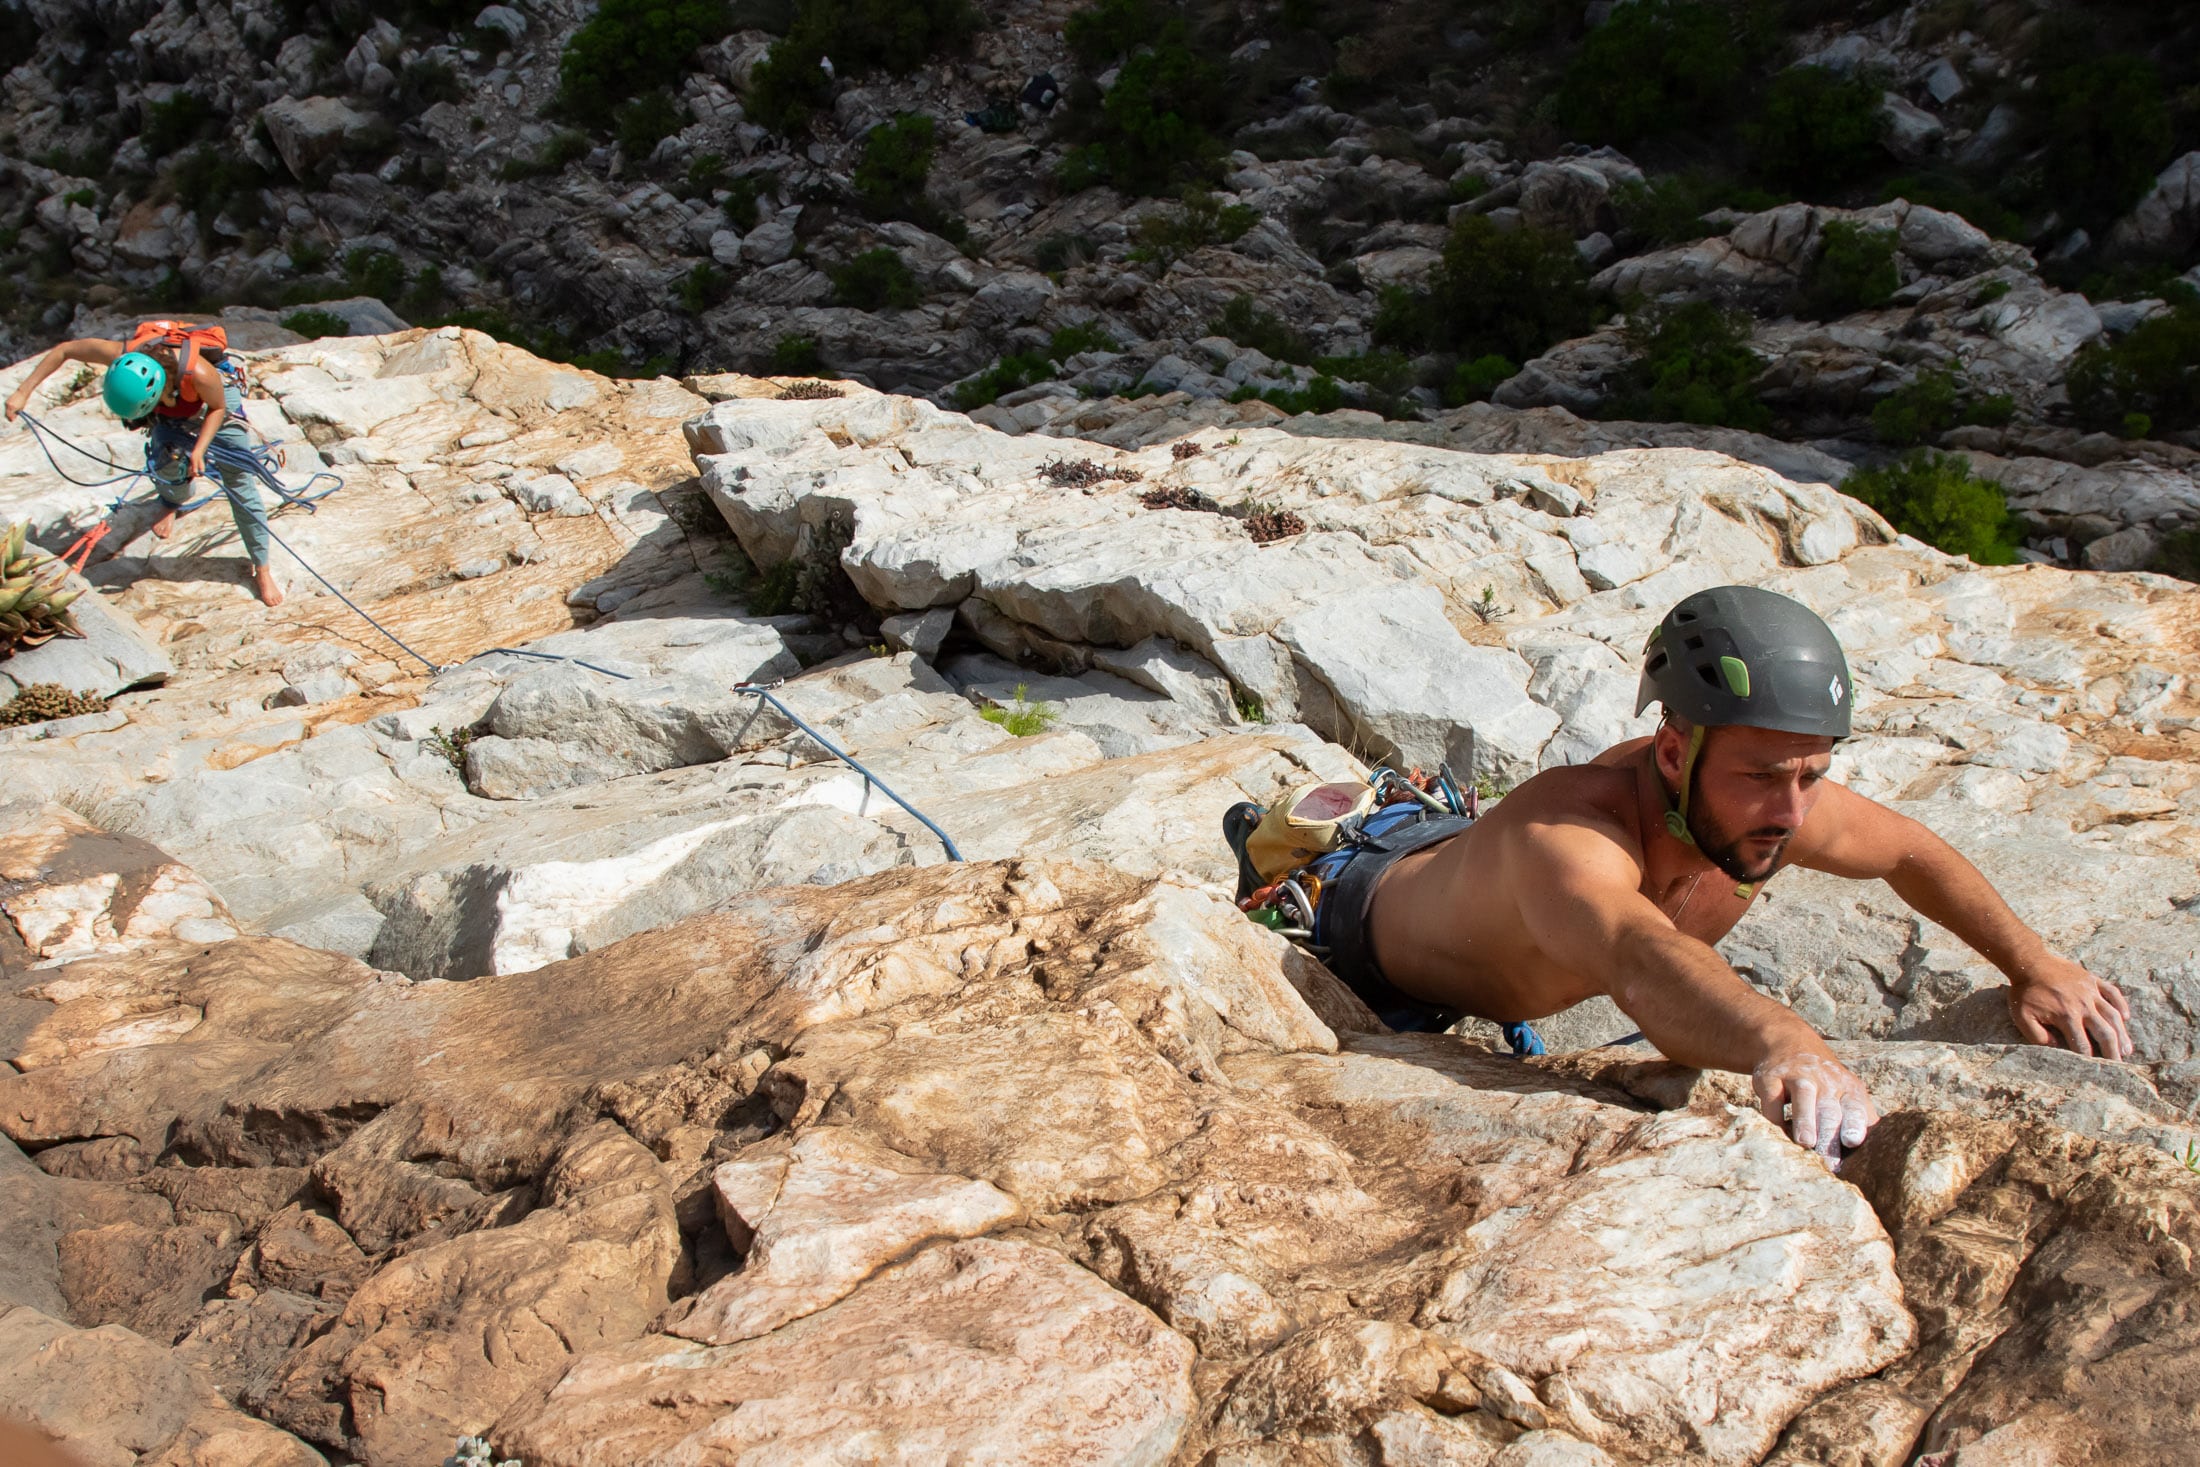
Gear for multi-stage rappels
In addition to a tube style belay device, a short prusik loop for backing up the rappel, and a sling or quickdraw for extending the device, there are other few pieces of gear that you should have on you when making a multi-stage rappel.
Belay device
Overall, a tube is better for rappelling than a Grigri or a similar assisted-braking device, but some climbers might still carry a Grigri because they prefer to use an ABD to belay the leader. It is actually possible to rappel with the Grigri by blocking the rappel rope, but the setup is more complicated and requires more experience to perform safely. One solution is to have both climbers in a team carry a tube and then share a Grigri between the two of them. With this arrangement, the assisted-assisted braking device is used by whoever follows on a pitch.
Prusik loops
In addition to the short prusik loop that you use as a brake-hand backup, it’s a good idea to also carry a longer prusik loop with which you can ascend a rappel rope if you accidentally rap past an anchor. For this purpose, I recommend a 3” (1m) loop of 5mm accessory tied together with a fisherman’s knot. In addition to allowing you to ascend a rappel rope, a pair of prusiks is useful or even essential in several other self-rescue techniques and is well worth carrying on any multi-pitch climb.
PAS
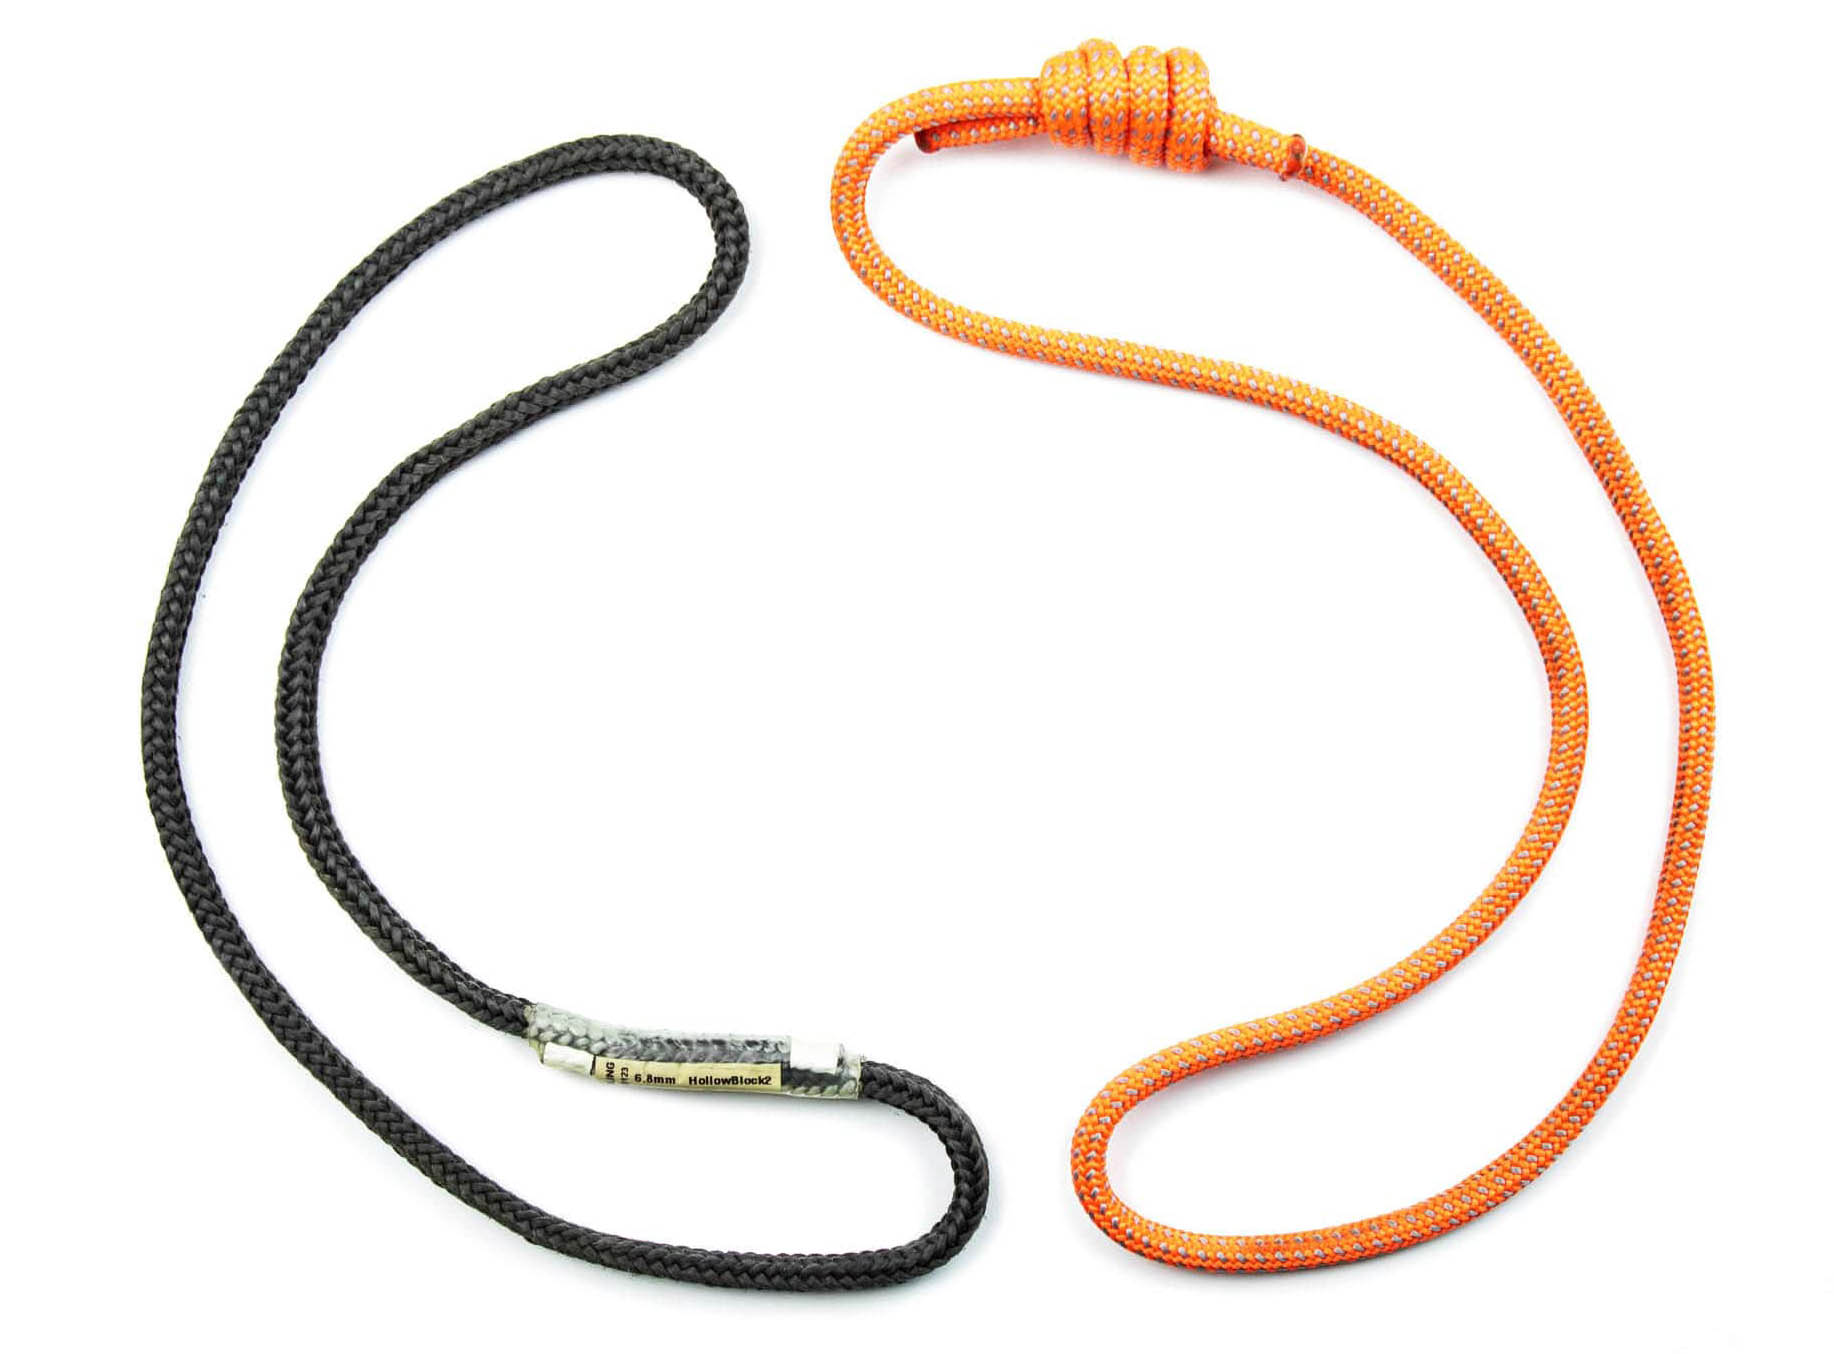
Depending on what you use to extend your belay device, you might also be able to use your extension as a lanyard. A shoulder length nylon sling can be used to create two arms: one to extend the device and another to secure yourself to the anchor. Likewise, a link style PAS can be used as both a lanyard and as an extension. But, if you typically use a screwgate-equipped quickdraw to extend your device, you will need a dedicated lanyard (nylon sling or PAS) to secure yourself to anchors during changeovers.
Spare anchor cord and knife
If you expect to rappel off trees or slung rock features, you should carry a rope knife and a few meters or 6mm or 7mm accessory cord with which to replace old rap tat. Otherwise, you could find yourself sacrificing a prusik loop or sling to get yourself safely back to the ground. Even if I don’t expect to have to rappel off natural features, I usually carry three or four meters of cord when carrying a pack since the spare tat contributes very little weight and is very useful when needed.
Rappelling with double ropes vs a blocked single-rope and tag line
When you need to make longer rappels, you have two choices: double ropes or a blocked single rope and tag line. The advantage of the single rope and tag line method is that the tag line can be trailed or carried in a pack until it is needed to make a long rappel (Belaying and climbing with a single rope is usually easier than using two ropes, but read my article on the single rope vs double rope decision for a full explanation). The downside of the single-rope-tag-line combination is that it’s not as versatile as double ropes. You can’t climb on your tag line if your rope gets damaged, and you can’t prusik up a tag line if it gets stuck.
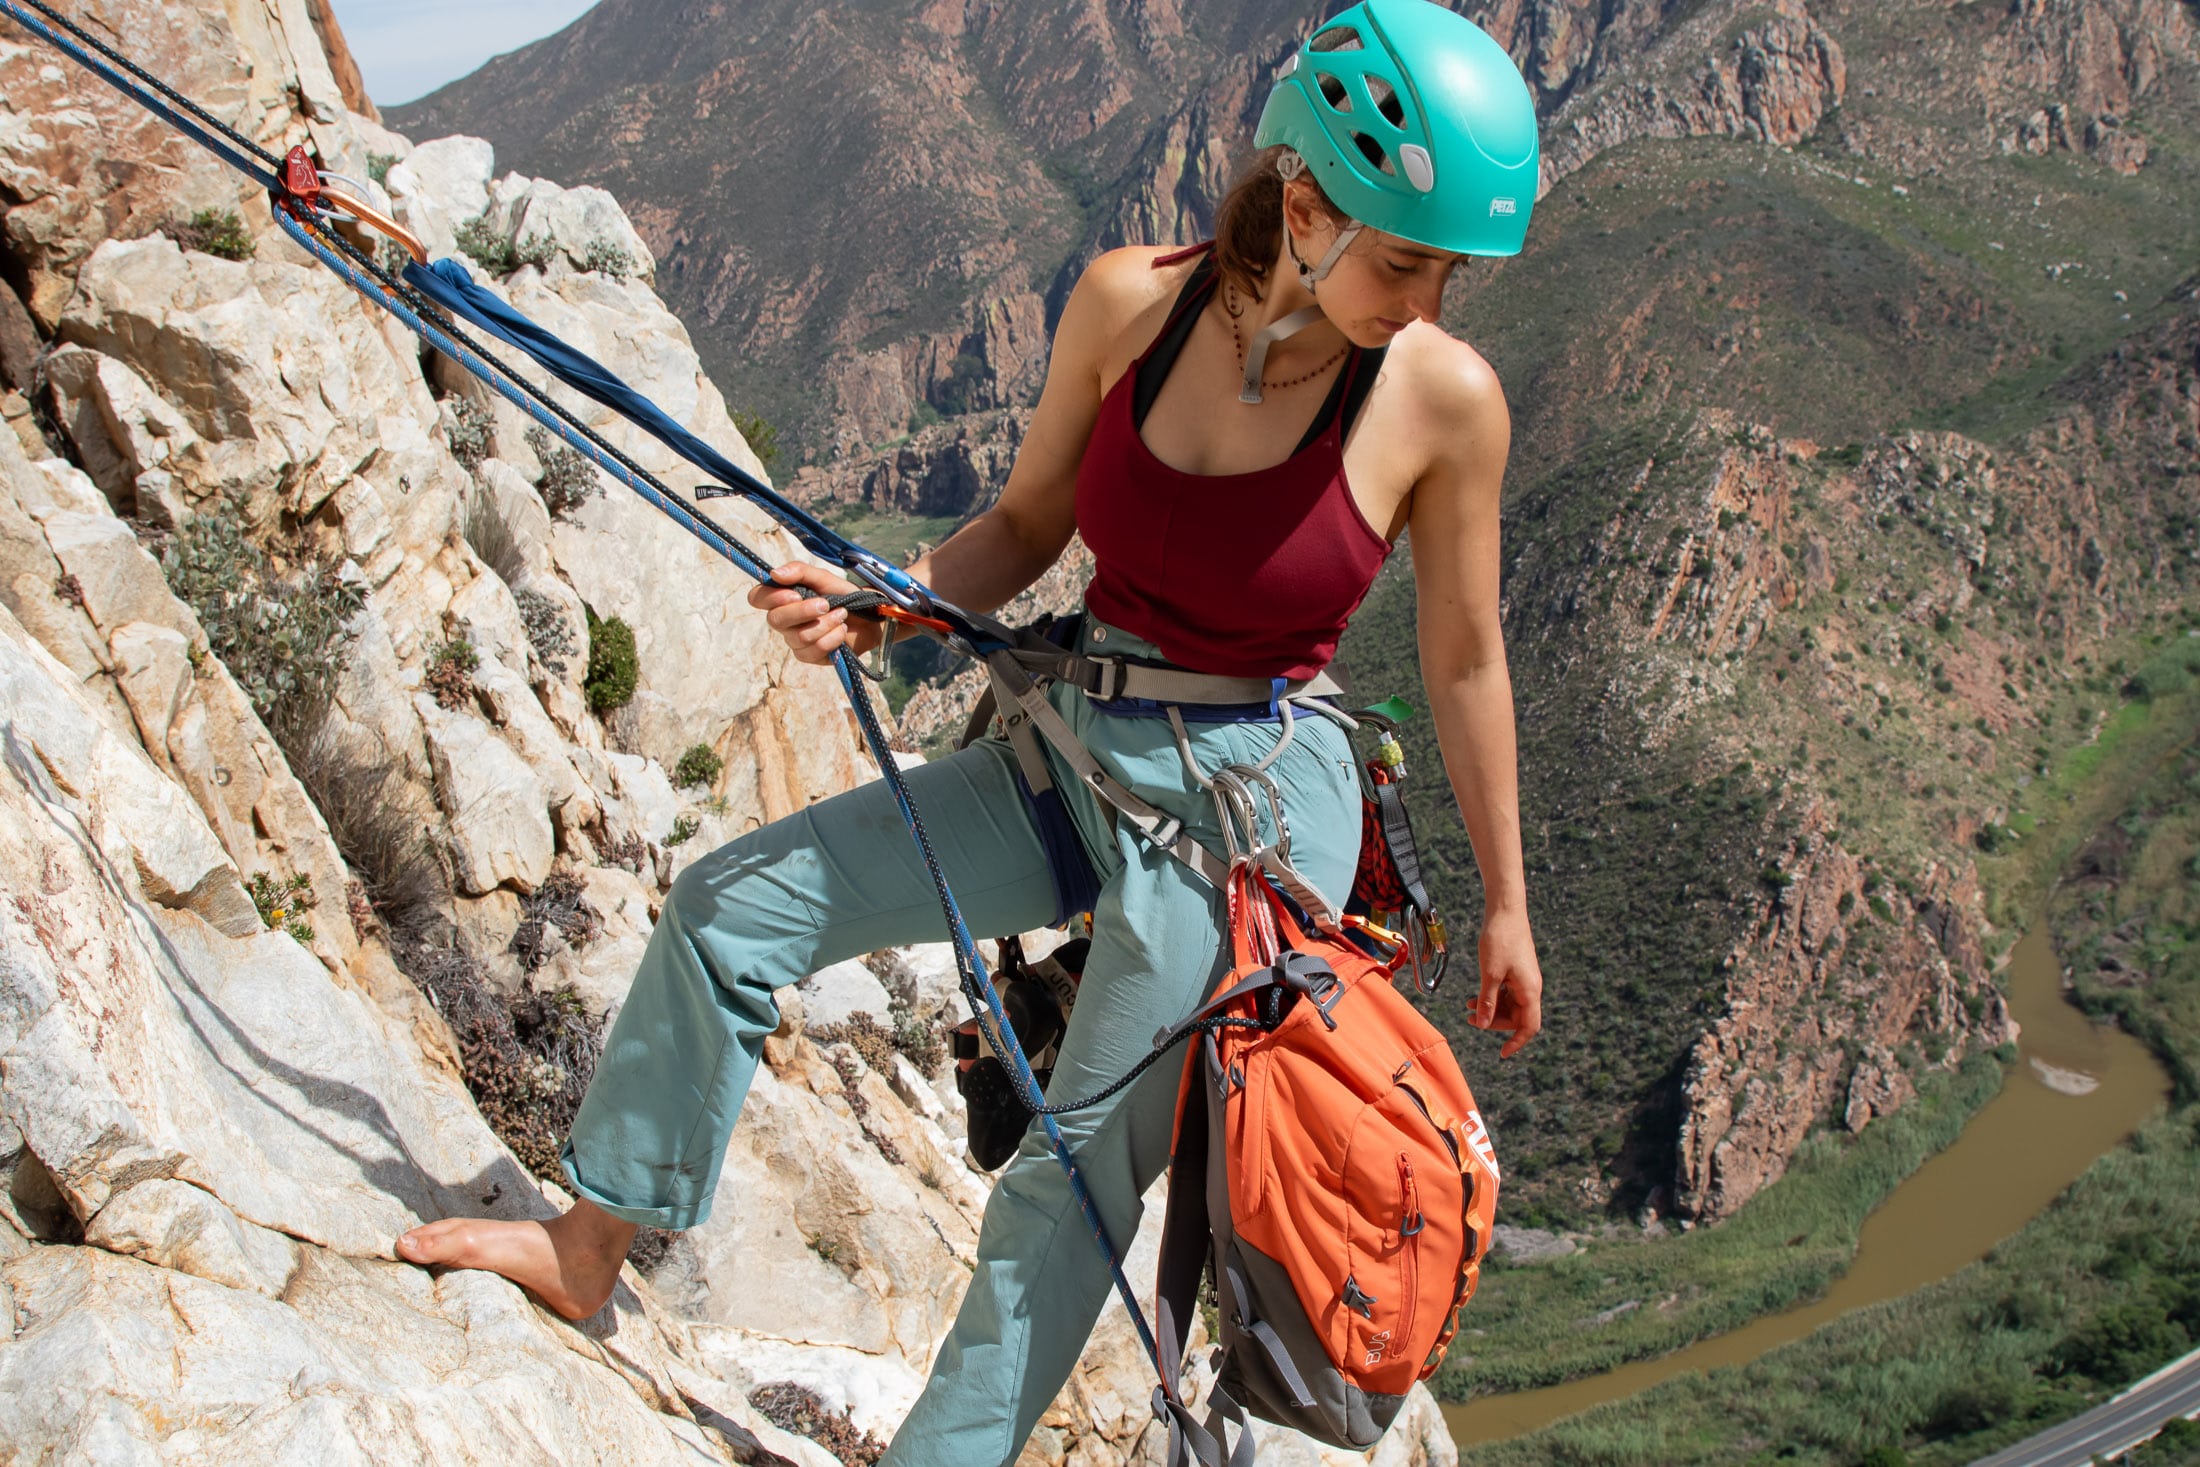
These limitations make the single rope and tag line method a poor choice for climbs where a stuck or damaged rope would result in a rescue – not a good option for long routes in remote areas. Tag lines also tangle and get caught on rock features more easily than ropes, making them better suited to routes that have little for them to snag on. This is most apparent in wind, when you will want to saddle bag the tag line to prevent it from going everywhere. Lastly, when you use a tag line and single rope to make a multi-stage rappel, you have to untie and retie the reepschnur hitch (the means by which you join the two) at every rappel station since this setup requires you to always pull the tag line – you can’t alternate the pulled stand as you would with double ropes.
How to change over on a multi-stage rappel
The setup for the first rap in a multi-stage rappel is very similar to how you’d set up a single-pitch rappel. But, the changeovers at every subsequent anchor should be performed according to a protocol that will help you stay safe (ensuring redundancy wherever possible) while still ensuring efficiency.
A note about knots
A few climbers prefer to not put knots in the ends of their ropes, saying that it is easy to forget to take them out and get the rope stuck when you pull it. Personally, I believe that it’s better to risk a stuck rope than a fatal accident. You can sort out a stuck rope, but you can’t really fix things if you’re dead. Always put stopper knots in the ends of your rope and then make a habit of double checking that they’ve been removed before pulling the rope.
Step 1: Inspect the anchor
On reaching the next rap station, give it a quick inspection. If the anchor is bolted, check the condition of the hardware to make sure that there are no sharp edges, loose or improperly installed bolts, and corrosion that could be more than just superficial. If the anchor is a slung tree, boulder or pinch point, you should first assess this too. A tree should be alive and completely immobile when you try to move it. Also, you check the condition of the cord. If the material shows any signs of fraying or bleaching (UV exposure does terrible things to nylon), it’s best to replace it.
Step 2: Secure yourself to the anchor
If the anchor involves a pair of unconnected bolts, it’s best to first create a redundant multi-point anchor using a quad and then clip your lanyard into the master point. This way you don’t need to use two lanyards – one for each bolt – to ensure redundancy. Having separate tethers for each bolt would make things messy, especially when your partner needs to do the same. If the anchor has a single ring or maillon connected to two bolts with sections of chain, you can clip your lanyard directly into the anchor.
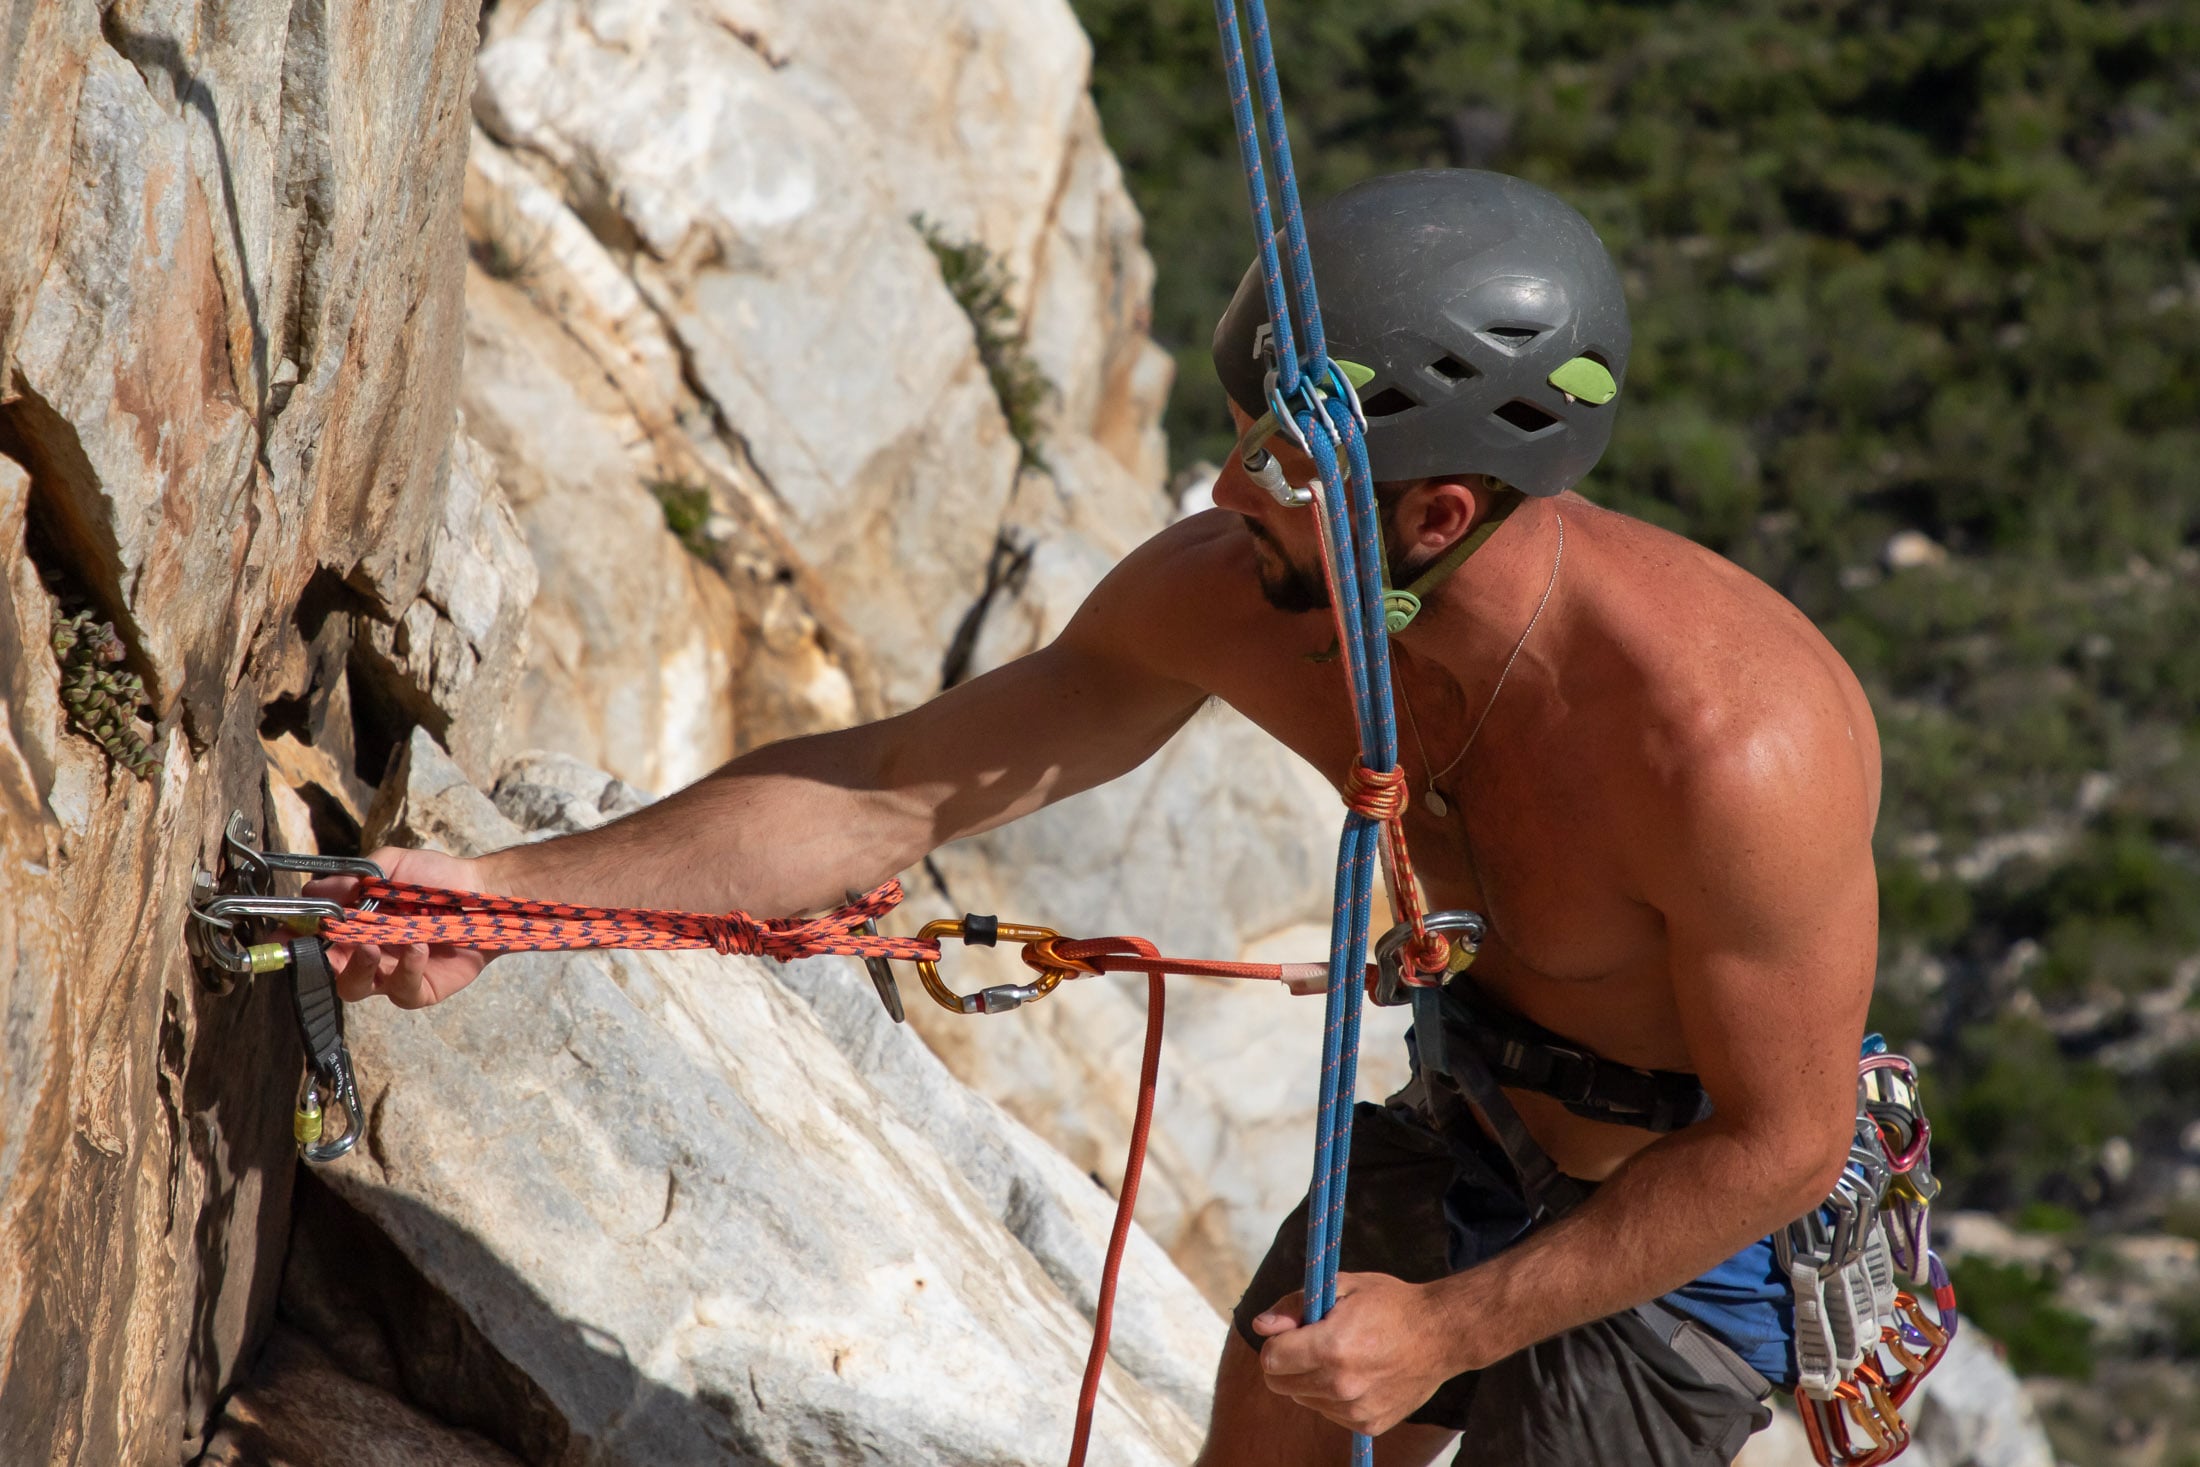
Step 3: Test your connection to the anchor
Once you’ve secured yourself to the anchor, weight your lanyard to check that everything is in order. Over the years there have been several accidents that could have been avoided if the climber had just tested their connection to the anchor before taking themselves off rappel. Only once there is slack in your rope and your lanyard is tight can you be sure of both your connection to the anchor and the integrity of the anchor itself.
Step 4: Go off rappel and let your partner know that the rope is free
Next, put a few extra meters of slack in the system by pulling rope up through the device, and then tell your partner that you are off rappel (their cue to set up and start rappelling). Then, if there is enough rope, create a bight from both brake strands (those hanging below you) and tie an overhand knot in them. Then clip this to the anchor or your harness or anchor. Note that you will have to leave several meters of slack in both strands to ensure that your partner has enough rope to work with.
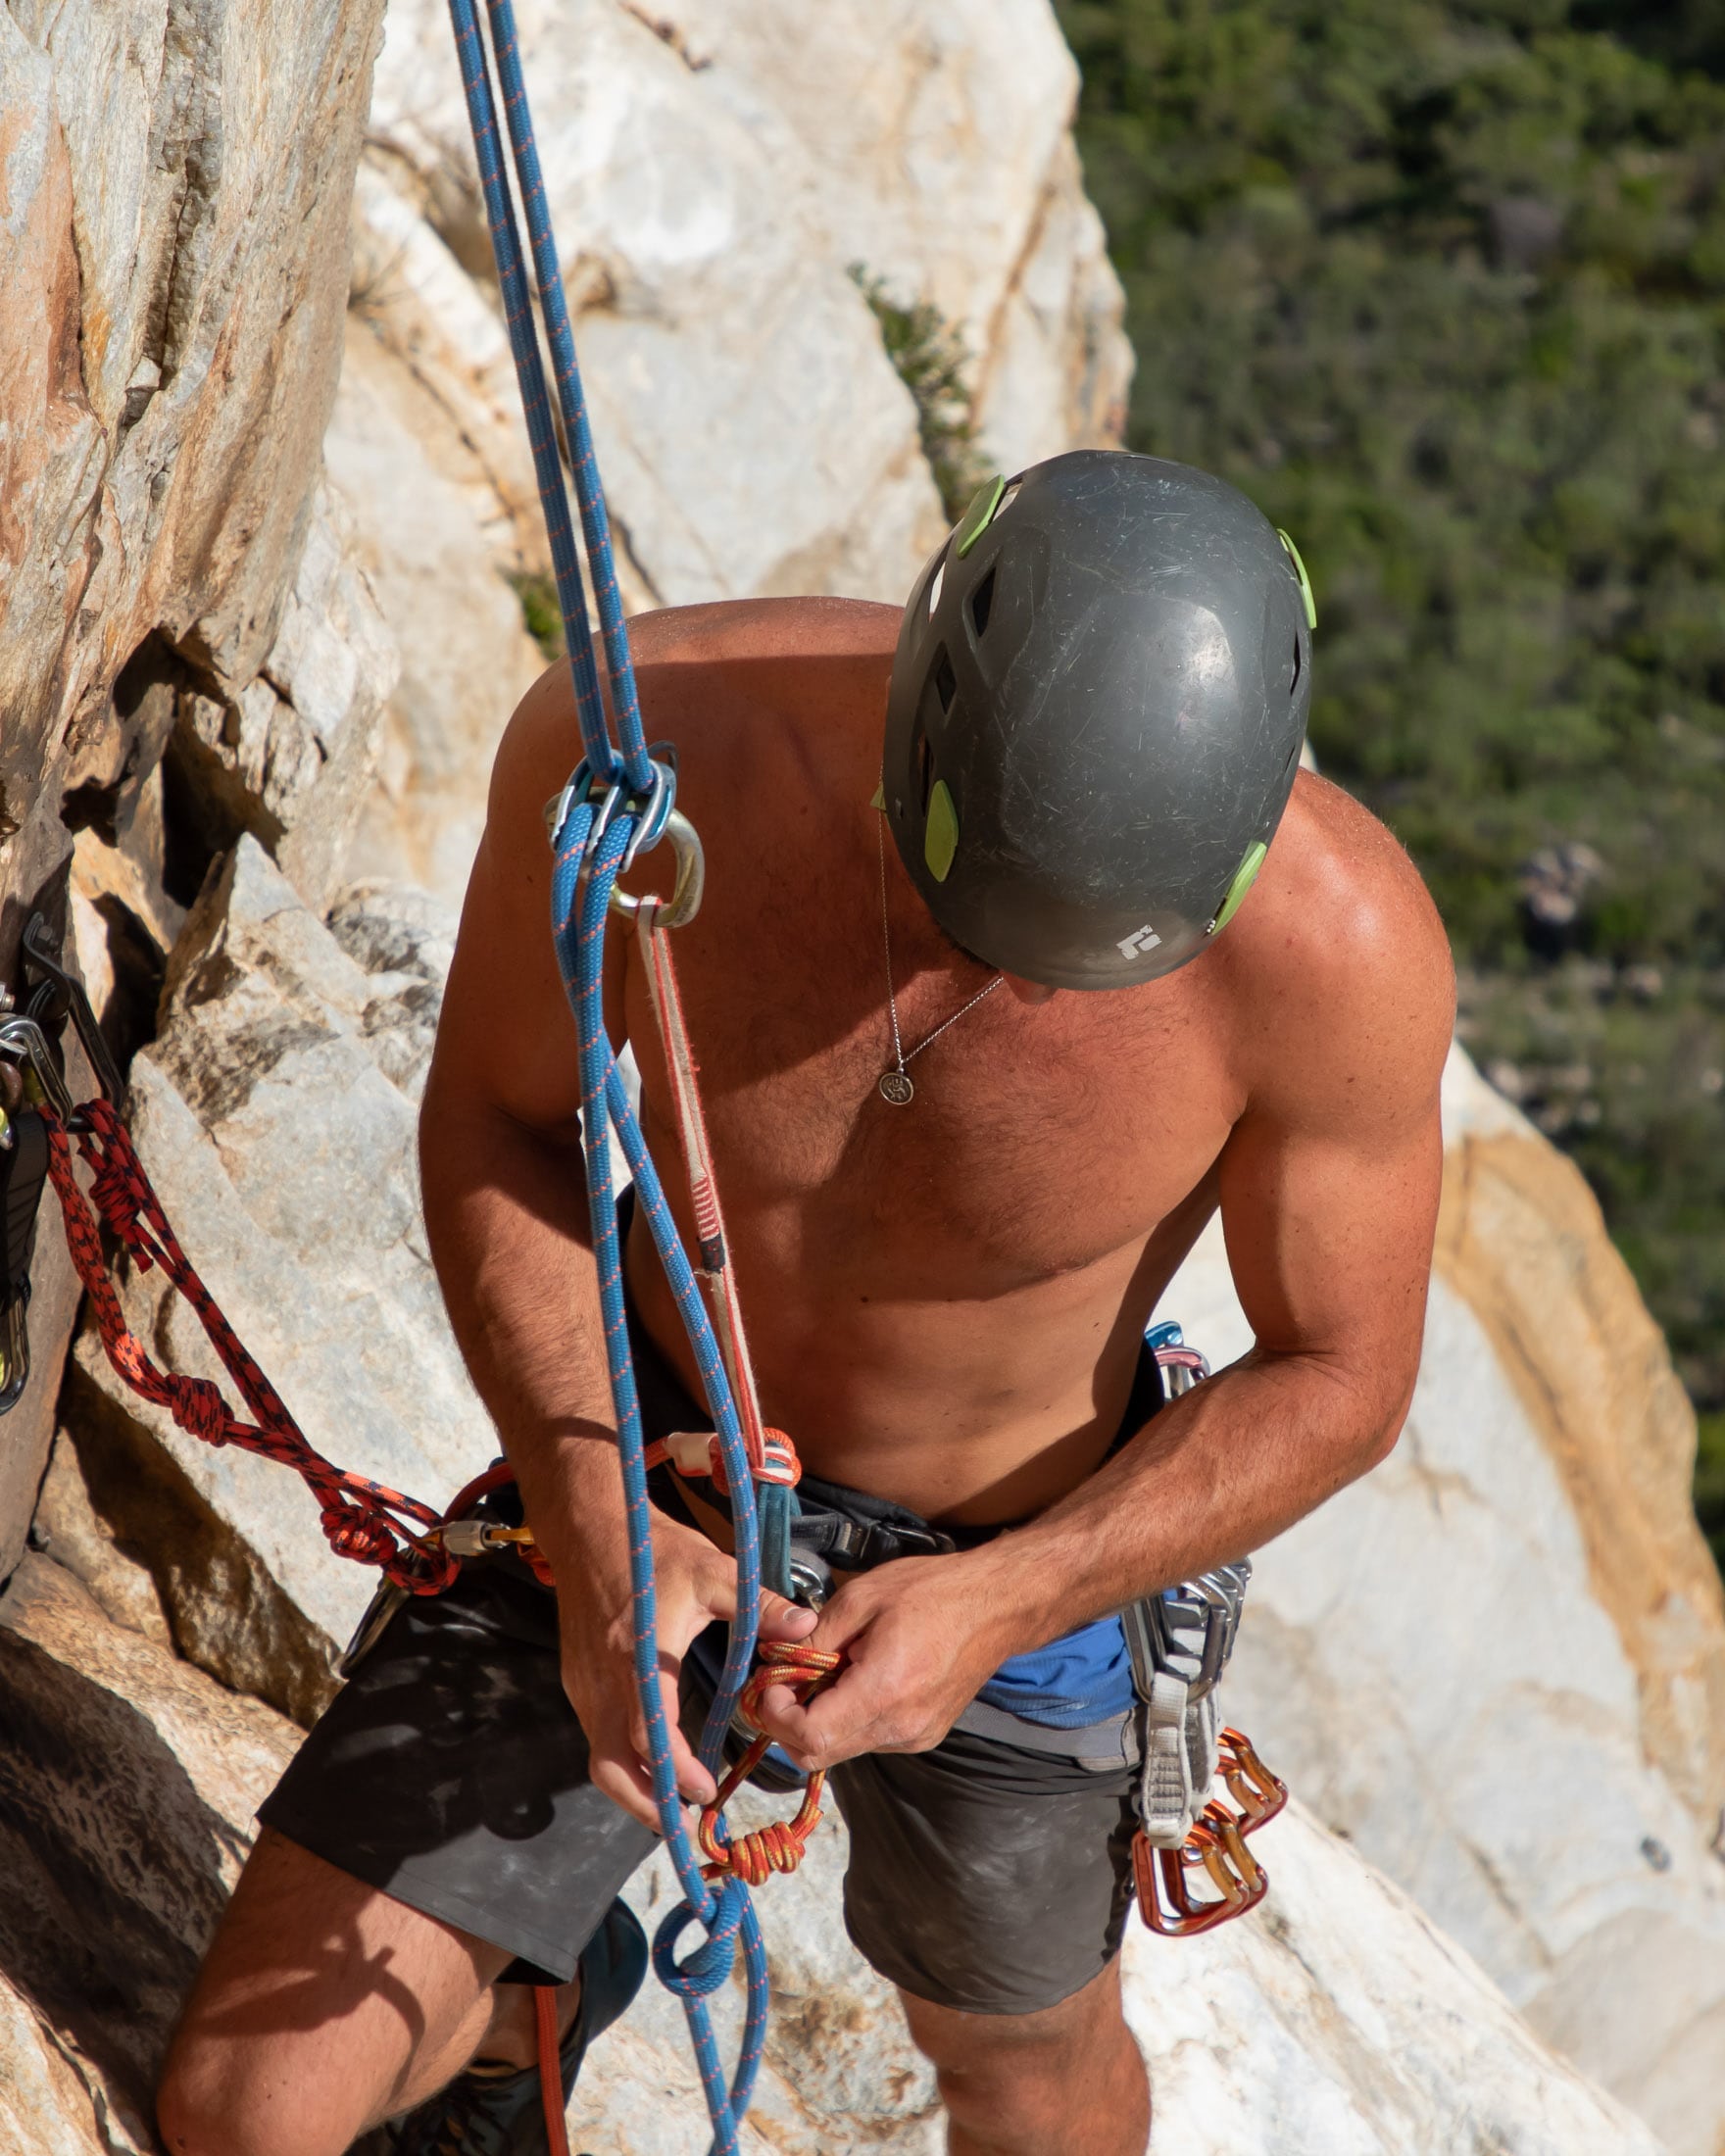
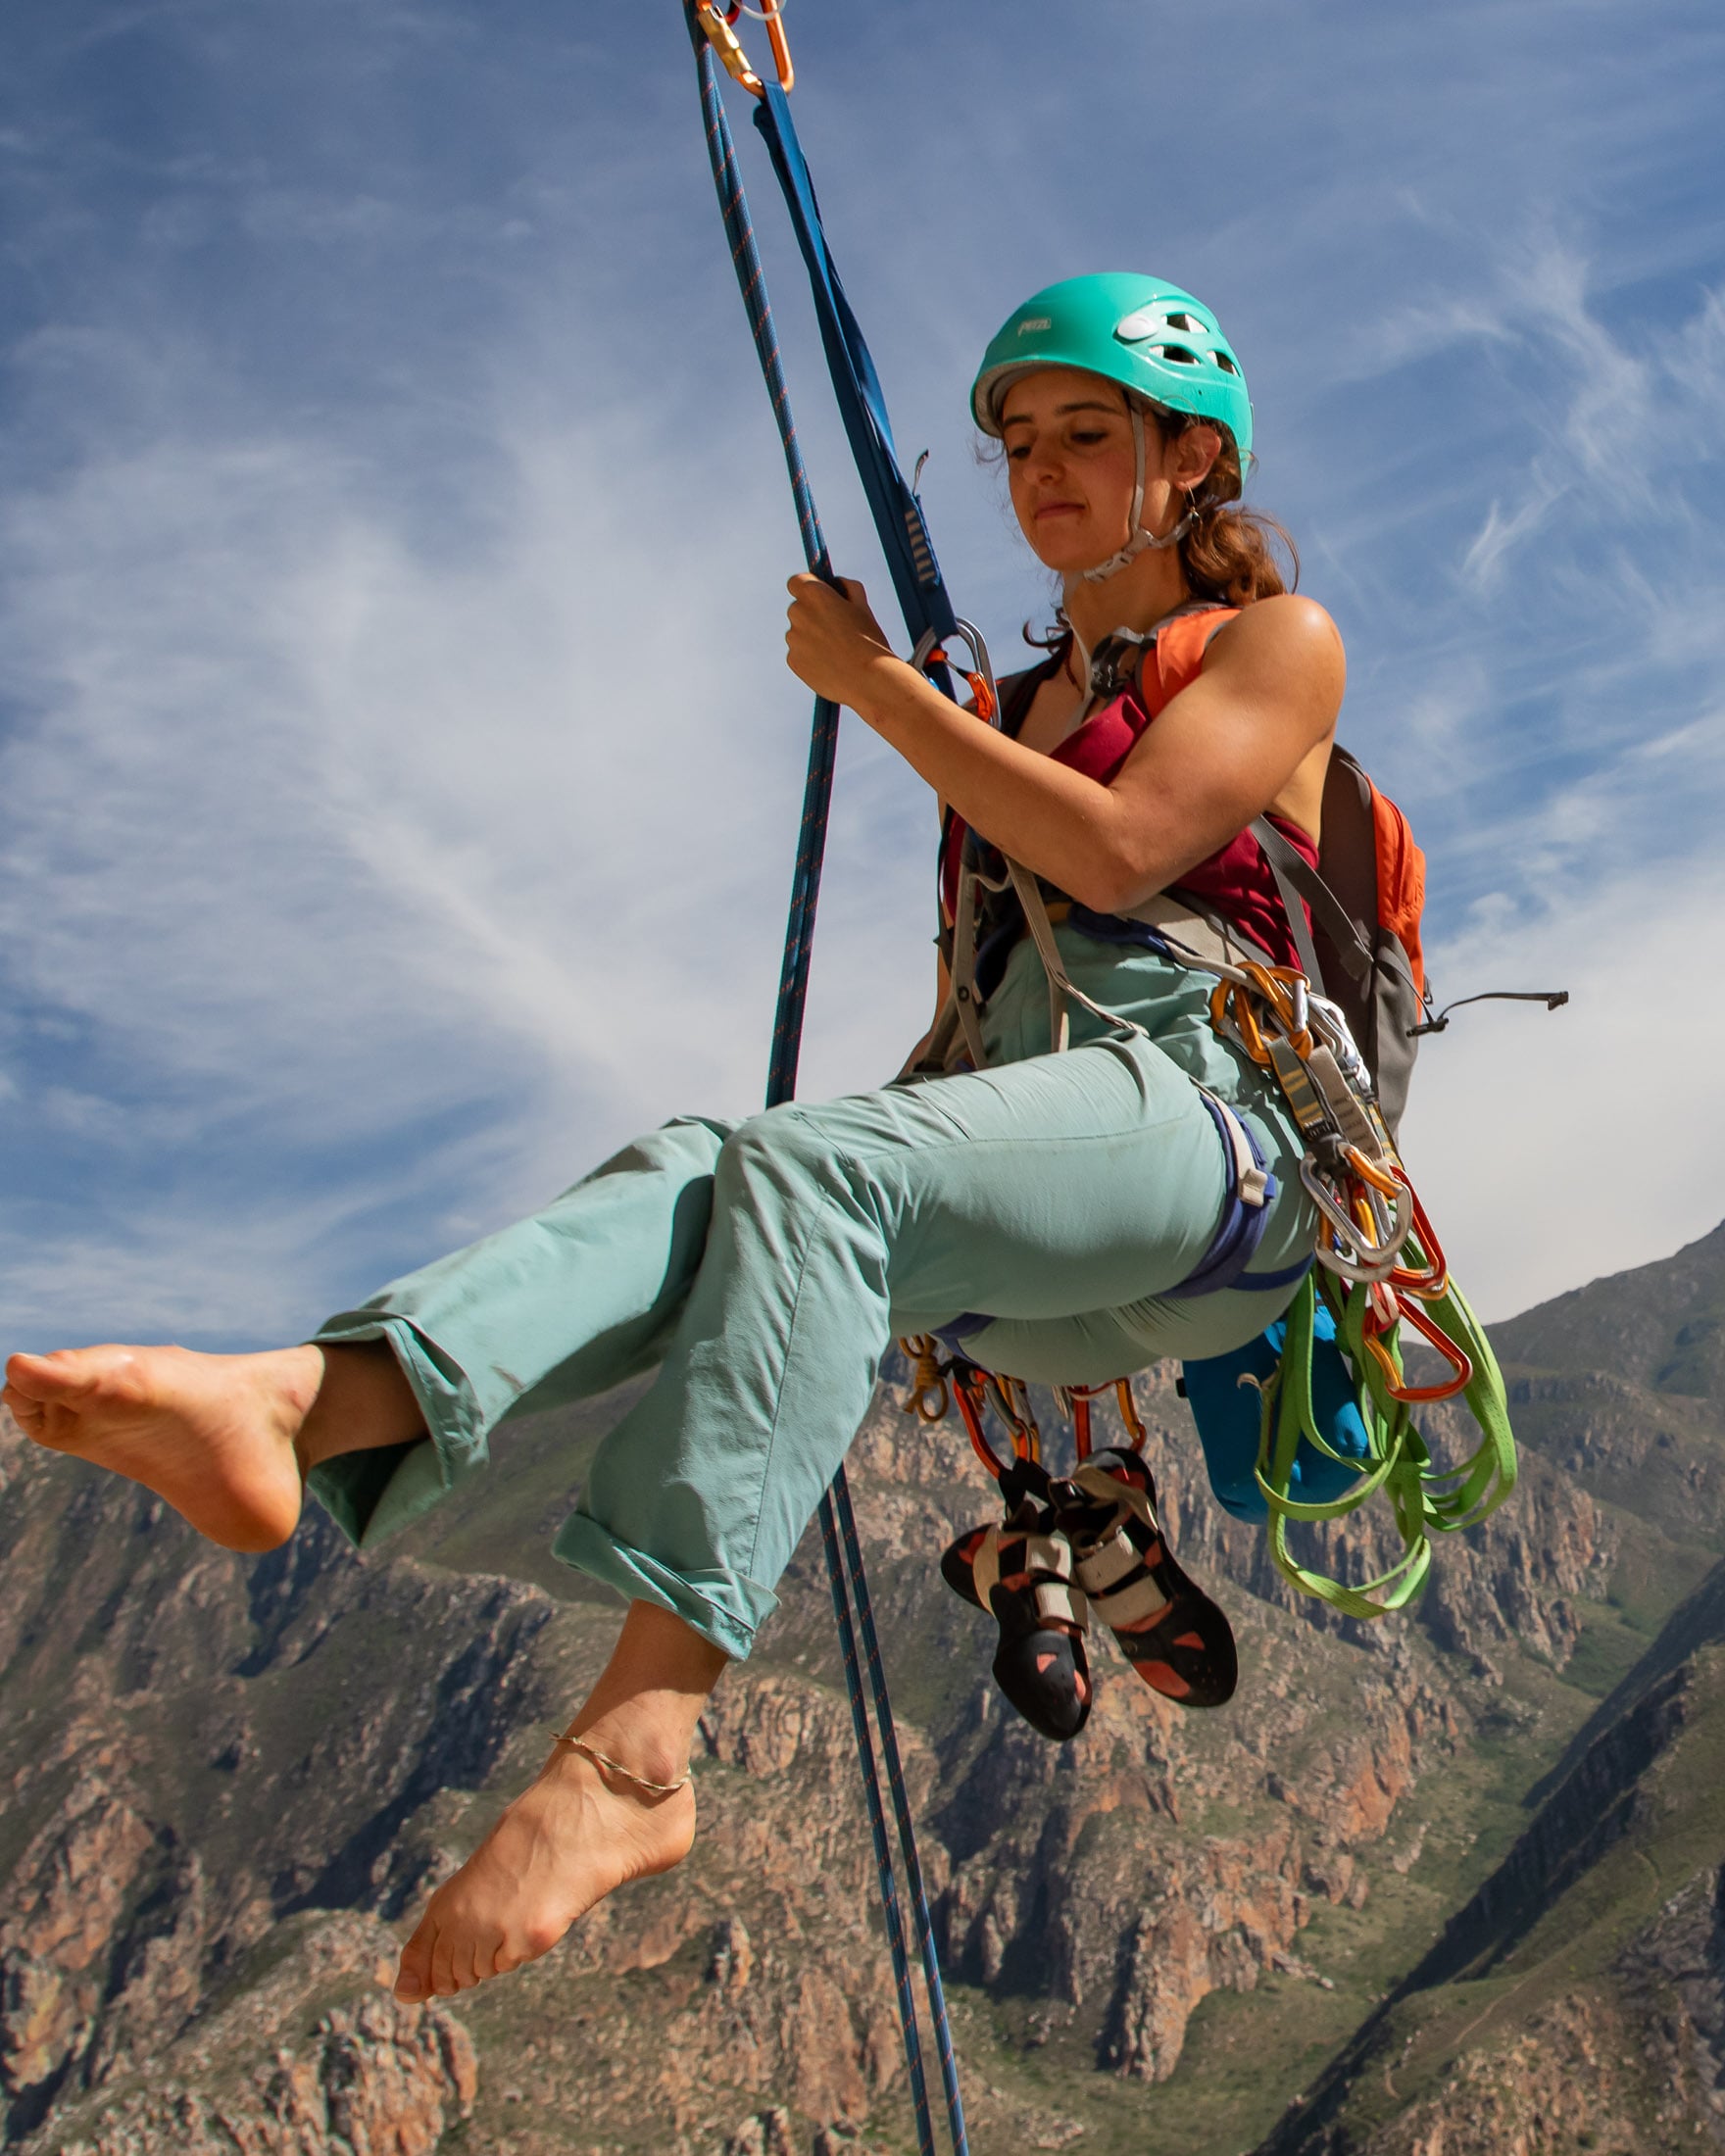
Finally, unrig your rappel device and backup. If you don’t have enough rope to put several meters of slack between you and your partner, forgo the overhand knot and simply let the rope hang.
Step 5: Remove both stopper knots and thread the rope through the anchor
If you have clipped both strands to yourself or the anchor (as described above), you can now remove the stopper knots in both strands. This will allow you to start threading a strand through the anchor and will reduce the chances of you pulling the rope while there is still a knot in one of the ends. If you are using double ropes, thread the rope you are going to pull, not the rope that runs through the upper anchor. Once the rope has been threaded through the rings, retie the stopper knot and pull the rest of the available rope through the anchor – until it’s tight against the overhand. If at the start of this step, you don’t have an overhand knot in both strands (because you don’t have enough rope), don’t remove the stopper knots or try to thread it through the anchor.
Step 6: Second rappeller secures themselves to the anchor
When your partner reaches the rappel station, she should secure herself to the anchor’s master point just as you did and then follow the same procedure in first testing that connection and then going off rappel. If you weren’t able to take the stopper knots out the ends and thread one of these through the anchors in step 5, you can do that now. Just make sure that you remove the stopper knot from the trailing strand before you let go of it. If you lose the end of the rope before you remove the knot, you won’t be able to remove the knot, which would make the rope irretrievable.
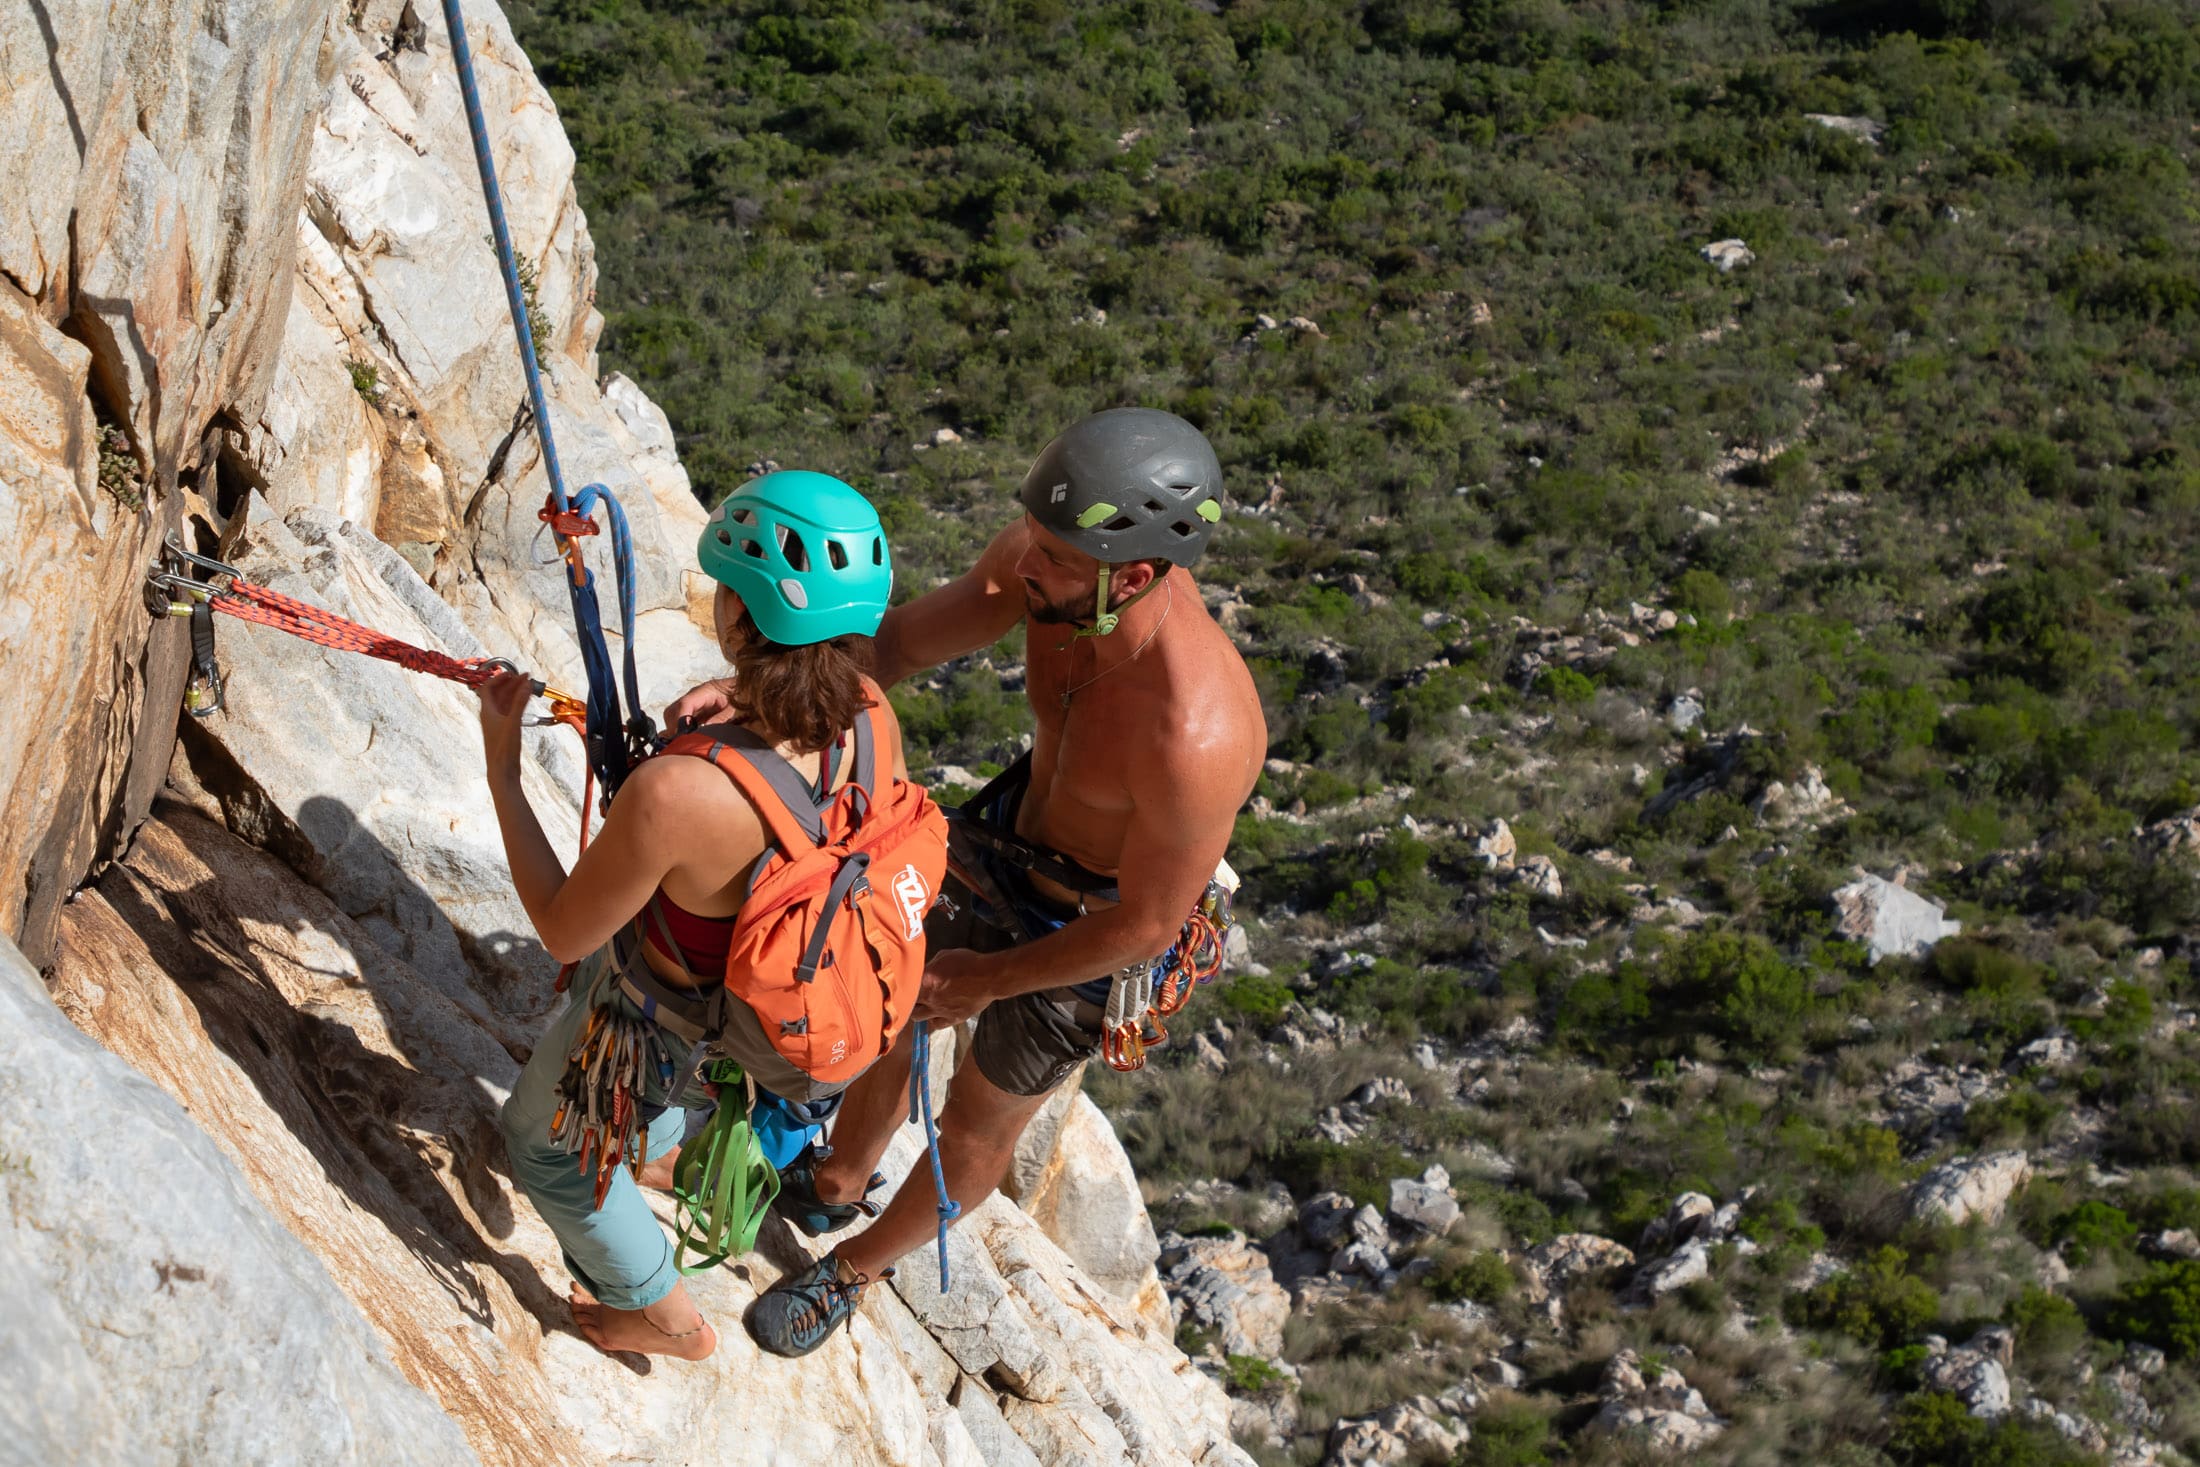
Step 7: Pull the rope
You can now pull the rope. The most efficient way to do this is to have your partner pull on the strand hanging from the higher anchor while you pull the rope (now with some slack in it) through the anchor in front of you. You can either lower the rope down the cliff or stack it on the ledge. At some point, the trailing end of the rope will fall from the anchor above. If at this point, the retrieved strand is not hanging below you (maybe it’s stacked on a ledge), it should be secured to the anchor with a new overhand knot so that the falling strand doesn’t pull the rest of the rope with it. The rope can come down with much speed and force, so make sure that your limbs are clear of the rope when it falls.
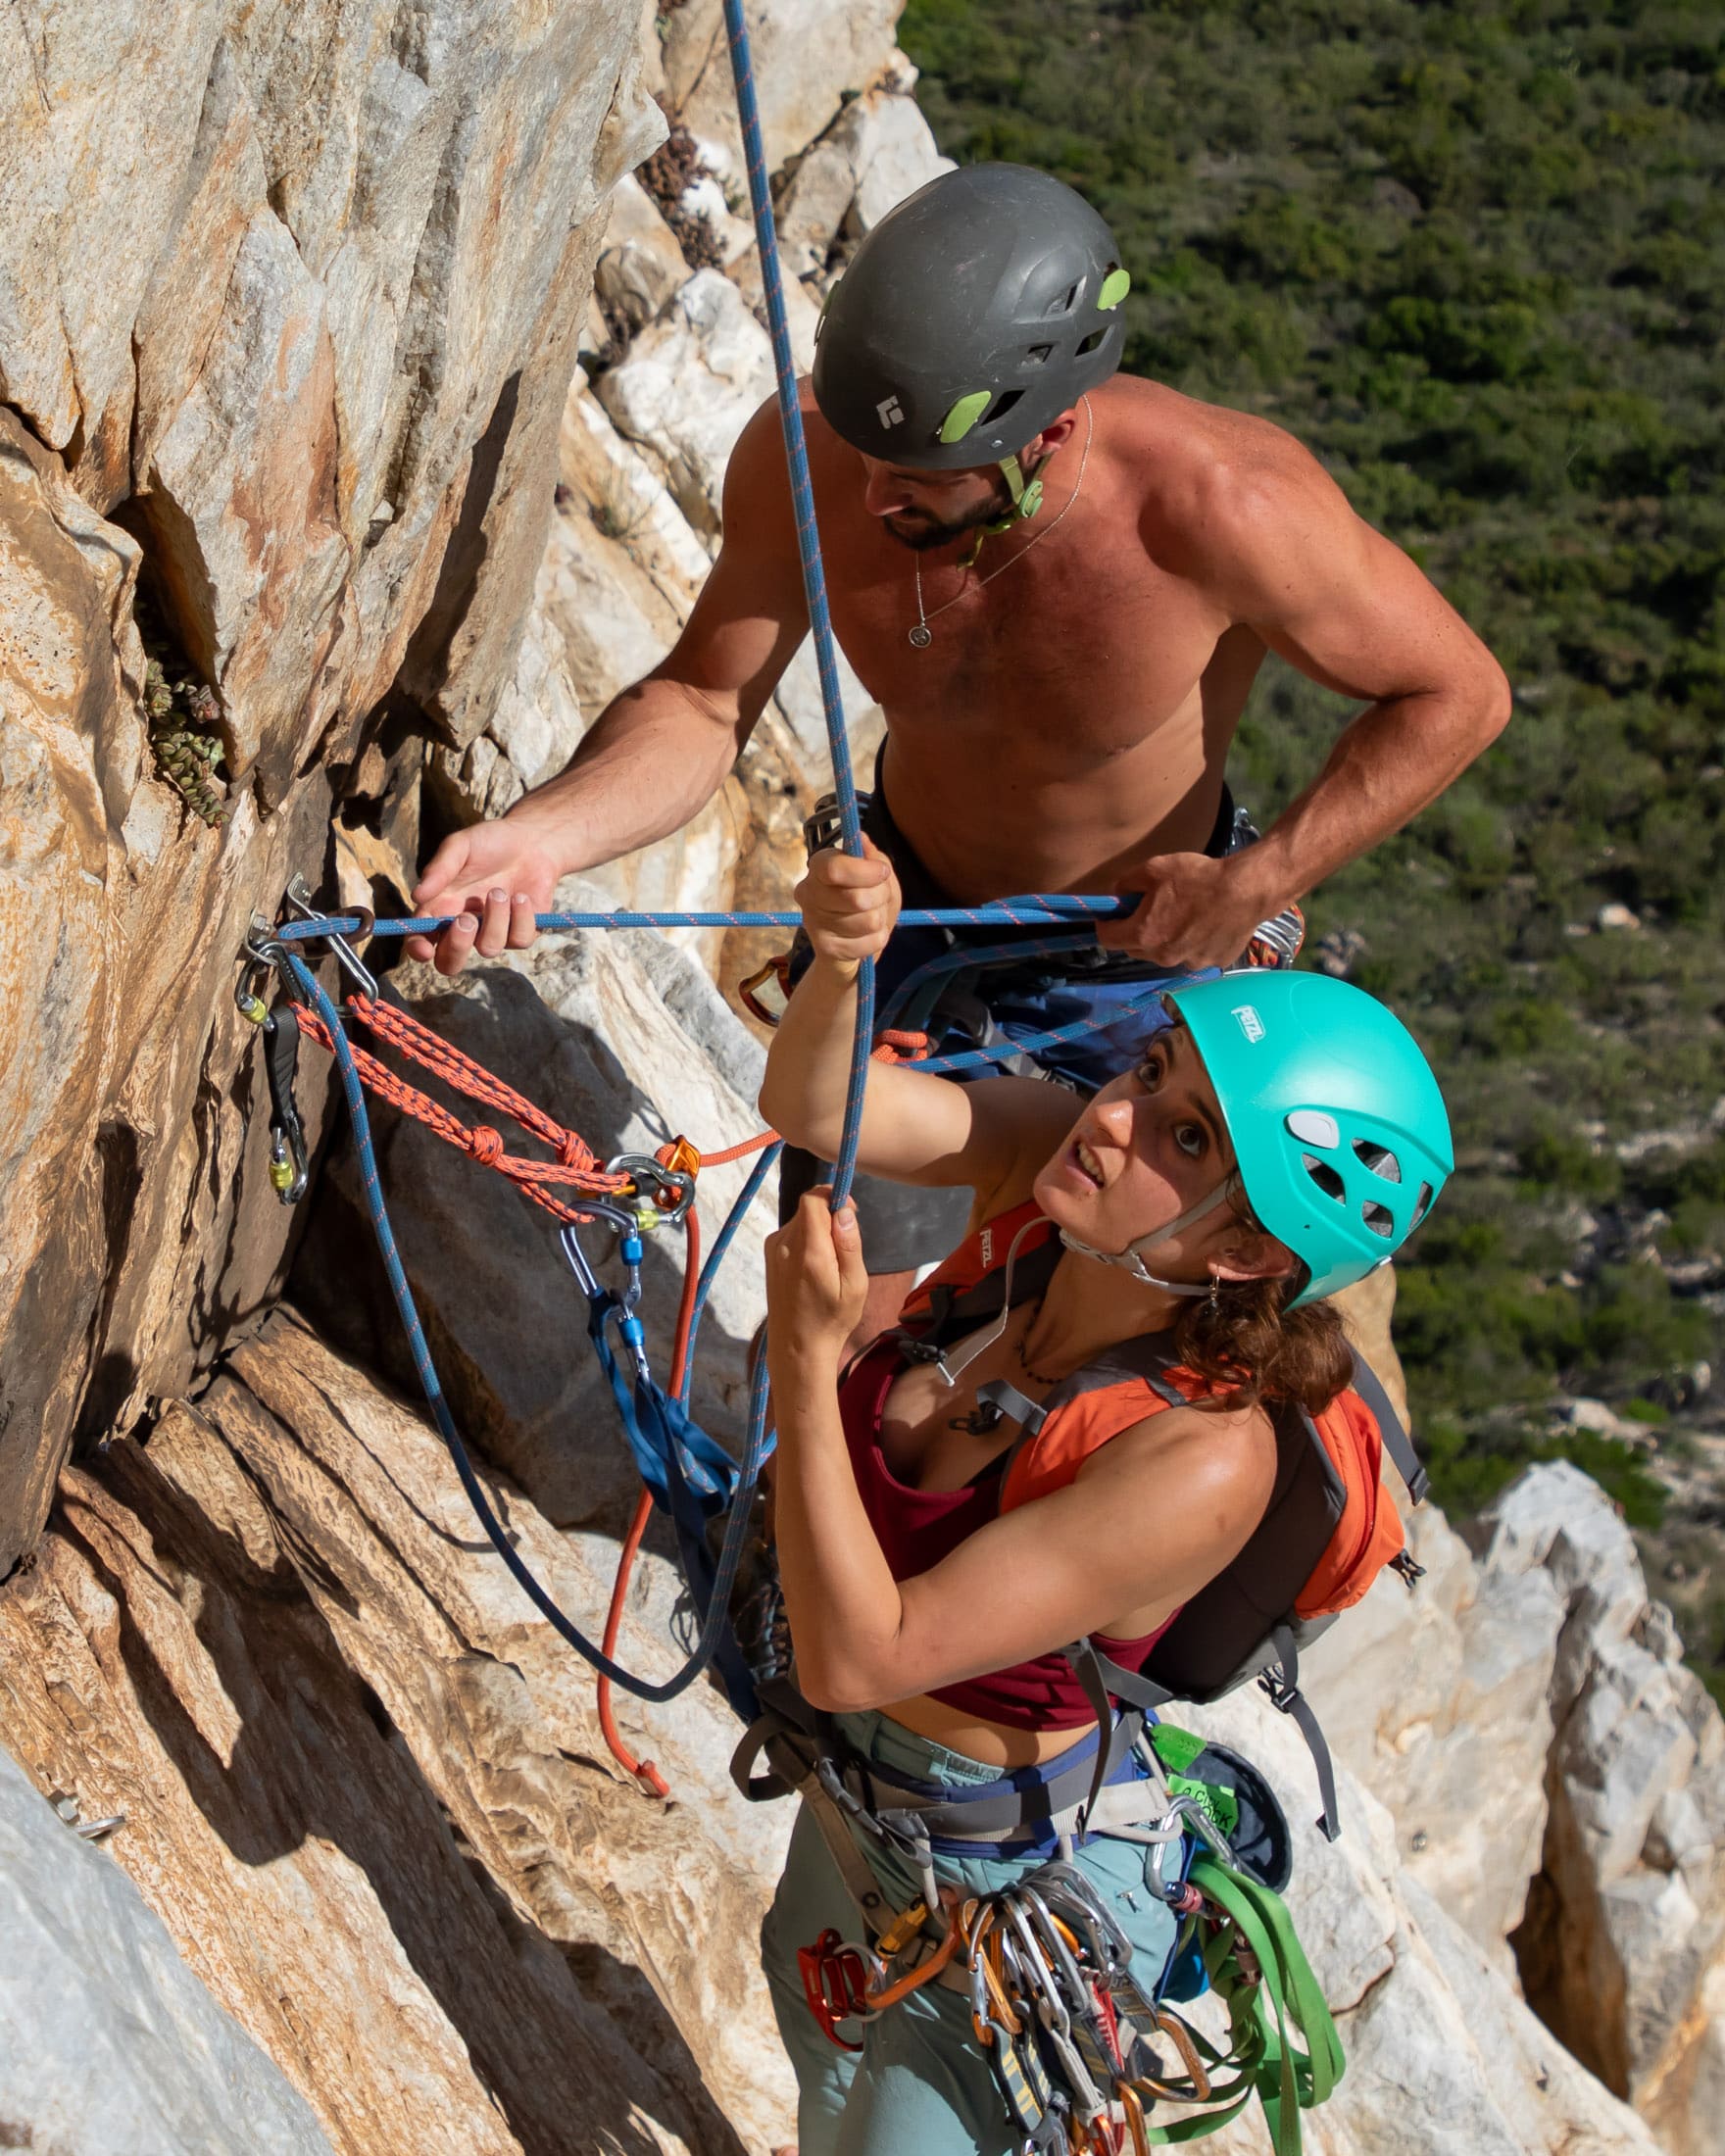
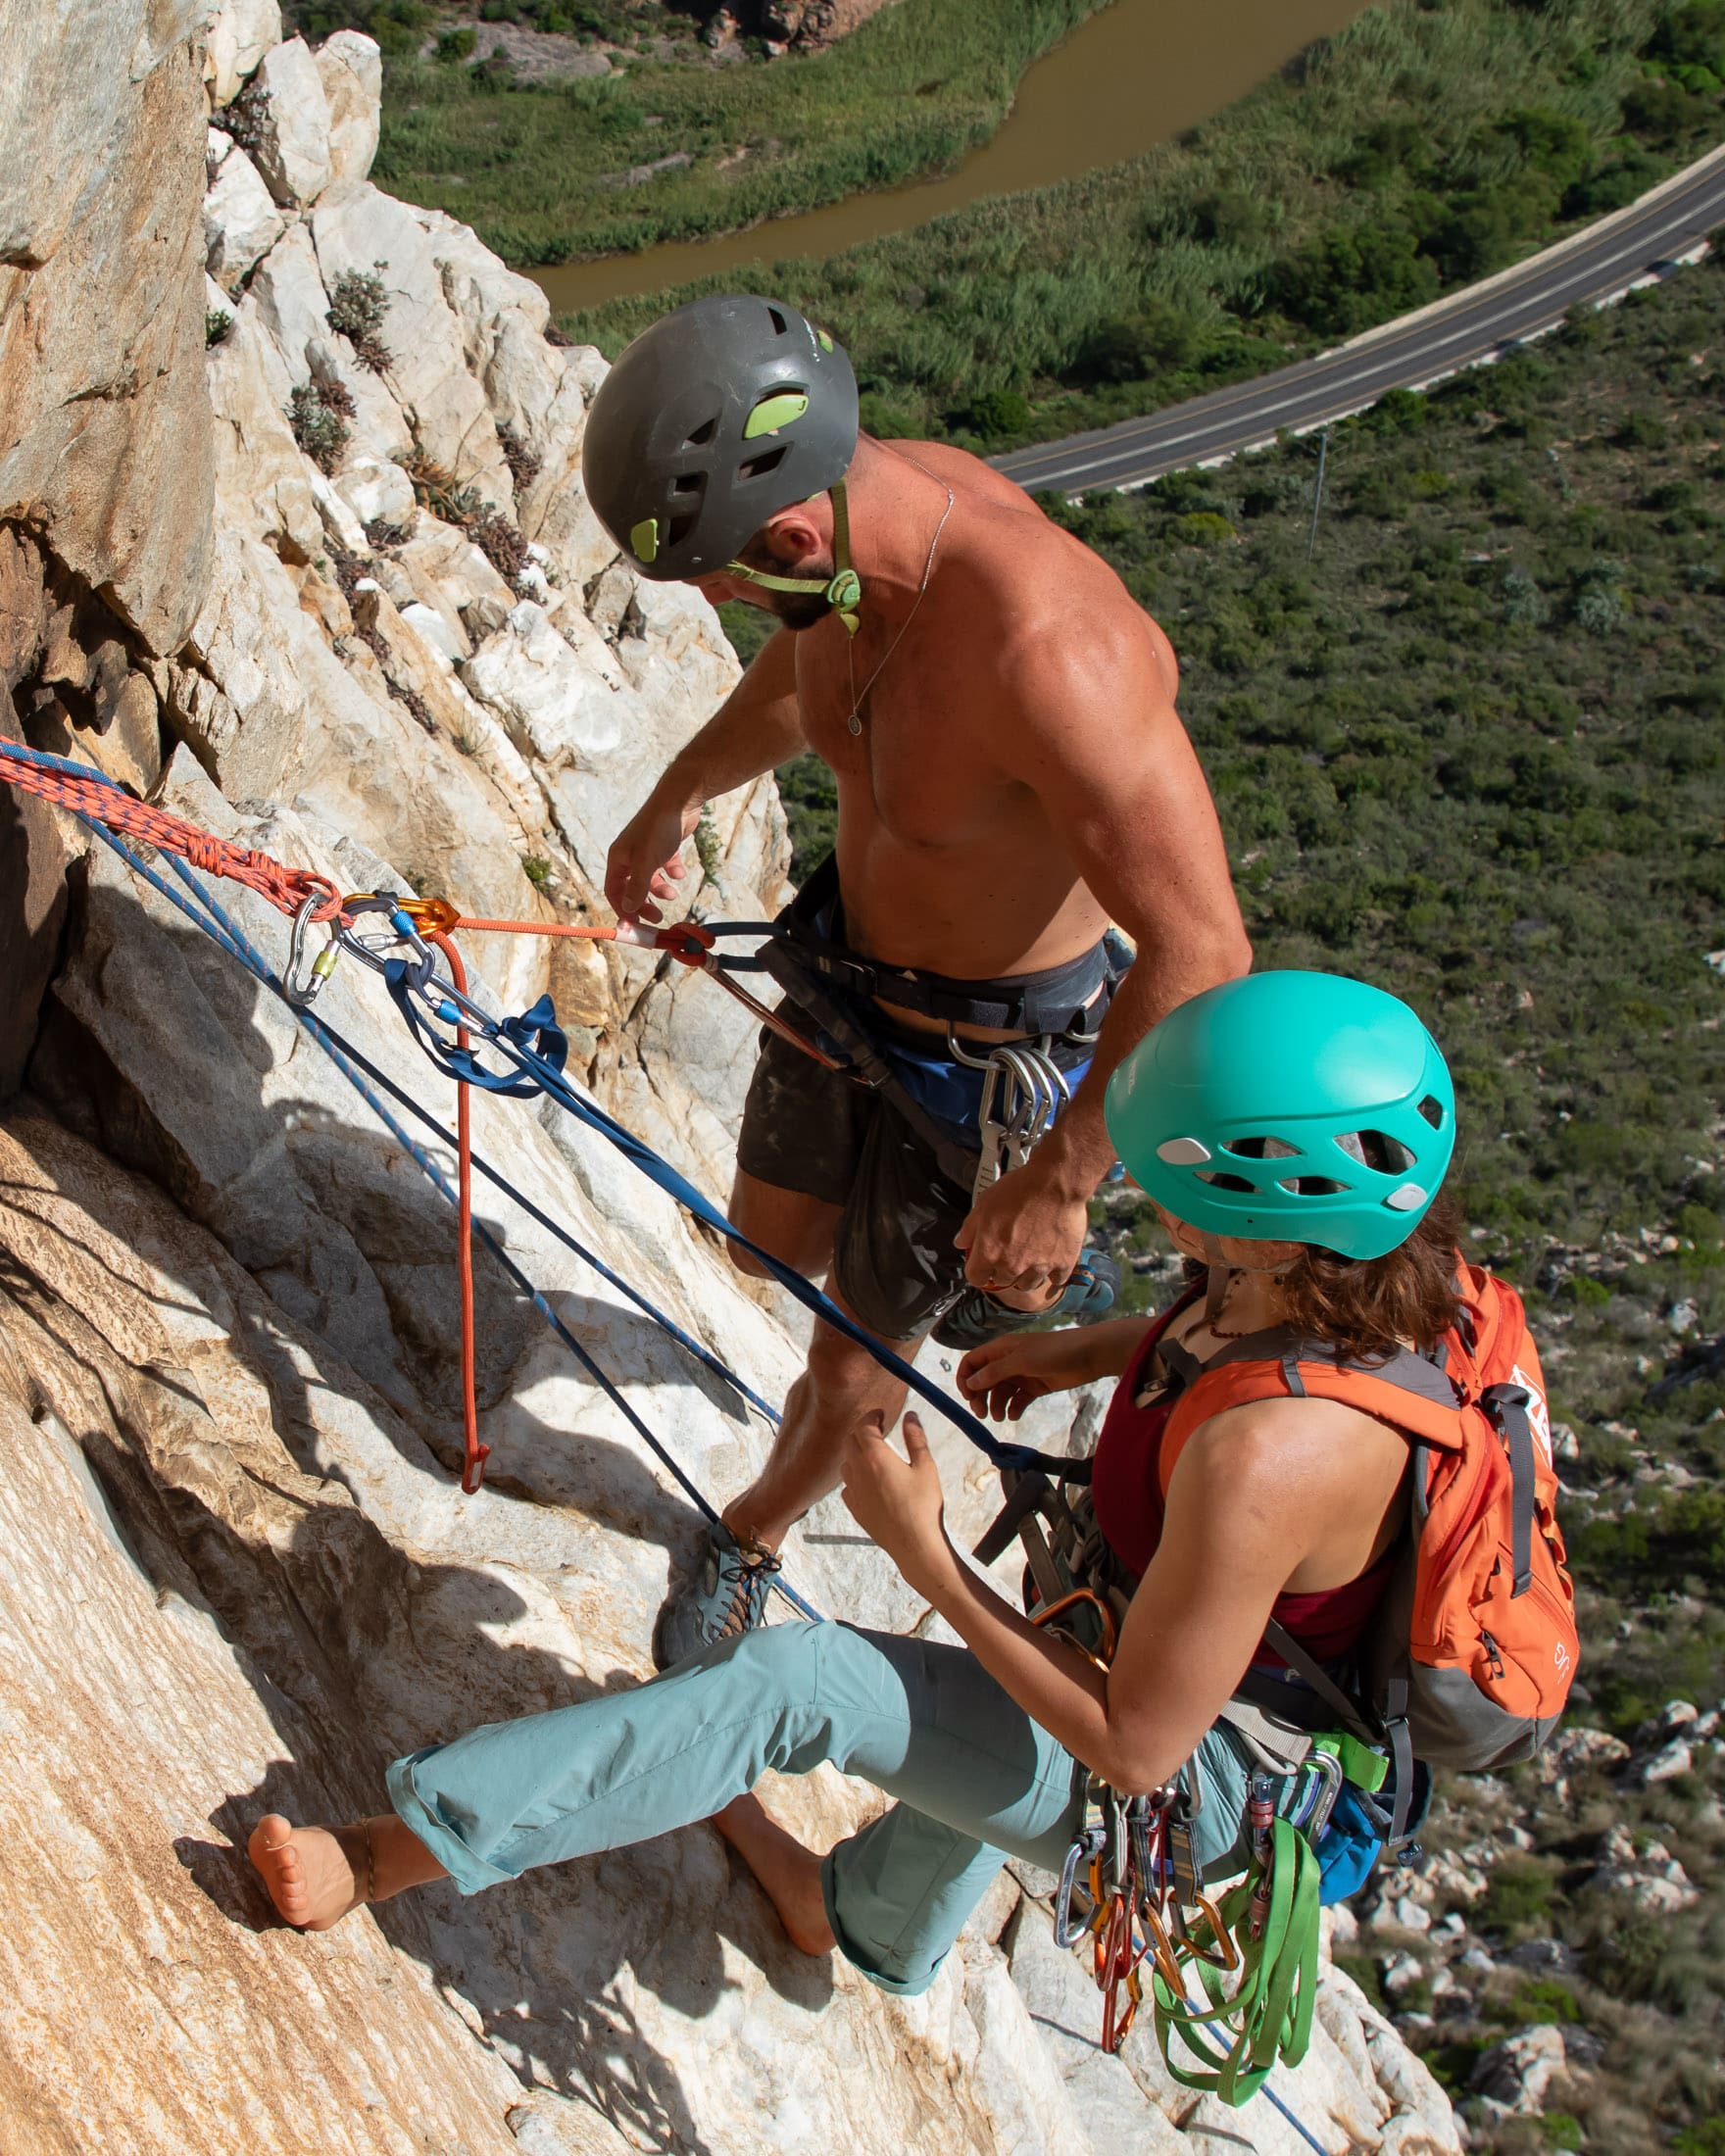
Step 8: Retie the stopper knot and lower or throw the rope
Once the trailing strand has fallen, you will need to pull the rope up and through the anchor until the middle mark or joining knot is at the anchor. If you are rappelling with a tag line or a blocked single rope, you will now remove the Reepschnur hitch or block, and then repeat the setup. Finally, put a stopper knot in the end of the rope, and then toss or lower the rope. Throwing your rope raises the chances of it tangling, and in many cases it’s better to lower the rope as you pull it through the anchor. There are, however, situations where it makes more sense to toss the rope. See the first article in this series, Rappelling 101 to learn more.
Step 9: Set up and back up the rappel device
It’s essential that you backup your rappel with an autoblock so that if you accidentally let go of the brake strand, you won't lose control of the rope and fall to the ground or the end of the rope. If you are going to rappel with a tube, attach the autoblock to your belay loop, but if using a Grigri, secure the friction hitch to a leg loop. Once you have rigged the backup, extend your device using a sling, quickdraw or PAS, and then load the rope into the device. If using a shoulder-length sling as both an extension and lanyard (in which case you are hanging on it), it should already have a knot in the middle of it.
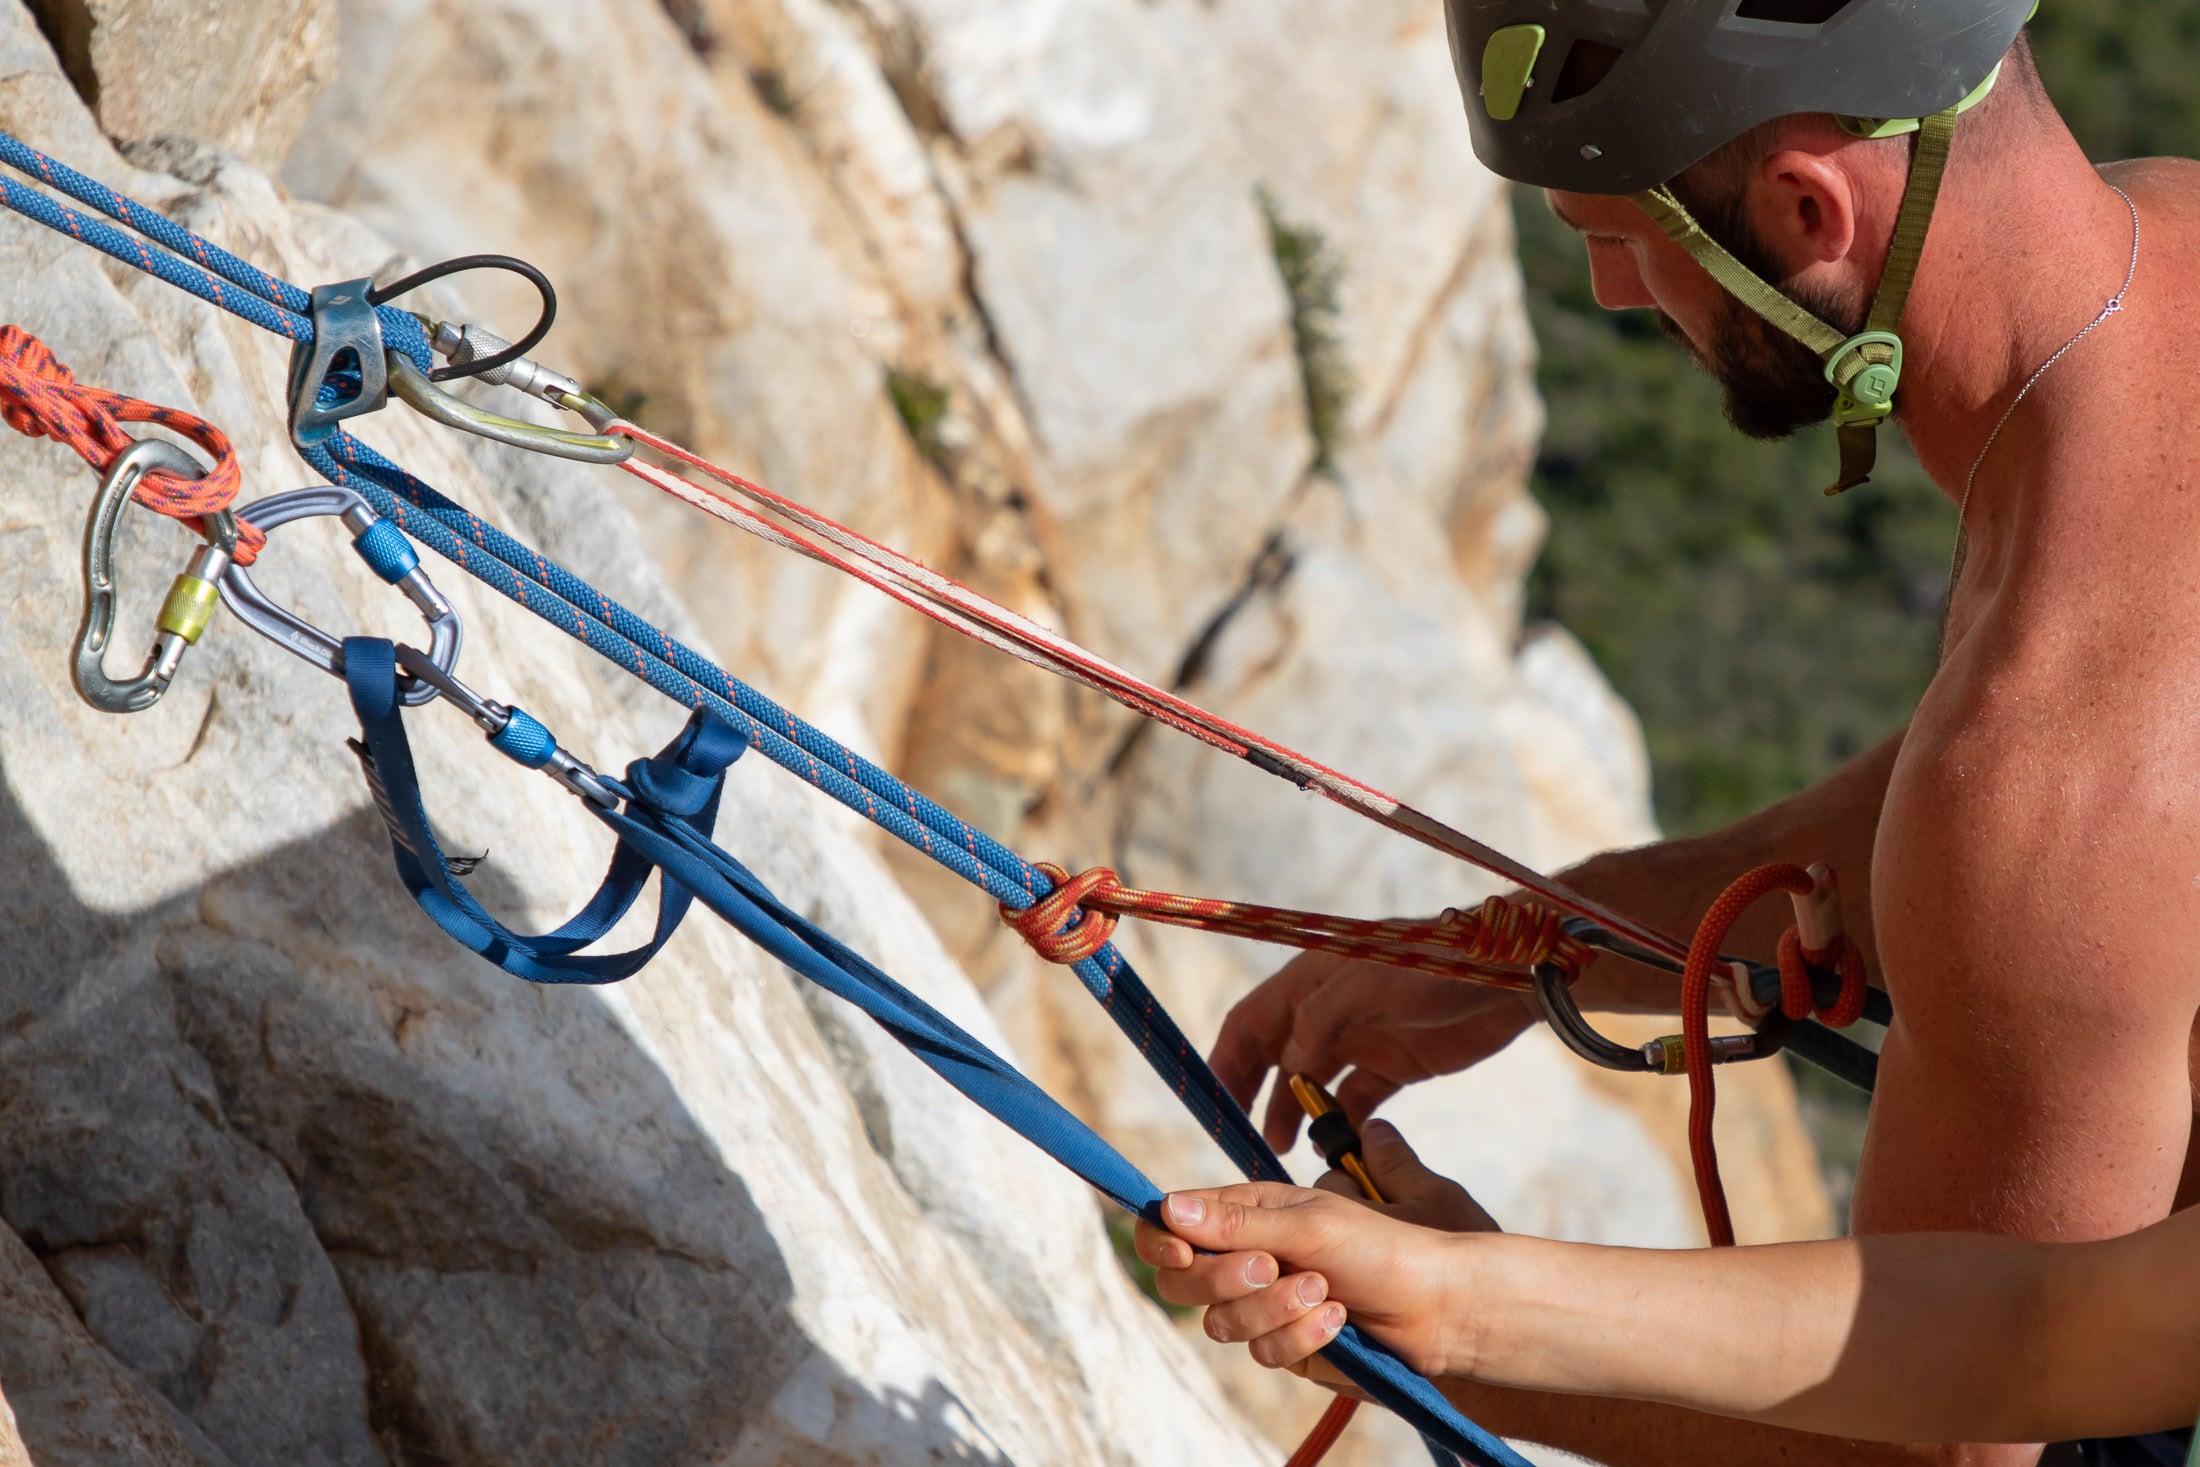
Step 10: Check and test the system
Once you’ve set up your rappel, weight the rope to check your system. If you are using a cam-adjustable lanyard like the Petzl Connect Adjust, this can be as easy as lengthening the lanyard until your weight is on the rope. If you are using a sling or link style PAS for a lanyard, you will have to work your rappel device and autoblock up the rope until your weight is on the rope and not your lanyard. Note: There have been several accidents that could have been avoided if the climbers involved had just tested their setups before committing to the rappel.
Step 11: Unclip yourself from the anchor and start your descent
Once you’ve double checked your rappel setup, you can finally descend. As you do this, look down and deal with any tangles while you are still above them. Then, as you near the end of the rope, look out for the next anchor (If the rappel doesn’t put you on the ground). It might not be directly in line with your rappel so look to your left and right, not just down.
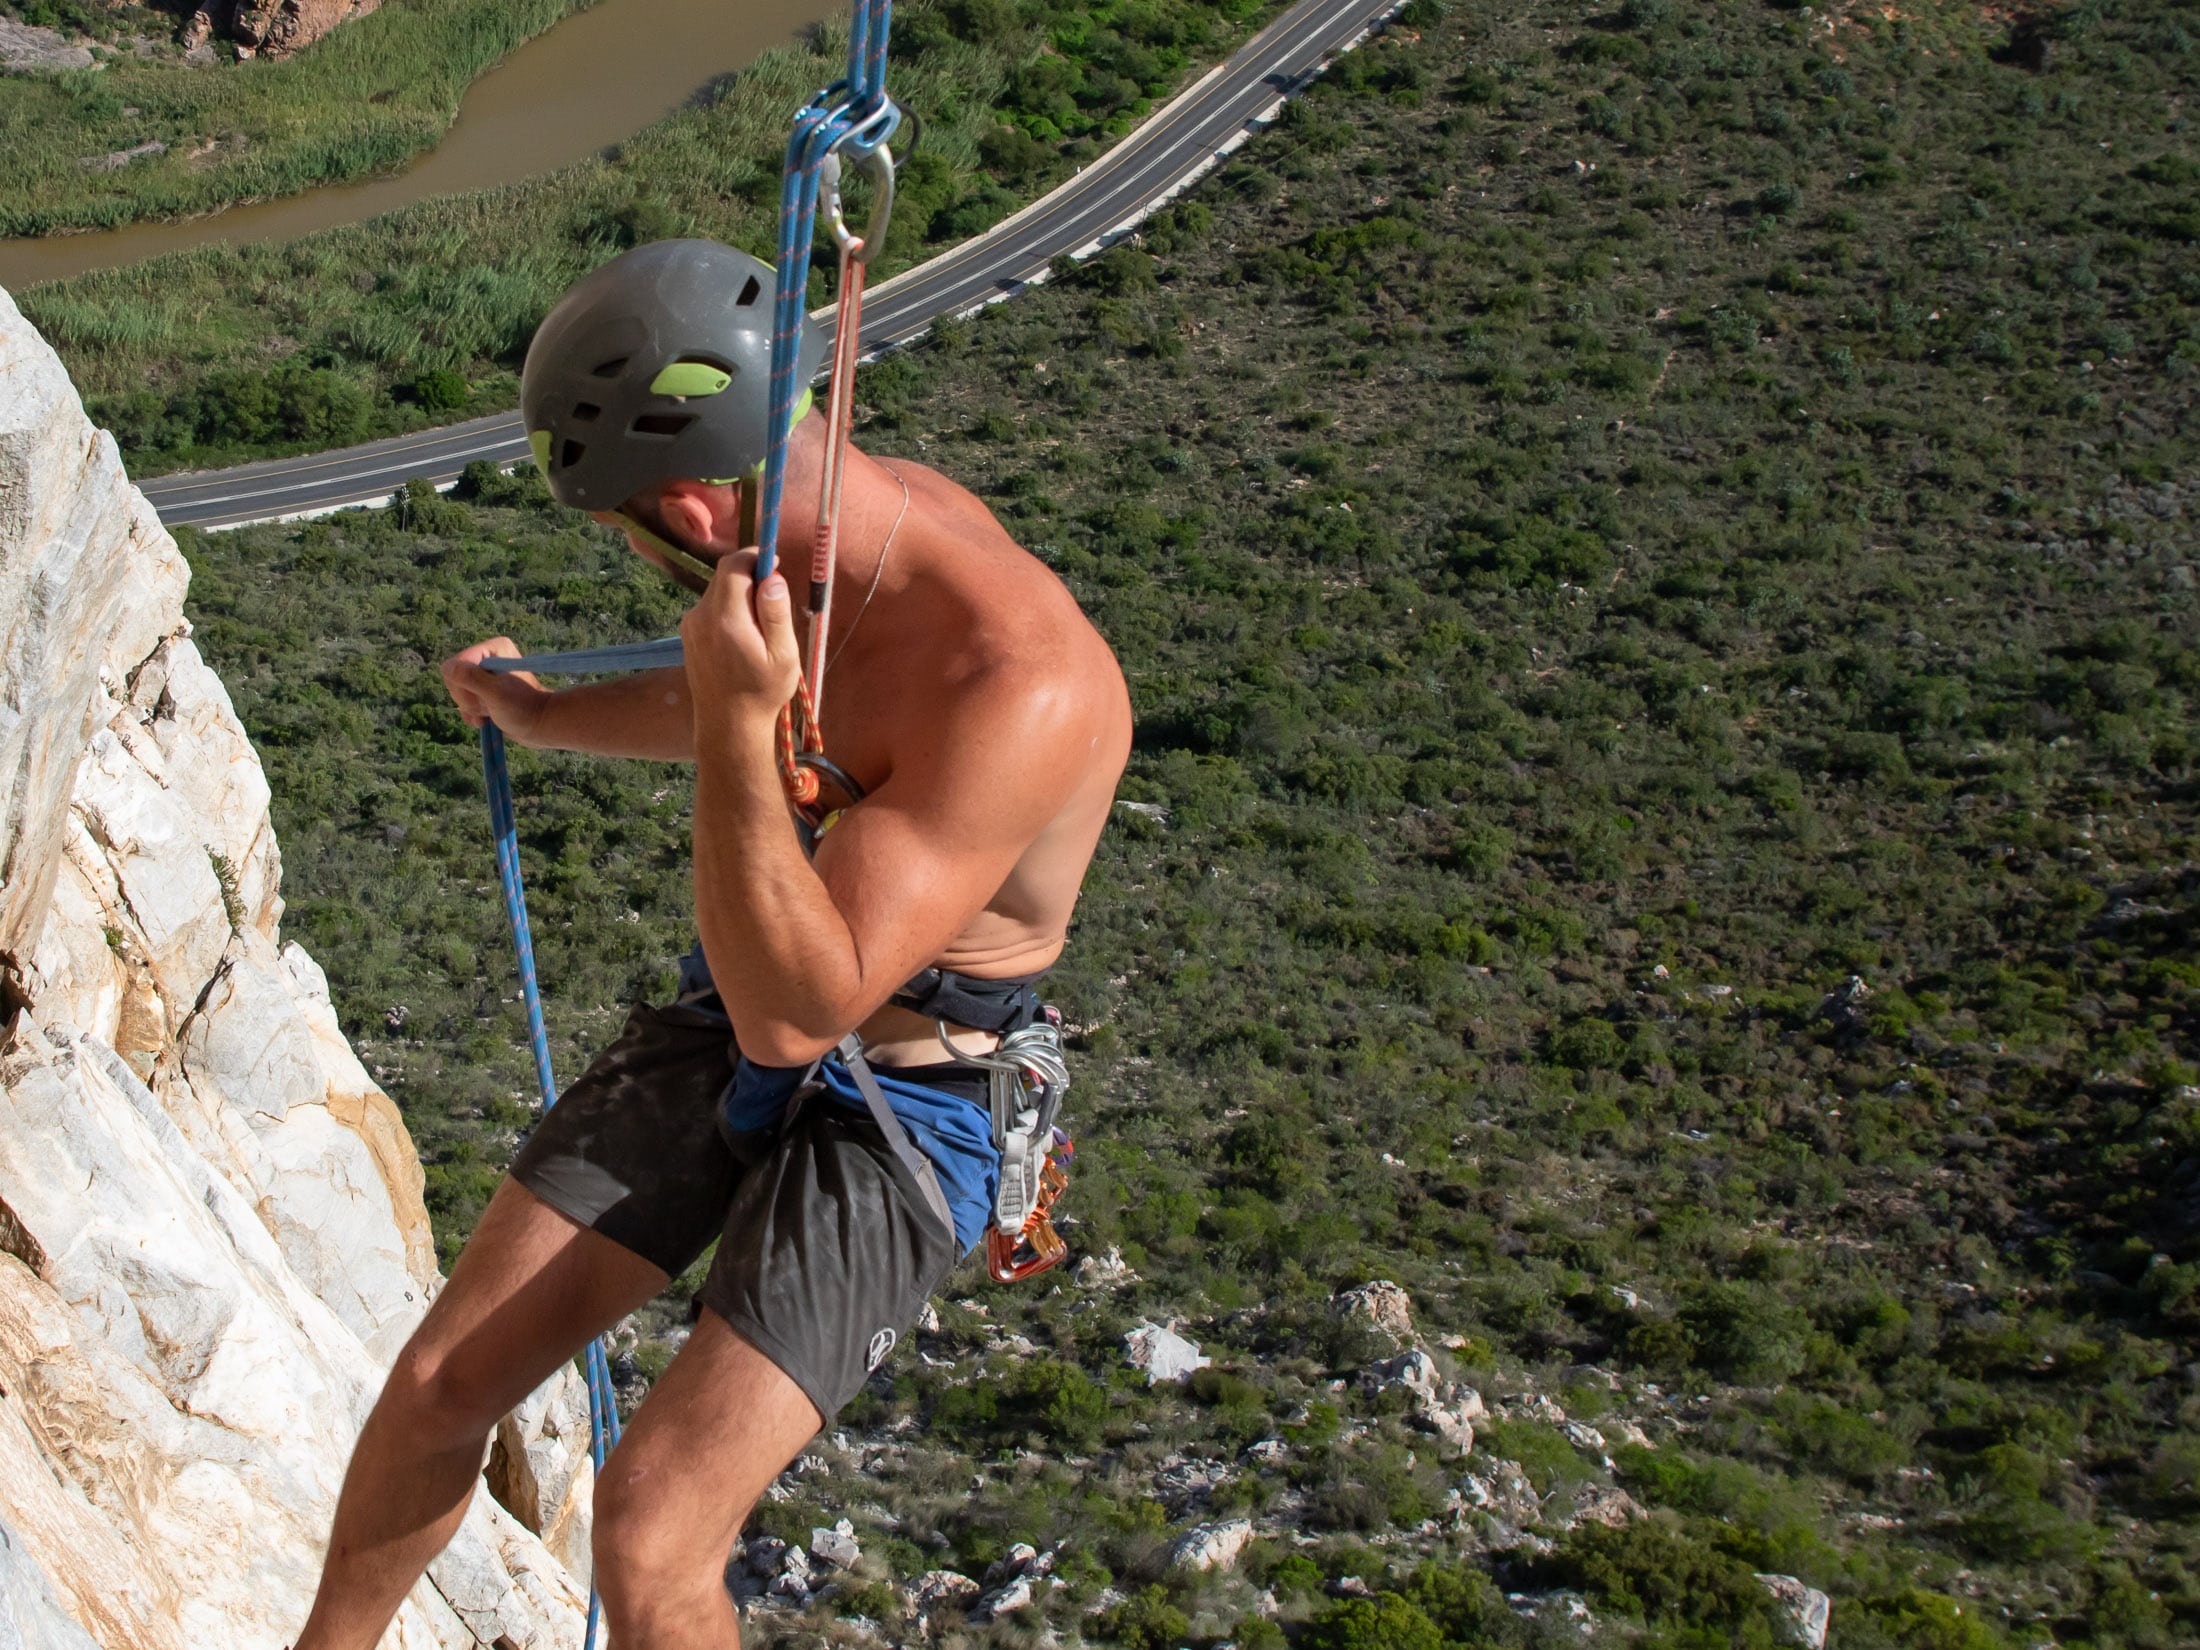
Top tip: If either you or your partner is going to rappel with a Grigri, it is better for the climber with the Grigri to rappel first. That way you can pull the rope without the Reepschnur hitch, which would only raise the risk of a knot snagging when the rope is pulled.
Learn more
Rappelling is a broad topic, and there is far more to this skill set than could fit into one or even two articles. That’s why I have written separate guides on how to rappel with a tag line, how to rig an impromptu rappel anchor and advanced rappelling techniques. Learn the techniques described in all of these, and you’ll have many more tools at your disposal when you have to make challenging rappels.
