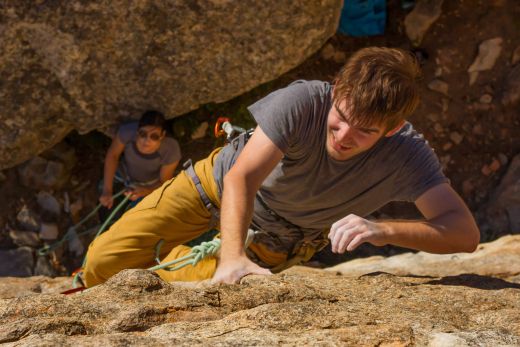
If you’re new to this whole climbing thing and you’re looking for advice on what gear to buy, you’ve come to the right place. In this most comprehensive of gear guides, I tell you what you need, why you need it, and when to buy it. At first, you’ll only need the bare essentials to get started. Then, once you start leading in the gym, you might want a rope. Finally, when you’re ready to be more independent, you can get the gear needed for cragging. If after that investment, you have some change left over, there are still a few extras that can make your climbing experience just that little bit more enjoyable. To make the order of things very clear, I’ve grouped gear into three categories: essentials, crag gear, and nice-to-haves. After that I will go into safety ratings and marking your gear.
- Essentials
- Crag gear
- Nice-to-haves
- Safety ratings
- Marking your gear
This article is aimed mainly at new sport climbers, but I have also included gear tips for aspiring trad climbers. For a full article on trad gear see my gear guide to trad gear.
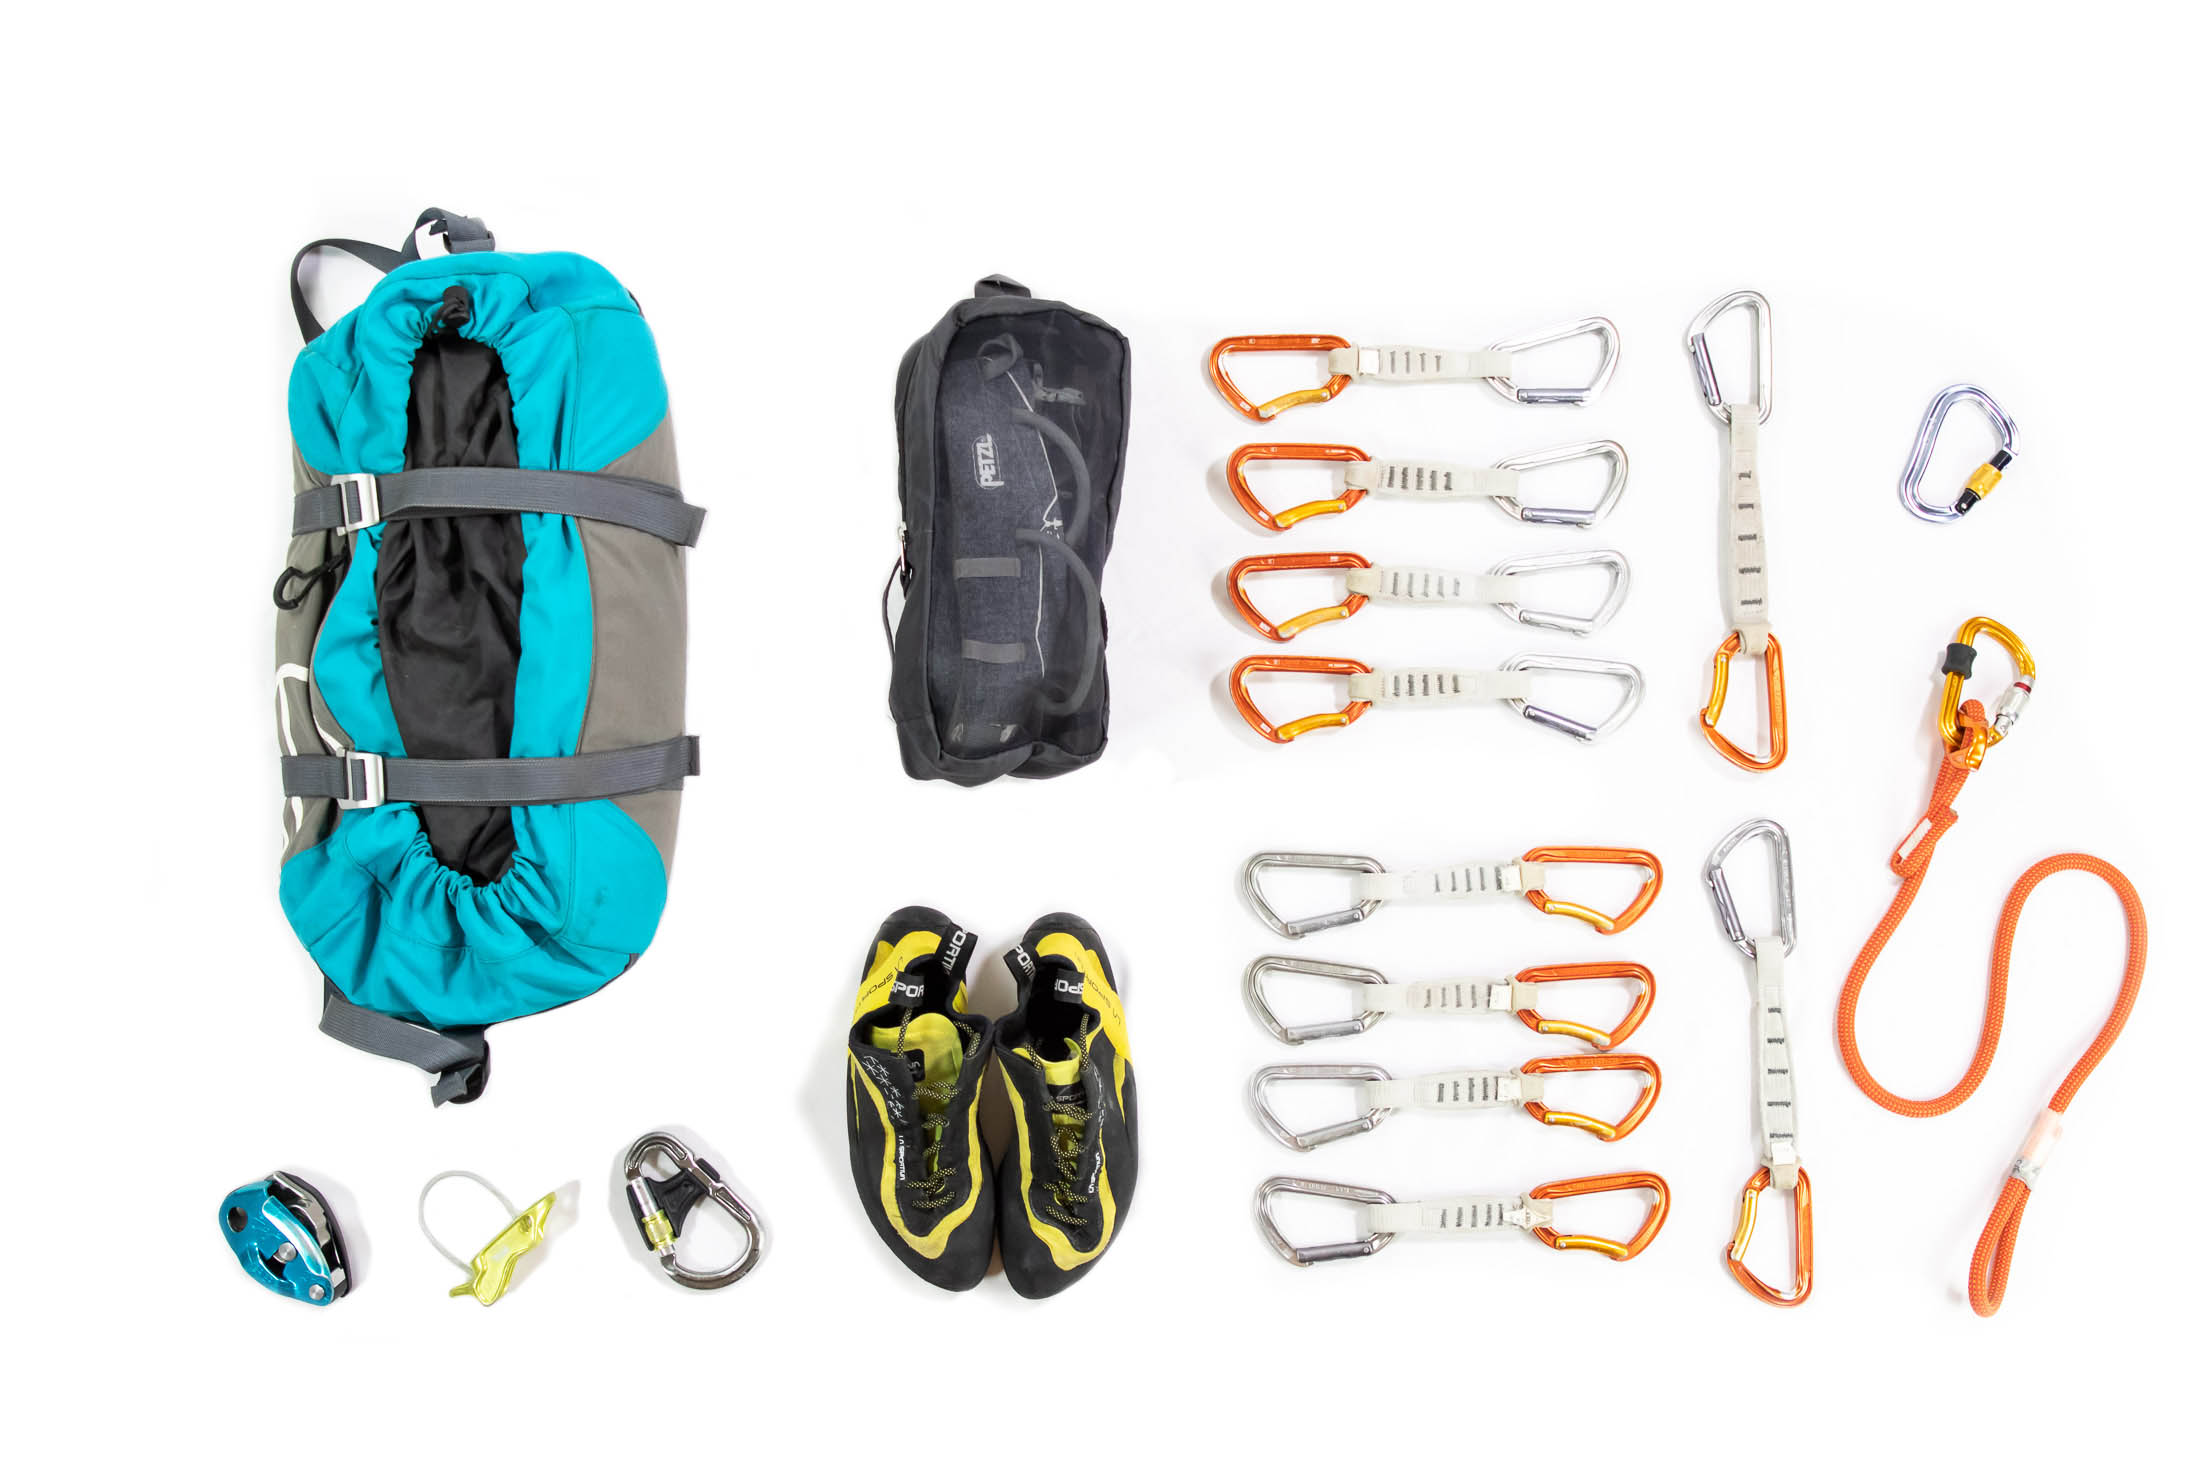
Essentials
This is everything you need to get top-roping, provided that the top rope is already set up.
Rock shoes ($70 - $100)
No other type of climbing gear has contributed to the progression of climbing more than the rock shoe. With modern sticky rubber, it’s possible to stand on footholds that early pioneers would have deemed impossible. But such friction depends on the right fit, and if there’s one purchase you need to give serious thought to, it’s this one.
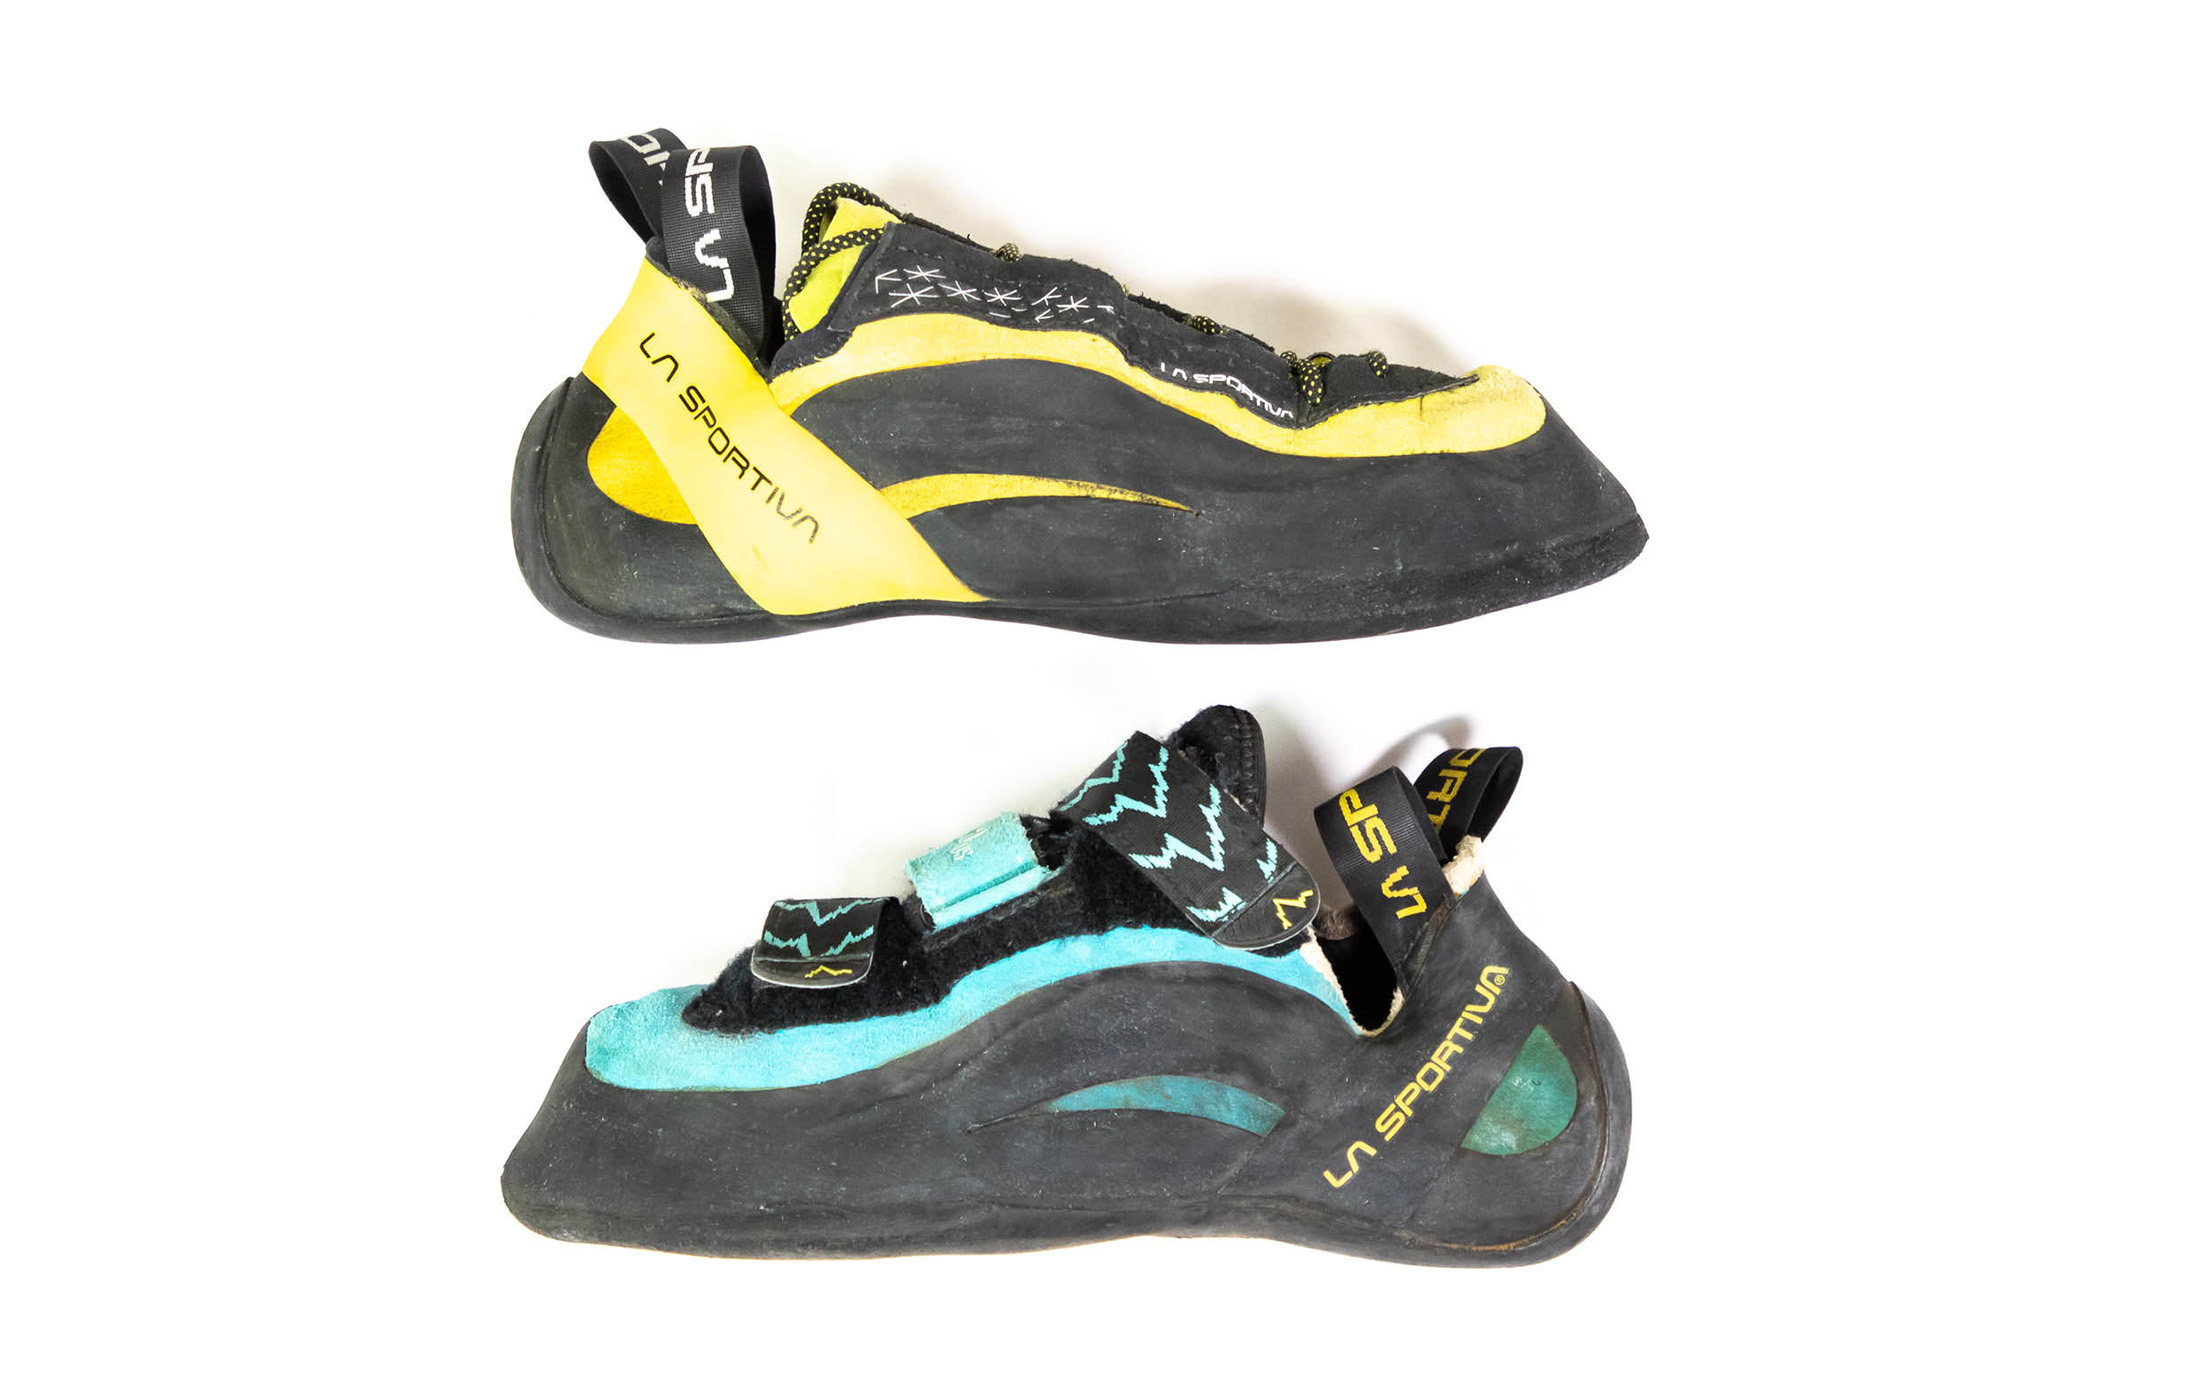
You might have your eyes on a pair of aggressively downturned talons, but you can strike those from your wishlist right now (or at least put them off until you are climbing a lot harder). The best beginner shoes have a neutral profile, which is kinder to your feet. The assistant at your local climbing gear shop should be able to guide you in choosing a shoe that fits your foot types, but the following advice can be considered universal.
Fit
Your first pair of rock shoes should fit snugly without being painfully tight. Bear in mind that leather shoes will stretch more than synthetic shoes and should be fitted a little tighter to account for the growing wiggle room. Fit and wear your shoes without socks.
Velcro vs lace-ups
Lace-up shoes can be cinched up tighter than velcros, but lace-ups are also more of a hassle to get on and off. If you are not climbing long multi-pitch routes (which keep you in your shoes for longer), easy-on-easy-off velcros make more sense.
Al-cheap-o’
Your first pair of shoes should be cheap ($80 – $100). You’re probably going to destroy them with sloppy footwork. Save your money for your second pair. It would also be a good idea to read my guide to buying rock shoes first.
Chalk bag ($20 – $35)
Your little bag of powdered courage. There really isn’t much to this. It holds chalk, and its only purpose is to prevent the stuff from spilling everywhere. Still, some do a better job than others, and those that close properly are better at stopping chalk from coating the contents of your crag bag.
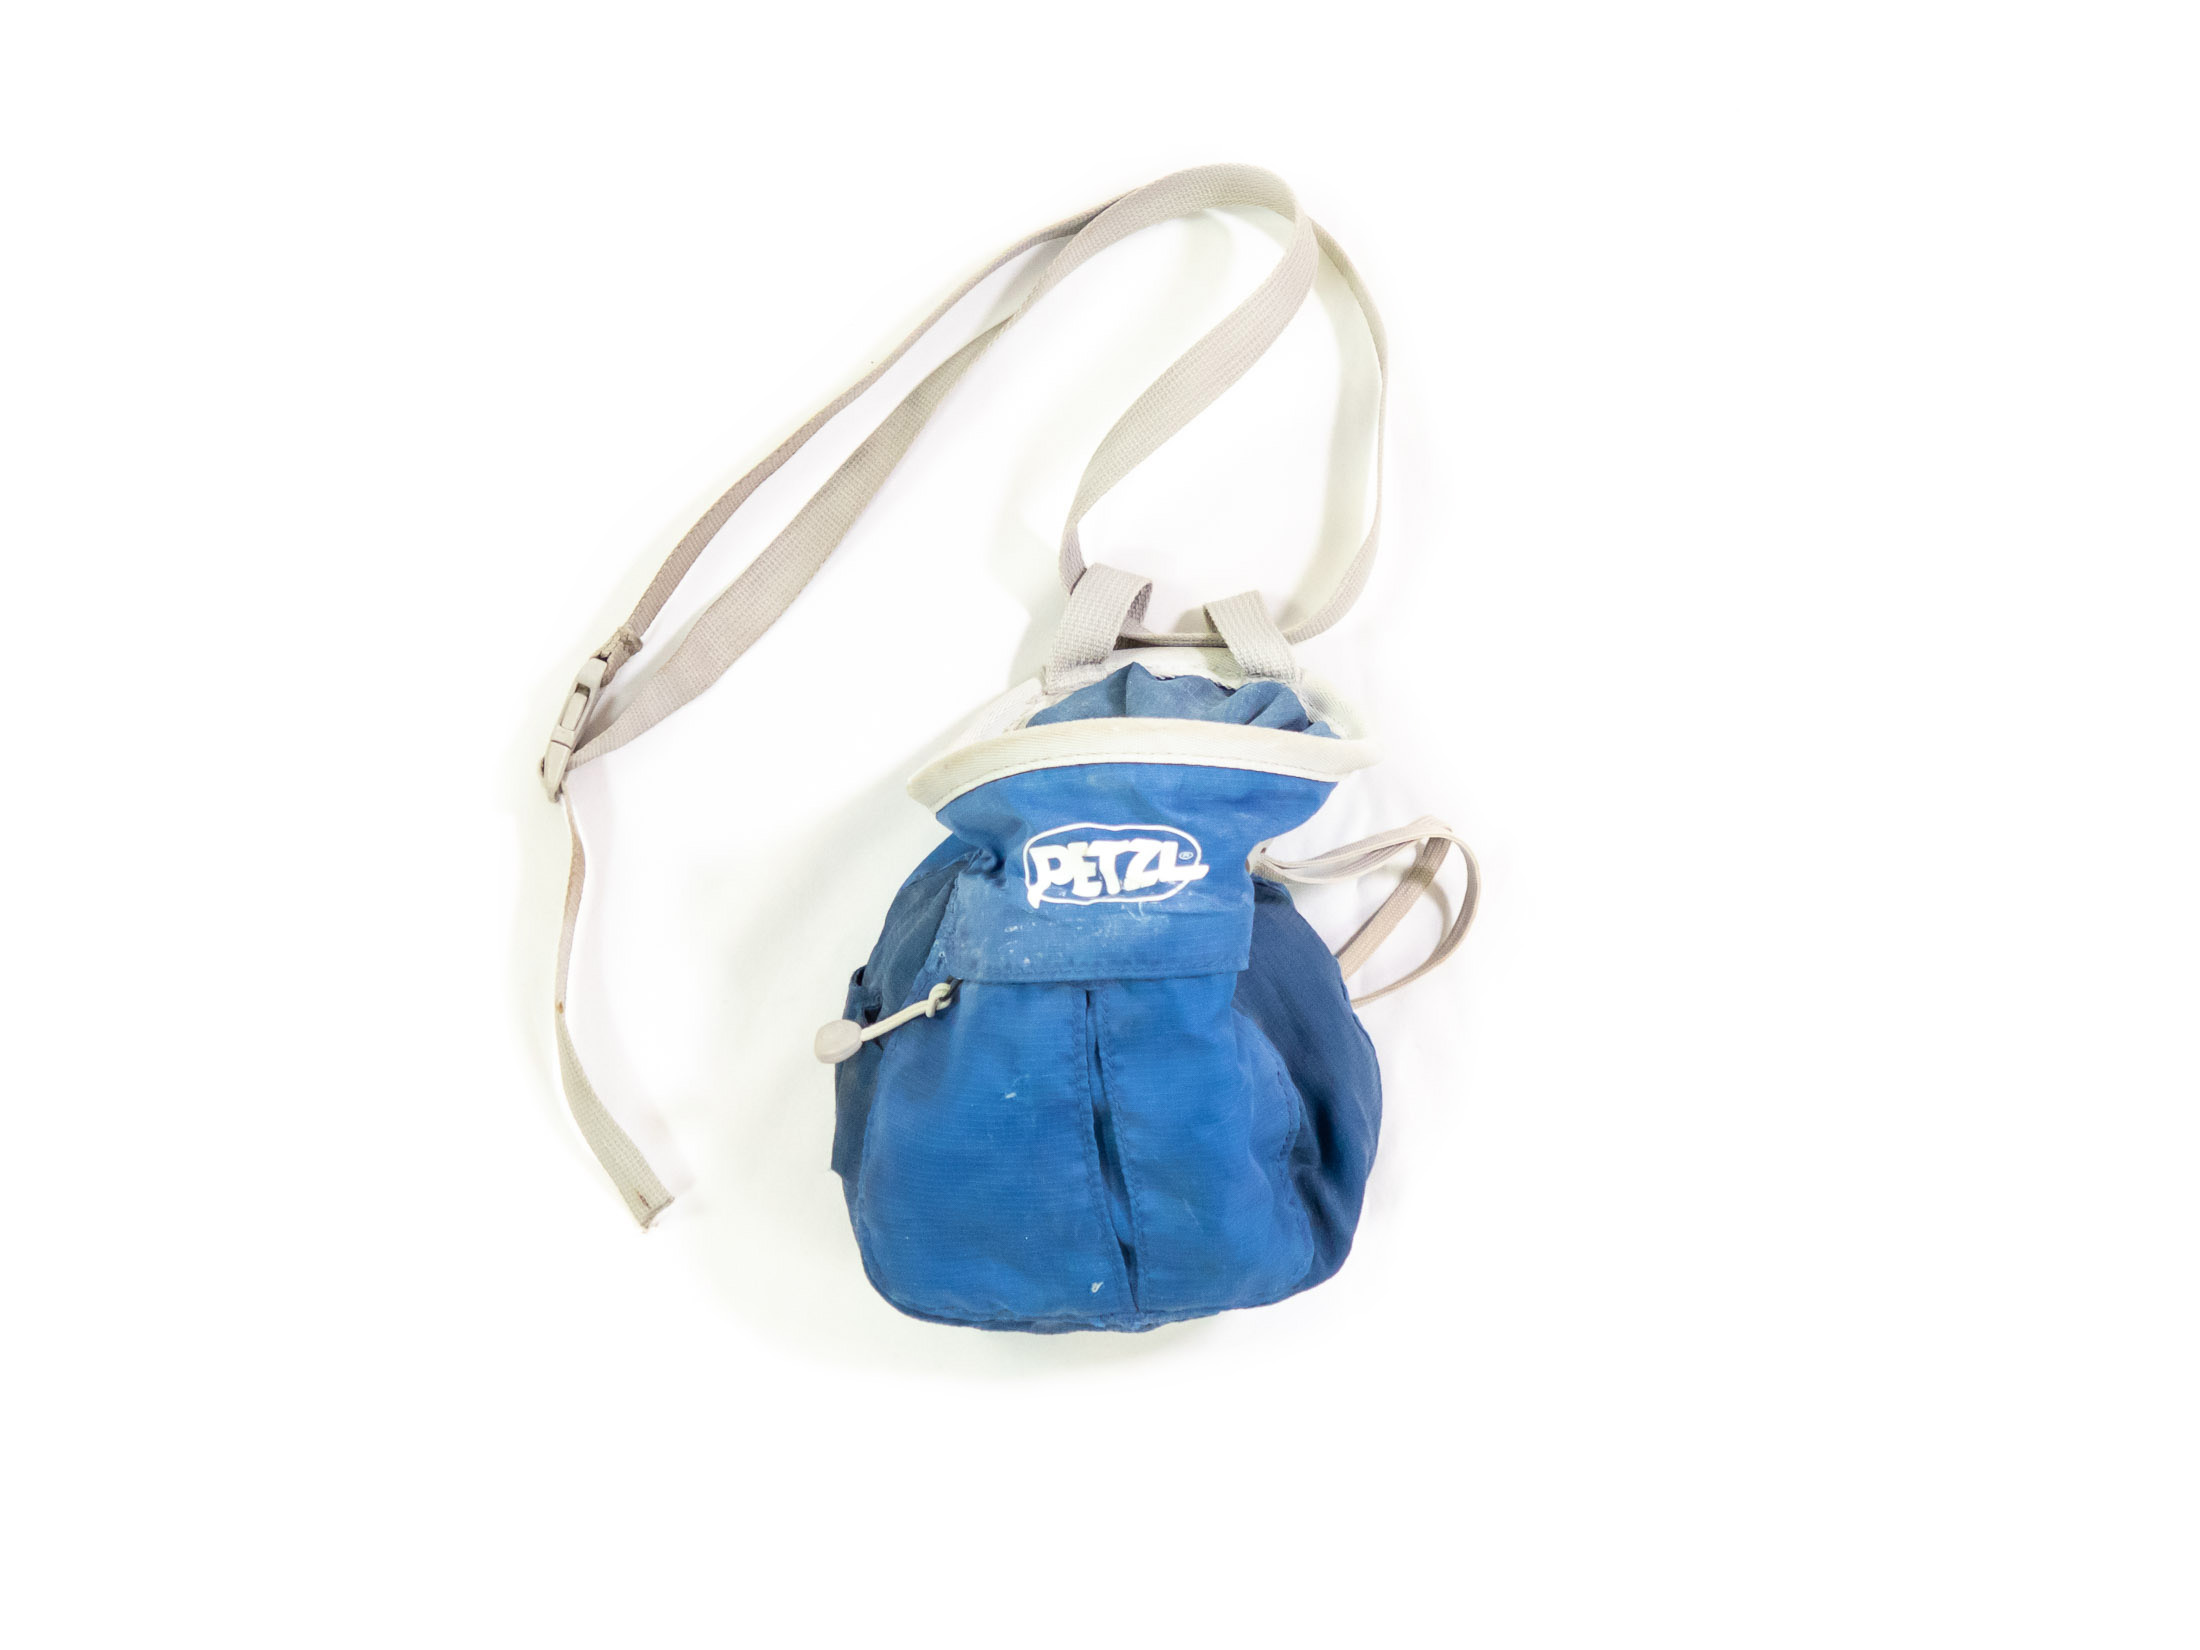
When it comes to the chalk itself, you have two options: you can either use loose chalk or a chalk ball. Many climbers prefer to have one of these little perforated pouches inside their chalk bag as it prevents the chalk from going everywhere. Some gyms actually don’t allow the use of loose chalk for this very reason.
Harness ($60 - $100)
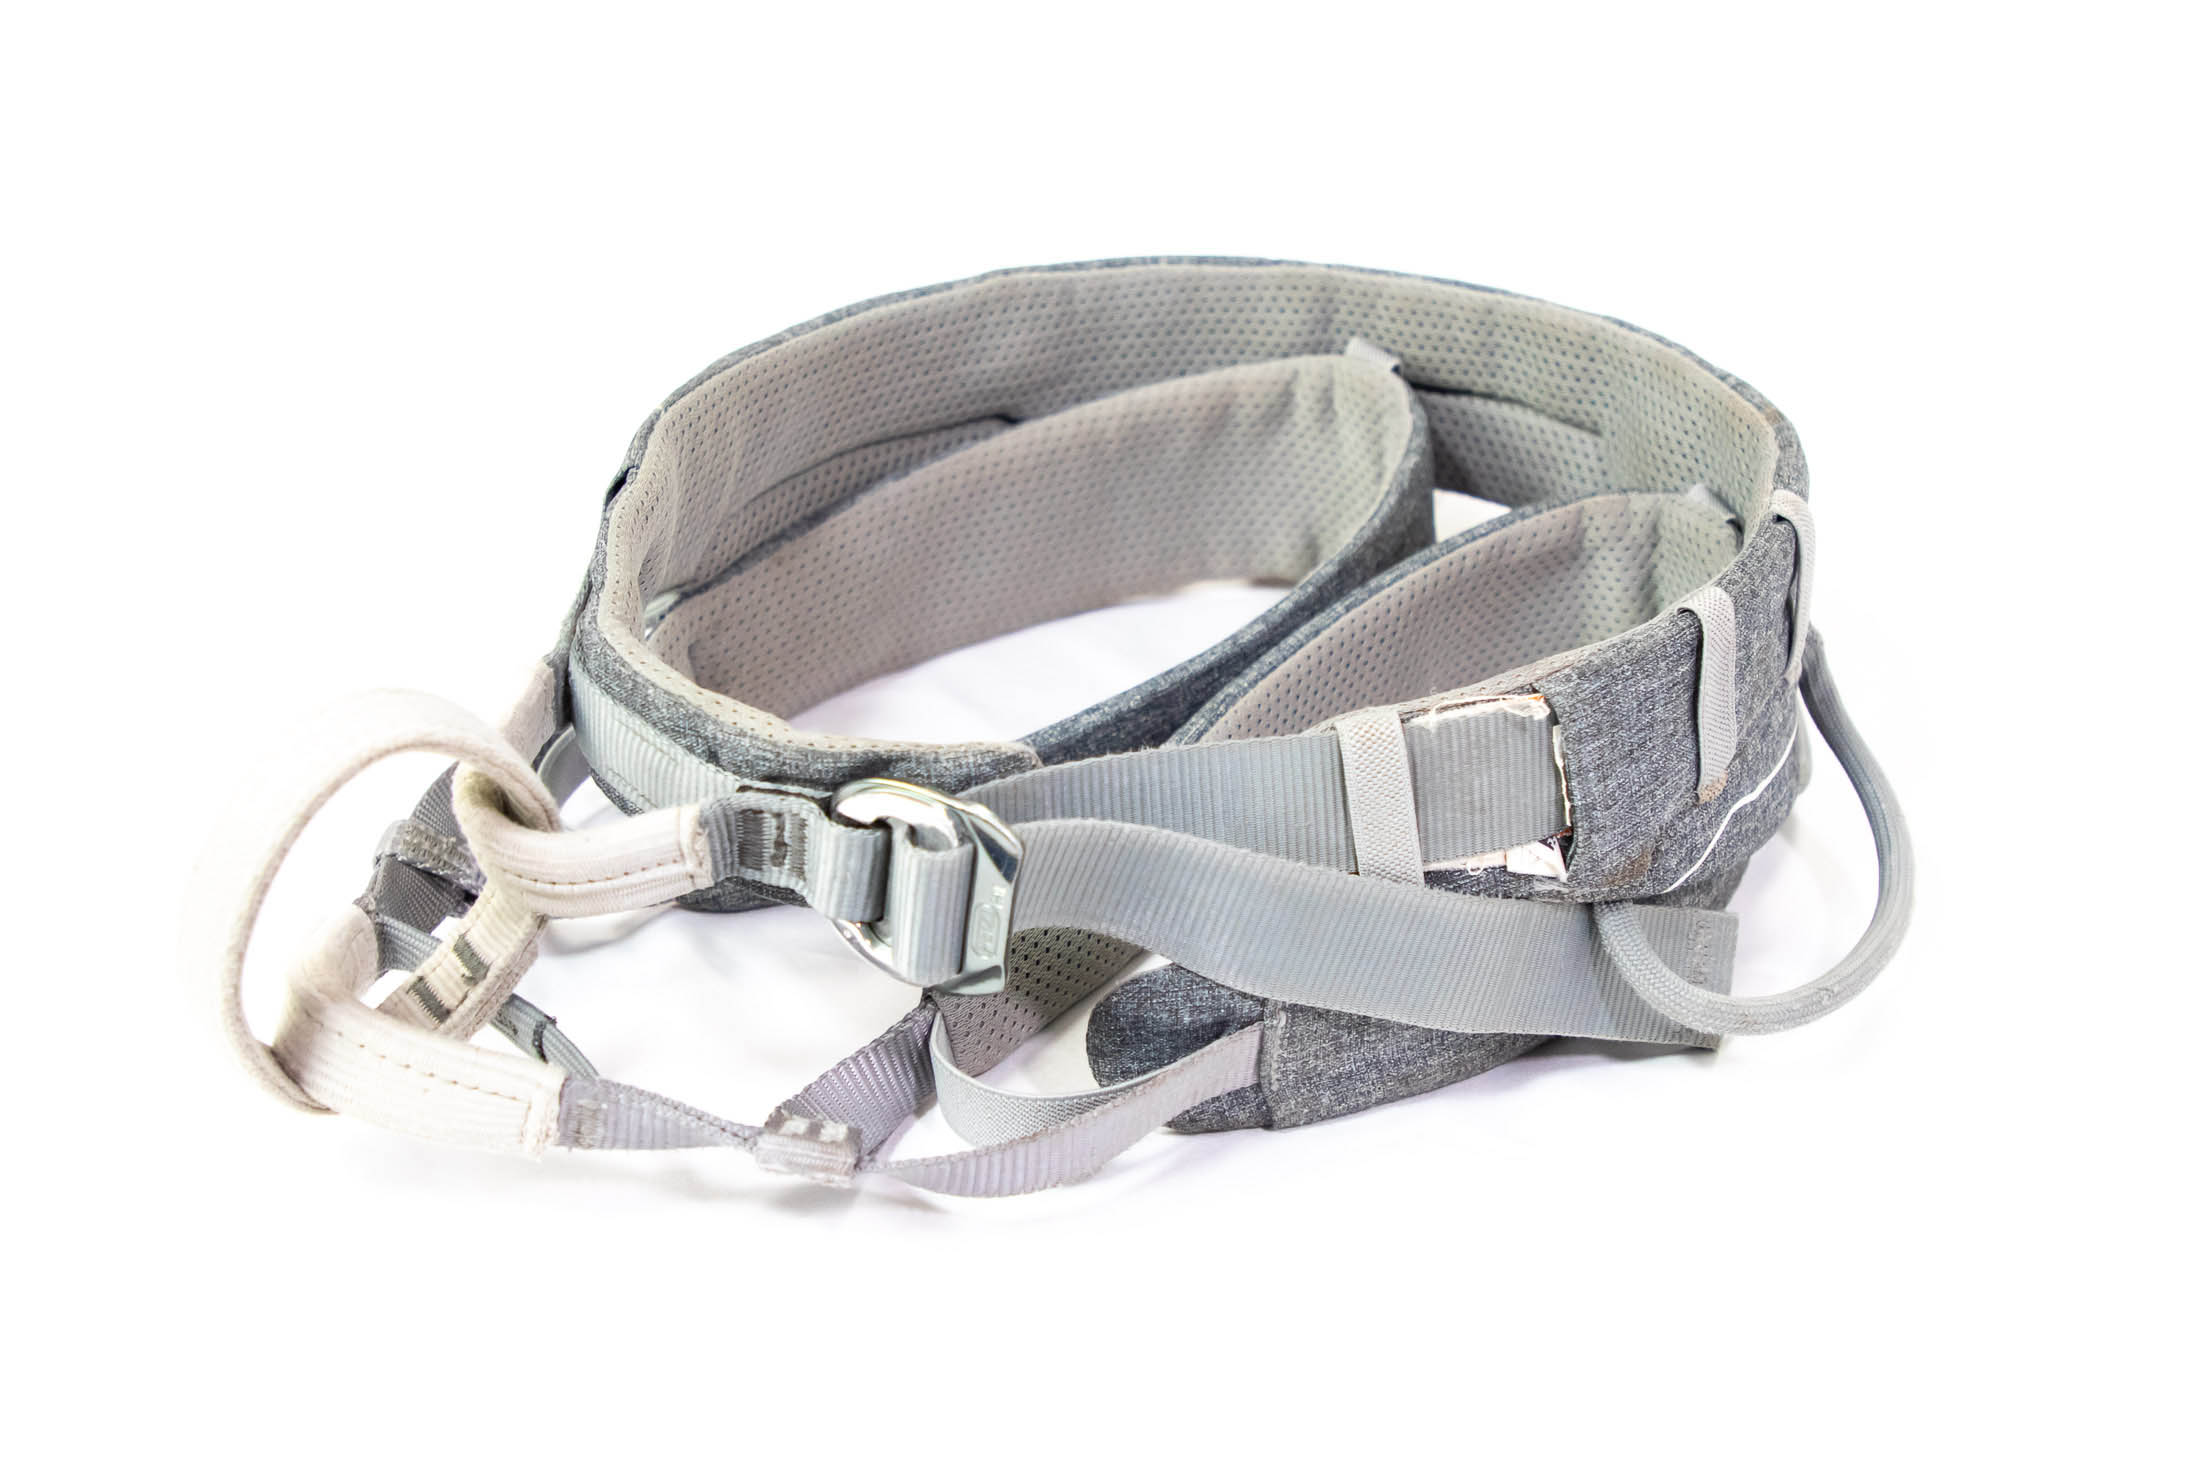
Like rock shoes, harnesses can get very specialised, and the range in your local gear store could run the gamut from skinny barely-there sport climbing models to generously padded big wall harnesses. But, the best harness for a beginner is an all-rounder. These are comfy enough to hang in and light enough to not restrict your movements. And, since they’re the most popular type of harness, you’ll also have a range to choose from – one for every budget. That said, don’t go on price alone. The following factors should also be taken into account when you make this important purchase.
Fit
Your waist loop should be snug and fit well against your waist (not hips). On that note, you definitely don’t want to be able to pull it back down over your hips. Your leg loops, however, need to be a little less tight – you should be able to slip two fingers between your thigh and the inside of your leg loops. If these are too tight, they could restrict a high step or stem.
Adjustable vs non-adjustable leg loops
While many find that adjustable leg loops are just a hassle, they do have their place: high on icy peaks, where mountaineers often have to wear multiple layers under their harnesses. If, as I suspect, your cragging is going to be limited to warmer climes, you’d probably be better off buying a non-adjustable model.
Waist loop buckle
Back in the day, harnesses were equipped with buckles that had to be ‘double backed’ before they could be considered secure. Today’s harnesses are all fitted with auto-locking buckles that negate the need for double backing. Still, it’s good to keep this in mind in case a friend lends you an older harness.
Belay device ($22 - $30 )
A tubular belay device is best when you’re learning to belay. This type of device doesn’t auto-brake, so you’ll be forced to learn good belay technique from the get-go (not that a Grigri gives you a license to belay like a putz). With two rope channels, it will also be more versatile than a single-channel assisted-braking device, which can’t be used for rappelling. A basic non-directional device can cost as little as $17, but for $3 more, you can get a directional device like the Petzl Verso. This type of device has grooved rope channels, which can offer greater stopping and holding power – useful when catching a big fall.
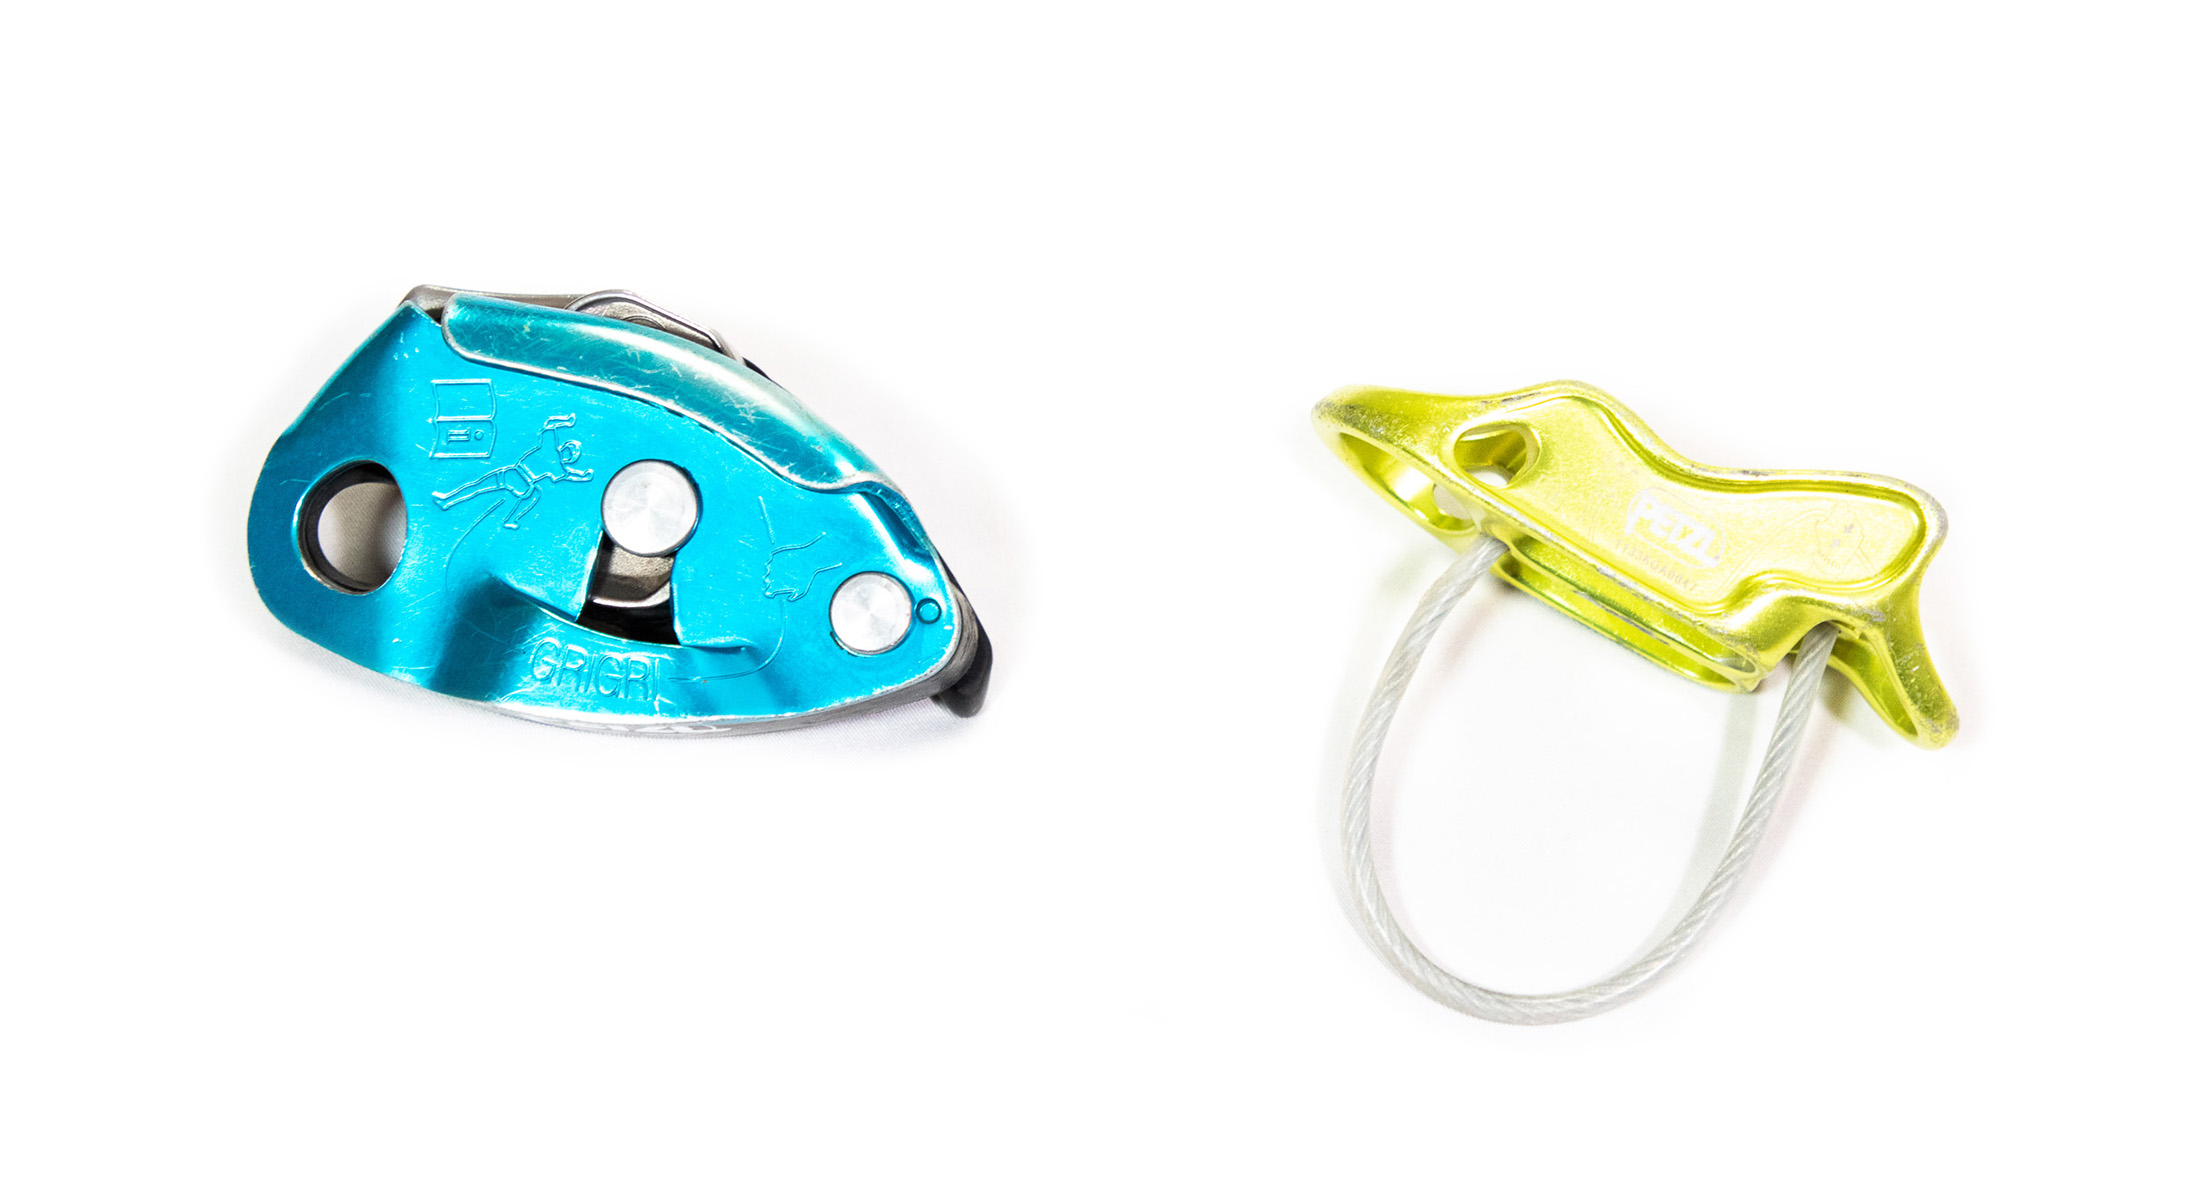
The only way you could do better than a regular directional device is if you got a ‘guide mode’ device like the Reverso. An additional attachment point on this type of device allows it to be rigged as an auto-braking belay when bringing up a second (the climber who follows the leader on a multi-pitch route). This feature should be considered essential if you plan to do any trad or multi-pitch climbing. My guide to belay devices explains the functioning of this device in more detail.
Belay carabiner ($11 - $30)
The smooth operation of a tubular-style device depends on more than just the device itself. Your belay carabiner plays an important role in ensuring the proper working of your device, and the wrong carabiner will create more resistance than you want. You’ve probably already noticed that all belay biners have some kind of locking gate (usually a screwgate), but that’s not the only distinguishing feature of a good belay biner. The profile of the rope-bearing section of a carabiner (the basket) determines how smoothly rope runs over it, and the best belay biners have a large round cross-section.
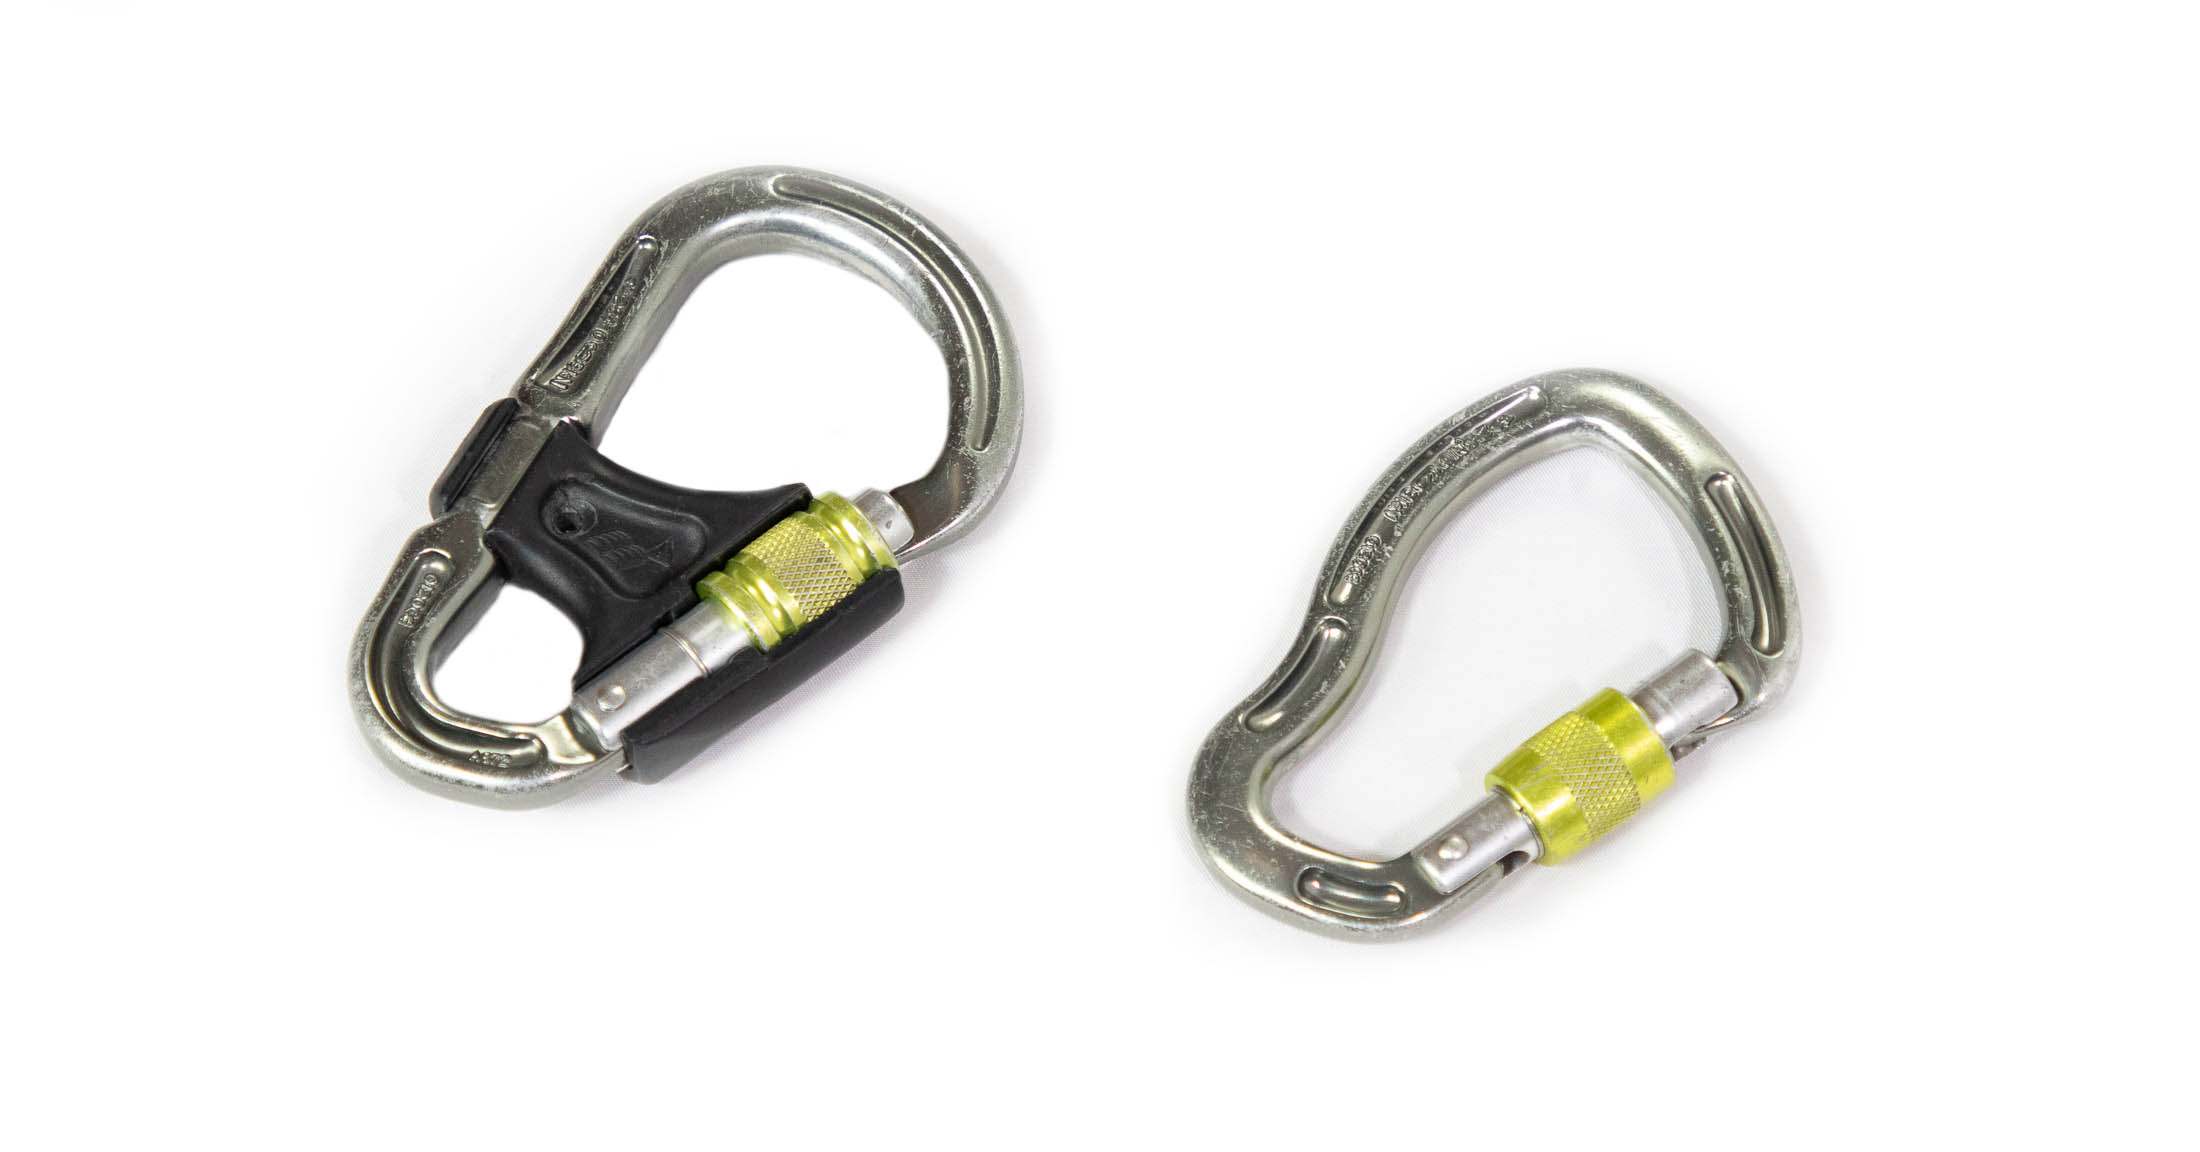
The DMM Master features a plastic clip that prevents the carabiner from cross-loading.
HMS’s are designed with this in mind, and their large rounded profiles give climbers the best combination of surface area, strength, and weight. The other thing you should consider looking for in a belay biner is a feature designed to keep the device from cross-loading. Some manufacturers design their belay-specific carabiners with a spring-like gate to keep the carabiner right way round, while others, like the DMM Belay Master and Black Diamond Gridlock have more elaborate solutions.
Crag gear
If you don’t want to have to rely on your friends for gear, you’ll need to get your own. Here I list everything else you need to venture out to the crag by yourself. Obviously you’ll also need a climbing partner. I haven’t put that on the list.
Rope ($180 - $270)
If you want to start leading in the gym, you might buy a rope before you even lead excursions onto real rock. If, on the other hand, you put off this purchase, there might come a time when your climbing buddies suggest that you get your own rope. All that falling and hanging puts wear and tear on a cord, and it’s only fair that you should be told to abuse your own rope. With the decision to buy already made, you then only have to ask yourself ‘which one?’
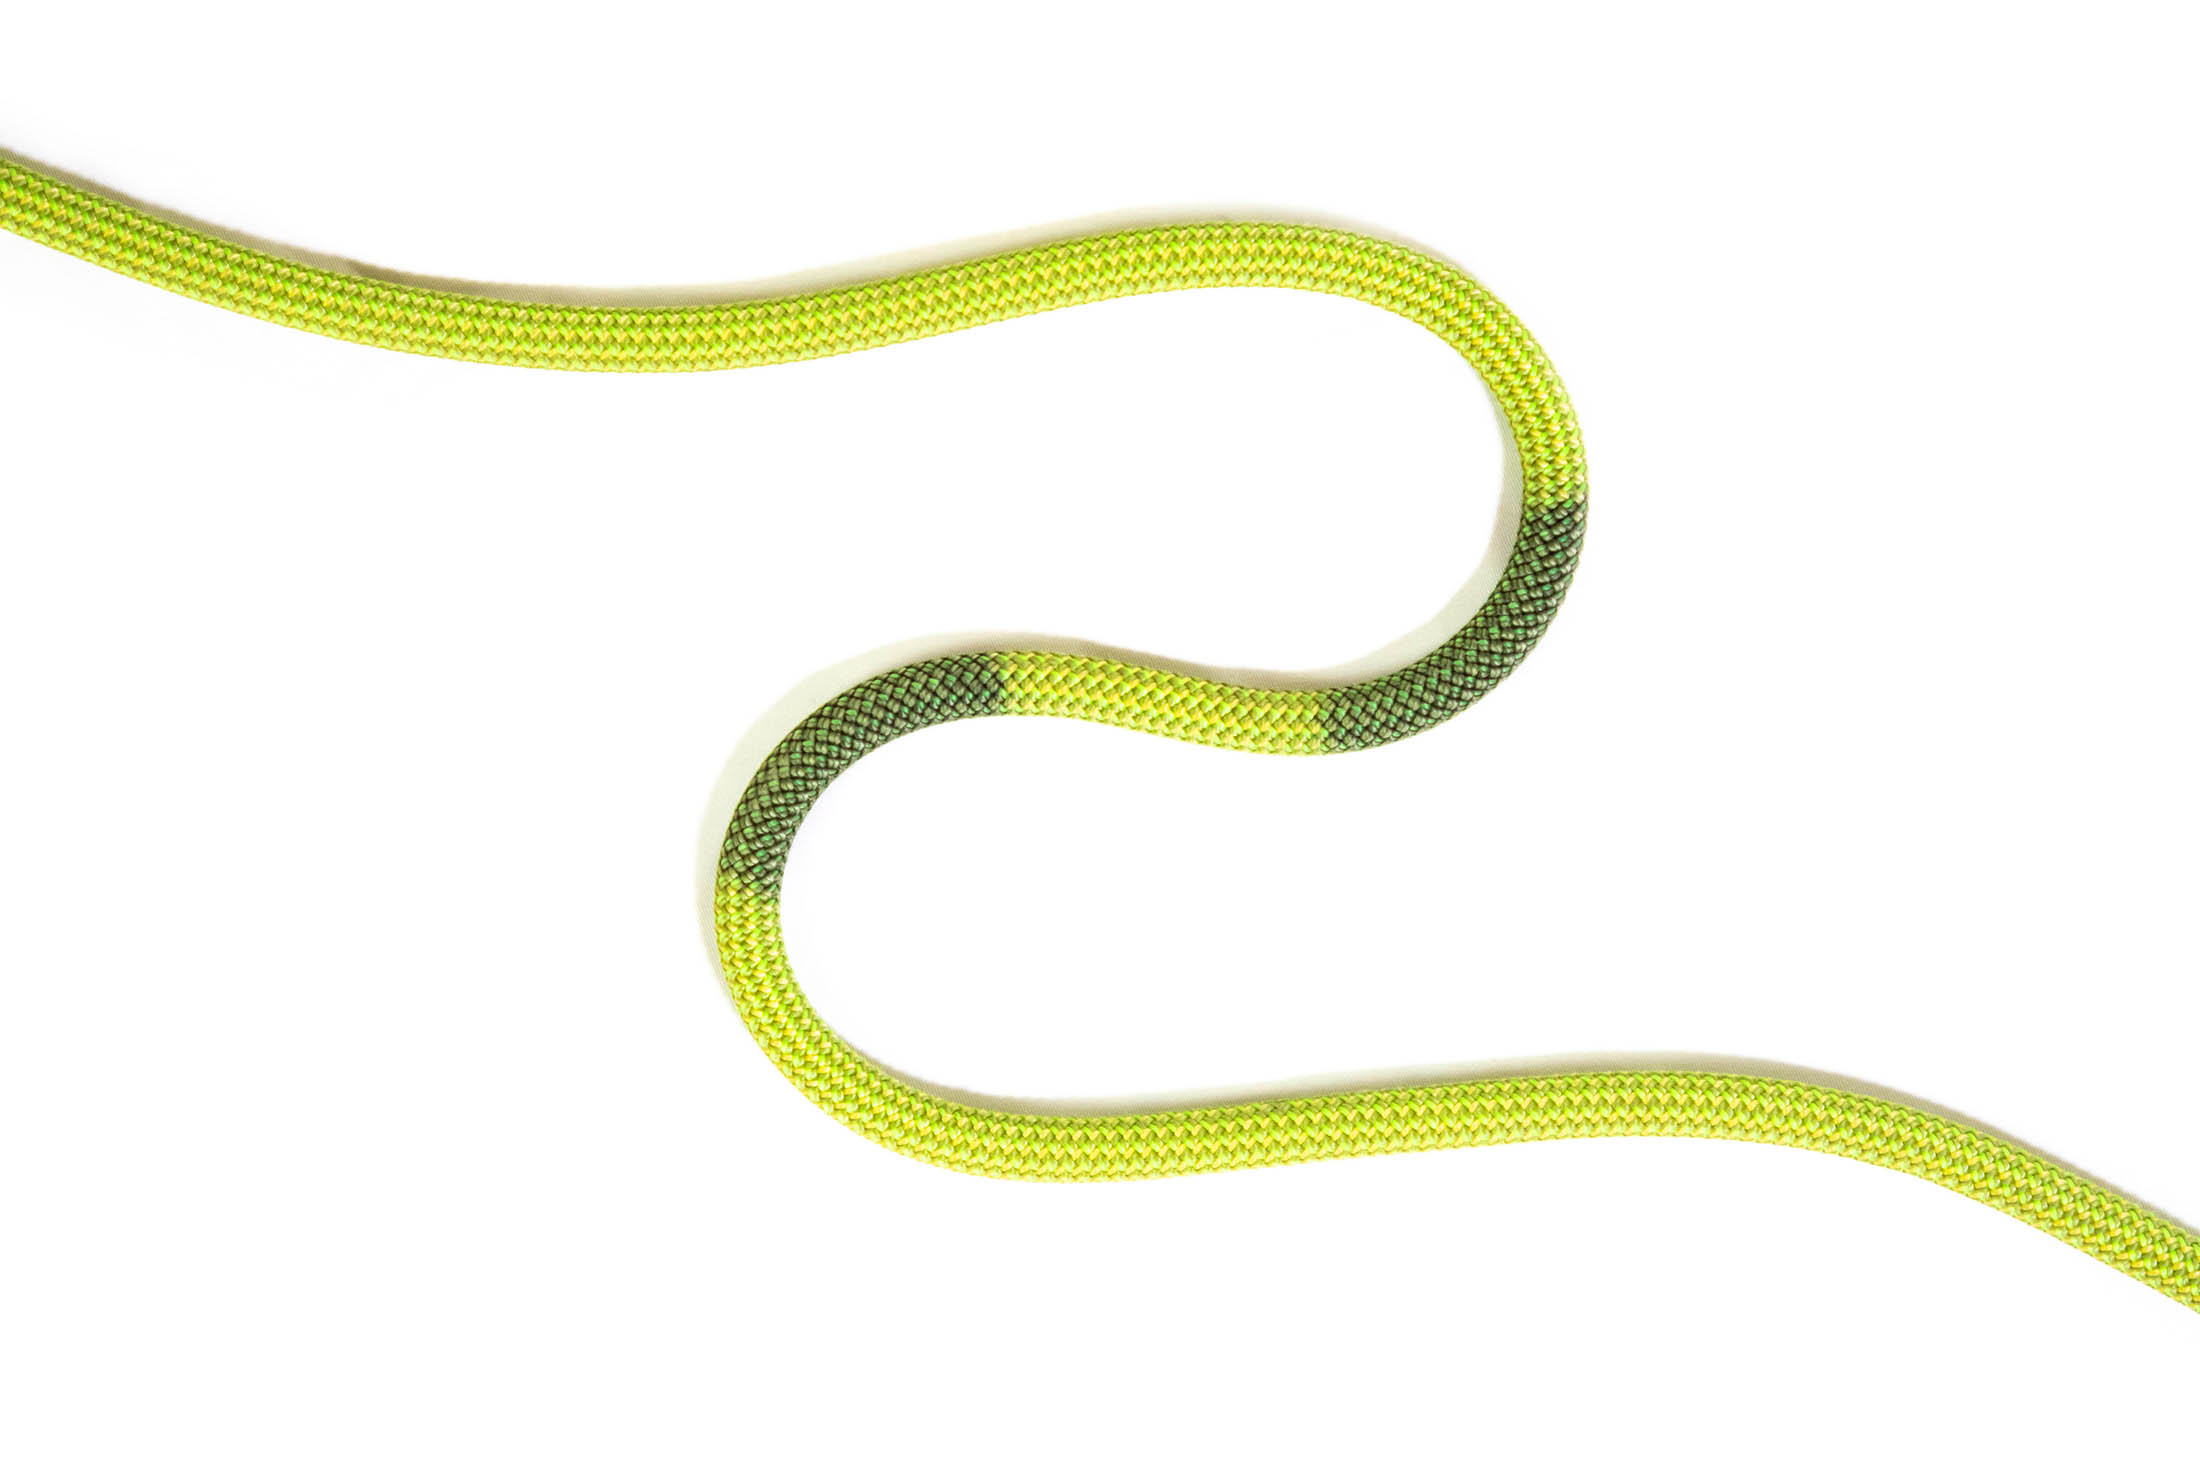
All climbing ropes are dynamic, meaning that they elongate when subjected to a load. It’s this stretch that allows for a nice soft catch. Static ropes don’t stretch, which makes them as forgiving as a cable bungee cord. Do not climb on a static rope. These are intended only for caving, canyoneering, and other activities in which you might ascend the rope itself. There are three different types of dynamic climbing rope – single, half and twin. When starting out, you need a single rope. Beyond this, I recommend looking for the following specifications.
Diameter
As a new climber, you’re probably going to subject your rope to a lot of wear and tear. Even if you are past the top-rope phase (which can wear a rope even harder than leading), you’re going to hang and fall on it a lot. Do not get a rope thinner than 9.8. A diameter of 9.8 to 10mm will give you the right balance of durability and weight.
Length
Most ropes are produced in 60m and 70m. The best option for you will depend on the length of routes in the areas you climb as well as your preferred style. Multi-pitching with a 70m rope can be a hassle, and you’ll never need that extra ten meters unless your rappel stations are more than 30m apart.
Coating
Some ropes come with a ‘dry’ or ‘double dry’ coating that helps prevent the absorption of moisture (which reduces strength and adds weight). But the benefits of a dry rope don’t stop at keeping a rope dry – these coatings also improve durability, and dry ropes take longer to get fuzzy. The coating eventually wears, but by then it has already prolonged the life of your rope.
Rope bag ($30 - $45)
All purpose-made rope bags should have a built-in or detachable rope mat. This keeps your rope out of the dirt and prolongs its life. A rope mat also makes it easy to bundle your rope up and move it from one route to the next.
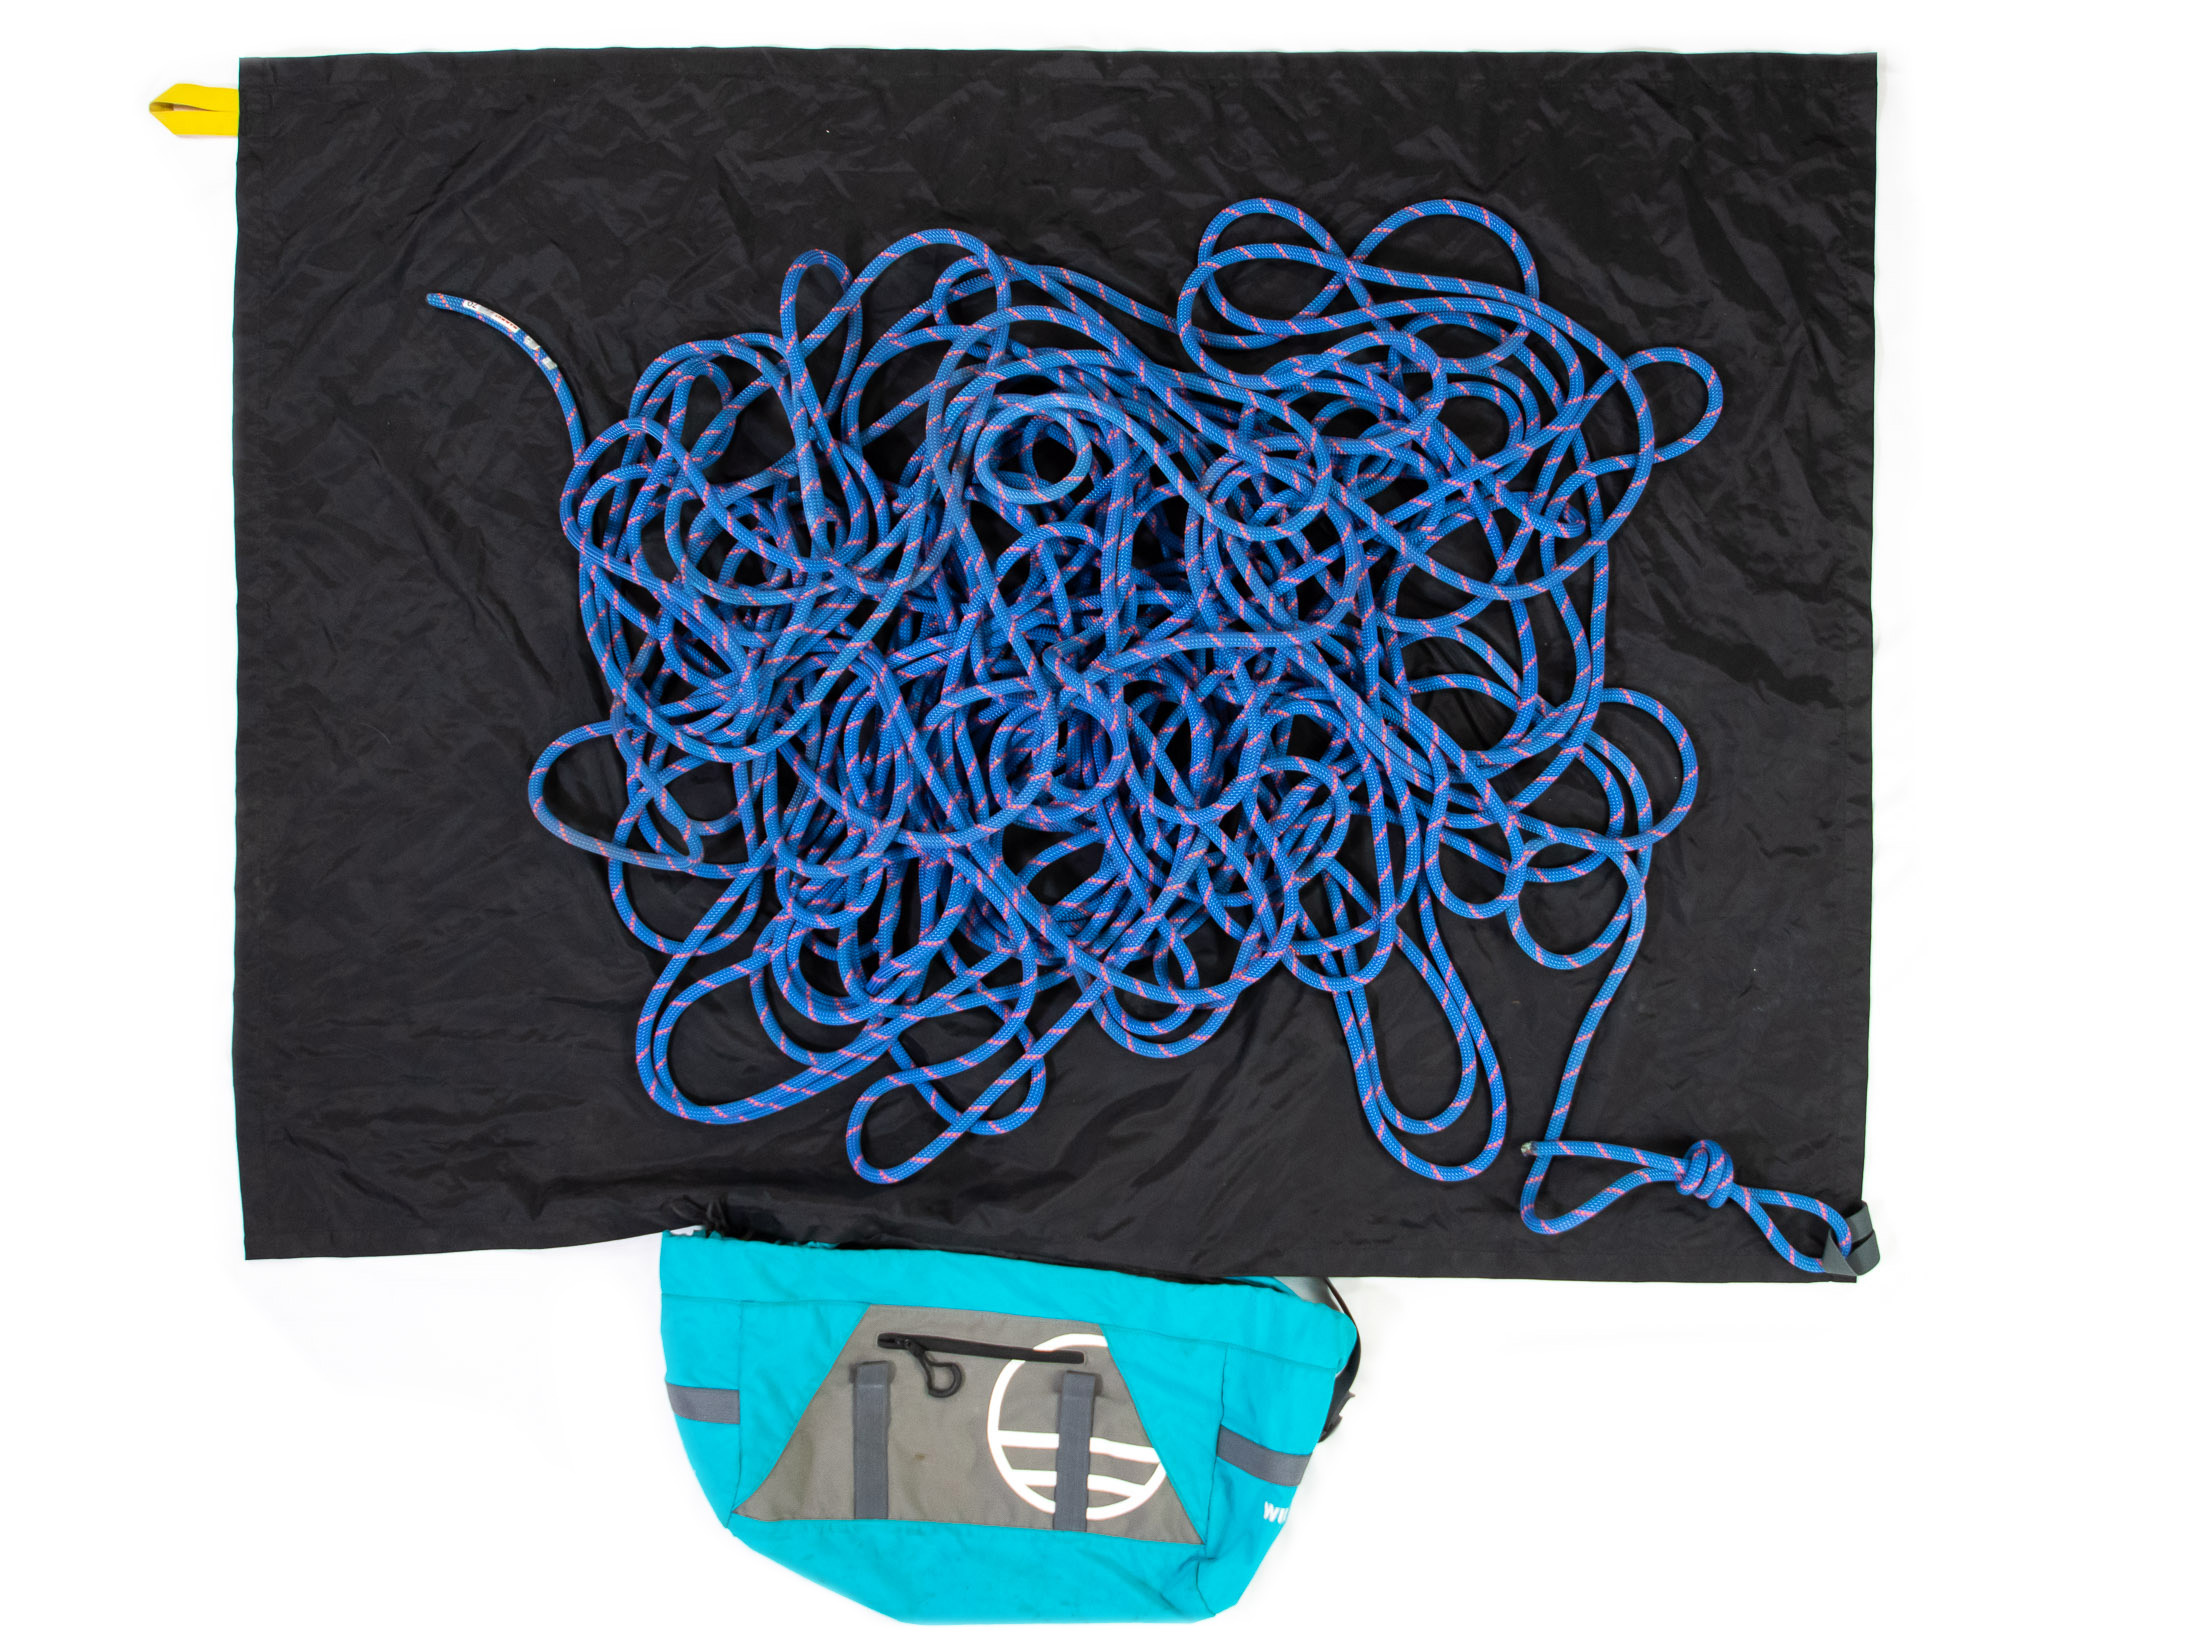
Some rope bags have a single strap like a duffle bag, while others have shoulder straps like a backpack. The shoulder strap design makes sense especially if you and your partner will put all your gear minus the rope into a single crag bag. With this arrangement one of you will carry the crag bag while the other carries the rope bag. If the rope bag is going to go inside your crag bag, choose one that is easy to stuff into the bigger bag.
Quickdraws ($170 - $275 for a dozen)
Whereas a rope will last you a few seasons, your quickdraws should last you a lifetime. Given that you’ll probably have these for the rest of your climbing career, it makes sense to buy the best you can afford. But before you go splurging on new draws, it helps to know how different types of quickdraw are suited to certain styles of climbing. If you’re going to throw yourself at hard sport routes, look for quickdraws with full-sized carabiners, thick dogbones, and a keynose carabiner on the bolt-side carabiner (makes for easier cleaning).
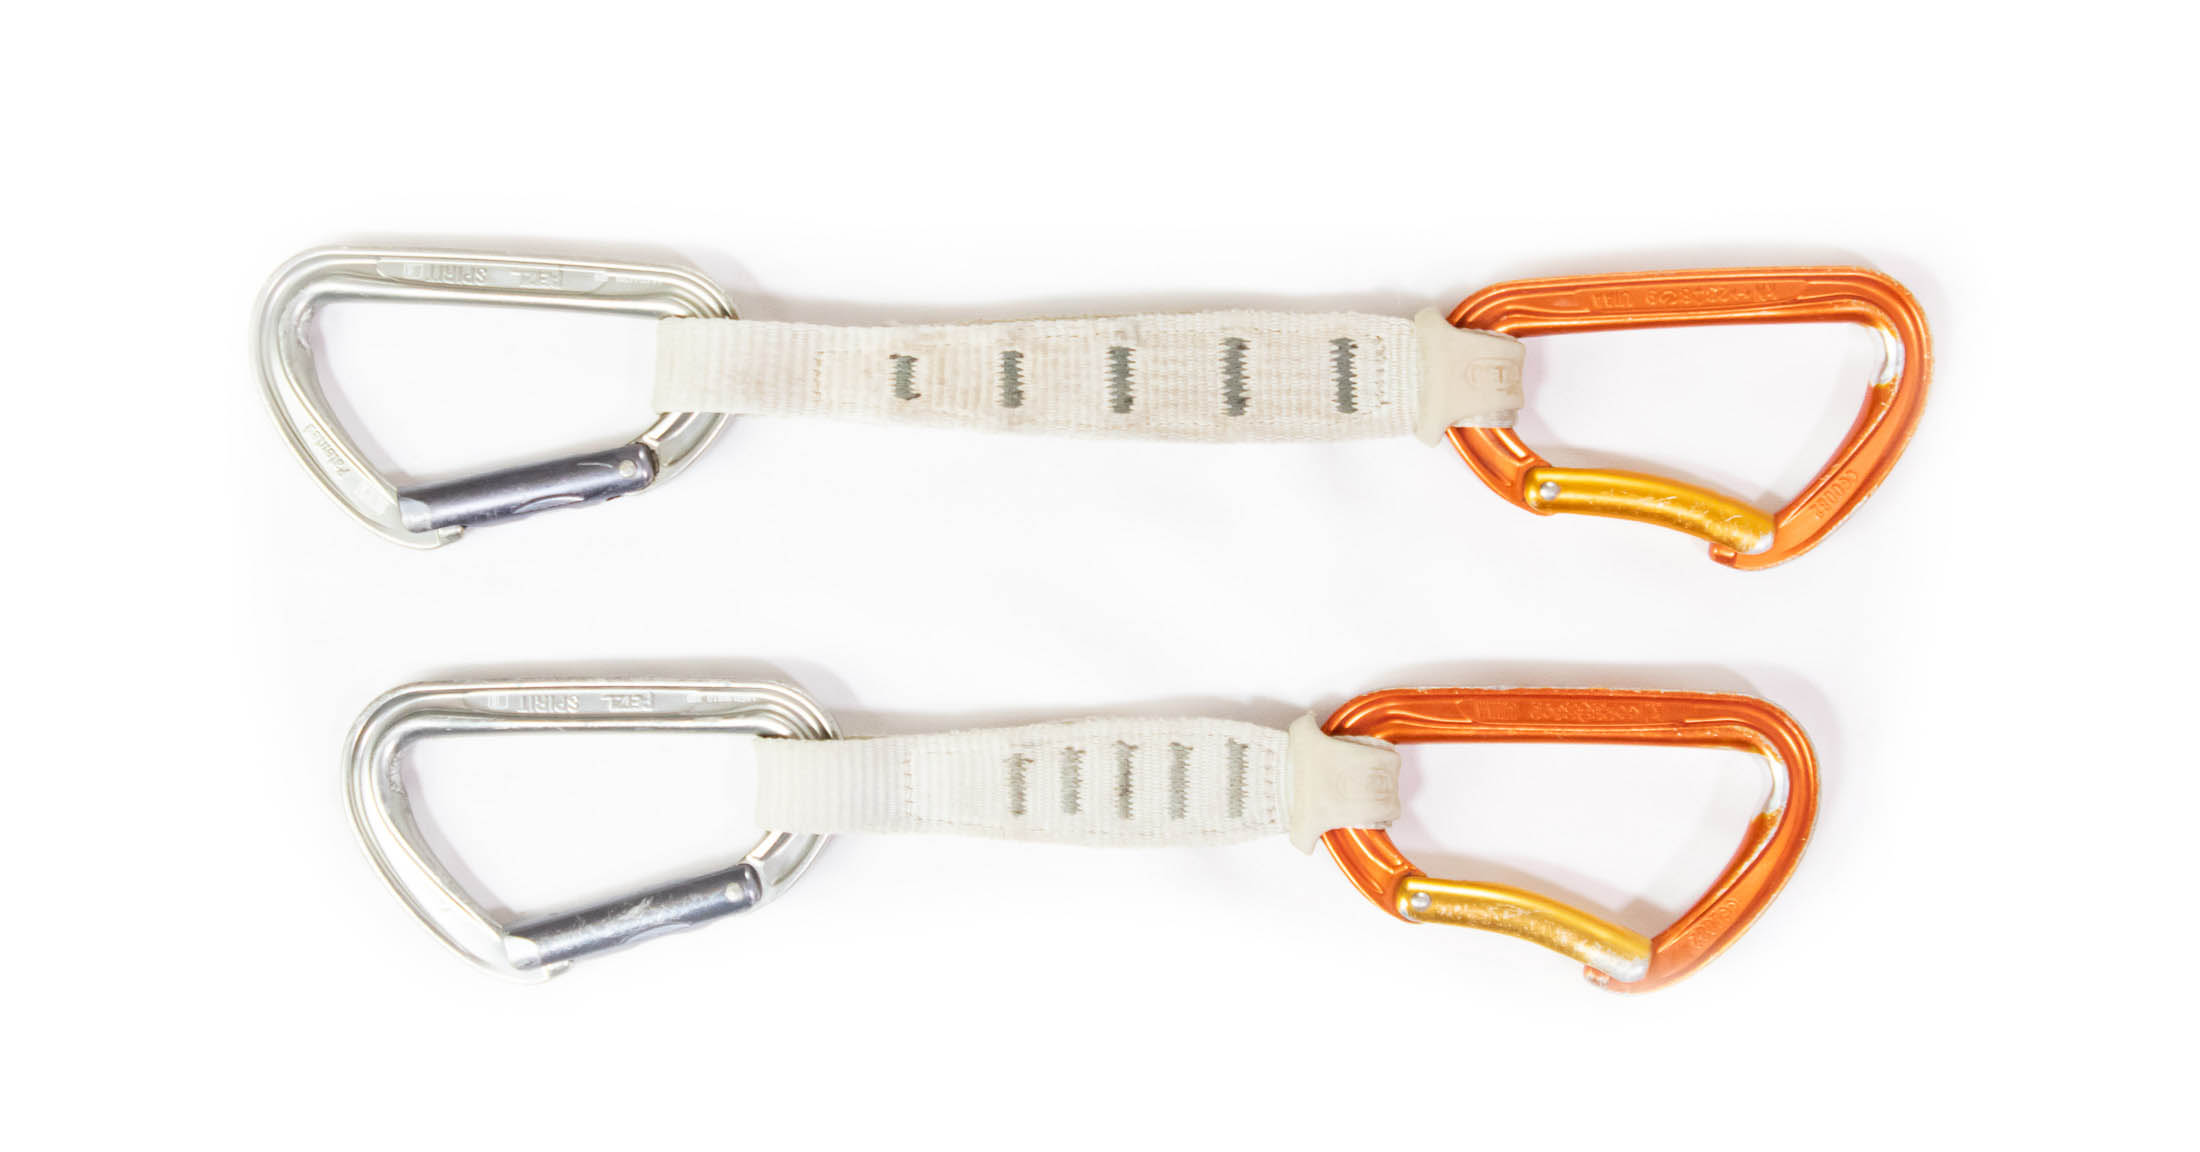
If, on the other hand, you will eventually also want to use your draws for trad climbing, weight will be more of a factor, and a set of light wiregate quickdraws can help you keep the weight of your rack down. Many lighter quickdraws achieve their low weight by incorporating small carabiners. These might be great in an ultralight trad rack, but if you want one set of draws for both trad and sport, I would recommend a set of full-size wiregates, which will balance low weight with better handling – smaller carabiners can be fiddly.
PAS – Personal Anchor System ($5 - $33)
You’ll also need a leash or personal anchor system to secure yourself to top anchors when you clean a route or set up a rappel. A 60cm nylon sling makes a suitable leash, but an adjustable PAS can make things easier especially when top anchors are in an awkward position. Here I’ve shown the Petzl Connect Adjust, which is the easiest to use of the different types of personal anchors systems. For a full account of the pros and cons of the different types of adjustable leash, see my guide to personal anchor systems.
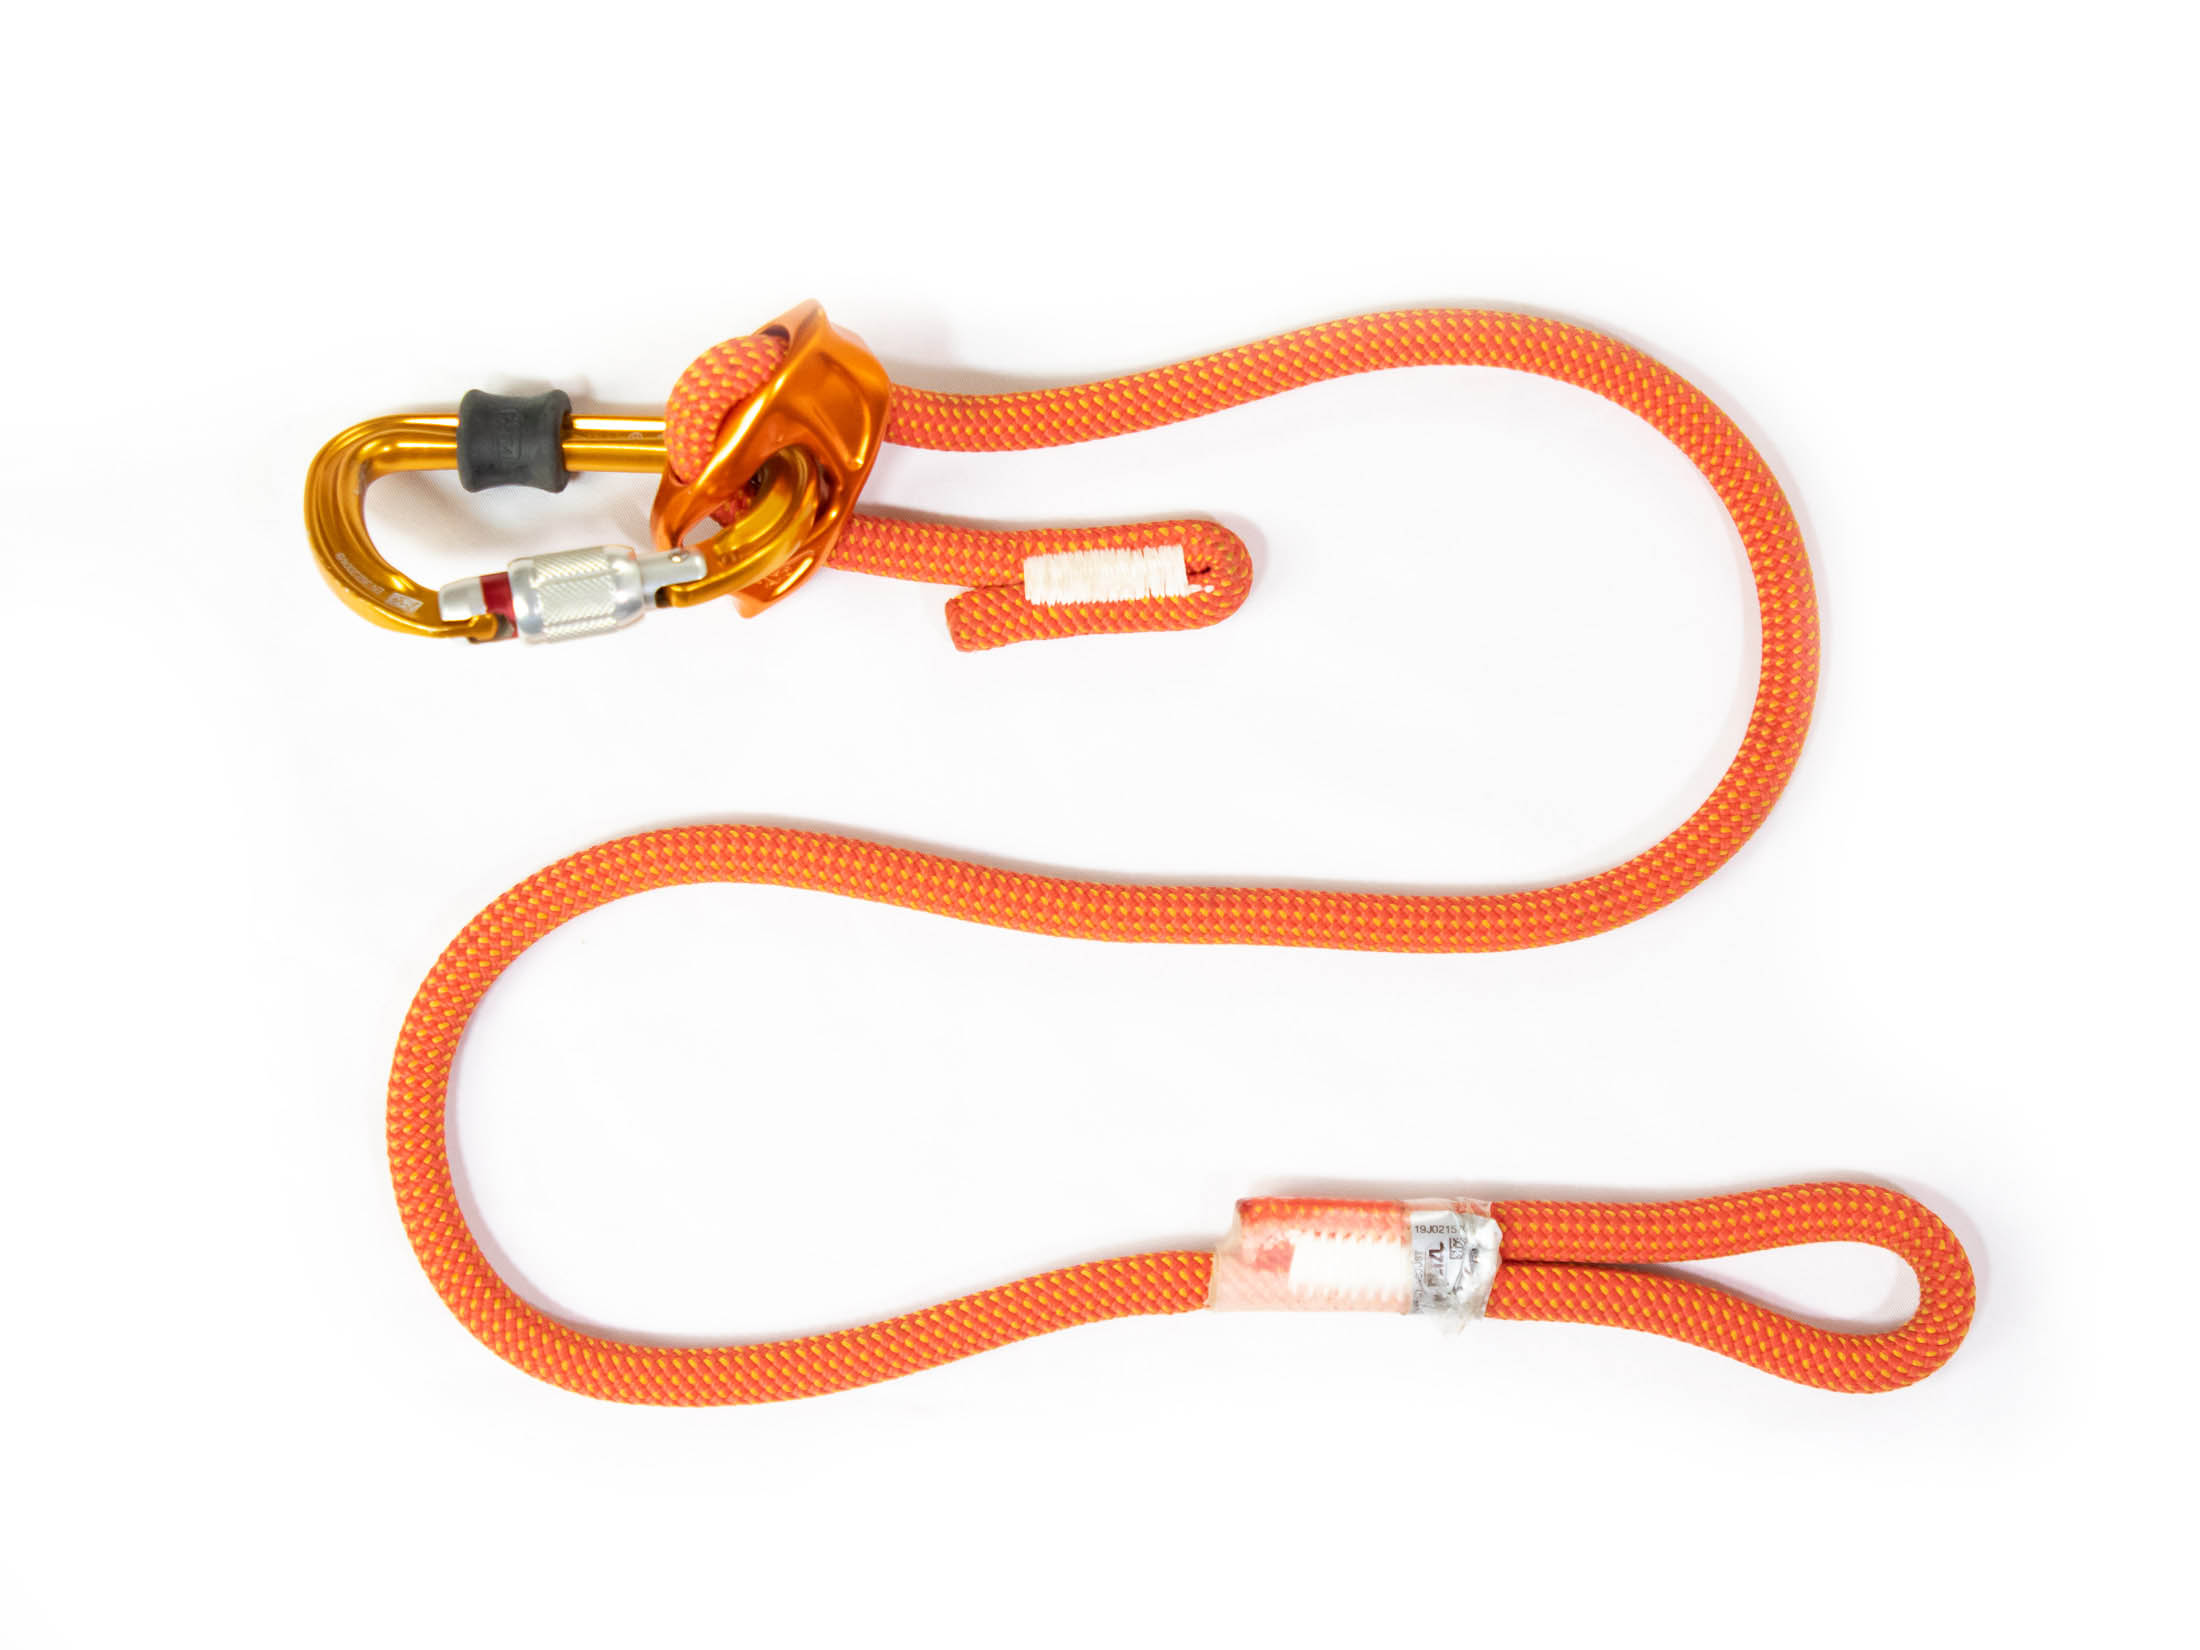
If you are going to clean top-rope anchors using the second technique described in my article on how to clean, you will need two leashes. In this case, a sling and PAS can work well together. It’s best to equip your leash or PAS with a small keynose screwgate carabiner.
Crag bag ($120– $190)
You could put your climbing gear into any old bag (and you probably will at first), but eventually you’ll want a bag that you can trust – one that won’t spill your gear onto the trail behind you as you return to the car after a hard day’s cragging. A good climbing backpack has around 50 litres of capacity, an effective hip belt (earlier models only had webbing for a waist strap), and a flat base so that it can be stood upright while you rummage about inside it.
You could also use a regular hiking backpack, but there’s an important difference between a hiking pack and one designed for climbing. Besides being flat bottomed (most at least), crag bags have to withstand being dragged around, dropped on the ground, and squeezed through tight passages. To stand up to this kind of treatment, climbing packs are generally made of material that is more durable than that used in the construction of hiking packs.
Approach shoes ($95 - $135)
Maybe you already have a pair of trainers that get you to the crag just fine. But then again, maybe you’d like to feel a little more sure-footed where it really matters – when you’re NOT tied into the rope. If the thought of an airy unprotected traverse has you reconsidering the technical abilities of your current trail shoes, you’d probably be better off with a pair of approach shoes.
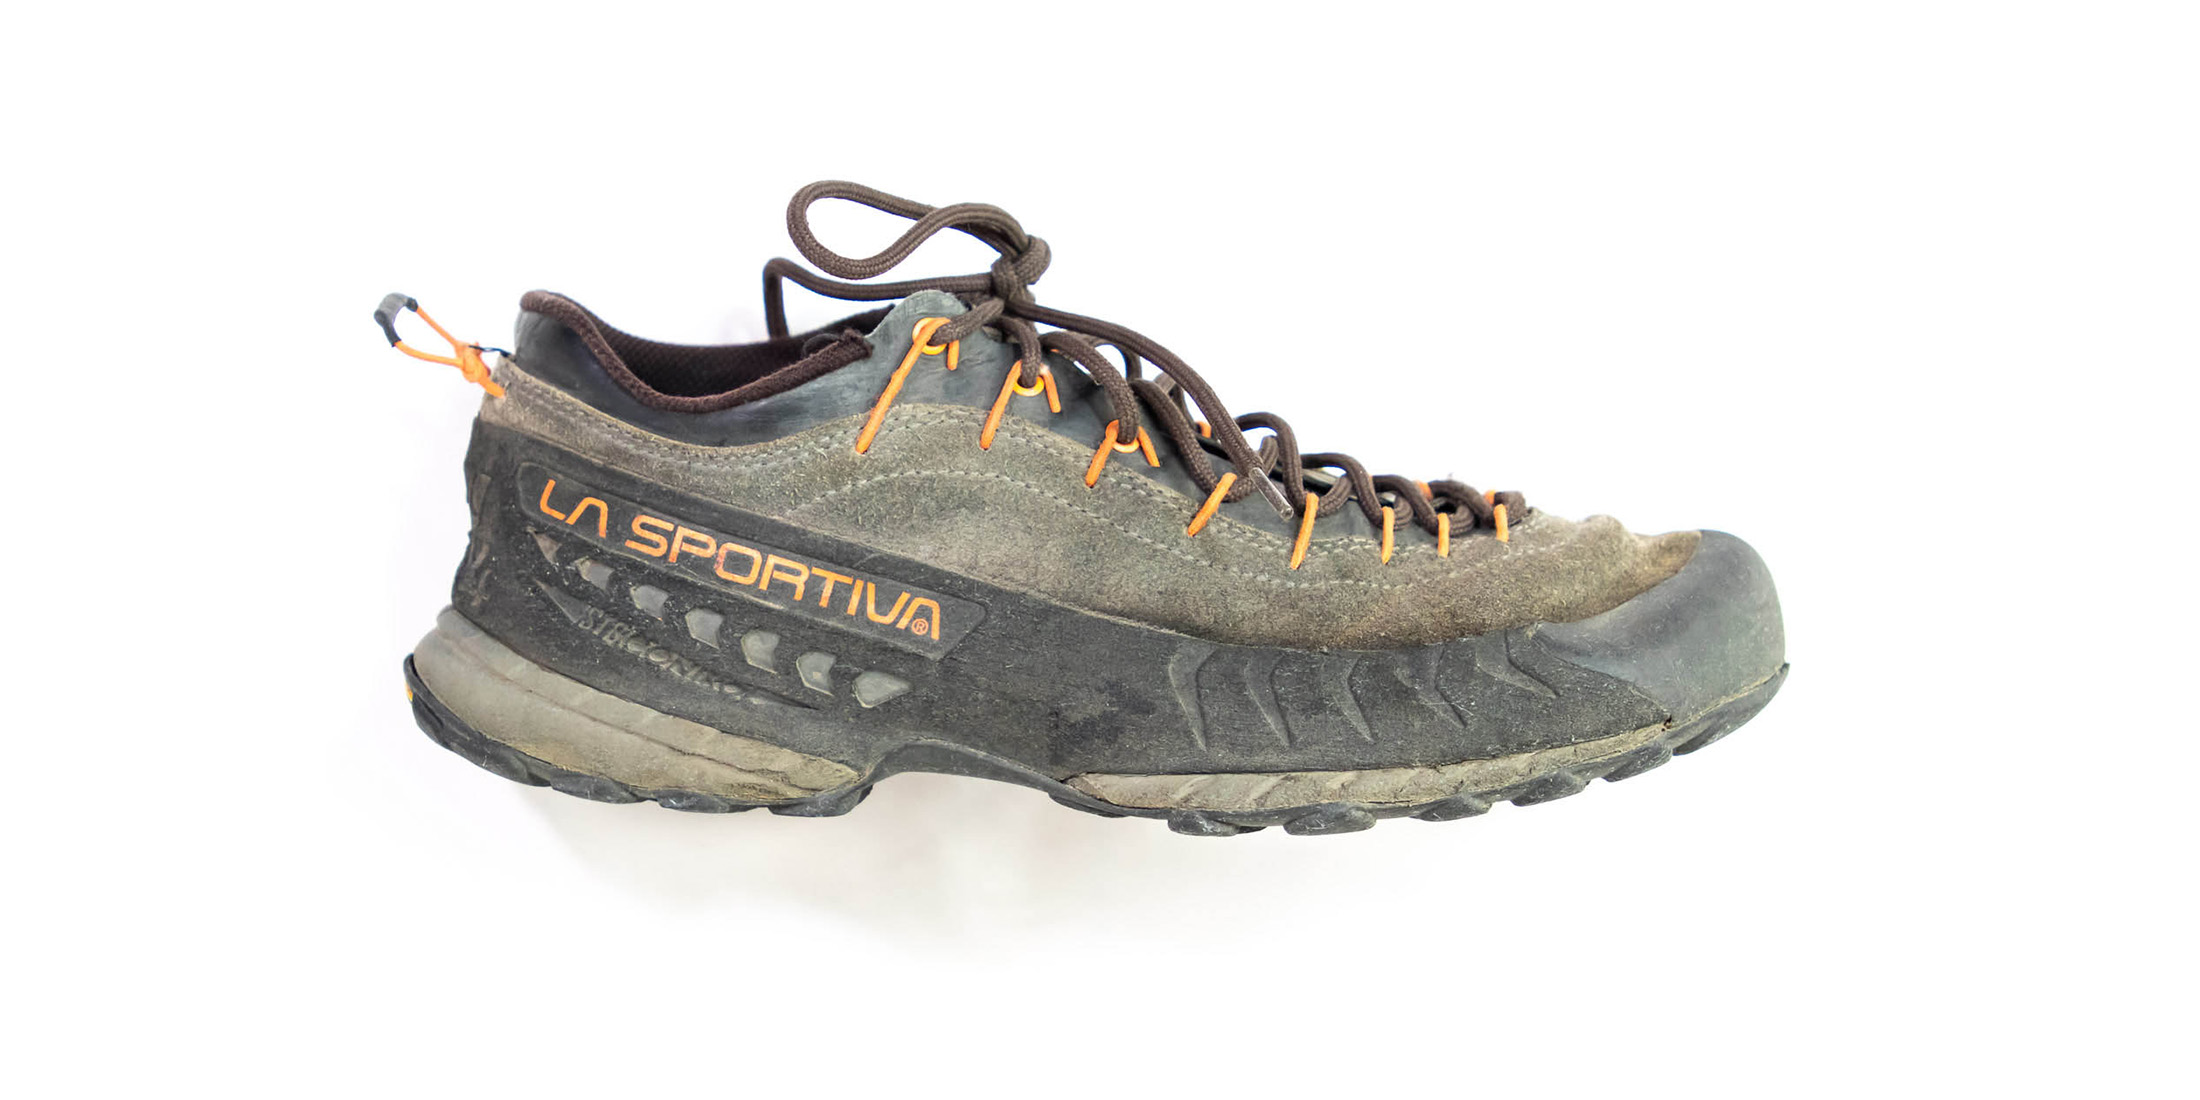
Approach shoes look a lot like trail runners, but they have sticky rubber soles that are designed to give you an edge when scrambling around craggy areas. They’re generally made by the same companies that make rock shoes and have been designed specifically for this purpose. The only downside to approach shoes is that their softer sticky rubber soles wear faster. If you do a lot of hiking, it would be best to have a separate pair of hiking shoes to spare your approach shoes those many, less technical miles.
Helmet ($60 - $100)
A helmet can protect your head in the event of a rock fall or upside-down lead fall, and many climbers wear a helmet when multi-pitch climbing or trad climbing. That said, it’s always a good idea to wear a helmet. Fortunately, helmet design has come a long way in recent years, and most modern climbing helmets aren’t nearly as dorkish as they once were. But also, you shouldn’t let your sense of style put you off protecting your grey matter. It’s far better to look like a mushroom than act like a vegetable.
Nice-to-haves
You could get away without these, but they would make your whole climbing experience more enjoyable. The first item here is trad specific, but the next two would benefit any climber.
Crag shoes ($20 - $65)
Without a pair of crag shoes, you’ll either have to go barefoot between climbs or put on and take off your approach shoes repeatedly. Some climbers use flip flops, which are both cheap and compact. But they don’t protect your toes, and a bloody toe can end a climbing session just as quickly as a more serious injury. For all-round protection that won’t take up a lot of space in your crag bag, consider a pair of canvas-covered sandals like Sanuk Sidewalk Surfers.
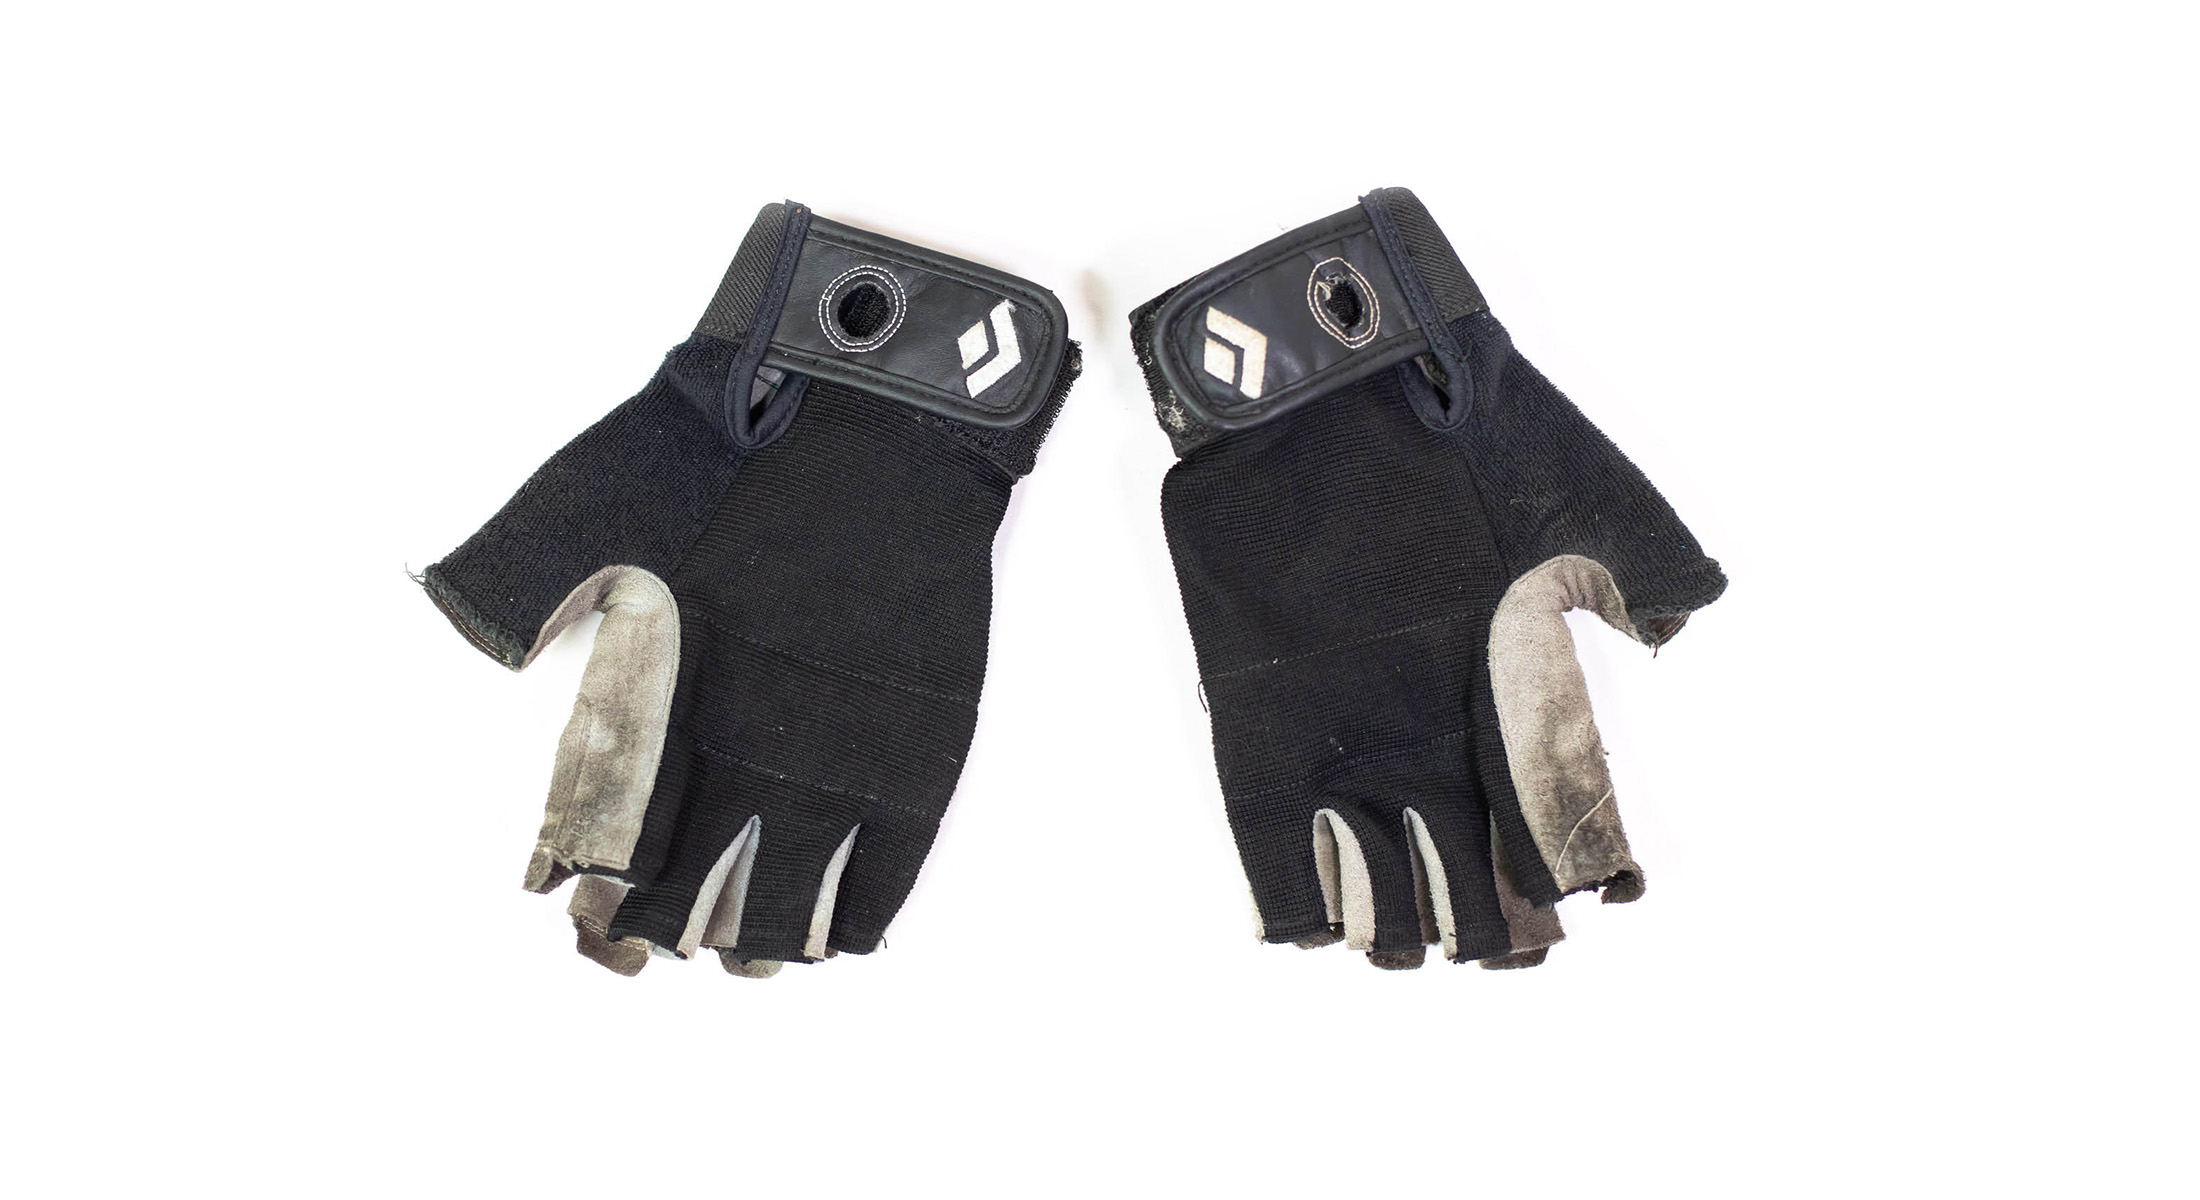
Belay gloves ($30 - $70)
Belay gloves can help you grip the rope securely when you really need to – like when catching a big fall. But they can also prevent abrasions to your hands when you belay with a stiff or gritty rope.
Belay glasses ($45 - $90)
Belaying can literally be a pain in the neck. Luckily, the solution is simple. A pair of belay glasses negates the need to look up. Their prism lenses direct your line of sight upwards and at your climber.
Nut tool ($15 - $20)
If you regularly follow on trad routes, it would be good to have one of these. It’s used to remove passive protection like nuts. If you have butterfingers, a leash will prevent you from dropping it. You can consider this the start to your trad rack.
Marking your gear
There are only so many models of carabiners, quickdraws and belay devices out there, and it’s inevitable that at some point your gear will become mixed up with somebody else’s. Do yourself a favor by marking your gear (particularly your hardware) to distinguish it from everyone else’s. Regular tape and nail polish eventually wear off. For a hard-wearing solution, consider 3M Scotchcal Series 220 premium vinyl, Trango Tags, or, for the longest-lasting solution, car touch up paint.
Safety ratings
All load-bearing climbing gear should be CE certified, which shows that it has been tested to meet safety standards specified by the UIAA. Don’t climb on gear that isn’t actually designed for climbing.
Get more advice from this gearhead
That’s it – everything you need to get you started. Now all you need to do is compile your wish list. If you still need some help deciding on a harness or pair of rock shoes, you can find many more climbing gear guides under that Gear section in the sidebar. You can get the latest from Trail & Crag delivered straight to your inbox by signing up for my monthly newsletter.
