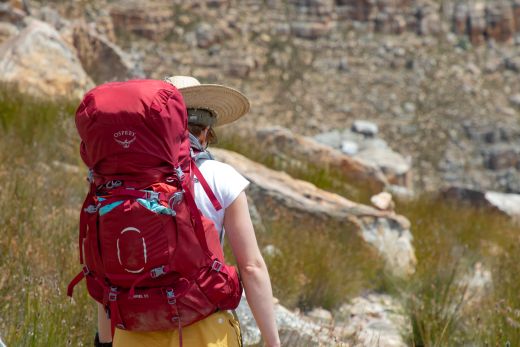
Choosing the right backpack is one of the most important decisions you’ll make when gearing up for a trip. Besides having the right capacity for the amount of kit you expect to carry, the right pack will be comfortable to wear, and have features that suit your approach – fast & light or fully kitted. In this very comprehensive gear guide, I look at how these key aspects of backpack design can help you narrow down your choices when you choose your next (or first) pack. On that note, new backpackers should know that this is only one article in a whole series created for first-time backpackers. Next in this series are guides on what to pack for an overnight hike and how to pack a backpack. Read them all, and you’ll be a lot better prepared for your first overnight hike.
Traditional vs ultralight backpacks
Over the past 20 years, certain advancements in the manufacturing industry have made it possible to make gear that is lighter and, in some cases, more compact. These developments have, in turn, driven a trend that has seen backpackers reducing their base weights and using packs with less volume. This lightening of kit was welcomed by all, but then there were still some performance-focussed adventurers who weren’t content with a mere 7-pound reduction. They wanted to go properly light, take the pace up a notch or two, and put in average daily miles that just weren’t possible before. So they eschewed the little luxuries carried by most backers, bought only the very lightest gear (still only packing the bare minimum), and then still resorted to weight-saving hacks like sawing off their toothbrush handles.
How are ultralight packs different to regular packs?
Of course, there’s little point to saving 0.5 ounces on a shortened toothbrush when the pack itself is a lot heavier than it needs to be. So some gear designers started making packs with lighter materials and did away with some of the features commonly seen on fully-featured packs. In keeping with the bare essentials philosophy of the budding fast & light movement, these stripped down packs incorporated only the most necessary features. Low-volume models did away with frames, padded hip belts, sleeping bag compartment, compression straps, and tool attachment points. And because they had roll-top closures, pack lids with zippered compartments weren’t even an option.
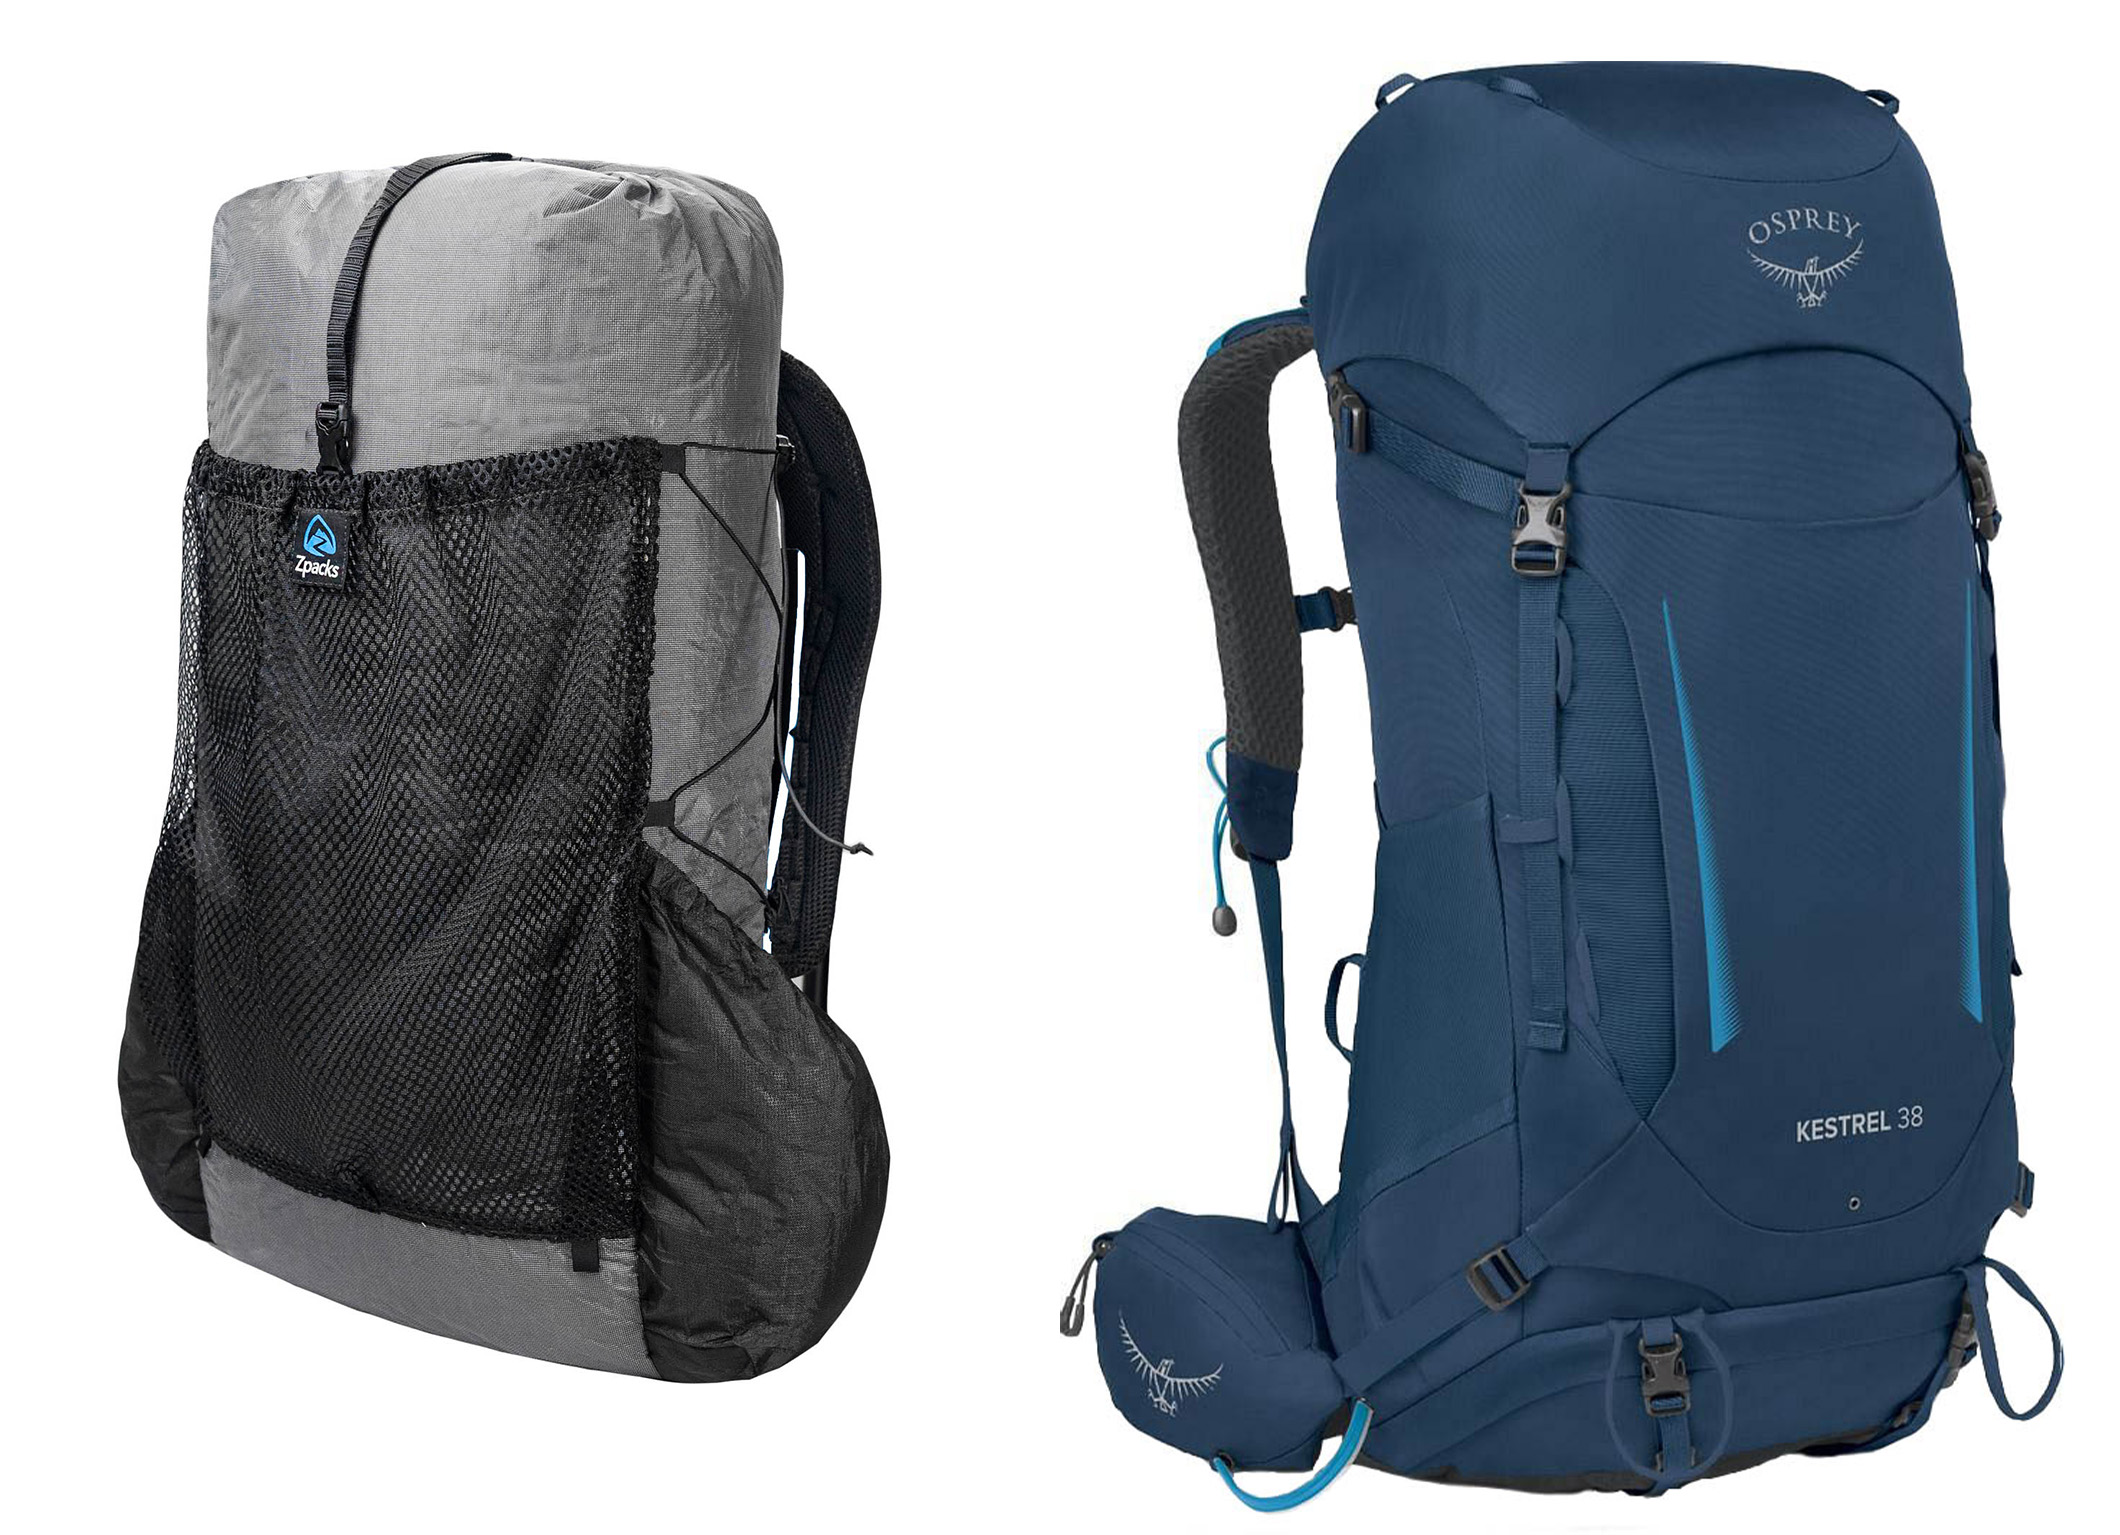
Did the ‘light is right’ advocates miss these features? Hardly, especially since they’d just reduced the weight of their packs by 2.5 lb. But of course, this fast & light approach is not for everyone. Some backpackers simply prefer to spend more time on the trail and don’t mind carrying several extra pounds if it means being able to enjoy their creature comforts when they make camp. Other hikers might not have the experience necessary to put together a kit that meets their needs and keeps weight and bulk to a minimum. The decision to go ultralight or even just light is one that needs careful consideration – one that factors in your preferred comfort level, experience, and objectives.
When to not use an ultralight pack
It’s important to consider the base weight of your kit before deciding between an ultralight and fully-featured pack. Because low-volume ultralight packs lack supportive hip belts, they’re only good for carrying a total weight up to 20 pounds. If your pack weight is going to be heavier than this, I’d recommend a fully-featured pack. If, on the other hand, you need a pack with more volume, you might still be able to use an ultralight pack with a carbon frame. The difference in weight between an ultralight 60 liter pack and regular 60 liter pack is around 3 lb (1.4 kg) – an 11% difference in pack weight if you start with 35 lb. For this you will give up a pack lid with a zippered pocket, a sleeping bag compartment, compression straps, and tool attachment points. Whether or not these sacrifices are worth the reduction in weight will depend on your personal preferences and priorities.
Volume
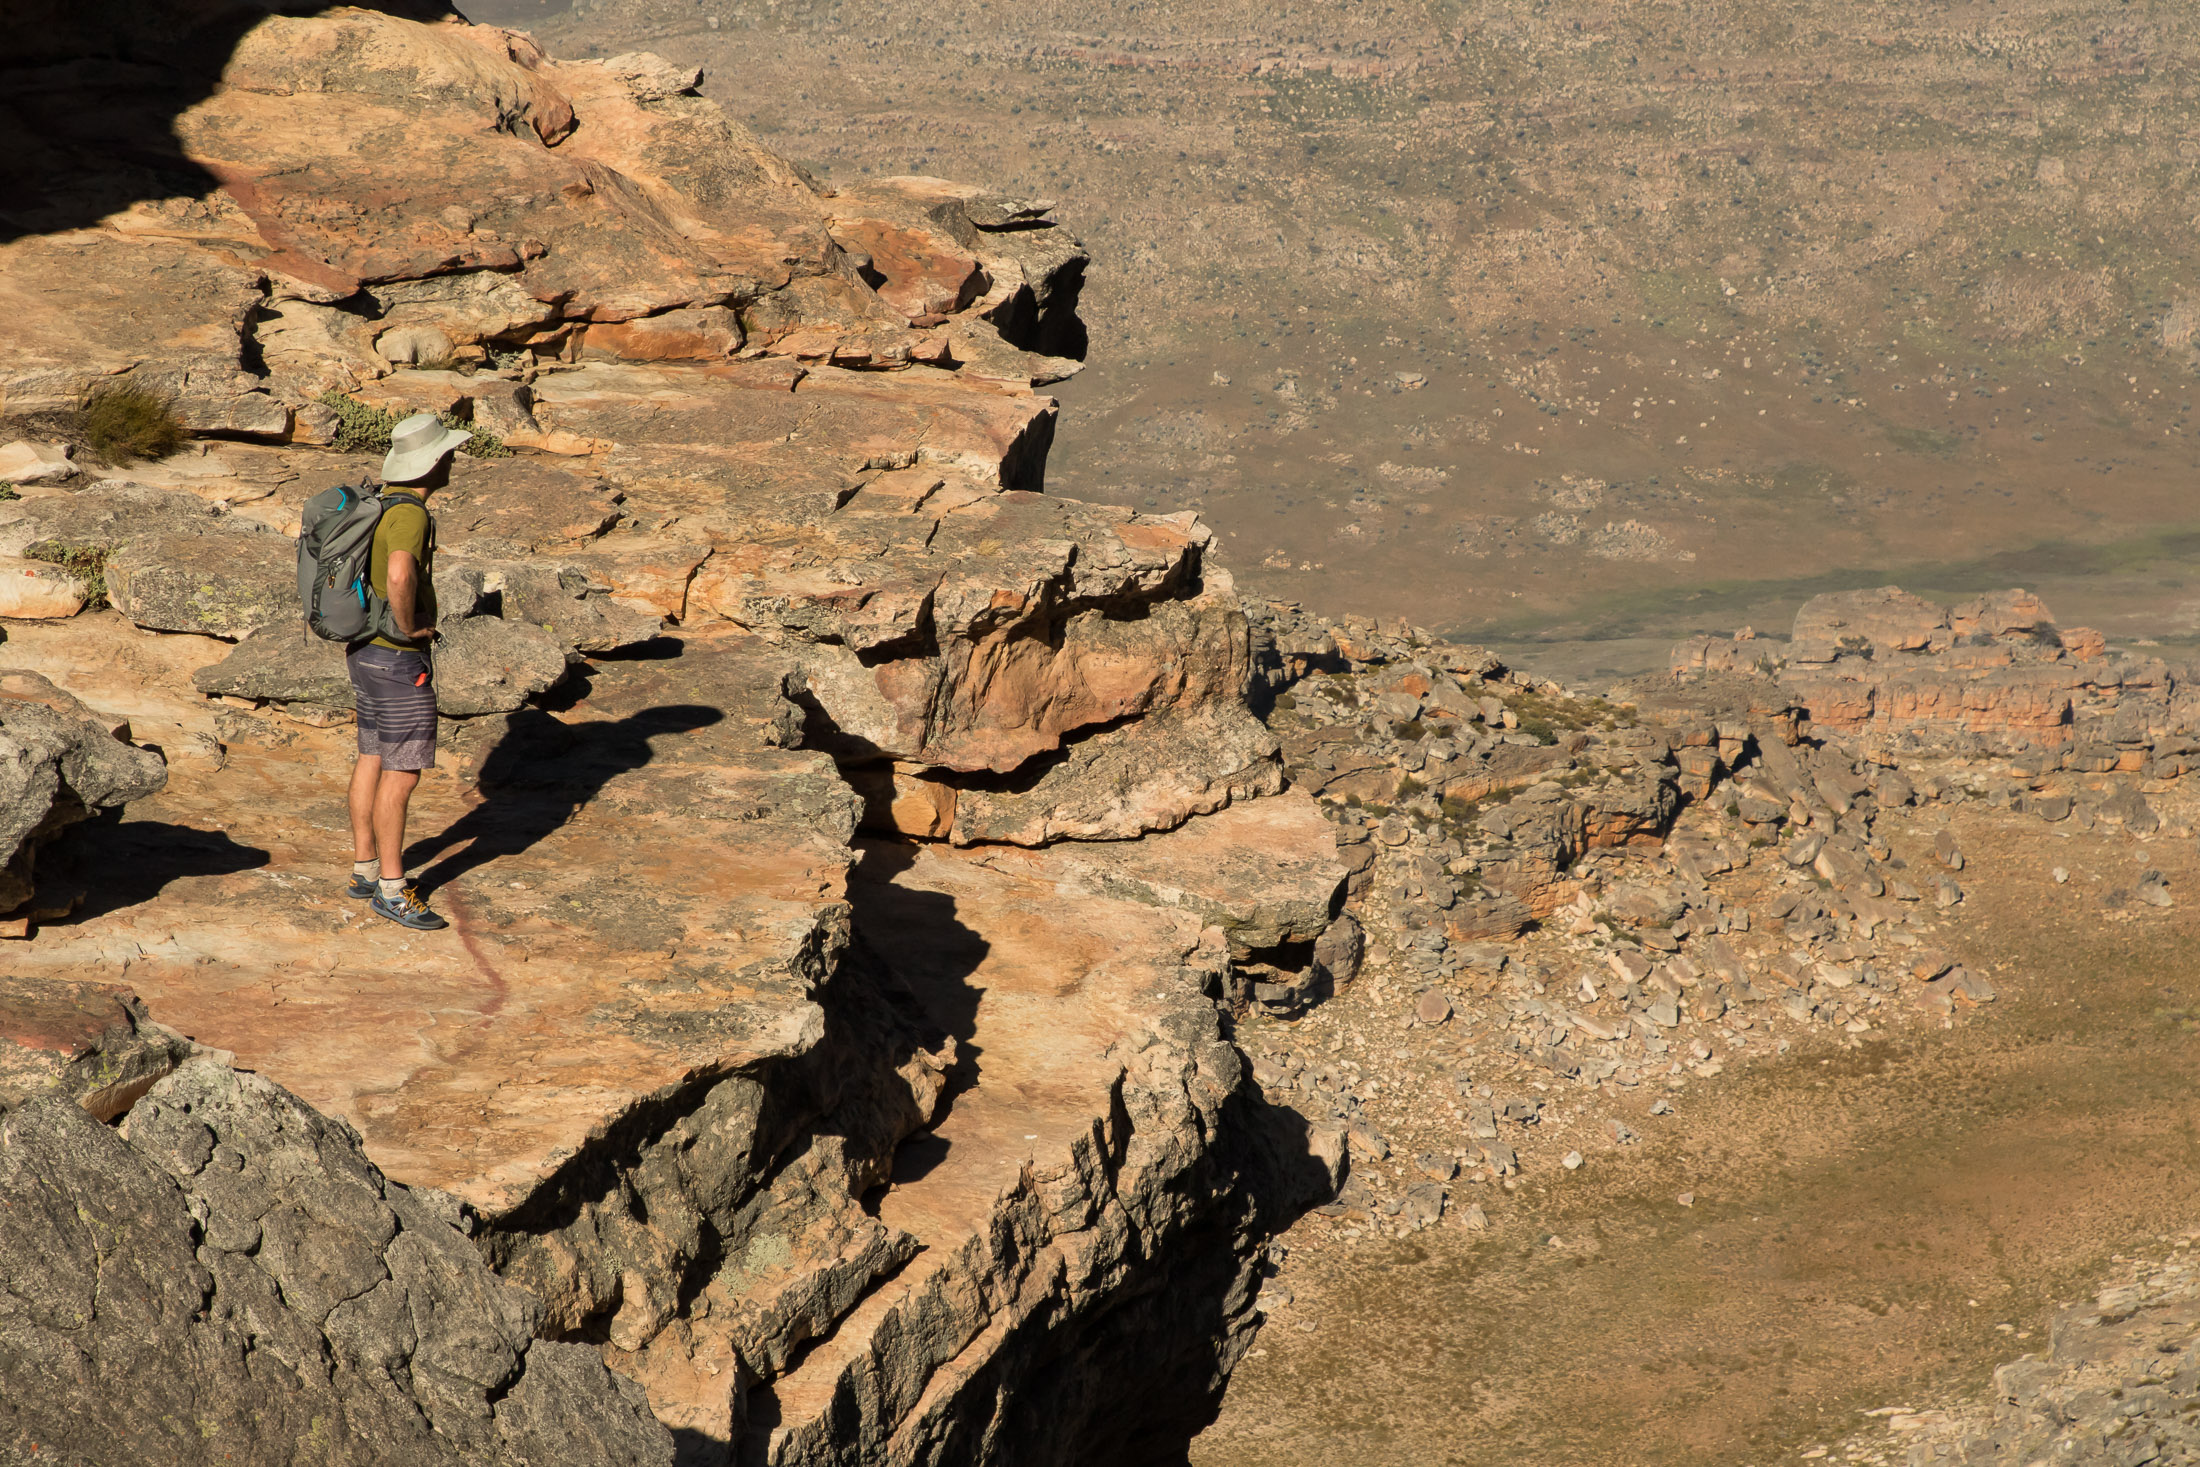
Along with fit, volume is one the most important factors to consider when choosing a new pack. Some online publications offer guidelines that recommend a pack of a certain size for a particular type of trip. ie 30 to 45 litres for a weekend trip. But in reality, deciding on a pack’s capacity isn’t that simple. Weather conditions, the distances between resupplies, and your approach – fast & light versus a more conservative pace with a full pack – all play a part in determining how much volume you need.
Factors to be considered when deciding on volume
When trying to estimate the total weight or bulk of the kit to be carried on a trip, you have to consider three factors: supplies, cold and wet weather gear, and your shelter or sleep system.
Food, water and fuel carried
The question shouldn’t be how long is your hike but rather how far will you hike between resupply points. Even though a thru-hiker can spend several months on a trail, she might be able to get away with carrying just a few day’s supplies at a time by opting to resupply in every town. A hiker heading into a remote wilderness area for a week, on the other hand, would have to carry everything with her. If you don’t know how much your food and supplies are likely to weigh, it would be a good idea to read my guide to backcountry meal planning next.
Wet and cold weather gear
Many seasoned backpackers will carry only one set of spare clothes to wear around camp, a strategy that keeps weight down while also ensuring they also have something dry and relatively clean to put on in the evening. If you take this approach, the only clothes that can add bulk and weight to your kit are layers that you might need in case of cold or wet weather. Exposure is a real risk, and you just can’t skimp here. Expect to pack more when preparing for a winter trip or one made in the shoulder seasons.
Type of shelter and sleep system
Your shelter and sleep system also contribute to the total weight and bulk of your kit in a very significant way. Tarps and ultralight shelters are lighter than freestanding tents, making them popular among ultralight hikers. But you might also hike from hut to hut, in which case you can do away with a shelter altogether. Lastly, your choice of sleeping bag will also affect the weight and bulk of your kit as there is a big difference in compressibility between a cheap synthetic bag and one filled with 900 fill power down.
Recommended pack volumes by type of trip
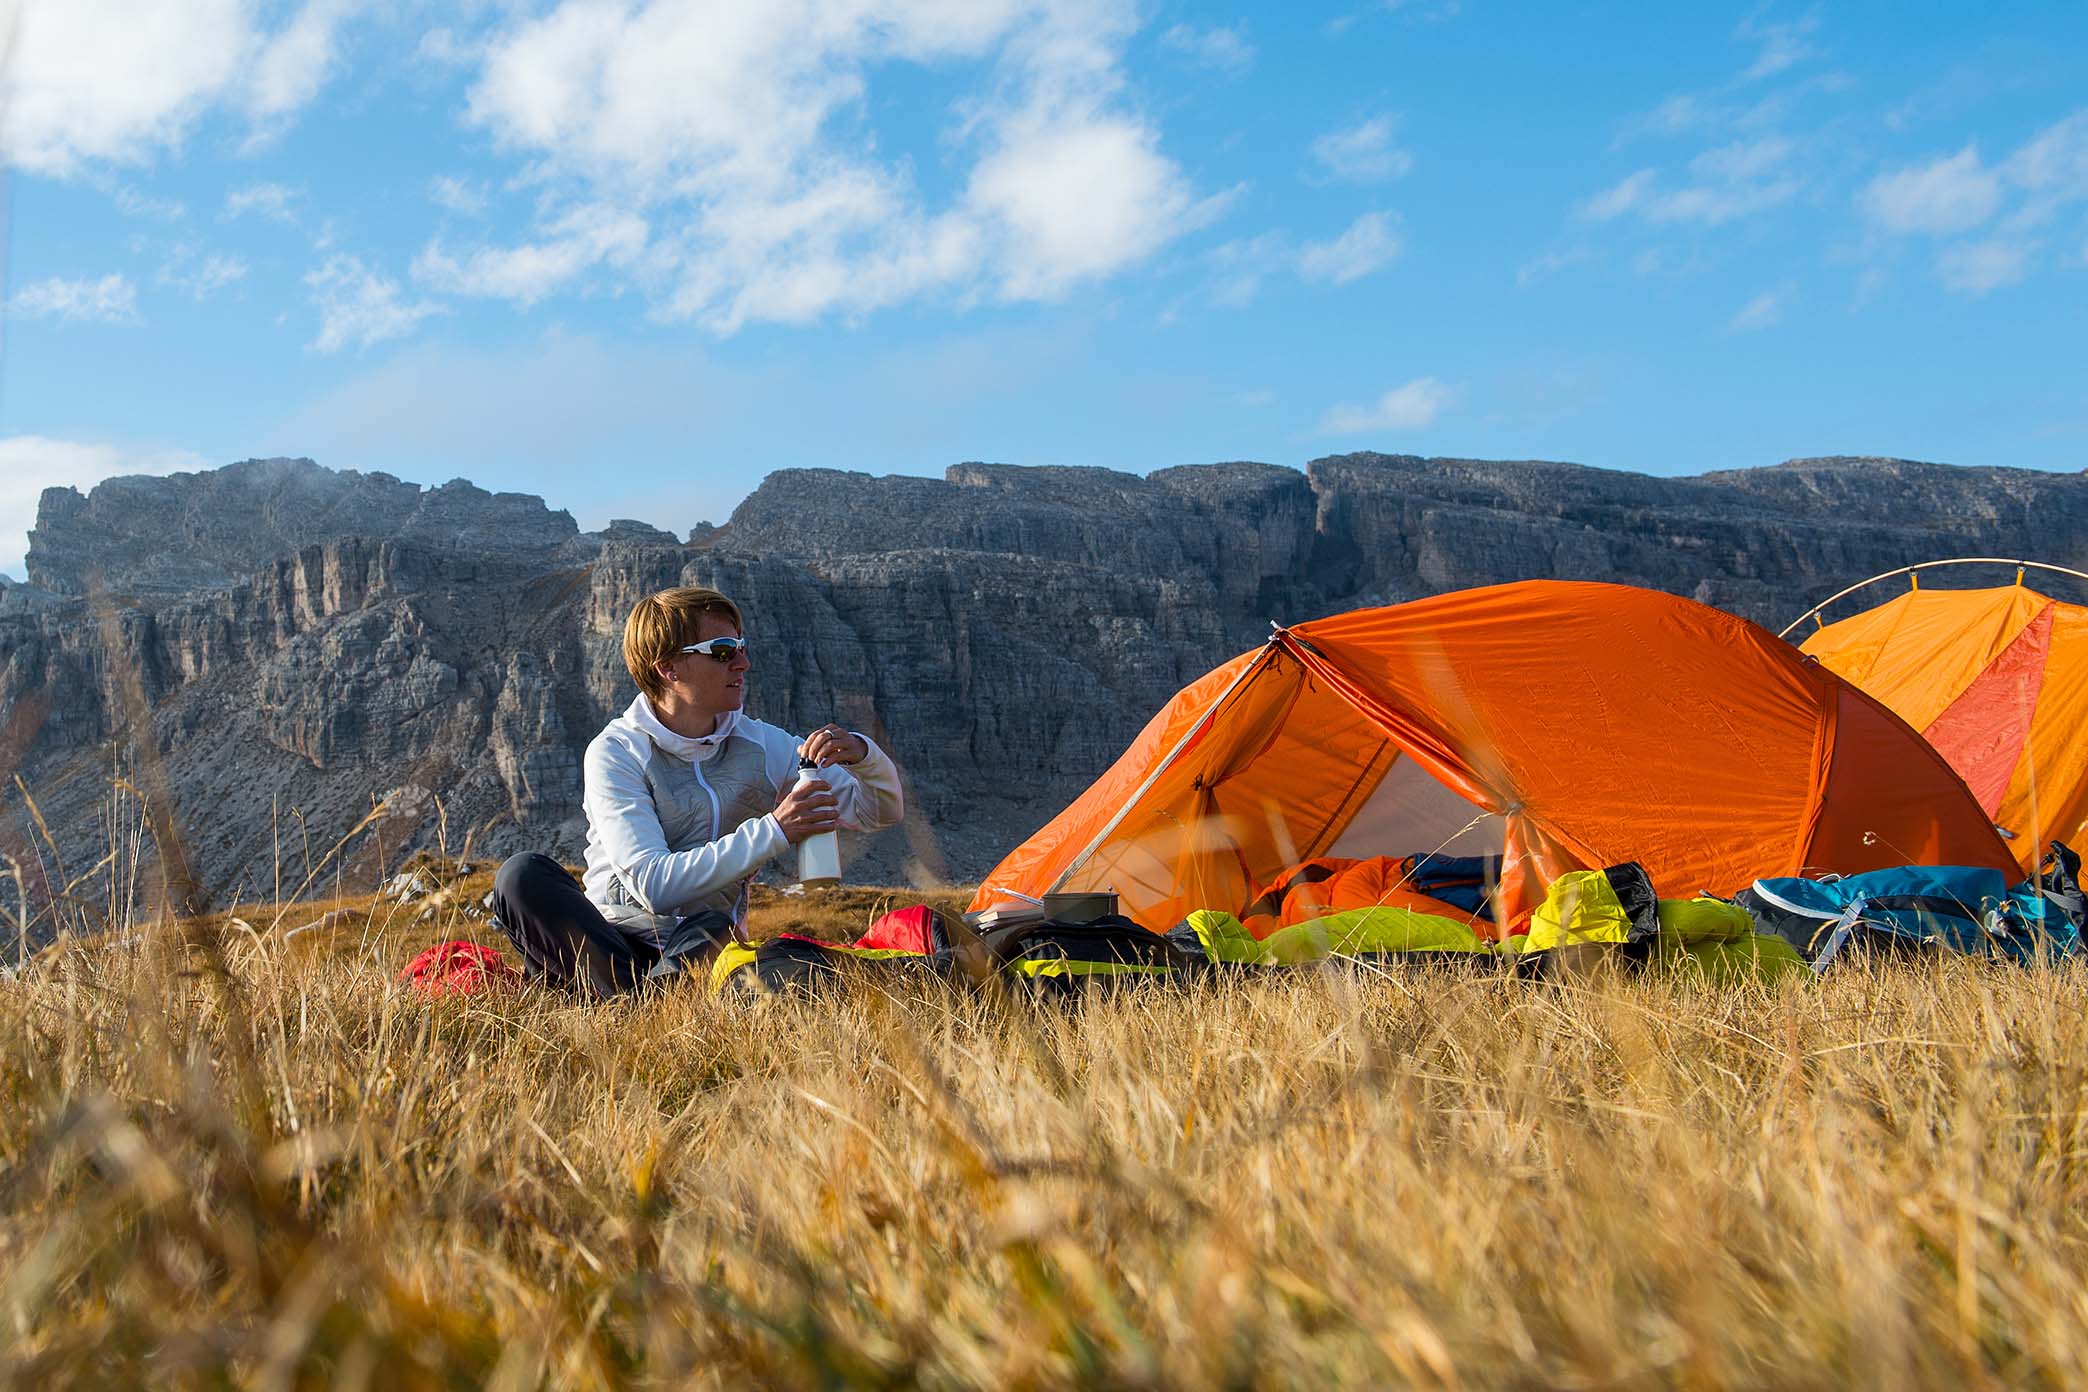
Those who are new to backpacking will be relieved to know that I am going to offer some recommendations on pack volume. Again, these are only guidelines. Even though I distinguish between trips of different lengths and in different seasons, you should still make your own capacity estimations using the factors listed above. Also note that estimated base weights are representative of two very different approaches to packing. Many backpackers will put together kits that fall somewhere between these two extremes.
Weekend ultralight backpacking trip (summer) 30 - 40 litres
An experienced backpacker who has his kit dialled in can easily get his base weight under 10 pounds. Add three days worth of food and 1.5 litres of water to this, and this hiker’s total pack weight is still likely to be under 20 lb (the maximum recommended weight for most low-volume ultralight packs). This target pack weight can only be achieved by using very light gear and taking a true essentials-only approach to packing. See my guide to ultralight backpacking to learn more.
5-day ultralight backpacking trip (winter) 45 - 60 litres
In cold or wet conditions, you can expect additional gear to add to the bulk and weight of your kit. Condition-appropriate layers, a warmer sleeping bag, and a 3+ season shelter are likely to be the biggest contributors here. You can expect these winter upgrades to push your base weight up to at least 16 pounds and your total pack weight to around 30 lb. At this weight, your pack will need a frame. Fortunately most mid to high volume ultralights packs have stays.
Weekend backpacking trip (summer) 40 - 55 litres
Maybe you prefer to camp with your creature comforts and don’t mind carrying the extra weight. In this case, your kit is likely to have a base weight of around 20 lb, which, when combined with three days of food, is likely to fill a pack with 40 to 55 litres of capacity. Whether you need more volume or less will depend on the type of shelter you carry as well as the quality of your sleeping bag (low-quality synthetic bags are much heavier and more bulky than high quality down bags) – among other factors.
7-day backpacking trip (winter) 60 - 80 litres
A week-long hike with no resupplies means an additional 4.5 days of food and an extra 9 pounds. Add this to the extra weight of a warmer sleeping bag, heavier layers, a 3+ season tent and possibly an extra sleeping pad (if your first doesn’t offer enough insulation), and you’re likely to push your total weight up to 40 lb. With this much to carry, you’re likely to need a pack with 60 and 80 litres of capacity. If you plan on using your stove for making hot drinks and meals, you will also have significantly more fuel, especially since colder temps have a negative impact on a stove’s fuel economy.
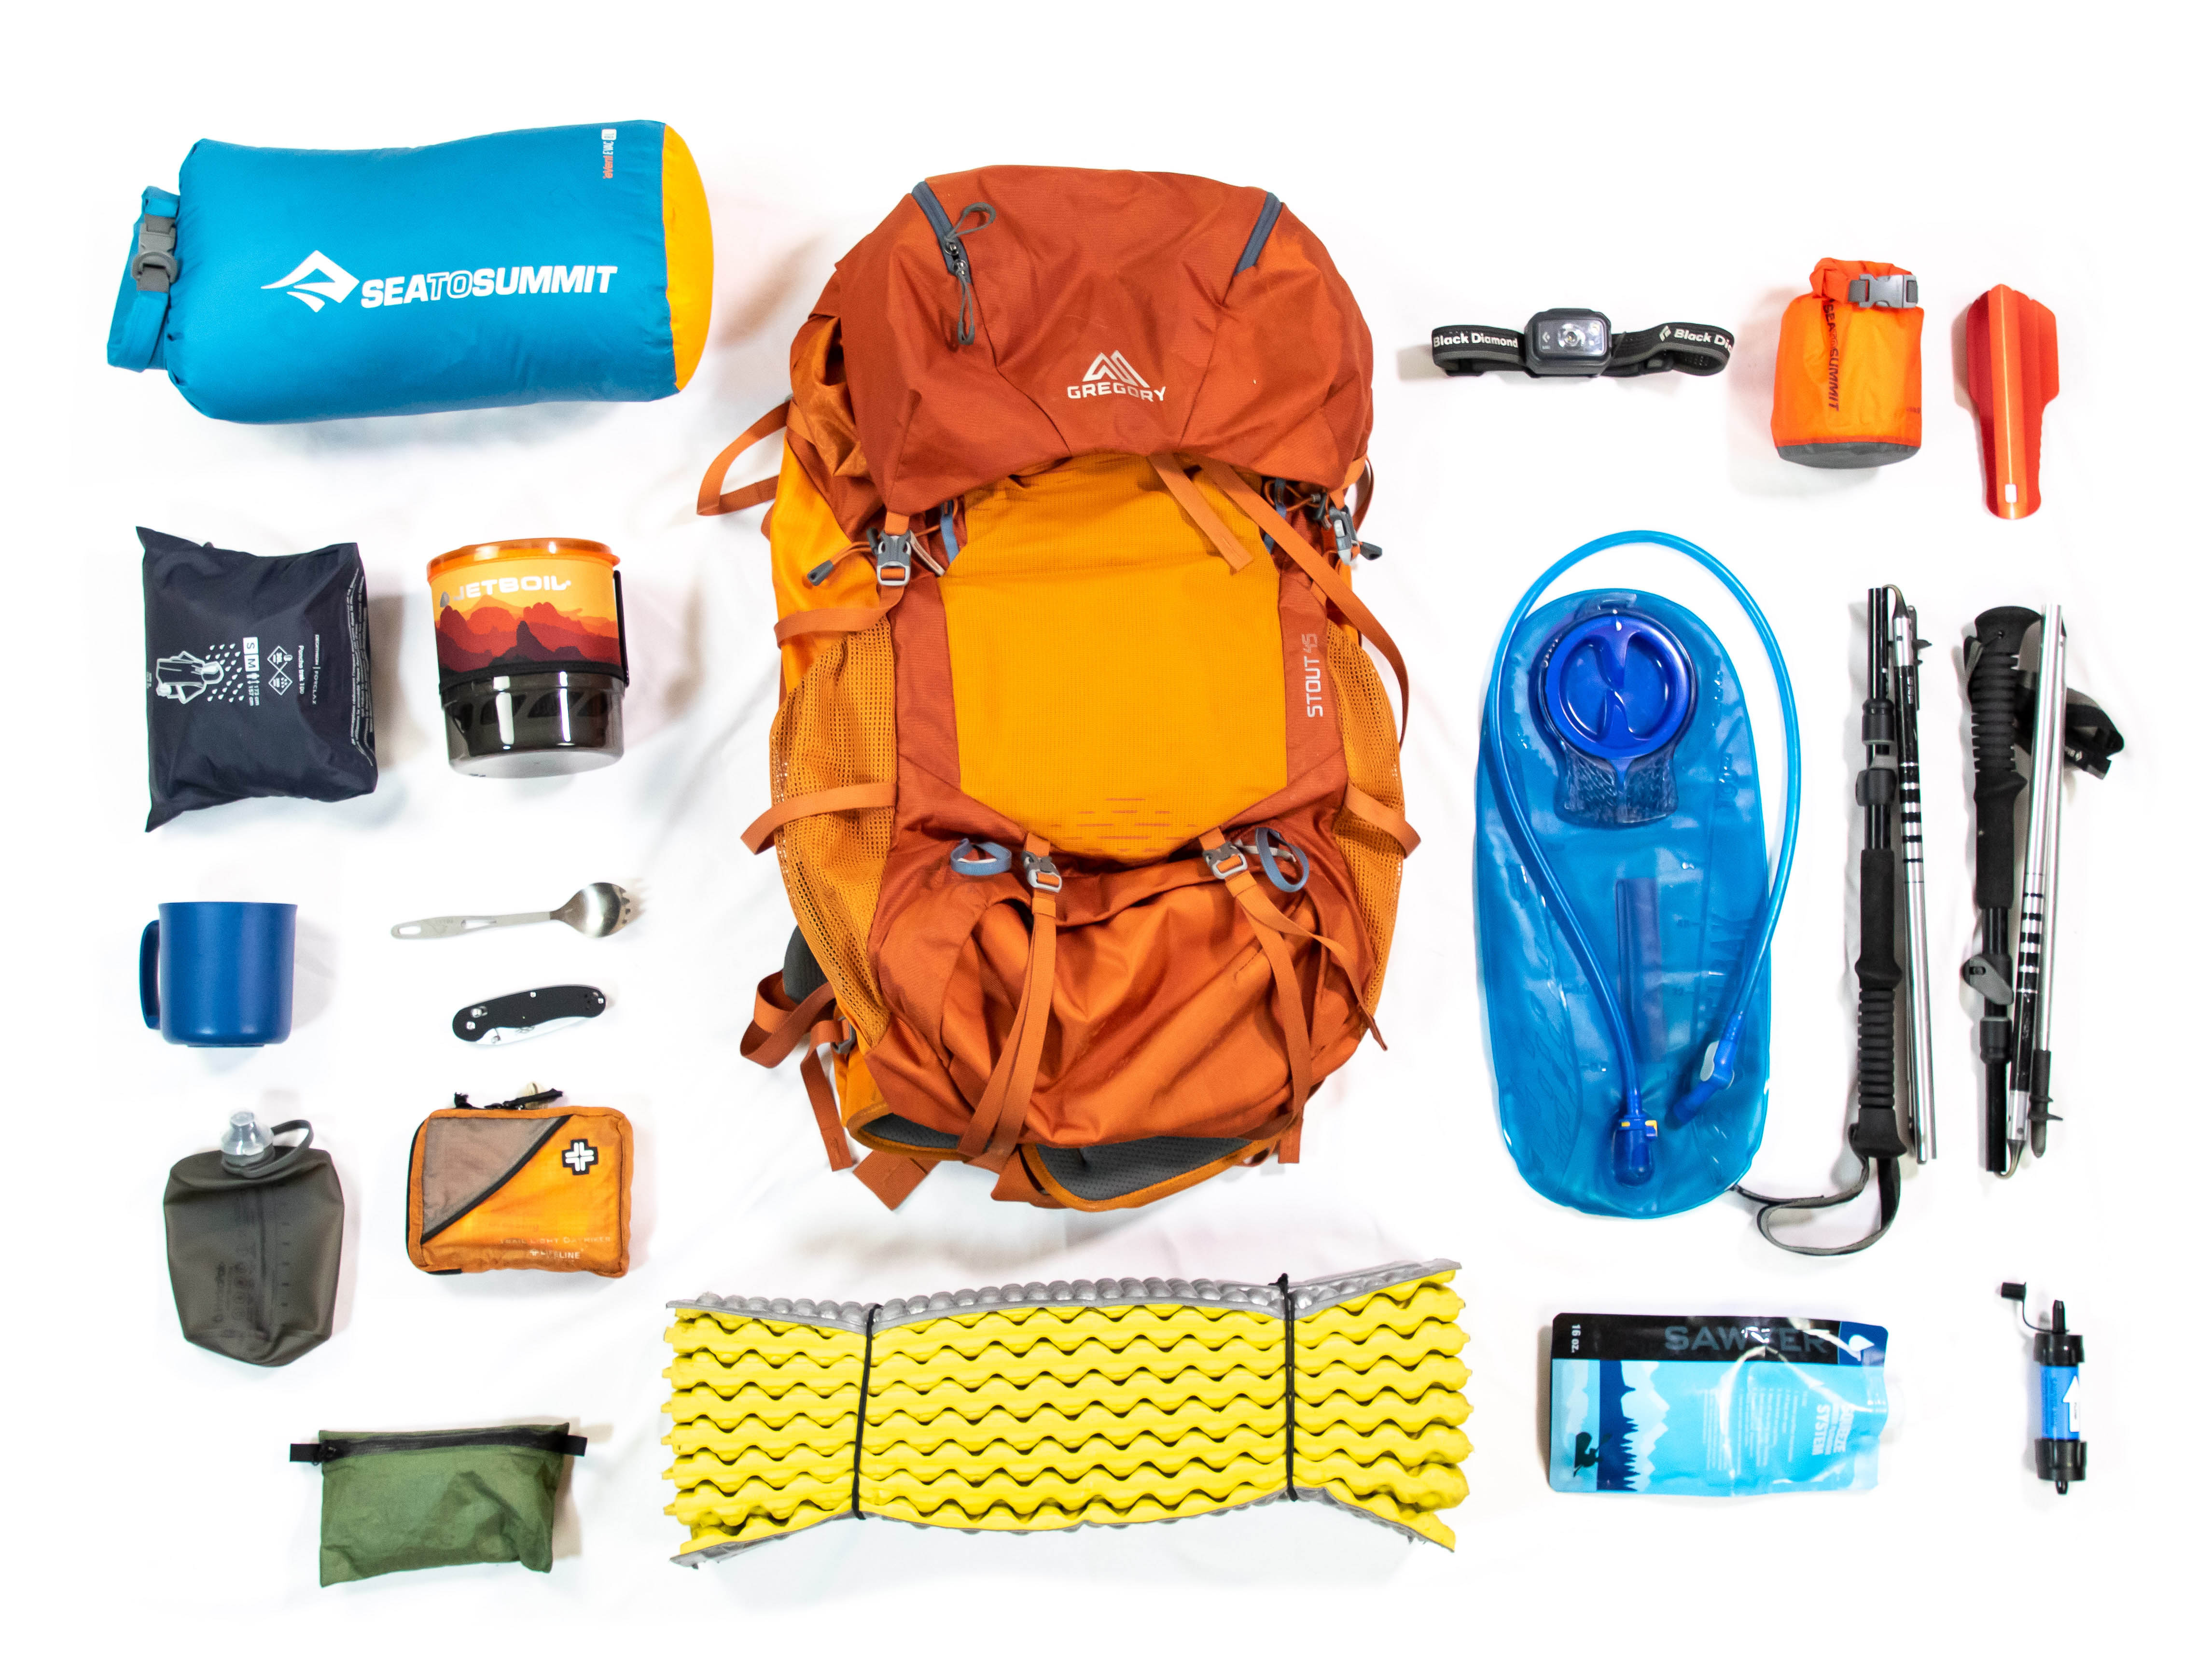
Features
There are several features to look for when choosing a new pack. Just also bear in mind that your priorities will depend on your approach to backpacking. Ultralight backpackers have to be prepared to forego some of the features found on traditional packs.
Frame
Traditional packs and even some larger ultralight packs have internal frames to help transfer the load onto a hiker’s hips. These typically involve stays, a framesheet, or combination of both. Stays are flat carbon or aluminium bars that run the length of the pack, either parallel to each other or across each other in an X pattern. A framesheet, on the other hand, is a thin, semi-rigid piece of plastic that lines the back of a pack. Besides adding rigidity to a pack, this feature also prevents objects from jabbing the wearer through the fabric. Some framesheets are removable while others are integrated.
Ventilation
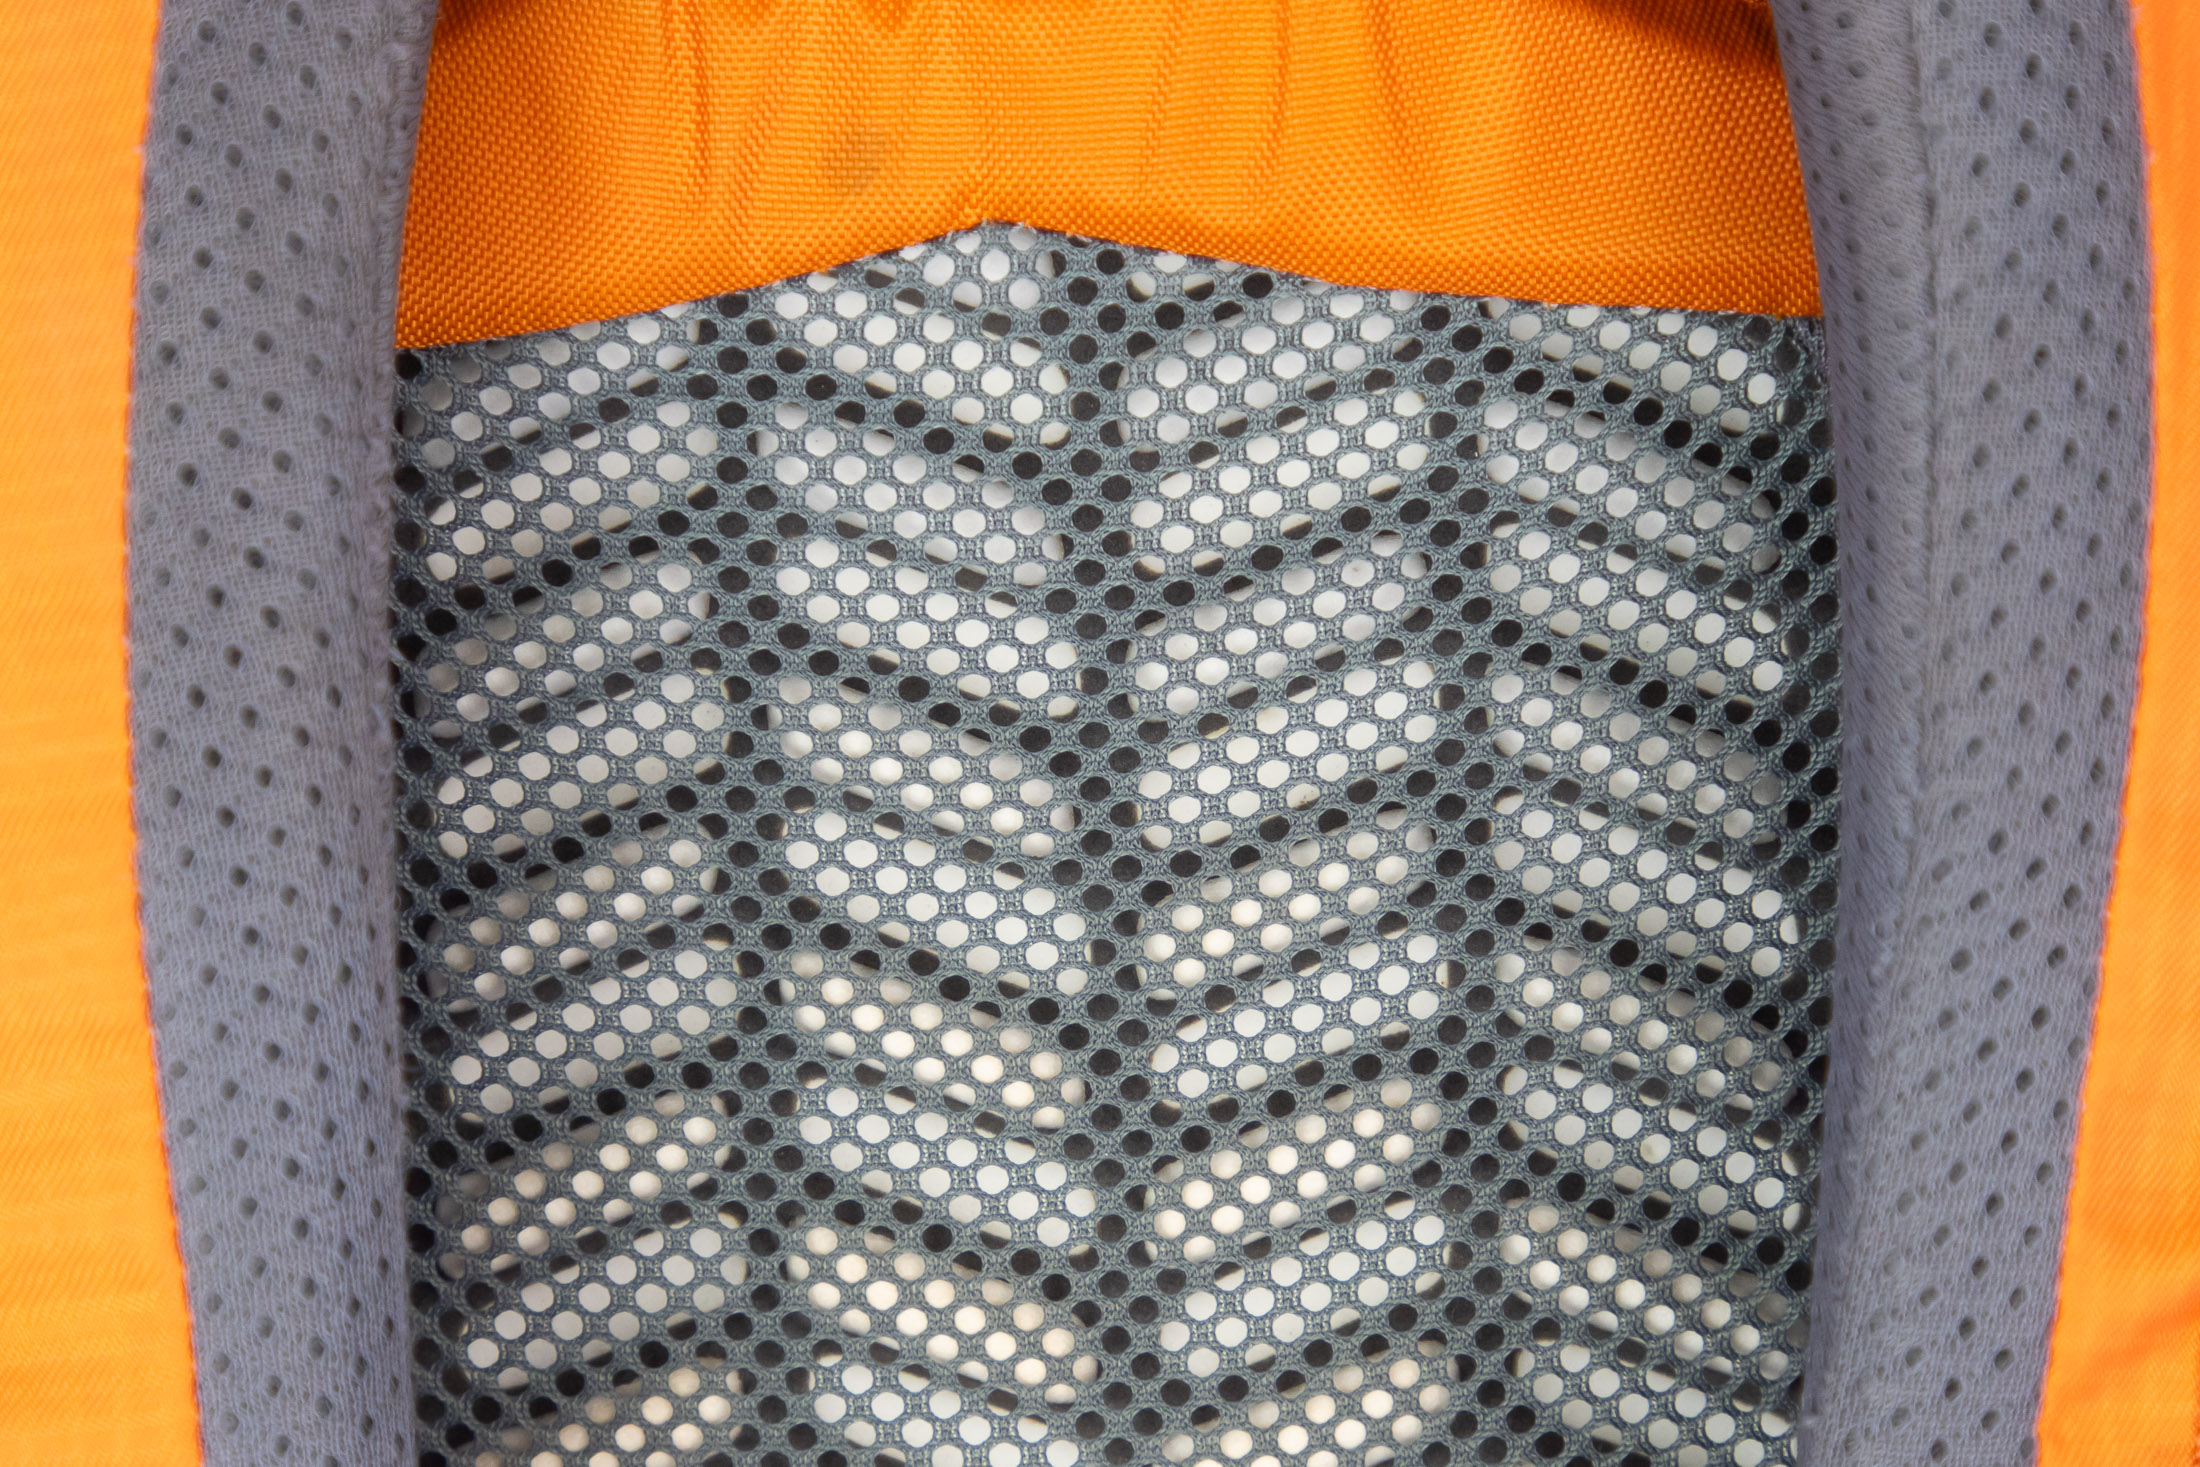
Some packs have a suspended mesh back panel (usually between stays) to help prevent sweaty-back syndrome. Also called a ‘tension-mesh suspension,’ this design puts the main compartment of the pack a few inches away from your back and allows air to circulate more freely, thereby helping perspiration to evaporate. Other packs have ventilation channels in the back panel or perforations in the foam itself to help solve the same problem. Most low-volume ultralight packs lack the ventilation features seen on similar size traditional packs.
Suspension system
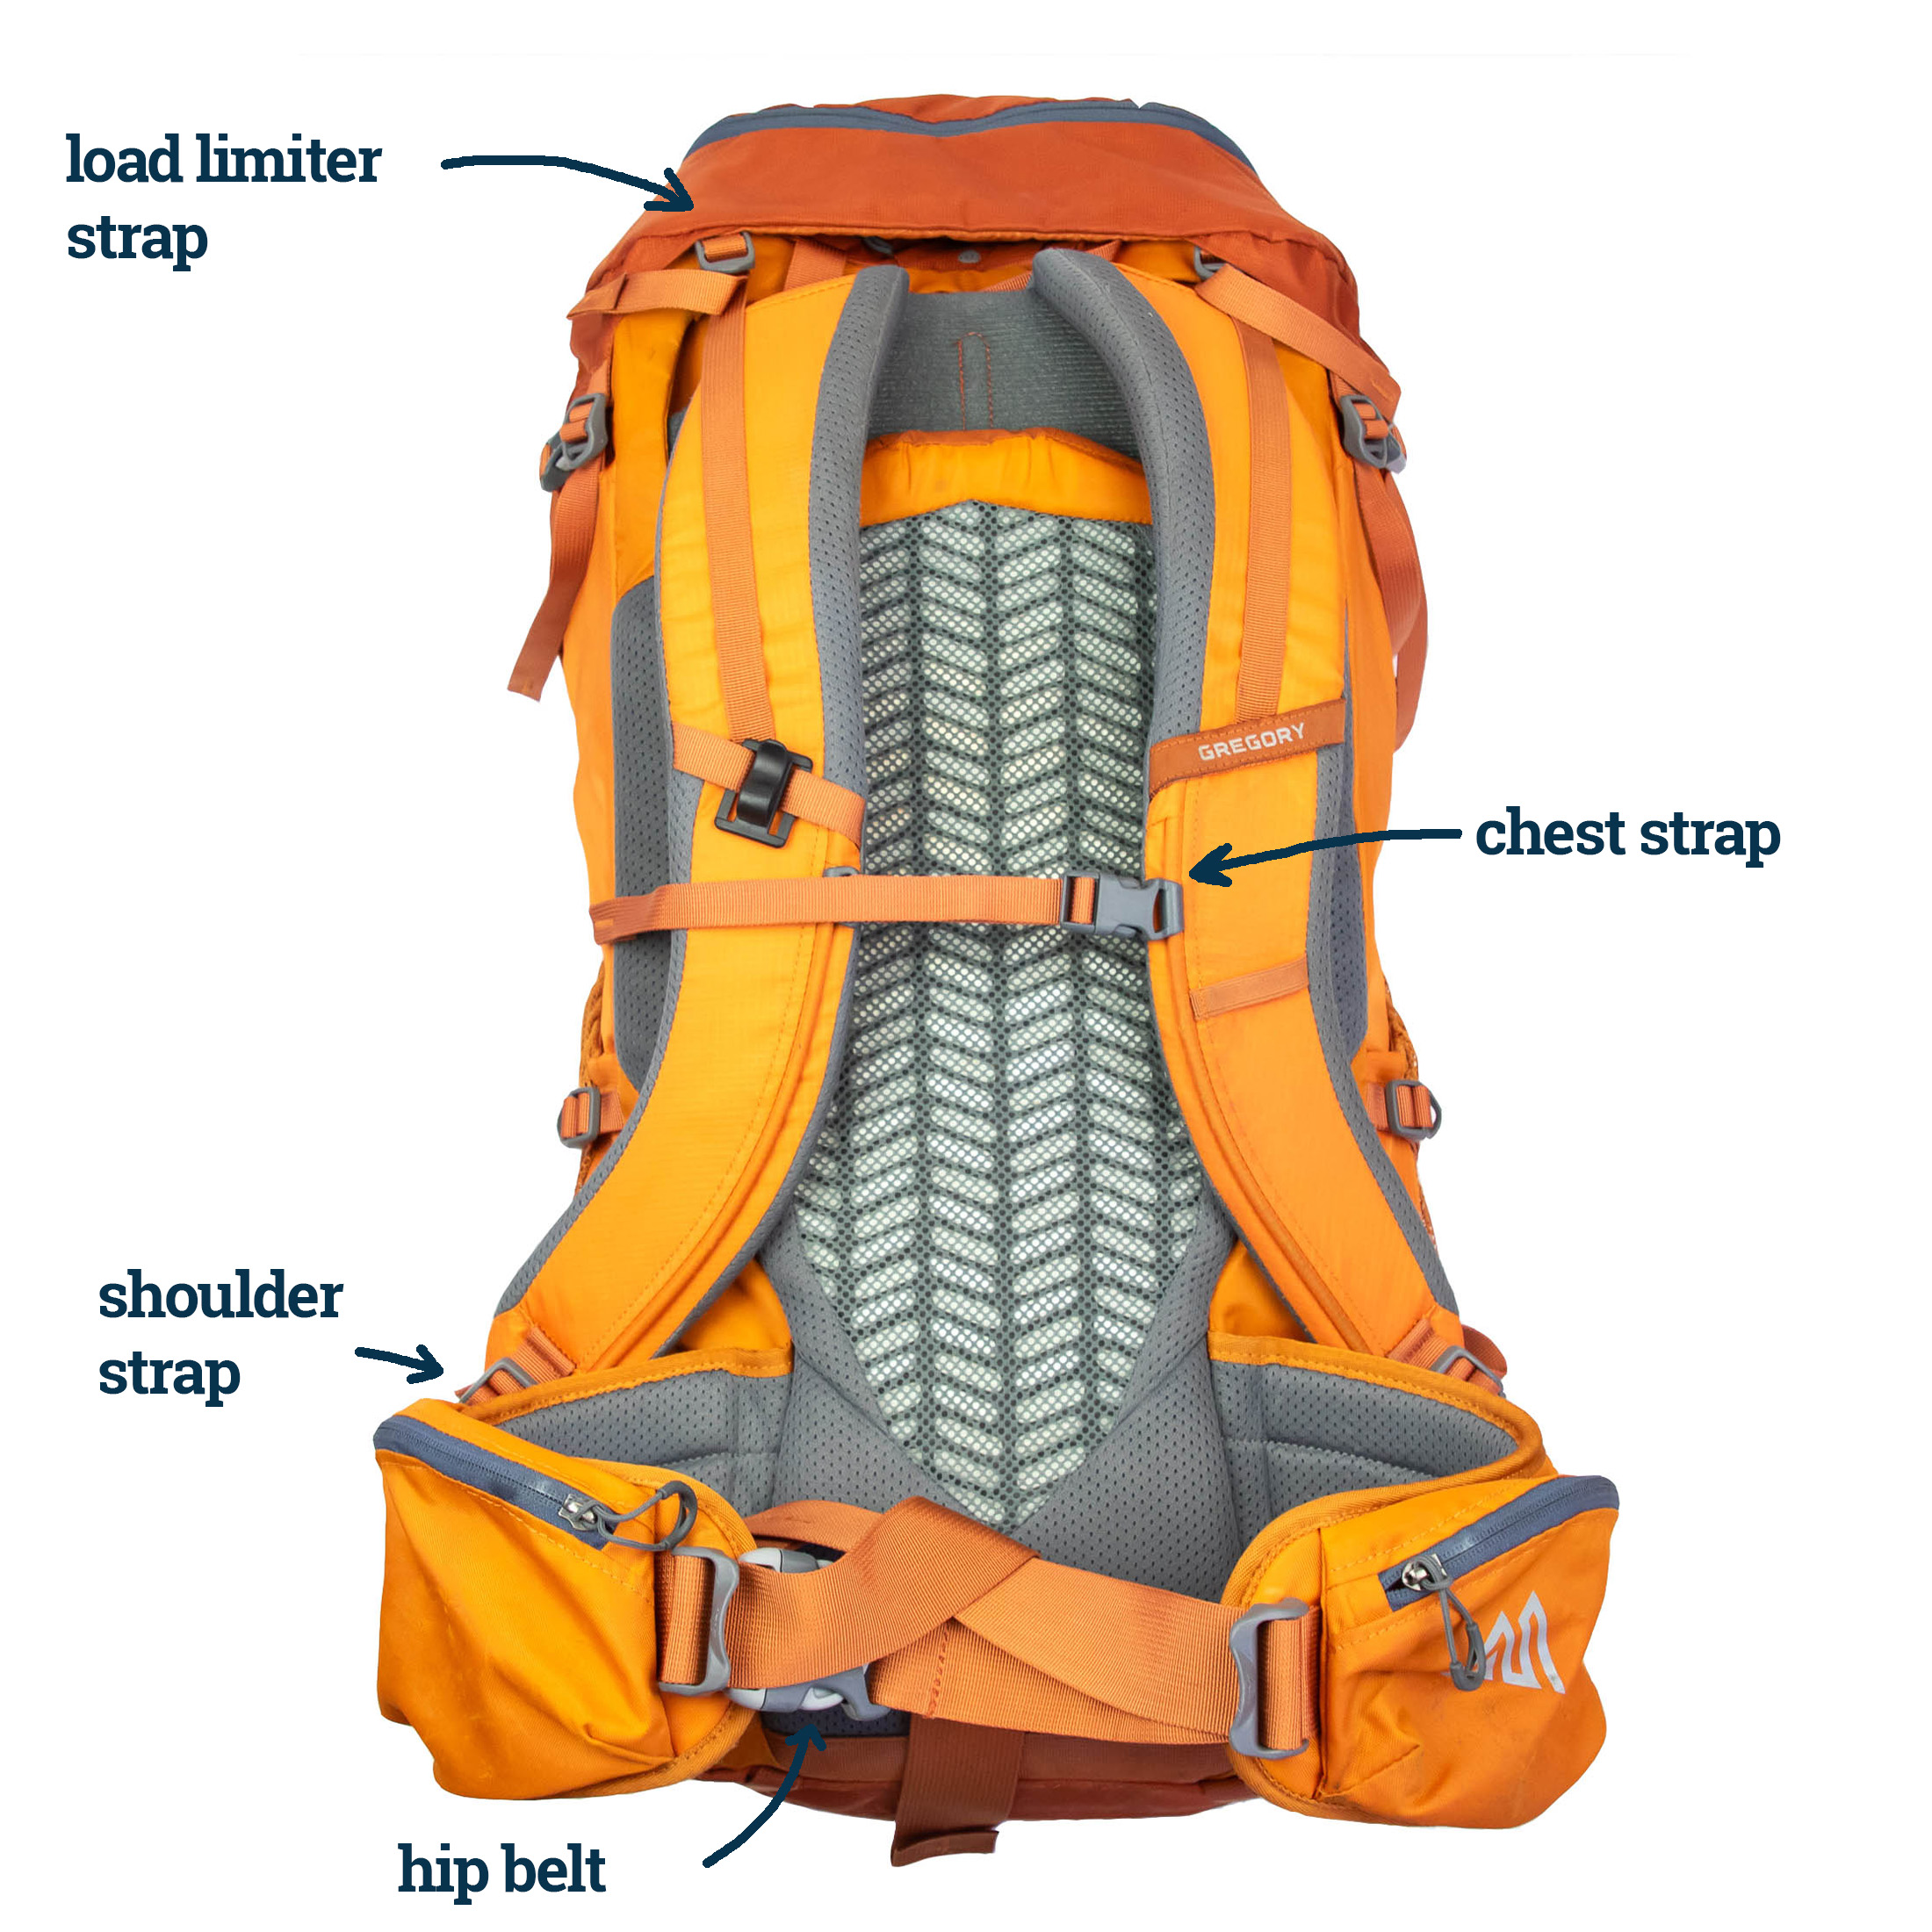
Along with its frame, a pack's suspension system is designed to allow you to properly distribute a pack's weight between your hips (70% of the load) and your shoulders (30%).
Hip belt
When carrying heavier loads, you need to have the majority of the pack’s weight (as much as 80%) on your hips. To enable this, a high volume pack should have a well padded hip belt of the right shape. If the hip belt doesn’t ensure a comfortable fit, you can get sore spots on both your hips and shoulders. Smaller packs are generally designed for lighter loads and have hip belts with less padding. Some ultralight packs only have a webbing belt.
Shoulder straps
Because most of a pack’s weight goes on your hips, shoulder straps don’t need to be as heavily padded as the hip belt. Still, they should curve to conform to the shape of your body shape and be comfortable enough to ensure no chafing or pinching. The height of your shoulder straps relative to the hip belt (a length that varies according to frame size) also has to be correct to ensure a good fit, so it’s important to size your backpack properly.
Load-lifter straps
These straps connect the top edge of the backpack to the upper part of the shoulder straps. By adjusting them, you can position the top of the pack closer or further from your shoulders. The aim here is to ensure that the pack is properly balanced over your hips. Seen from side-on, a pack’s load lifter straps should form a 20 to 45 degree angle with the top of the pack. Some minimalist packs don’t have load-lifter straps.
Sternum strap
This is the adjustable strap that connects the two shoulder straps. It’s designed to keep the shoulder straps together and give the suspension more stability when the pack is carried. Most packs are designed to allow the sternum strap to be slid up and down the shoulder strap to get the right height (level with your armpits is about right). Some sternum straps can be removed while others are fixed in place.
Compartments
Ultralight packs usually only have side and rear pockets in addition to the main compartment, but fully featured packs also have lid pockets, sleeping bag compartments, and hip belt pockets.
Lid pocket
The top lid pocket or ‘brain’ is a good place to store small and light items that you might want to access quickly – sunglasses, headlamp, GPS, ect. Some packs have just one compartment in the lid (accessed via a zip on the outside) while others have a second compartment underneath that (accessed through a zip on the underside of the pack lid). The lid on some packs is removable and can even be used as a lumbar pack.
Rear and side pockets
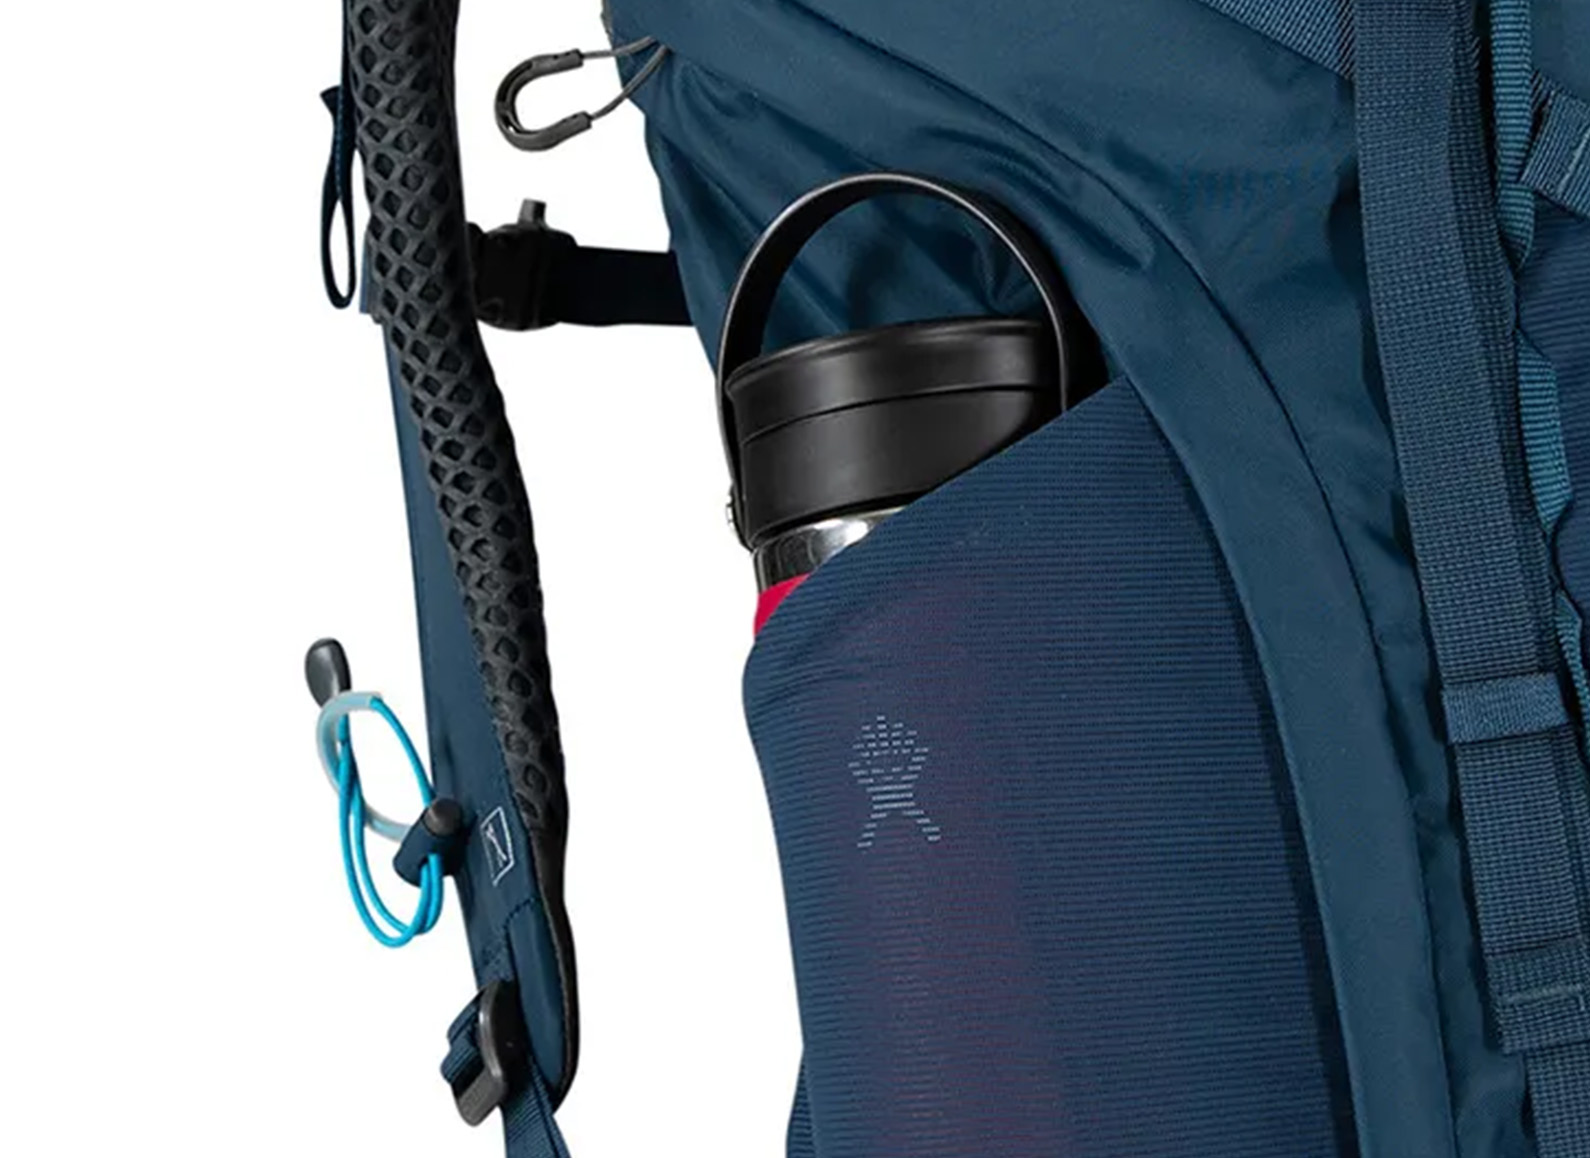
Side pockets can have zippers or elasticated openings. Elasticated pockets are often made from mesh to improve breathability and to allow stashed kit to air out. If you are going to use these to store your water bottles, you will want to be able to reach them while still wearing the pack. Most packs have a single large rear pocket made of stretchy mesh although some packs allow these to be secured with a buckle.
Shoulder strap pockets
A few packs have zippered pockets on the shoulder straps for storing smaller items, and some even have pockets for 500 ml soft bottles. I have only really found these kinds of features useful on packs that lack padded hip belts (the most common place to stash small items you want easy access too). In this case, shoulder pockets offer the only easily accessible storage for snacks – very useful if you don’t want to stop just to refuel.
Reservoir sleeve
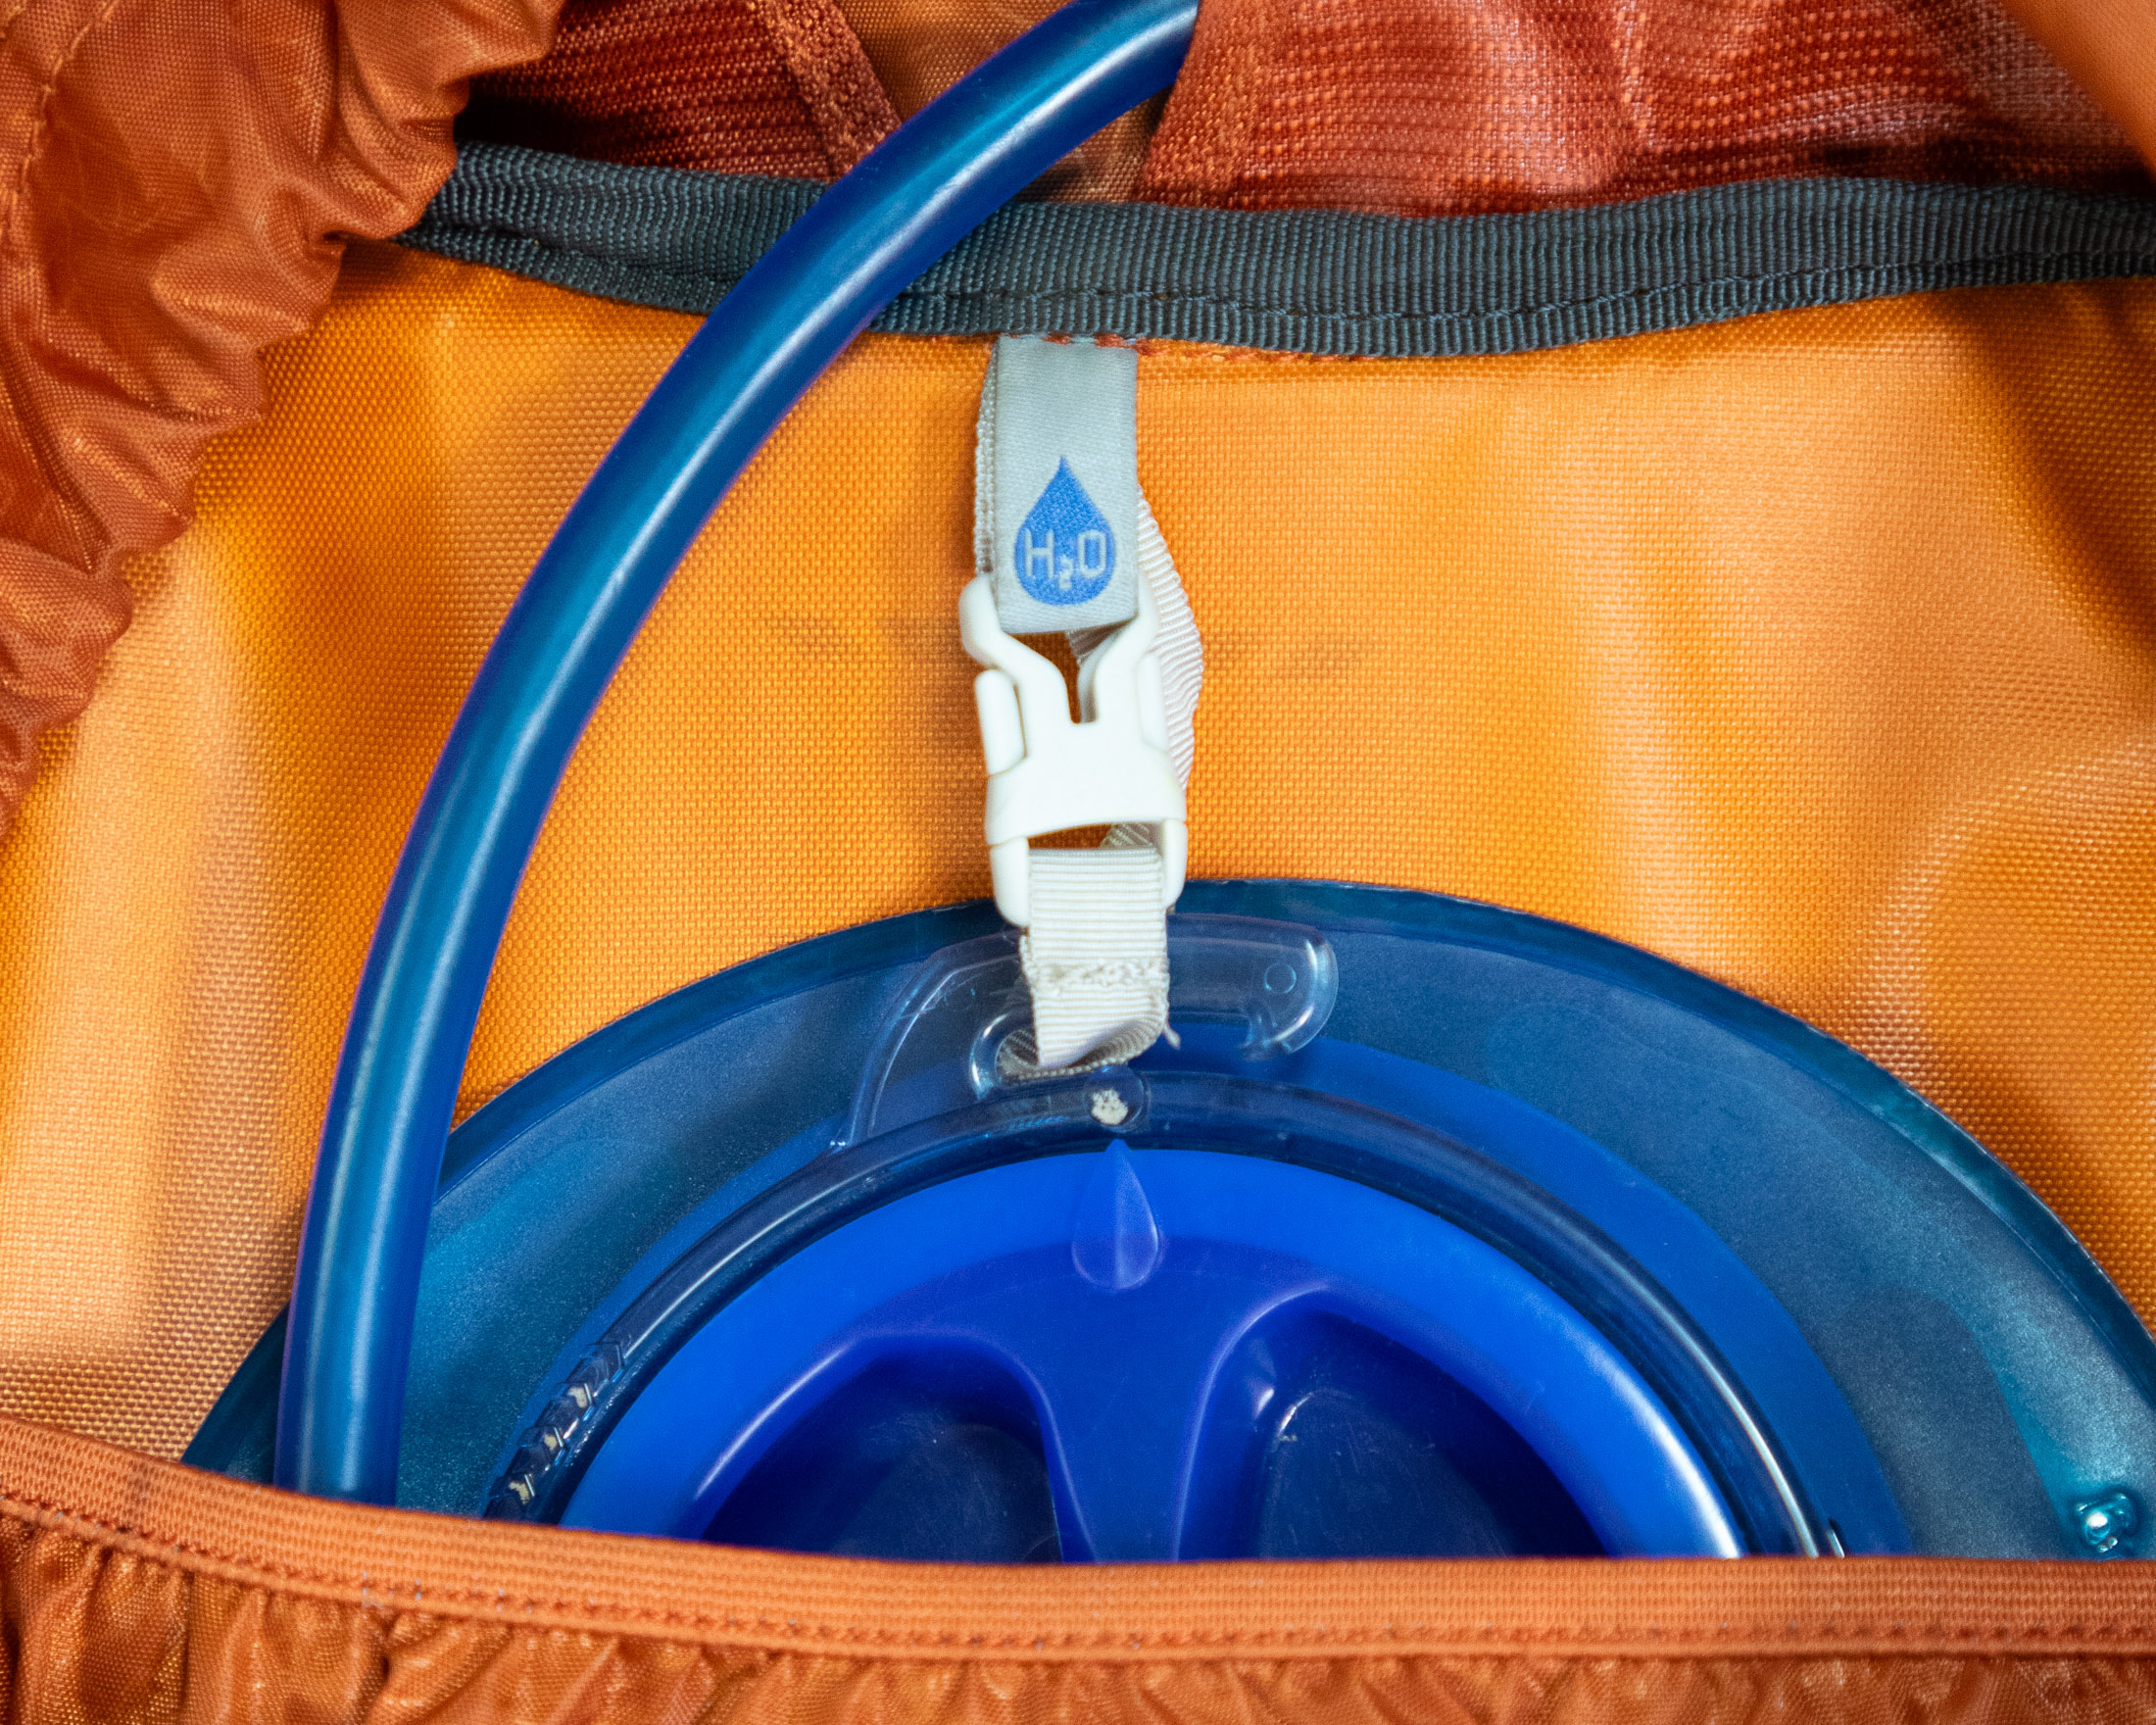
With the exception of some low-volume ultralight packs, nearly all packs have an internal sleeve for a hydration reservoir (usually sold separately) plus one or two portals for the tube. Although any brand of reservoir can be used with any pack that has a reservoir sleeve, you’ll need to check the maximum size of a reservoir that will fit in your pack if it’s on the smaller side (under 40 liters).
Hip belt pockets
Hip belt pockets are useful for storing snacks and smaller items that you want to be able to reach without taking the pack off. Lip balm, sunscreen, GPS, phone – these are just some of the things that hikers store in their hip belt pockets. Many ultralight packs don’t have hip belt pockets, but some have shoulder strap pockets or attachable accessory pouches for smaller items you might want to access frequently.
Sleeping bag compartment
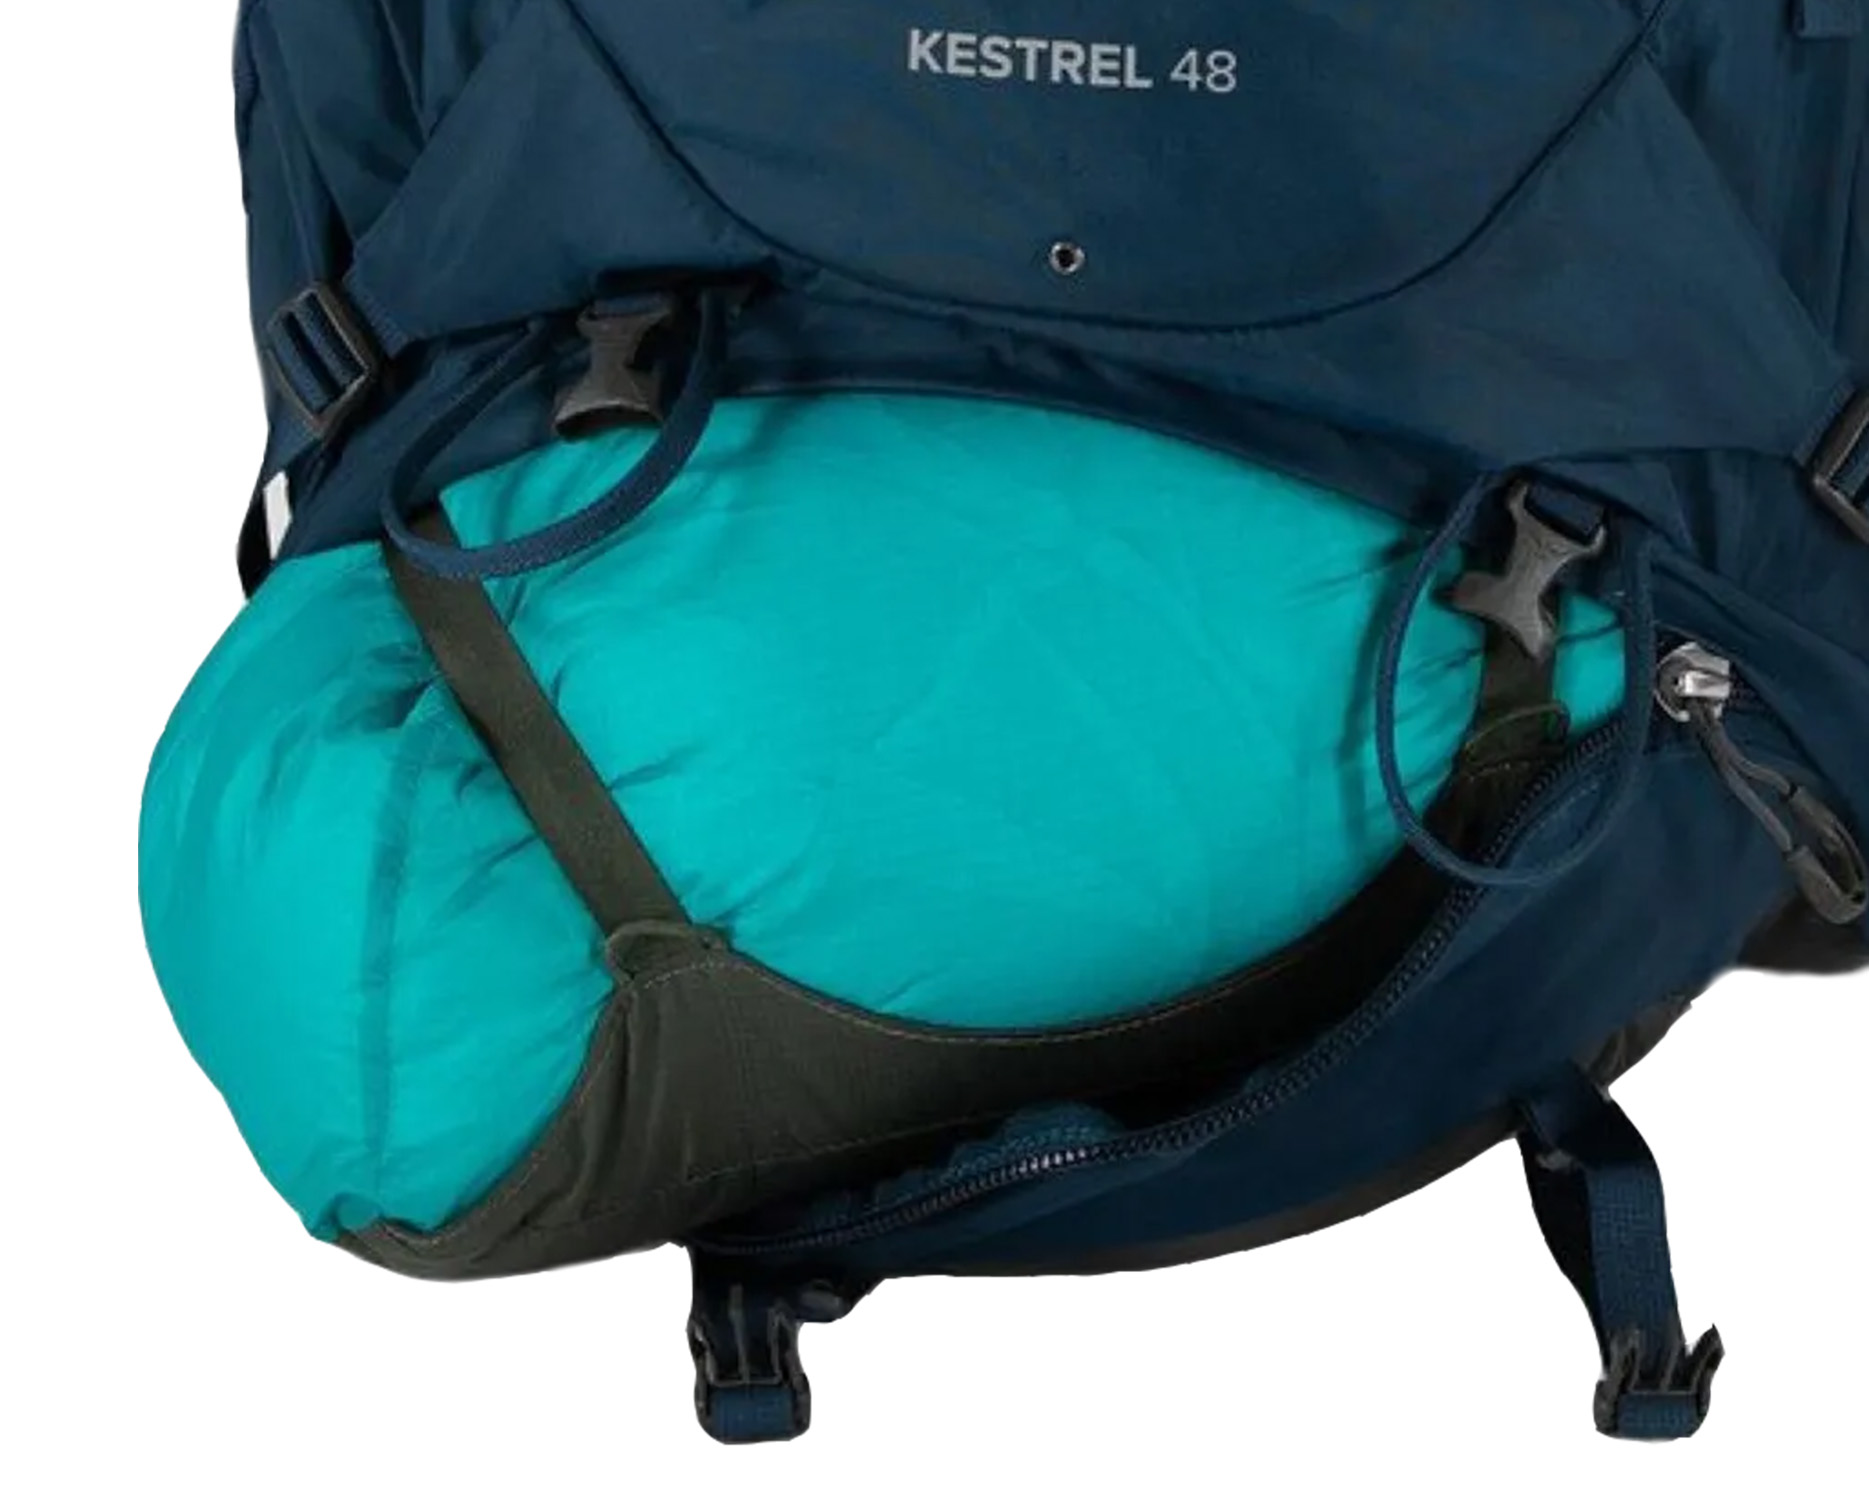
The sleeping bag compartment found on the bottom of some packs is usually comprised of two features: a removable internal divider that separates the sleeping bag compartment from the main compartment and a zipper that allows you to access the lower compartment from the outside (without unpacking everything else). Some bags have the bottom zipper but not the internal divider.
External features
In addition to its suspension system and compartments, a traditional pack (and a few ultralight packs) has a few features for carrying extra kit or tightening up the load.
Accessory attachment points
Some packs have accessory attachment points on their shoulder straps, but most packs have these somewhere on their hip belts. They are commonly used to attach a water bottle pocket (shoulder straps) or a bear spray holster (shoulder straps or hip belt) to the pack, but can be used for other accessories. If you plan to hike in bear country and you can’t easily access your side pockets (the other place you might keep bear spray), this kind of attachment will be essential.
Attachment loops
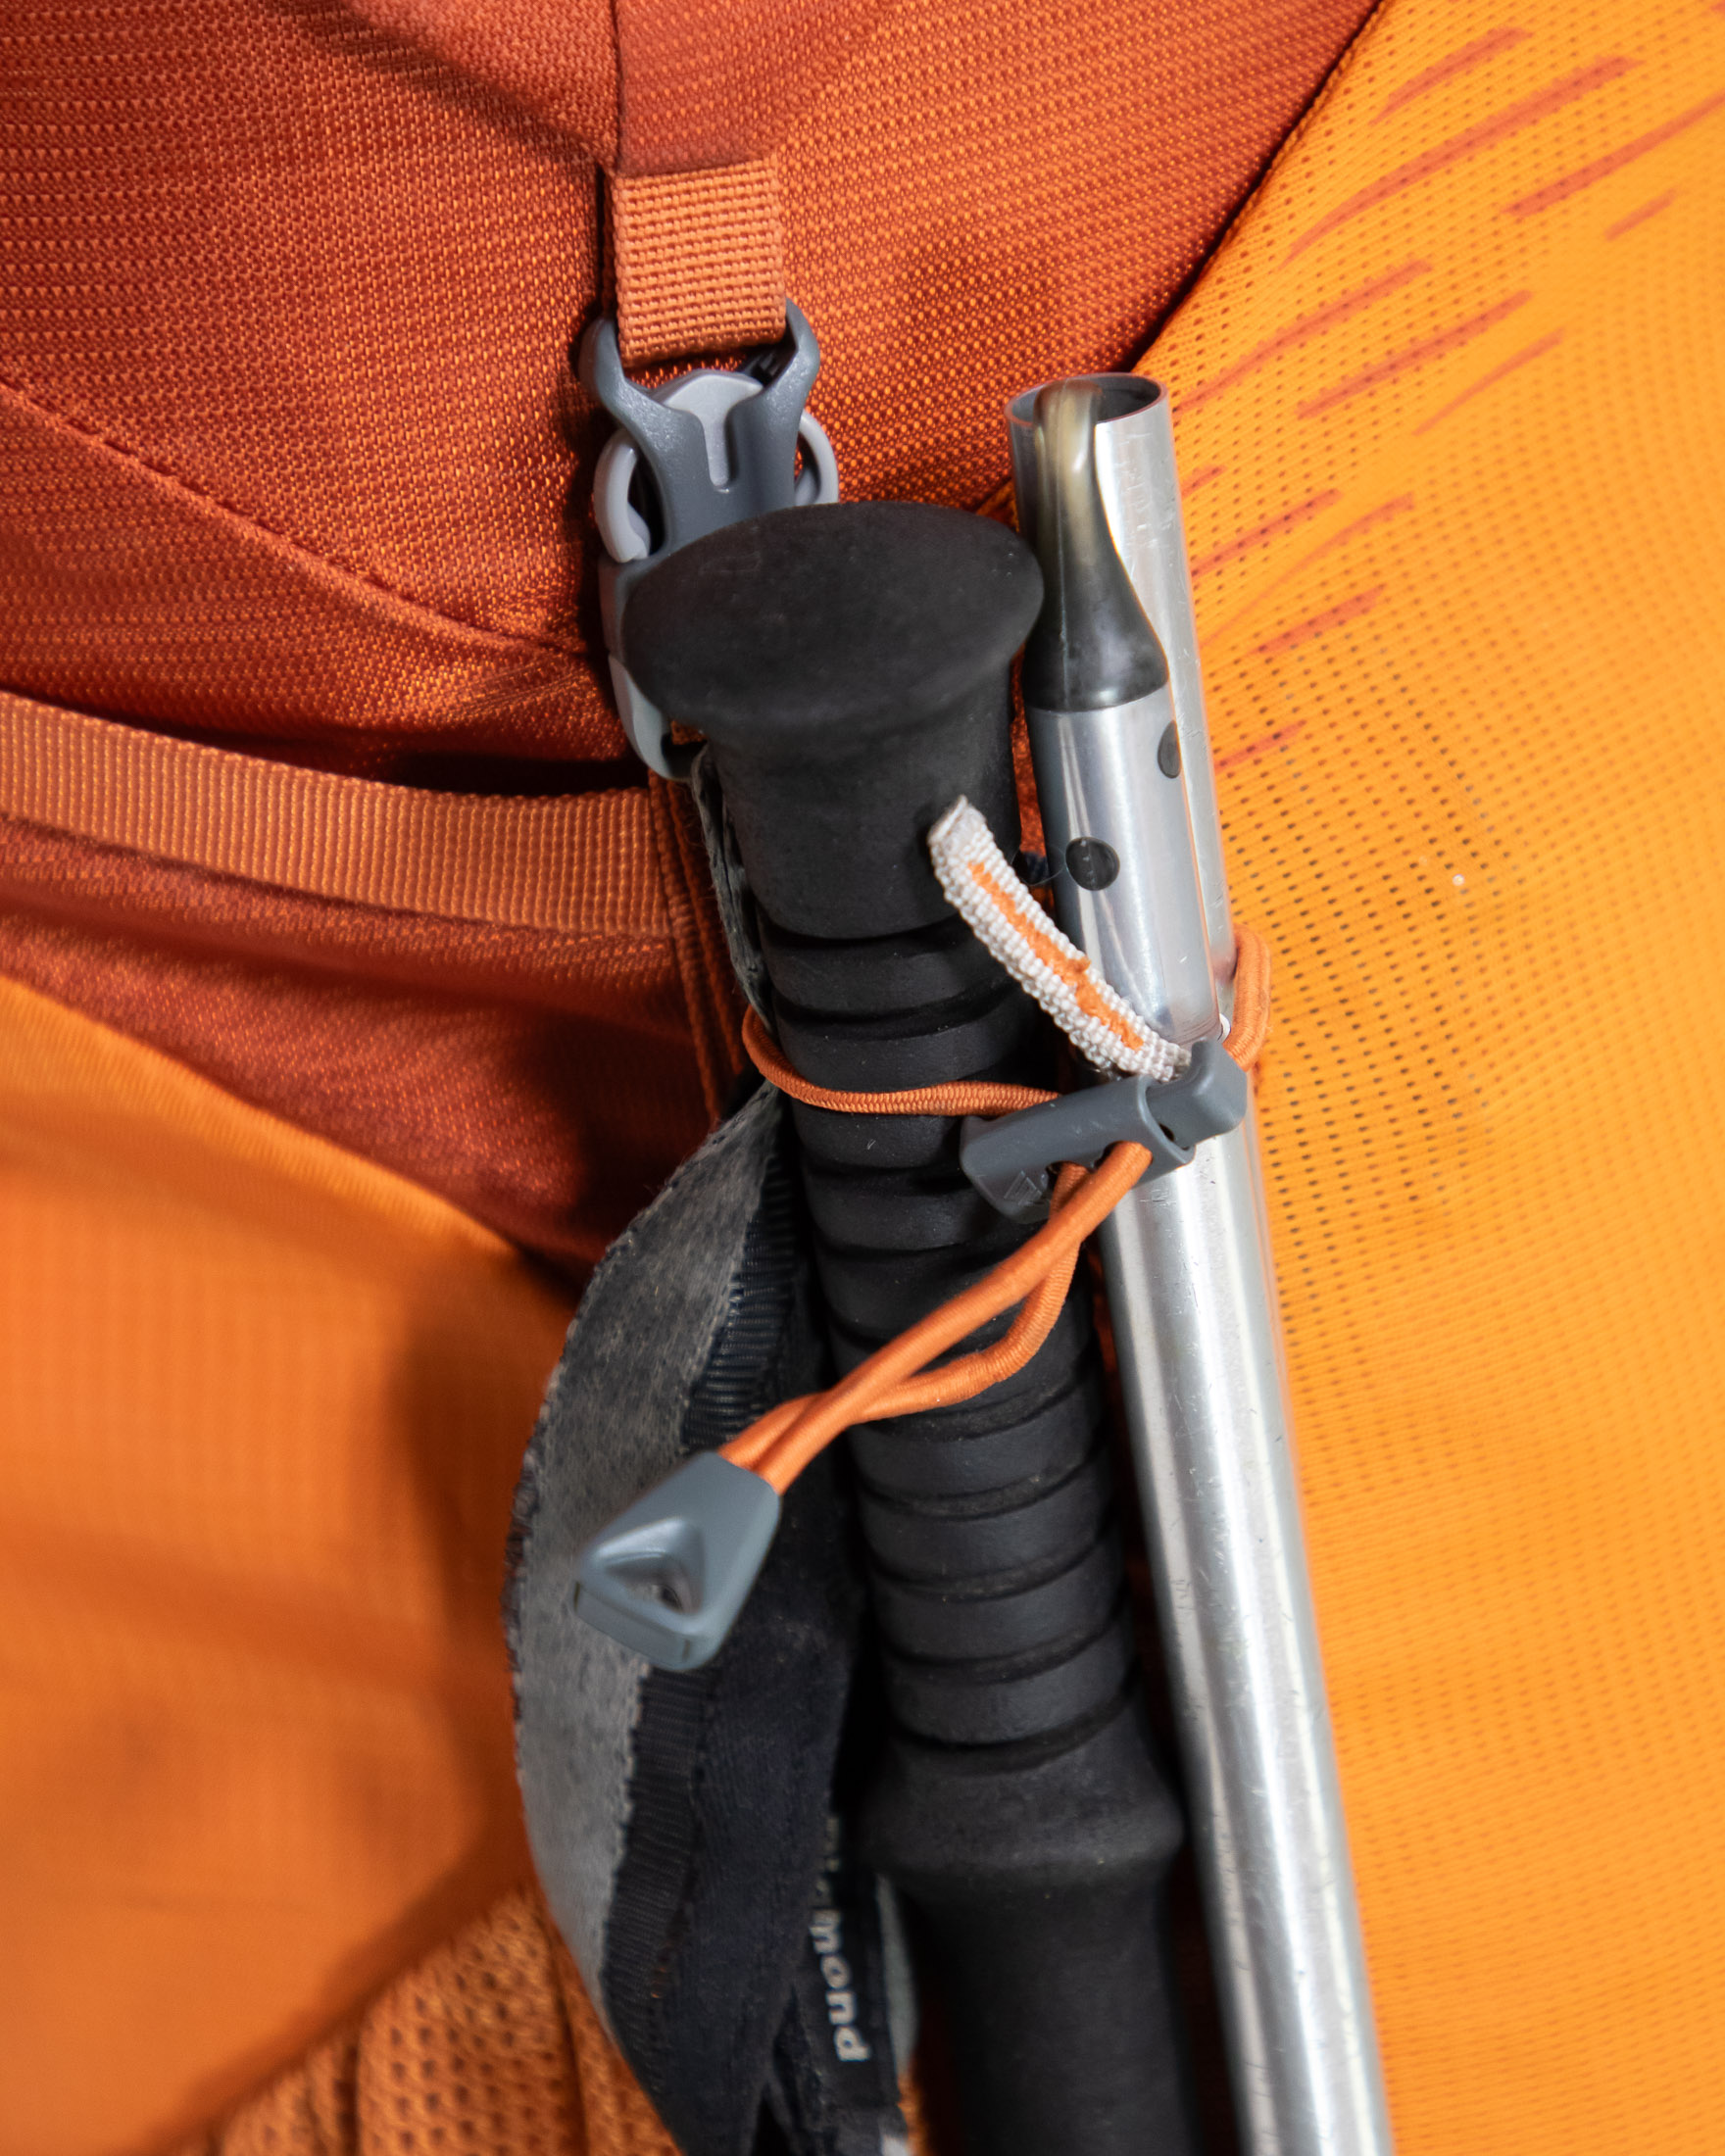
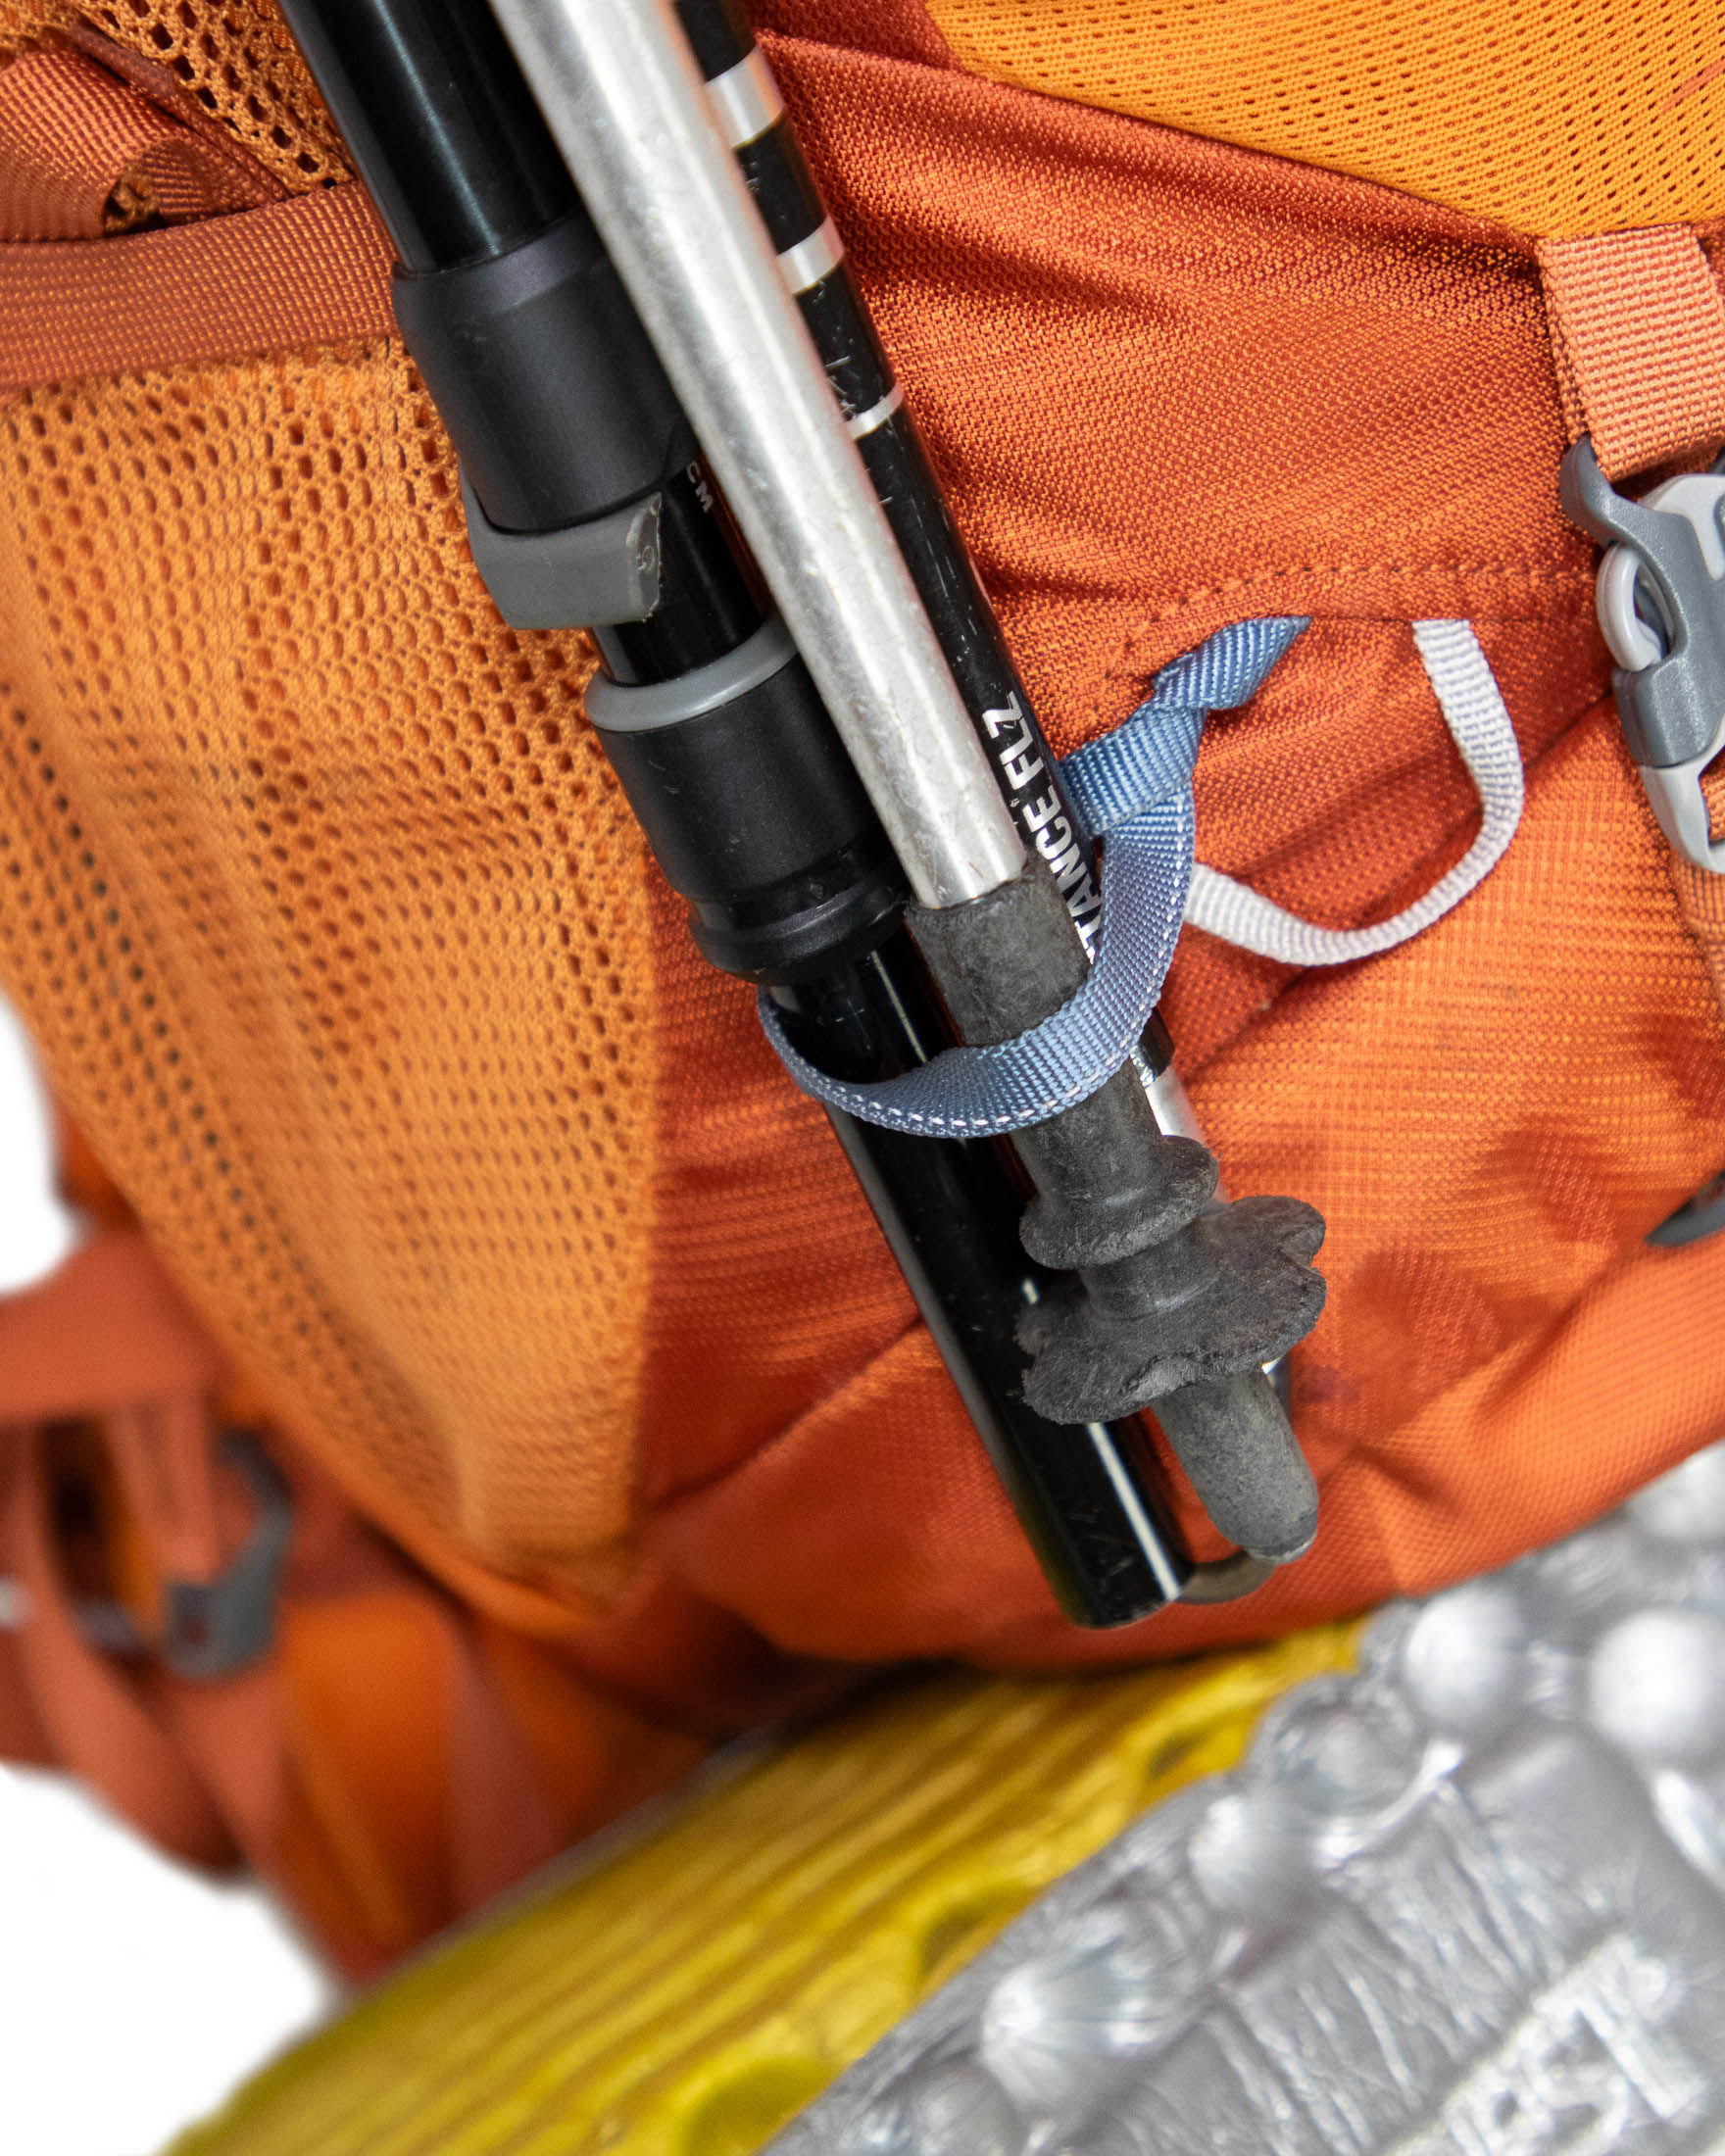
Adjustable attachment loops are useful for securing trekking poles or ice axes to the outside of a pack. Given the popularity of poles, you can expect to find tool loops on almost every traditional pack. Most ultralight packs don’t have attachment loops, but then their users are expected to secure poles behind a bungee cord or compression strap. A single set of loops (for one tool) usually involves a fixed-length webbing loop and one adjustable bungee loop.
Daisy chain and bungees
I’ve never liked having daisy chains on a hiking pack. Gear that is simply clipped, and not strapped, to a pack will swing around – very annoying especially when you’re trying to pass through thick brush. Light daisy chains also tend to create weak points where they are stitched to a pack. Bungees are more useful. Although not as secure as a mesh pocket, they allow for better ventilation when you want to air out a piece of damp clothing and are generally more useful.
Rain cover
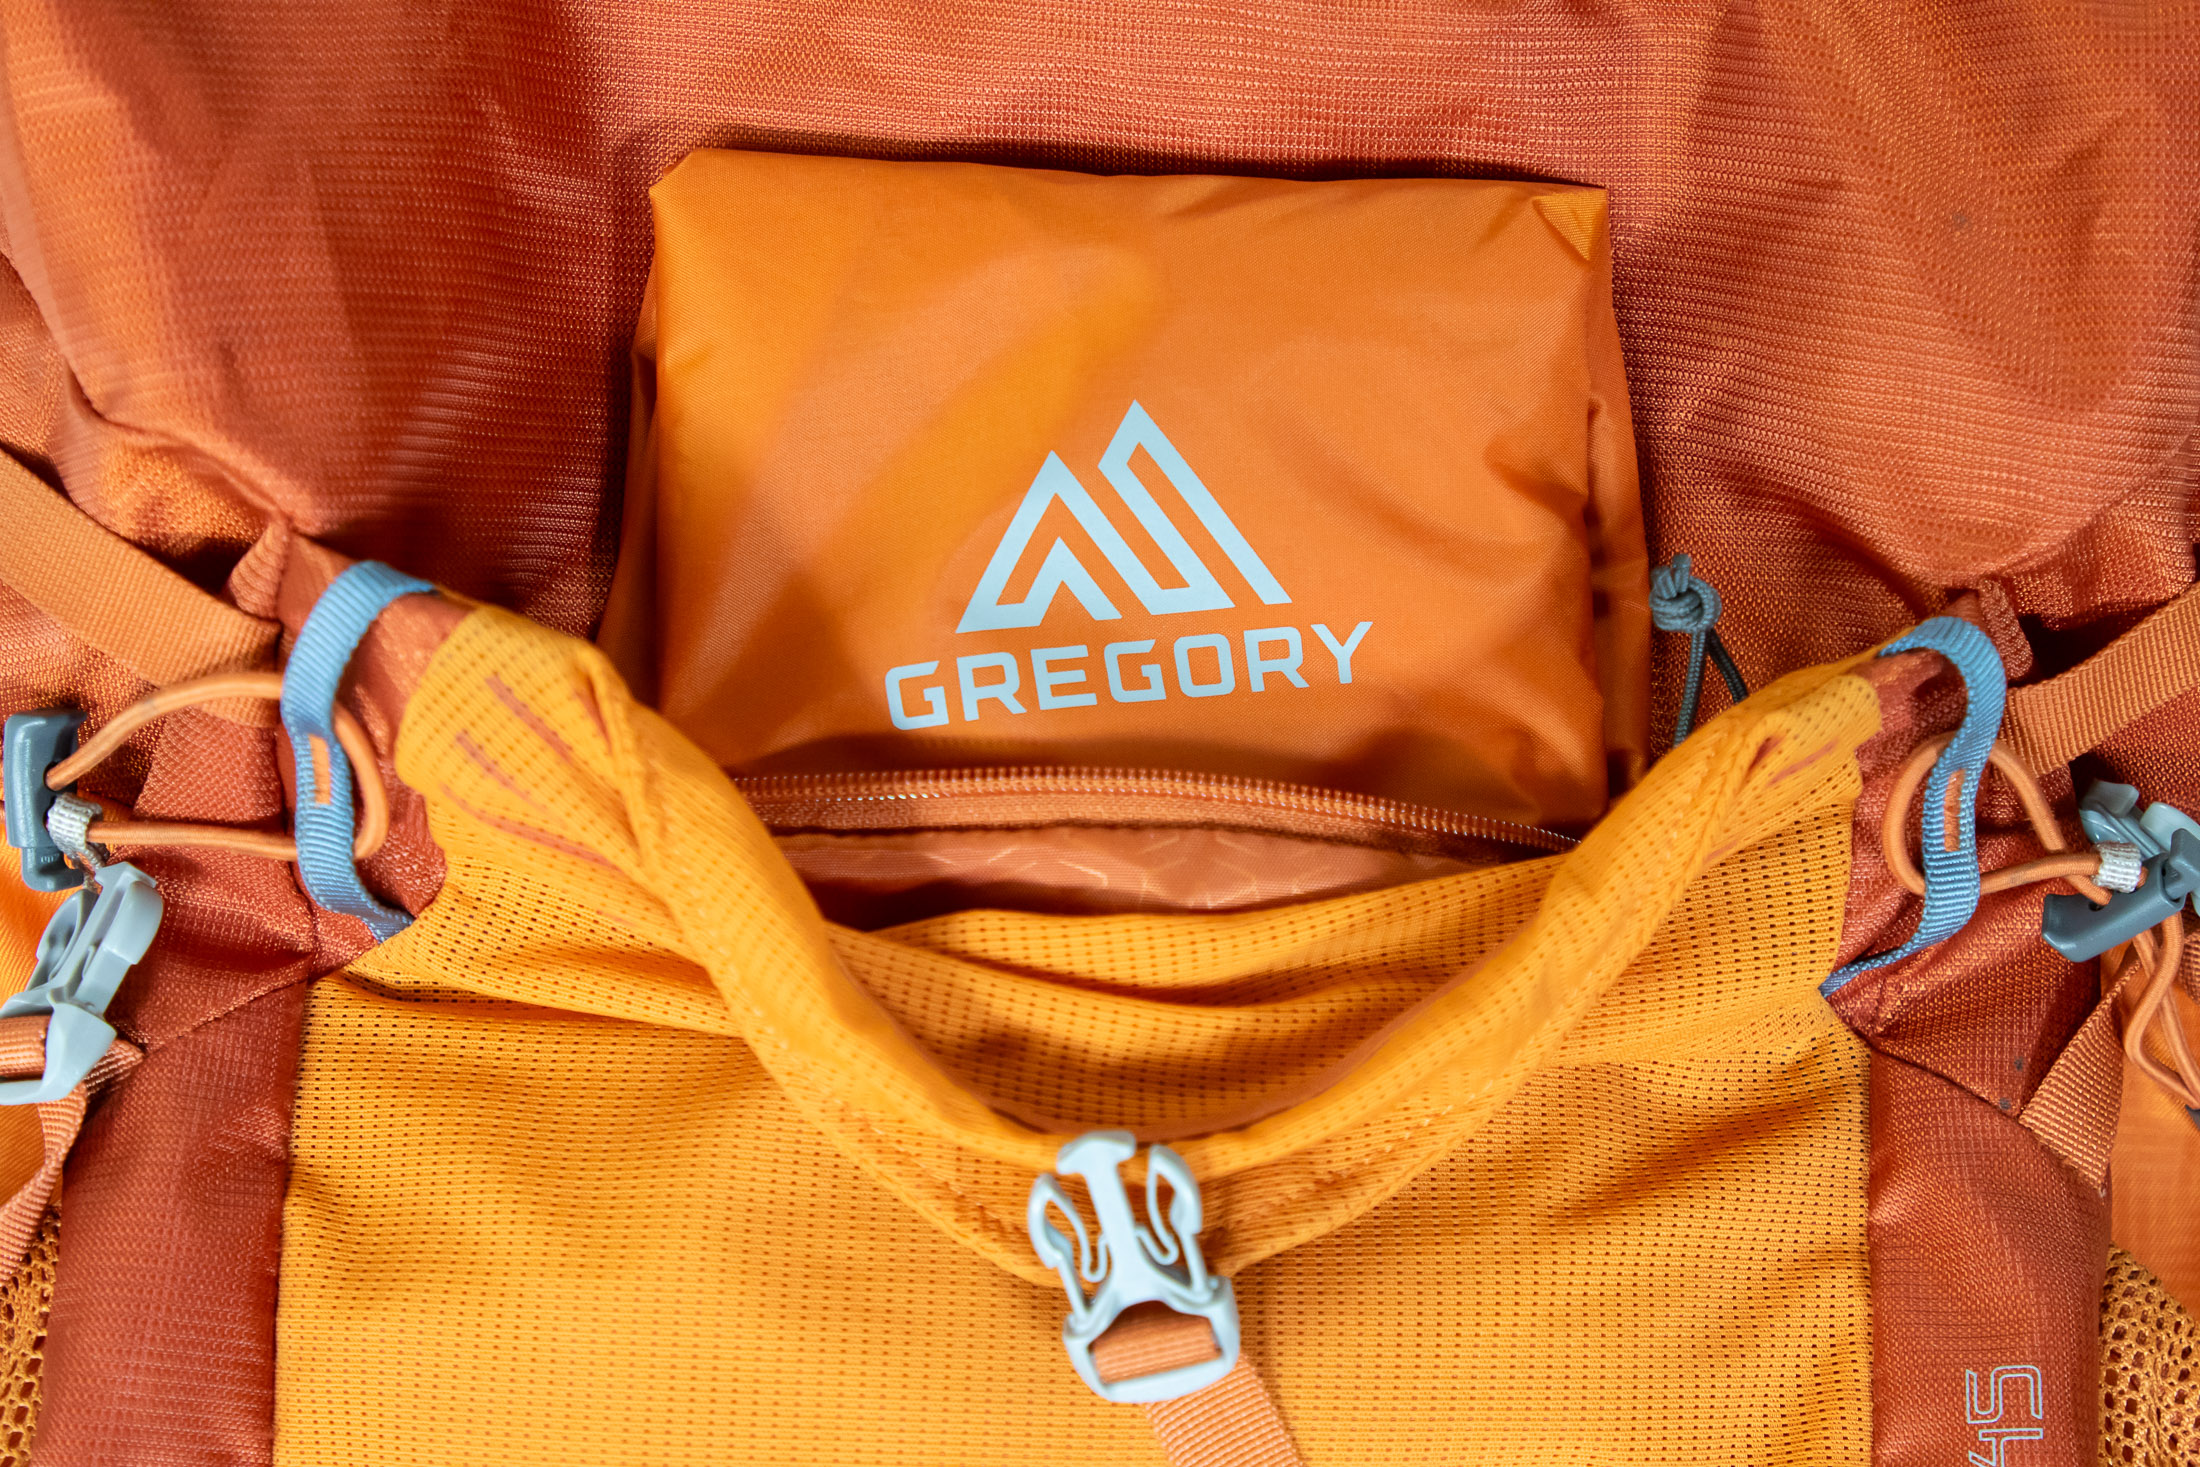
Pack fabrics are treated with a waterproof coating, but water can seep through seams and zippers. To protect the contents of your pack in the event of rain, you will need to carry a rain cover. Many packs come with one. Often this is found in a zippered pocket in the rear mesh pocket. Alternatively, you can use a lightweight stuff sack as a pack liner. This is a good option when high winds might pull a rain cover off a pack.
Compression straps
Compression straps are used for tightening up a pack when it isn’t filled to capacity. This allows for a more secure and balanced load especially when the pack is less than two thirds full.
How to fit a pack
I actually have a whole guide on how to size and fit a backpack, so I’m only going to cover the basics in this article. Most backpacks are available in different sizes based on torso length – a good place to start when trying to get the right fit. After that you will also need to make sure that the hip belt is the right length and fits comfortably.
Torso
For the pack to fit correctly, the distance from the top of the shoulder strap to the hip belt needs to match the length of your torso. This is not the same as height. A tall person can have a short torso, while a smaller person can have a relatively long torso. To determine your torso length, reach behind your neck, bend your head forward, and find the C7 vertebra: It will be the bone in your upper spine that sticks out the most. Next, find your iliac crest – the highest point on the sides of your hips. Finally, have somebody use a measuring tape to measure the distance between the C7 vertebra and the point of your back that’s at the same level as your hips’ iliac crest. This is your torso length.

All manufacturers specify the torso-length range of their backpacks in inches or centimetres. Just also be aware that some packs have an adjustable torso length, meaning the distance between the shoulder straps and the hip belt can be lengthened or shortened.
Waist
Most of a backpack’s weight – up to 80% – should be supported by your hips. To enable this, your hip belt has to be the right length and be the right shape to ensure a comfortable fit. Most people won’t have any trouble finding a pack with a hip belt the right length, but people with narrow waists sometimes find that they cannot make a standard hip belt fit tightly enough. Some packs offer interchangeable hip belts, which can solve the problem, but in other cases, a hiker might be forced to go with a smaller pack. Beyond simply ensuring that a hip belt matches the circumference of your waist, you should also make sure that it completely covers your hip bones to ensure a snug fit.
Women's packs
Besides being available in smaller sizes (designed for shorter torsos), women-specific packs also have shoulder straps and hip belts that are designed specifically to fit a woman’s body shape. They also generally have less volume than equivalent men’s packs, the idea being that women, being smaller than men on average, have smaller sleeping bags and clothes, which in turn takes up less space in a pack. Despite the differences in ergonomics, women’s packs can also be a good fit for young backpackers who will find a better fit in a smaller frame.
Get more advice from this gearhead
You now have everything you need to know about what to look for in your next backpack. Well, almost everything. In this guide, I only briefly went over how to size and fit a backpack. For more detailed step-by-step instruction, I suggest reading my guide to sizing and fitting a backpack. But don’t stop there either. On this website you’ll find many more in-depth gear guides on everything from backpacking stoves to tents as well as many more how-to articles. You can find these under the different sections in the categories menu, or, better yet, sign up for my newsletter to get all the latest from Trail & Crag delivered straight to your inbox.
