With the excitement that accompanies the start of a big trip, it can be tempting to just toss your gear into the back of your car. But that can create problems further down the road – problems that can make driving more dangerous or result in wasted time. To avoid these dangers and delays, it’s best to just pack your vehicle properly the first time by ensuring that the payload is evenly distributed and properly secured in place. And that's the purpose of this article – to explain how you can pack your vehicle in a way that makes the logistics of a big trip both easier and safer.
Why it’s important to pack your vehicle properly
It is important to pack your vehicle properly not only because it is more space efficient but also because it mitigates the effects of the extra weight on your vehicle’s handling and ensures better visibility for the driver. A properly packed vehicle also reduces the chances of items sliding around and causing damage and injury as can happen when the driver has to brake hard or swerve.
- Mitigates the effect of extra weight on a vehicle’s handling
- Makes it less likely that things will slide around inside the vehicle
- Ensures better visibility for the driver
- Makes it easier to access certain things
- Allows you to be more space efficient
Know how much your vehicle can carry
If you have to push your vehicle’s capacity to the limit – with gear packed to the roof behind the back seats – you need to be careful not to overload it. Too much weight can make a vehicle difficult to control, reduce your ground clearance, and put extra wear on suspension, brakes and tires. To avoid loading your vehicle, you will need to check your vehicle’s payload limit (found in the owner’s manual or the sticker on the driver’s door jamb) and then do a little math, totalling the weight of everything that will be added to your vehicle including passengers, gear, roof rack, bike rack, and even a dual battery system if you have one.

Step 1: Pack smaller items into boxes and bags
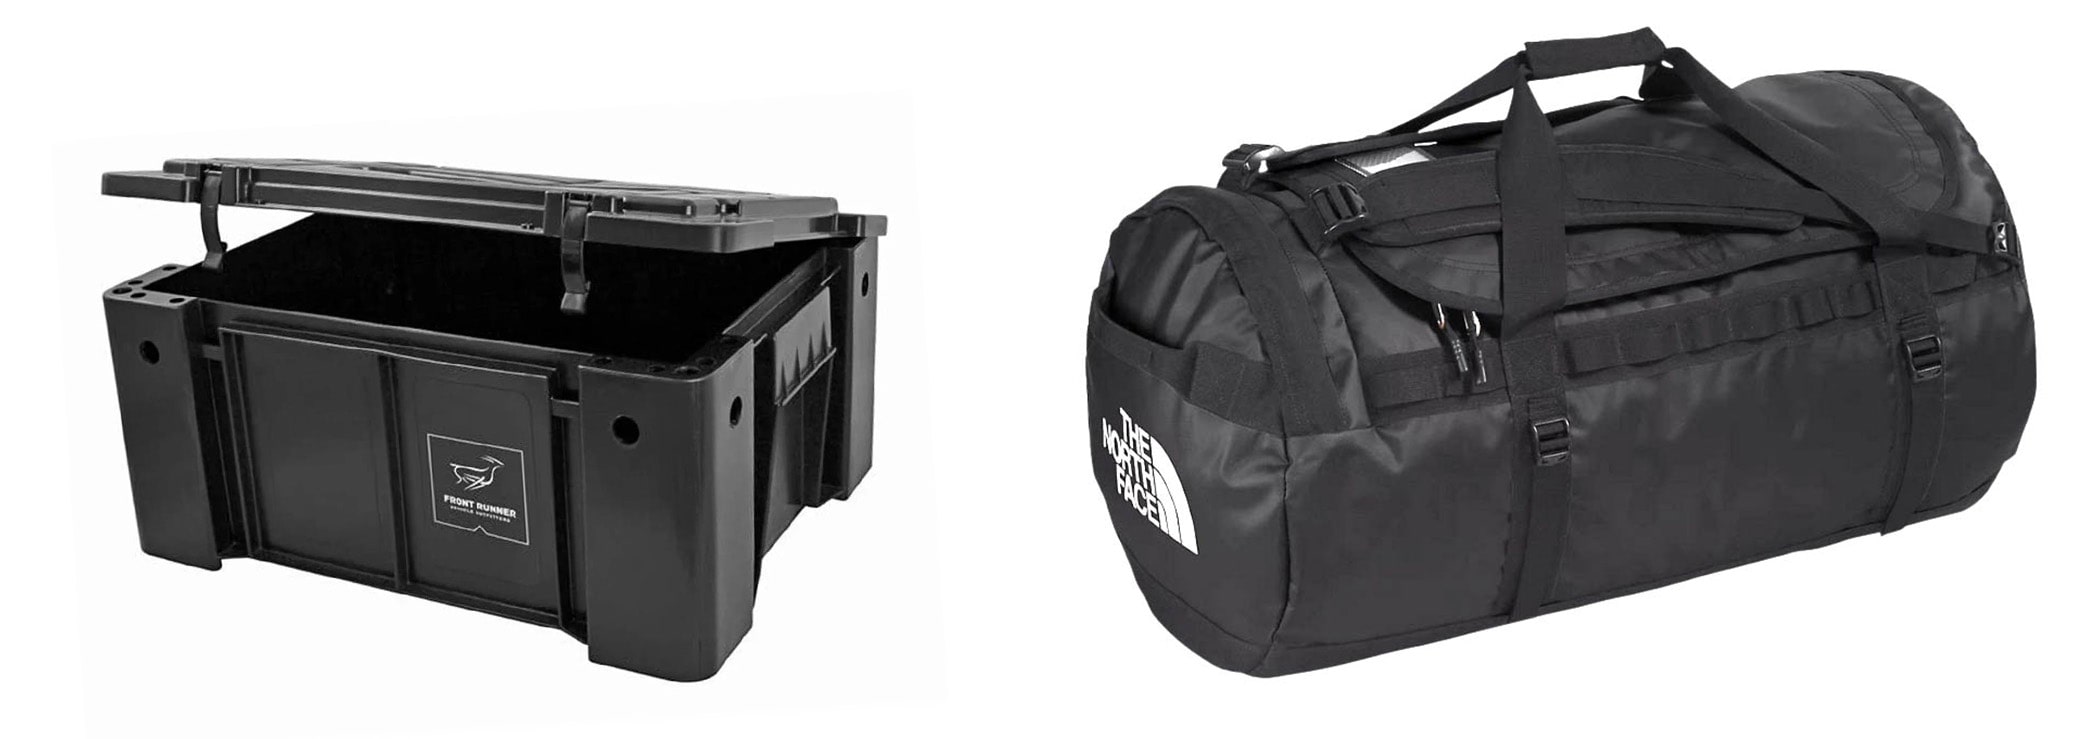
The first thing you are going to do (besides checking that you have everything on your checklist) is pack all your smaller items into storage boxes and bags. The conventional wisdom here is that you put softer things like your clothes and towels into bags and harder things – and those that need to be kept upright – into boxes. But it’s also useful to pack things according to purpose or category. For example, you might put all your kitchen things into one box, non-perishable food in another box, and supplies and smaller gear (stove, portable speaker, fire lighters, washing-up stuff) into a third box. There are four advantages to such a system:
It makes it easier to find and access everything
Having a well organized packing system can make it much easier to find and access everything. Of course, you will also need to label your boxes so that it’s easier for your friends and family to find everything. This will be especially important if you have several boxes that look the same, in which case you might even struggle to find what you’re looking for since you’ll have no other way of telling them apart.
Prevent things from spilling and breaking
After designating boxes to different categories, you can take your gear organization a step further by creating divisions for separate items. Besides making it easier to remove and return items from a box, these compartments (cut to size from boards like Front Runner’s Foam Dividers) can help keep items upright and protect them from rough knocks – especially important when you’re trying to prevent damage to expensive kit.
Having a system makes it easier to pack for the next trip
Ideally you’d be able to leave your camping gear and supplies in your storage boxes when you get home – that way you’d only need to top up on consumables when you pack for your next trip. But even if that’s not possible, having boxes with compartments for different items (or groups of similar items) still makes it much easier to see if something is missing from your kit (You should still use a checklist).
It is easier to pack your food away when it’s in one box
In the same way that storage boxes make it easier to transfer your kit from the garage shelf to your car, putting your non-perishable food in storage boxes also makes it easier to return it to your car if that’s where you’re going to put it when it needs to be kept safe from bears. Ideally all your dry food (all your food that isn’t in your cooler) would be in one box, making it much easier to return it to your car or a bear locker when you want to leave camp.

Step 2: Sort everything into three categories
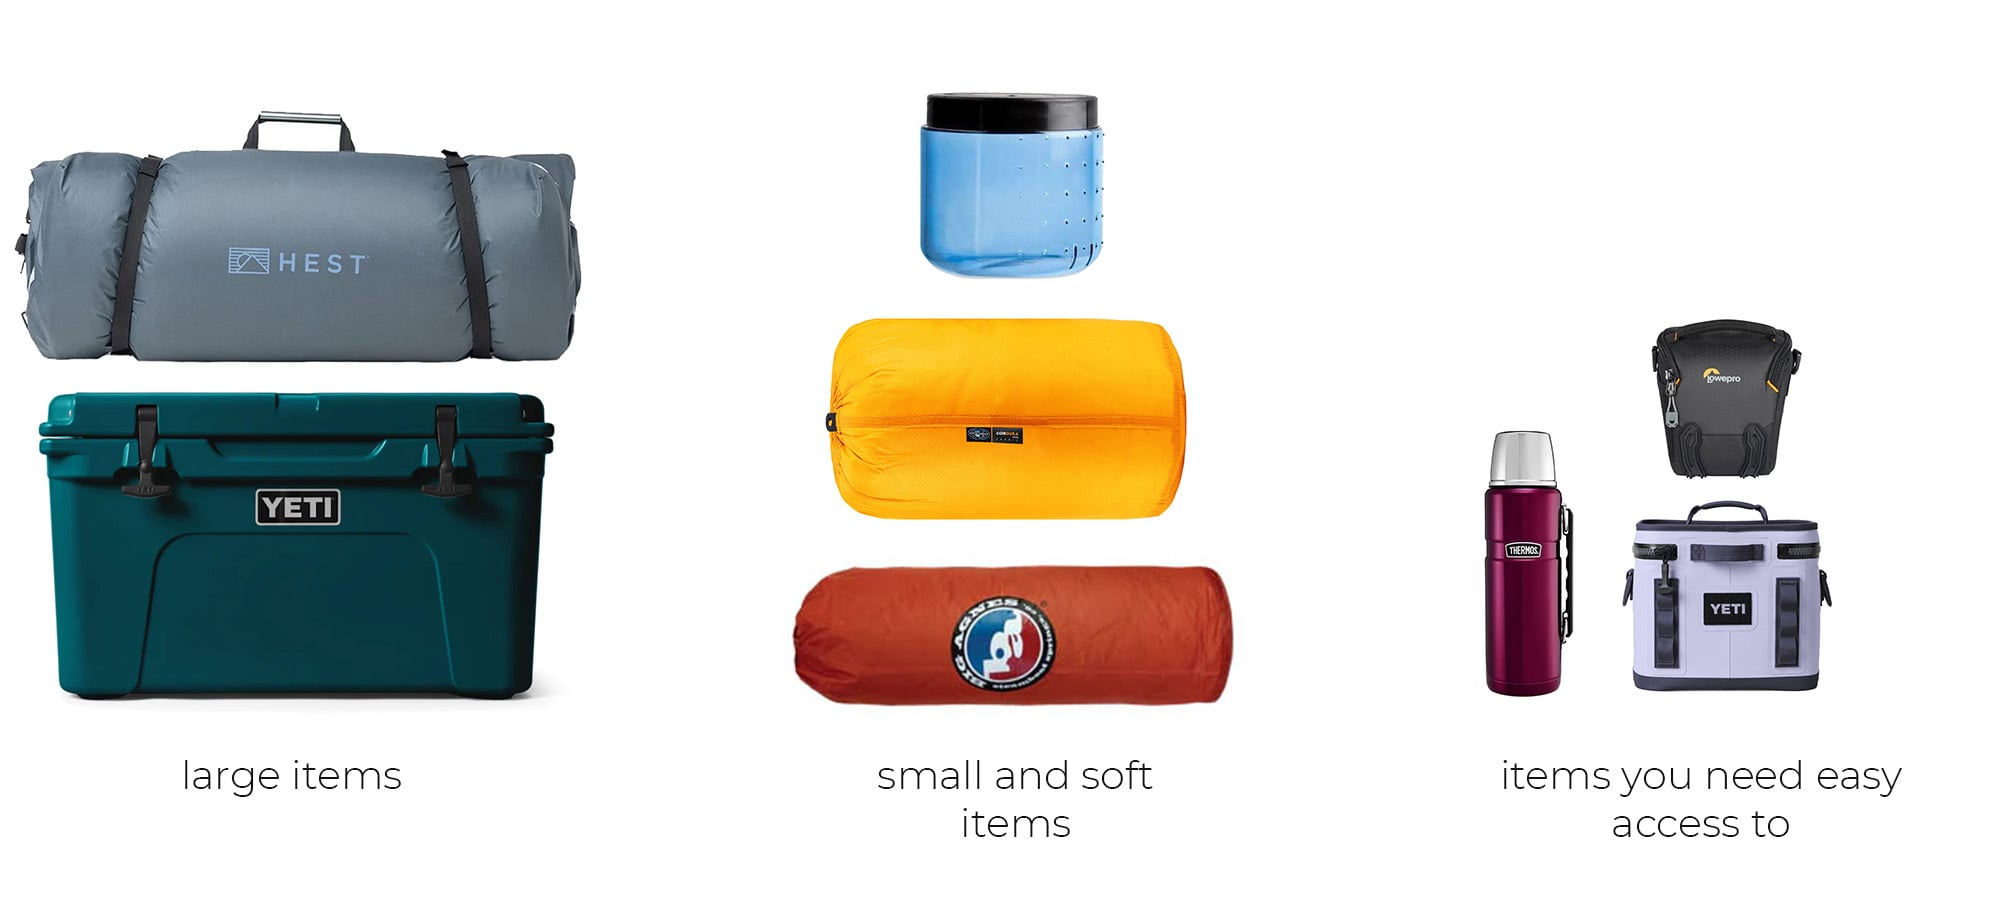
Once you’ve got all your smaller items into boxes and bags, it’s time to take stock of everything you want to pack and then put these into three groups:
Items that you might need while en route
The first items you should put aside are those things that you might need during the drive. These could include toilet paper (and whatever else you need for a trip to the bathroom), snacks for the road, coffee or tea, sunscreen, sun glasses, and possibly an extra layer – basically the things you don’t want to have to dig up from under everything else in your car.
Soft and smaller loose items
All your smallest items should have already been packed into boxes and bags, but there are likely to be at least several small to medium sized things that were either too big to go into something else or just didn’t need to. These can include sleeping bags, sleeping pads, pillows, a hammock, extra pairs of shoes, smaller backpacks, and your camping stove (fold-open two burner). Even smaller boxes and bags – like your first aid kit – can go into this group.
Larger items
At this point, you should be left with large items like your cooler box, storage boxes, larger bags, camp chairs, table, and water container. If you have a large tent or a foam camping mattress, these can also go into this group. It’s worth noting that it is harder to pack a few very large bags than it is to pack several smaller bags. The same goes for boxes – stackable medium-sized boxes like the Front Runner Wolf Pack Pro are the easiest to work with a real world game of Tetris.

Step 3: Pack your vehicle
Finally, it’s time to pack your vehicle. But before you get started, it’s important to remind yourself of what you are trying to achieve. You’re not only just trying to get everything into your car but also do it in a way that maintains visibility through the back and side windows, ensures that weight is properly distributed, and prevents items from sliding around.
Secure bulky but less heavy objects to your roof rack
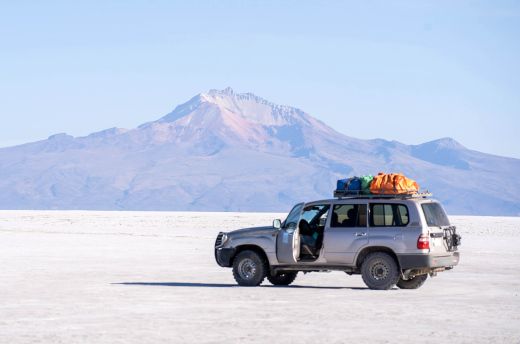
A roof rack is great for freeing up space inside your vehicle, but you need to give some thought to what you carry on it. Having too much weight on your roof will have a negative impact on your vehicle’s handling, and it’s best to reserve this space for bulky but less heavy items like tents, chairs, and bags containing clothes. Because these things will be exposed to the elements, they should also be waterproof and dustproof. Secure everything in place with ratchet straps and tie-downs.
Pack larger items first and then smaller and squashable items
This is where your earlier prep will make things easier. All the largest and heaviest items will go into your vehicle first – right up against the back of the cargo area if possible, since this will put most of the additional weight over the rear axles. After that, you can pack the smaller and softer items around the large items and into any gaps, adding the things that you need easy access to last. Besides being more space efficient, this strategy helps ensure that things don’t slide around or fly forward when you have to brake hard.
Pack gear in the rear foot wells
If either or both of the back seats aren’t occupied, you can also pack gear in the footwells. This will position some of the payload lower and further forward, limiting the negative impact of the extra weight on the vehicle’s handling. Also, if you pack enough gear into a footwell to make it level with the seat, you can pack a larger item, like a duffel bag, into the space between the front seat and rear seat backrest. In this position, that item would be more secure than if was sitting in the middle of the back seat with nothing to hold it in place.
Avoid packing gear higher than the rear seat
Even if you don’t have passengers on the rear seat, it is better to keep the seat up and not fold it flat. When upright, the backrest can stop items in the rear of the vehicle from sliding forward. It’s for this reason that you also don’t want to pack items in the trunk higher than the back seat – these loose objects could fly forward and injure the driver or passenger during an accident. If you really want to pack gear higher than the rear seat, you can install a cargo barrier net, but this will only keep smaller and lighter items in place.
Check that you have clear line of sight
Besides ensuring that you have a clear line of sight through your windscreen and front windows (and mirrors), you should also make sure that you can see into your blind spots though your rear side windows and ideally can also see through the back window. This is just another reason that it’s best to avoid packing gear higher than the rear seat. If you can’t see out the back, you will have to be extra careful when changing lanes and when reversing out of parking spaces.
Top packing tips
After following the best practices listed above, there are a few other things you can do to make a big road trip easier or safer.
Make a note of your vehicle’s height with the roof rack
If your vehicle has a roof rack, you should check your vehicle’s height with the roof rack and payload before you set off. Then write this down on a sticker that can be put on your dashboard. That way you’ll have the figure right in front of you when you approach an overpass or tunnel. Of course, not everything that you drive under will have a caution sign above it, and you’ll need to have your wits about you when passing under trees with low branches.
Consider fitting a sliding drawer system for longer trips
A sliding drawer system can be a great addition to your setup if your vehicle has space for it. Such systems make it possible to access gear without having to unpack everything on top of it. This can save a significant amount of time and energy over the course of a longer trip. These drawers typically come in two varieties: those that have built-in compartments and those that are designed to carry compatible storage boxes. The advantage of the latter solution is that boxes allow you to move your kit from a garage shelf to your vehicle and then a camp table very easily.
Learn more
That’s it – everything you need to know about packing your vehicle properly. But don’t stop here. This was just one of many articles related to car camping, overlanding, camping and other outdoor pursuits. If you ever wanted to know how to choose a suitable campsite, how to dial in your sleep system, or how to choose a tent, you can find all of that and more right here on Trail & Crag.
