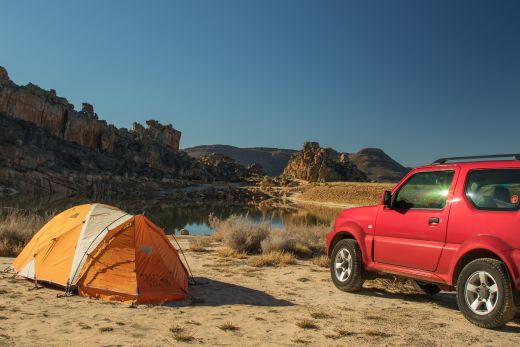
So maybe you can’t afford a van, but you still want to camp in comfort and style. Good news – you don’t need a kitted-out Sprinter to camp like a pro. Whether you are embarking on an eight-month climbing trip or just heading to the beach for the weekend, the following tactics can make any road trip adventure just that much more enjoyable. In this article you’ll learn what to pack for the ultimate car camping trip, how to set up a camp that feels like second home, and how to avoid some of the pitfalls experienced by many vanlifers.
- What is car camping?
- Pre-trip research
- Packing
- Vehicle prep
- Loading your vehicle
- Setting up camp
- Cooking
- Ablutions
What is car camping?
When some people think of car camping, they imagine bedding down in the back of an SUV. But, while car camping can involve sleeping in your car, it doesn’t have to. In its broadest sense, car camping simply means camping near your vehicle, regardless of whether that means sleeping in a tent or in your car. I will go into the pros and cons of each approach in a minute, but first I need to point out that the difference between sleeping in your vehicle versus sleeping in a tent isn’t nearly as important as the difference between staying at a supported campground and overnighting at a dispersed campsite. The latter requires a far greater degree of self-sufficiency and planning – something I will go into in detail in this article.
Campgrounds vs dispersed campsites
Unless you really like your solitude, you will probably stay at a campground most nights. With facilities like toilets, trash disposal, and running water, campgrounds can simplify the logistics of any trip. The downsides, of course, are that you have to pay to use them and that you will be surrounded by other campers, who may or may not be good neighbors. It’s also important to bear in mind that the facilities offered by campgrounds vary. All have toilets or latrines and most have trash disposal, but beyond that, the amenities found at different campgrounds vary greatly. In the U.S, Forestry and BLM campgrounds usually have fire rings and picnic tables but no showers. Private campgrounds, on the other hand, will have showers and possibly even power hookups. The camping app, The Dyrt can tell you what you can expect to find at your destination.
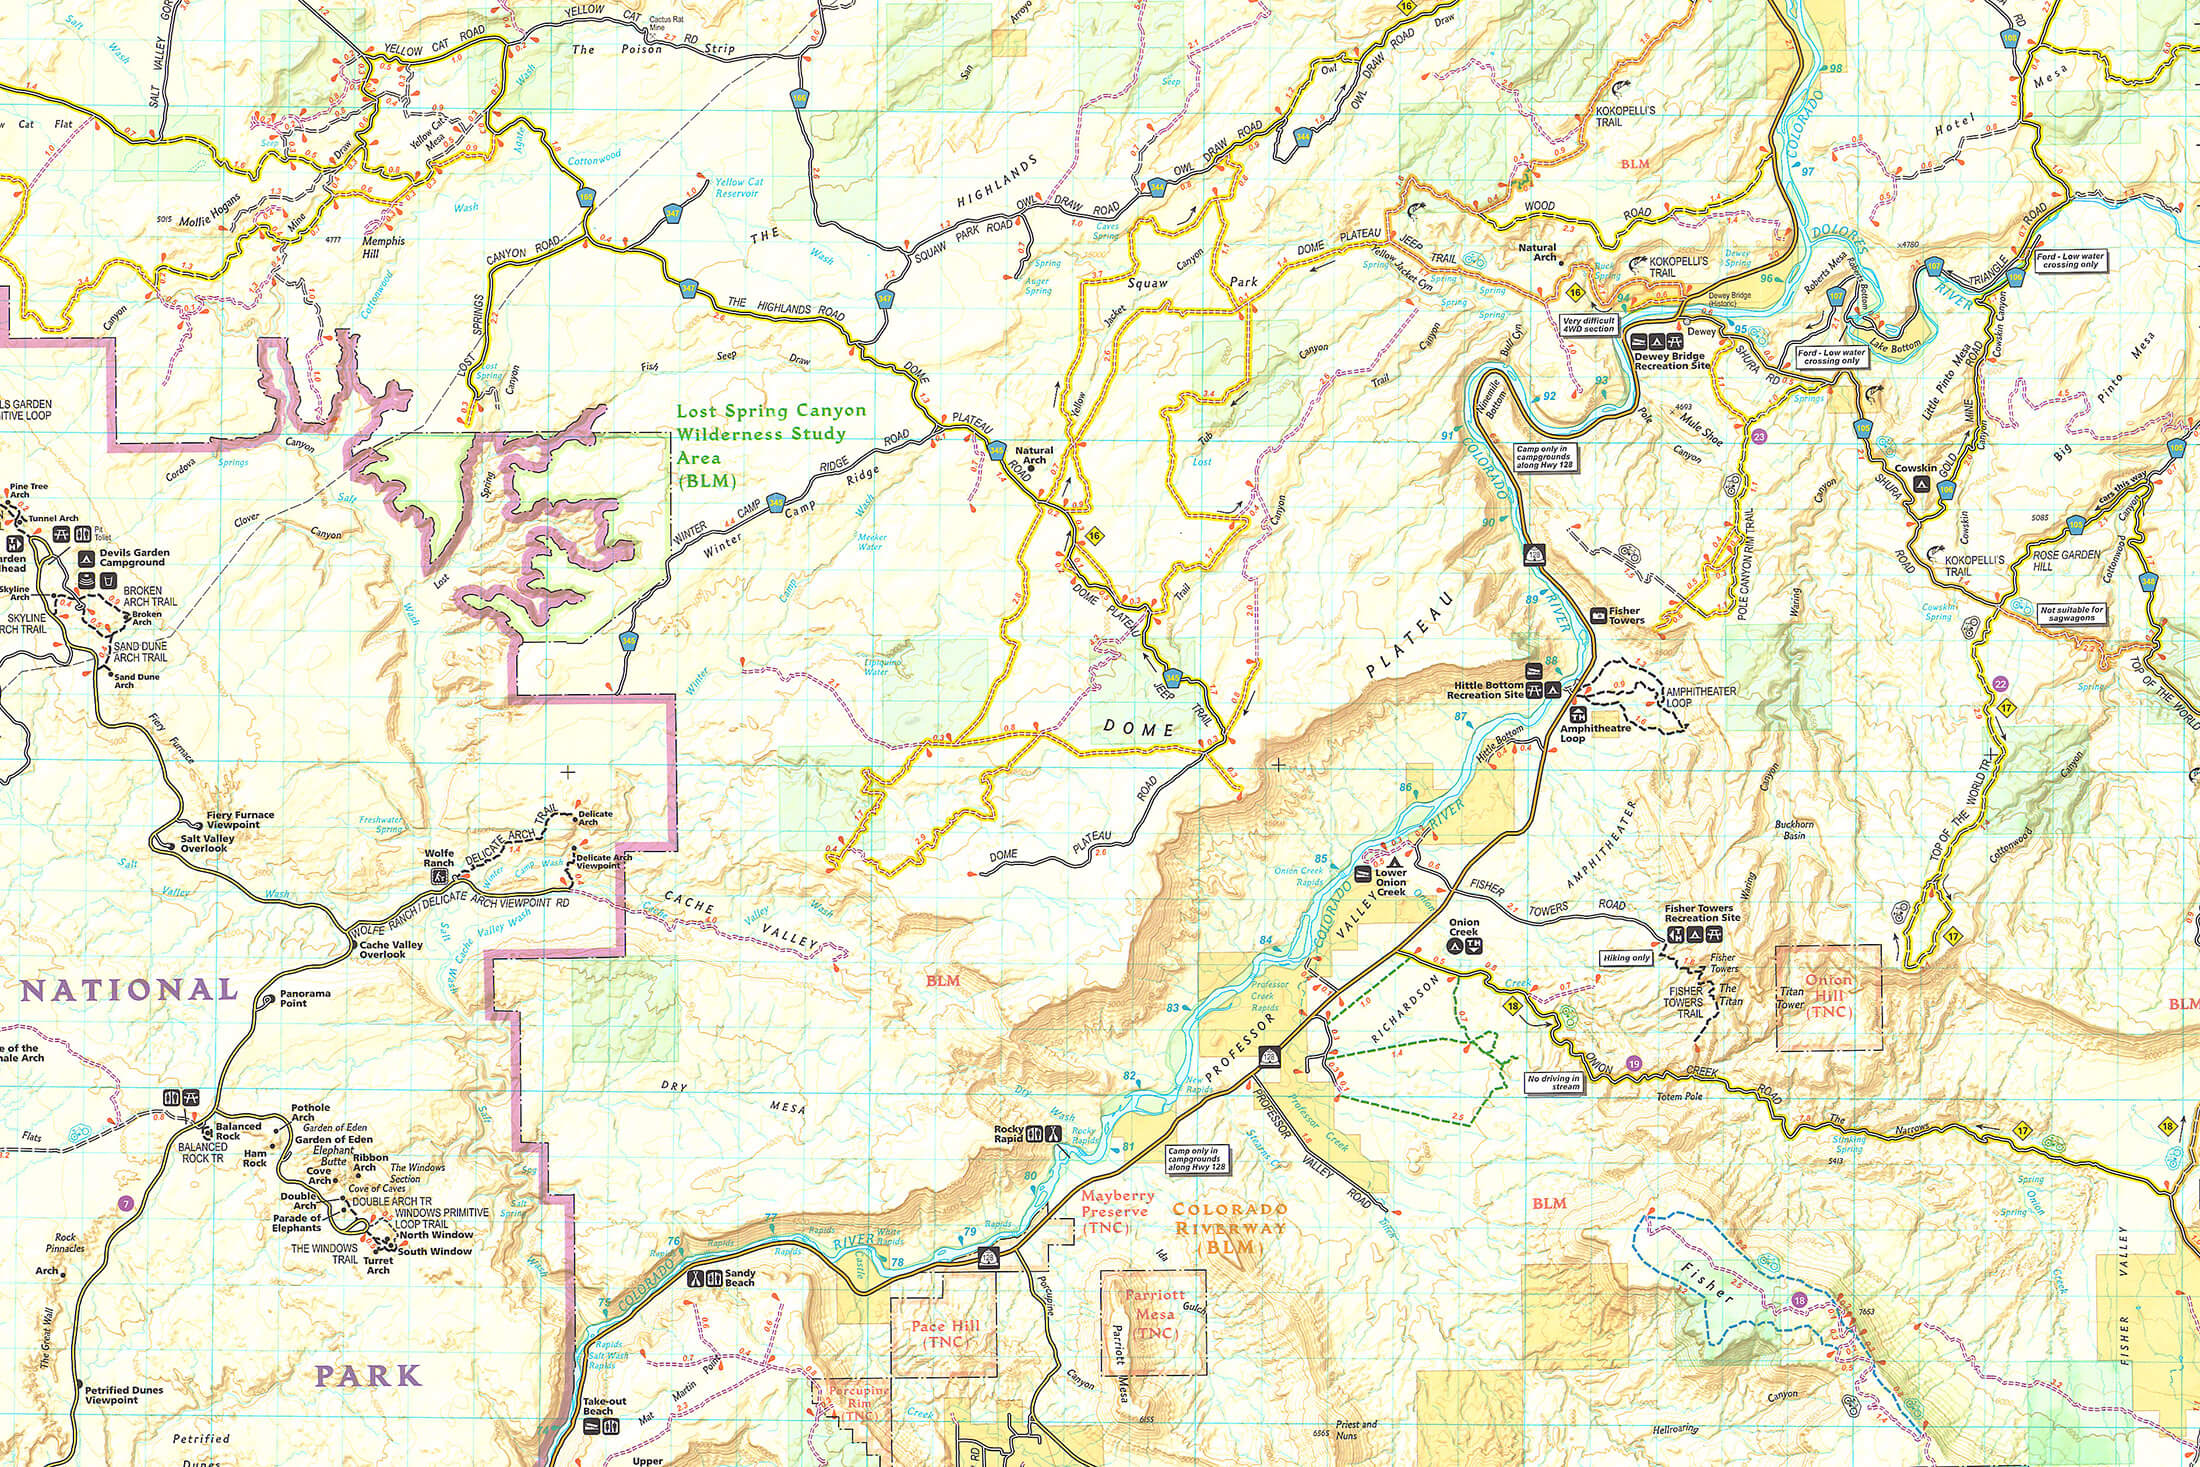
If you would prefer to camp off-the-grid and away from the bustle of developed campgrounds, dispersed camping also has its benefits. Besides being free, the self-sufficient approach to car camping (with little to no facilities) puts you closer to nature and allows for greater flexibility in terms of location. You can’t camp anywhere, but you’ll have many more options than when using campgrounds. In the U.S, dispersed camping is allowed in national parks and on public land like that managed by BLM or the Forestry Services. If planning to camp on land managed by one of these agencies, it’s always best to contact a local ranger station to find out where dispersed camping is allowed. Usually, you will be looking for a clearing just off a remote gravel road. Some more popular dispersed sites have a latrine, but don’t count on it. You should always be prepared to pack out your waste, including TP.
Sleeping in your car vs your tent
Sleeping in your car might sound like a great idea, but, like tent camping, it has its pros and cons. On the plus side, a car can insulate you better from cold and nighttime noises (a real advantage when using campgrounds), and it saves you the hassle of having to pitch a tent. This can be very convenient when you arrive at your destination late or when there are just very few tent sites to be found. On the downside, if you put some kind of raised bed in the back of your vehicle, you can’t put passengers in the back. This can be limiting if you want to use your car for shuttling riders while on a mountain biking trip. It also can make it difficult to lock your bike in the back of your car – something you might want to do for security purposes when overnighting in urban areas (I’ve run into this problem when staying at backpackers).
Of course, you don’t have to put a raised bed in the back of your vehicle, but sleeping in on the floor of the cargo area can also present issues. With this simpler setup, you don’t have the benefit of a storage area under a false floor, and you usually have to pack up your sleep system before loading up your vehicle and driving anywhere. This is not a problem if you are moving camp almost every day, but if you are going to be in one place for longer than a week, having to pack up your sleeping bag and pad everyday can get old very quickly. You avoid this when using a tent. Lastly, you’ll have to fit mesh screens (available from most outdoor stores) over your windows to keep mosquitoes out of your car. It’s not a good idea to sleep in a car with the windows closed.
Pre-trip research
If you are planning to stay in a campsite with ablutions and running water, you might not have to think about water or latrines. Backcountry campsites, on the other hand, offer no such amenities and require extra preparation and planning. Besides familiarizing yourself with the Leave No Trace principles and dispersed camping rules, you’ll need to ensure that you have everything you need to support your off-grid excursion.
Cash
Although it might seem a bit old school, it’s always a good idea to have cash with you on trips into remote areas. Some campgrounds still require payment through self-help kiosks which require exact cash.You don’t want to pull up to a campground and not be able to pay for a reservation, especially when there’s little chance of there being an ATM around the corner. Some BLM campgrounds allow you to make a payment using the Recreation.gov mobile app, but to be safe, you’ll want to download it before you get to your destination.
Water
Most supported campgrounds have running water, but some don’t. If you cannot count on there being a reliable water source at your destination (find out before you go), you will have to drive in all the water you need or make a plan to refill at a natural water source. If you are going to use water from a river or lake, you should pack water purification tablets or a filter in case the water quality is less than ideal. A jerry can is also very useful in such situations as it allows you to make fewer trips to wherever you’re getting water from.
Fire and maximum stay regulations
Again, regulations depend on the country and type of park. If you intend to make a campfire on public land, you’ll need to stop in at the local ranger’s office (Bureau of Land Management or United States Forest Service in the U.S) to check whether fires are currently allowed and whether you need a permit. Some dispersed campsites have fire rings. If there is one, you should use it. If it is permitted to gather firewood, only collect downed wood. And ensure that all coals are burned to ash before you leave.

Many free public camping areas are subject to maximum stay regulations. For example, campers can stay only for up to 14 days on dispersed sites on BLM land. After that, you have to move at least 25 miles from the original site and can only return after 28 days. Gone are the days when climbers could set up camp in Indian Creek or the Valley for months at a time. If you intend to spend months in an area where most sites are on BLM land, you can rotate between three campsites at least 25 miles from each other.
Latrines
Campgrounds have latrines, as do some dispersed campsites. Know what to expect before you go. When there are no latrines, you should familiarize yourself with the rules for the disposal of human waste as these vary from area to area. In some wilderness areas, you will be able to dig a cathole or makeshift latrine. In others you may have to drive out all human waste, in which case you’ll have to know how to use a WAG bag. I’ll go into this in more detail in the ablutions section.
Scavengers
If you are going to areas where you can expect bears, you should know if the campgrounds have bear lockers. If they don’t – or you plan on using dispersed campsites – you will need to have an alternative means of protecting your food from bears and other animals. You will either have to store your food in your vehicle, or you’ll have to put it in some kind of bear-proof container. Do not put your food in your tent. A bear will take it apart if it smells food inside it.

Packing
The great thing about car camping is that you can afford to pack a few luxuries –
it’s not like you’re going to be carrying them very far. Hammocks, ukuleles, and solar chargers – there’s space for all of these. However, with all this gear, packing can get complicated, and so it’s not uncommon for even experienced car campers to leave some vital piece of kit at home. To avoid having to ‘borrow’ TP or firestarters, there are two things you can do to ensure that all the essentials get packed.
Storage boxes
Of course, the more stuff you pack, the harder it is to find something when you need it. You can devise a simple storage system that places items A, B and C in box #1 and items D, E and F in box #2, but I suggest that you take things a step further by fitting your storage boxes with inserts or dividers. Besides making everything easier to find (all items will have a place of their own), there are two other benefits to such a system.
Firstly, compartments stop things from tipping over, spilling, and breaking. And, secondly, compartments make it easier to see if something is missing. You get used to seeing items in certain compartments, and when a space is empty, you will realize “Ahh, yes – I need to get more X”. You can use almost any plastic storage box, but I prefer the Wolf Pack by Front Runner since it’s tough, stackable and straight-sided, which makes it easier to fit it with inserts. Frontrunner also makes foam dividers for making your storage box compartments. Before these were available, the only option was to make your own dividers, usually with plywood – a lot heavier and less space efficient.
Checklist
This seems obvious, and yet so few people do it – use a checklist. In my car camping checklist, I list items that are always needed and things that are only needed for dispersed camping. And then I also include sections for specific activities (ie climbing or mountain biking). This might seem a bit geeky, but you and your friends will be grateful when your fastidiousness means that you don’t have to make a two-hour round trip to the nearest gear store for extra chalk or tire sealant.
Vehicle prep
A wilderness camping trip can put you far from help if you suffer some kind of mechanical failure. To reduce your chances of being stranded in the middle of nowhere, it pays to check your vehicle over before a long trip and ensure that you have at least a basic roadside emergency kit. Beyond that, there are few minor modifications that you can make to your vehicle that will make your car camping experience just that much more enjoyable.
Pre-trip vehicle checks
Before you embark on a long drive, you should give your vehicle a quick check-over: oil, radiator fluid, and tire pressure (might need to be adjusted for a heavy load). It’s a good idea to do this the day before your trip. It’ll save you from having to make an extra stop as you leave town – a real time saver if you are trying to beat Friday traffic. And it will allow you to attend to any minor mechanical niggles issues before you set off.
Roadside emergency kit
A basic roadside emergency kit includes the six items listed below. If you live in a hot and dry or forested area, adding a fire extinguisher to your kit would be a good idea, and if you intend to drive through any icy mountain passes, tire chains should be considered mandatory.
- Jumper cables
- Tow rope
- Jack
- Spare tire
- Tire spanner
- Triangle reflector
Rain and wind deflectors
If you are going to sleep in your vehicle, it’s a good idea to put rain and wind deflectors on the windows to stop rain from getting in. Mesh window screens (for keeping mosquitoes out) only fit over a car’s rear windows, so you’ll want deflectors on both the front and rear windows or just the rear windows. With seamless deflectors, both rear and front windows have to be fitted to ensure proper aerodynamics.
Cargo liner and seat covers
The trunk of your car can be subjected to a lot of wear and tear, and it's best to put down some kind of cargo liner or trunk mat. Most vehicle-specific products are designed to cover the trunk when the back seats are up. If you want a cover that will protect the backseats when they’re folded forward, you’ll probably need to have a custom liner made. Likewise it would be best to put covers on your back seats if you are going to put gear (and mud-spattered passengers) on them.
raised bed
Putting a raised bed or shelf in the back of an SUV is a common practice among people going on extended road trips. Such a setup requires some DIY work as there isn’t anything readily available out there. Fortunately, it’s not very difficult to devise your own system. To start, simply Google ‘SUV camper’. There’s no shortage of ideas and advice out there. But before you even do that, have a good think about whether this is actually the best solution for you. It would be a good idea to first revisit the pros and cons listed above.
Inverter
If your trip is going to last more than a weekend, you might need a way to charge a laptop, camera, and other electronics. For this, you’ll need a power inverter to convert the DC current produced by your car’s battery into the AC current used to power most larger electronic devices. A 150W inverter will plug into a cigarette lighter and is all you need to charge a laptop or camera. Larger inverters will provide more power, but these are only a good idea if you have a dual battery system – something that you’ll probably install only if you plan to take a portable fridge with you.
Loading your vehicle
Besides making it easy to get to certain things when you need them, packing your car correctly can help limit the effect that the additional weight will have on your vehicle’s handling. Ideally, you’d keep your vehicle’s center of gravity as low as possible, but sometimes you just can’t fit everything inside your vehicle. Even if you have an SUV, you might find yourself short on space. In such situations, you have two solutions: pack less or put some things on the roof. When faced with a choice between leaving gear at home and putting it on the roof, most people prefer to put some of it on the roof. This is how you pack a vehicle with or without a roof rack.
Take stock of everything you need to pack
Before you even start packing, you should take stock of everything you want to pack and separate all of this into three groups. The first group is for items that will be packed inside your car and which you probably won’t need until you get to your destination. The second group is for items that will be packed inside your car and which you might need during the drive. These could include warm layers, a camera, road snacks, first aid kit, and toilet paper. And the third group is for items that can go on the roof. These should be waterproof, dustproof, and not too heavy.
Group 1: Packed in the car but not easily accessible
- water container/jerry can
- cooler box
- storage boxes
- Tent and tarp
- sleeping bags and sleeping pads
- bags containing clothes and personal kit
Group 2: Packed in the car and easily accessible
- small cooler bag with road snacks and drinks
- warm layers
- camera
- headlamps
- first aid kit
- toilet paper
Group 3: Packed on the roof rack
- storage boxes
- camp chairs
- camp table (under rack)
- kayaks and paddles
- bikes
Pack the car first
Once you have separated everything into the three aforementioned groups, you can pack everything that needs to go inside the car, starting with the things you won’t need during the drive. I find that it’s usually easiest to pack the largest solid items first and then pack smaller and more malleable items around them. When that’s done, you can go ahead and pack the items that you might need during the drive. To keep these things together and easy to find, you might want to actually put them in their own bag.
Load the remaining gear on the roof rack (if you have one)
If at this point, there’s still space in the car for a few of the things that were originally put into group 3, it would be best to pack them inside the vehicle. The more weight you have on the roof of your car, the worse it will handle, so you should do what you can to get as much of your kit inside the vehicle as possible. Hopefully you will be left with just a few not particularly heavy items that will be easy to secure to your roof rack. At least one roof rack manufacturer, Front Runner, also makes mounting brackets for securing their storage boxes to their racks. Most other things can be secured to a roof rack with a few ratchet straps.
Setting up camp
Once you arrive at your destination, you still need to make two important decisions: where to set up camp and how to arrange your campsite.
Site type and location
Most campgrounds have two types of campsite: walk-in sites and drive-in sites. While the former can sometimes give you more privacy or a better view, drive-in sites make for easier logistics and far fewer trips to the car. Personally, I always prefer to camp right next to my vehicle, but some people will see the attraction in a secluded and picturesque walk-in site. Regardless of the type of site you choose, it’s important that you check for any potential hazards. Avoid large dead branches and trees that are being held up by others (point out any such dangers to rangers or wardens).
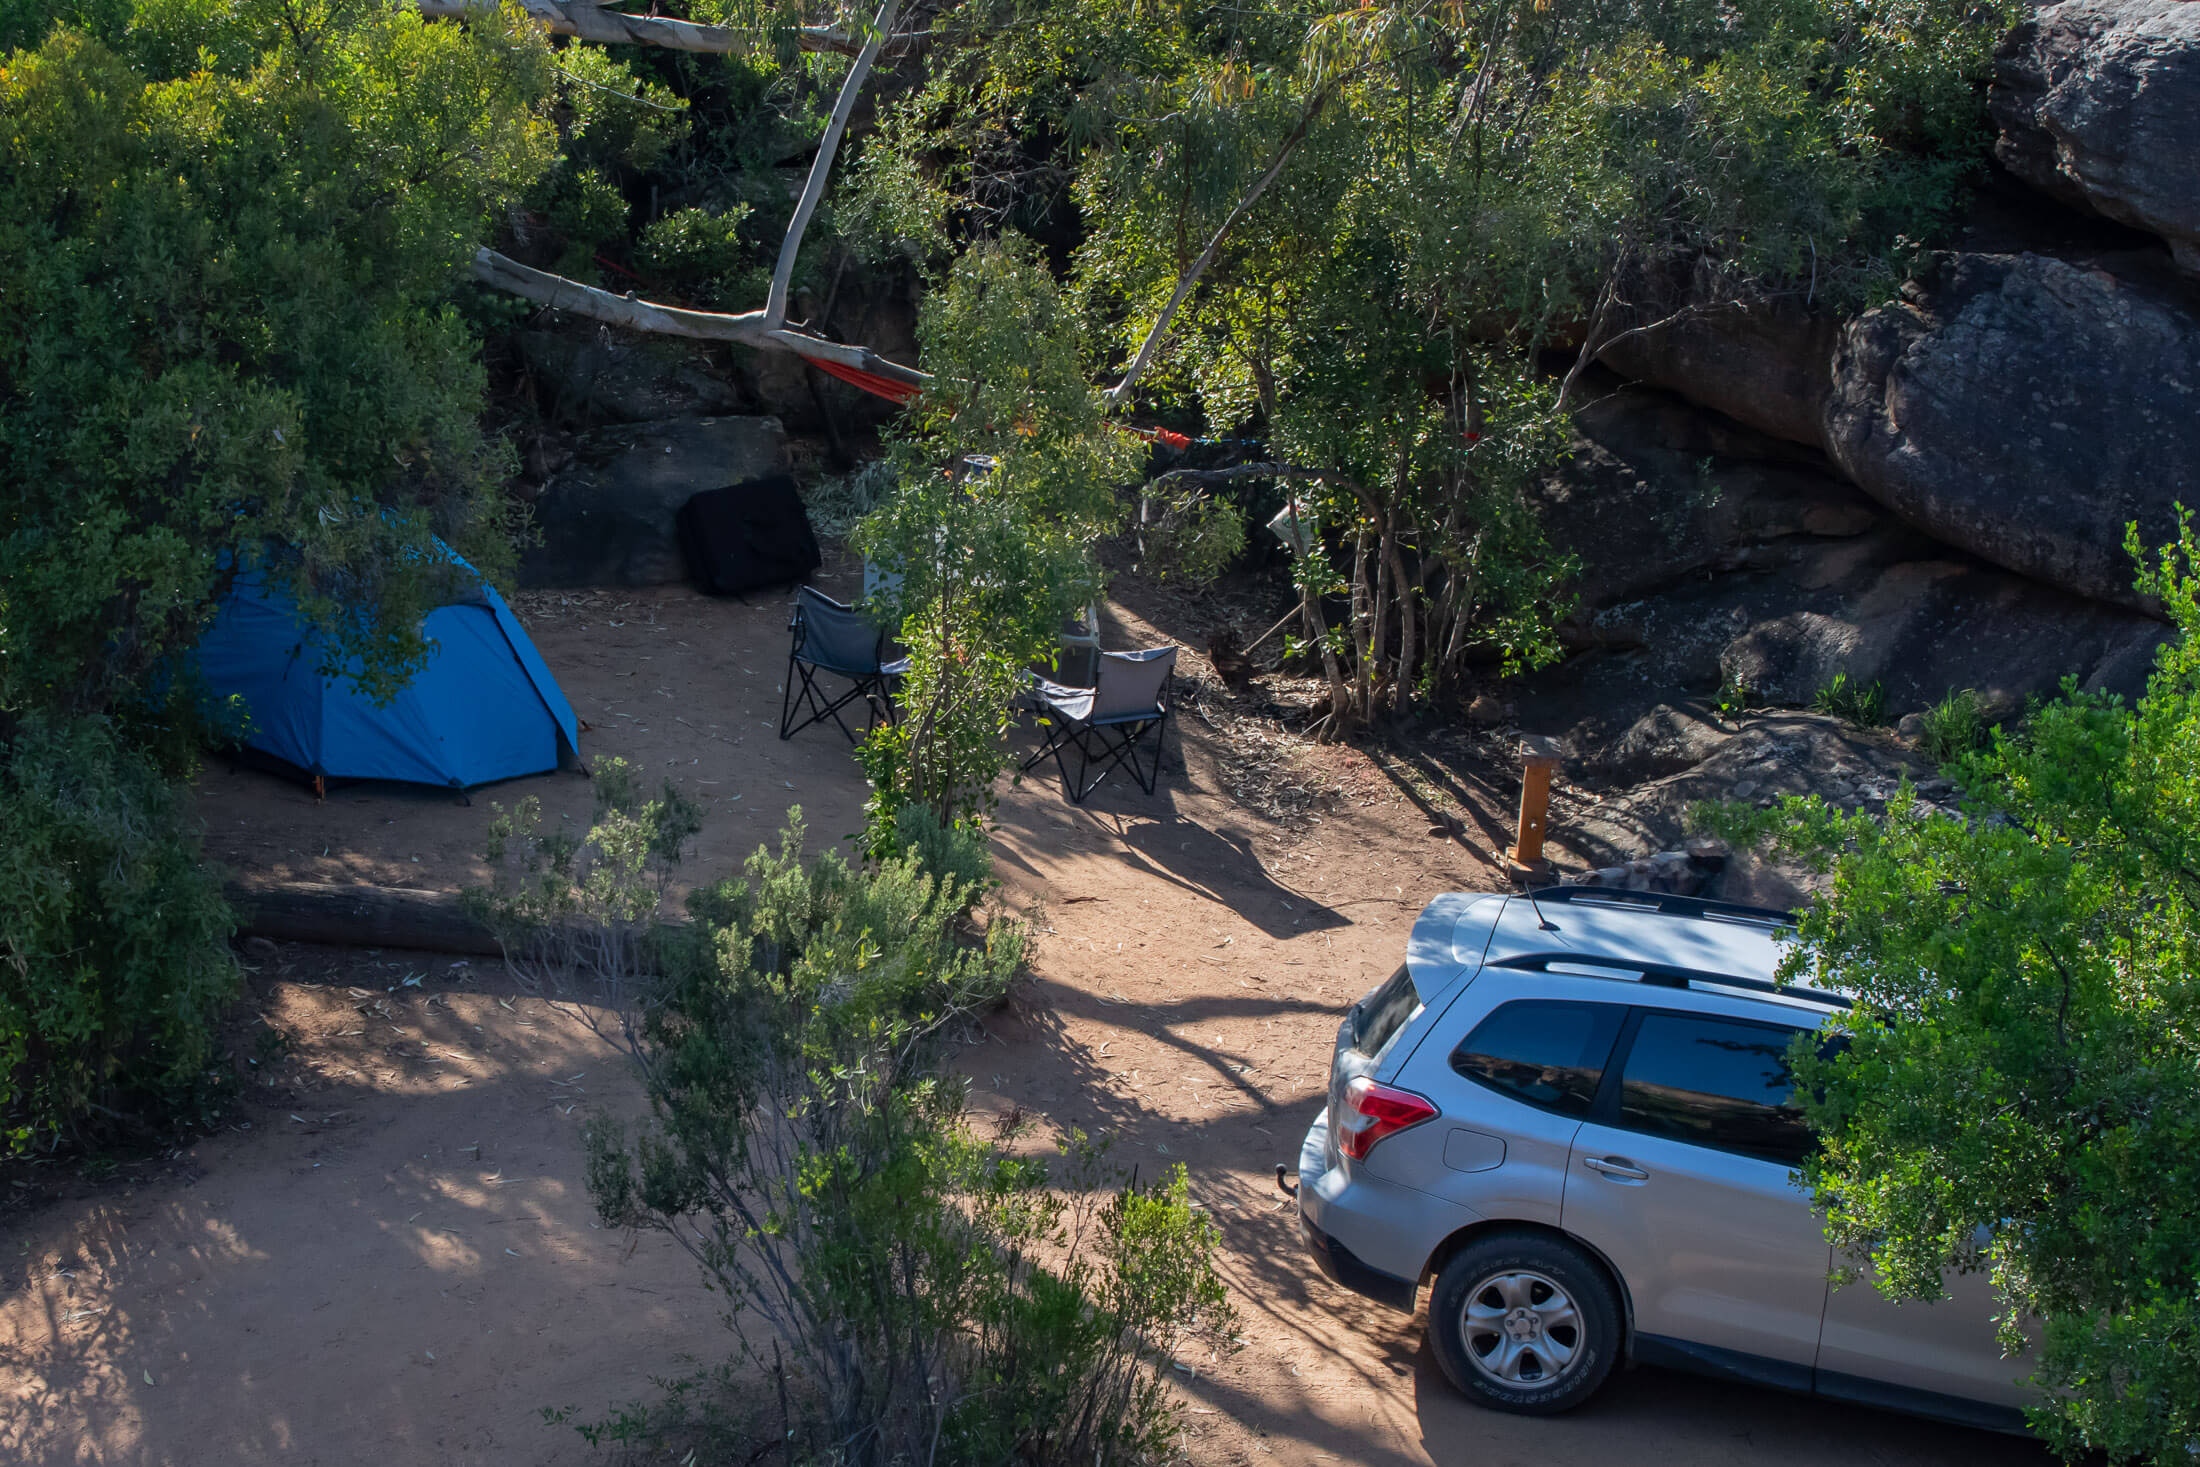
Many campgrounds have tent pads, which makes it easy to decide where to pitch your tent. If your campsite doesn’t have a designated area for pitching tents, look for a patch of flat, well-drained ground a decent distance from the fire pit and out of any thoroughfares. If wind is an issue, you might also look for a windbreak, like some bushes or a large boulder.
Tent and sleep system
Hands up if you’ve ever tripped over a guy line in the dark. Many tents can be pitched without these snares. But if you have to use guy lines, make sure that they don’t block thoroughfares. In a sleep-addled state, neither you nor your fellow campers will remember that they’re there. Also, give some thought to what you store in your tent. If it’s big enough, you can stash your clothes bag here. Moving kit to your tent will free up space in your car (a space that can become very busy).
Many people use a backpacking sleeping pad for car camping. A lightweight sleeping pad will work of course, but since you’re not going to carry your pad anywhere, I suggest using something more comfortable and robust when sleeping a short distance from your vehicle. A large air-pad like the Therm-A-Rest BaseCamp or Big Agnes Tent Floor Pad will be a lot more comfortable and not too bulky. But you can also stack a pair of thinner pads, like a closed-cell foam pad and air pad.
Work surfaces and storage areas
It’s all too easy to unpack the contents of your vehicle onto a picnic table, which would leave you with little space to prepare food and perform other tasks. A better approach is to designate separate storage and work areas. If a campsite has bear lockers, you will use these for storing your food. If not, you have to make a decision based on the risk of scavengers. The advantage of drive-in sites is that they make it possible to use your vehicle as a storage area.
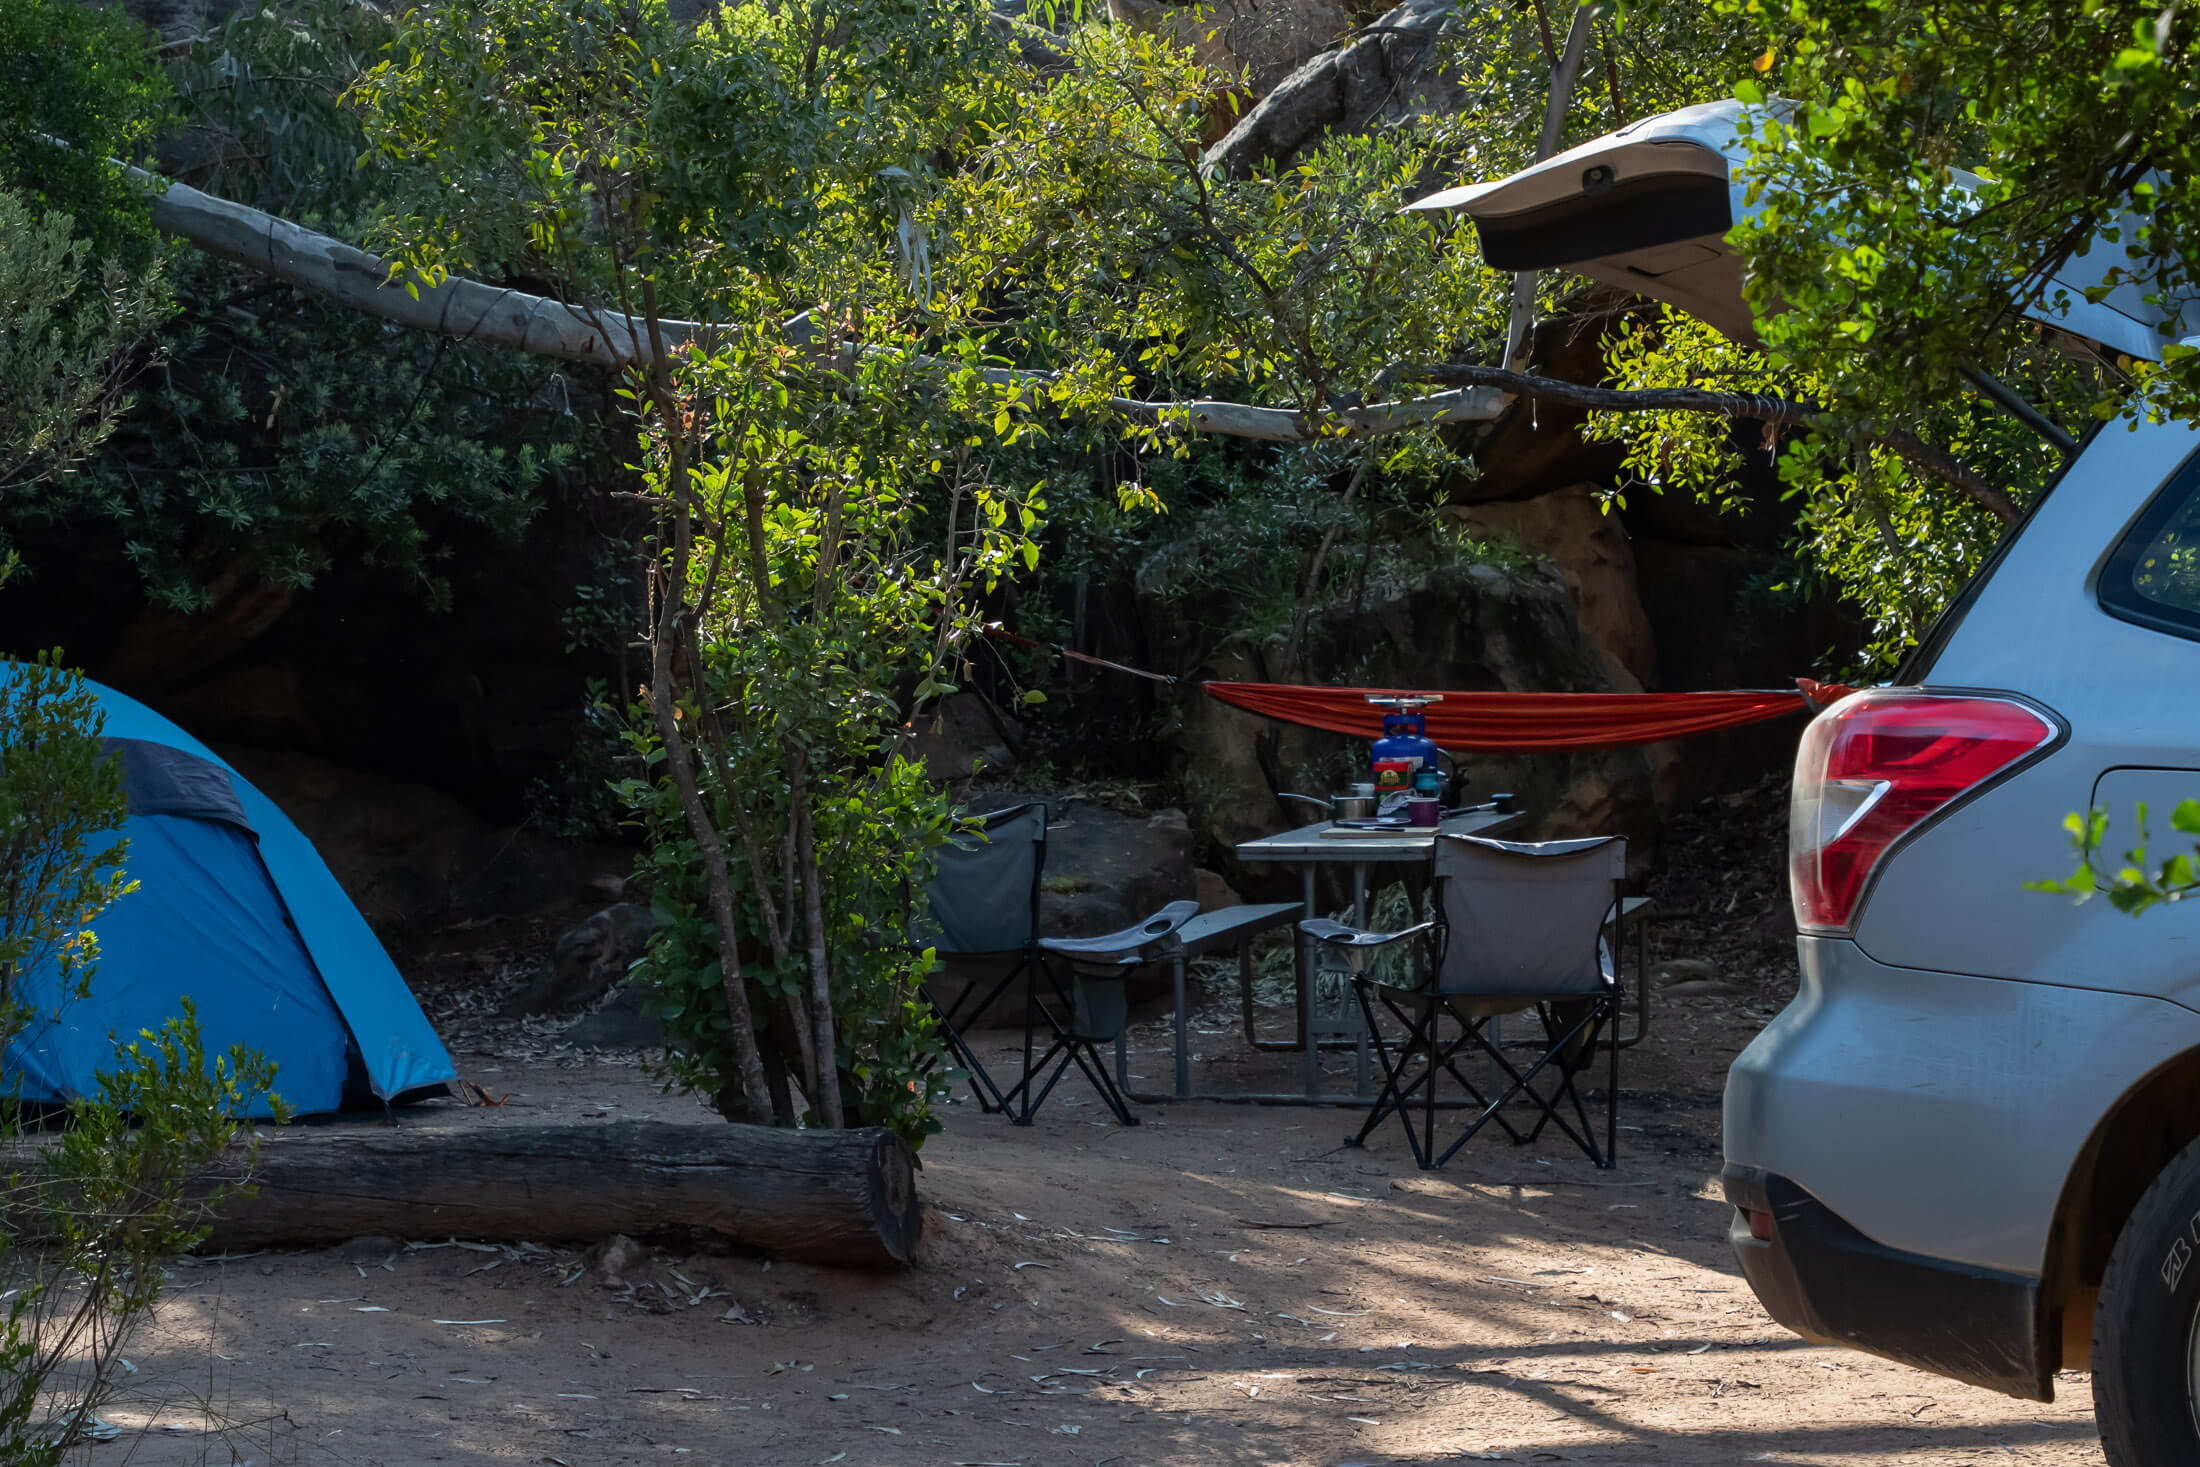
Besides freeing up your table and limiting the amount of walking you do to fetch things, using your vehicle as a storage area also puts your storage boxes at a convenient height. This might sound like a minor point, but it can make a significant difference to how much kneeling and bending over you do over the course of a trip. On that note, if you frequently use campsites that don’t have a table, it’s definitely worth packing a camping table. Some modular roof rack systems like those made by Front Runner can be fitted with an accessory clamp for carrying a compatible camping table. Otherwise a camping table with a roll top will pack into a bag no bigger than a tent and weigh as little as 4 kg or 9 lb.
Cooking
There’s a big difference between cooking on a hike and cooking twelve feet from your car. The former involves muddling together ingredients chosen mostly for their high calorie-to-weight ratios. The latter can be as lavish as you like. There’s no need to skimp on luxuries – you have plenty of space for mom’s pumpkin pie and a 6-pack of your favorite microbrew.
Cooler box
If you pack your cooler properly, it can keep food cold for up to four days. But now a caveat: lasting coolness depends not just on how well you chill your cooler but also on how you use it. If the lid is frequently removed for upwards of several seconds, it’s going to thaw out a lot faster. To make it easy to get in and out quickly, compartmentalize your cooler. This will make it easy to find and get to everything, and will make it easier to return items to their allocated spaces – It’s hard to put the milk back when the butter has slipped into its space, undoing a stage 15 Tetris move.
Camp fire
Nothing will put a damper on your camp’s vibe more than a failed fire. To avoid disappointment and a chilly atmosphere, it pays to be well prepared. Don’t rely only on matches or a lighter to get a fire started – both can fail. A flint striker will last much longer than a box of matches and is far more reliable than a lighter. It also helps to know how to light a fire with tinder and kindling if your firestarters run out, and how to make a fire with wet wood if that’s all you have to work with. Familiarize yourself with local regulations around fires and collecting firewood. In some areas you can take your own firewood. In others you can’t.
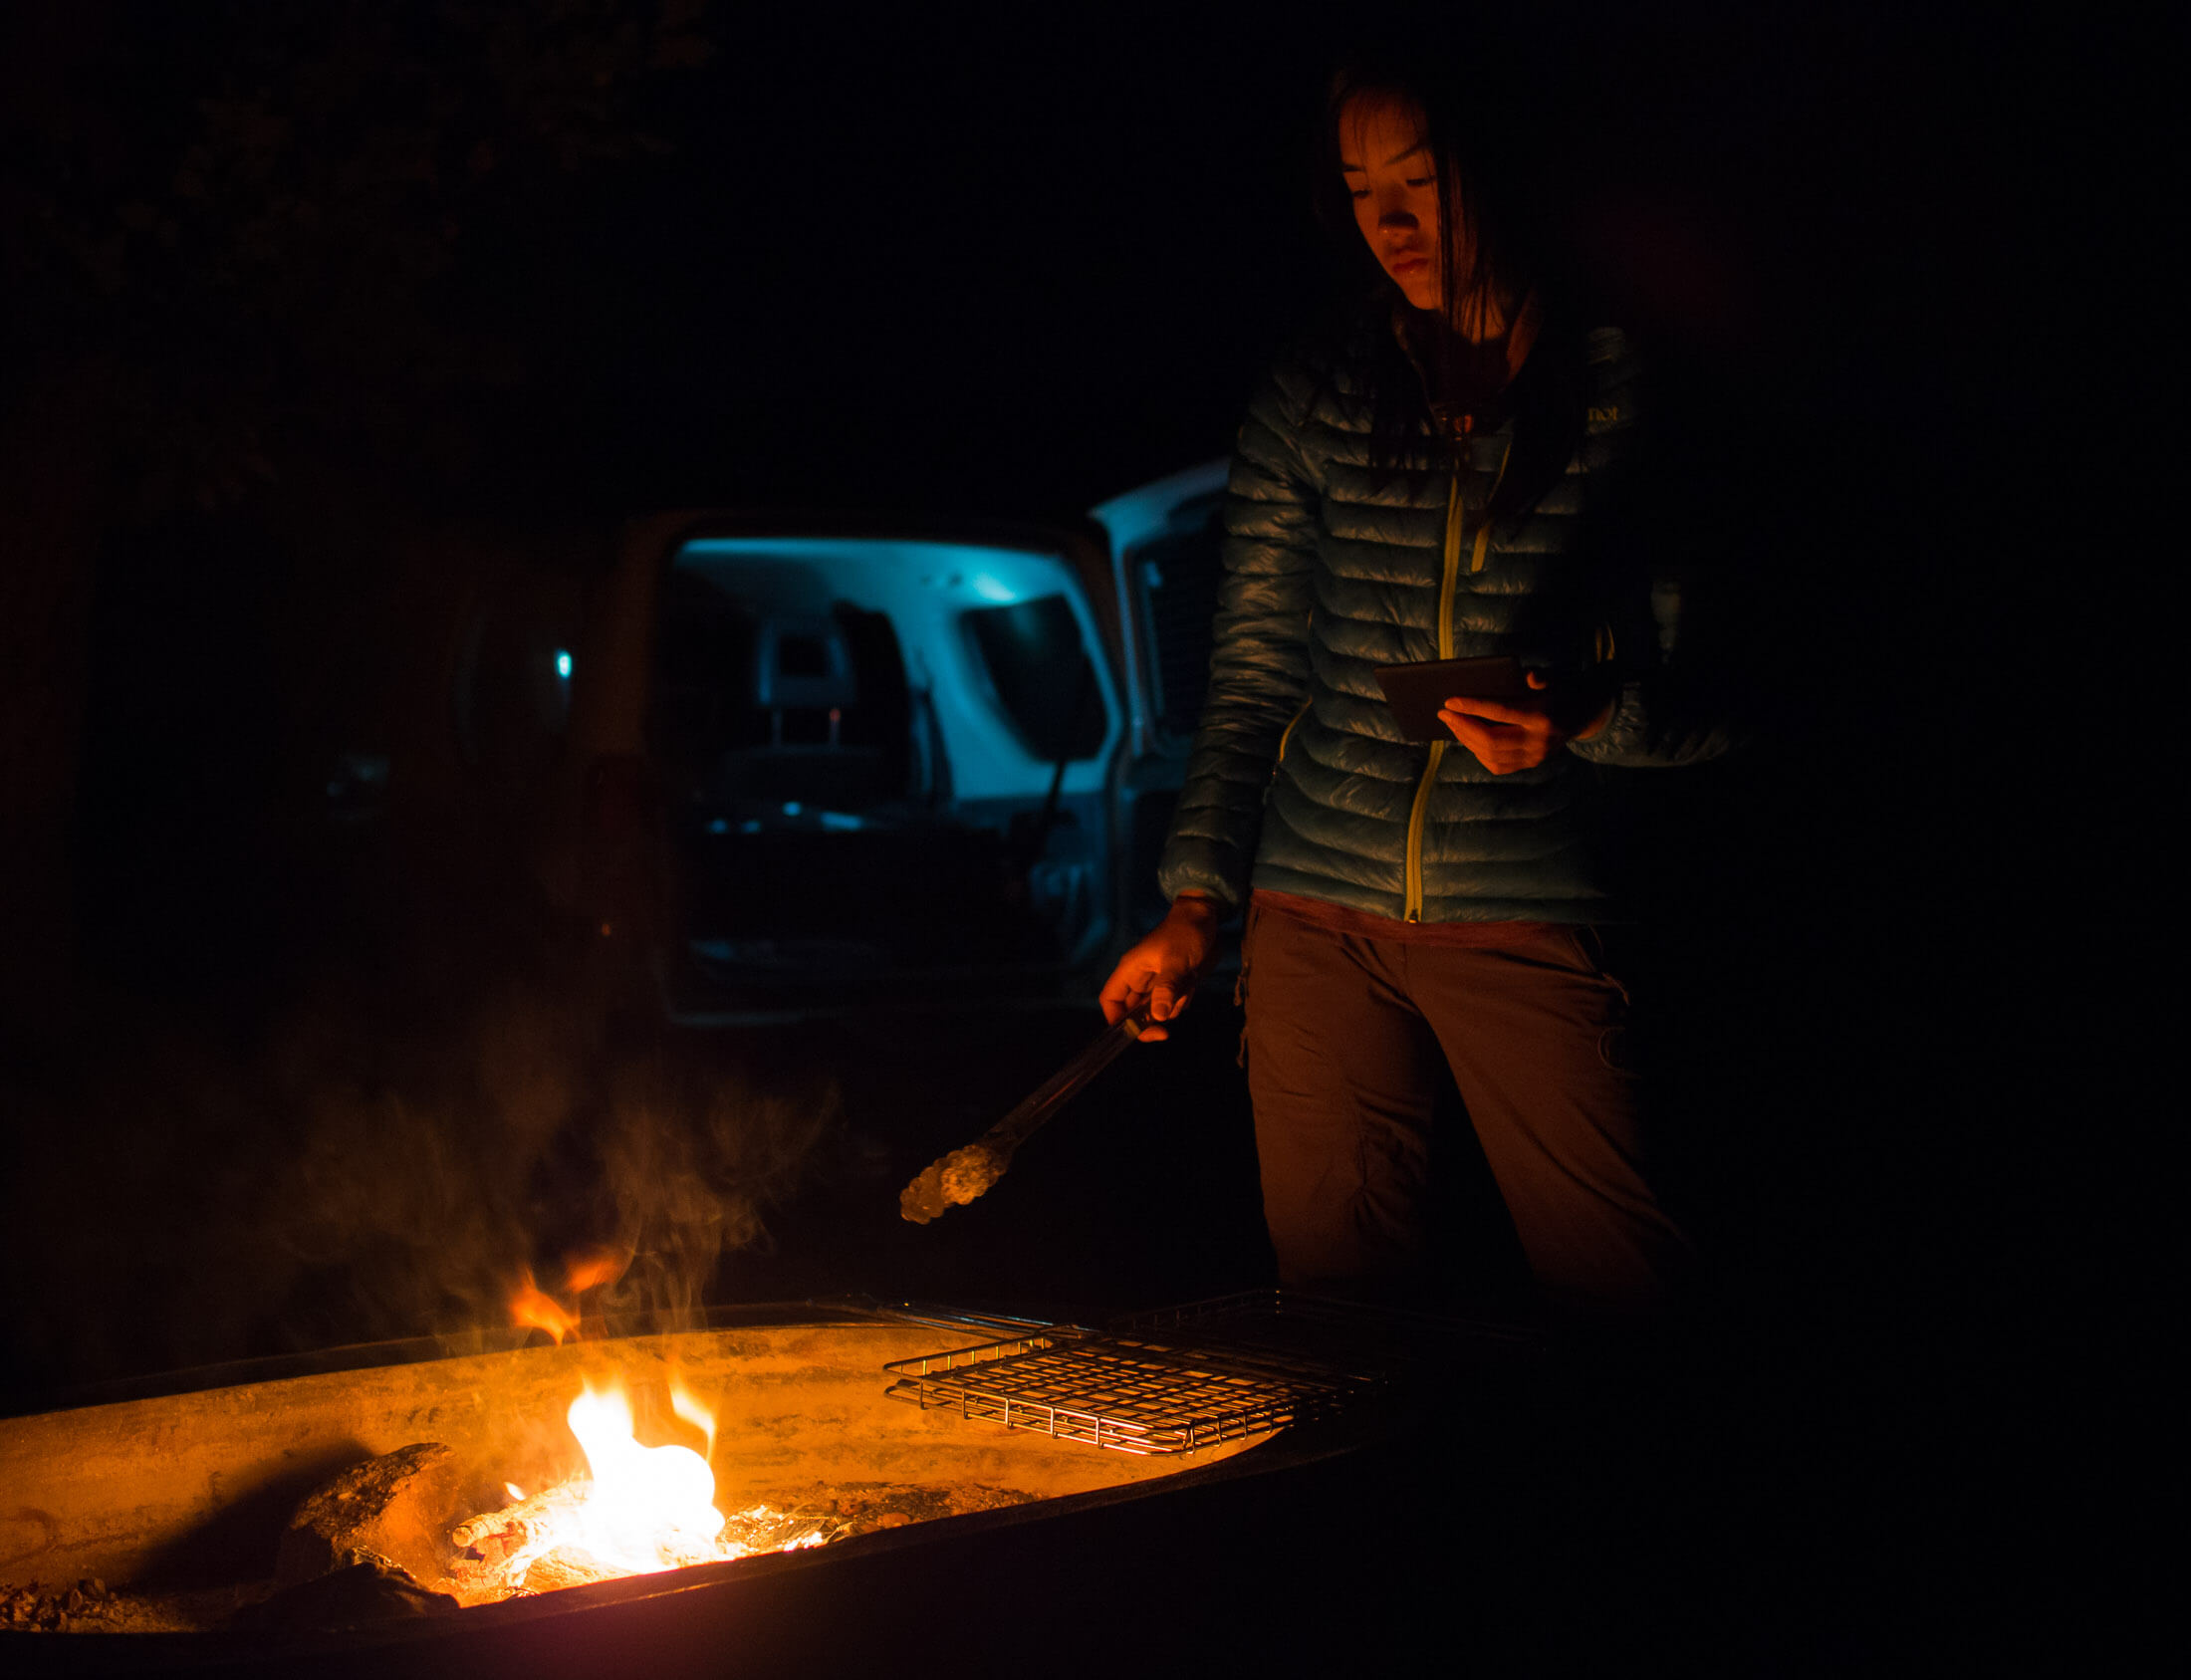
Don’t underestimate the utility of an ax. It can be used for splitting kindling, shaving tinder from a log, and chopping gathered firewood into manageable pieces – especially useful if you need to dry out wet wood. Other useful pieces of campfire kit include a grid and tongs (lest you be tempted to take potatoes off the coals with your bare fingers) and a wire brush to clean the grid afterwards. You probably won’t be able to get all the grease off even with a brush or piece of newspaper, so it’s a good idea to have a cover for your grid to prevent grease from getting onto your other gear when it goes back into the car.
Stove
If you’re not going to carry your camp stove far, it’s best to use refillable propane canisters and save your single-use butane canisters for backpacking trips. In some countries, butane stoves can easily be converted to run on propane by attaching an adapter hose. In other countries you have to buy a separate system. These camping stoves have certain advantages – wind shields and double burners – that make them a good investment even if you can convert your butane stove. Fuel savings will more than make up for the cost of a stove in the long run, and you’ll keep all those spent butane canisters out of a landfill.
Ablutions
Many campgrounds have toilets but no showers, and with dispersed sites you’re lucky to get so much as a latrine. That begs the question, what do you do if you know you will have neither of these?
Toilets
If there isn’t a toilet or existing latrine, you will have to dig a latrine, bury your poop in a cathole, or pack out your waste (required in some environmentally sensitive areas). Find out what the local regulations are so that you’re prepared. To dig a cathole, you can use a lightweight backpacking trowel, but to excavate a latrine (better for bigger groups or longer stays), you’ll need a shovel. Folding camping shovels don’t take up much space and weigh just a few pounds.
If human waste has to be packed out, your best option is to use a WAG or waste-gelling bag. These include the GO Anywhere Toilet Kit, the Biffy Bag, and the RESTOP 2. All three work the same way in that they contain a powder that turns waste into a gel, neutralizing odor and making disposal safer and easier. One more thing: Always pack your own toilet paper or wipes. It takes just one camper with a case of the runs to completely deplete the provided TP supply. In many instances, there won’t be a tap close to the latrine, so it’s also a good idea to carry hand sanitiser.
Shower
On weekend trips, you might choose to just go without a shower. Any longer than that, and you’ll probably need to make a plan. In most cases, the most practical and cost effective solution is a solar shower, which will set you back around $35. If you go this route, you will want to look for campsites with trees from which you can hang the thing. Otherwise, if you have a Front Runner roof rack, there is a roof-rack-mountable shower arm specifically for this purpose. Front Runner even has a rack-mountable shower curtain that allows you to shower fully unclothed in relative privacy. Last thing: Use biodegradable soap or ‘Wild Wash’ whenever your shower water is going to go straight into the ground and not down a drain.
Get out there
The best way to hone your car camping skills is to get out there and put them to work. You might find that some of my suggestions work for you and some don’t. Others might just require a tweak or two before they make a certain aspect of car camping easier. I encourage you to build on what you’ve learned here and develop your own hacks and tricks for car camping success.
