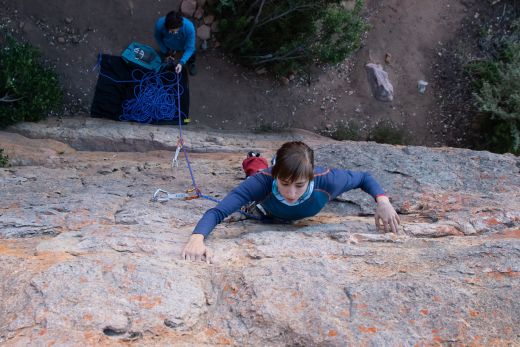
If you’ve watched Top Rope Tough Guys, you already know that top roping is generally considered to be a little uncool. It’s acceptable while you’re still learning the basics, but you’re not going to grow as a climber when you can hangdog your way up every route. At some point, every rookie has to take up the sharp end and join the ranks of lead-competent climbers. And that’s why you’re now reading this article, the most comprehensive guide on lead climbing anywhere (Good choice you made there). To keep it from becoming too weighty, I’ve decided to focus only on sport climbing (bolt-protected) here, but I have also have an article on how to lead to trad gear if that is what you’re looking for.
First a word of caution. Climbing is an inherently dangerous activity, and lead climbing poses greater risks than top-roping. To mitigate these risks and have fun, you need to follow best practices and exercise sound judgement. The latter only comes with experience, and until you have enough of it to make informed decisions, it’s best to climb with experienced and safety-conscious climbers who can point out any mistakes in technique. That said, this article is an excellent place to start your education. In it, you will learn the following fundamentals of lead climbing.
- Pre-climb preparations
- A team of two
- Climbing and clipping
- Falling
- Practice
- Leading your first route
Pre-climb preparations
There are at least three things you need to do before every lead. Experienced climbers are sometimes quite nonchalant about their preclimb routines, but this complacency doesn’t benefit them. Following these pre-climb checks diligently will help you stay safe and put yourself in a better headspace at the start of every climb.
Clear the base
Keeping the base clear of clutter is important for two reasons: It reduces the risk that the belayer will trip over something while they are focussed on the climber, and it makes it easier for other climbers to get past you if your belay spot is on a thoroughfare. On that note, it’s polite to keep your kit confined to one part of the crag instead of scattered all over the place and where it could get in the way of other climbers.
Rack up
The way you carry gear on your harness is not quite as important in sport climbing as it is in trad, but it’s still worth some thought. It’s best to put gear that you’re less likely to need in a hurry, like your belay device and spare locking carabiner, on a rear gear loop, and leave the front gear loops for quickdraws.
If you have a few longer quickdraws in your rack, it can be a good idea to rack these on the gear loop, that way you’ll know where to find them when you need them (at the top anchors and in places where a shorter draw will position a carabiner over an edge).
Put a knot in the rope
Rope bags and mats are not just for the crag. These essential pieces of kit make it easier to move your rope around the gym without it getting tangled, and the sewn-on loops give you something to tie the ends of the rope to. Most rope bags have two loops for this exact purpose.
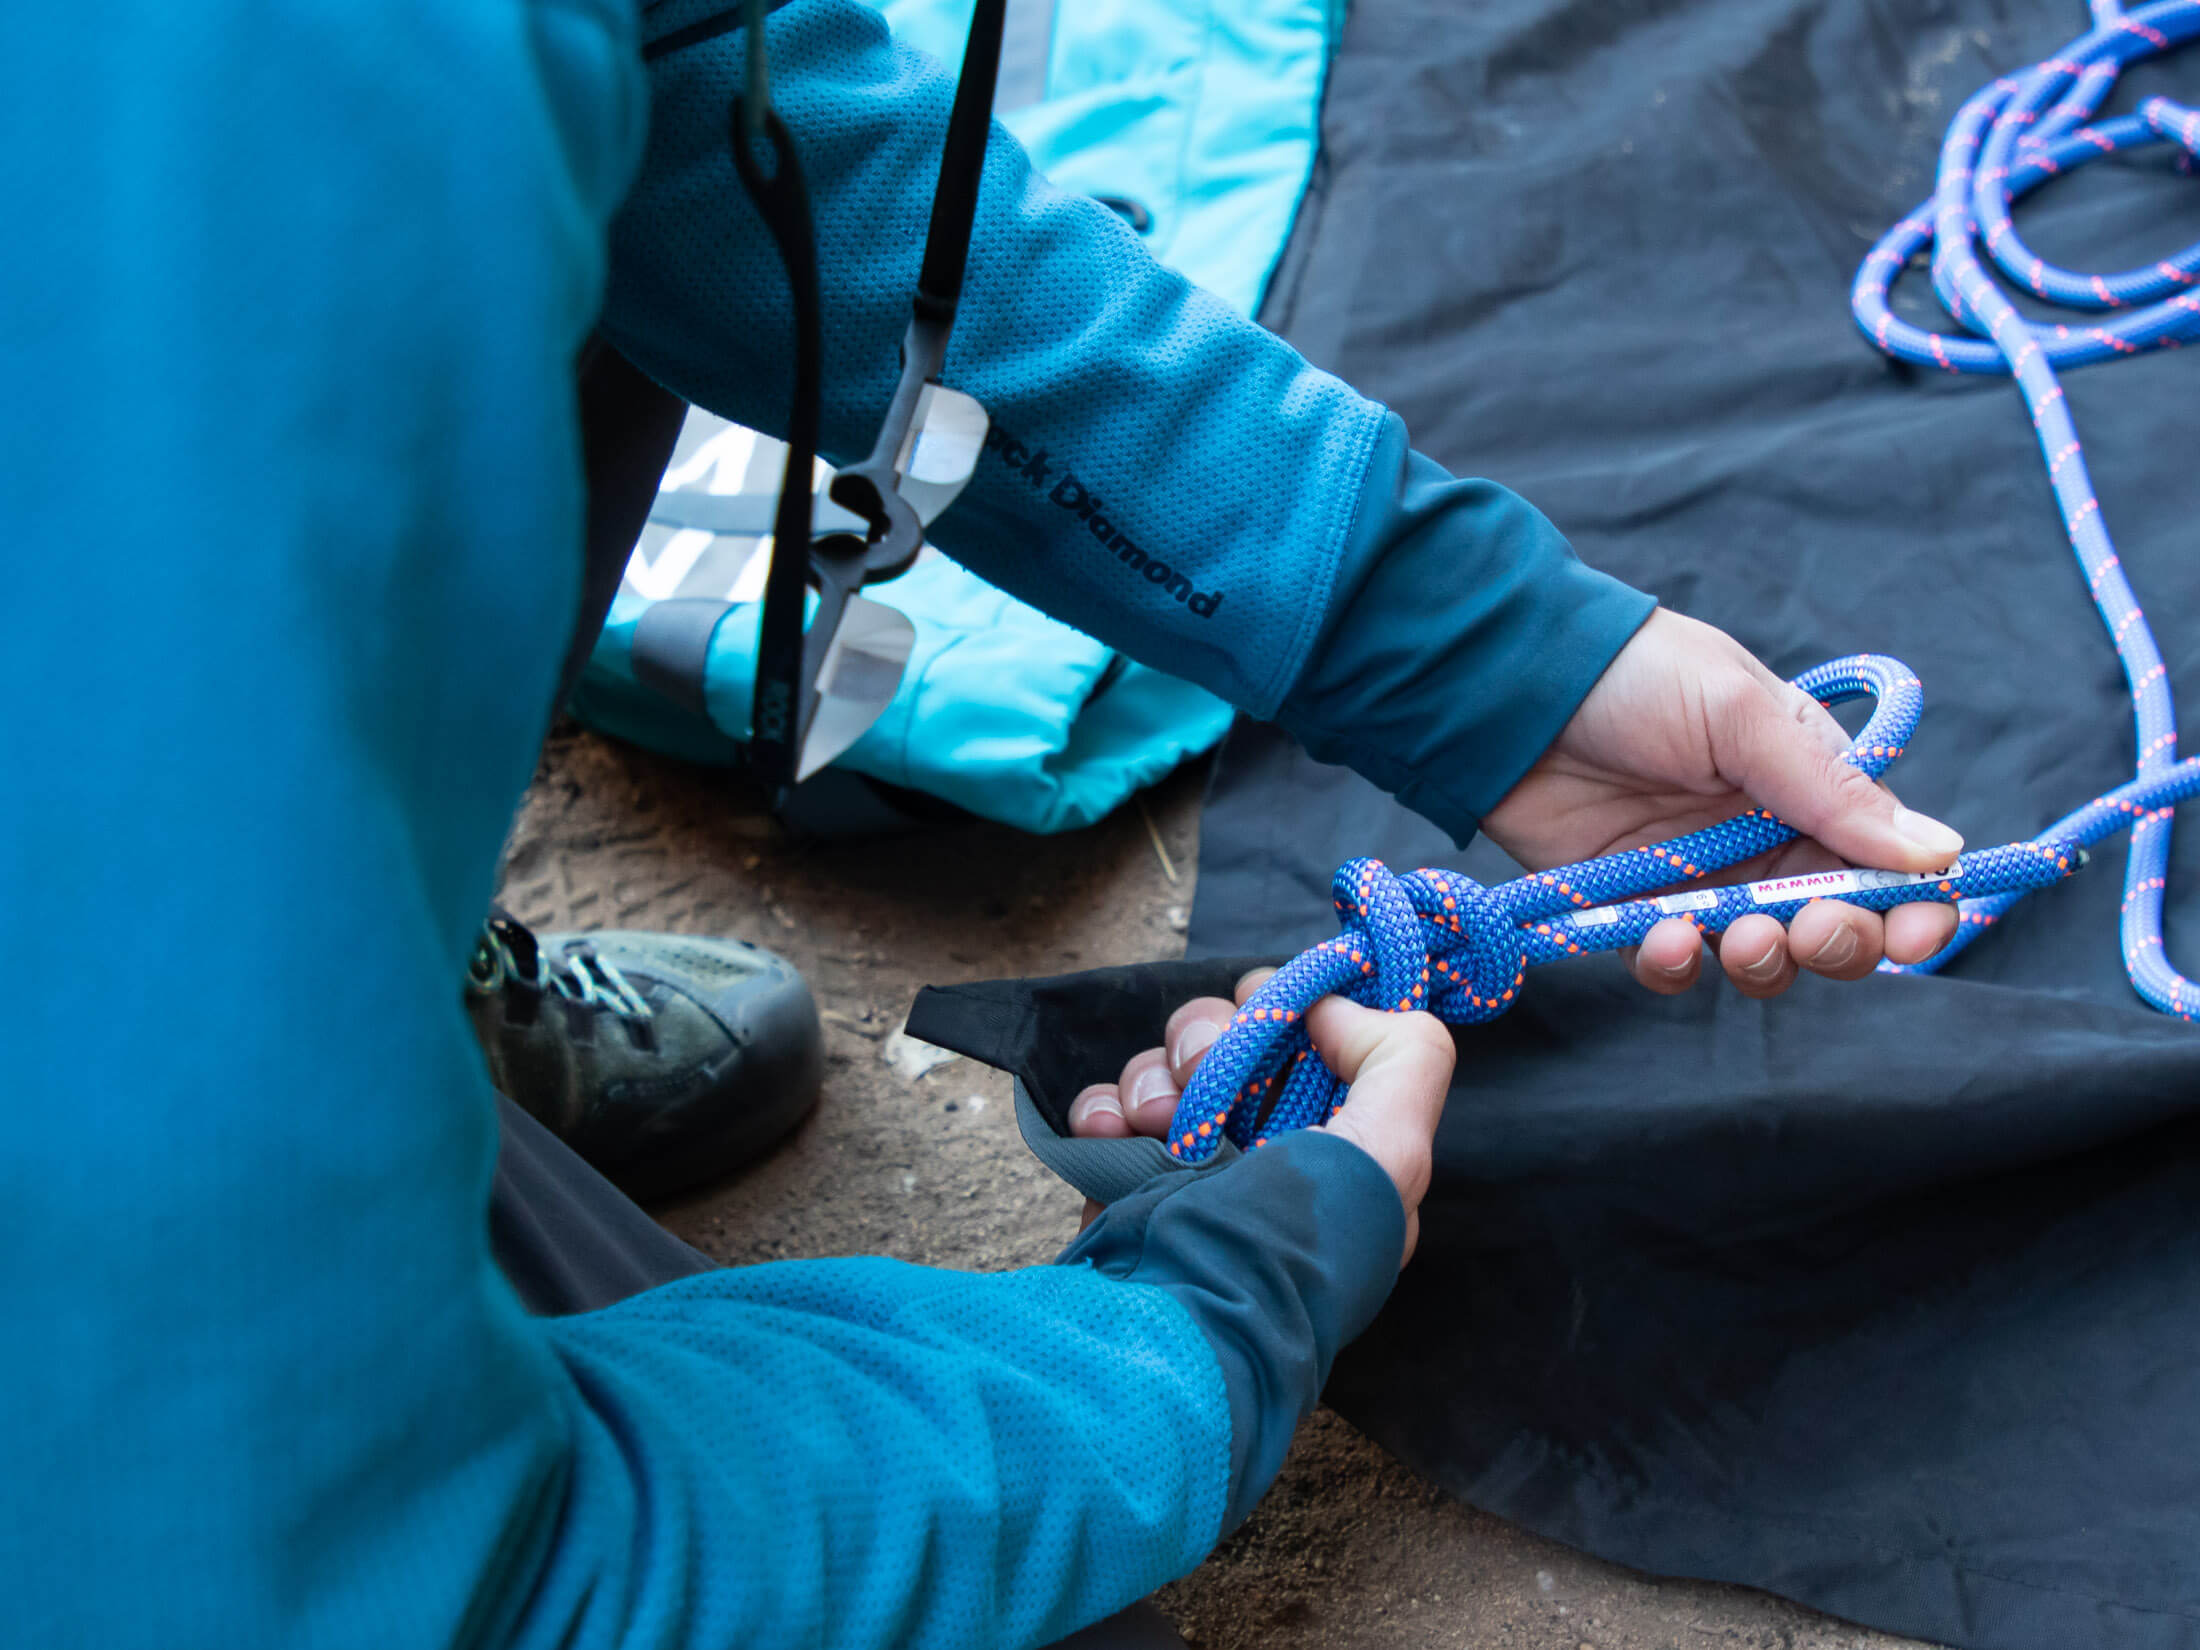
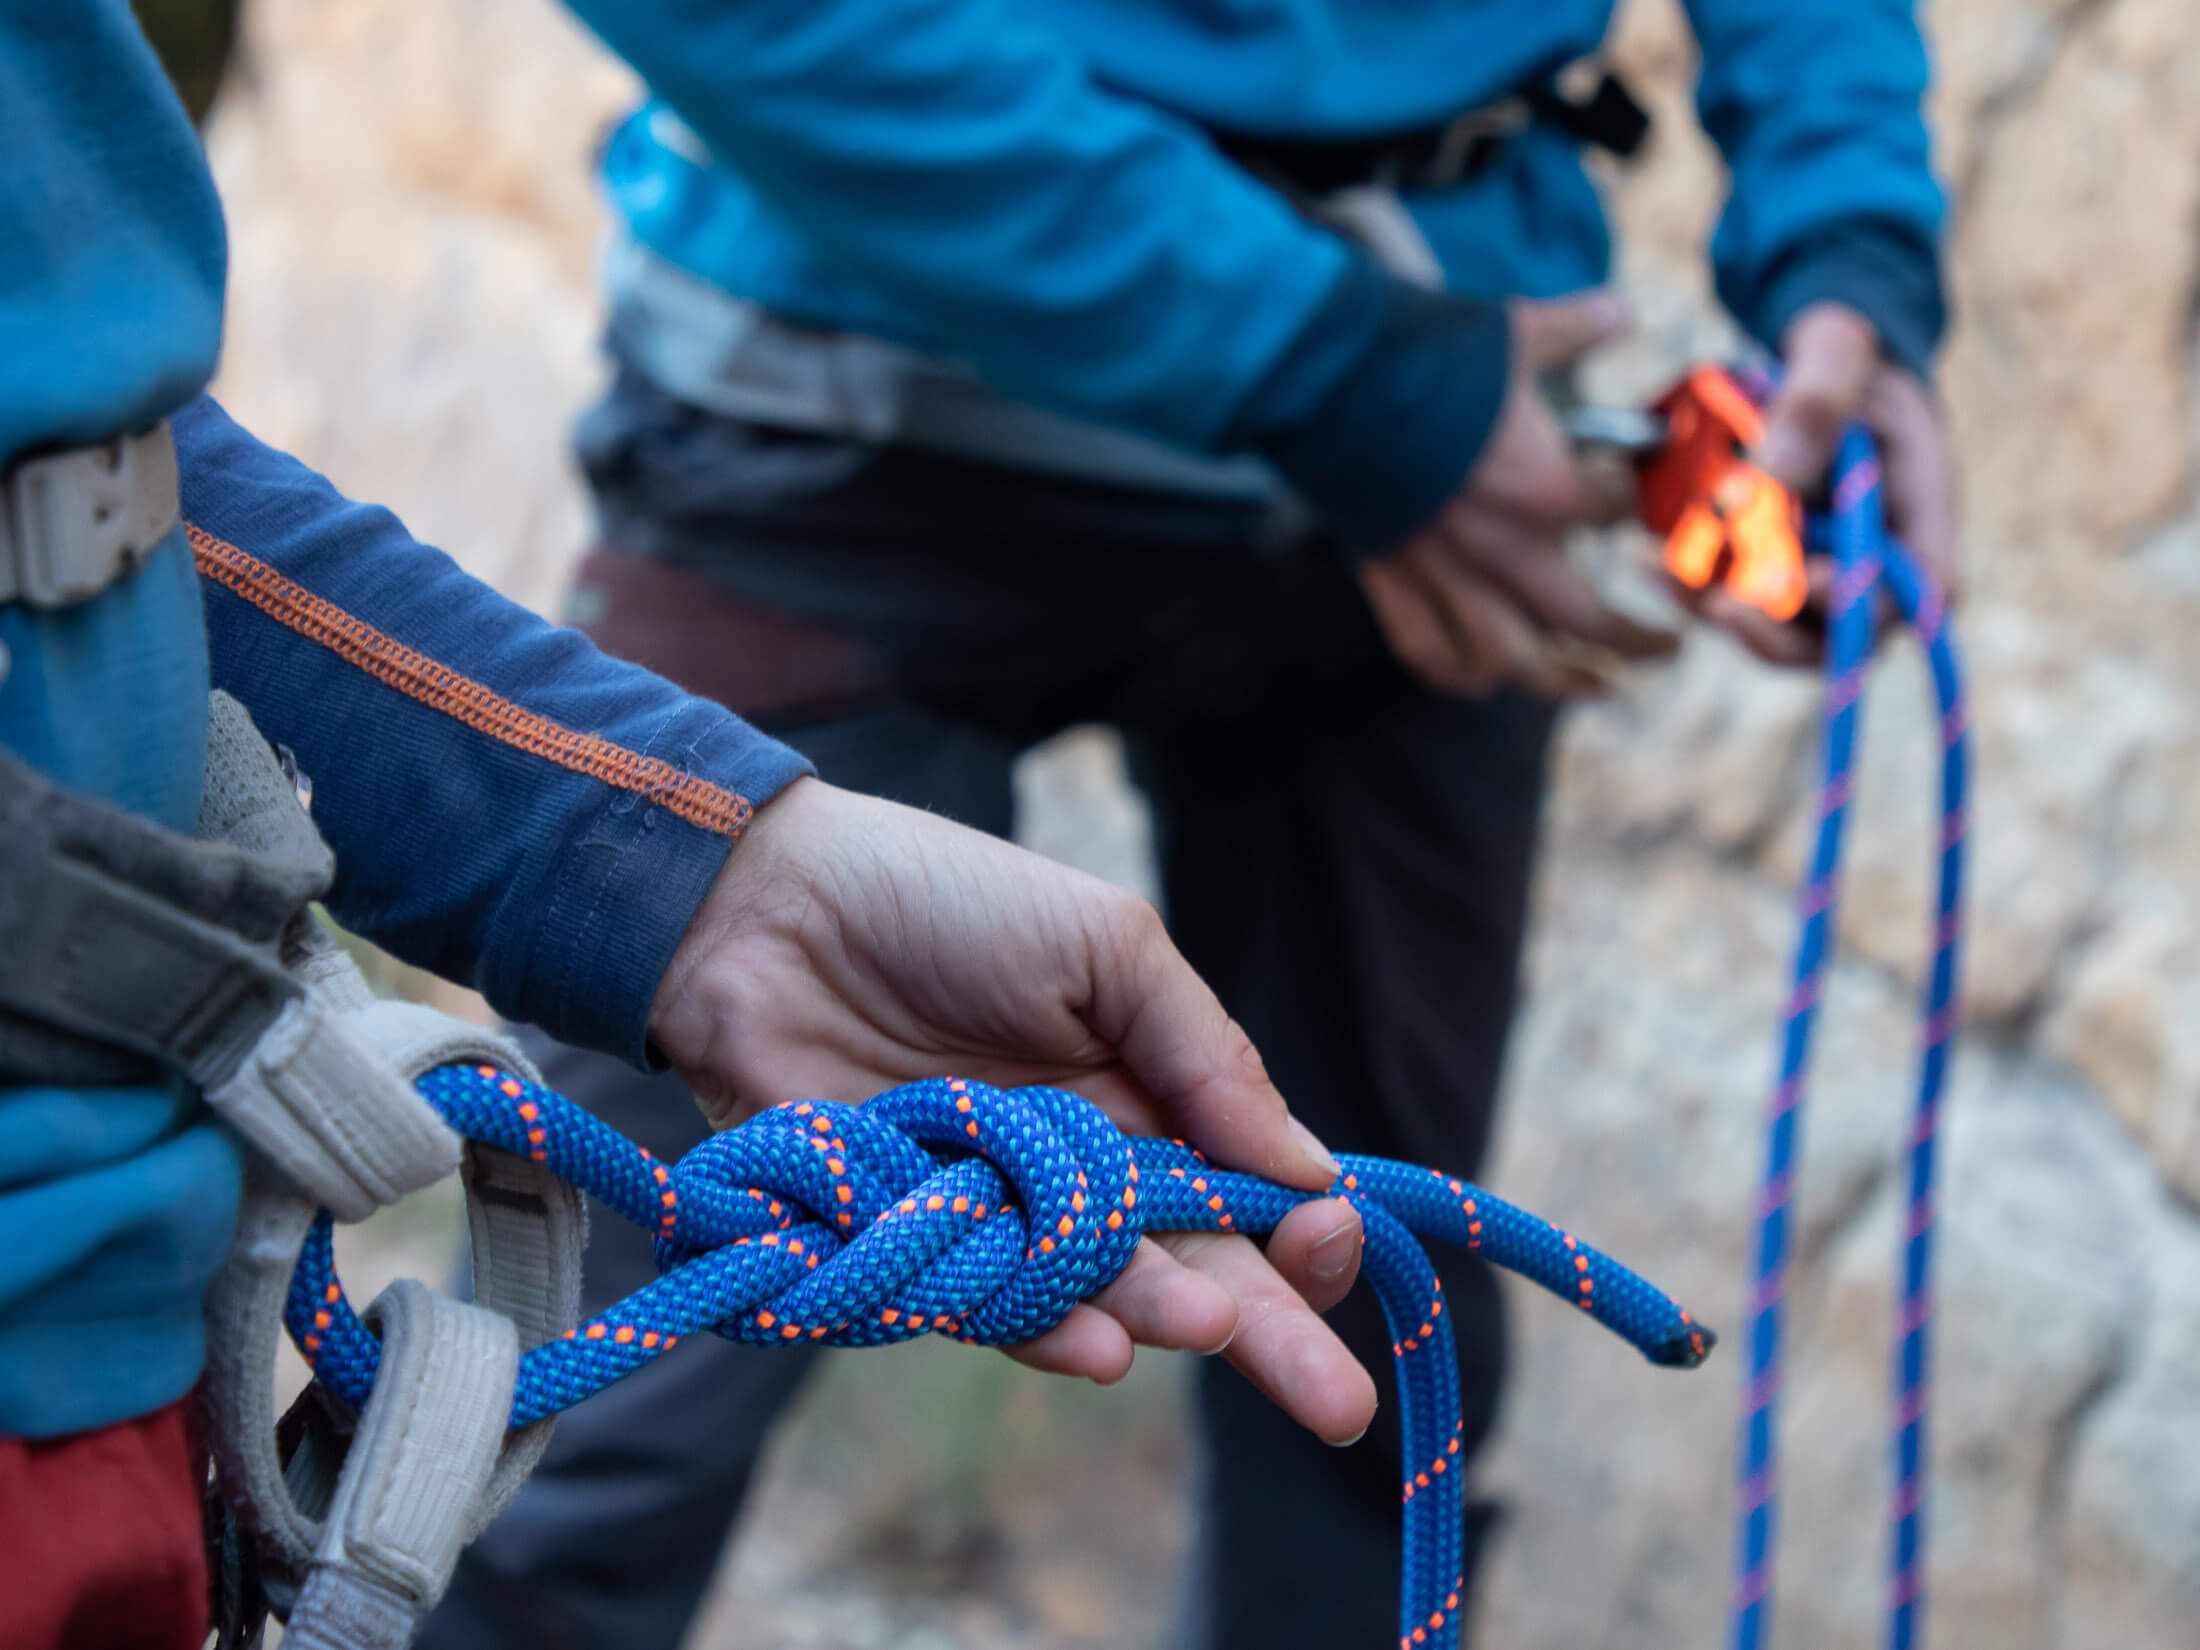
Make a habit of tying the far end of the rope to a loop. The knot needs to be secure because it’s going to stop your partner from belaying you off the end of rope on a route too long for the rope (a common accident). The chances of this happening in the gym are slim, but you aim to make this safety measure a habit before you even venture outside.
Flake the rope
Before you climb it’s always best to flake your rope to ensure that there are no knots or twists in it. After tying one end of the rope to the mat, use one hand to pull the rope through the other, taking out any kinks or knots, until you reach the far end. This is the end that the leader will climb on. To avoid losing it when you put it down, tie a knot in. Do the same – tying a knot in the end – after climbing and before moving the rope mat.
Tip: Alternating the end of the rope that you climb on will ensure that the rope wears more evenly.
A team of two
With the exception of soloing, climbing always involves a team. In some cases, this might be a group of three, but more often than not it’s just you and your partner. Your safety depends as much on what this person does as it does on what you do, so it’s important that they’re competent and responsible, and that the two of you communicate effectively.
Communication
Good communication and forethought are two of the most important aspects of climbing safety. Before letting a new partner belay you, always agree on the language you’re going to use for different commands. Here, I list those most commonly used in sequence.
“On belay. Climb when ready”
The belayer is ready for the climber to start climbing – only announced once the climber and belayer have performed a visual inspection of belay device, knot and harness buckles. The climber usually responds with the next call.
“Climbing”
The climber intends to start climbing, either from the ground or from where he hangs on the wall. It’s especially important for the climber to warn the belayer of his intention to start climbing if the belayer is supporting the climber’s weight. An unexpected move by the climber can put the belayer off balance and cause her to lose focus.
“Slack”
The climber needs more rope to make a clip. Outdoors, this command can also be used to ask for more rope when the climber is cleaning a route. Indoors, some climbers might use a different command – “clipping” – to announce their need for more rope during a clip.
“Take”
The climber wants the belayer to take the slack out of the rope and then weight it to support the climber’s weight. This command is used when a climber wants to rest mid-route and when he reaches the top.
“Lower”
The climber has reached the top or gone as high as he wants to and is ready to be lowered.
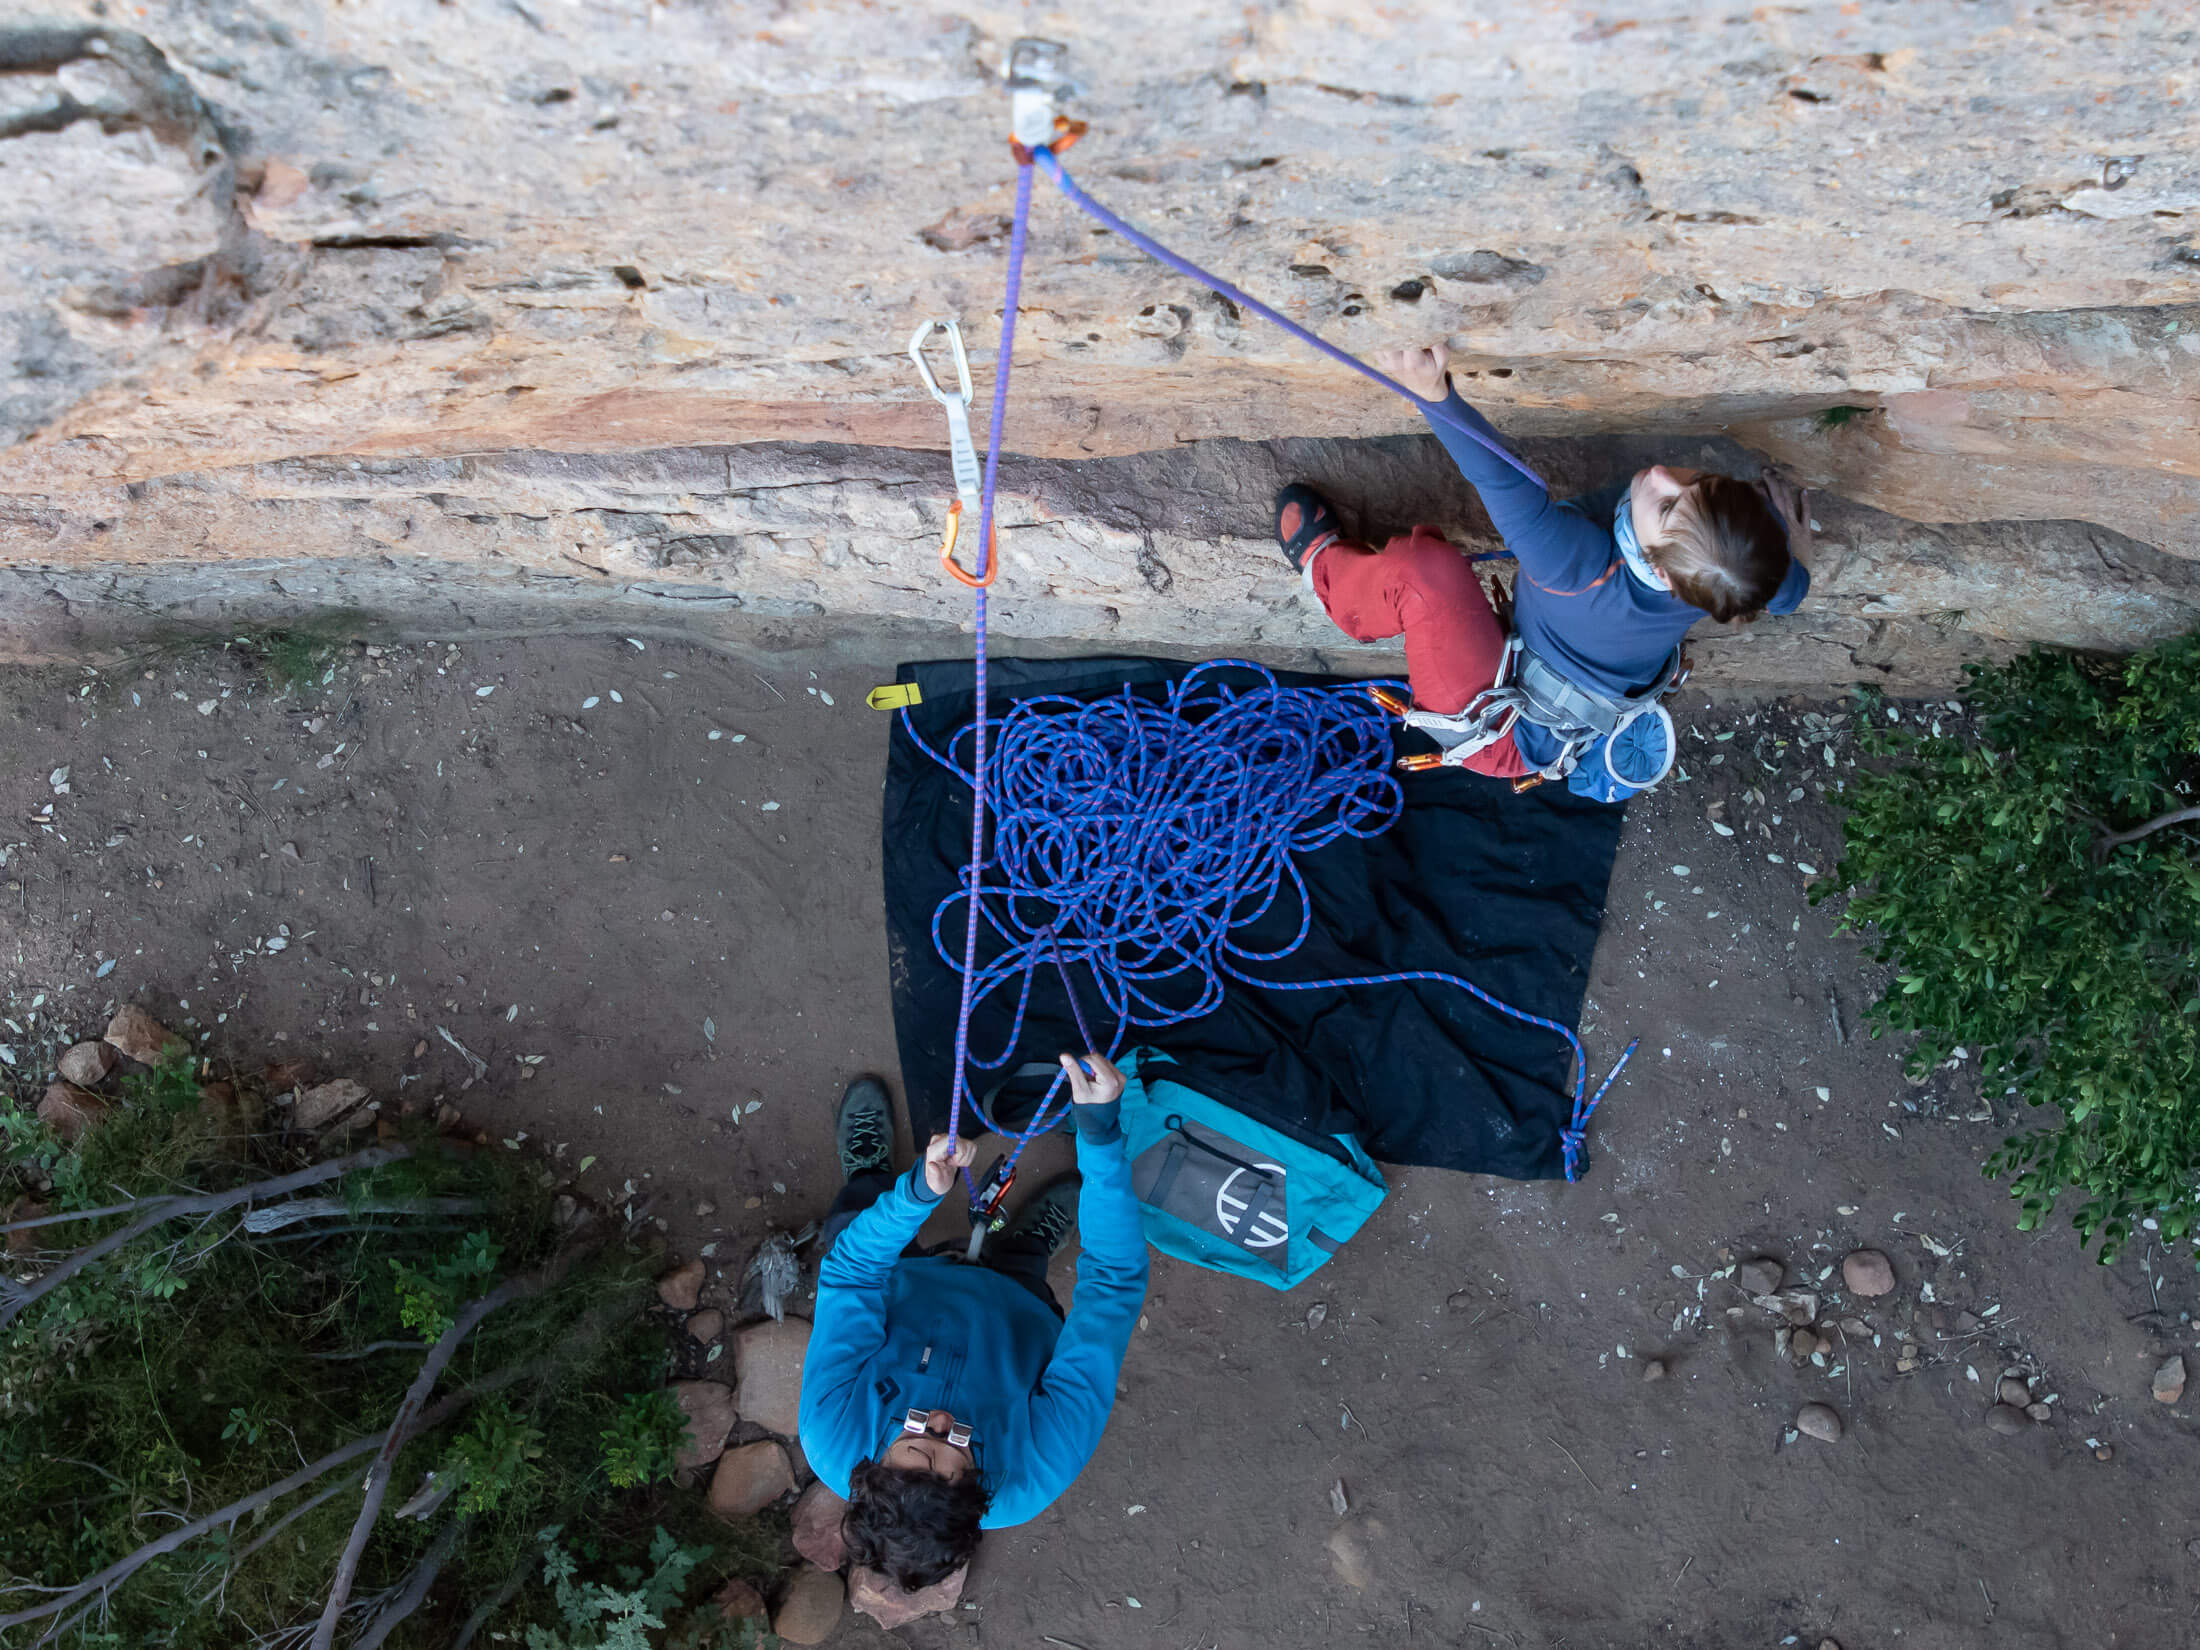
Always use your partner’s name when giving a command as this will avoid any confusion about who the command is intended for if there are other climbers around.
Partner checks
Do you remember the checks you were taught when you first started climbing? Buddy checks are not only for rookies. Experienced climbers are no less likely to make mistakes even though their lax pre-climb routines might suggest otherwise. Some of the most careless accidents have been committed by veterans who should’ve known better. Always check that you’ve tied your knot properly and that your belayer has loaded the device correctly. And don’t forget to put a knot in the other end of the rope.
1. Tie-in knot secure
2. Belay loaded properly
3. Harness buckles double-backed (if not autolocking
4. Knot in dead end of rope
Climbing and clipping
Compared to top-roping, lead climbing is going to be different in three important ways: you have to clip and do so correctly, you have to manage the rope so that it doesn’t find its way behind a leg, and you have to be prepared for a fall.
Clipping techniques
There are several clipping methods that you could learn, but those described below are the easiest to master. A quickdraw can face one of two directions, so there are two techniques here: one for clipping a left-facing gate with the left hand (same-side clipping), and another for clipping a right-facing gate with your left hand (opposite-side clipping). Of course, you also need to be able to do these with your right hand, so there are actually four actions that you need to learn.
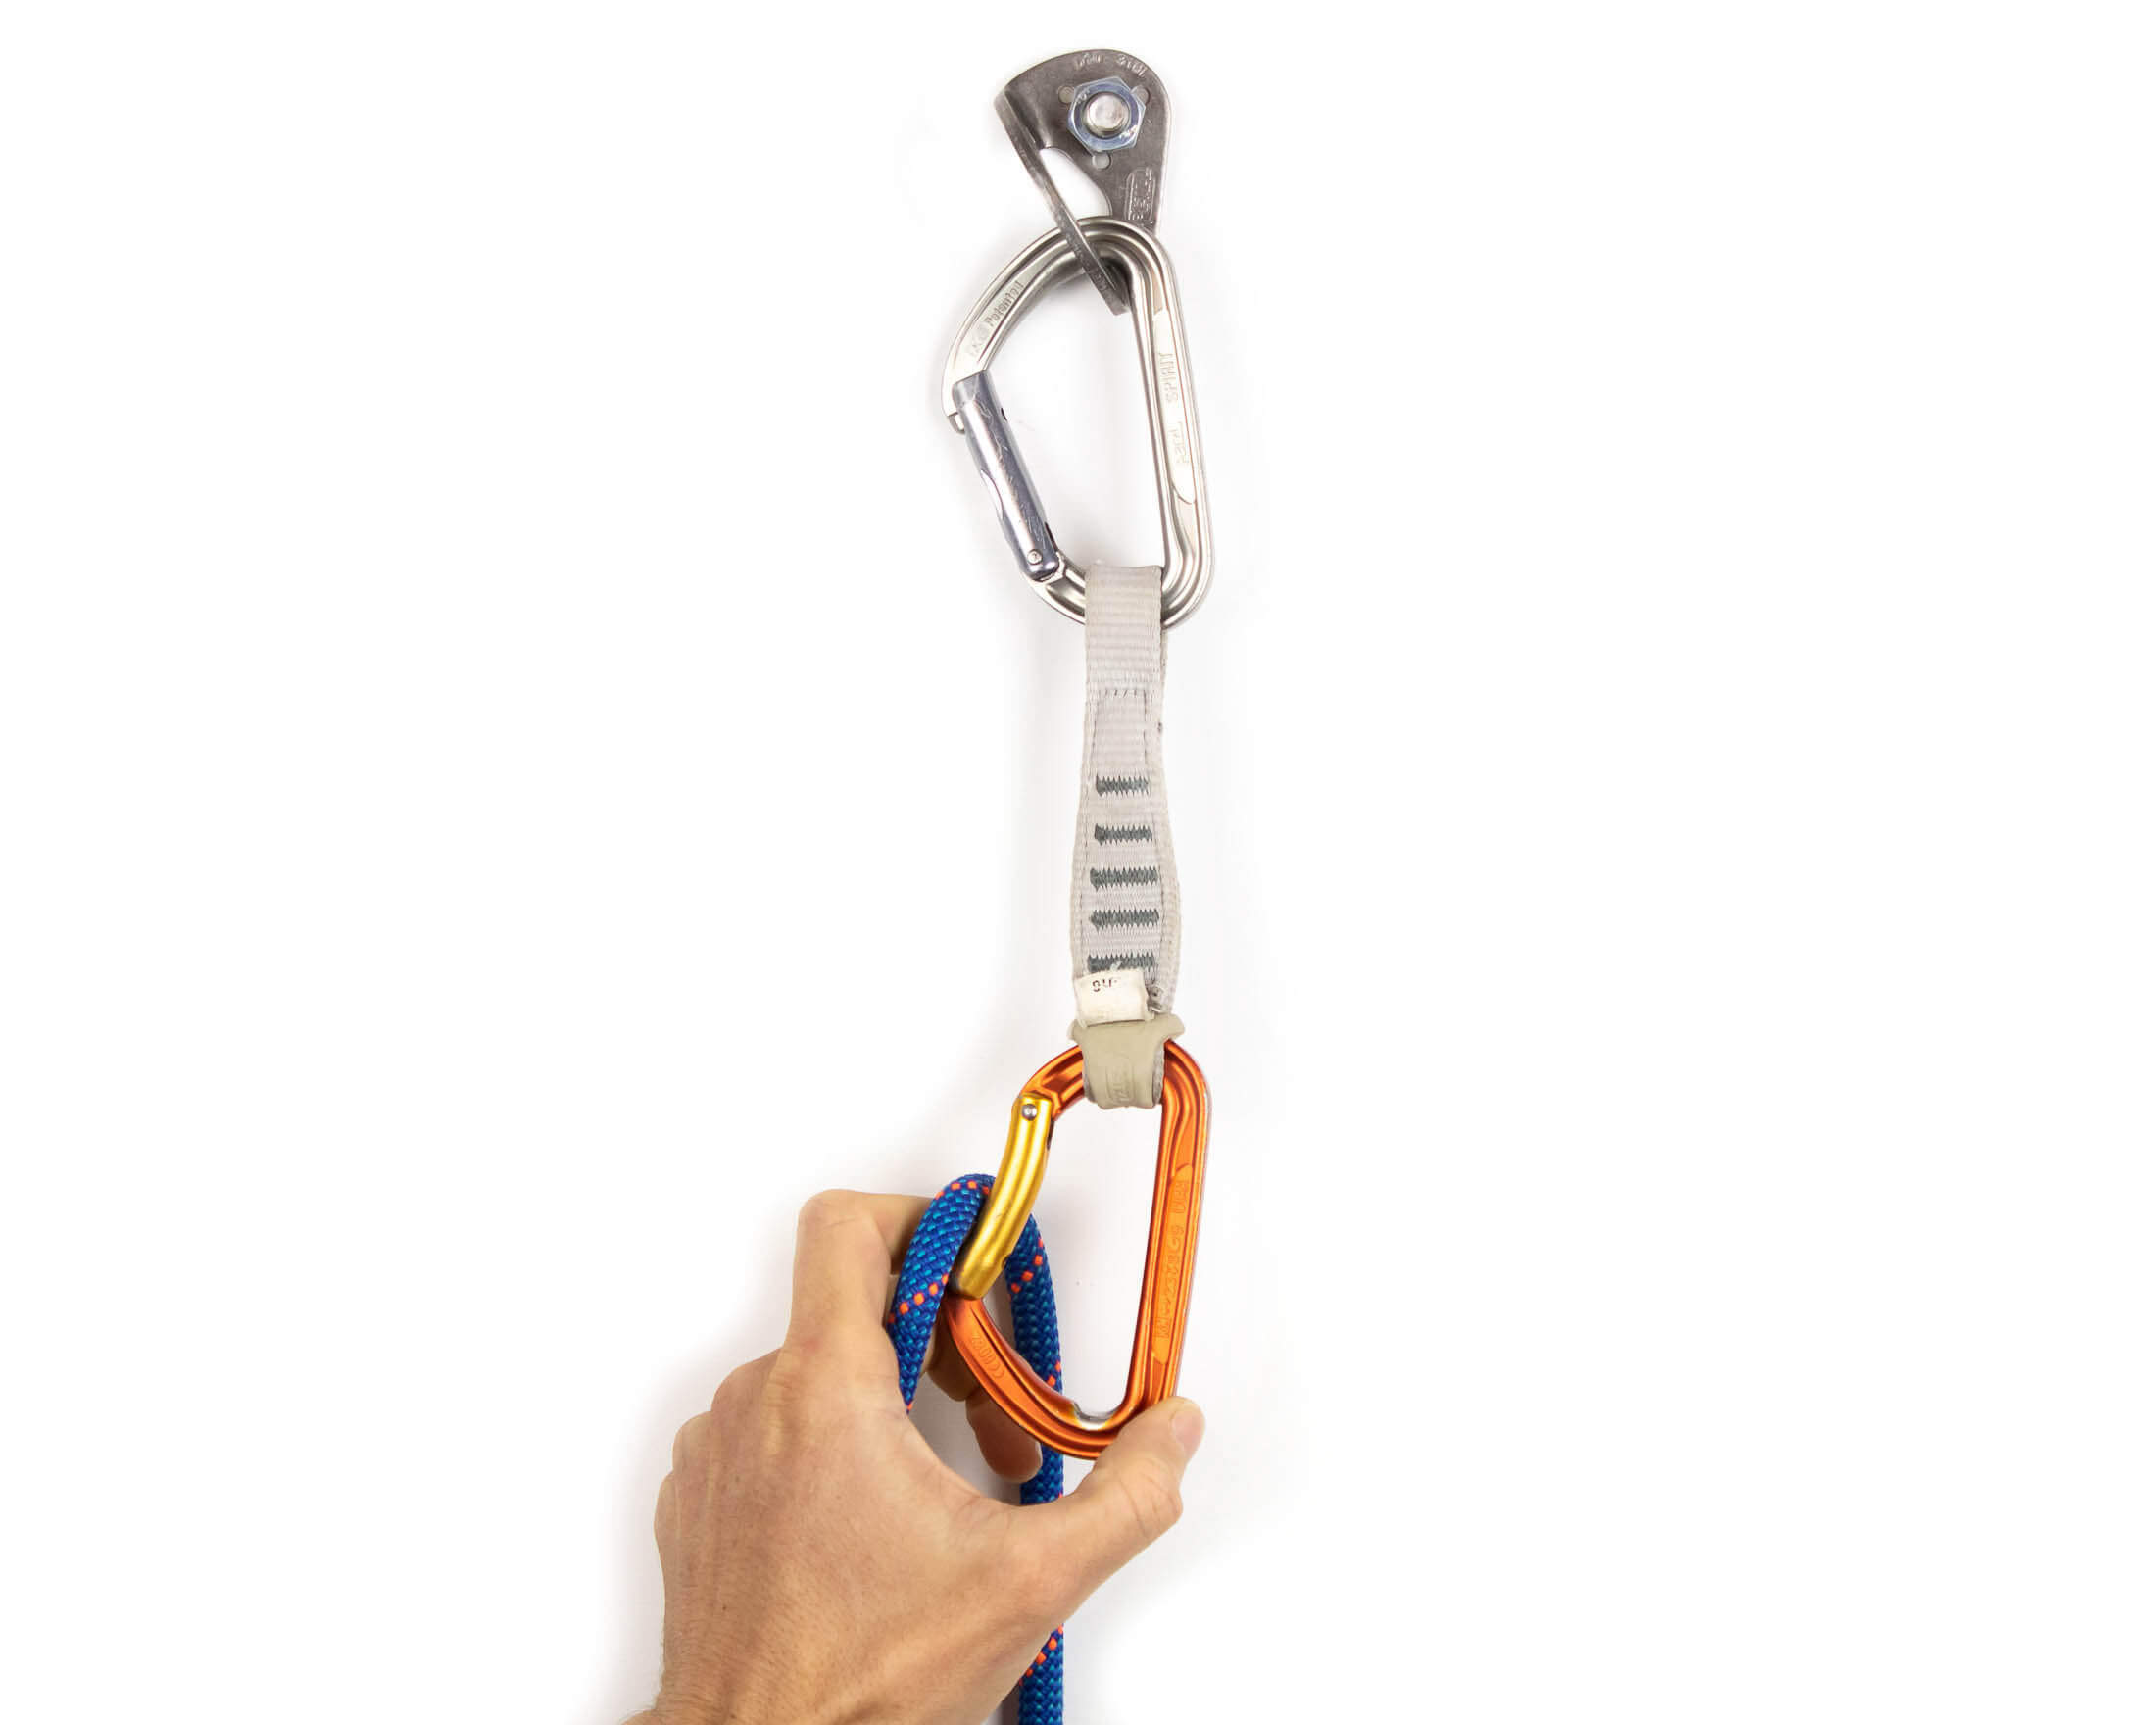
Clipping a left-facing gate with the left hand and vice versa
Start by reaching down and pinching the between your thumb and index finger. Next, raise the rope to the quickdraw, open your hand (rope now draped over the second knuckle on your pointer), and wrap your thumb around the spine of the carabiner. Then smoothly push the rope through the gate with your pointer finger. Try to not get your finger in the gate.
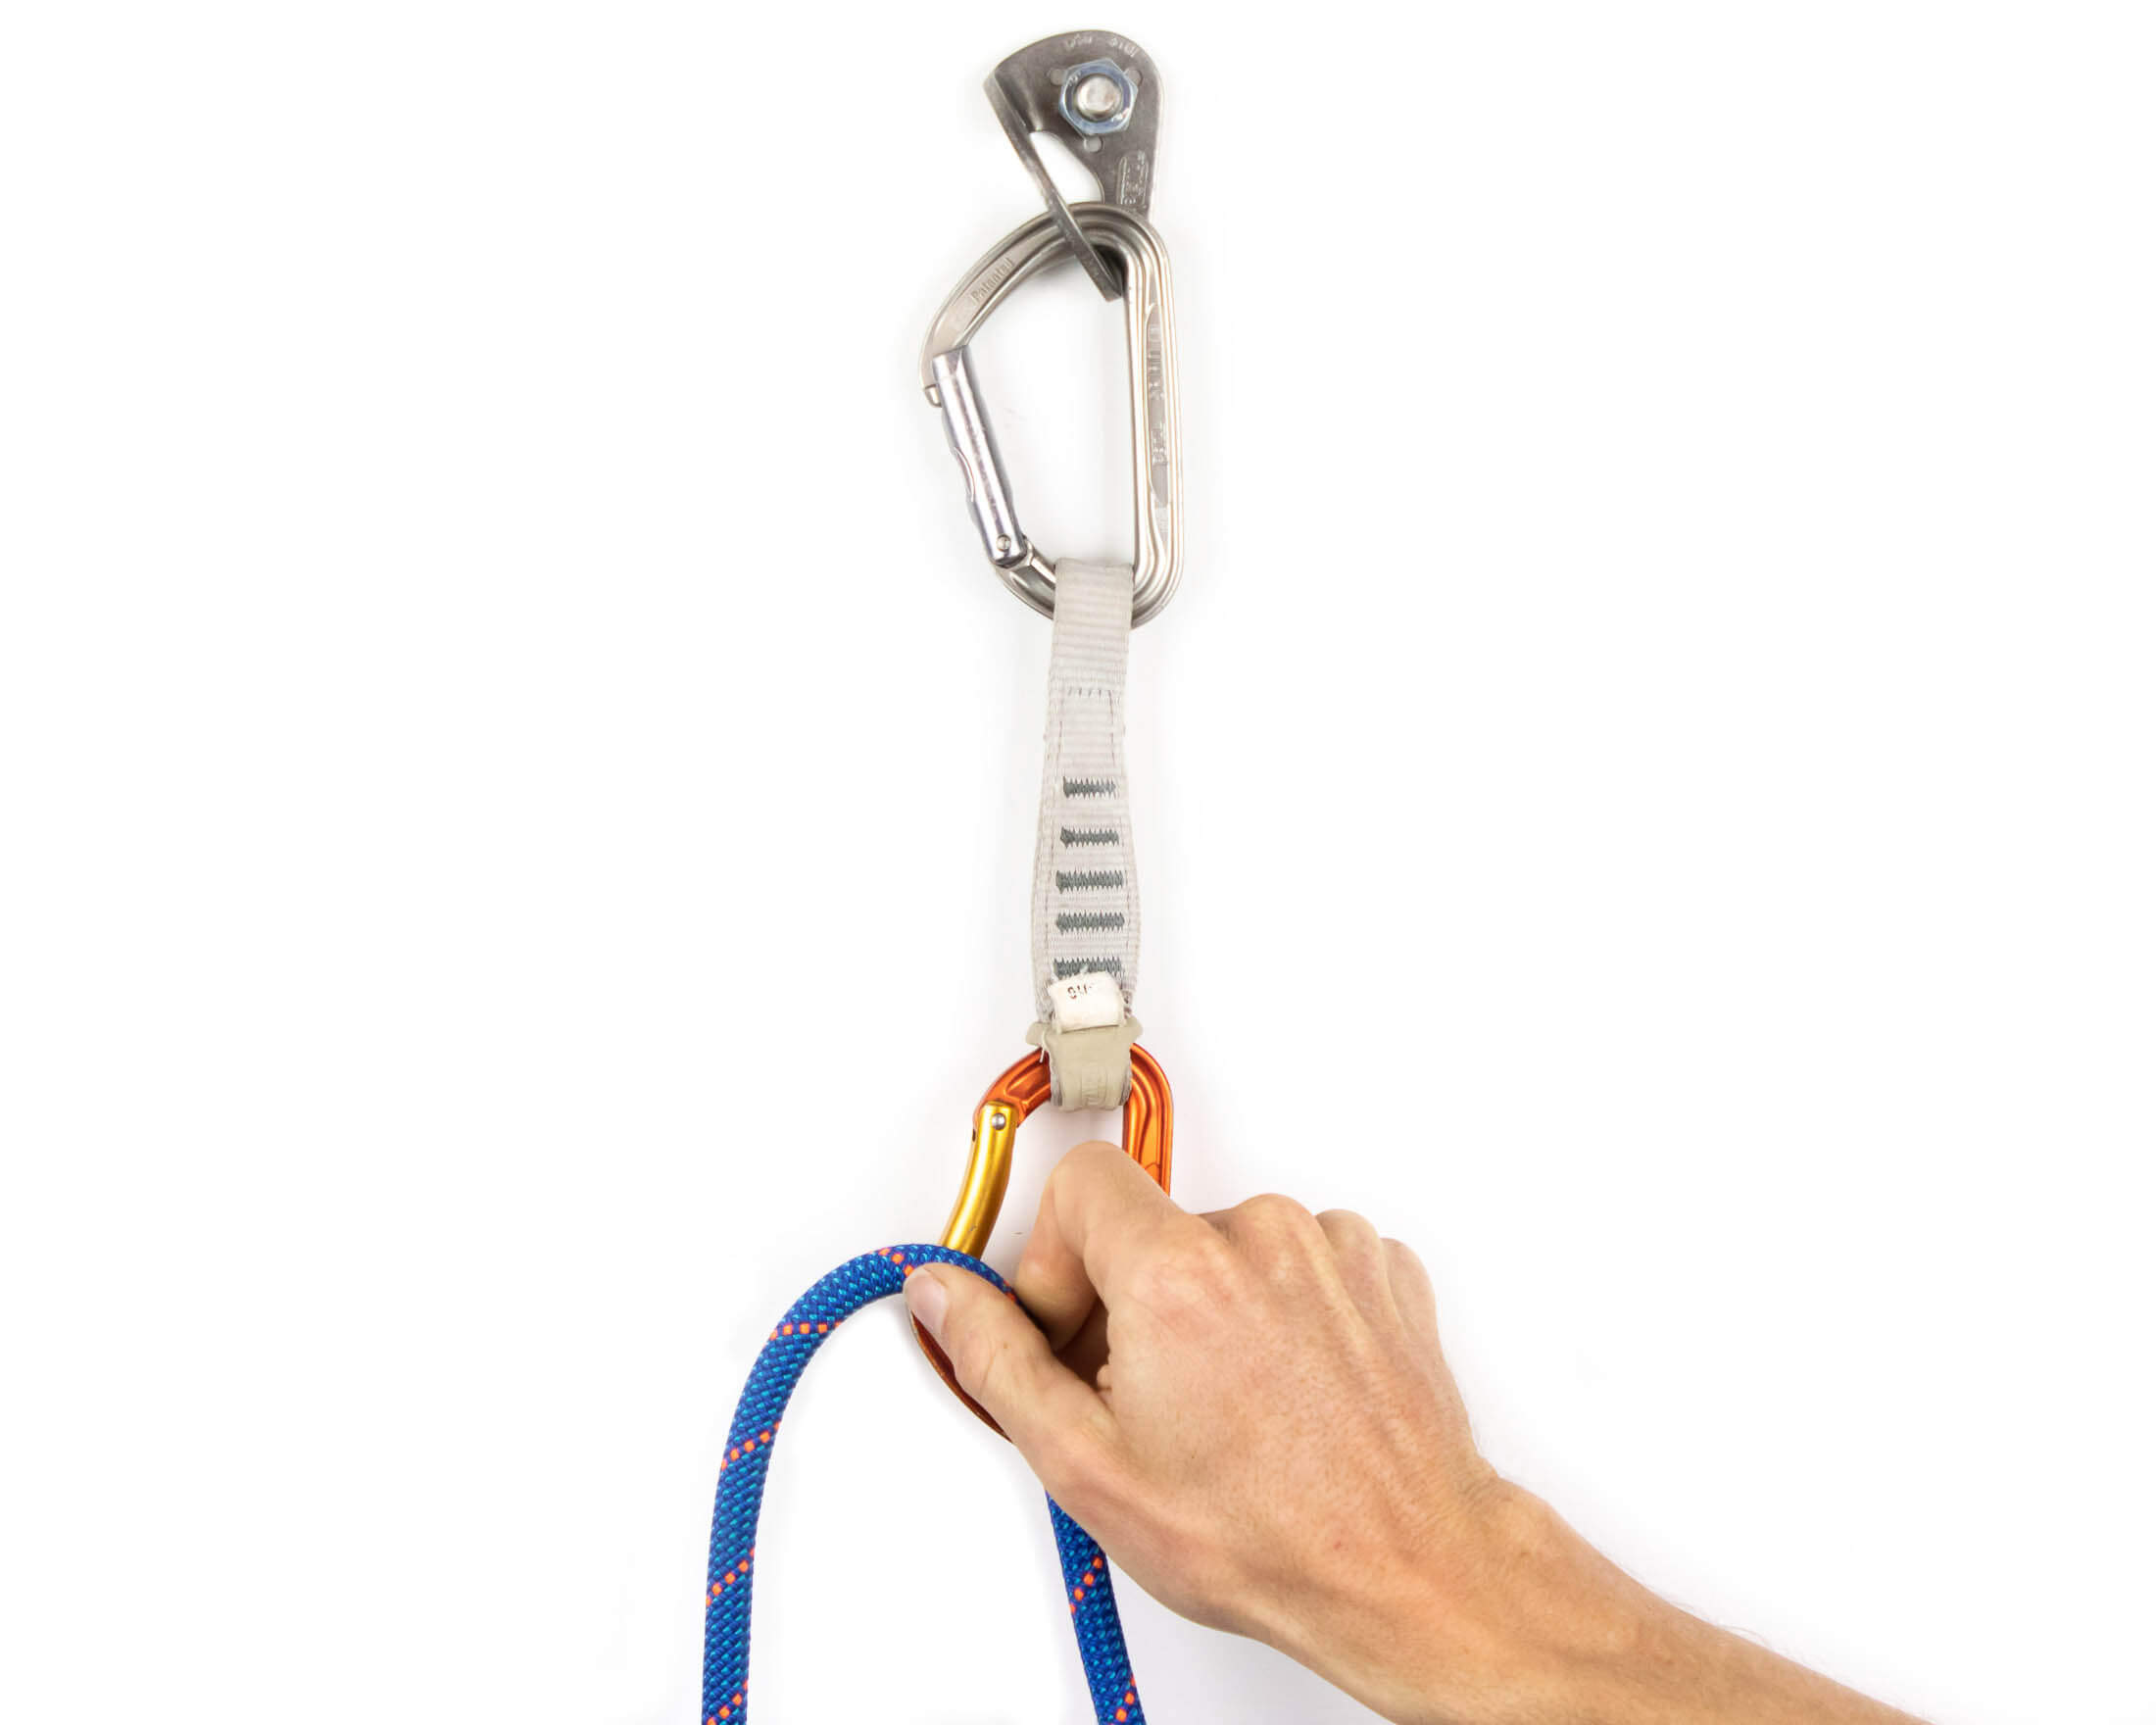
Clipping a right-facing gate with the left hand and vice versa
Start by reaching down and pinching the between your thumb and index finger. Next, raise the rope to the quickdraw and place your middle finger in the bottom of the carabiner or rope basket. Using your middle finger to hold the draw in place, you can then roll your wrist so that your thumb pushes the rope through the gate.
Clip quickdraws to bolts with gates facing away from the direction of travel
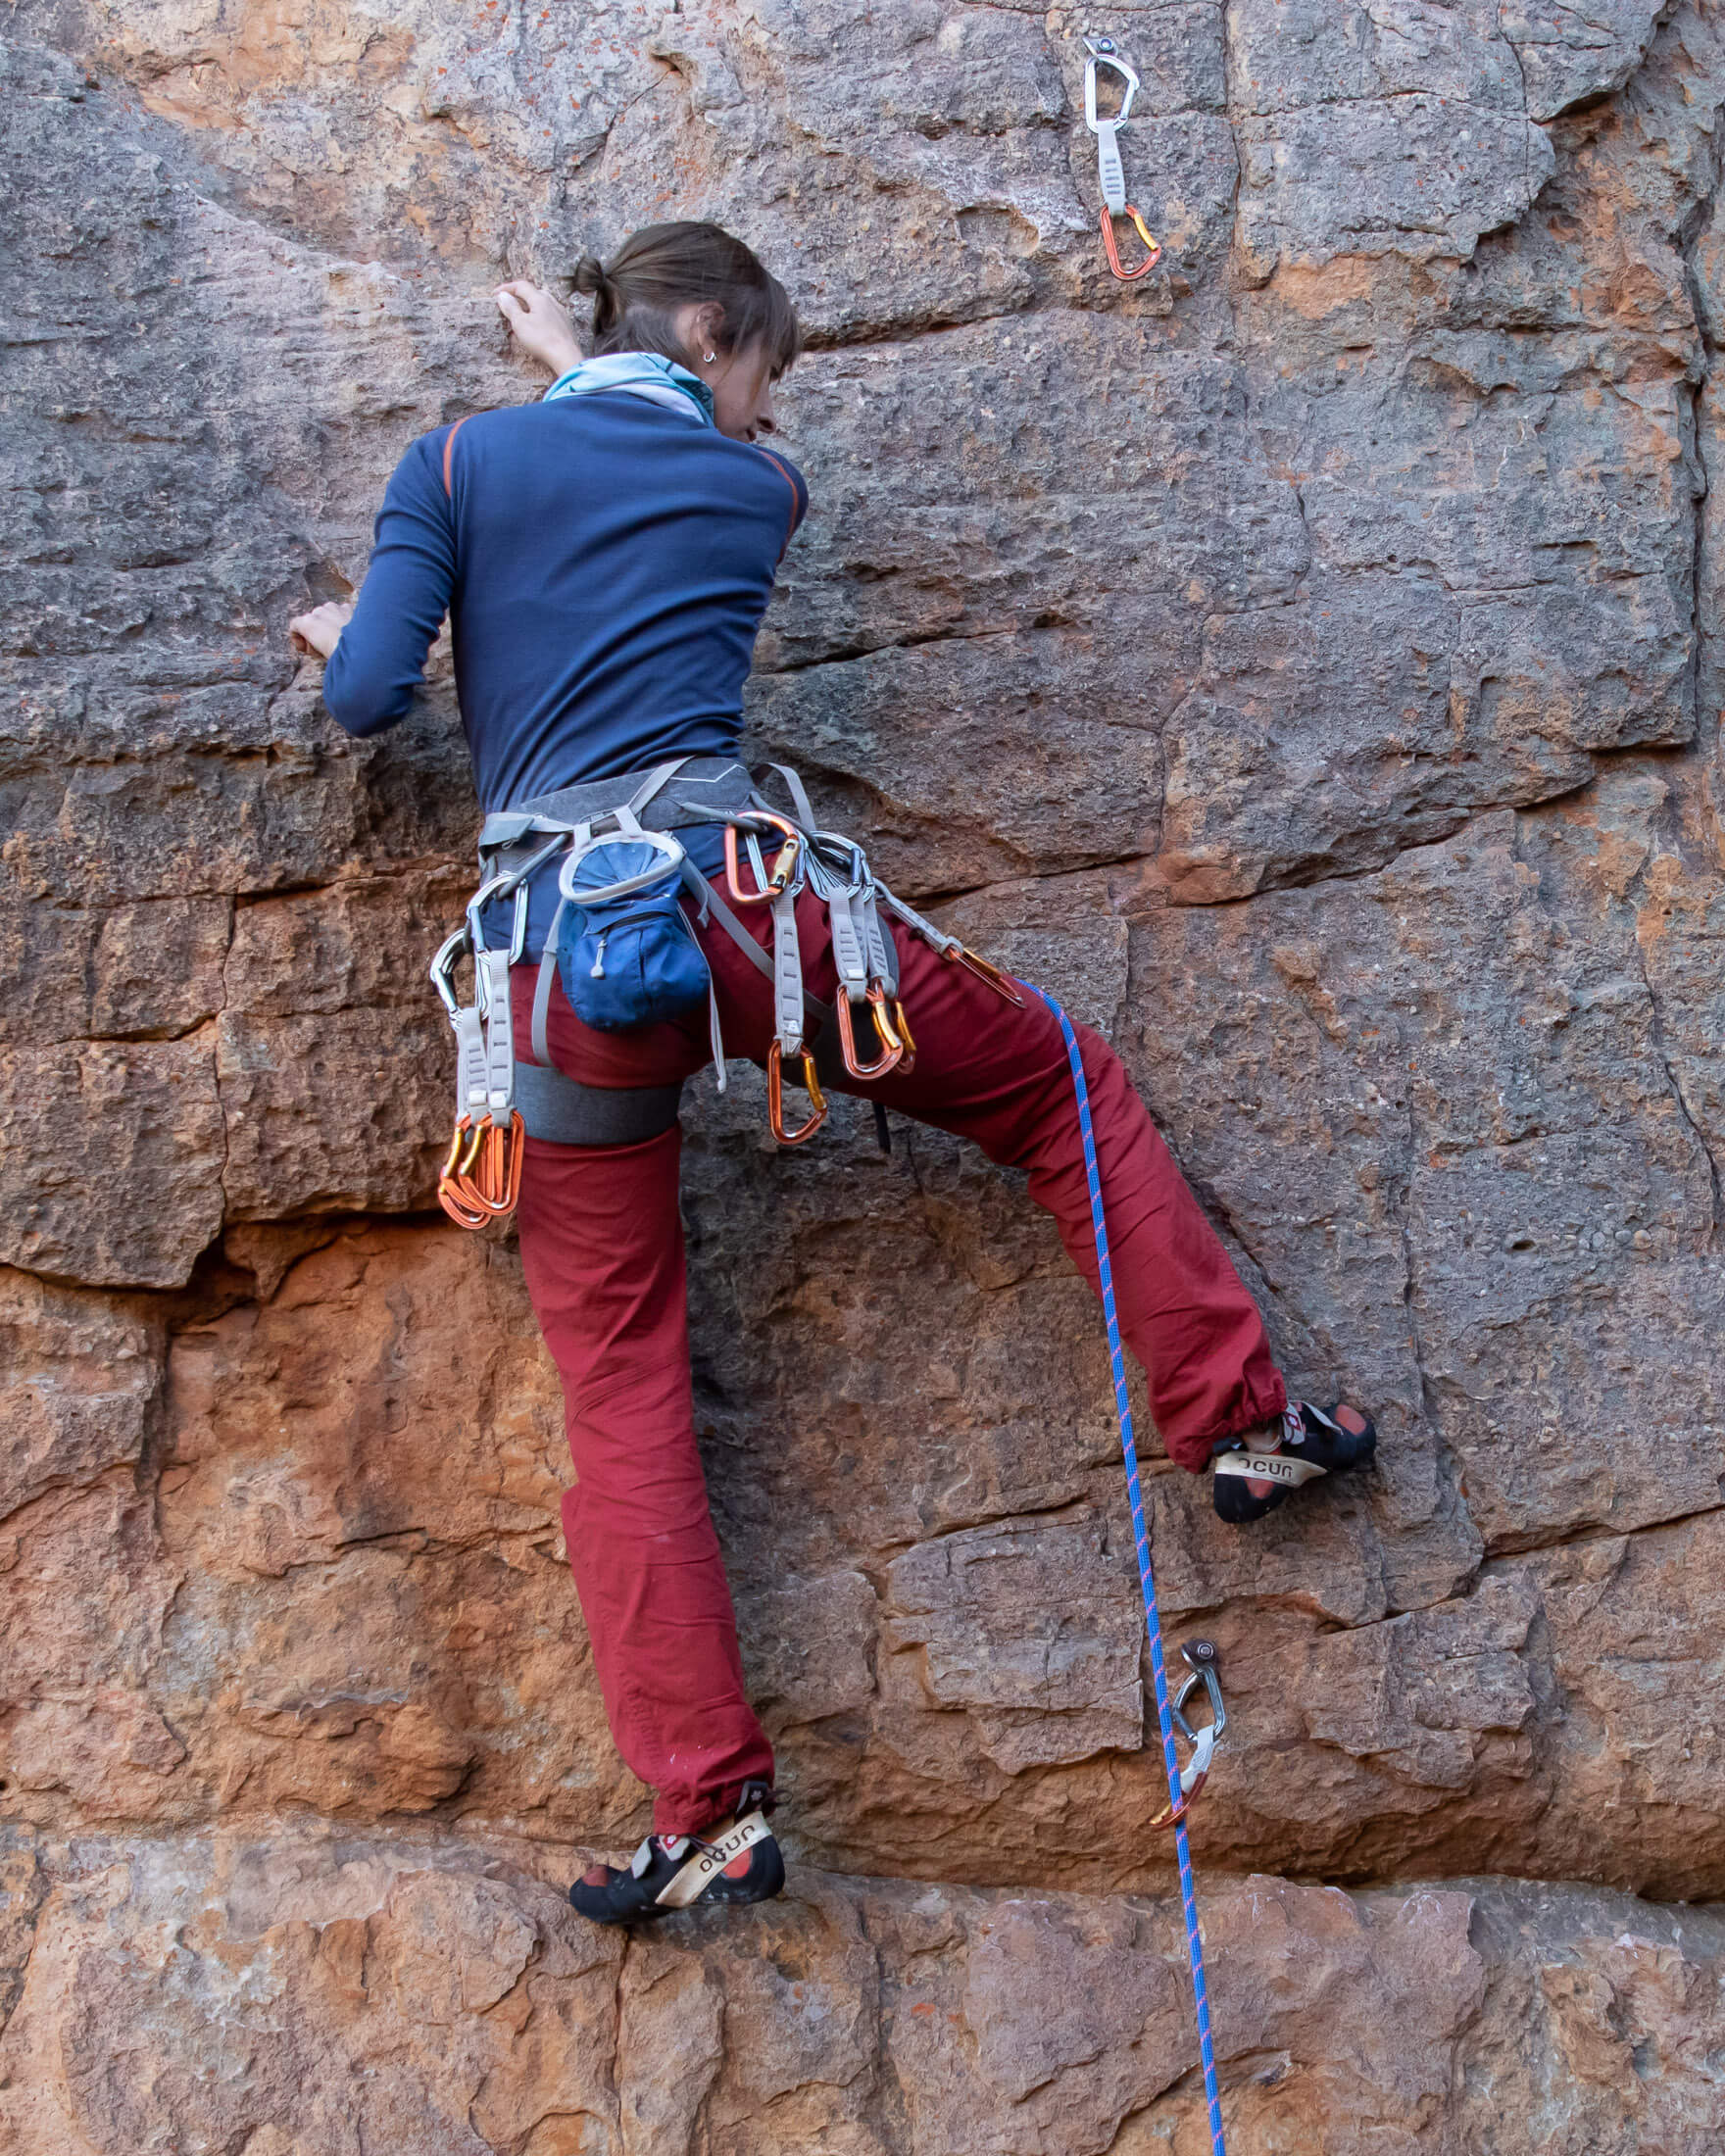
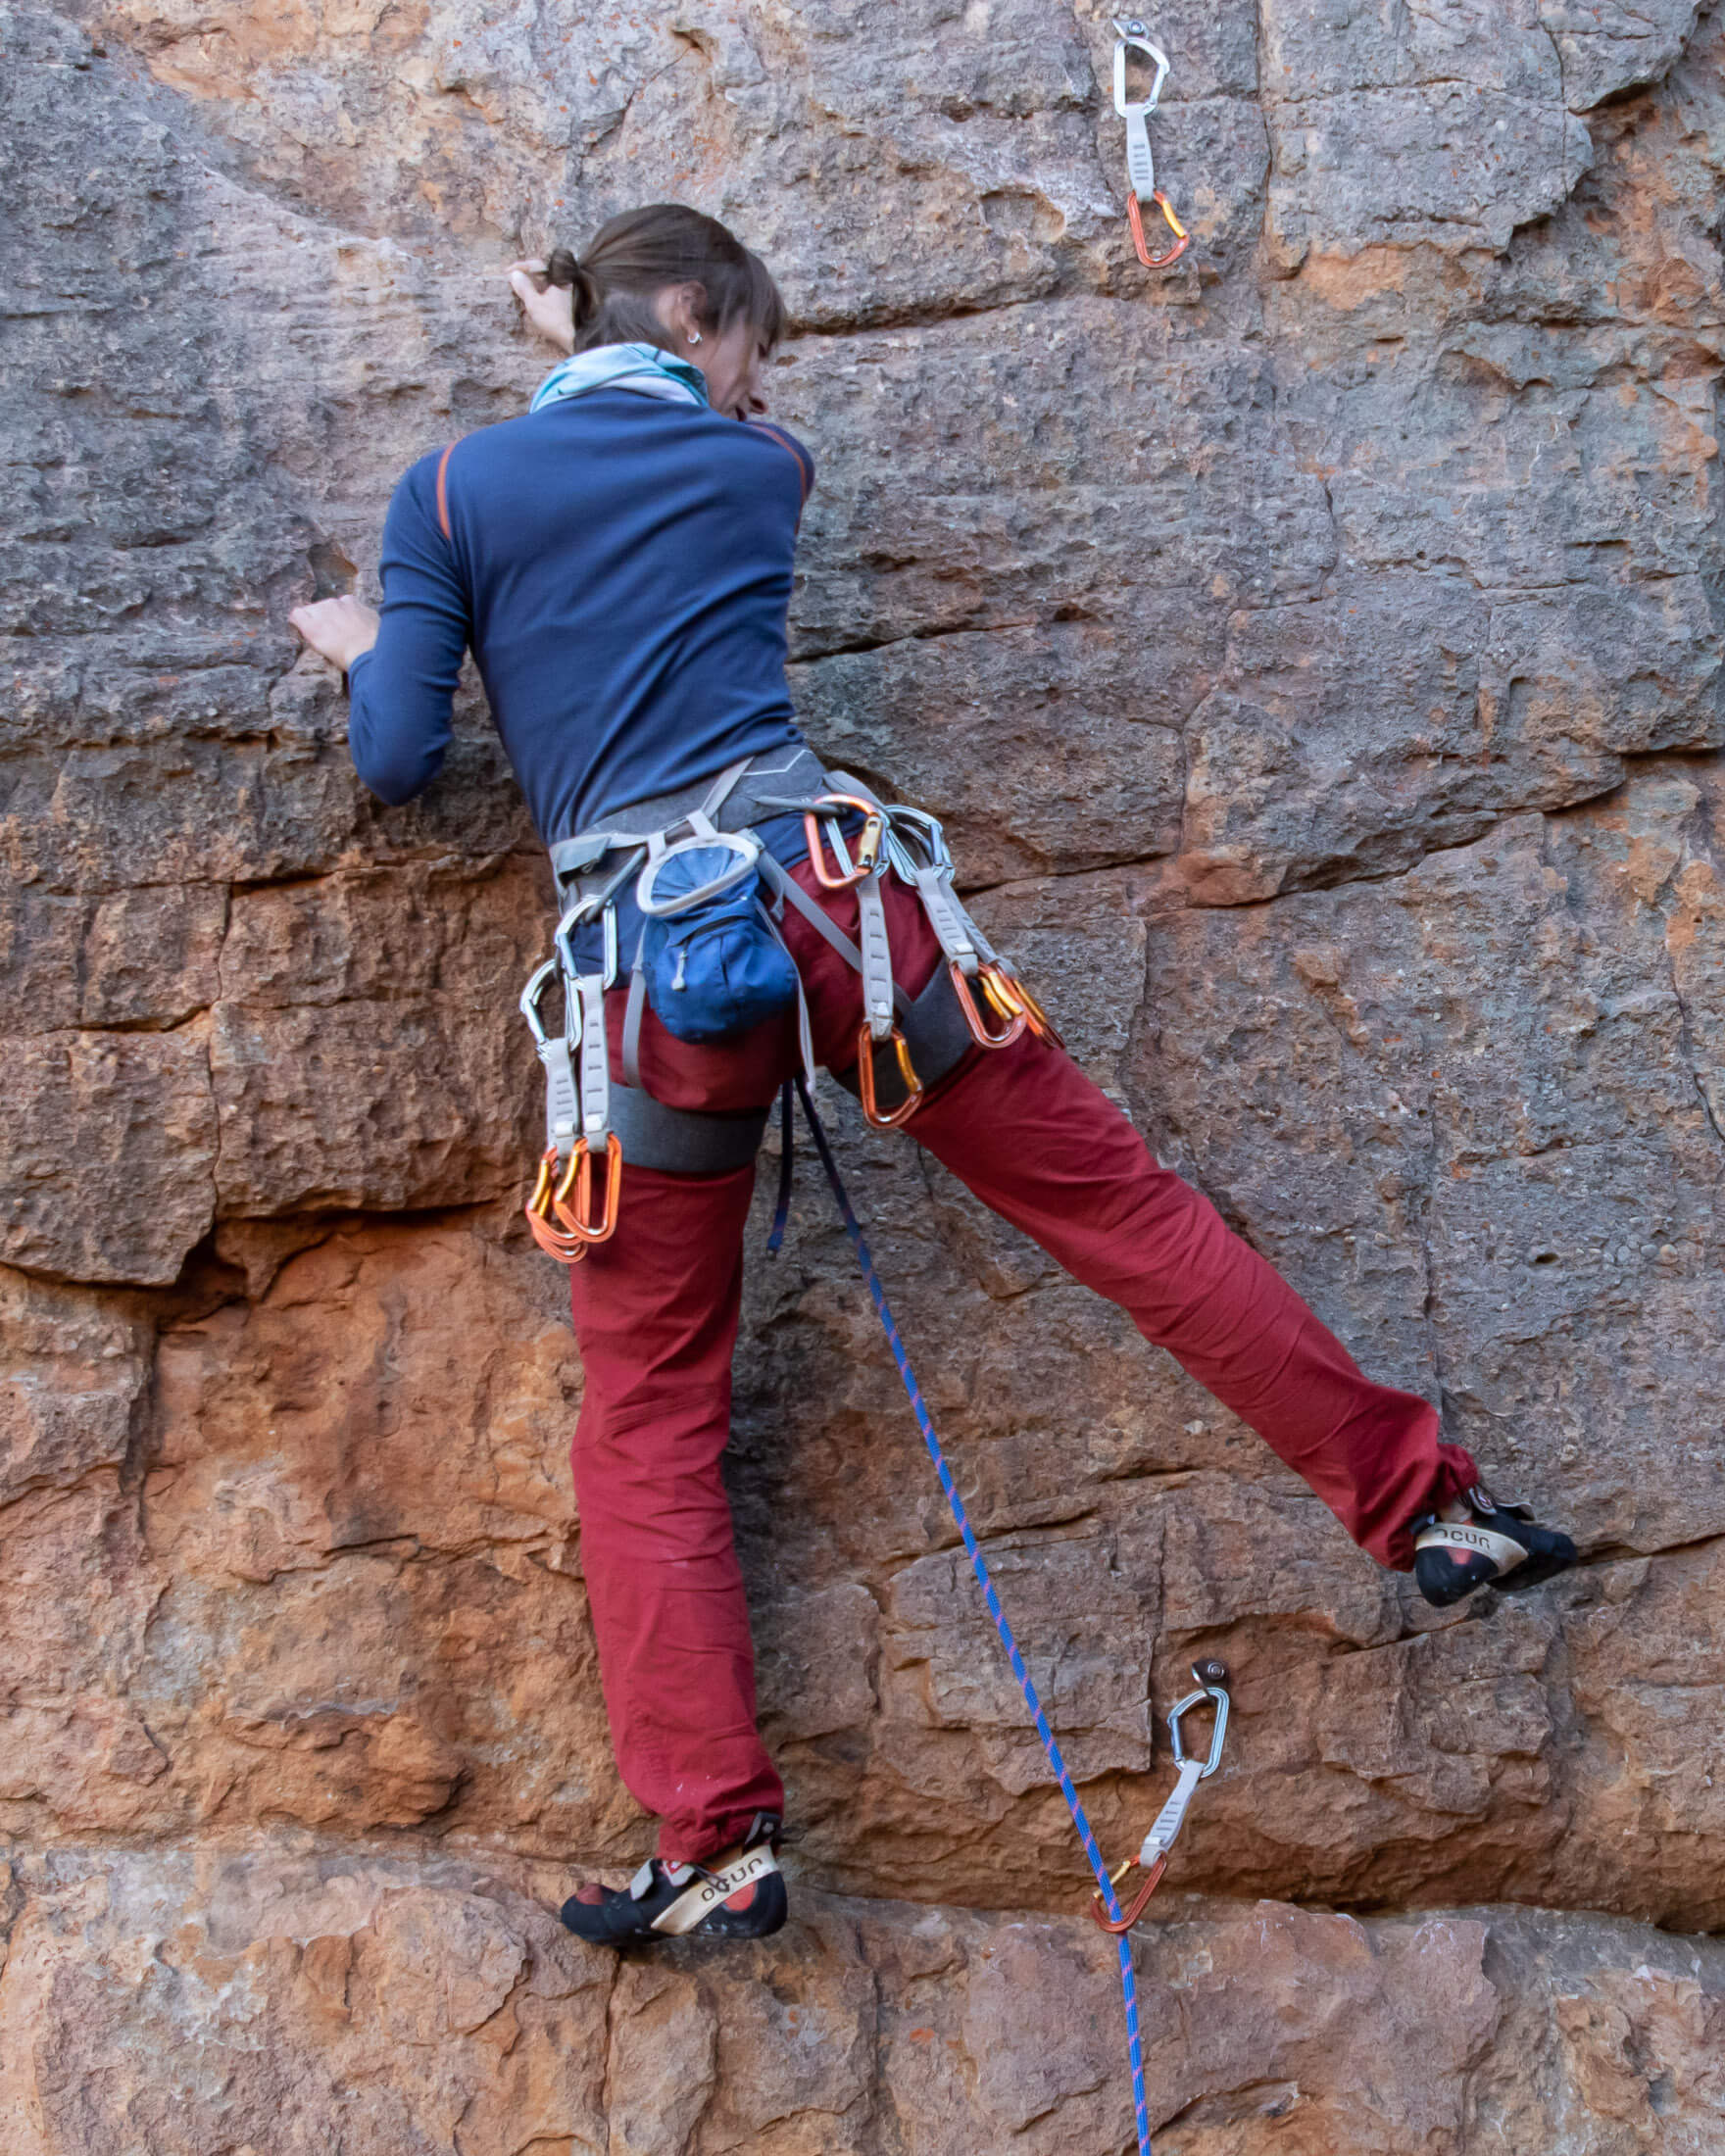
Where a route traverses or follows a diagonal line, a fall can result in the rope loading across the gate of the carabiner. To avoid this, you should clip quickdraws to bolts so that the gate of the rope-end carabiner points away from the direction of travel, thereby reducing the risk of the rope falling across the gate.
When to clip
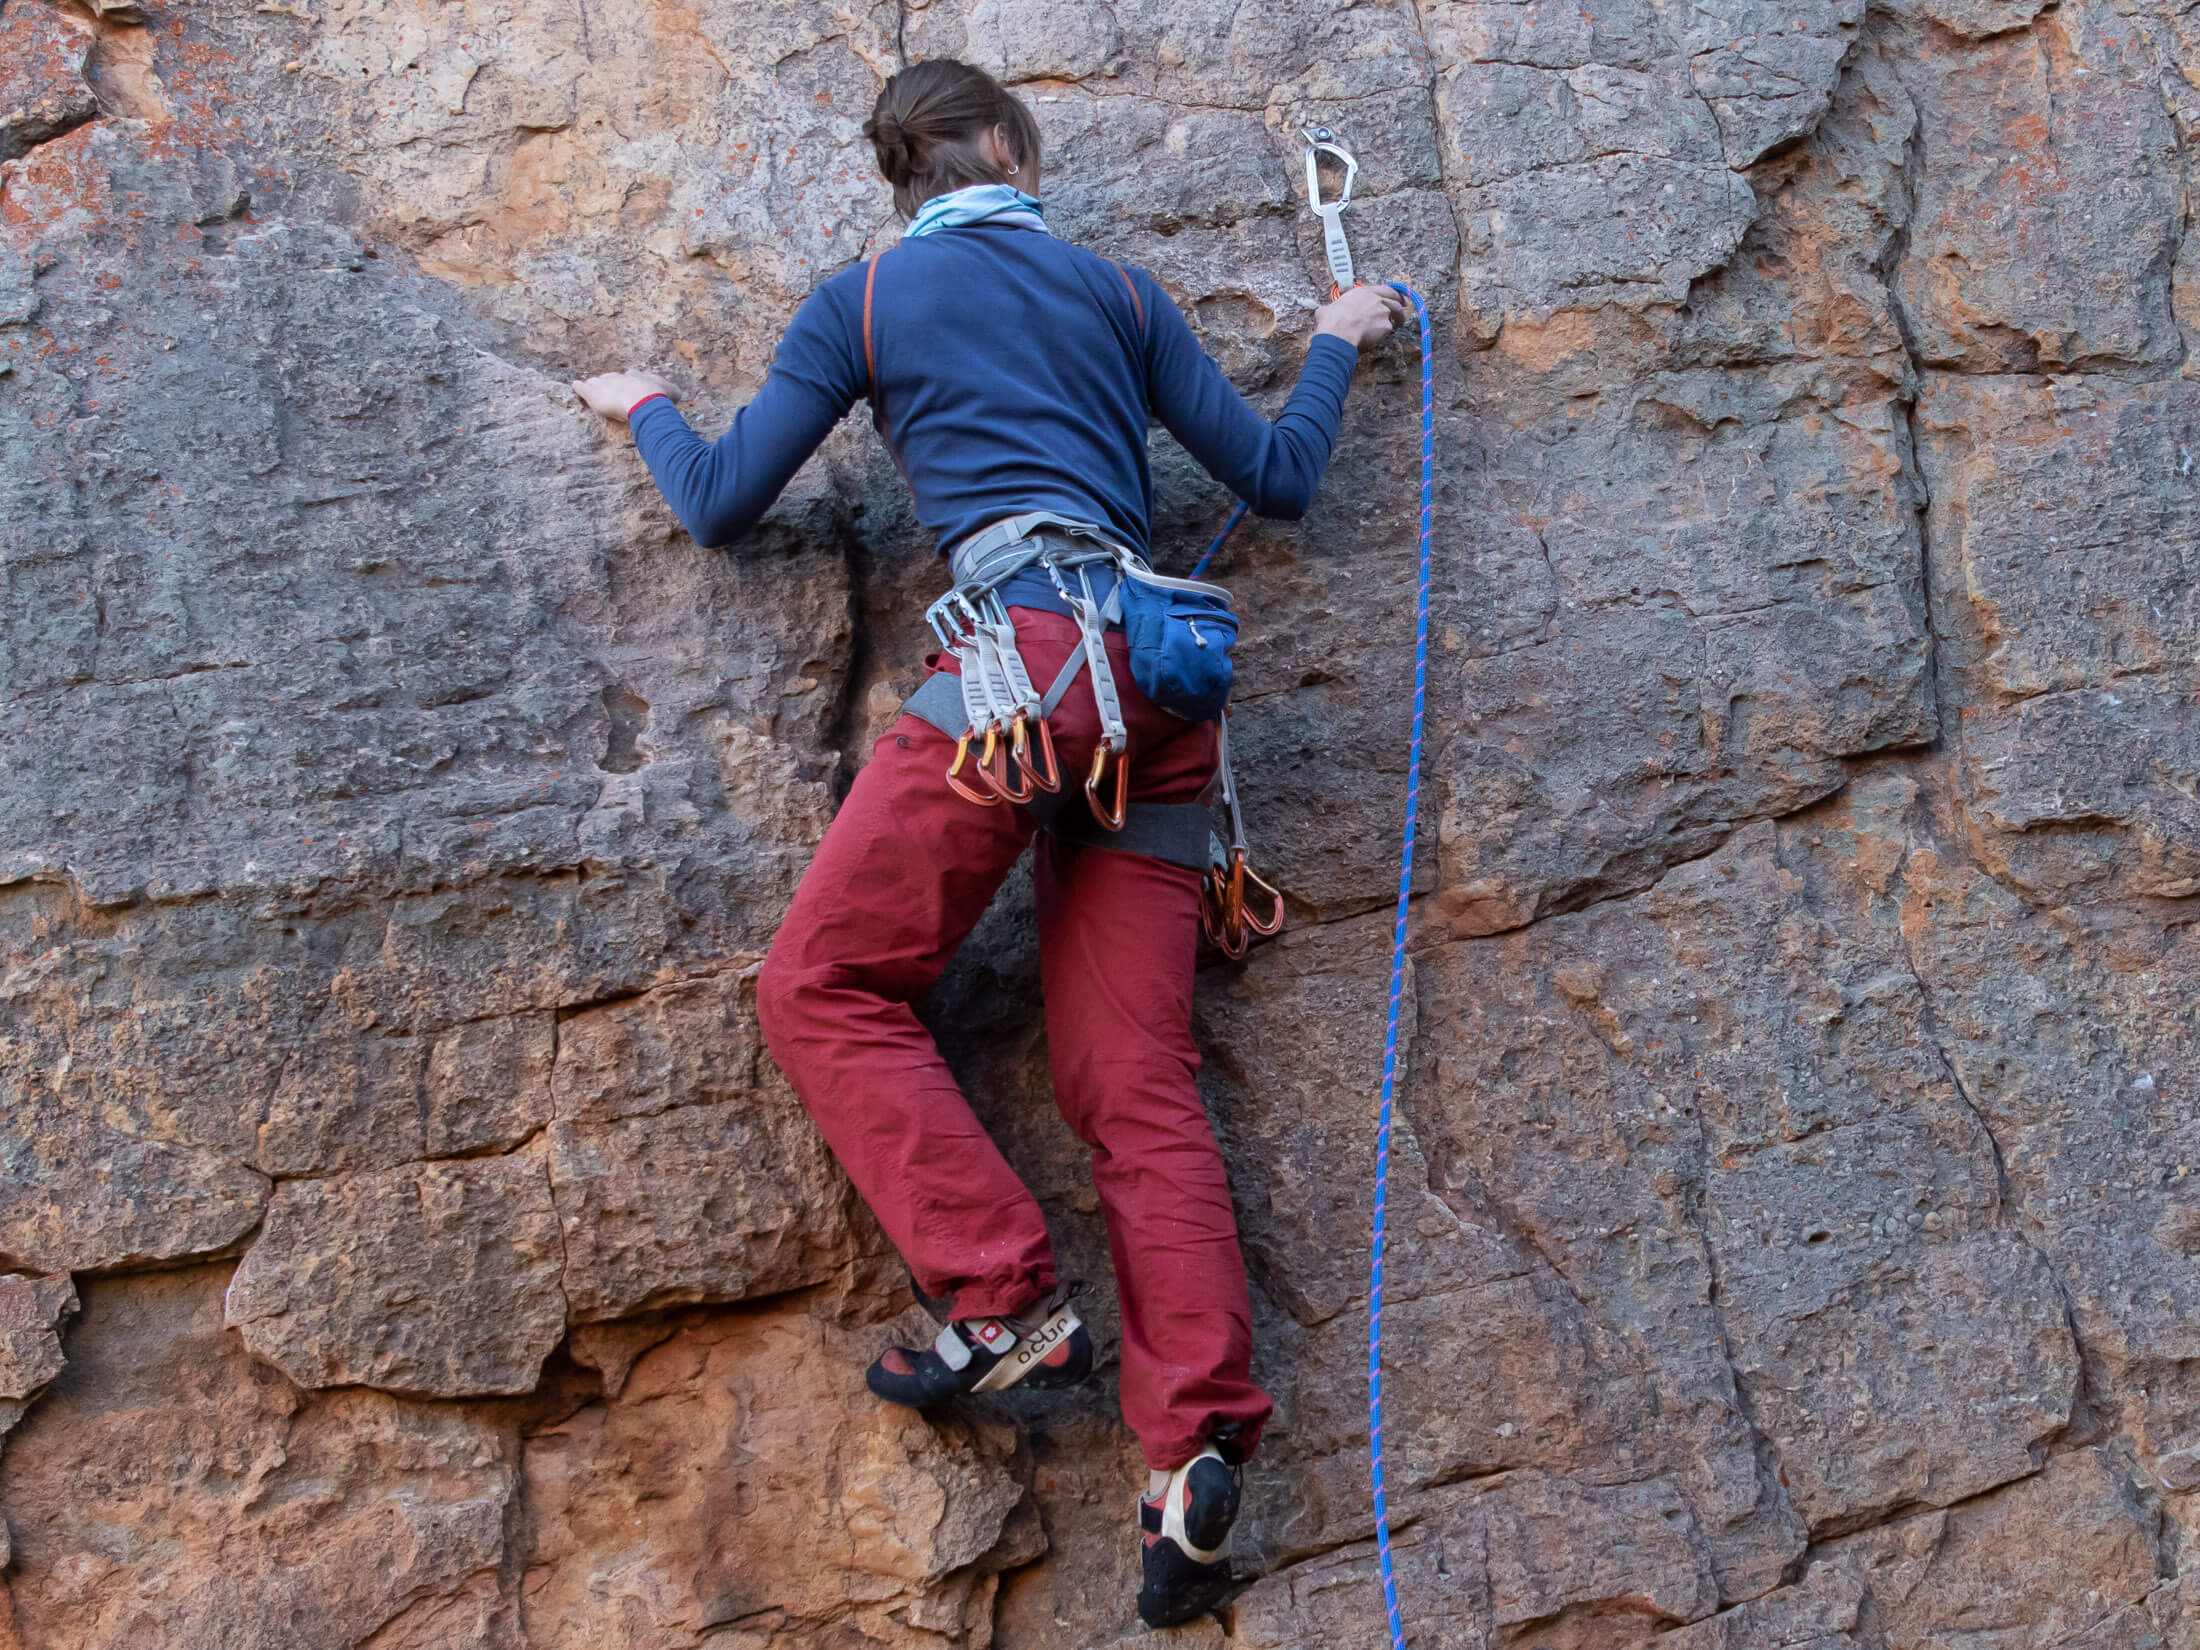
You might be tempted to clip as soon as a quickdraw is within reach, but this can make clipping more dangerous and difficult than it needs to be. If you reached to make a clip and then fell as you dropped the rope, you’d have even more rope out, making the fall longer even though you tried to clip from lower down. This can result in a ground fall if you’re still low on the route. To mitigate this risk, follow the following best practices while also practising sound judgment (more on fall assessment in a minute).
1st clip
At this point you’re not clipped in, and so there’s not much point in climbing higher than the lowest position you can safely clip from. Clip as soon as you’re on good holds within reach of the quickdraw. Don’t start a climb with the rope draped over your shoulder. It doesn’t make clipping any faster but does make you look a bit stupid. Ideally, you’d be able make every clip while hanging on an almost straight arm. I say almost straight, because you always want to have some muscle engaged to protect your joints.
2nd & 3rd clips
In a lead fall, you’ll drop at least twice the distance between you and your last piece of protection and often a lot further. Longer falls aren’t usually dangerous, but they’re more likely to be when you’re lower on a route. If you reached to make the second or third clip and then fumbled it, you’d fall farther – possibly to the ground or onto your belayer. It’s often better to climb one or two more moves to limit the amount of rope out in a potential fall. Only reach for a clip if you feel very secure and anticipate the next few holds being worse than the one you’re currently on.
4th clip & higher
From the 4th clip onwards, you can usually climb with more rope in the system. When clipping the 4th quickdraw, consider the fall potential (Look at the height of the 3rd clip and the distance to the 4th bolt) in assessing where it would be safe to clip from. Ideally, you’d be able to clip chest high to the quickdraw every time, but in some sequences you’ll have to make a reachy clip. Don’t make a habit of clipping high, and if you do have to reach for a clip occasionally, tell your belayer that you need more rope
Top anchors
When you arrive at the top anchors, clip both bolts with the gates on your quickdraws opposing. It doesn’t matter if they face in or out, but you do want to give some thought to what you clip them to. After cleaning the anchors, you will probably lower off some kind of rounded and removable hardware attached to the bolts. If these are too narrow to take both a carabiner and the rope (rap rings offer plenty of space), it would be best to clip your quickdraws directly to the bolts, leaving the terminal hardware free for the rope when you clean.
Clipping mistakes
Besides knowing how to clip, and where to clip from, you should also know how to avoid these common mistakes.
Back-clipping
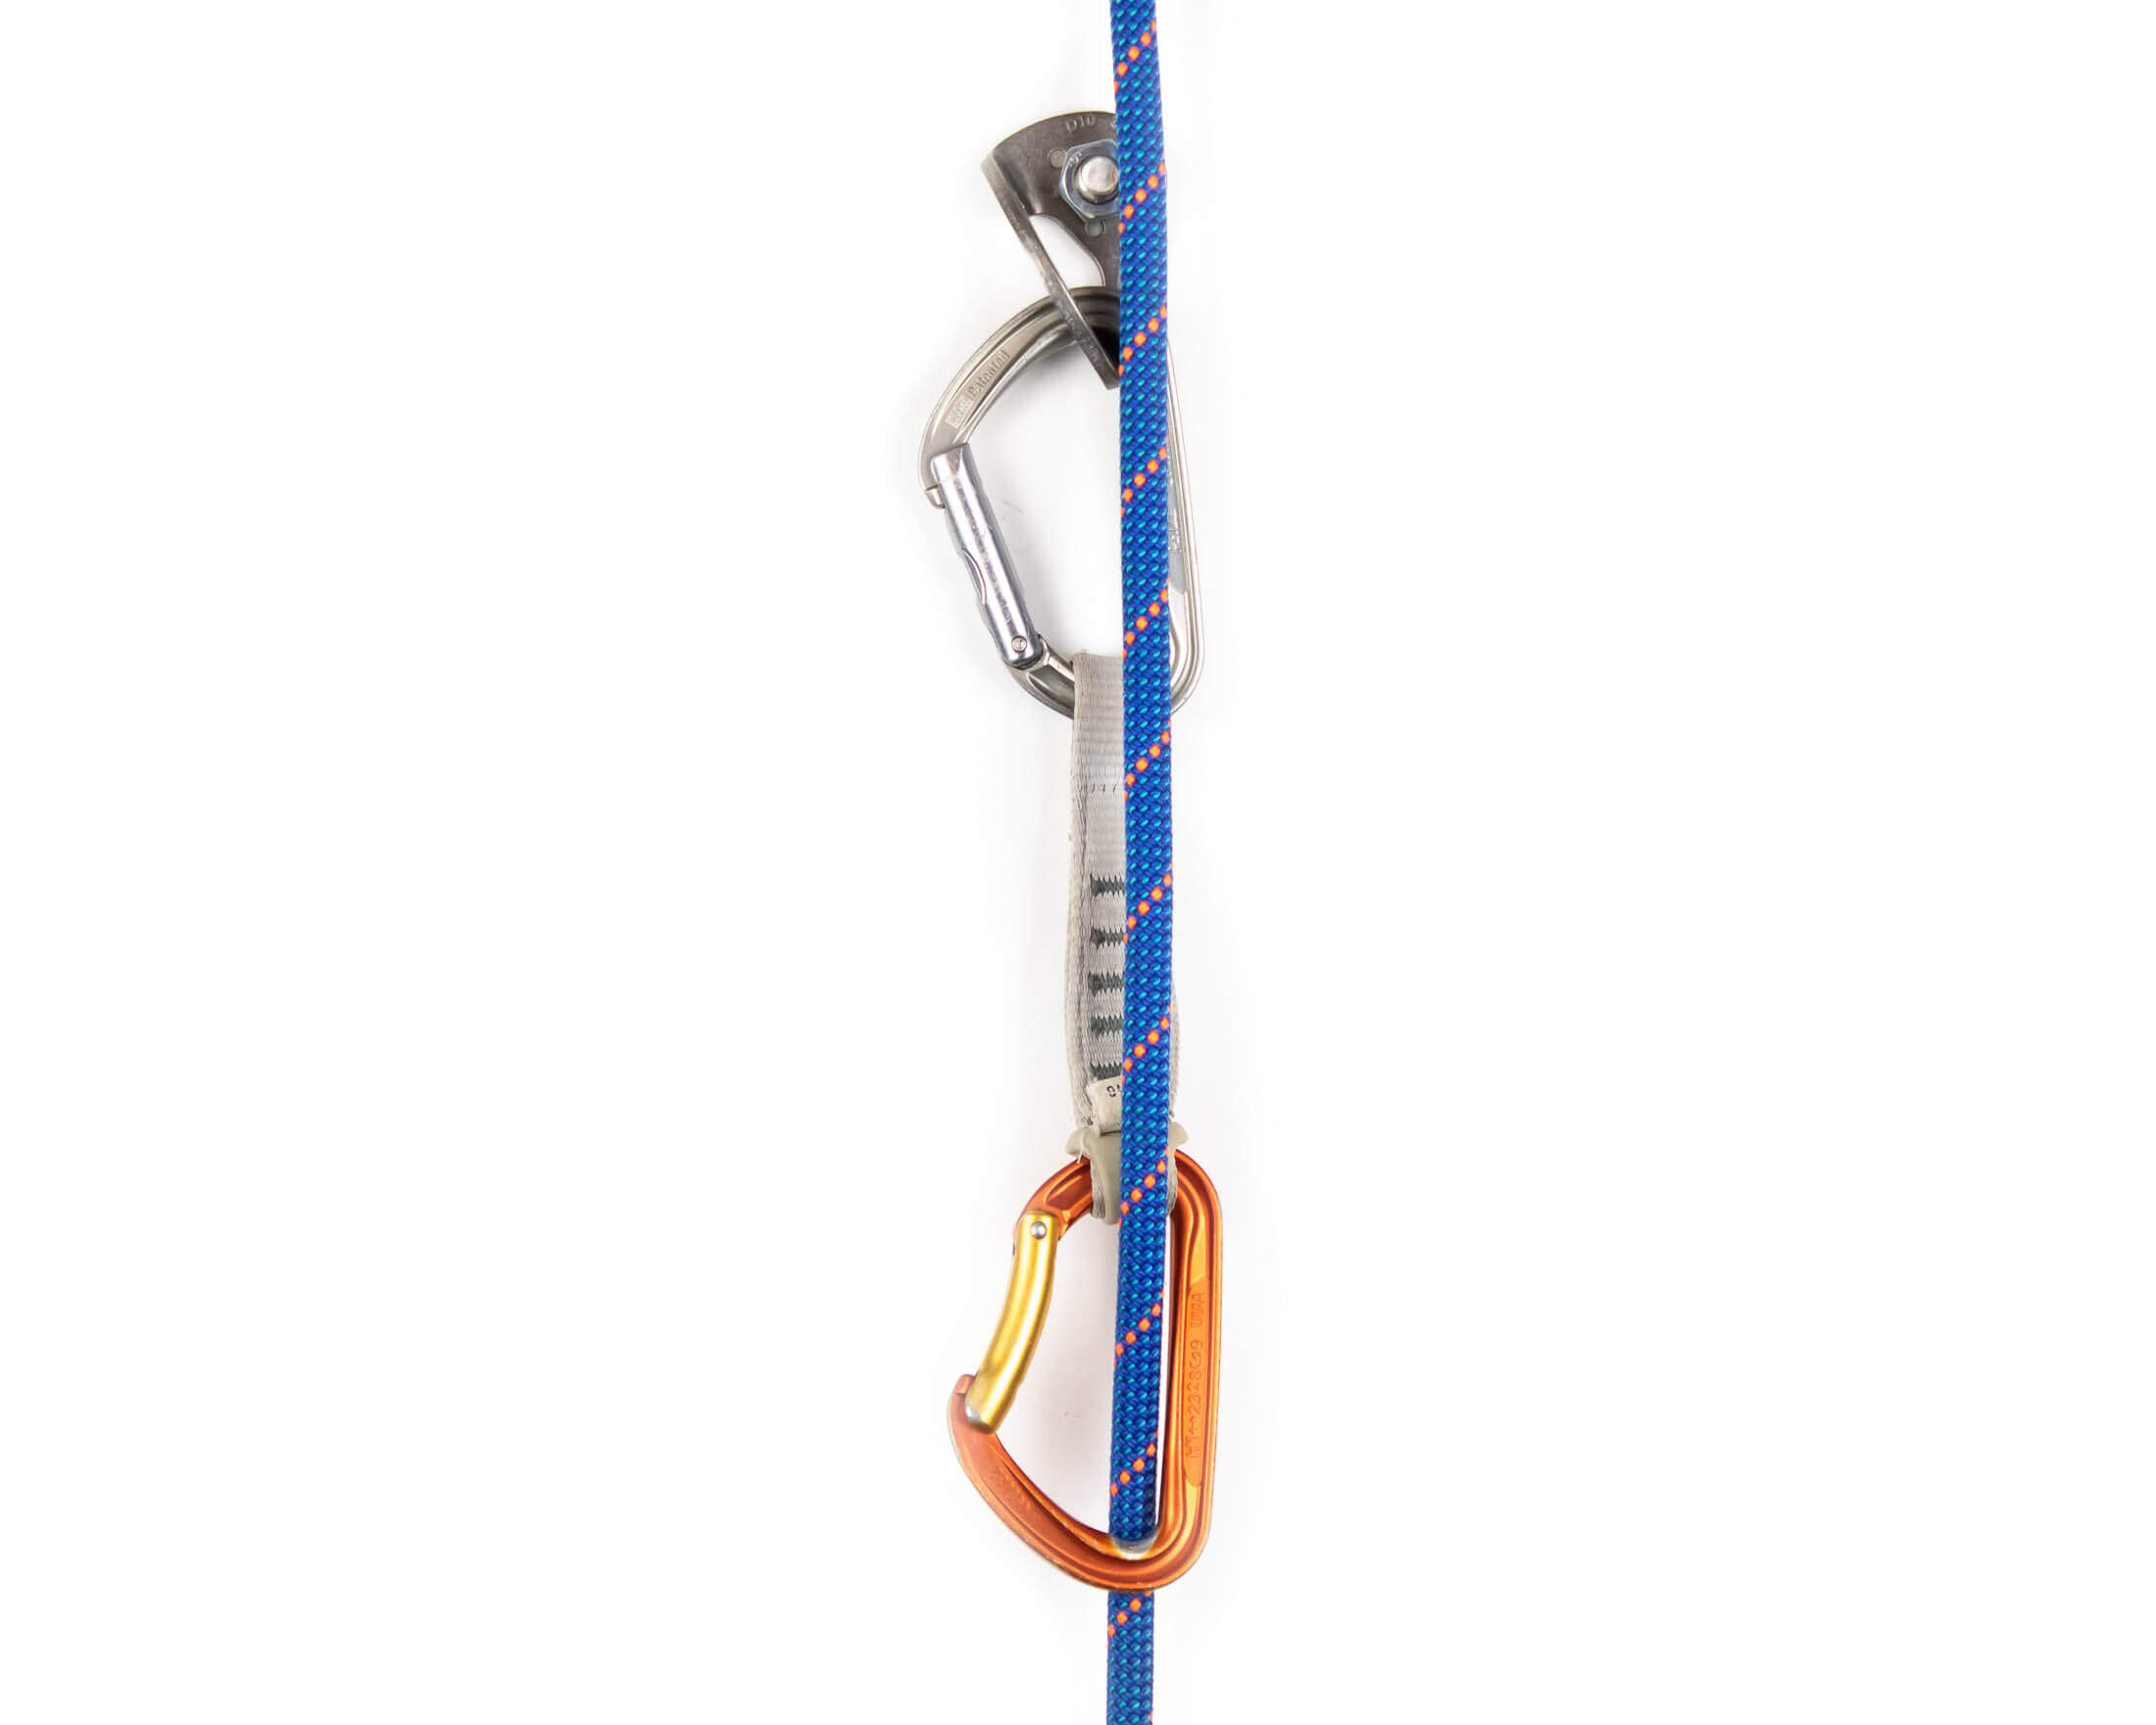
The climber’s end of the rope should always come out of the top or front of the quickdraw. Back-clipping the rope so that it passes out the back of the quickdraw raises the risk of the unclipping itself in a fall. If you catch yourself backclipping a draw, always correct it before climbing on. Usually it’s easiest to unclip the quickdraw from the bolt, turn it so that the rope passes out through the front of the carabiner, and then reclip it to the bolt.
Z-clipping
Z-clipping isn’t as dangerous as back-clipping, but it will stop you in your tracks. This is what happens when you grab rope from below the last quickdraw (instead of above it) and clip this loop through the next draw. Once clipped this way, the rope will follow a Z-shaped path between quickdraws, climber and belayer. To avoid this mistake, always grab for the rope right at the tie-in knot when about to make a clip.
Keeping clear of the rope
Besides clipping properly and at the right height, you also need to ensure that the rope doesn’t stray behind your heels. If you fell with the rope behind your foot, the rope could catch behind your leg and flip you upside down, putting you at risk of a head injury. Always know where the rope is relative to your feet. It should be between you and the wall or off to one side. You can learn a lot by watching how experienced climbers position the rope to avoid putting themselves in risky positions.
Falling
Falling is an integral part of climbing, and it’s essential that you get comfortable taking lead falls once you’re learned how to clip safely.
Why it’s important to overcome the fear of falling
The fear of falling is one of the greatest challenges faced by new climbers, but the benefits of overcoming this natural instinct are immense. Until they lose their fear of falling, most climbers will overgrip, move inefficiently, and look for only the most obvious solutions to sequences that often require creative technique. Once a climber loses that fear, she can move more dynamically, grip holds more lightly, and think clearly. All that translates to better and more efficient form. It’s important to face your fear head on by starting with safe practice falls and then make a habit of falling in every session. Familiarity will build confidence.
Assessing potential falls
Not all routes are well bolted, and not all falls are safe. Besides assessing the first four clips and the risk of a ground fall, you should also look higher to identify any other long or dangerous falls – the kind that can result in you impacting the rock with great force and with any part of your body other than your feet and hands. Look out for ledges and for traverses that could result in swinging falls. At least know what you could swing into. It’s a good idea to talk about riskier potential falls with your belayer before you start a climb. That way you both know what the other is likely to do. An experienced belayer will often give enough rope to ensure that a falling climber clears hazards like roofs and ledges.
How to fall
When you do peel off (and you should when you start climbing harder) you want to look down and try to predict where you will land. This will help you get your feet in front of you when you swing back into the wall. Aim to keep your legs relaxed so that they soften the impact. As for your arms, keep these out to the side. Having them in this position is better for maintaining balance and will help you avoid scraping them on the rock. Only push off if you need to clear a ledge and you know your belayer has given you enough rope.
It’s worth shouting ‘falling’ to alert your belayer if he doesn’t already have his eyes on you, but don’t shout ‘take’. If a belayer hears ‘take,’ he’s likely to step back and weight the rope more heavily. This can bring the falling climber into the wall harder than is necessary, raising the risk of an injury. What you want is a soft catch, something I go into in greater detail in my article on how to get comfortable falling.
Practice
Before you commit to your first lead, you should practice clipping on the ground and do a mock lead – lead a route with a top rope as backup. If your local gym offers a lead course, sign up. It’s a good opportunity to get expert instruction and feedback on your technique. If a lead course is not an option, perform the following practice exercises under the guidance of a more experienced climber – that friend who started two months before you doesn’t count.
Practising with monkey tails
A monkey-tail is a short length of rope you tie to your harness as you would if you were going to lead. With this setup, you can practice making repeated clips without having to unclip the rope from the quickdraw every time. Practice first with one hand (same side clipping and opposite side clipping) and then change hands. Most gyms have bolts or quickdraws set up at ground level somewhere specifically for this purpose.
Top-roped mock lead
The last practice exercise before your first lead should be a mock lead. In this exercise, you tie into two ropes: one lead and one top rope, each with its own belayer. The top rope is there to allow you to practice your clipping technique (remember the difference between the 1st, 2nd & 3rd, and 4th clips) without worrying about the consequences of a lead fall. This exercise is used in the lead courses offered by many gyms, and in most cases, new lead belayers are backed up using the same double-belay technique.
Leading your first route
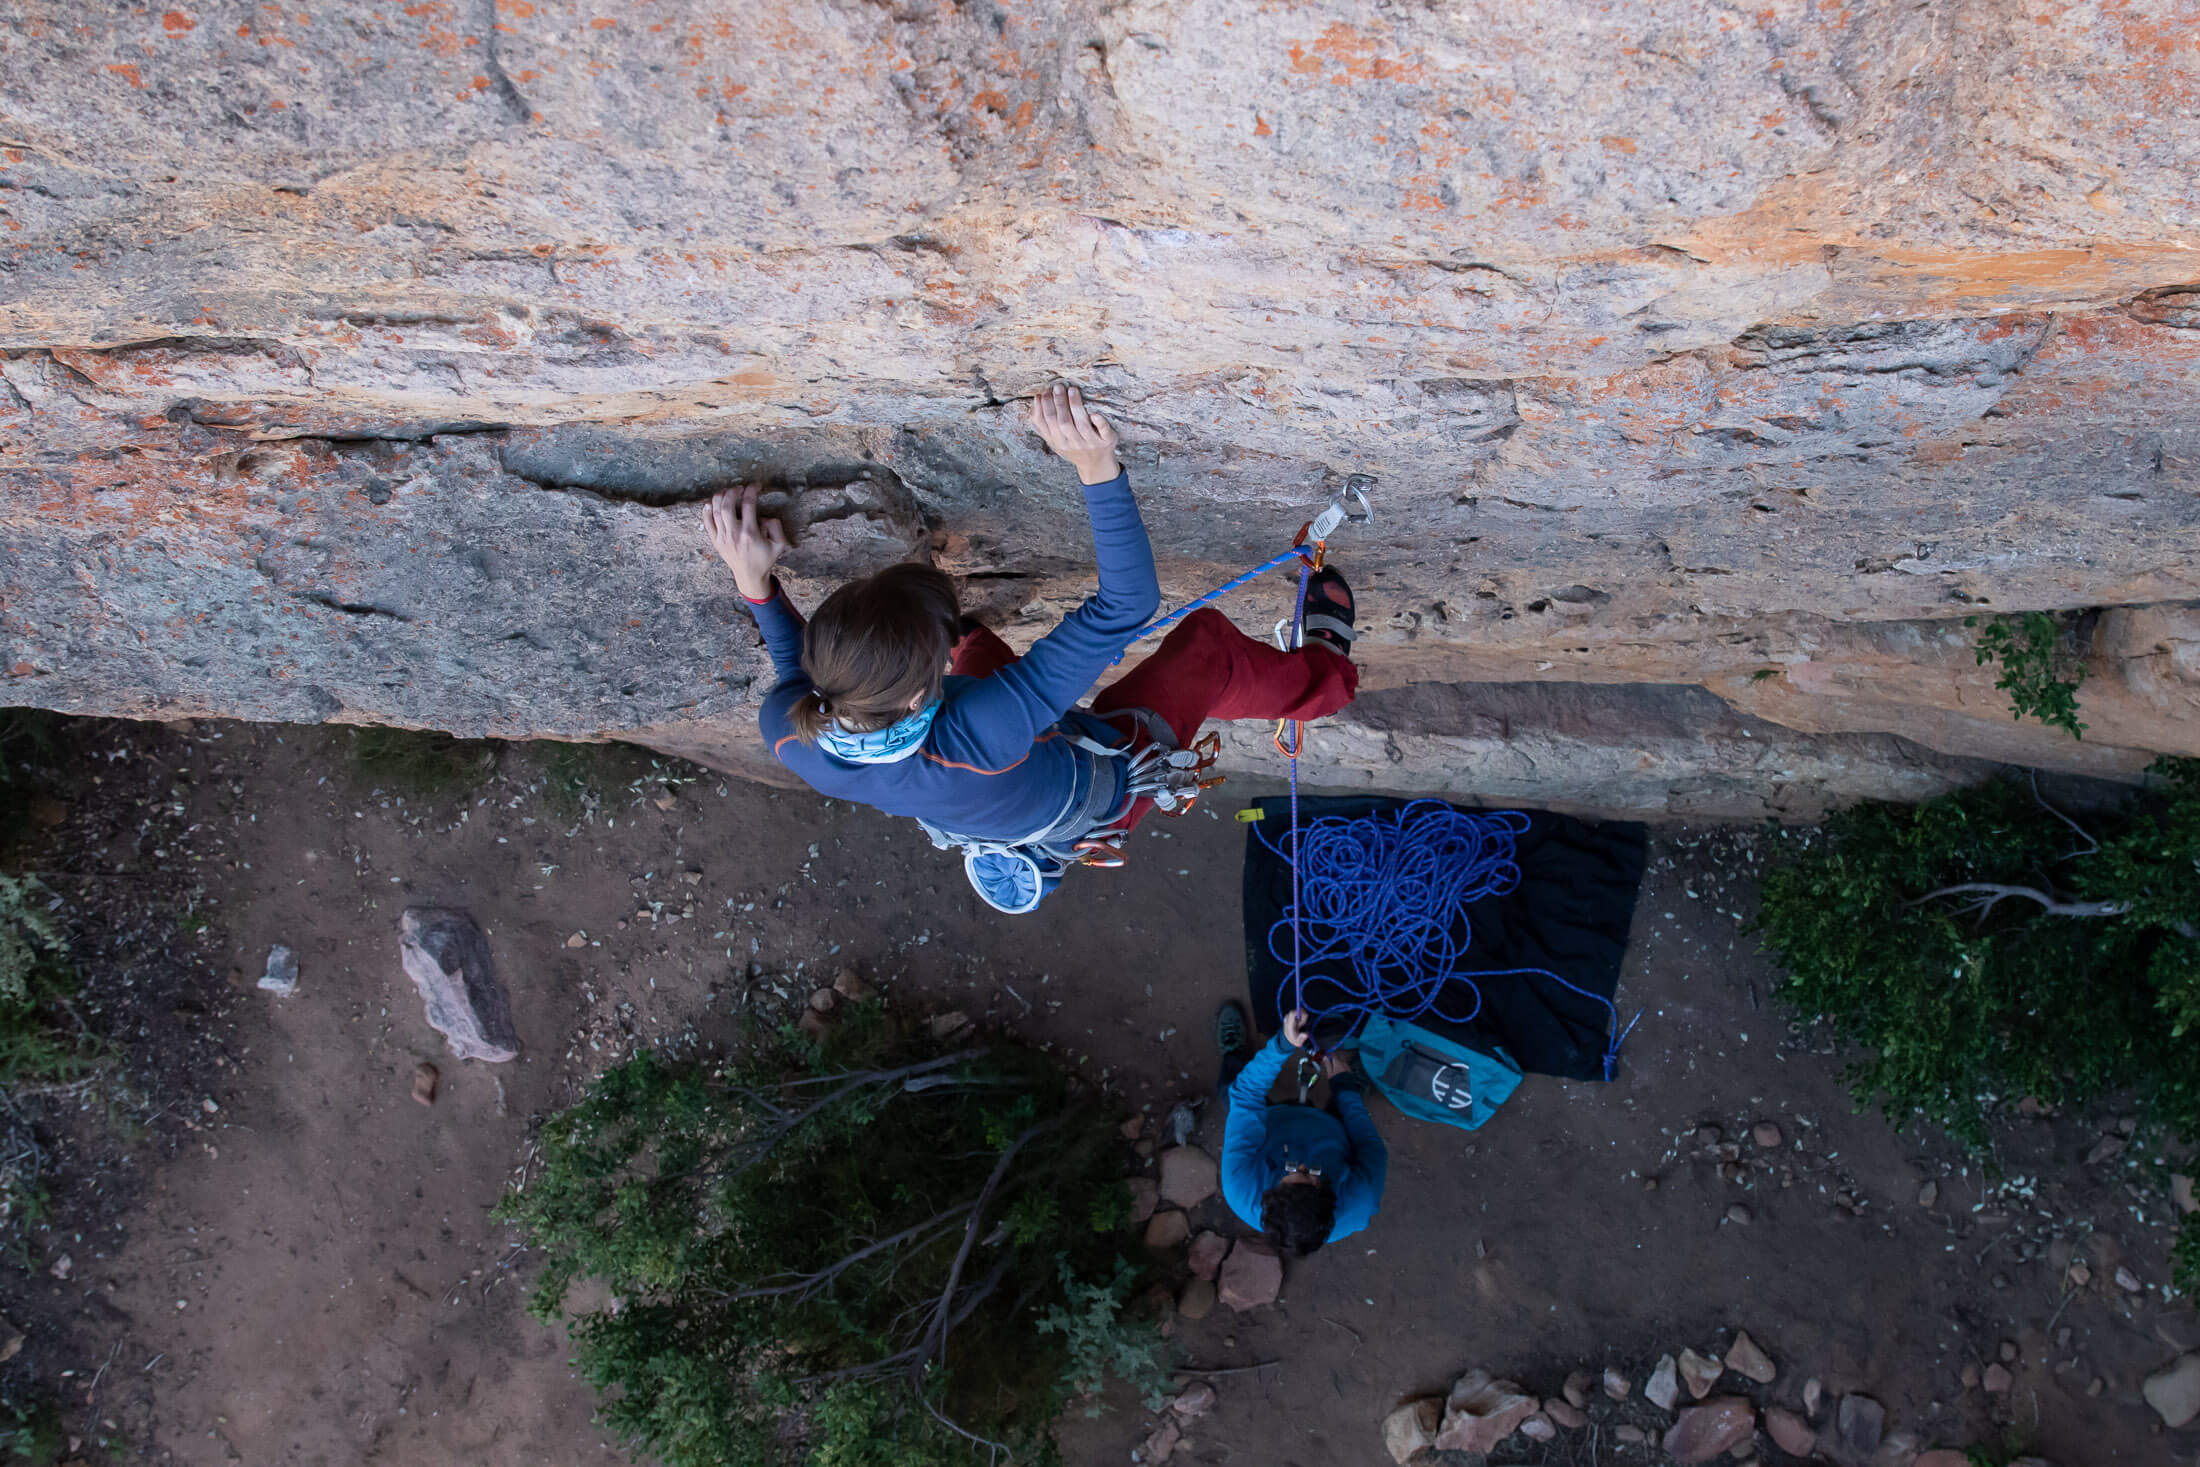
There’s a common perception among new climbers that they have to learn how to climb in the gym and then only venture out onto rock once they have honed their skills. Not so. You can lead your first route in the gym or on rock. What matters is that you do it under the guidance of a more experienced (and safety-conscious) climber and that you start with a safely bolted route of the appropriate grade.
Start easy
For your first few climbs, choose routes a couple of grades below your top-rope limit. Or, even better, choose a climb that you have already top-roped and find easy. The aim of your first few leads is to hone your clipping technique. Such a focus is not possible when you also have to contend with challenging moves and the fear of falling off.
Taking your first fall
Make your first few practice falls from at least 30 feet up. That way there will be enough rope in the system to ensure a softish catch. Even if you start by falling from just above the last bolt, there should be enough slack to ensure you fall at least 6 feet. A shorter fall will bring you into the wall harder than it needs to be. After your first fall, gradually increase the height above the last bolt. If your belayer is on his A-game, longer falls will feel even softer than those where you have only a little rope out.
Get out there
You now have everything you need to know to lead your first climb. Get out there and have fun. But also don’t stop reading here. On this website you’ll find many more in-depth gear guides on everything from redpoint tactics to rappelling as well as many gear guides. You can find these under the different sections in the categories menu, or, better yet, sign up for my newsletter to get all the latest from Trail & Crag delivered straight to your inbox.
