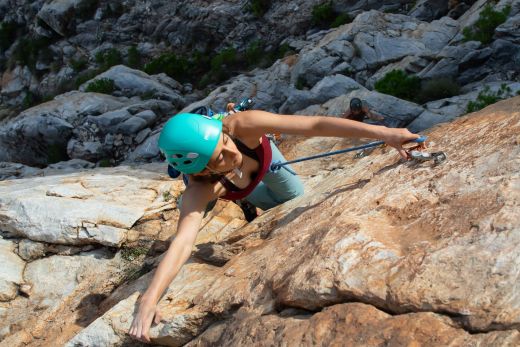
So you’ve got the hang of lead climbing and feel that you’re ready to take things up a notch. The longer routes higher up the valley beckon, and the logical next is to climb your first multi-pitch route. You’re aware that to venture into the realm of high adventure, you will need to learn new techniques and acquire new skills. And that is exactly what this guide is for – to give you everything you need to know about the gear, techniques, and risk management strategies used in multi-pitch climbing. Just also know that even an article as comprehensive as this one can’t cover everything. And that’s why there are separate articles covering topics like how to climb multi-pitch routes more efficiently, how to avoid an an epic, and how to climb in a party of three. I strongly recommend reading these afterwards. Where relevant, I have also linked to articles on related skills like self rescue and rappelling. Read them all, and you learn everything you need to know to take on longer and more committing multi-pitch routes.
- Definitions
- Gear
- Creating a belay anchor
- Securing yourself to the anchor
- Protecting the belay anchor
- Belaying the follower
- Changing over
- Belaying the leader
- Following
- Partners & communication
Definitions
In multi-pitch climbing you might come across some words that you might not have heard before if your climbing experience has been limited to cragging.
Stance
A stance is a belay station that separates one pitch from the next. The best stances are ledges that you can comfortably stand on. Others will put you in a more cramped position or require you to hang in your harness. In terms of anchors, many are equipped with bolts, but there are also those that require you to build an anchor with trad gear.
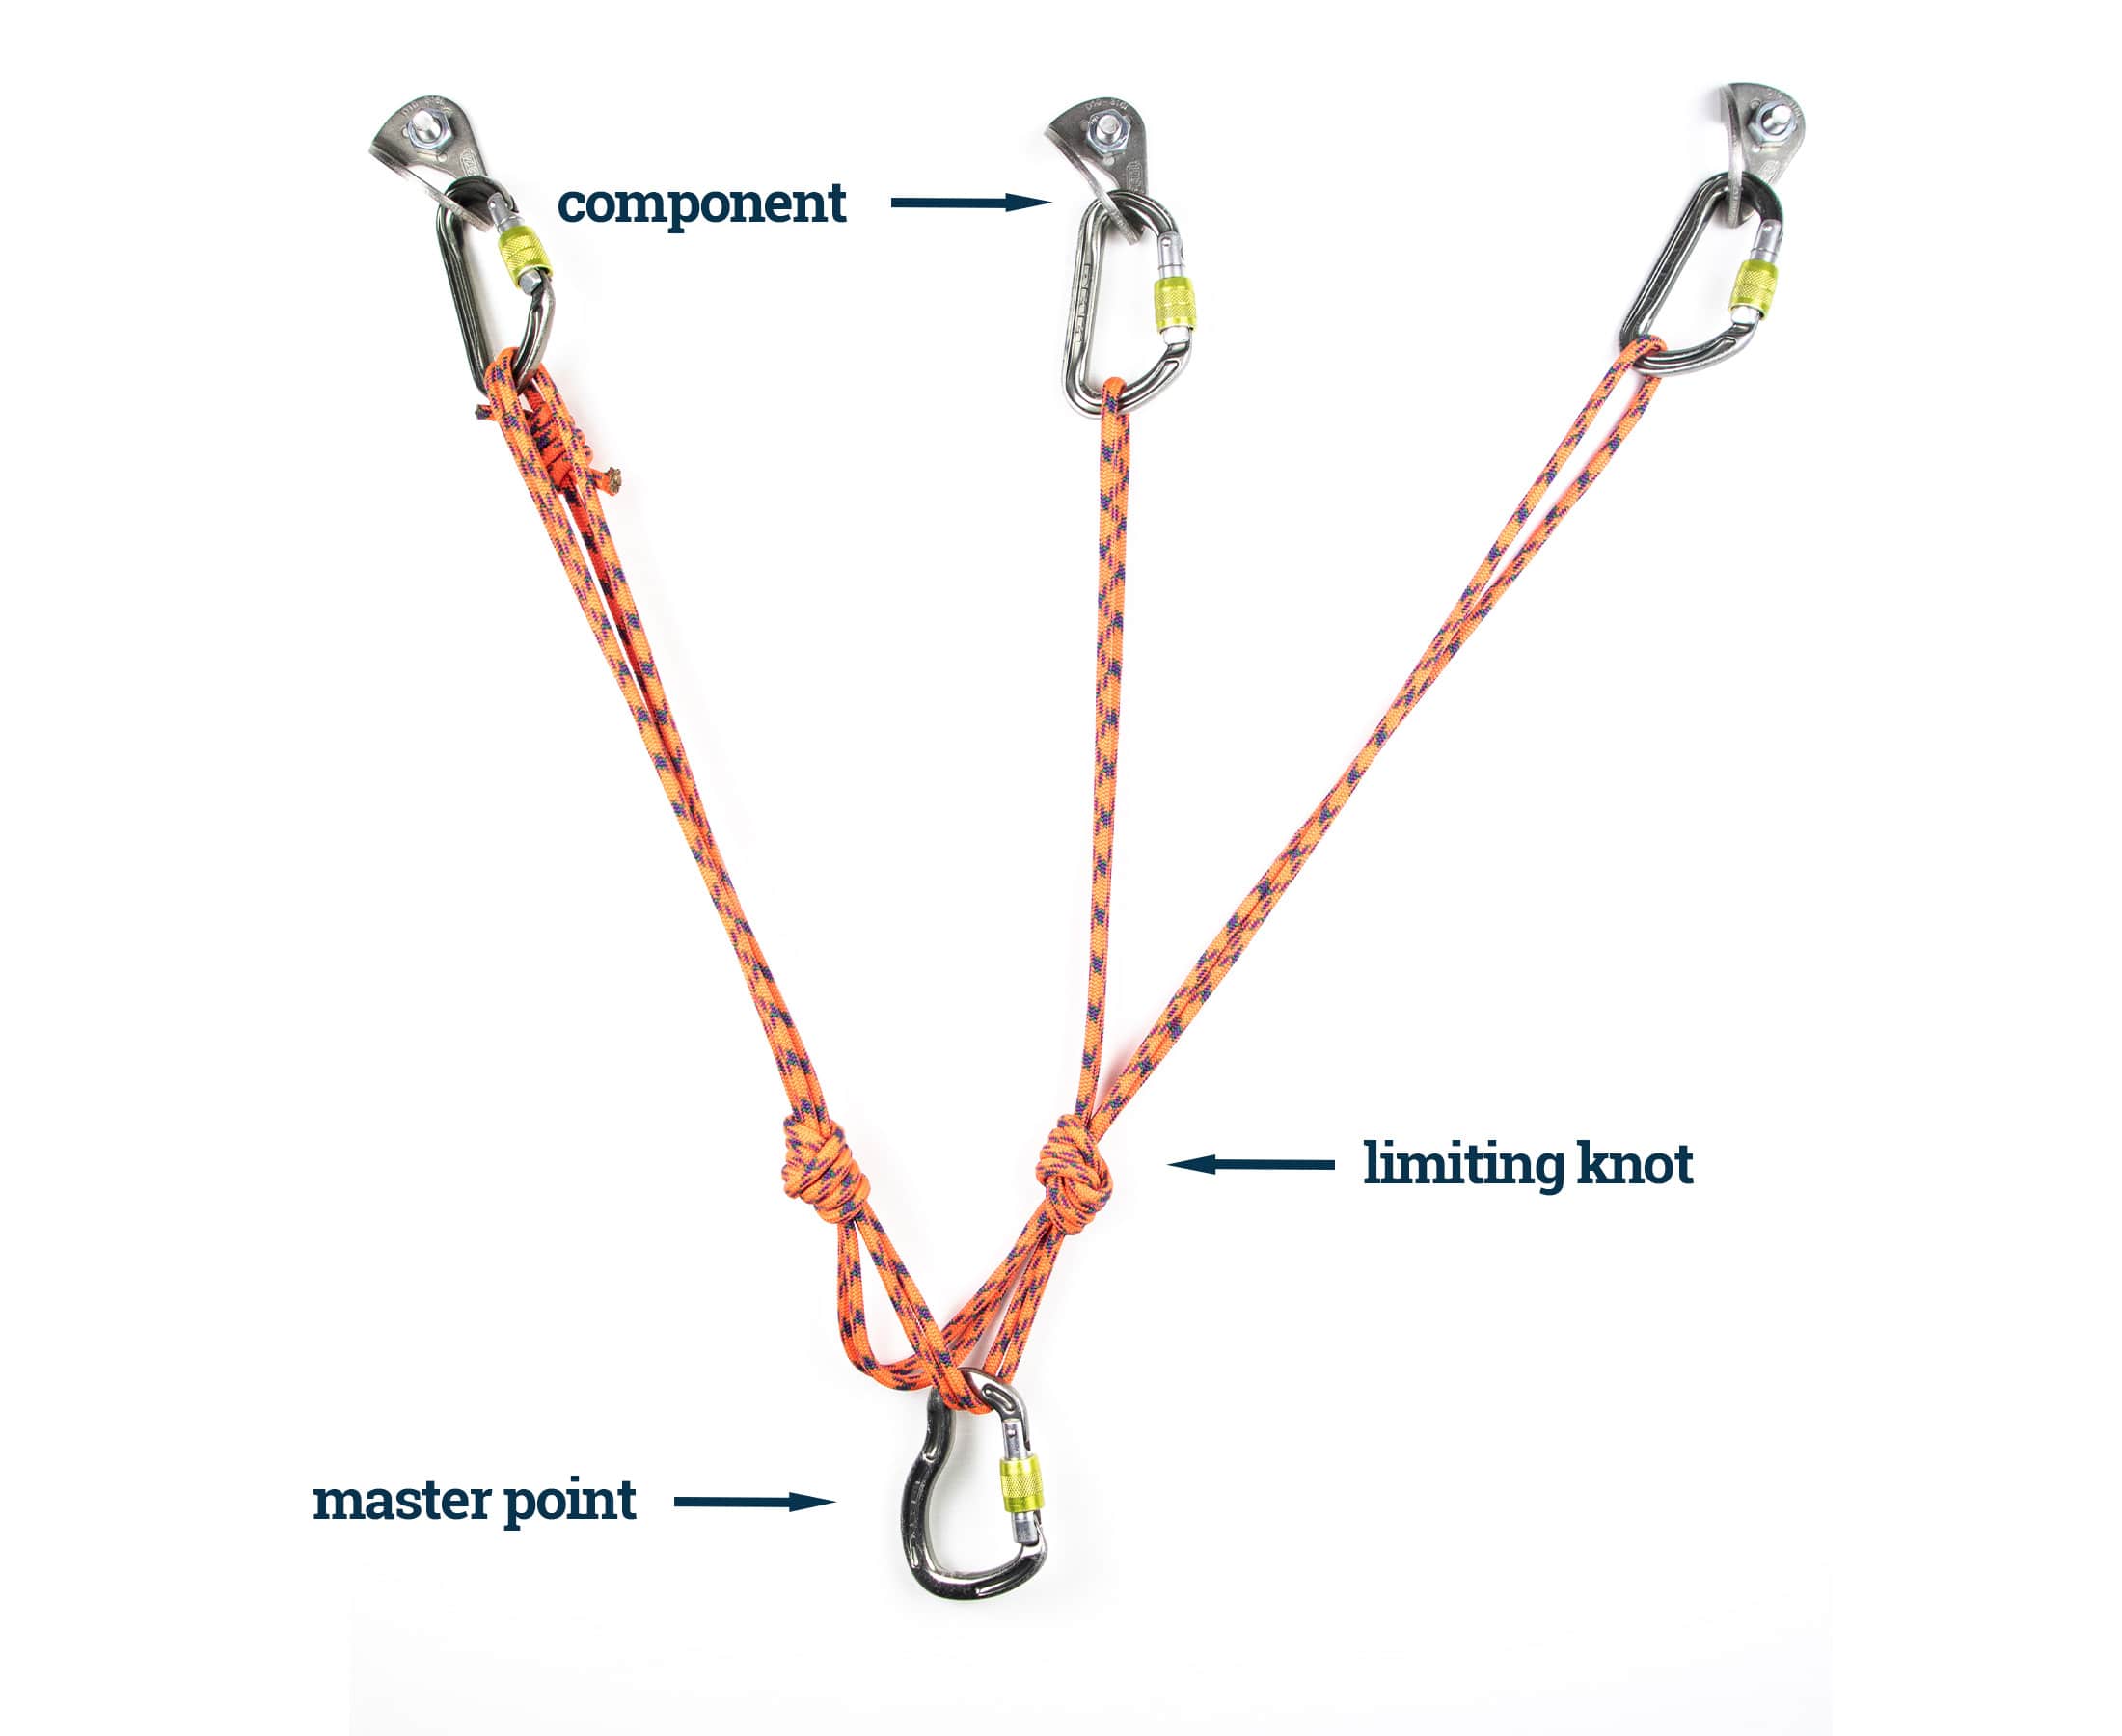
Master point
The master point is the part of the anchor where all strands come together. It is usually equipped with a large screwgate carabiner, and in most situations, it will be the point that the belay is attached to. Climbers also secure themselves to the master point when belaying or changing over. Some anchor configurations, like the quad, have two master points.
Component
In anchor building, a component could be a carabiner, sling, or piece of protection, but in this article I will use it to refer to the primary anchors that make up an anchor. These could be bolts, cams, nuts or natural features like boulders or trees that are secured with a sling. When I use the word ‘anchor’ by itself I am referring to the entire anchor system.
Follower
The follower is the team member who climbs a pitch after the leader has led it. And it’s for this reason that the follower is also referred to as the ‘second’. Because the belay is above her when she climbs, the follower is essentially on top rope unless she has to traverse, in which case she can take a fall much the leader would. As she progresses up a pitch, the follower has to remove placed gear and take it with her.
Swing leads
Swinging leads means alternating leads. After following on one pitch, a climber will lead the next pitch. Because she already has most of the gear on her and doesn’t need to secure herself directly to the anchor, changeovers can be quicker than if a team blocked leads. This is the most common way for a team to climb a multi-pitch route.
Block leads
When a team blocks leads, one climber leads pitch after pitch while the other climber follows pitch after pitch. In a team with mixed abilities, the stronger climber can do most or all of the leading, in which case the whole route will be climbed with blocked leads. Changeovers aren’t quite as quick and easy as when a team swings leads, but this routine does give both climbers a proper rest between pitches.
Gear
Multi-pitch climbing involves some gear you might not already own. The following list contains everything you need plus a few things that could be very useful.
One rope or two
In some situations, a pair of half ropes offer certain advantages over a single rope: less rope drag on zig-zagging pitches and aretes, lower impact forces on marginal protection, and more options if a rope gets damaged or you find yourself in a pickle. But double ropes also have their downsides. Two half ropes weigh more than a single rope, and they can get tangled more easily. Thinner ropes are just more prone to tangling, and with two of them, you double your chances of a spaghetti fest.
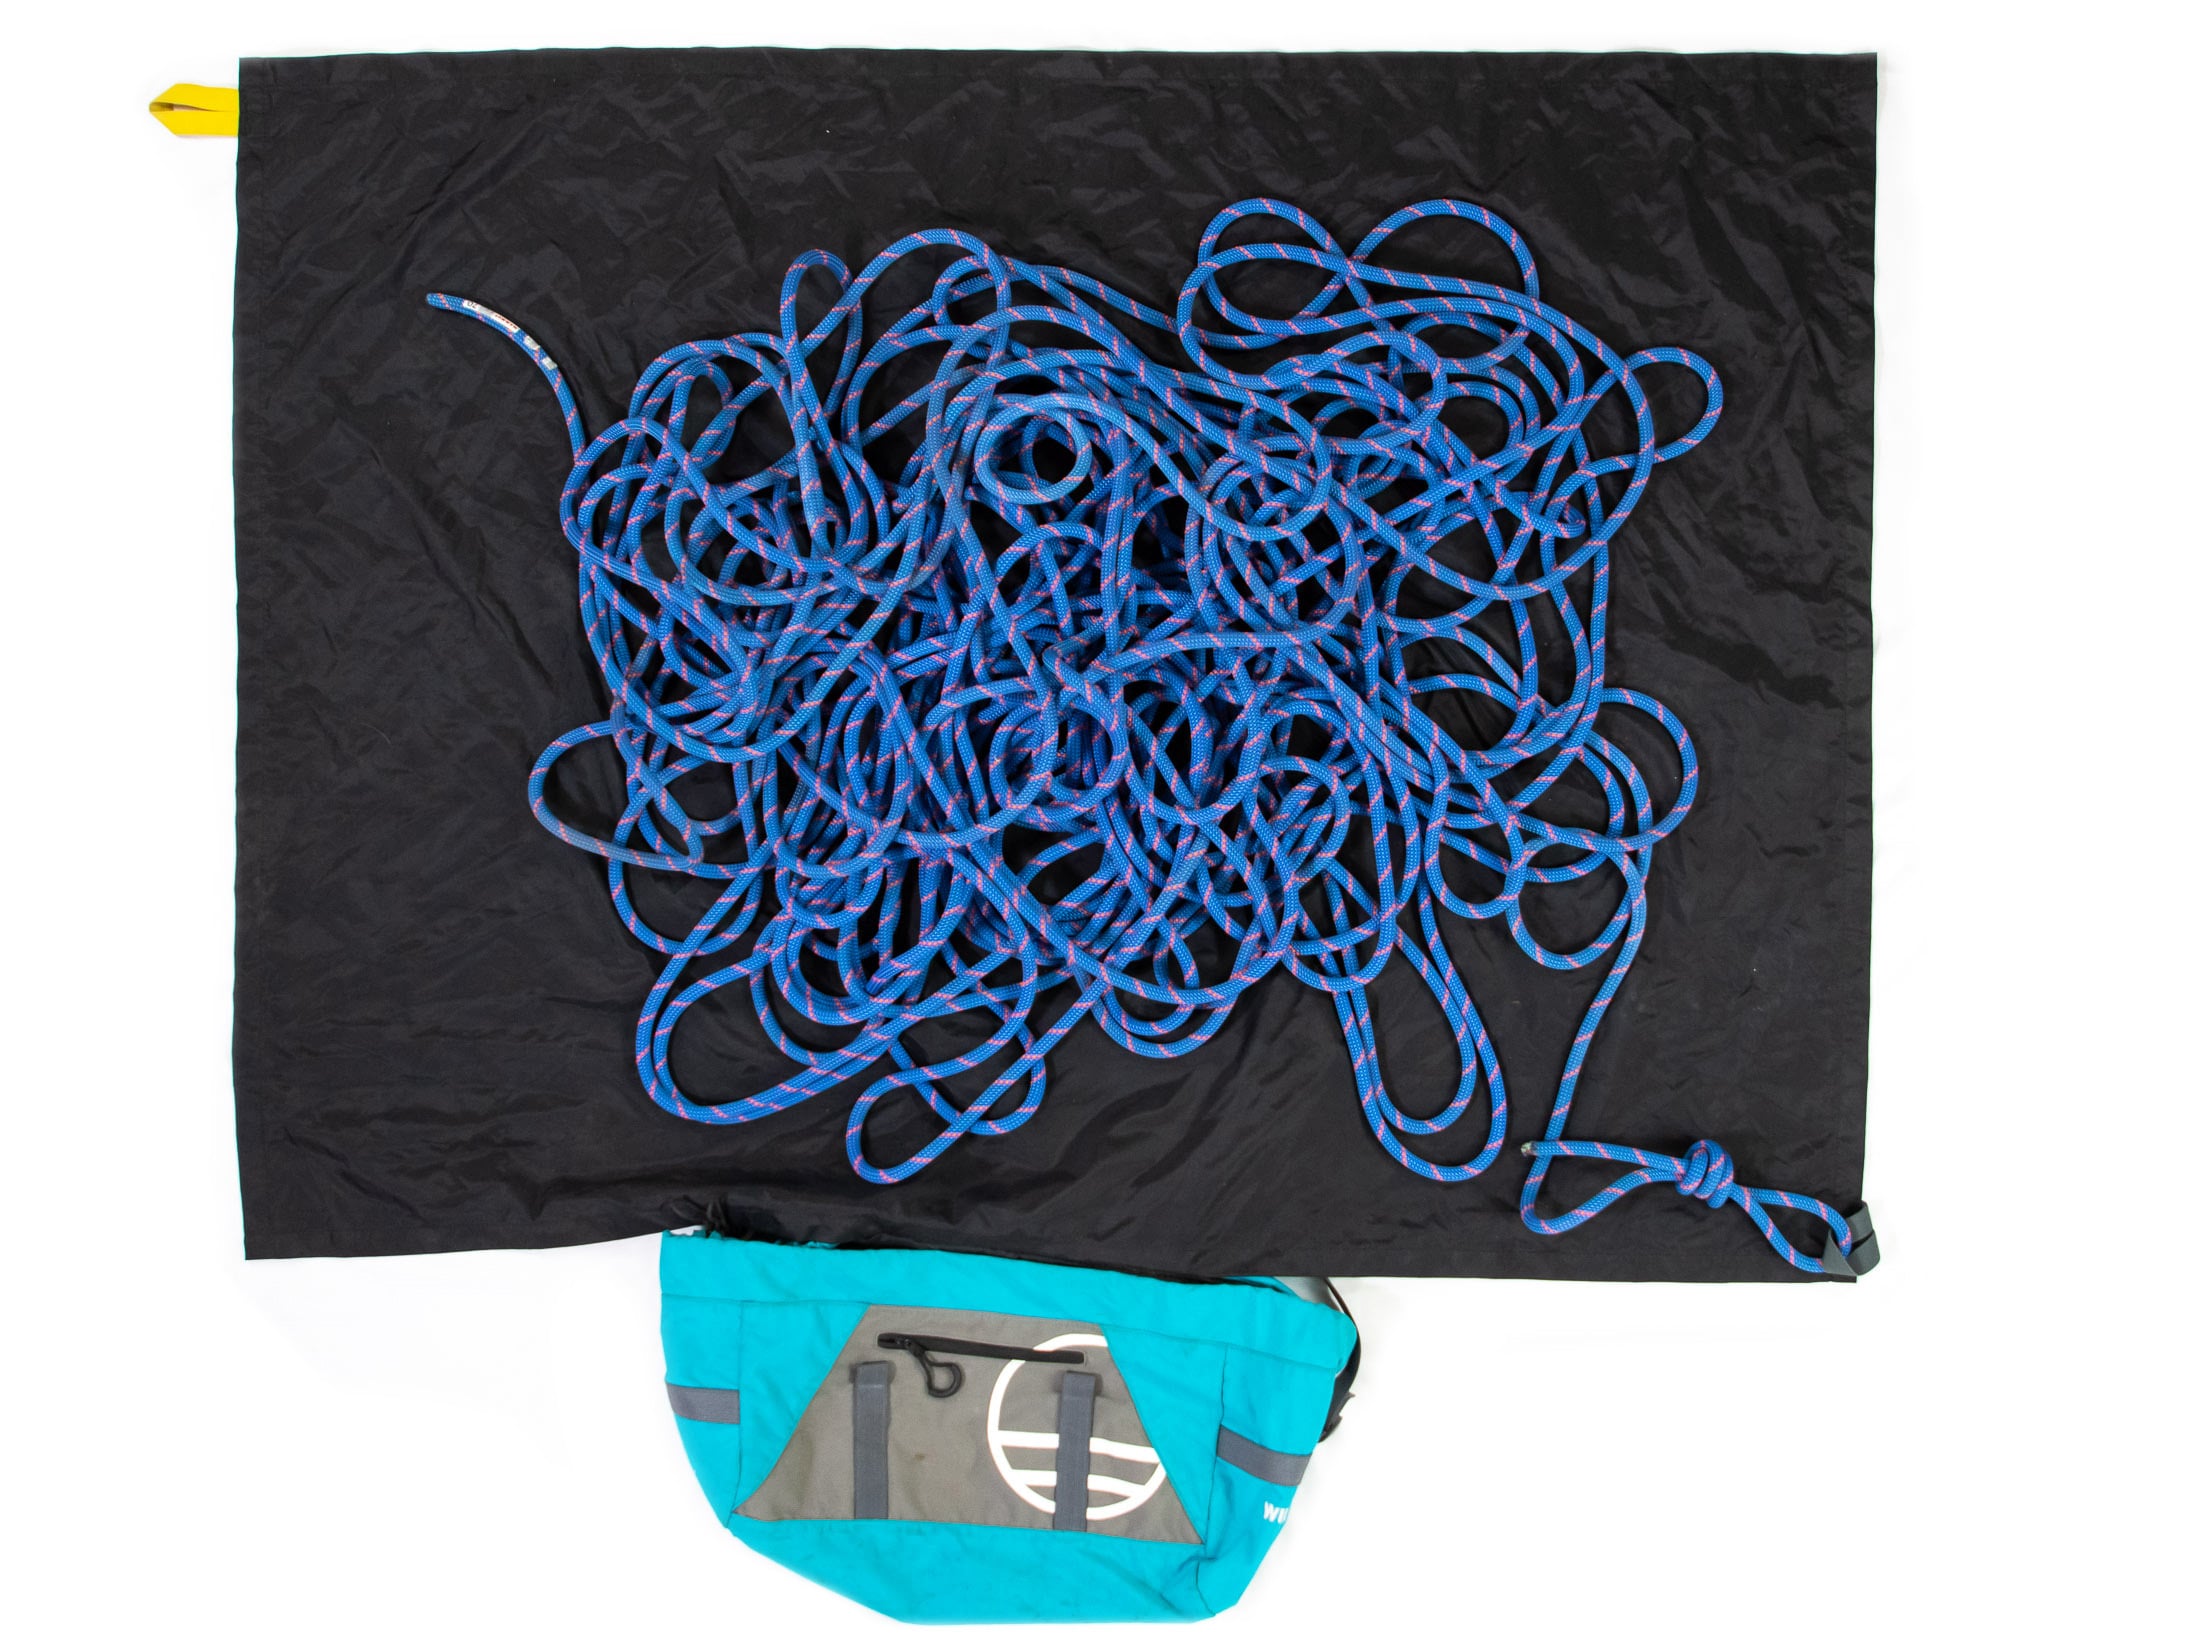
Given the potential of double ropes to complicate things, most climbers use two ropes only when they are necessary. Unless you’re from the UK, where double ropes are the standard for trad climbing, you’ll probably also opt for a single rope when you first start multi-pitch climbing. If you don’t know the difference between a half rope and a single rope, I suggest you see my guide to climbing ropes after you read this.
Quickdraws and protection
On sport routes, carry enough quickdraws for the longest pitch and then a few extra in case the guidebook missed a bolt or two. Ideally, at least two of these would be alpine draws, which you can extend when the extra length is needed – at roofs, aretes and traverses. Some meandering pitches require even longer slings. It’s also a good idea to carry a quickdraw equipped with two small screwgate carabiners. I’ll explain the uses of this in sections still to come. For advice on how to adapt your trad rack for different routes, see my article on how to build a trad rack.
Cordelette or pre-tied quad
In this article, I demonstrate how to use the quad, a rigging technique which offers several advantages over other rigging methods (more about those in a minute). Like most other techniques, the quad starts with a loop of cord. On routes that have two-bolt belay anchors, I usually use a cordelette made from 4.5 m (15 ft) of 6 mm Sterling PowerCord. If, on the other hand, I know I will have to build trad anchors, I will use a cordelette made from 6 m (20 ft) of 6mm PowerCord. It’s also possible to use 7 mm accessory cord, but I prefer tech cord for its low bulk and durability.
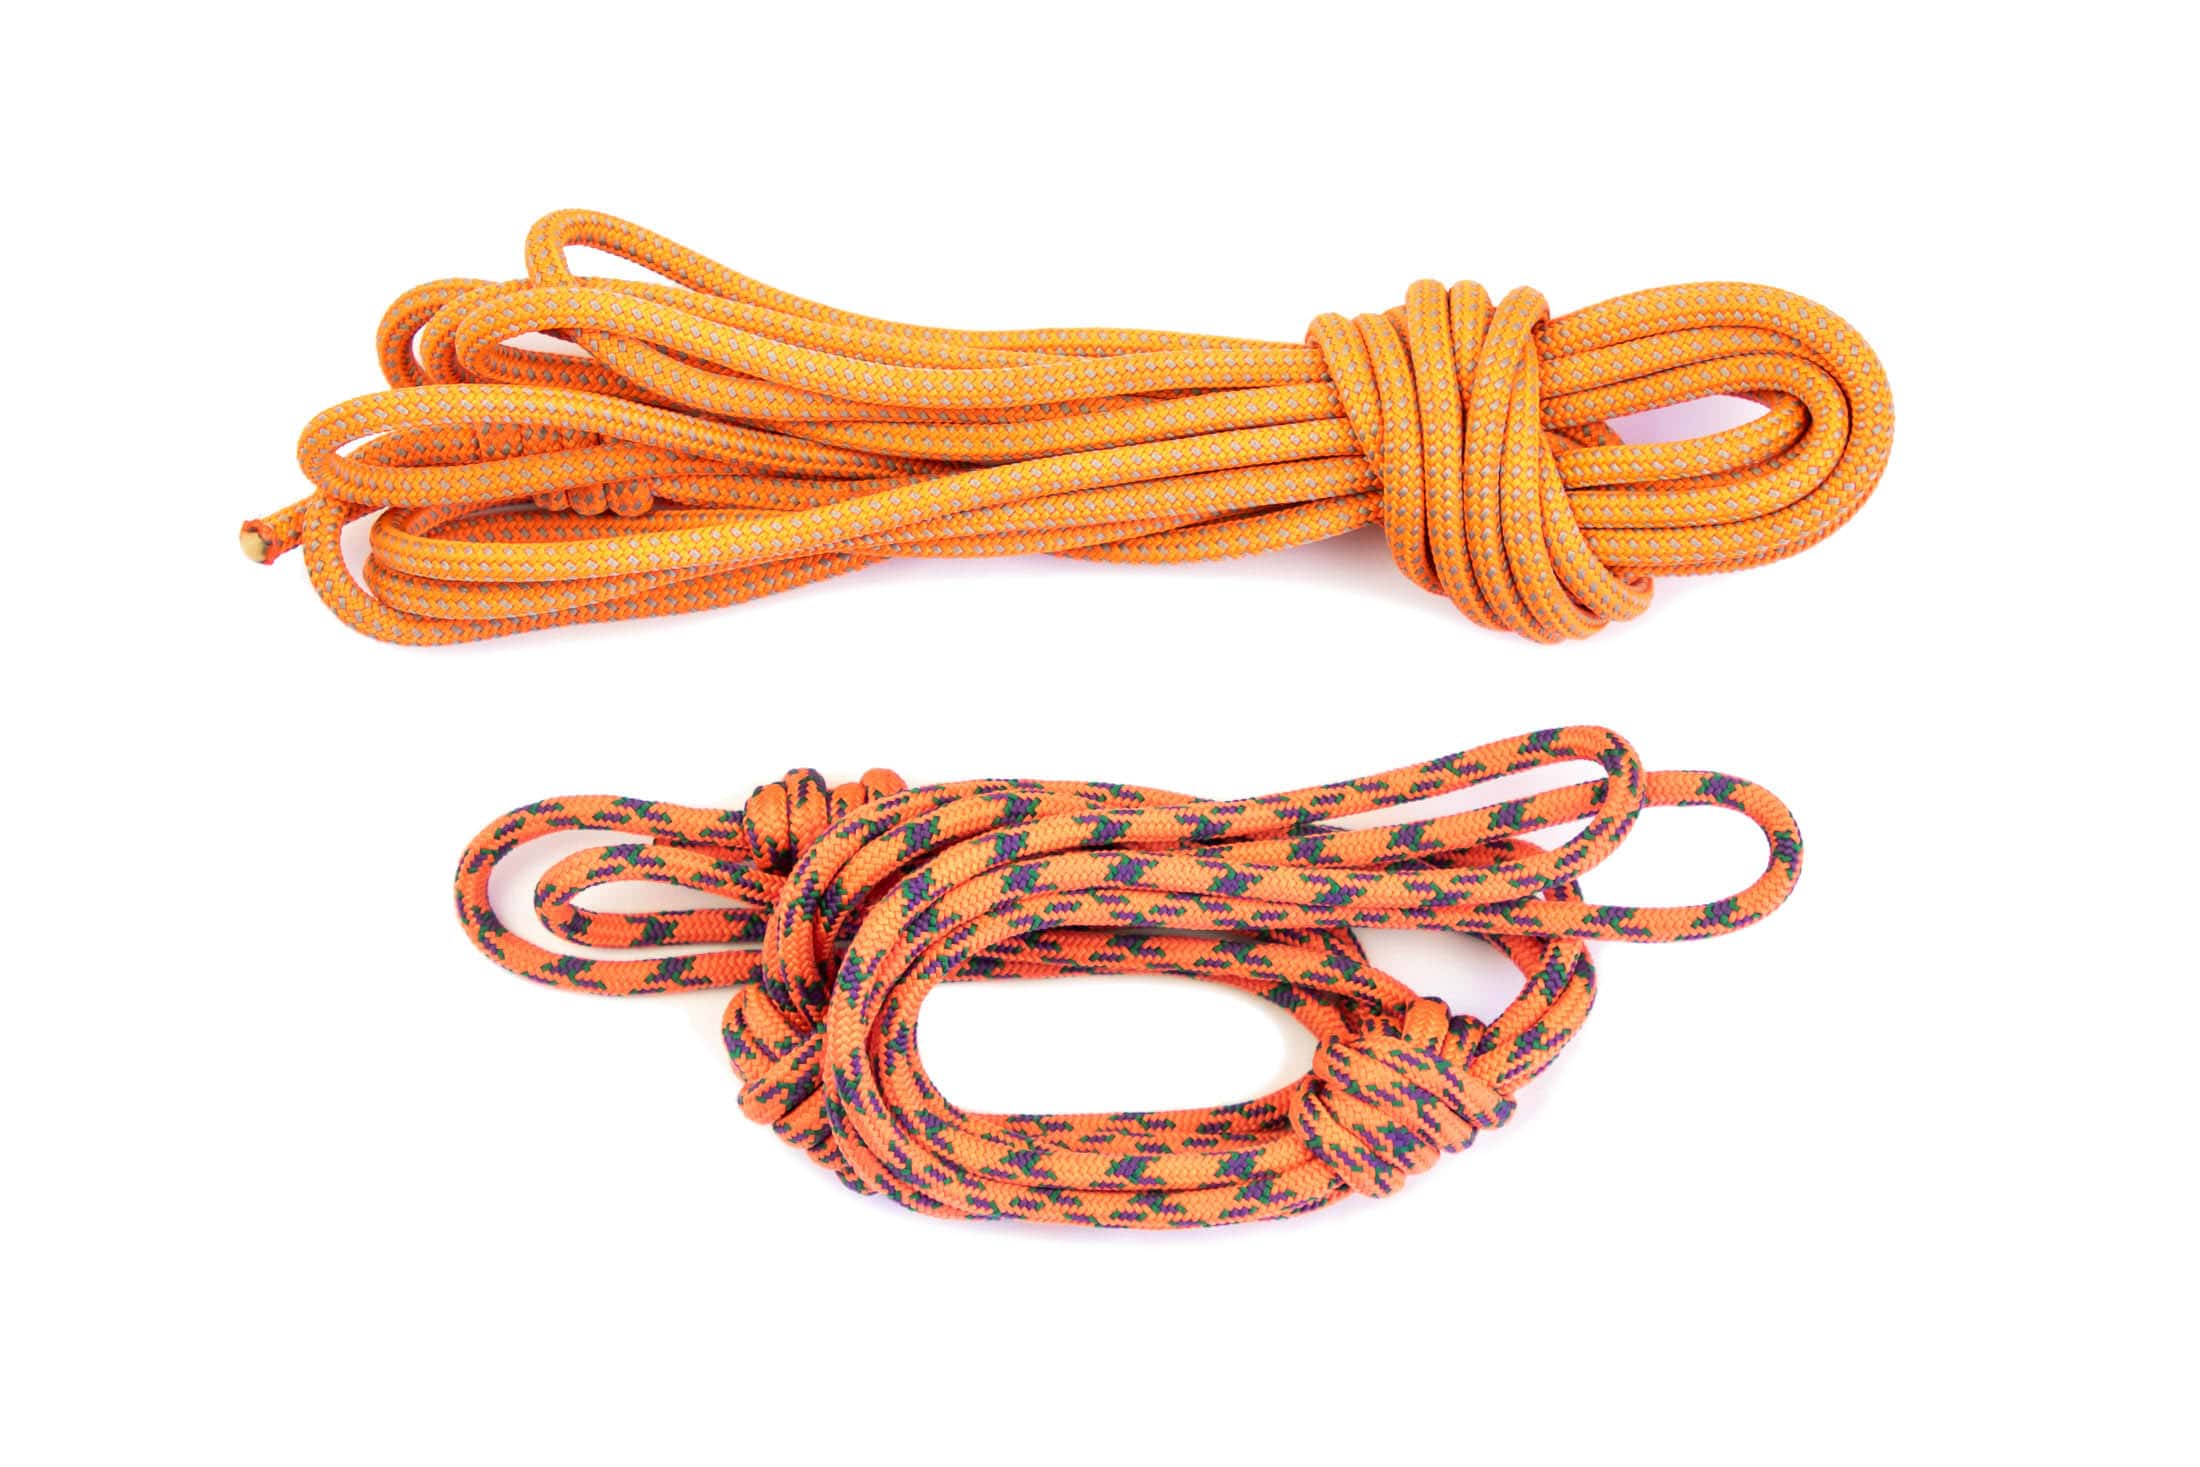
To create your cordelette, simply cut a piece of cord to length, melt the ends to prevent fraying, and then tie these together with a double fisherman’s knot, leaving 5 cm (2 inch) of tail sticking out either side of the knot. I will usually leave a longer cordelette (6 m) just like this – as an open loop. But I prefer to pre-tie a shorter (4.5 m) cordelette into a quad when I know that I’m going to use it for two-bolt anchors (instructions to follow). This way it’s ready to go as soon as you get to a stance.
To pre-tie your quad, fold the cordelette over into a four-stranded double loop (keeping the fisherman’s knot close to one of the ends), and then you put two overhand knots into it – 10 centimeters (4 in) apart and equidistant from the middle. You now have two loops beyond each overhand knot and four strands between them – that’s your complete, pre-tied quad. This can’t be racked the same way as an open cordelette, but I explain how to rack both in the video below.
Locking carabiners
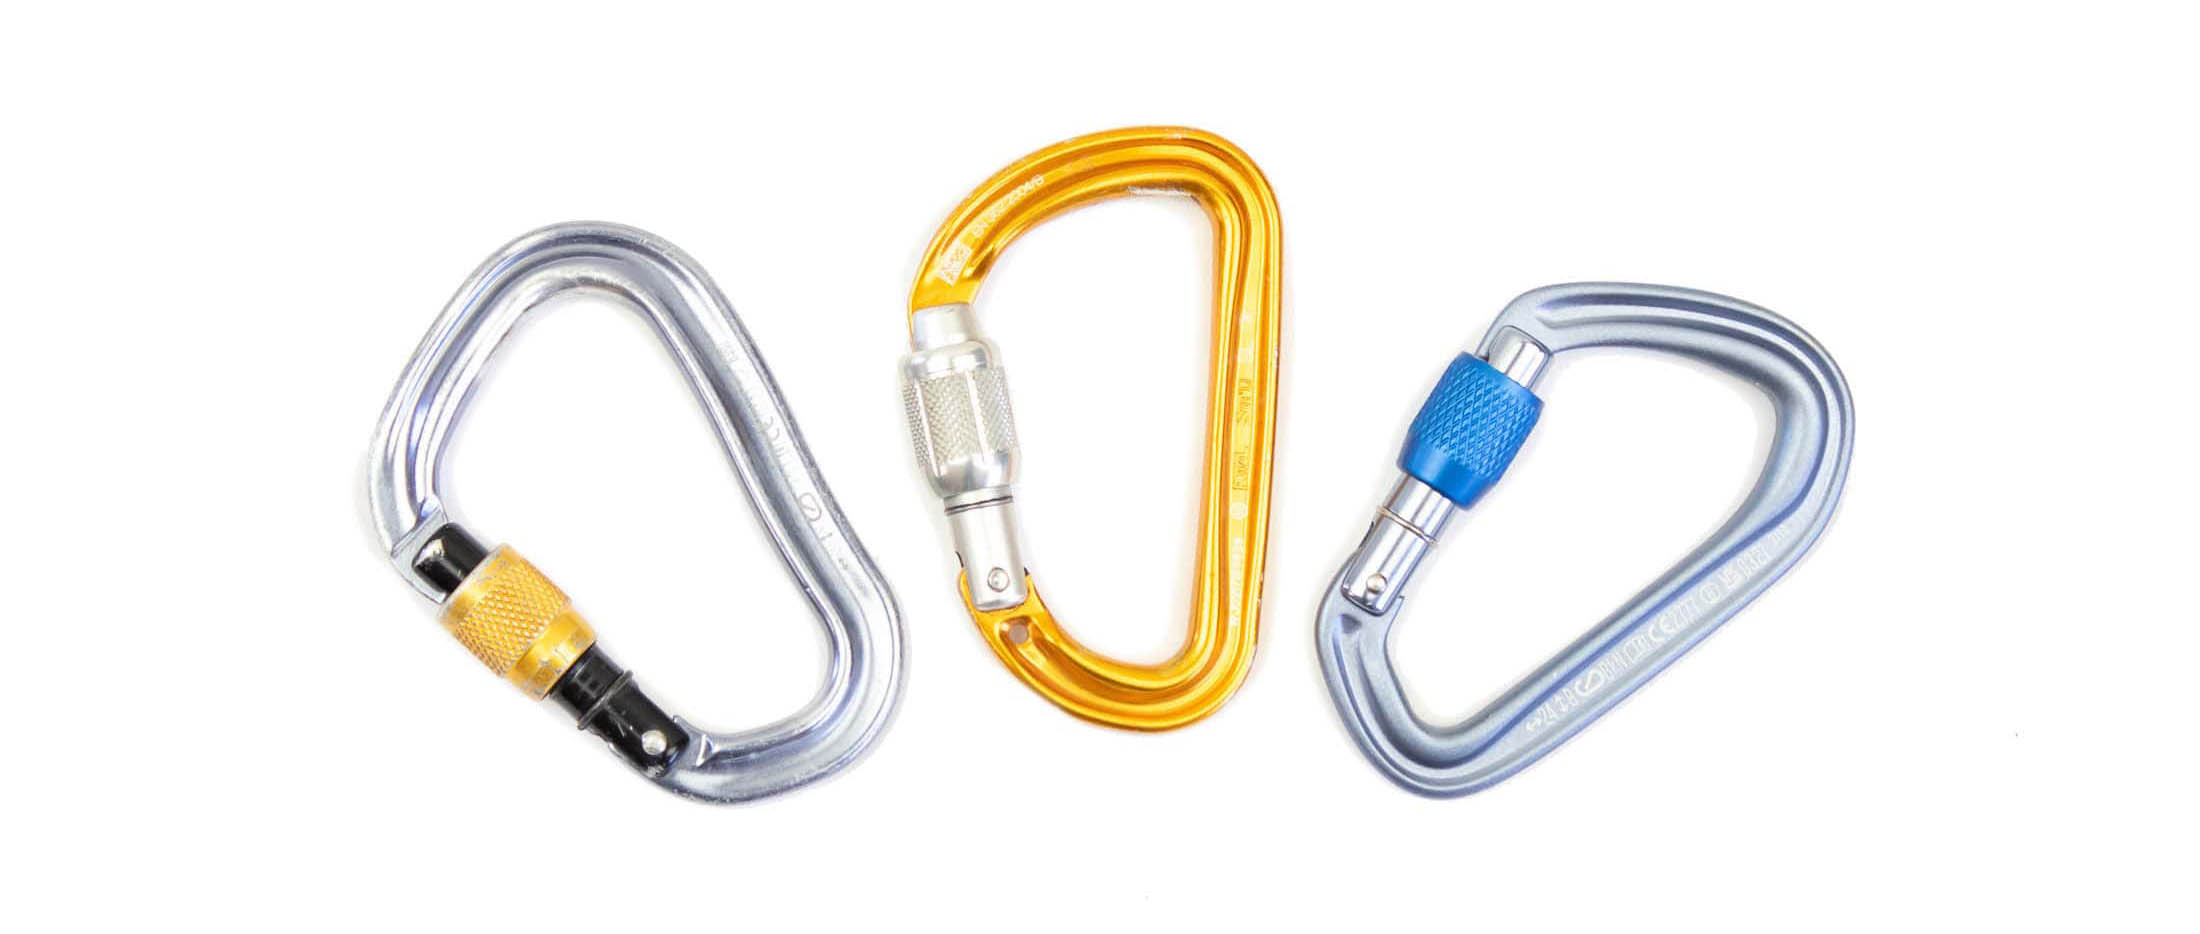
You’ll need one full-sized HMS carabiner</rock-climbing/guide-carabiners> for the master point and a few smaller screwgate carabiners for creating secure connections in various applications: attaching a guide-mode belay device to the anchor and securing a rappel brake-hand backup to your belay loop. Many climbers use locking carabiners for attaching the sling or cord to the bolts when creating a 2-bolt anchor, in which case you’d need three small locking carabiners – the third will be used for attaching the guide-mode device to the anchor.
Prusik loops
Prusik loops are useful for several purposes. A short loop can be used as a rappel backup; a long loop is needed for escaping the belay and for safely lowering a follower with a guide mode belay device; and both loops are needed to prusik up the rope as you would if you found yourself hanging in space. In terms of material, you will need about 3 meters of 5 mm cord for the long loop and 1 meter of 6 mm accessory cord for the short loop (Alternatively, get a pre-sewn 14” cord like the Sterling Hollowblock or Beal Jammy). Tie the ends together with a double fishermans knot, leaving a few centimeters of tail.
Belay device
Guide-mode belay devices are the most versatile type of device and are the best choice if you are going to rappel down the route afterwards. Like regular tubular devices, they have two channels and can be used for belaying with two ropes and for rappelling. But, unlike regular tubular devices, guide-mode belays have an additional attachment point that allows this type of device to be rigged in an auto-braking ‘guide’ mode when belaying the follower. Even if you plan to walk-off, it’s a good idea for both you and your partner to have a device you can rappel with in case you have to bail and rap down.
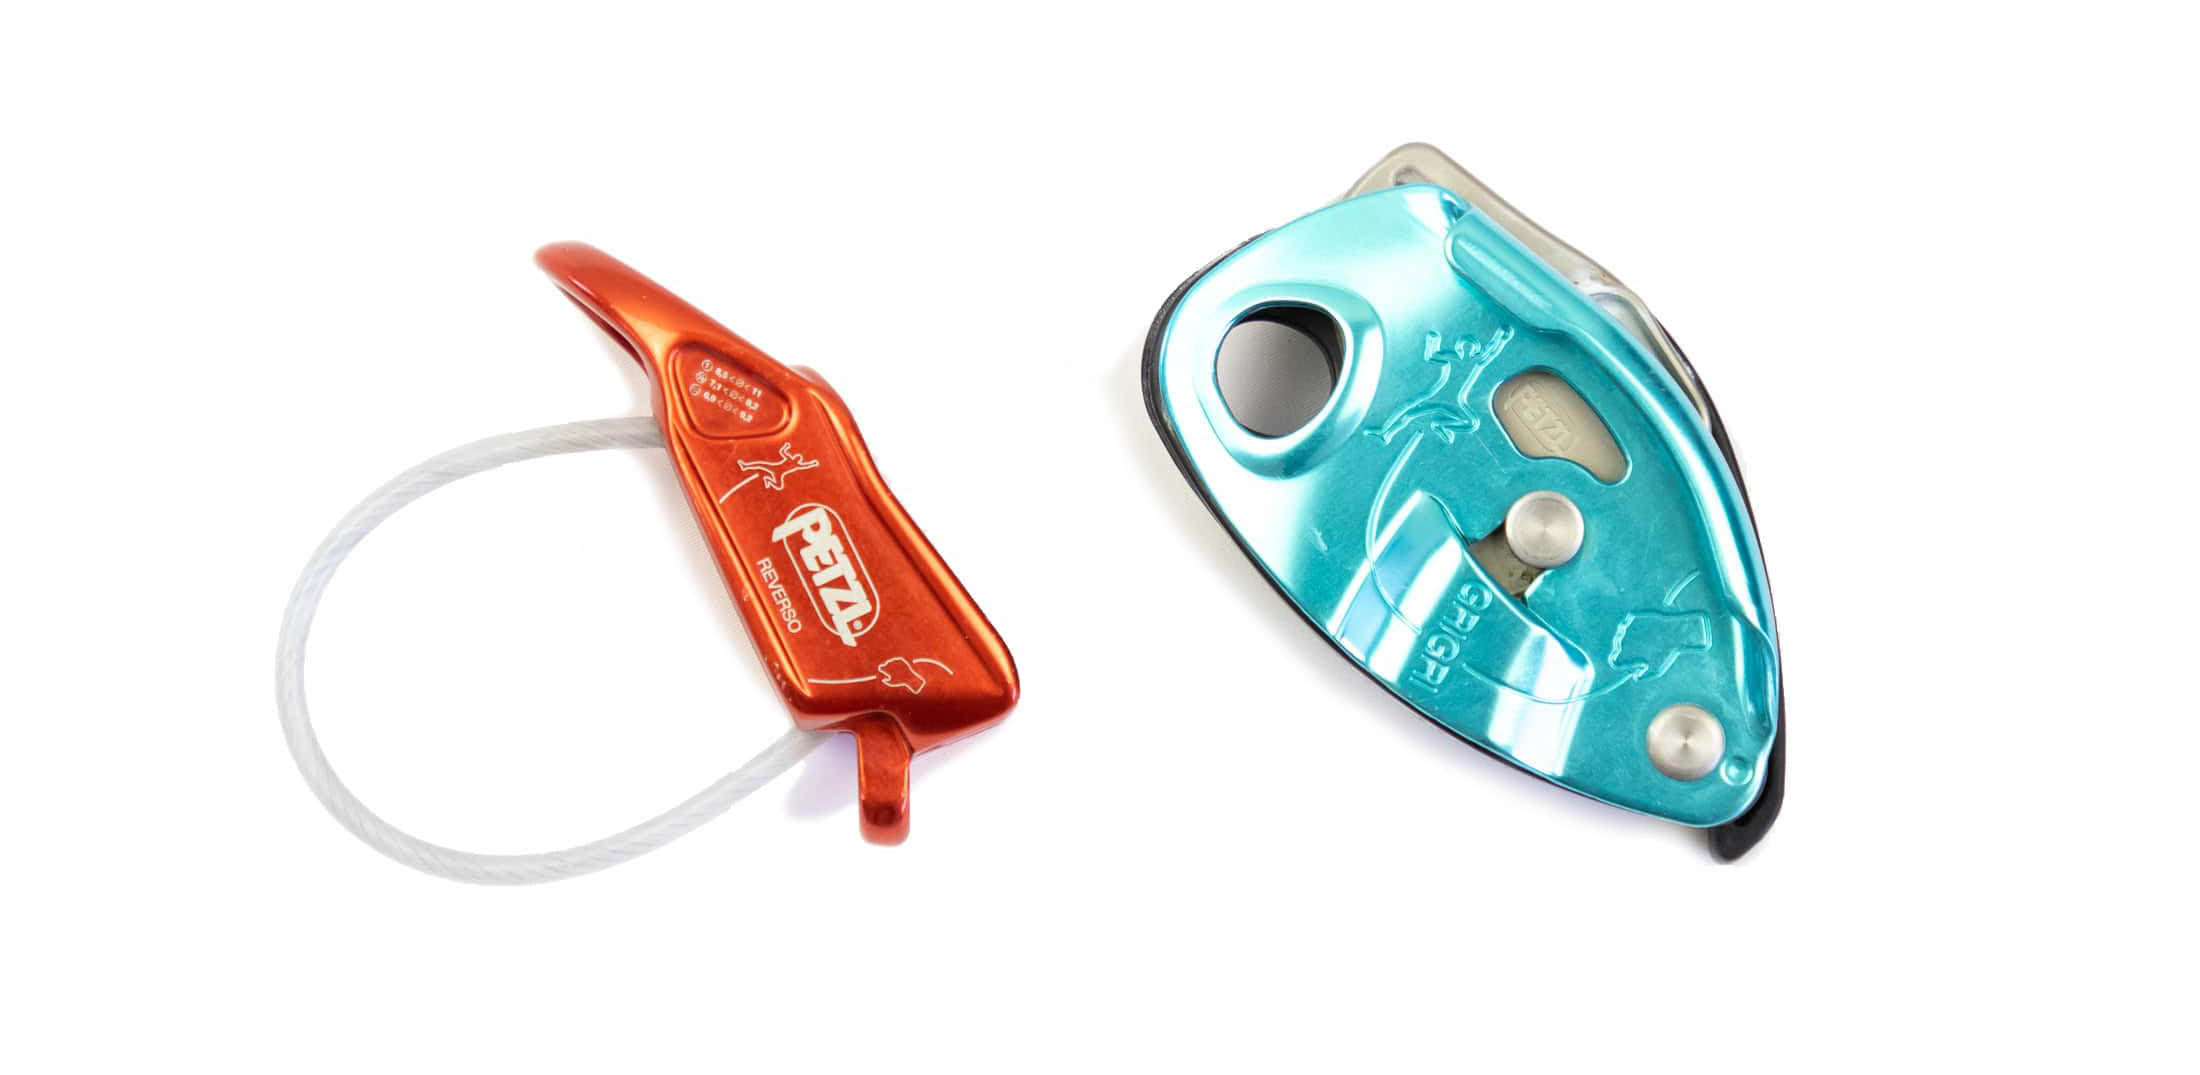
Teams that climb with a single rope might also want to carry a dedicated auto-braking device like a GriGri. If both partners already have a guide-mode device each, they need only one auto-braking device between the two of them since it will only be used for lead belaying. Some climbers carry a second belay device in case they drop their first device, but you can save yourself the weight by learning to belay with a munter hitch.
Harness
To be suitable for multi-pitch climbing, a harness has to meet two criteria: it needs to have gear loops big enough to carry all the gear you will need (more important on trad routes), and it needs to be comfortable enough to hang in. You will encounter a hanging stance at some point, and well-padded waist and leg loops will make extended belays a little easier. If you only have a super skinny sport harness, at least test it with a few proper hangs before you cast off into the void.
Leash or PAS
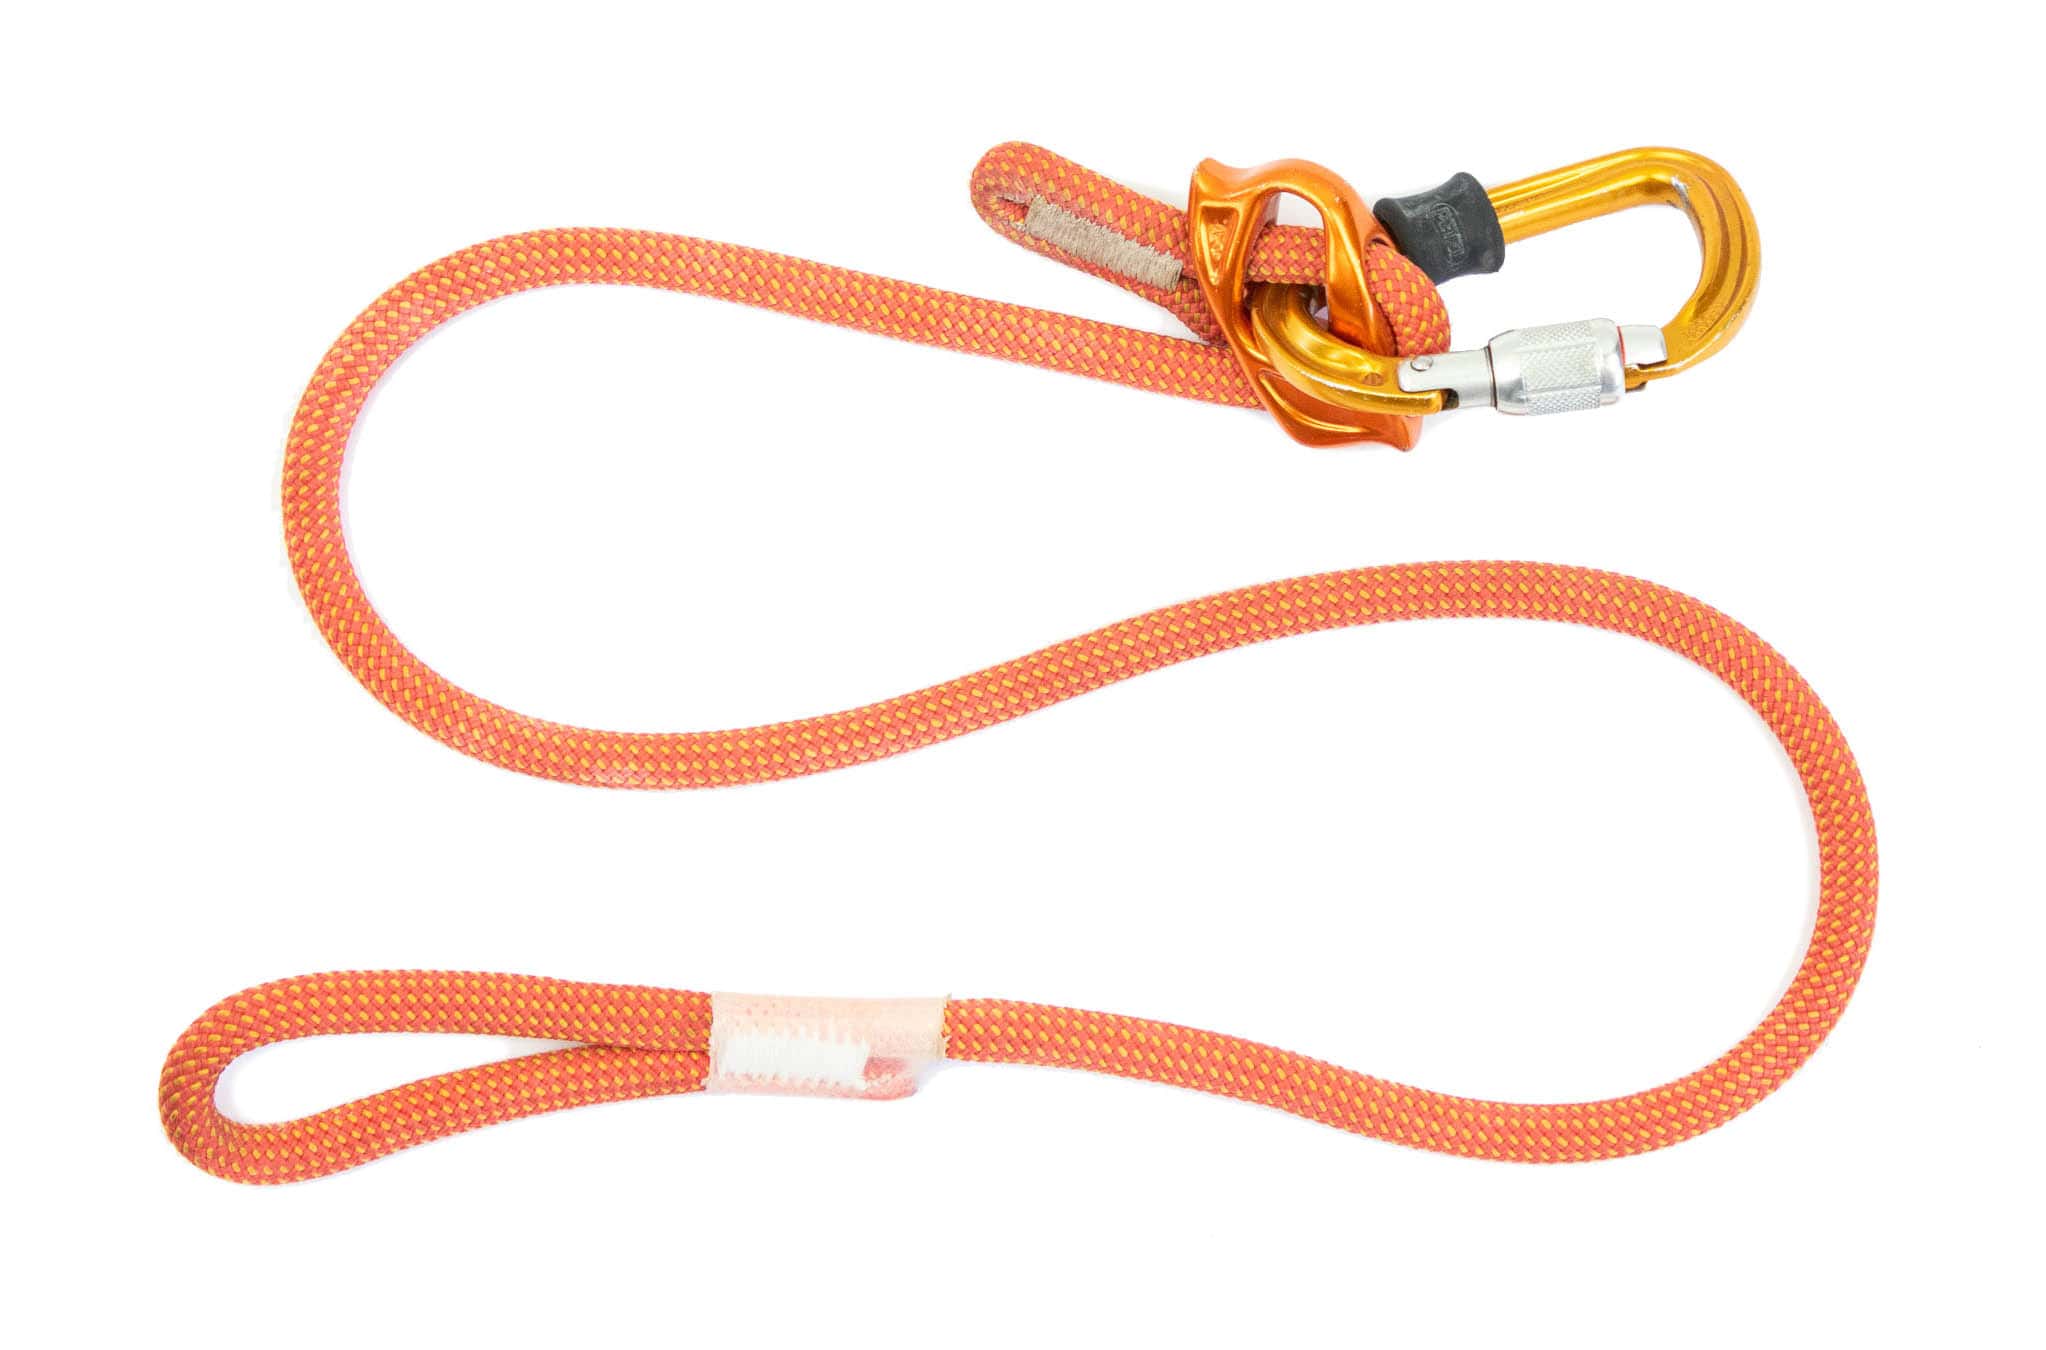
You’ll need a leash or personal anchor system to secure yourself to the anchors during multi-stage rappels, but you can also use your leash or PAS to secure yourself to the anchor when changing over at a belay. A leash can be as simple as a 60 cm sling with a locking carabiner attached to it, but then it should be made of nylon and not Dyneema, which has poor dynamic strength. Although bulkier, adjustable personal anchor systems like the Petzl Connect Adjust offer good dynamic strength and allow for quick and easy adjustment – very useful for putting yourself the right distance from the anchor and ensuring that there’s no slack.
Rock shoes
If you can wear your regular rock shoes for a 30-meter pitch without cringing, that’s all you need. Some climbers prefer to have a separate pair of comfy shoes for long, easy routes. In this case, the norm is to buy them a little bigger than normal, and many climbers prefer to go with lace-ups. If they are really that comfortable, you’ll be able to wear them for several pitches, which negates the downside to laces: having to lace them up. Laces can also be cinched up a little more tightly when you need a little more precision in your footwork. Otherwise, choose your shoes according to the terrain: high tops for cracks, flat shoes for miles of slab, or moderately aggressive shoes for techy face.
Approach shoes
Bigger and more adventurous multi-pitch routes can involve long and technical approaches. If up until now your average walk-in has been under 30 minutes and over easy terrain, you might have been using regular trail or running shoes. If this is the case, your next gear purchase might be a pair of approach shoes. The improved grip of approach shoes can make you more sure footed when it really matters – when scrambling unroped on steepish terrain. If this will be your first pair, you might want to read my article on approach shoes. If you don’t have time for another read, consider this one tip: lighter, more compact approach shoes will be easier to carry with you on a climb if the plan is to walk off.
Climbing pack
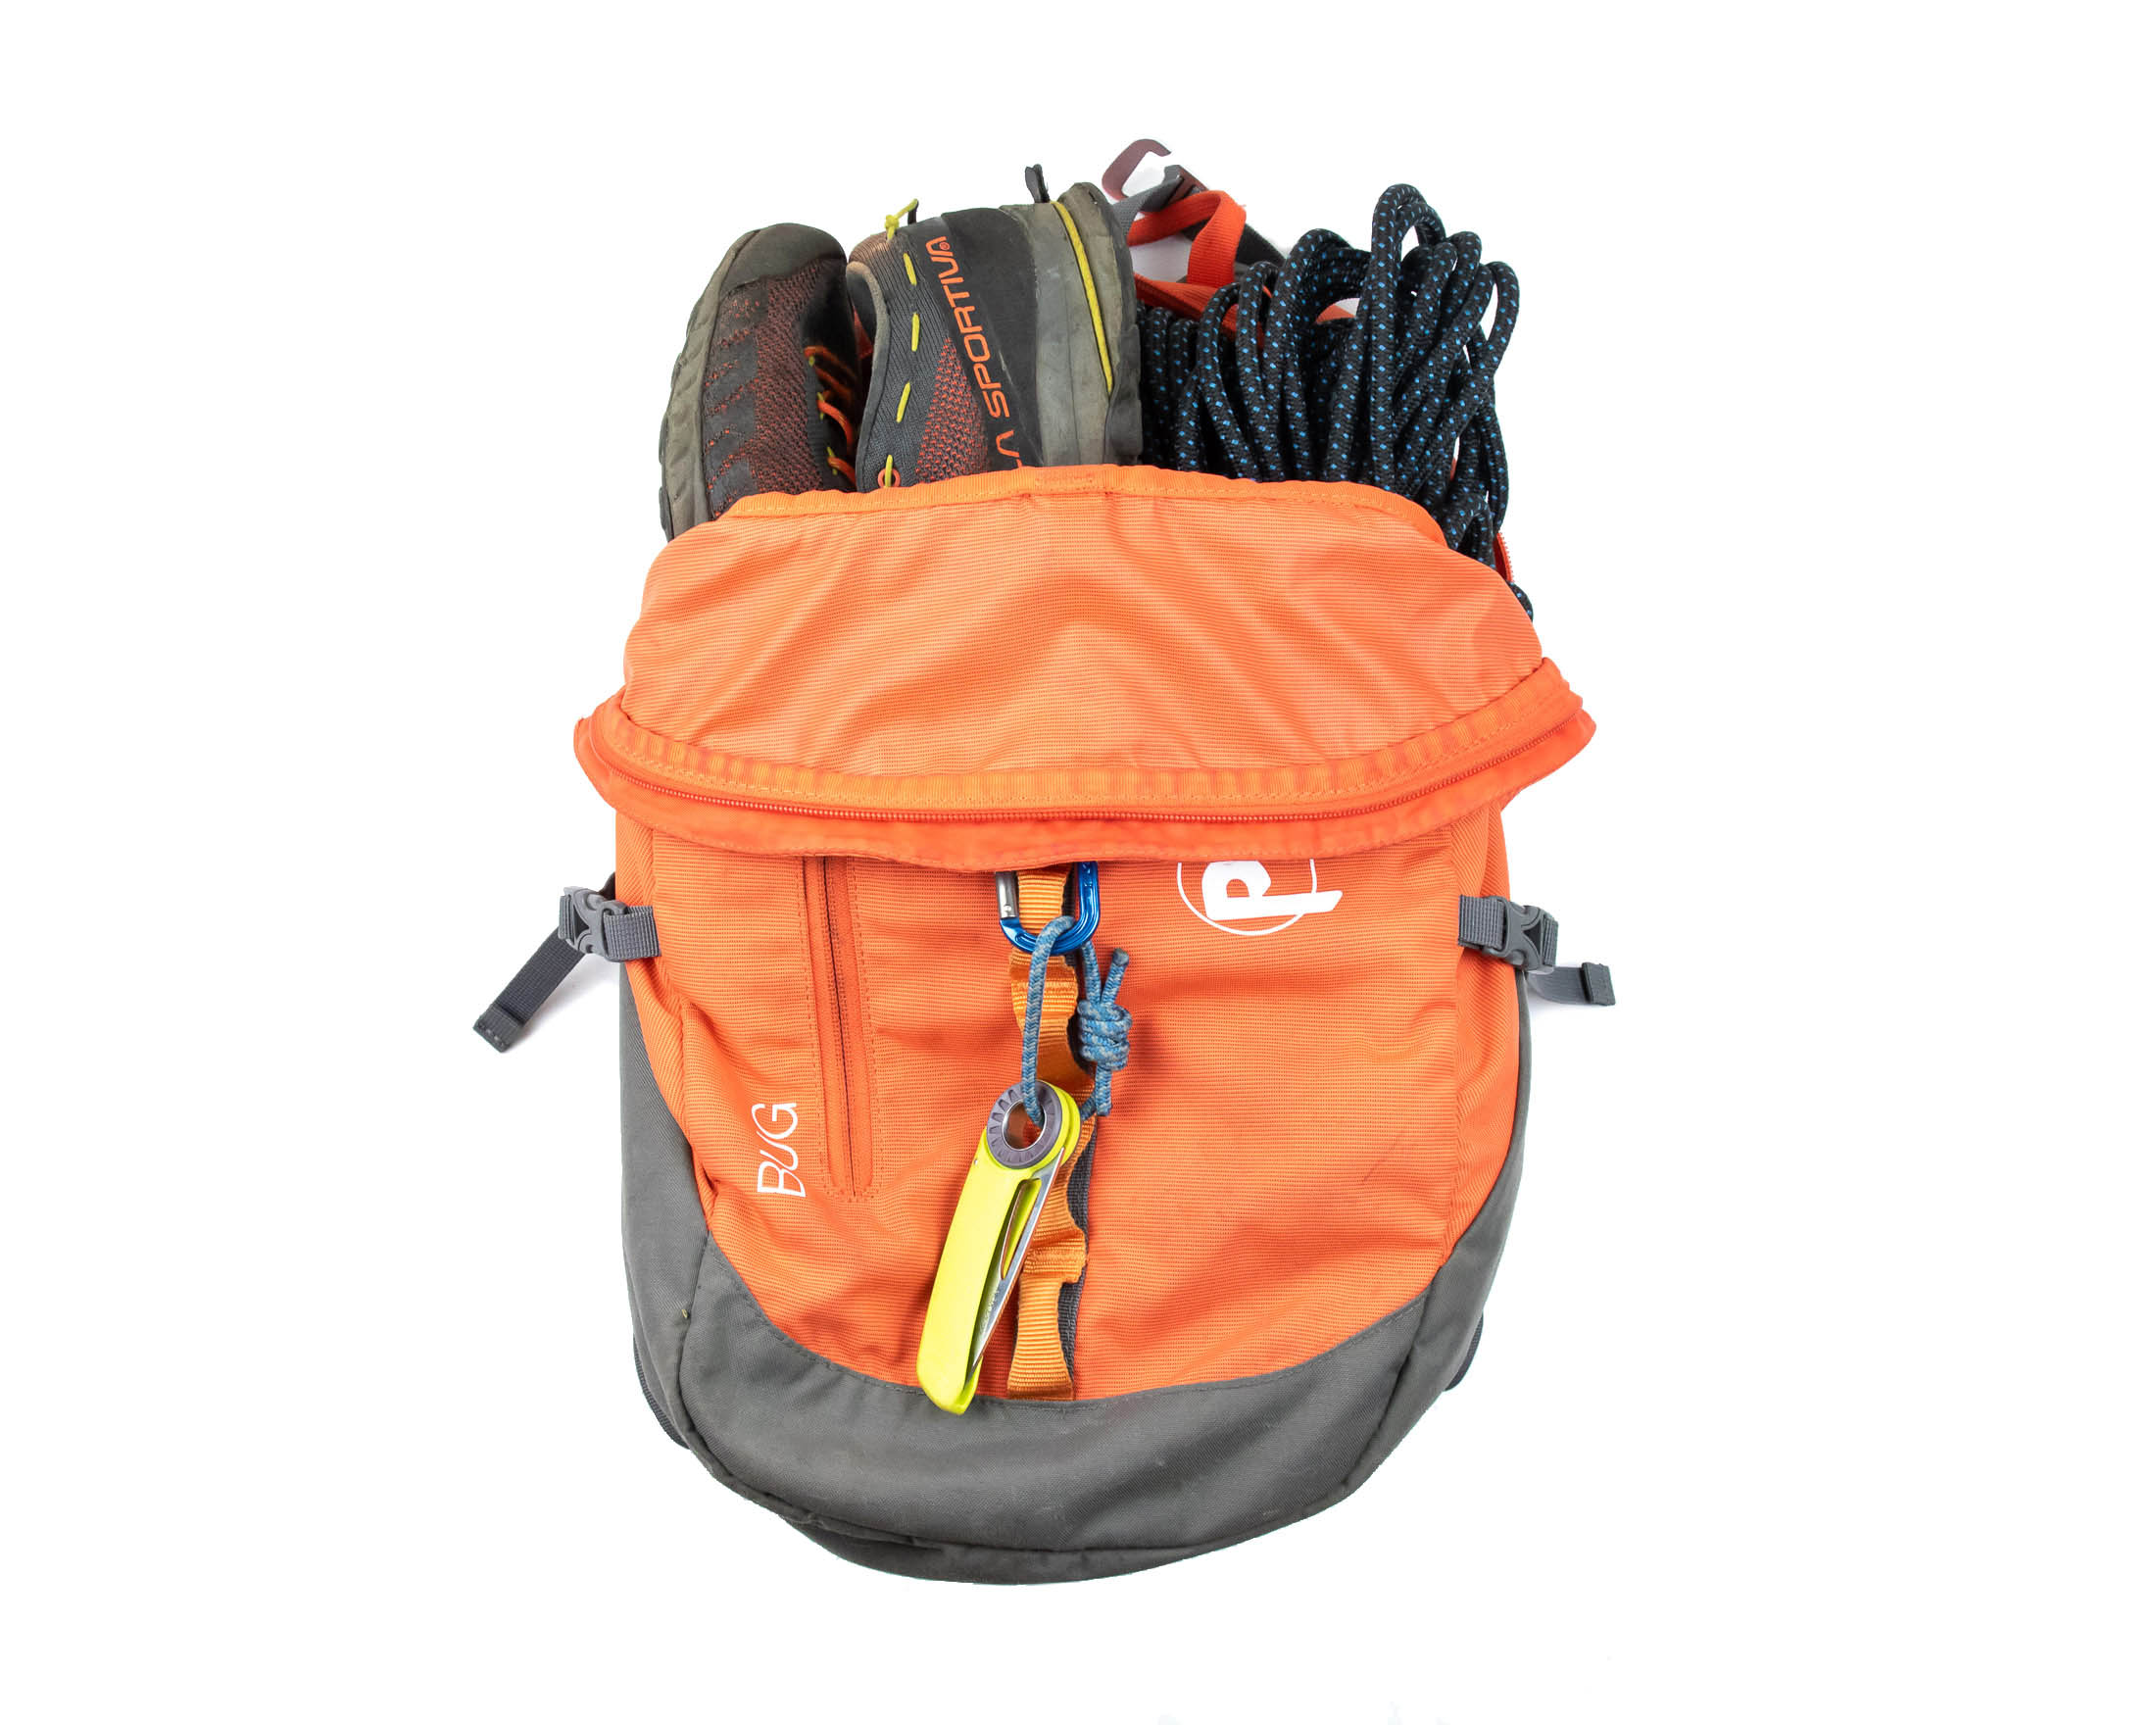
If your plan is to walk-off, you can clip your shoes to your harness or, if you don’t want that kind of weight on your harness, you can carry them in a climbing pack. A pack is also useful for carrying water, snacks and an extra layer or two. You can use any daypack around 20 litres in volume but a climbing-specific pack will have features particularly useful to a climber: a simple, low-profile design with few attachments and straps to get caught on rock features, and a hard-wearing exterior to withstand regular contact with abrasive rock surfaces. Your pack should not stop you from tilting your head back to look up.
Helmet
Not all climbers use one, but a helmet is always a good idea, especially when you’re likely to find loose rock or the kind of terrain that can send you into a tumble. Rock fall is especially dangerous when you are secured to an anchor and have little room to move if you need to dodge a piece of falling rock. If you’re going to climb in colder temps, it would be a good idea to ensure that your helmet can fit over a warm hat or skull cap.
Rope knife
A knife is useful if you have to replace the cord on rappel stations. Besides using your knife to cut new cord to length, you might need it to cut away old cord that would otherwise clutter up a rappel station. Finally a knife is also useful for cutting off tape gloves and for cutting a rope from your harness when the knot has been tightened to a point that it absolutely cannot be united.
Creating a belay anchor
Up until the end of your first pitch, a multi-pitch climb will be a lot like a single-pitch route. But then you have to build a belay anchor to secure yourself to and belay off. This will be your last line of defence, so it’s essential that it’s absolutely bomber. How strong is bomber? Strong enough to withstand a factor 2 fall – around 10 kN. If your stance is equipped with bolts (rust-free and properly installed), you can be reasonably confident that these are more than strong enough. Still, you should never rely on a single point even if it is rated to 25 kN. Bolts can fail under extreme circumstances, and the golden rule is ‘two points or more’. So, in most cases you will create an anchor from two points, and the best technique for that is the quad.
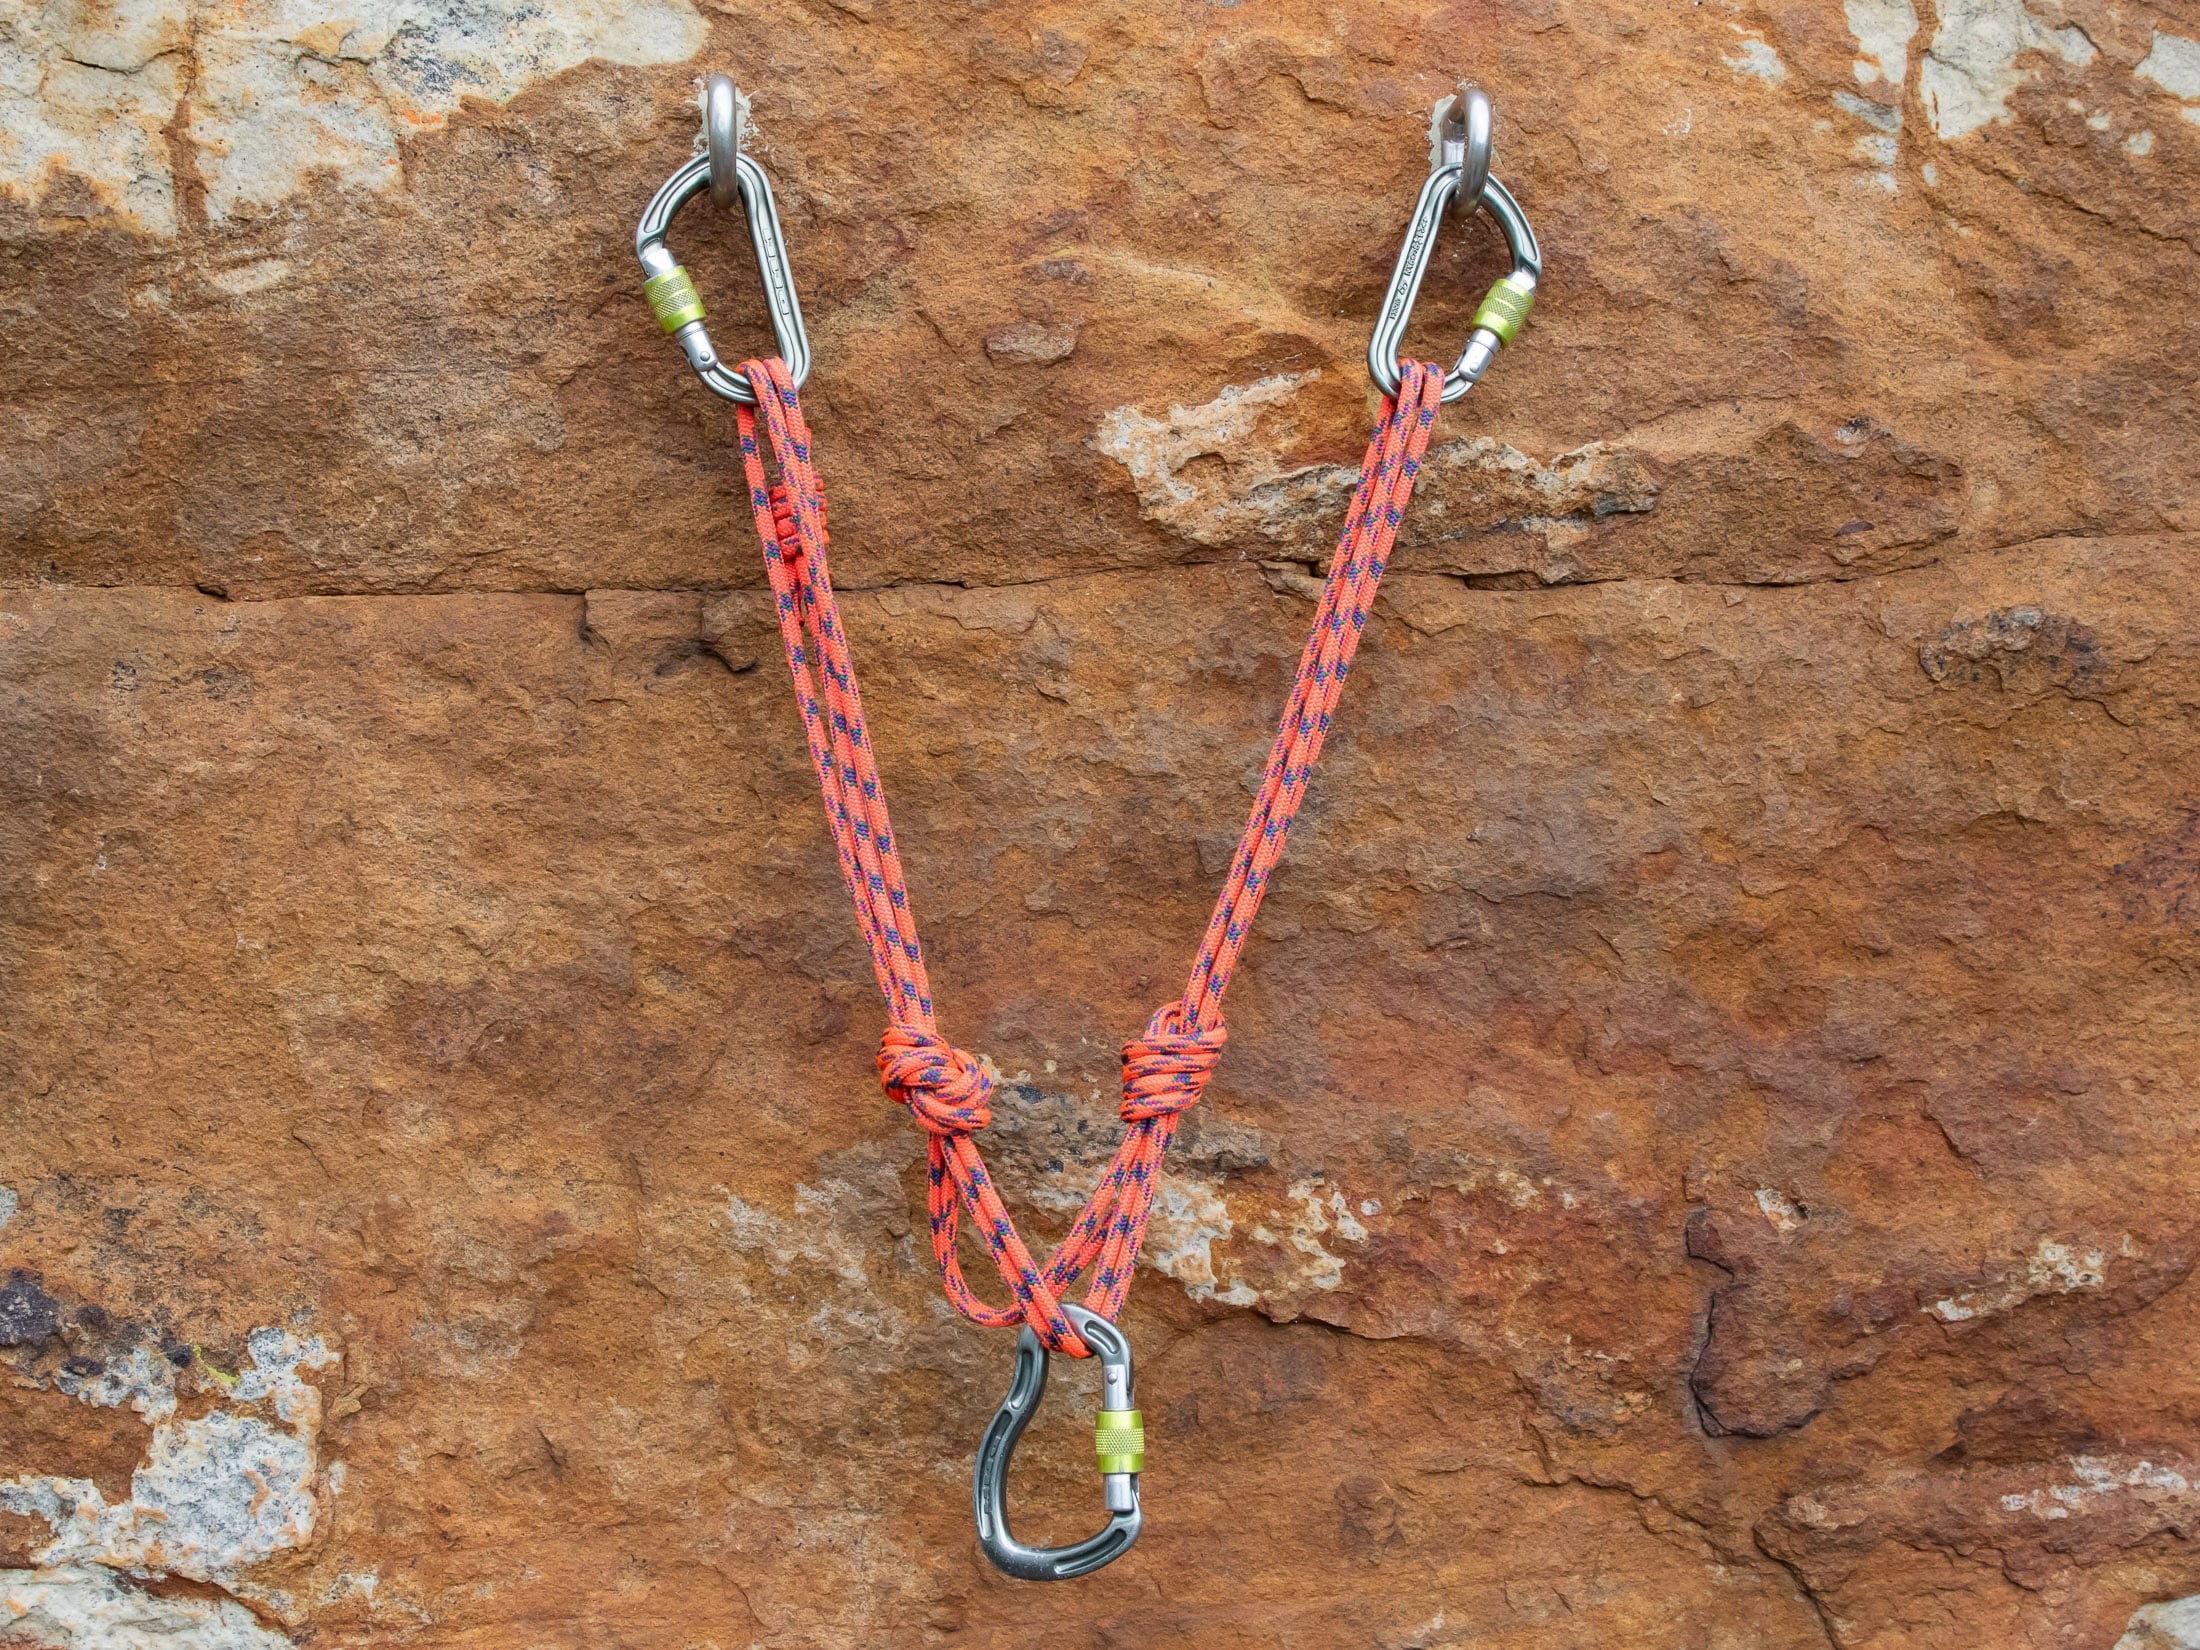
Advantages of a quad
The quad has two advantages over other rigging techniques. These are strength and load distribution. Although it’s not essential to distribute the load between components rated to 25 kN (the rated strength of most bolts), you should always strive for effective distribution when it outweighs the risk of anchor extension. Most other rigging techniques don’t do a very good job of load distribution. Even the sliding X doesn’t ‘self-equalise’ or come even close to equitable load distribution. The twist in the second strand at the master point creates friction, which results in most of the load being put on one component.
The quad, on the other hand, does ensure effective load distribution (around 45% and 55% on each arm) by doing away with the twist. More importantly, a quad is also stronger than a sliding X. The problem with the latter is that the limiting knots can weaken the sling by up to 50%, reducing its strength to 12 kN in a straight pull. The quad also has knots in it, but then it has four strands, not two. Even if the cord is weakened by the two overhand knots, it would still be more than strong enough for the application.
How to rig a quad
Here I have already explained how to pre-tie a quad for use with two-bolt anchors. If you want to learn how to use a quad to create a trad anchor, I recommend that you read my article on how to use the quad in different applications. For now, we will assume that you have already pre-tied your quad according to the instructions given in the section on cordelettes. All you have to do now is clip the two loops on one leg to one bolt and then clip the two loops on the other loop to the second bolt. I prefer to use small locking carabiners for this purpose.
If the bolts are staggered, you might need to adjust the position of the overhand knots to ensure that the quad still self-distributes when it’s pulled off-axis. If the master point carabiner got pulled up against one of the overhand knots, it would likely put all or most of the load on the other arm. I actually mark the position of overhand knots in my pre-tied quads so that it’s easier to return knots to their previous positions. The proper position of these knots also makes a quad easier to rack. See the video above if you haven’t already.
Securing yourself to the anchor
At some more cramped stances, you might have to clip yourself directly to the master point via your belay loop. At others, you’ll be able to put a little distance between yourself and the anchor using the rope or a personal anchor system. Positioning yourself away from the anchor a short distance is generally better as it allows you to clip your belay device to the master point and give yourself more space for stacking the rope, which can be folded over whatever it is you use to connect yourself to the anchor.
Clove hitch and rope
Most climbers secure themselves to the master point using the rope and a clove hitch. This method requires no extra gear except for the master point carabiner, and it makes it easy to adjust the length of your connection. This is particularly useful if you need to position yourself and the belay some distance from the anchor. This is my preferred method when I’m carrying a large rack and I don’t want to carry a PAS on my harness.
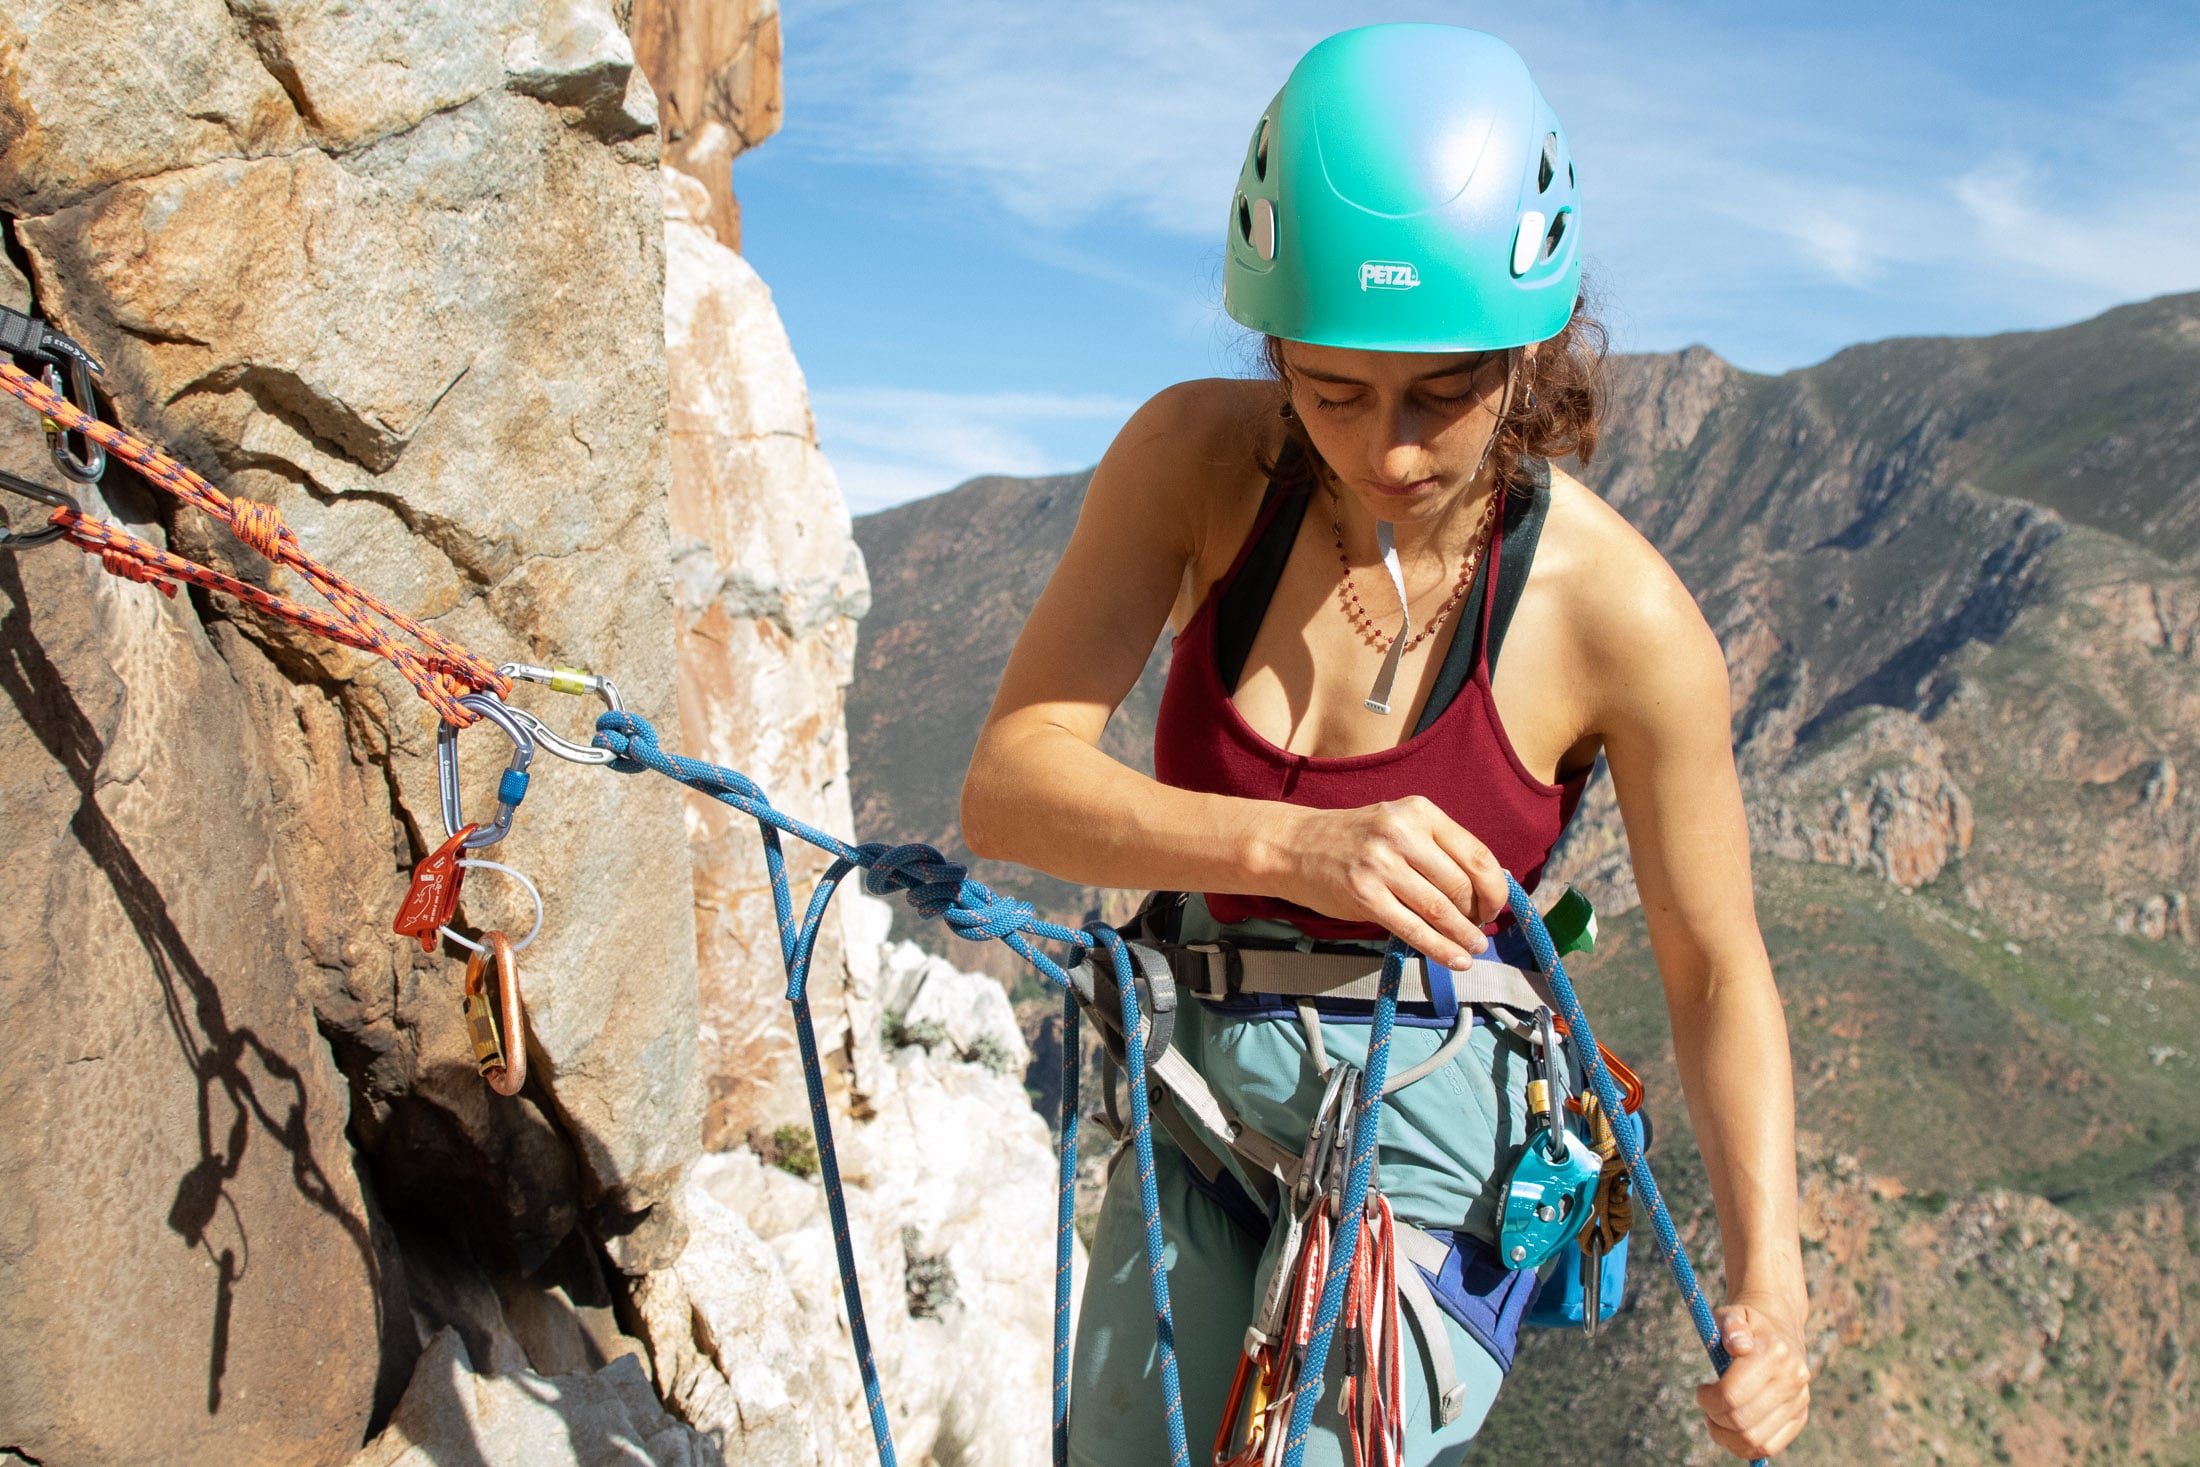
Personal anchor system
The alternative to using the rope to secure yourself to the anchor is to use an adjustable lanyard. Clipping in with a lanyard is just a little quicker than using a rope and clove hitch and can speed things up if you’re only going to clip into the belay temporarily, as you do when changing from following to leading. When securing a PAS to your harness, follow the manufacturer’s instructions. Link lanyards (made by Black Diamond and Metolius) are typically girth-hitched around both tie-in points (leg loop and waist loop), but dynamic rope lanyards (Petzl and Camp) are girth-hitched through the belay loop.
Protecting the belay anchor
Your safety at a stance depends on both a strong anchor and your ability to protect it. There are three things you can do to lower the risk of a shock load on the anchor.
Don’t allow for any slack in your connection to the anchor
You can very easily shock load your anchor by generating slack in your connection to the anchor and then falling onto it. Don’t do this. Make sure your PAS or rope connection is the right length when securing yourself to the anchor and then keep it weighted. Also, don’t climb above your anchor while clipped into it. A slip from a higher position can be catastrophic. Rather go on belay first if you need to reach for something.
Load the anchor on axis
In most anchors, effective load distribution is only achieved when the anchor is pulled on-axis. This is particularly true of pre-distributed anchors like the overhand-knot anchor, but it’s also something to think about when using a hybrid anchor, like the standard 3-piece quad. If any of your primary anchors are anything less than bomber (rated to 10 kN and in good rock), you’ll want to keep the anchor as on-axis as possible to avoid putting a dangerously high load on a weaker component.
Place the first piece of protection early
On traditionally protected pitches, you want to place the first piece of gear as soon as possible to avoid a factor 2 fall – where you fall past the belay and twice the length of the rope out. Sport pitches should be bolted with this in mind, but always be aware of the danger – until you clip the first quickdraw or piece of protection, a high impact fall is a real danger.
To avoid a fall straight onto the belay, it can be a good idea to clip the first draw to one of the two bolts when leaving the stance (only do this with bolted stances or bomber trad gear). If you have used a screwgate-equipped quickdraw to secure one end of your quad to the bolt, you can use this as your first quickdraw. This way you don’t have to crowd the bolt with multiple carabiners.
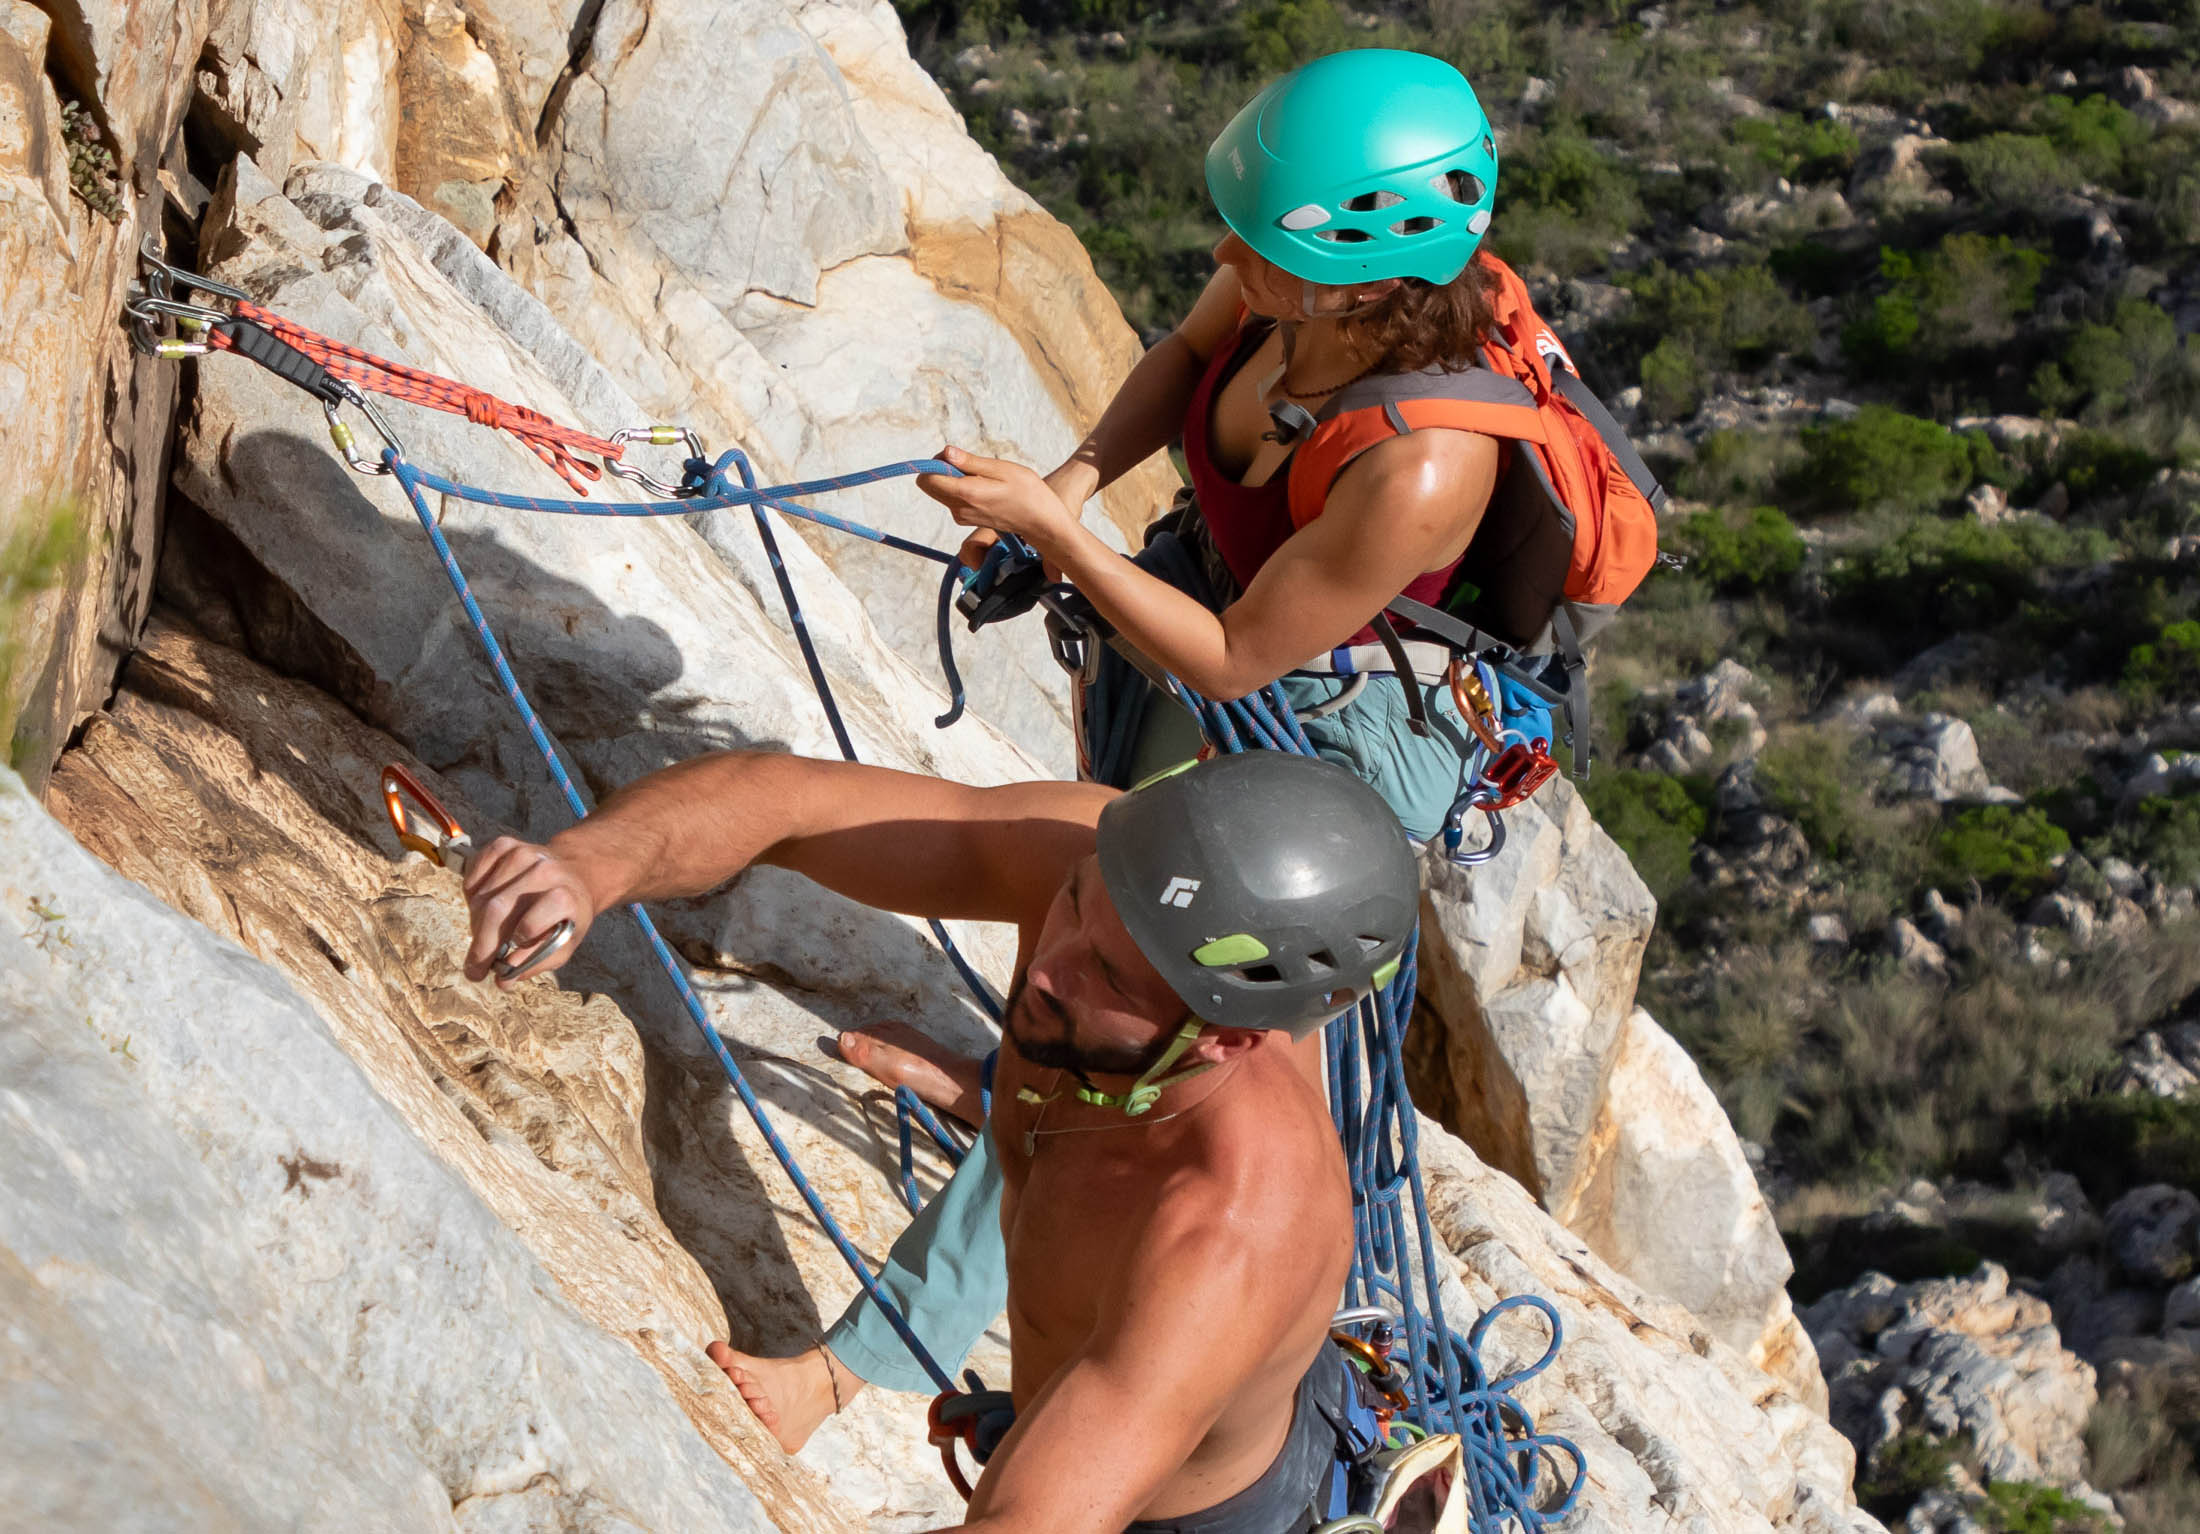
Belaying the follower
Once you have attached yourself to the anchor, you can set up your belay and bring up your partner.
Setting up the belay
You want to attach your belay device to the anchor where it will be easy to work with – not too far, not too close. If you have at least 30 cm (12 in) between you and the master point, you can attach your belay device to this. A quad actually has two double-strand master points: one for securing the belayer to the anchor and another two for attaching the belay device, making this arrangement very convenient. But, if you’ve clipped your belay loop straight to the master point, you’ll need to attach your belay device to a higher point. My article on how to belay from above explains how can do this using both a quad and overhand anchor, so I will cover only the default quad setup here.
Guide-mode devices
To set up a guide-mode device in assisted-braking mode (guide-mode), load the rope into the device as you normally would and then clip your belay carabiner around both the rope and the wire loop (but not around your belay loop as you would for a lead belay). The device is then attached to the anchor using the attachment point on the back of the device.
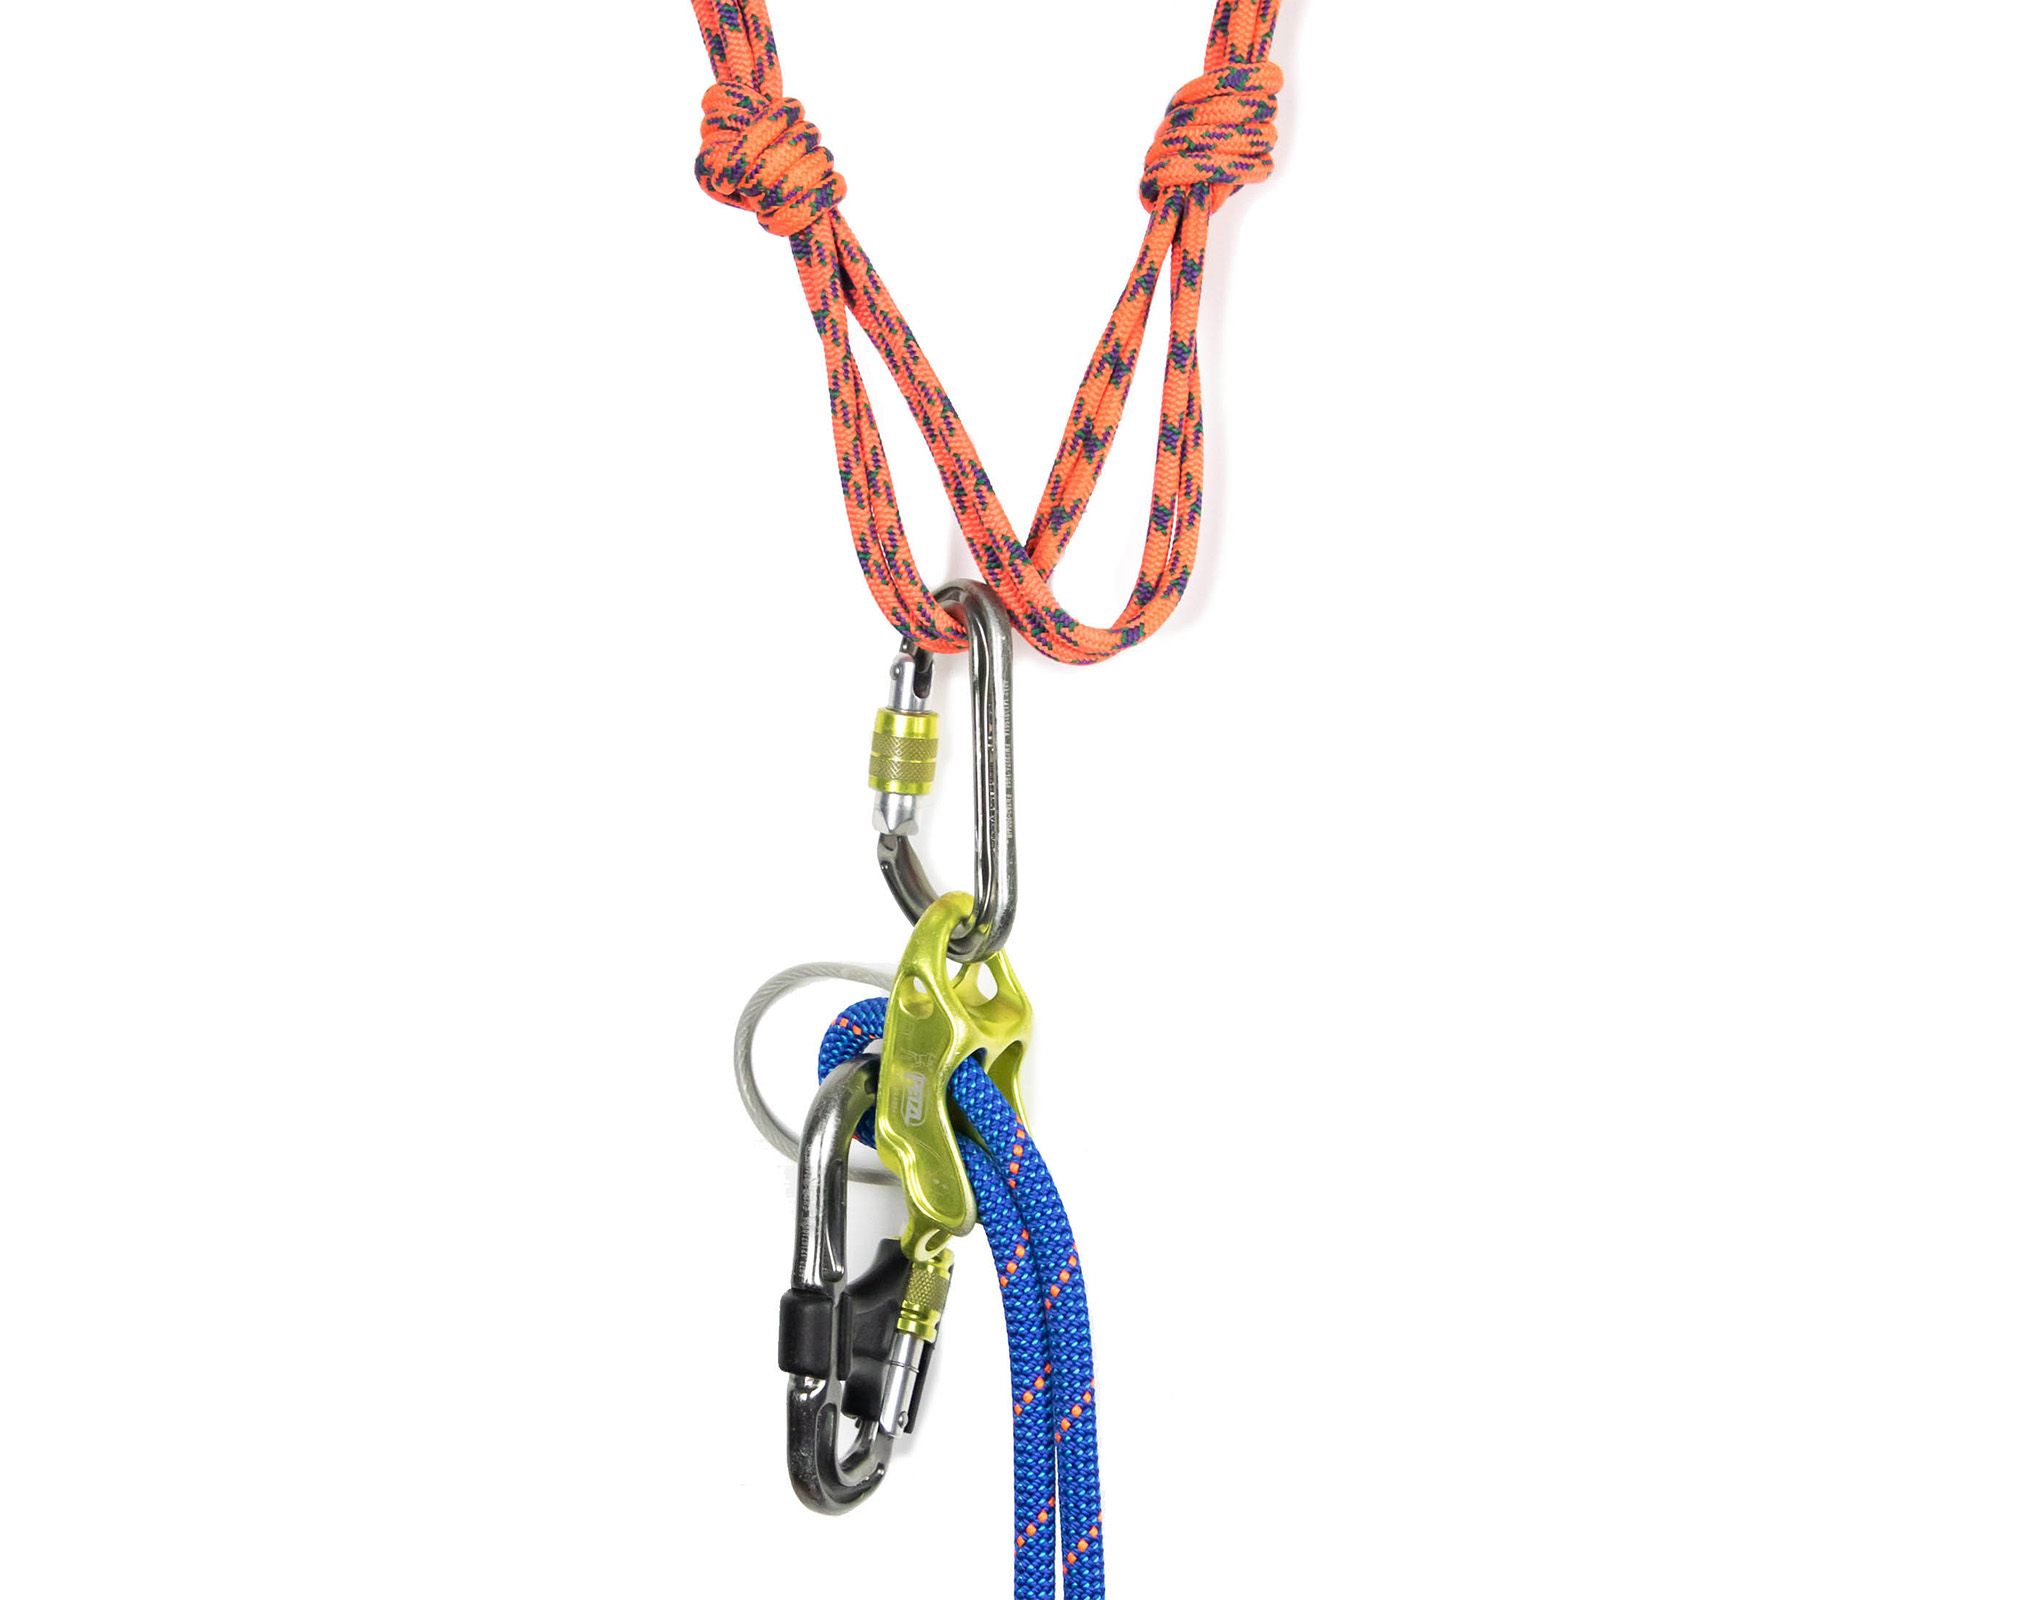
Set up this way, a guide-mode device will brake automatically when the rope is weighted. Although this can add a level of security, it has a drawback: it can be very difficult to get a guide-mode device to release once the rope has been weighted and the device has locked up. I describe the proper protocol for lowering a follower with a guide mode in its own section later in this article.
Assisted-braking devices
Unlike guide-mode devices, which have to be rigged differently for lead and follower belays, active assisted-braking devices like the Petzl Grigri are rigged the same way regardless of whether they are being used to belay from below or above – the only difference being that the device’s attachment point is secured to the master point and not your belay loop.
This setup makes it much easier to lower a follower, but it is still essential that you take the steps necessary to ensure a safe lower – never simply pull the brake lever open. A full explanation of the brake strand redirect will follow in the section on how to lower a follower.
Belay technique
Once you’ve checked that all connections are secure (gates are locked) and that the device is loaded properly, you can tell your climber that they’re on belay and can climb when ready. If the first five meters of the pitch are tricky, you should start with a tight belay to ensure that the climber doesn’t hit the ledge (if there is one) if she comes off low down. Once she has some height, you can put out more rope.
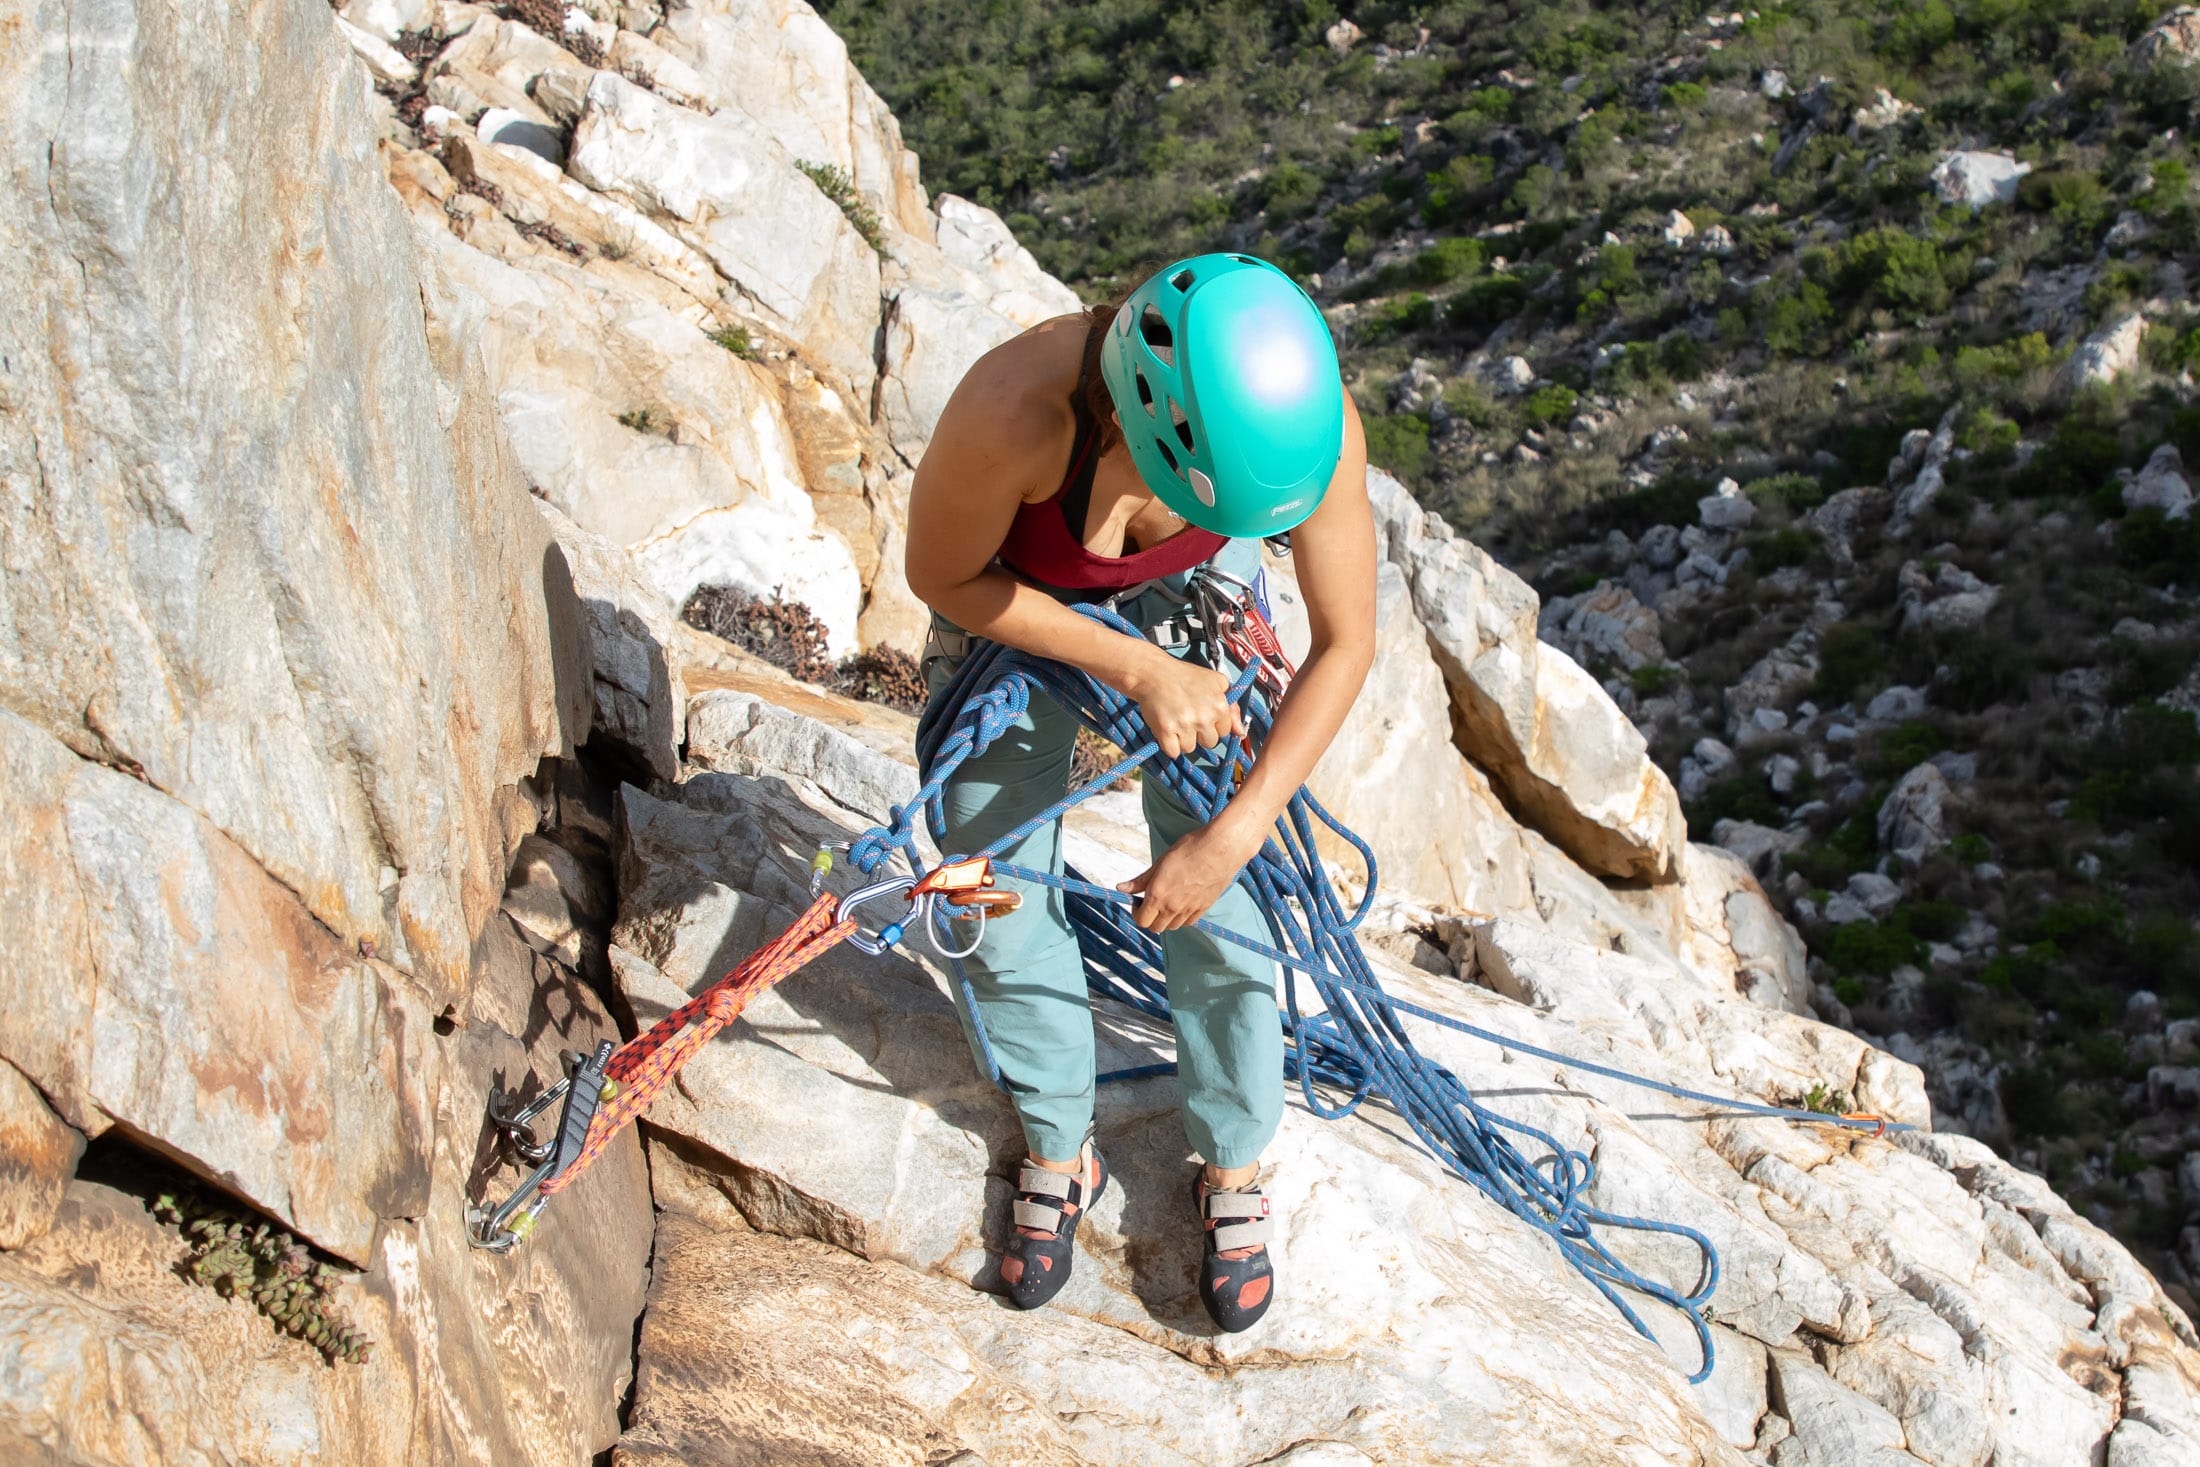
When belaying a follower with a guide-mode device, you should avoid a tight belay when it isn’t necessary. If your follower steps down and weights the rope, the device will lock up, leaving them tugging against the rope in frustration. To avoid this scenario, aim to always have a few hands worth of slack out and be quick to give more if the climber steps down or reverses a move.
Rope management
Good rope management is essential for speed and efficiency. Tangled ropes waste precious time and make it difficult or impossible to give a smooth belay. Depending on the stance, you can use one of three methods for reducing the chances of a spaghetti fest.
Hanging stances
When a belayer finds herself in a hanging stance, the norm is to flake the rope over whatever it is that connects her to the masterpoint (rope or leash). If the team is blocking leads, the belayer should start by laying short loops of rope over the lanyard (or rope connection) and then make these longer as the follower comes up. If the team is swinging leads, the belayer should start by laying long loops over the lanyard and then make these shorter as she captures more rope. Stacking the rope like this will ensure that the loops of rope pulled off the top of the stack are shorter than those underneath them. This will reduce the chances that one loop of rope will hook under another and create a tangle.
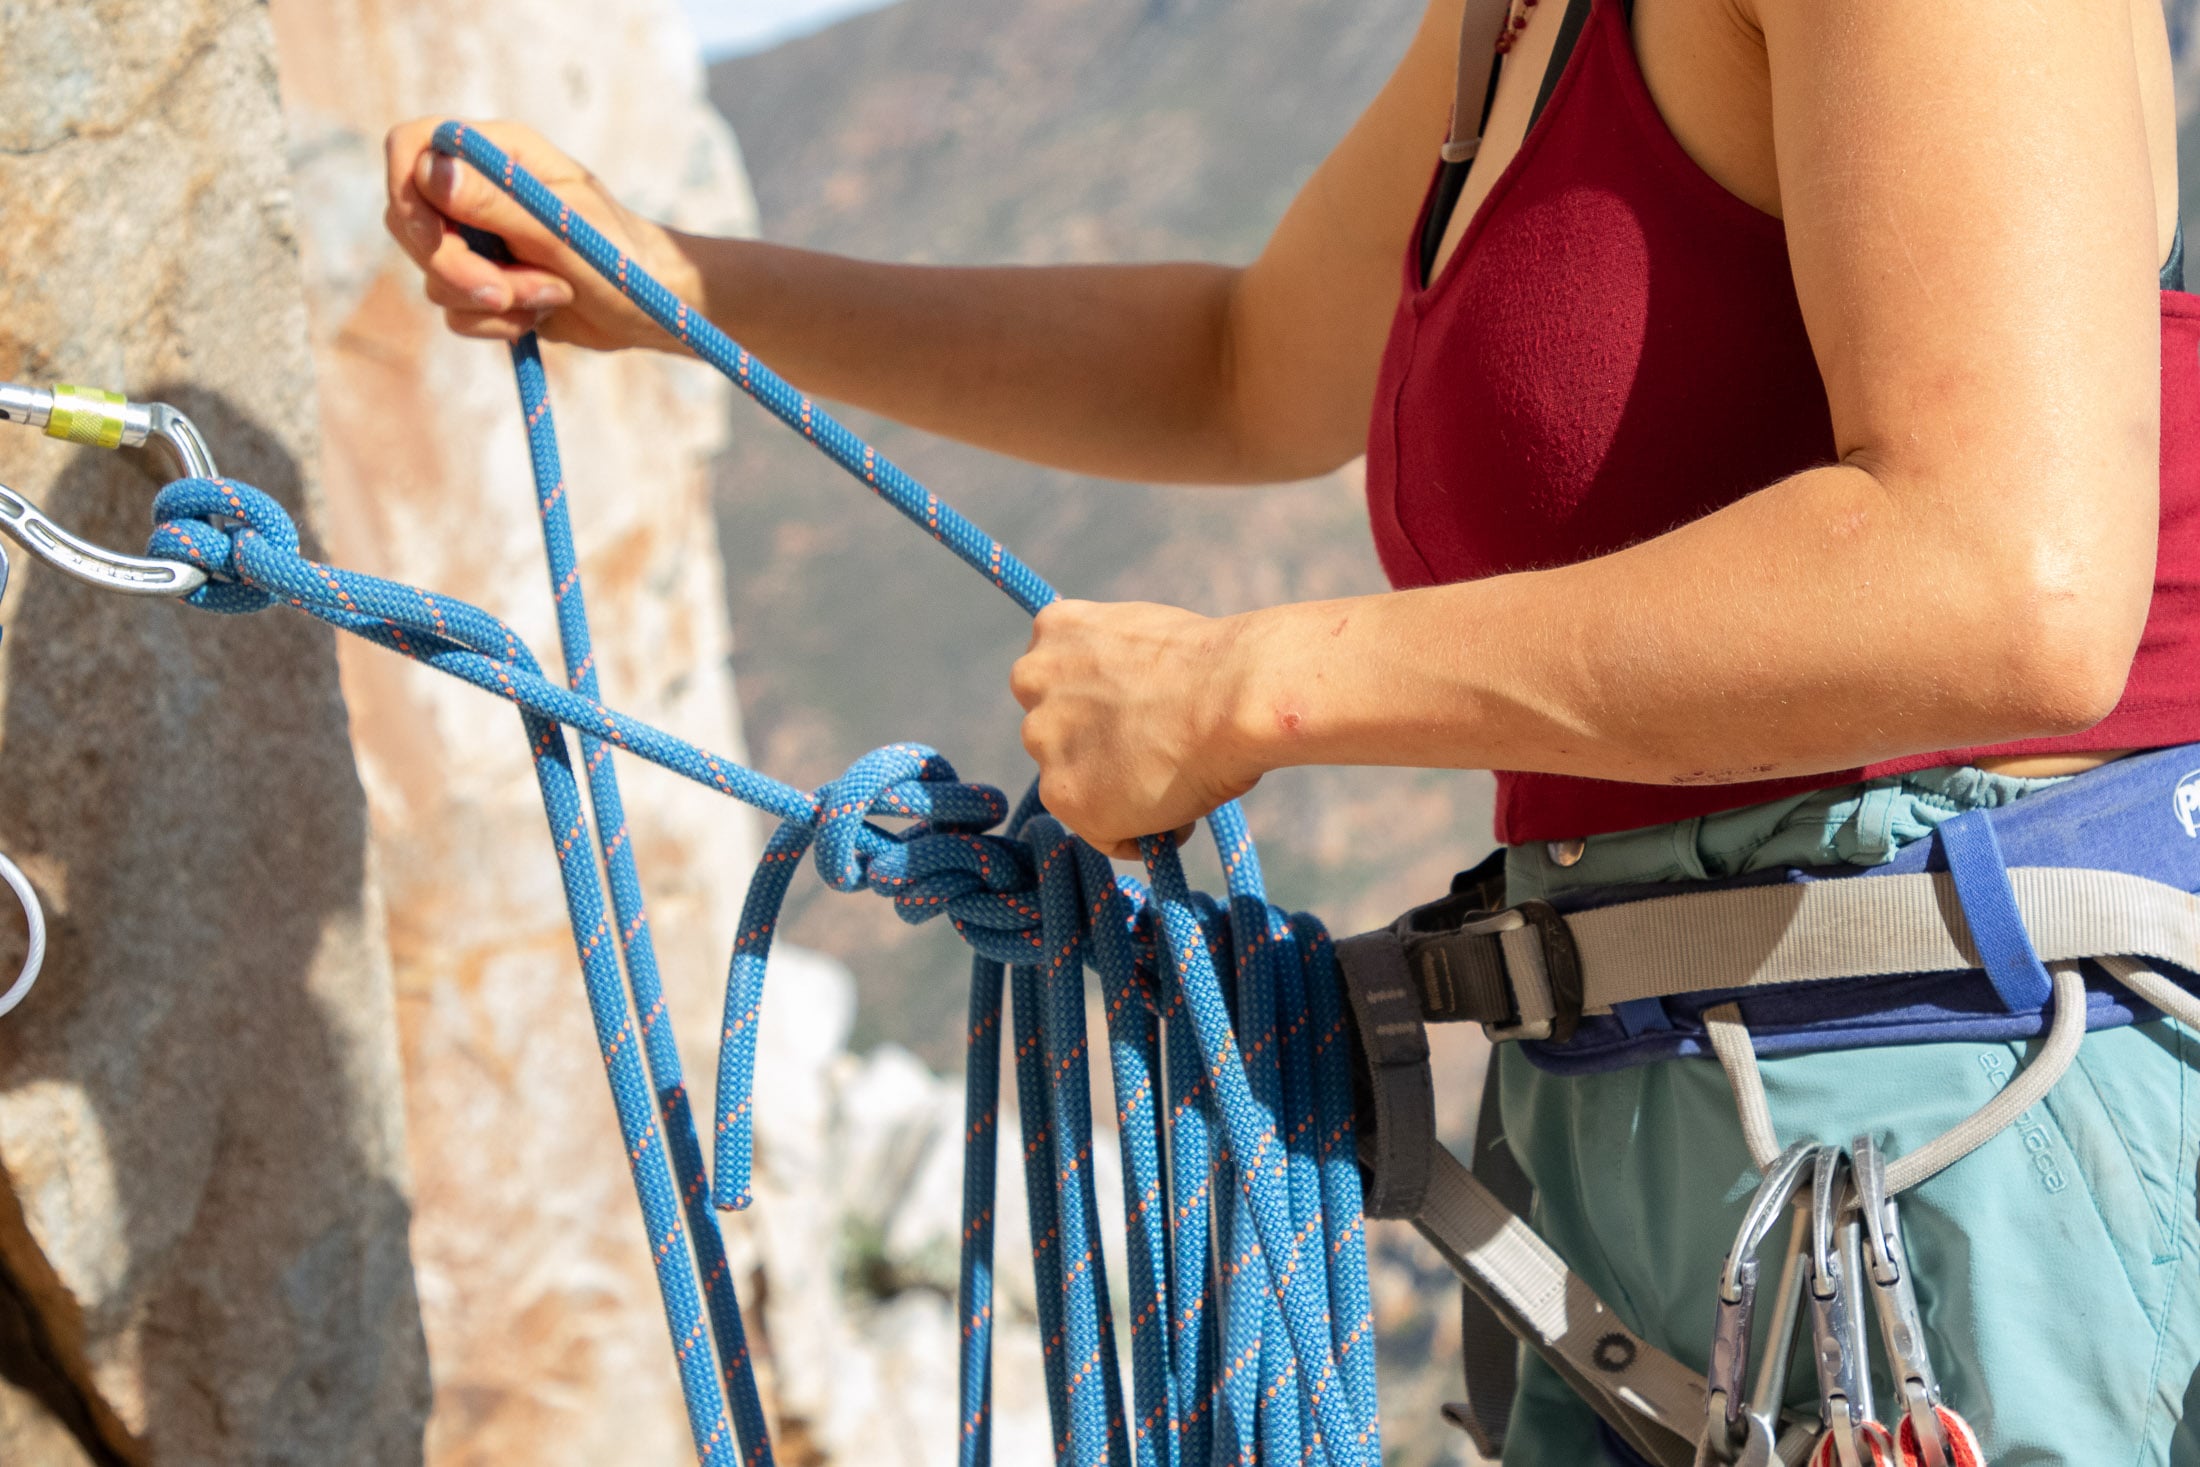
Taking the time to stack your rope neatly can prevent time-wasting tangles.
Ledges
If you find yourself on a decent sized ledge, you can lay the rope on the ground. If you are swinging leads, the climber’s end of the rope will be on top when the follower reaches the belay, and you won’t need to rearrange the rope before she starts leading the next pitch. If you are blocking pitches, you’ll have to flip the pile of rope over so that the climber’s end is on top for the next pitch. When using double ropes, I find it’s easier to make one pile with the first 30 meters of rope and another pile with the second 30 meters of rope. A single pile with both ropes in it can be too much of a handful.
How to lower a follower
If you have any experience using a guide-mode device, you already know that it can be very difficult to get one of these devices to release once it has locked up. To get a weighted guide-mode device to release, you have to tilt it by pulling upwards on the secondary attachment point just below the rope channels. In some instances, you might be able to do this by hooking the end of a nut tool into this hole and then pulling on this, but in other situations, you will need to use a piece of cord (your longer prusik loop or a Dyneema sling) secured to your harness to pull on and unlock the device. Many climbers know how to create such a redirect but don’t understand the importance of first putting an autoblock on the brake-hand strand. Without this backup, it is all too easy to release the rope too quickly and drop your follower. To safely lower your follower with a guide-mode device, you need to perform the following steps:
- Put a backup knot in the rope 1.5 meters (5 feet) below the device.
- Clip a prusik loop to your belay loop with a locking carabiner.
- Wrap the prusik loop around the rope 3 times and clip the end back into the locking carabiner (creating an autoblock).
- Test your autoblock to check that it holds.
- Take the rope between the belay device and autoblock, and redirect this through a high point (a bolt, shelf, or limiting knot)
- Girth-hitch a 60cm Dyneema sling to the release attachment point on the device.
- Redirect the sling through a second high point and then clip it to your harness
- Test that the system works: lean back on the sling to release the device while loosening the autoblock.
- Remove the backup knot and lower your partner.
Changing over
Fast and efficient changeovers are key when climbing longer routes, and a well-established routine will help keep you and your partner safe while avoiding unnecessary delays.
Swinging pitches
If you had one auto-braking device between the two of you (in addition to two guide-mode devices), you would take this off your seconder as he reached the stance and then load the rope into this second device. You would then attach this to your belay loop as you would for a regular lead belay. It’s important that you do this before disconnecting the guide-mode device. Also, make sure you tie off the rope underneath the device with an overhand knot before turning to the task of loading the second device.
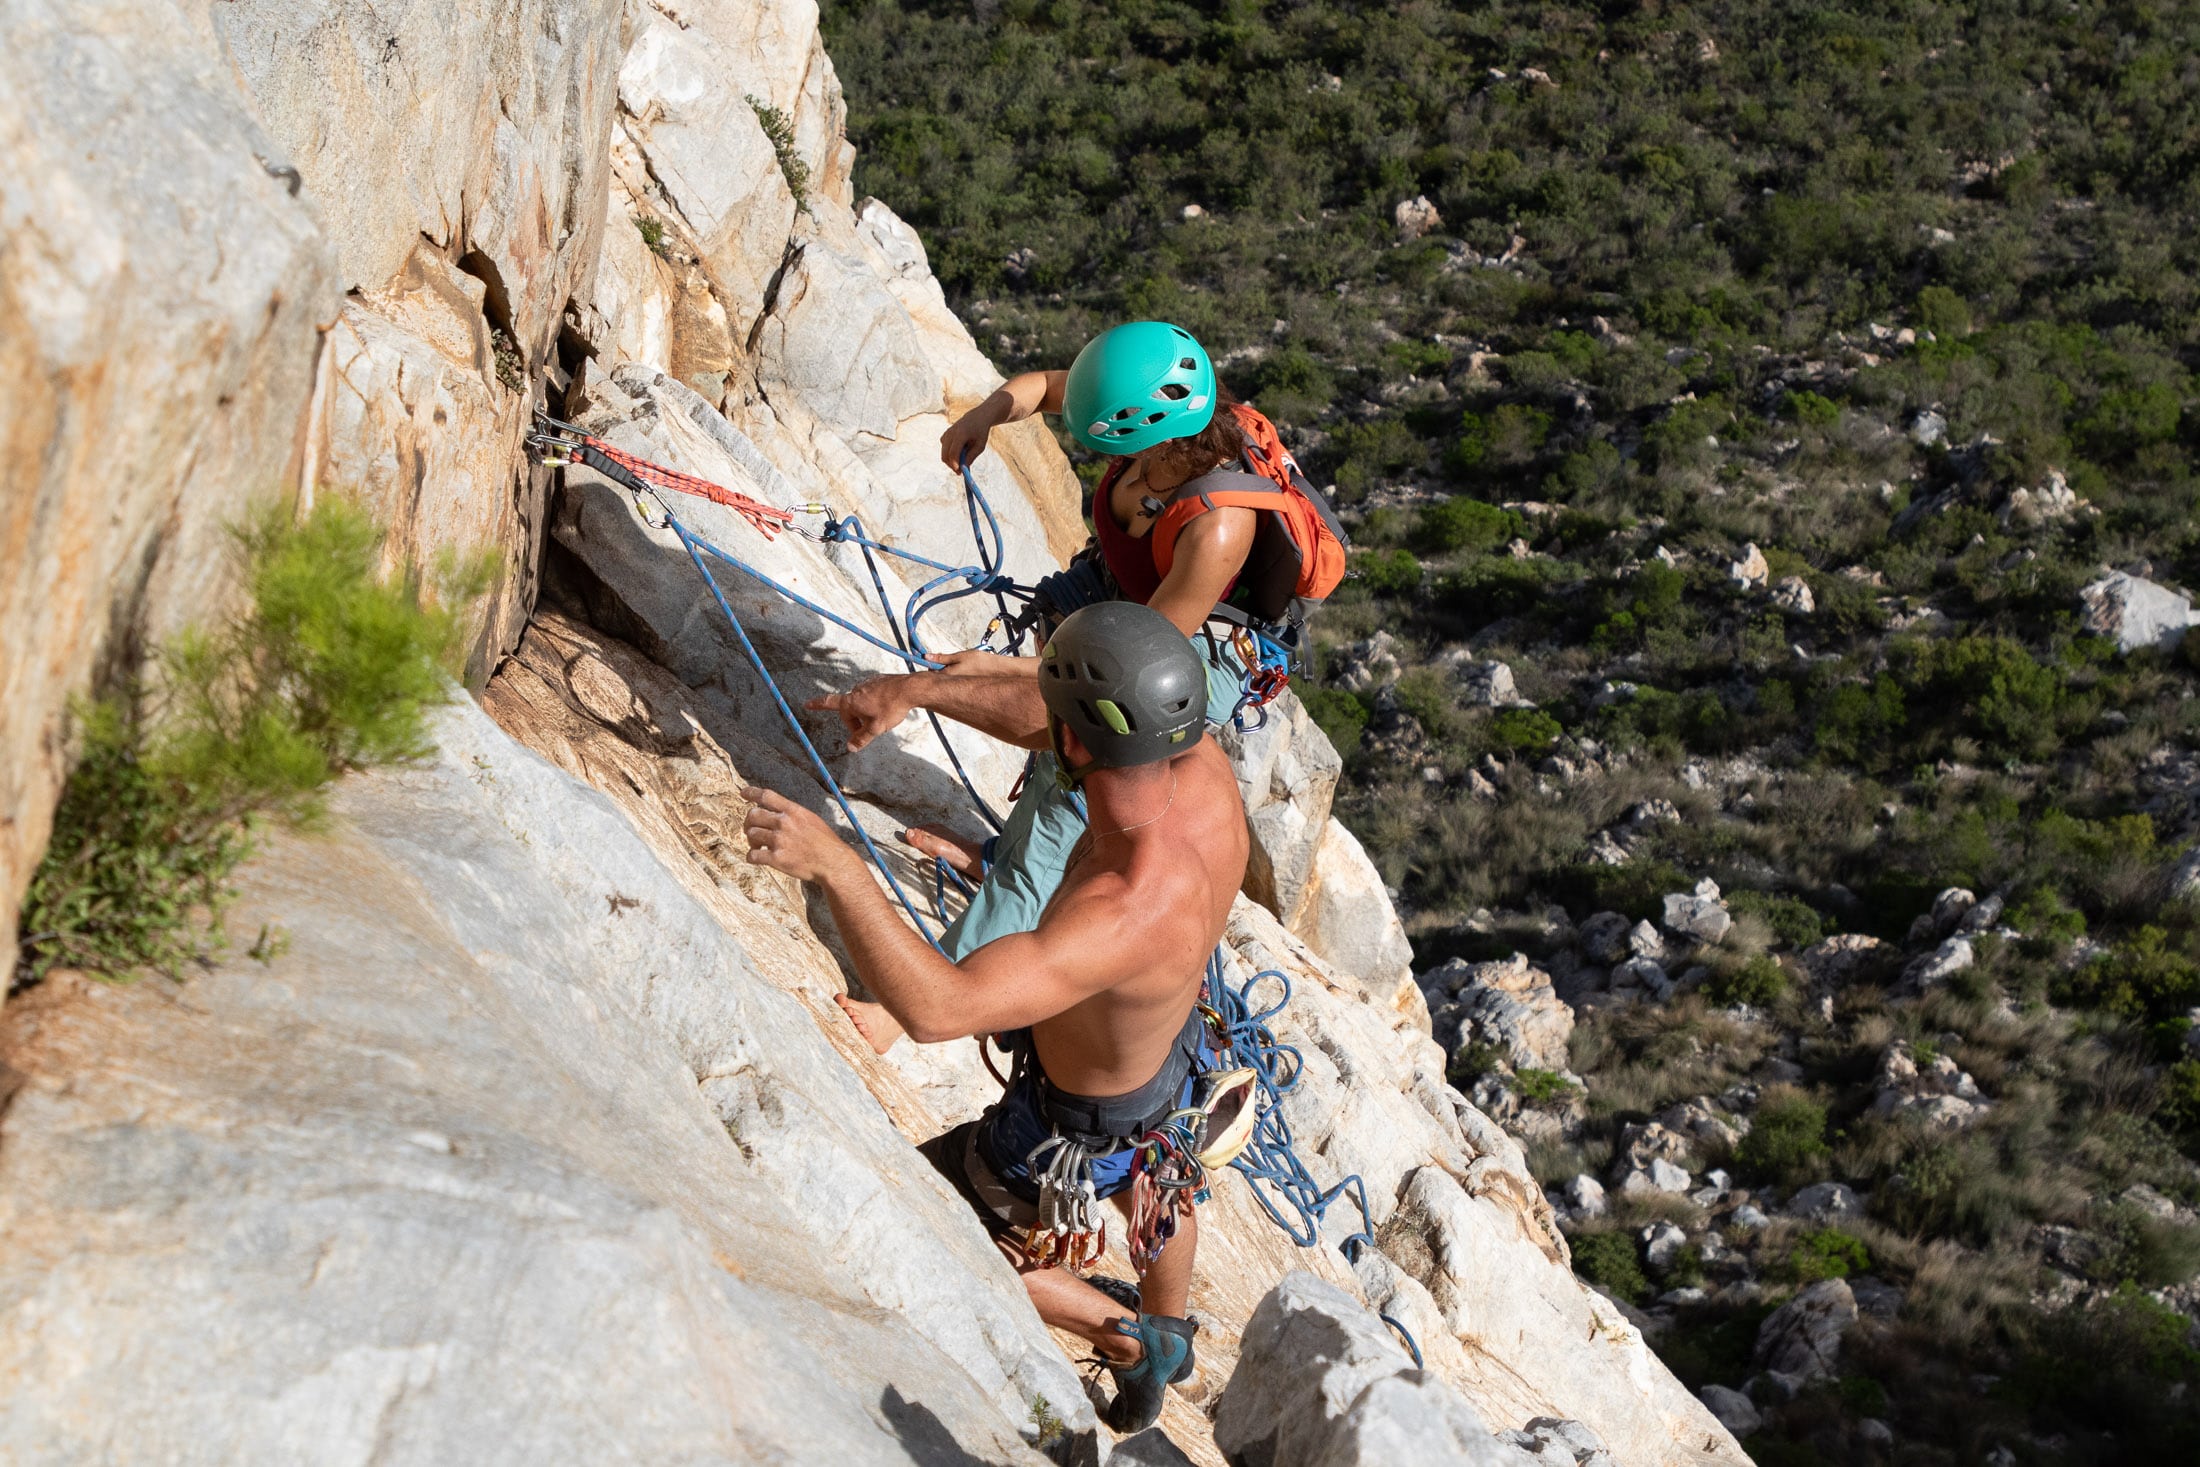
If you only had a pair of guide-mode devices between the two of you, you would follow the same process – taking your partner’s device and loading this before disconnecting your own device – only now you’d have to hand your device to your partner before they start the next lead. Again, it’s important to tie-off the original device before letting go of the brake-hand end of the rope. When the switch has been made, you can put the climber back on belay and remove the overhand knot. After a quick gear check, the leader can set off on the next pitch.
- If it’s a hanging stance, the climber clips into the anchor with a PAS or quickdraw.
- The belayer ties off the rope under the first device with an overhand knot.
- The belayer takes the second device off the climber.
- The belayer loads the second device with rope and attaches it to their belay loop.
- Both partners check that the device is properly loaded with carabiner locked.
- The belayer disconnects the first device and gives it to the climber.
- The belayer passes protection and quickdraws to the climber.
- The belayer unties the overhand knot.
- The climber can lead the next pitch when ready.
Blocked pitches
When pitches are blocked, one partner leads every pitch. Here we will assume that this is you. In this case your partner (follower) should be secured to the master point when he reaches the stance. If you are going to connect him to the anchor using the rope, it’s safest to use an air clove hitch (demonstrated in the video on rope-anchor connections). If you attempted a single-handed clove hitch and your follower fell while you had only one loop of rope in the carabiner, the biner could prevent the device from auto-braking and result in the loss of the climber.
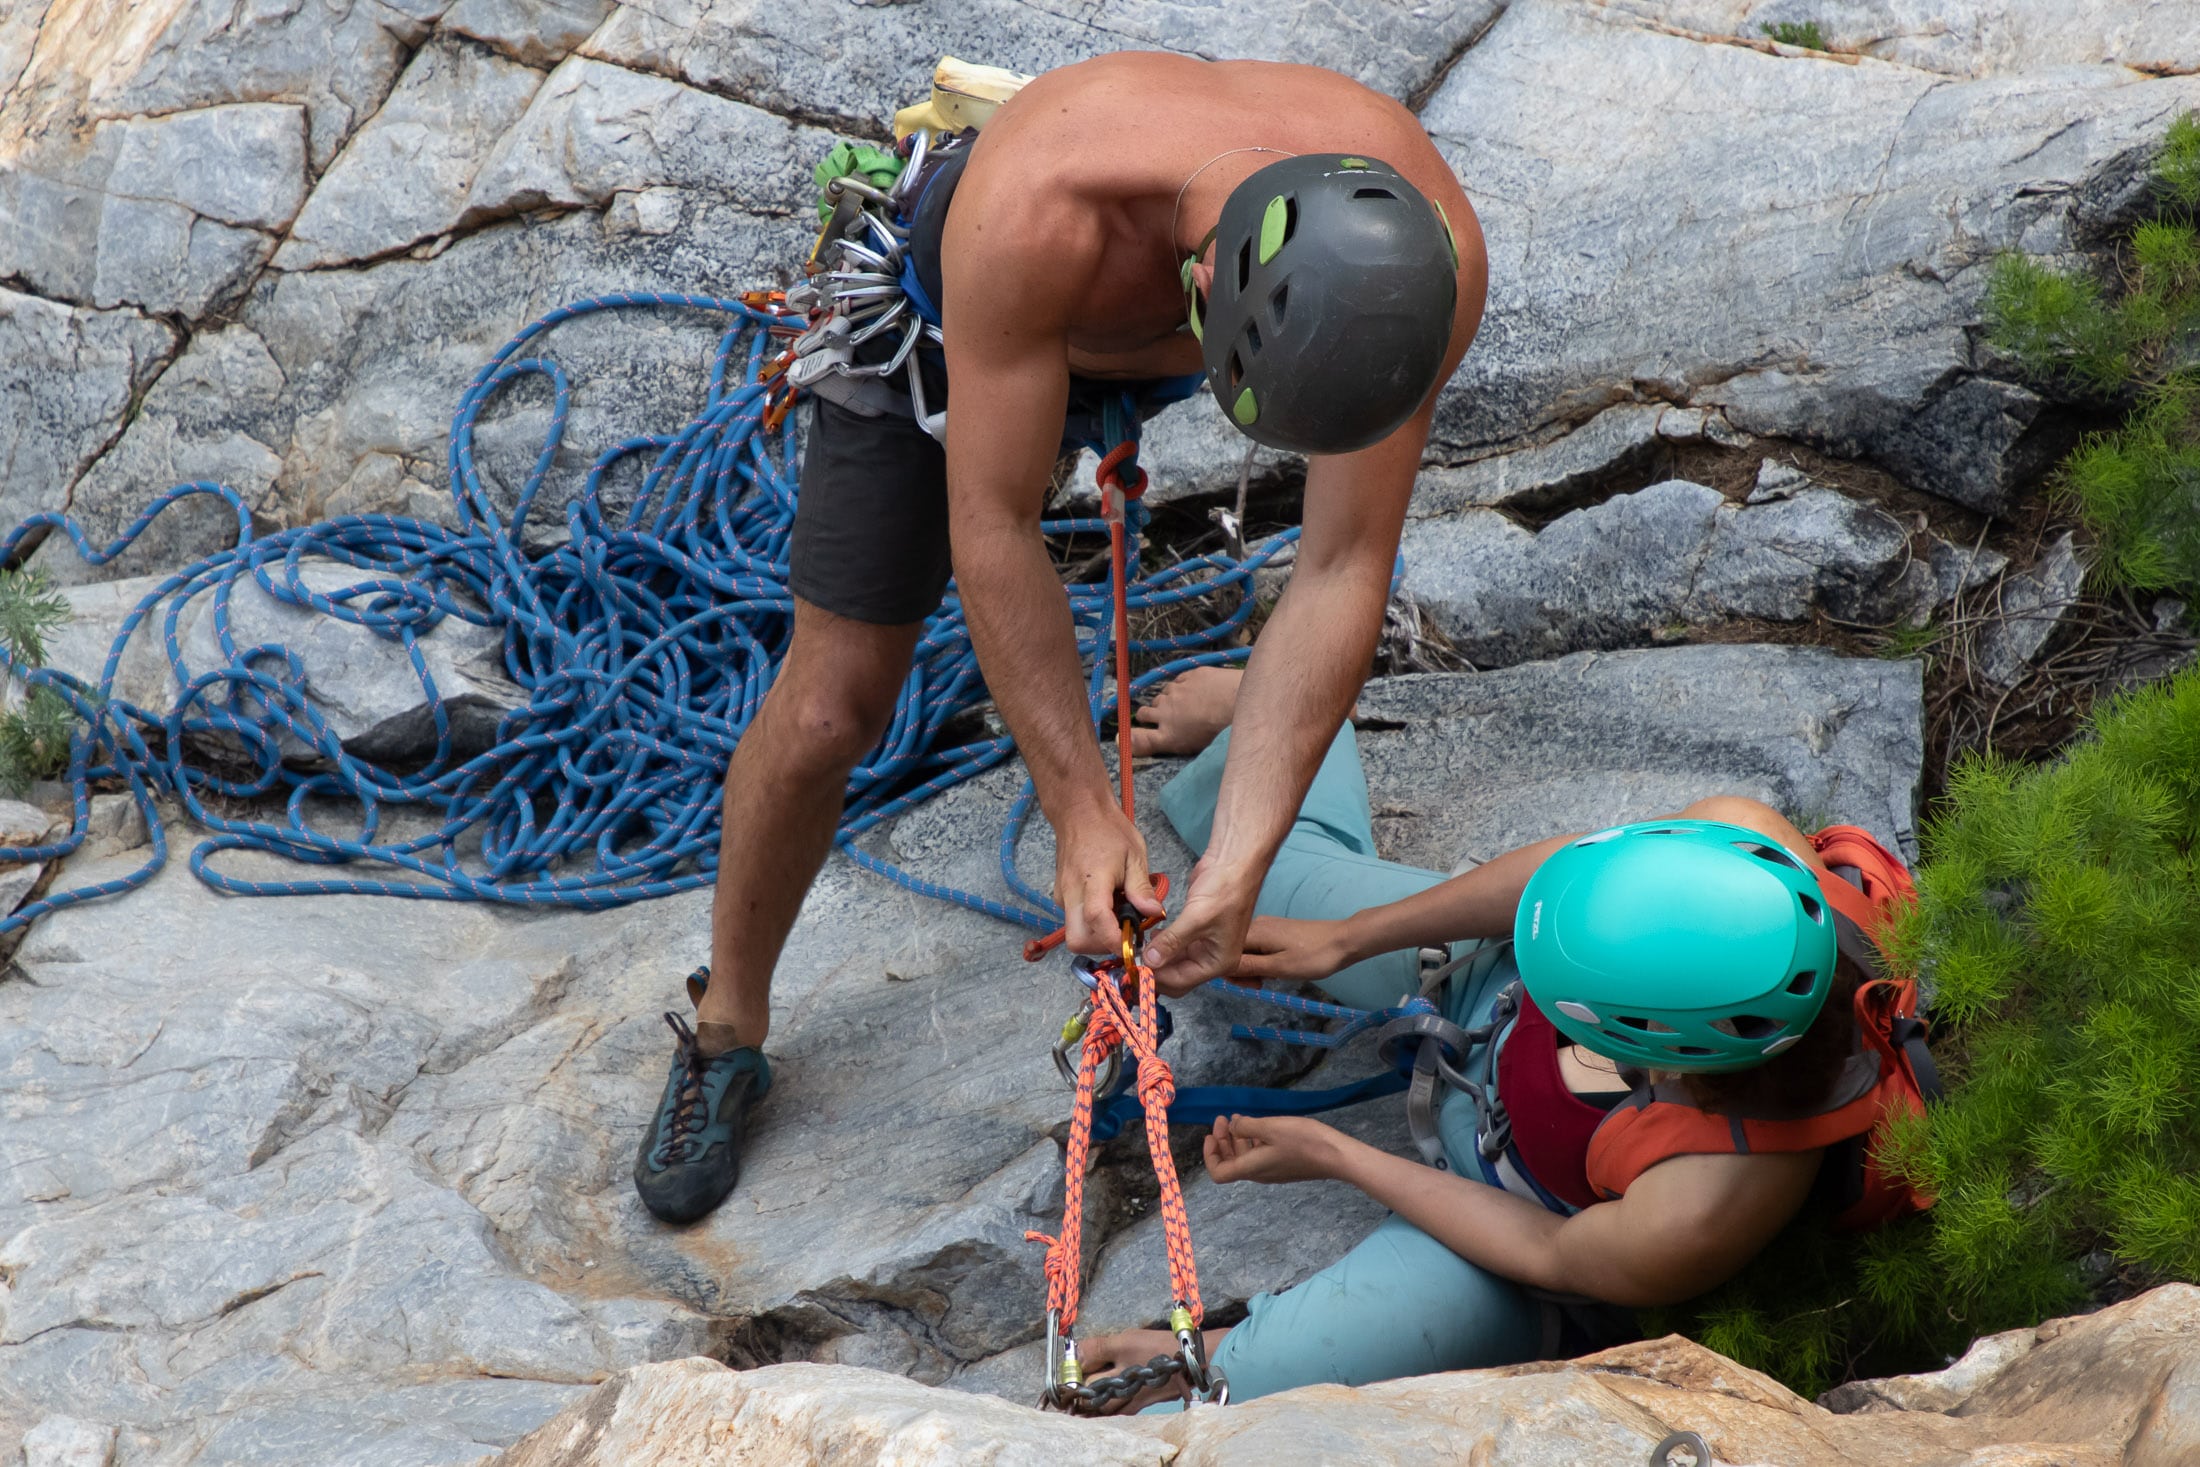
If you are using a quad, the best place to secure this connection is the second master point. This arrangement allows for a little more space between the two of you and makes the stance less cramped. Once your partner has secured himself to the anchor, you can disconnect the belay device and return it to a gear loop. Next, you will take the quickdraws, protection, and anchor-building material off your partner. When passing gear to each other, hand over one piece at a time or clip everything to the rope or leash connecting you to the anchor. Once you have all the gear you need for the next pitch, your partner can put you on belay and, after a pre-climb check, give you the go-ahead to start climbing.
Step-by-step, the whole changeover goes like this:
- The second climber secures herself to the anchor.
- The belay device is disconnected and returned to the first climber.
- The quickdraws, protection, and anchor-building material are also given to the first climber.
- If the rope has been folded over the first climber’s connection to the anchor, this must be handed to the second climber (now the belayer) while still arranged the same way. If the rope is in a pile on the ground, it must be flipped.
- The second climber puts the first climber on belay.
- Both partners check that the device is properly loaded with carabiner locked.
- The first climber/leader disconnects herself from the master point.
- The leader can lead the next pitch when ready.
Belaying the leader
Belaying the leader on a multi-pitch climb is very much like belaying a climber on a single-pitch climb. In fact the only major difference is that the belayer will have to catch a factor two fall (or maybe one slightly less severe) if the climber takes a fall before the first quickdraw. Both the climber and belayer should be aware of this danger and do all they can to mitigate the risk. If the moves to the first bolt are at all tenuous, it’s best to clip the first quickdraw to one of the bolts in the anchor. If the bolt would be cramped with two carabiners, attach the quickdraw dogbone to the screwgate used to secure the quad to the bolt. If you used a screw-gate-equipped quickdraw in your anchor, you can clip the rope to this (provided that it’s on the same side of the anchor as the leader).
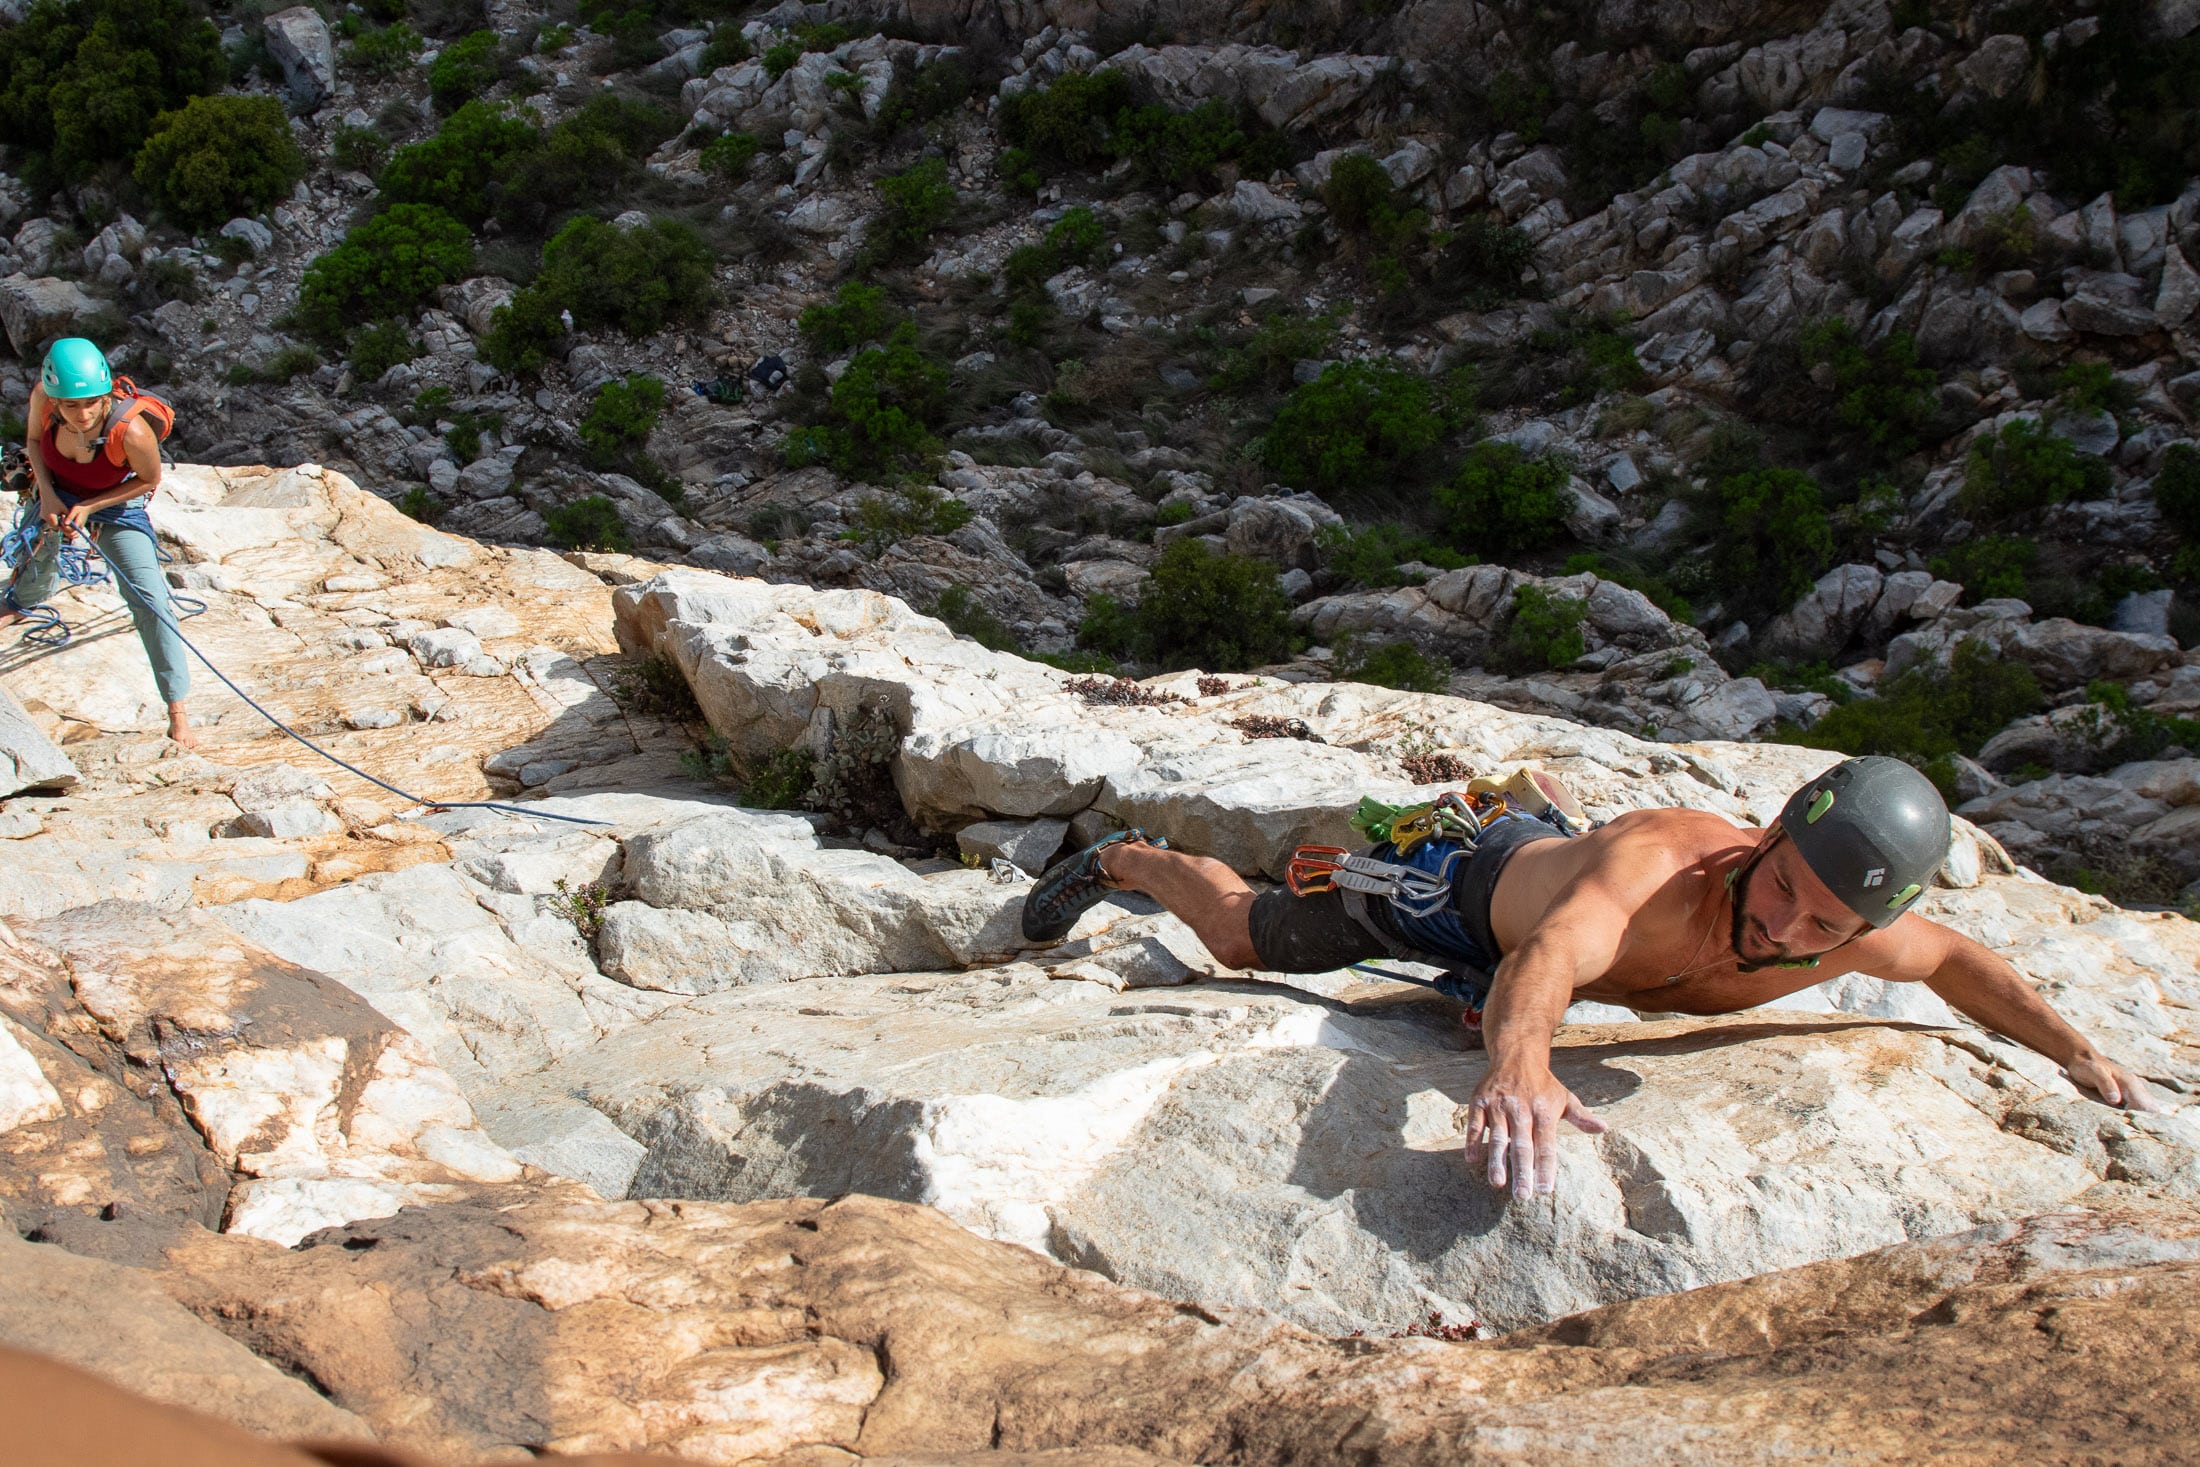
When belaying, you might also find that you can’t give the climber rope by stepping forward as you might when belaying from the ground – there usually just isn’t space. If you’ve previously relied on this tactic to deliver rope to the climber, you might have to become more preemptive in your belying, especially if you use an auto-braking device, which will lock up if the rope goes tight. Keep a little extra slack in the system when a longer fall is safe.
Following
With the lower potential for a fall, following is less committing than leading (usually), but that doesn’t make it any less important. The follower has to retrieve placed gear as he climbs, and while this is easy enough on bolt-protected pitches, cleaning trad pitches can require almost as much thought and effort as placing the gear. This skill – retrieving and re-racking gear in a semi-organised manner – is crucial in multi-pitch trad, where efficiency is key.

The follower will usually also carry the pack if the team is using one, and will be responsible for ensuring that nothing is left on the belay ledge. If the team decides to haul a bag (a common tactic on bigger routes) the follower would have to clear this if it got hung up somewhere.
Partnerships
Given the committing nature of multi-pitch routes, having a solid climbing partner is even more important than it is in single-pitch climbing. When things get real, you’ll need him or her to keep a calm head and make sound decisions. A good partner will know their abilities, have their ambitions (and ego) in check, and understand that the risk level has to be dialled down to a level that the more risk-averse climber is comfortable with. Ideally you’d be able to spend a few sessions climbing single-pitch routes together so that you can gauge a new partner’s ability and appetite for risk.
Communication
Communicating on multi-pitch routes can be challenging, especially when the wind is blowing and your partner is out of sight. When you can’t hear your partner, the most simple and effective way to communicate is to use the rope. Having such a protocol is especially important when you reach the next stance and need to change from climbing to belaying. You’ll need one command for telling your partner that you want to go off belay and another for telling them that you have them on belay and they can climb. The ‘off belay’ command has to be easily distinguishable from other commands like the series of tugs you might give when you are desperate for more rope.
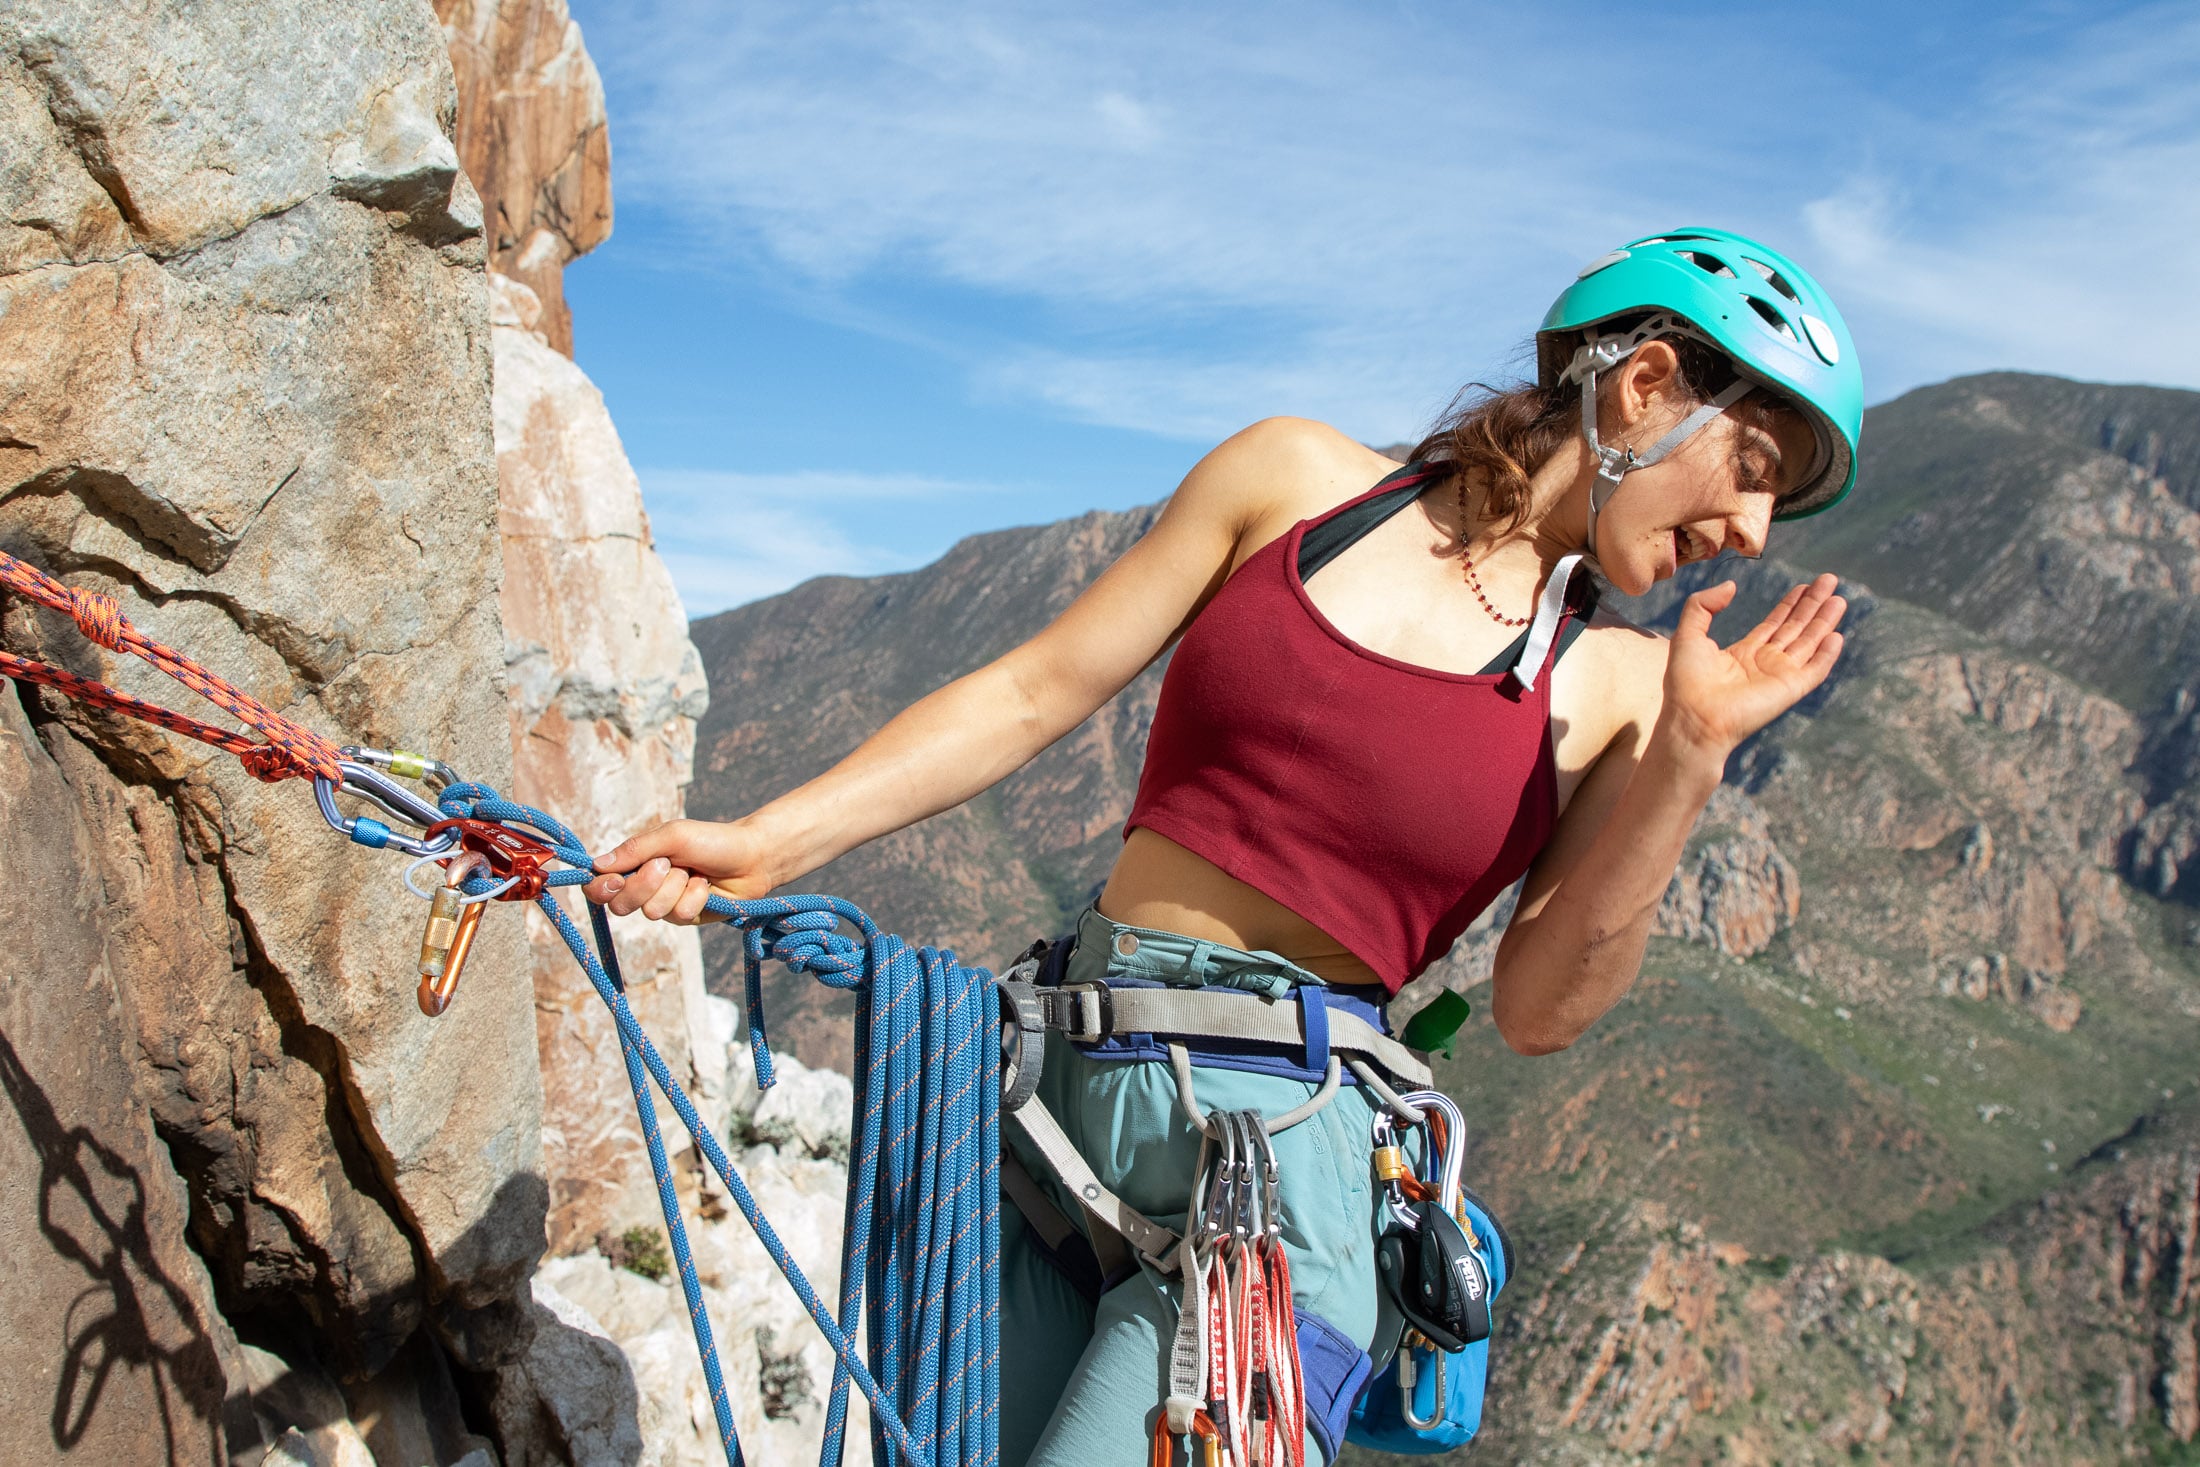
The standard non-verbal command for ‘off belay’ is to pull the rope tight, give three firm tugs, pause for a predetermined amount of time (usually 3 to 5 seconds), and then give another three tugs. Then, once you’ve pulled up any slack in the rope and put your second on belay, you can give another 3 first tugs to tell your partner that they’re on belay and can start climbing. The second climber might then give another 3 tugs when they are ready to climb – a command to the first climber to start taking in rope. Use these rope commands with the verbal commands ‘off belay’ and ‘on belay’, including your partner’s name if there are other parties in the area. Alternatively, you and your partner might simply opt to use radios.
First climber
Pulls up rope – 3 tugs – 3 second wait – 3 tugs
“Off belay”
3 tugs
“On belay. Climb when ready”
Second climber
3 tugs
“Climbing”
Get out there
That’s it – everything you need to know to climb your first multi-pitch. Get out there, start small, and slowly up the ante as you build up your experience. Earlier in the article I referred to articles on rappelling. This skill is essential to multi-pitch climbers, and if you have limited experience in rappelling, I strongly recommend that you read Rappelling 101 and How to Change Over on a Multi-stage Rappel and then practise these techniques in a safe environment before relying on them to get you off a long route.
