So your friends have told you to put on your big boy or big girl pants and accompany them on a trip to their favourite hard crag. You’ve heard the term ‘project’ bandied about and understand that it’s a route that takes many sessions to send. But you’ve never committed to a project of your own and are now wondering how working such a route is different from redpointing easier routes in a single session. Fortunately, you found this article, the most comprehensive guide on redpoint tactics anywhere on the internet. At almost 5000 words, it’s not a quick read. But you’re serious about upping your game, so you’re going to read the whole thing from start to finish and forearm yourself with everything you need to know to succeed and have fun.
But first a quick digression. Here I’ve used ‘redpoint’ to describe the tactics used for working hard routes. In truth, it would be more accurate to say pinkpoint, as most sport climbers will send their projects with the quickdraws already up. To some climbers, these definitions matter; to others they’re of little significance. A send is a send, and what’s important is that these tactics can help you crush routes that might have previously seemed too difficult. Ready to start climbing a grade harder? Good. Read on.
- The project mindset
- The redpoint process
- Hangdogging
- Climbing efficiently
- Resting and shaking out
- Pre-send routine
- Choosing the right time to send
- Training and conditioning
The project mindset
If up until now you’ve always sent after just a few burns on a route, you’re going to have to change your approach to take on a project. Sending something close to your limit will require you to spend days, weeks, or months working the same stretch of rock, and it’s highly likely that progress will come only in small increments. On some days you might feel that you’ve made no progress at all. But, if you do send, it’ll be worth it. Besides making you a better climber, putting together a hard project inspires a sense of achievement that you just won’t experience after sending routes well within your ability. If you’ve already experienced the post-send glow, it’s the same thing – only better.
Learn to love the process
A project should feel very hard, even impossible, at first. But then, as you experiment, learn, and refine, you’ll start to make what was previously impossible possible. To keep your motivation up, it’s important to find satisfaction in these small breakthroughs. You can think of it as putting together the pieces of a puzzle, one in which assembled sections will ultimately come together in the final performance. Accept that there will be days when you are too weak to link sections that you were putting together the day before – days when you’ll have to shift your focus from extending your high point to refining your movements or learning the subtleties of crucial rests. These will all contribute to the send in the end.
Choose a project that you’re drawn to
Given how much time you might put into a project, it’s important that you choose one that you’re drawn to. Aesthetics, movement, and legend – all of these might contribute to your enjoyment of a route. Beyond choosing a route that you’re going to be psyched about climbing, you should also choose one that is within your ability. That will most likely mean choosing a route that is no more than two grades harder than your current hardest pinkpoint or redpoint. Also, consider how a route might play to your strengths or draw out your weaknesses. If your strength and preferred style is techy routes, taking on a power-endurance pump fest two grades harder than your previous best might be biting off more than you can chew.
Get support from a climbing partner
Getting support from a regular climbing partner can be more or less important depending on where your project is. If it’s located in a popular crag, you’ll probably have no difficulty finding someone to give you a catch. On the other hand, if your project is on a remote mountainside hours from anywhere, you’ll need to find a friend, or friends, who will commit to returning to it several times. Even if you’re likely to have no shortage of belayers, it’s usually better to have a regular partner involved in a project. Besides having already proven themselves to be a capable belayer, such a partner will know how you like to be belayed and how best to support you when you’re struggling. Ideally that person would also share the project with you. If they don’t it would be best if they have a project in the vicinity – a reason to return to the crag repeatedly.
The redpoint process
Now to the actual business of working a project. The objective here is to break a route into sections, find workable sequences for those sections, and then start to link them. As you do this, you’ll constantly be trying to find ways to save energy, scrounging a few extra kilojoules from this rest or that clip, so that, come send day, you will have enough gas left in the tank when you reach each redpoint crux.
Break it down into sections
Step one: break the route up into sections that you can work on separately. You'll make progress faster by focusing on just several meters at a time, and will be motivated by the little victories that come with the unlocking of every section. Most routes are best broken into three to five sections. These can be defined by physical attributes like a dihedral or a series of small roofs, or, if the route is just one tall, apparently featureless face, it can also be divided into sections separated by bolts. Bolts one to three can be one section, bolts four to six can be another, and so on. While working such routes, you might discover definite cruxxes and then redefine the sections of your route according to these.
Assess the efficiency of sequences, not single moves
When trying to find the best way to climb a part of the route, it’s important to remember that moves aren’t climbed in isolation. In instances where the rock doesn’t give you a lot to work with, one move usually sets up the next, which sets up the next, and so on. Sometimes choosing the easier of two moves makes the next move more difficult, which can make the sequence as a whole more difficult. In such instances, it often pays to execute a harder move if it makes the next move and the sequence as a whole less difficult. Keep this in mind especially when you are working crux sequences – you should always access the efficiency of sequences and not just single moves.
Explore all options when testing sequences
Don’t stick with the first sequence that works. You might miss options that make a section significantly easier. Try a variety of different workable sequences if they exist, and be careful of accepting beta that has worked for everyone else. Make a habit of widening your view and looking for creative solutions. That little and neglected uncling or higher foothold might unlock easier moves. The same for body position. What happens if you twist your hip into the wall or flag a foot? Do those make things easier even though you are using the same hold. If they do, file that information away in a mental folder with everything else that makes the sequence less strenuous.
Don’t forget about the home straight
Most climbers will rehearse crux sequences over and over, and then forget about the final stretch to the anchors. What inevitably happens then is that the climber pulls the final crux with perfect form but then pumps out while trying to figure out the sequence for the 5.10 headwall. Don’t neglect to practise that last stretch. There’s nothing more frustrating than blowing it after 30 moves of hard climbing because you were tripped up by some easy face climbing. If the top section is actually quite hard, it’s doubly important that you work it thoroughly as you will almost certainly have to pull those moves while pumped. A top-down approach often works best for such routes. More about that in a moment.
Focus on proprioception
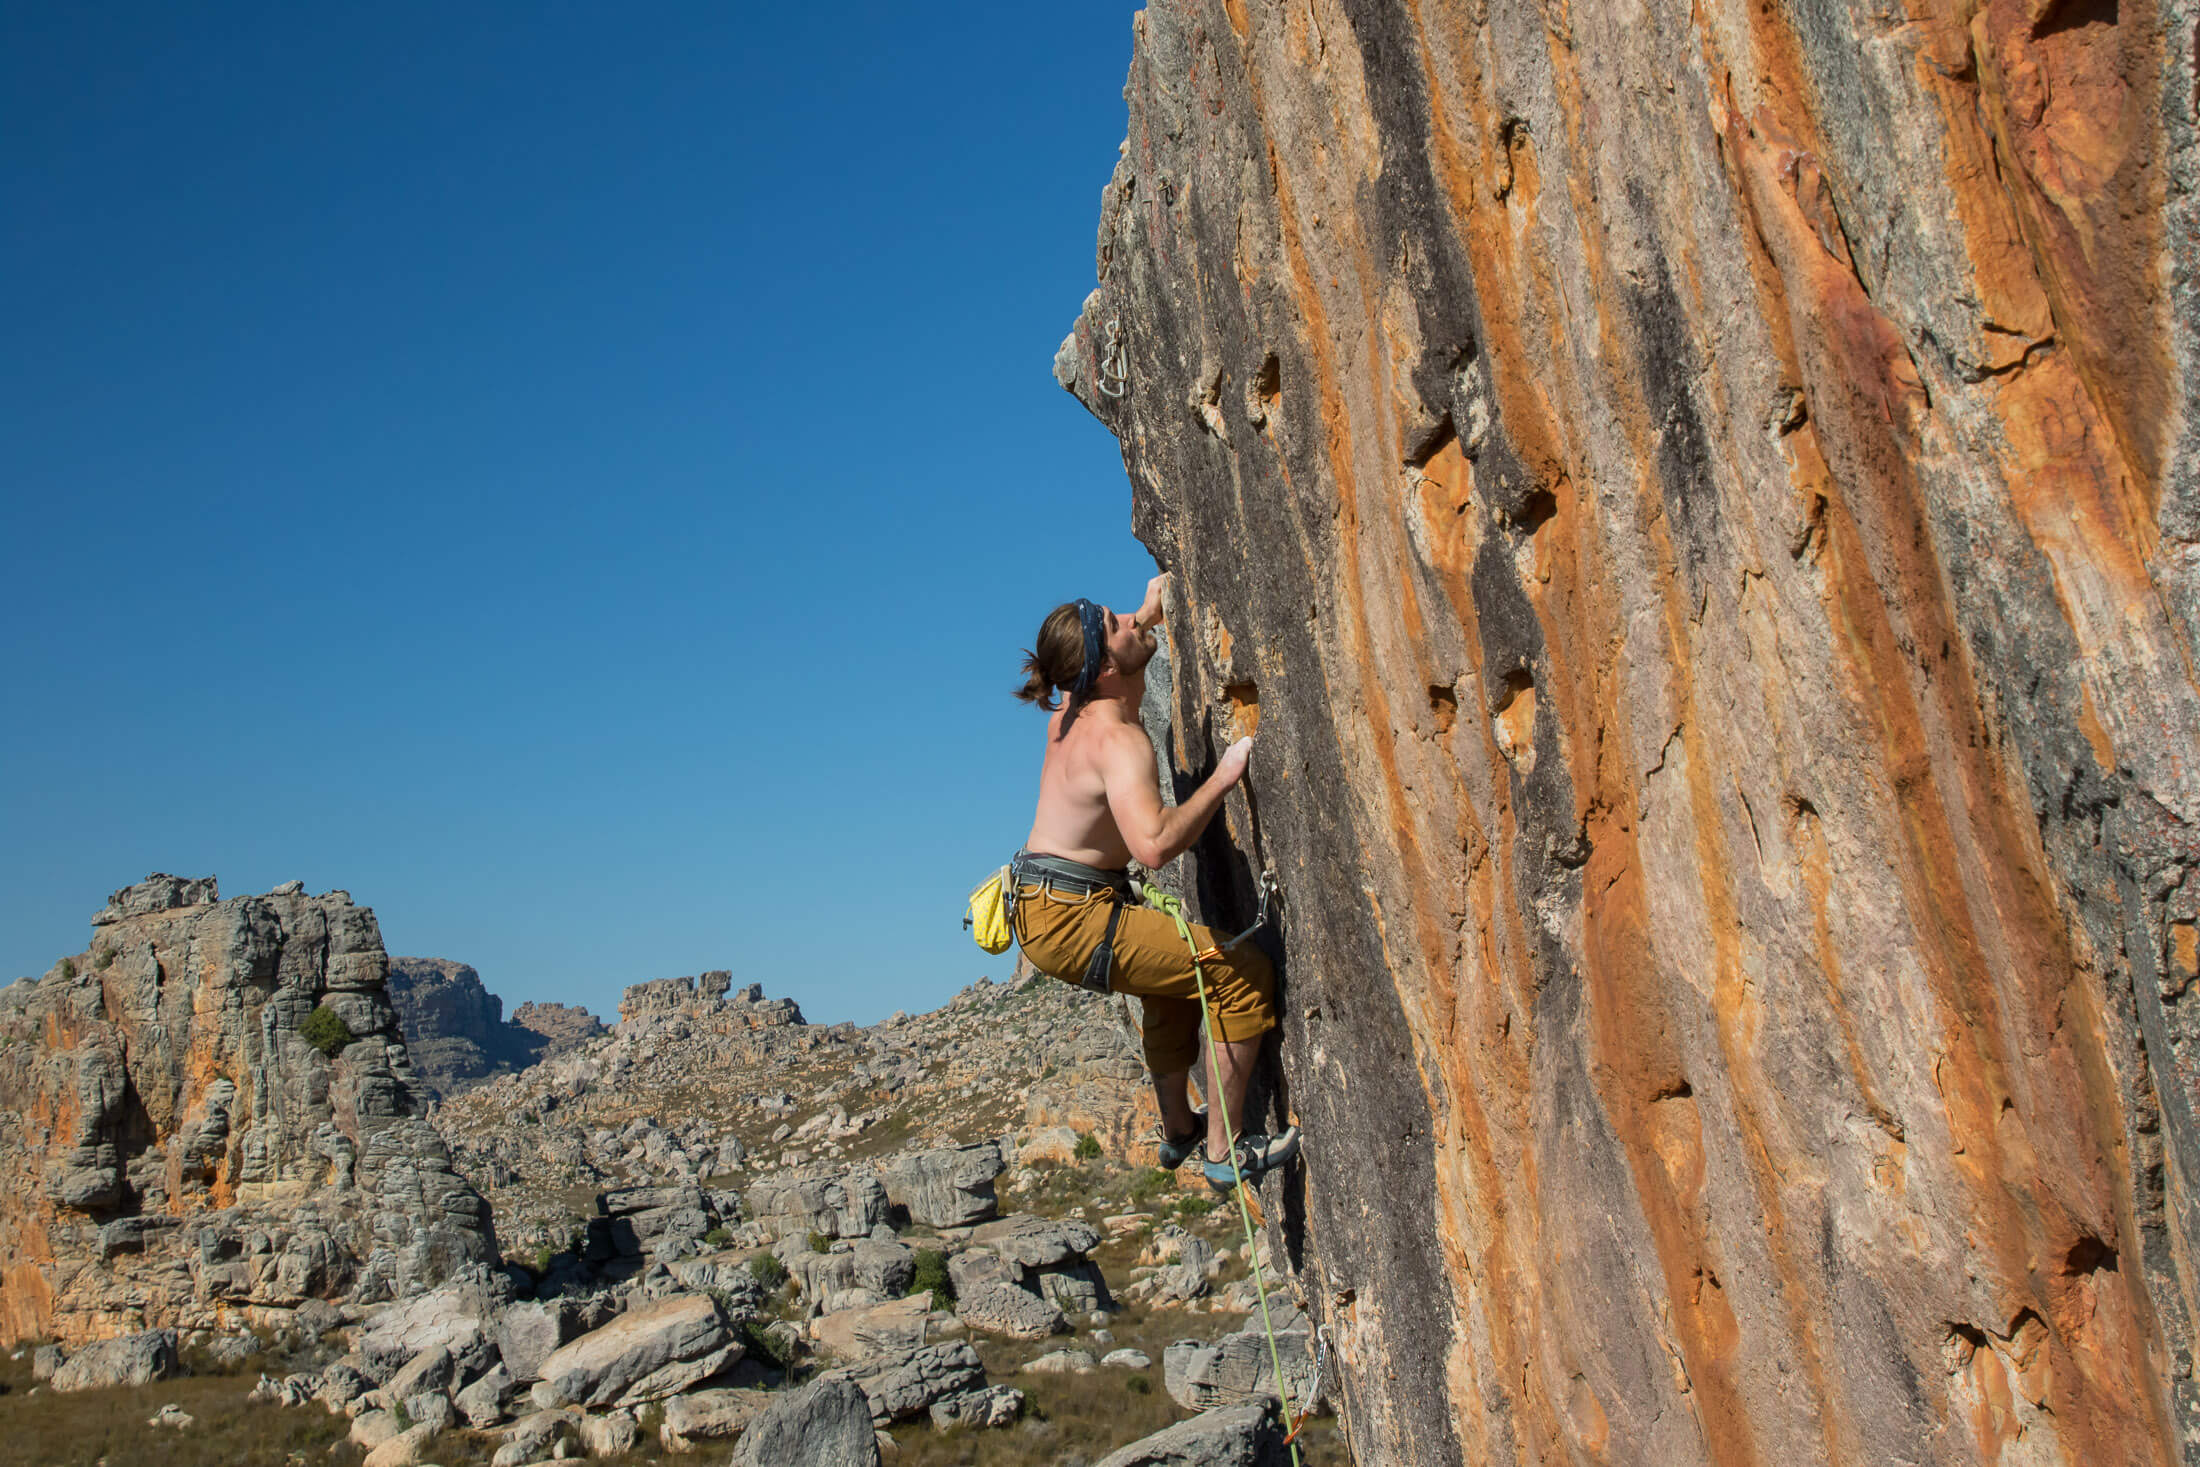
When struggling with a difficult move, many climbers grit their teeth and crank with just enough technique or form to ensure that the move sticks. By doing that, you waste an opportunity for feedback that could help you refine your movement in a way that makes it more energy efficient. Although difficult at first, it’s much more productive to stay receptive to the sensations of a move. By paying careful attention to proprioception, a climber can tell whether a small change in form makes a move more difficult or easier. When combined with other small adjustments, such tweaks can make all the difference between a successful ascent and taking another whipper.
Rehearse the clips
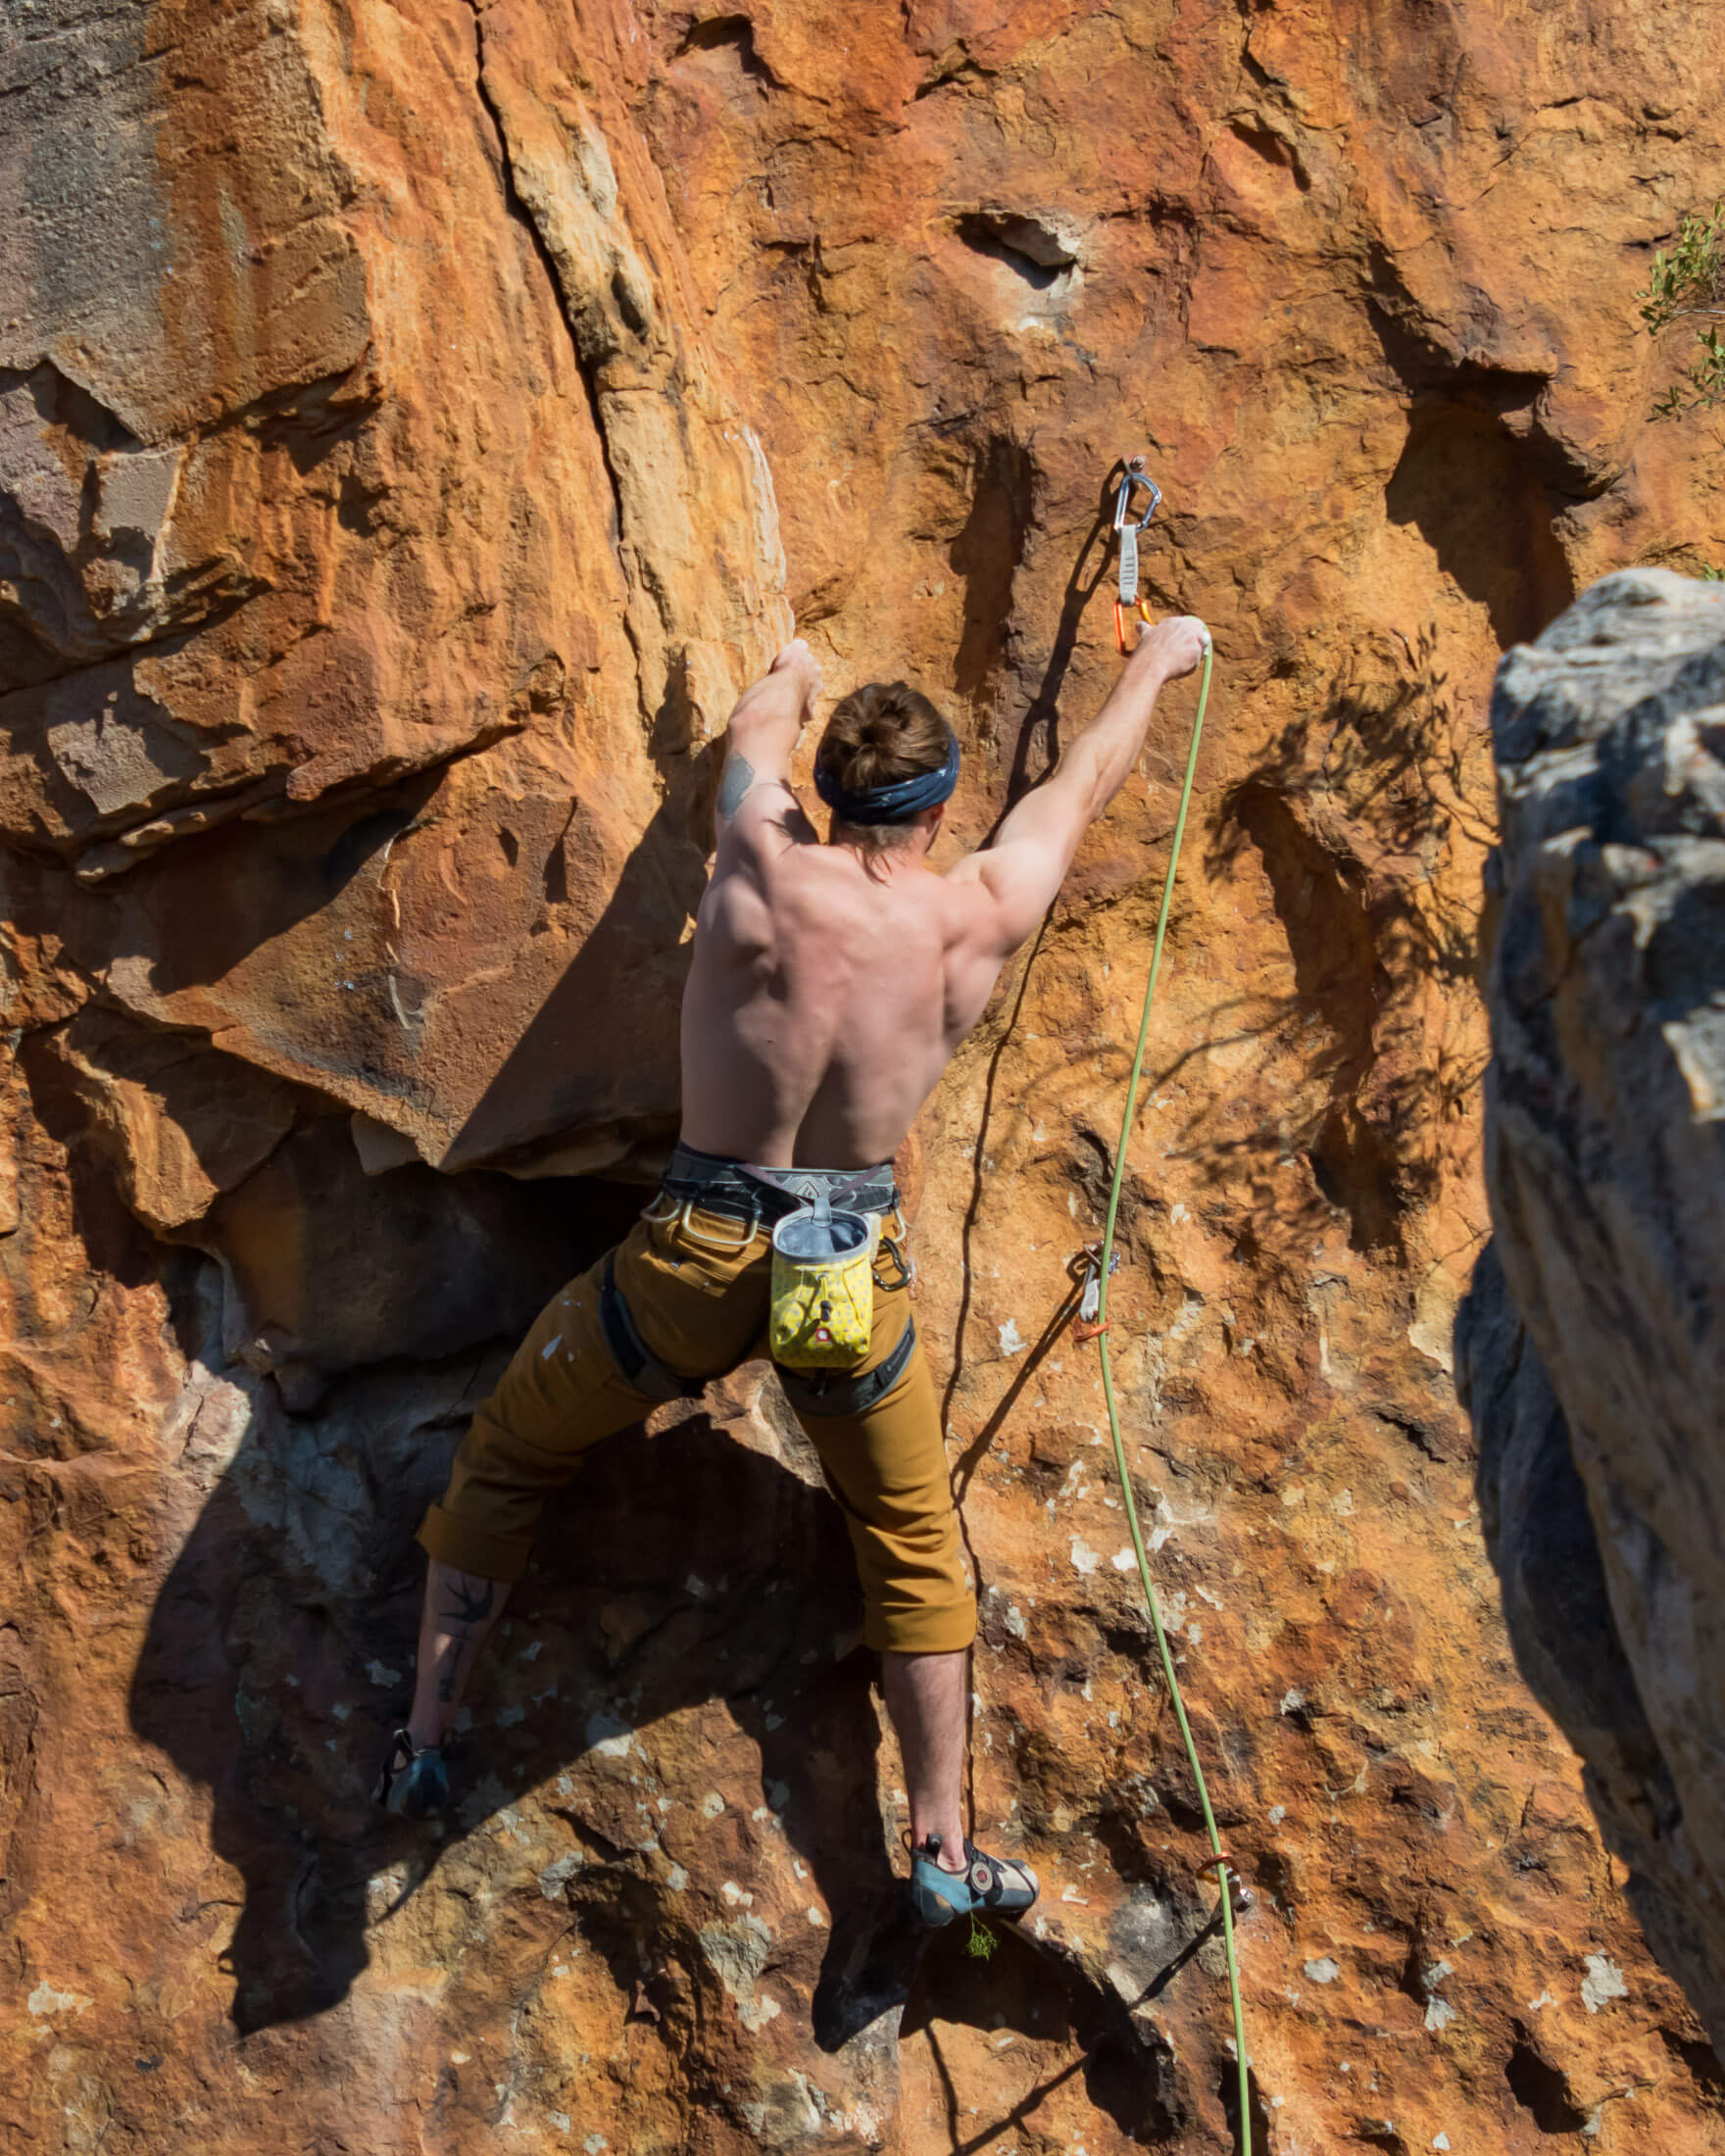
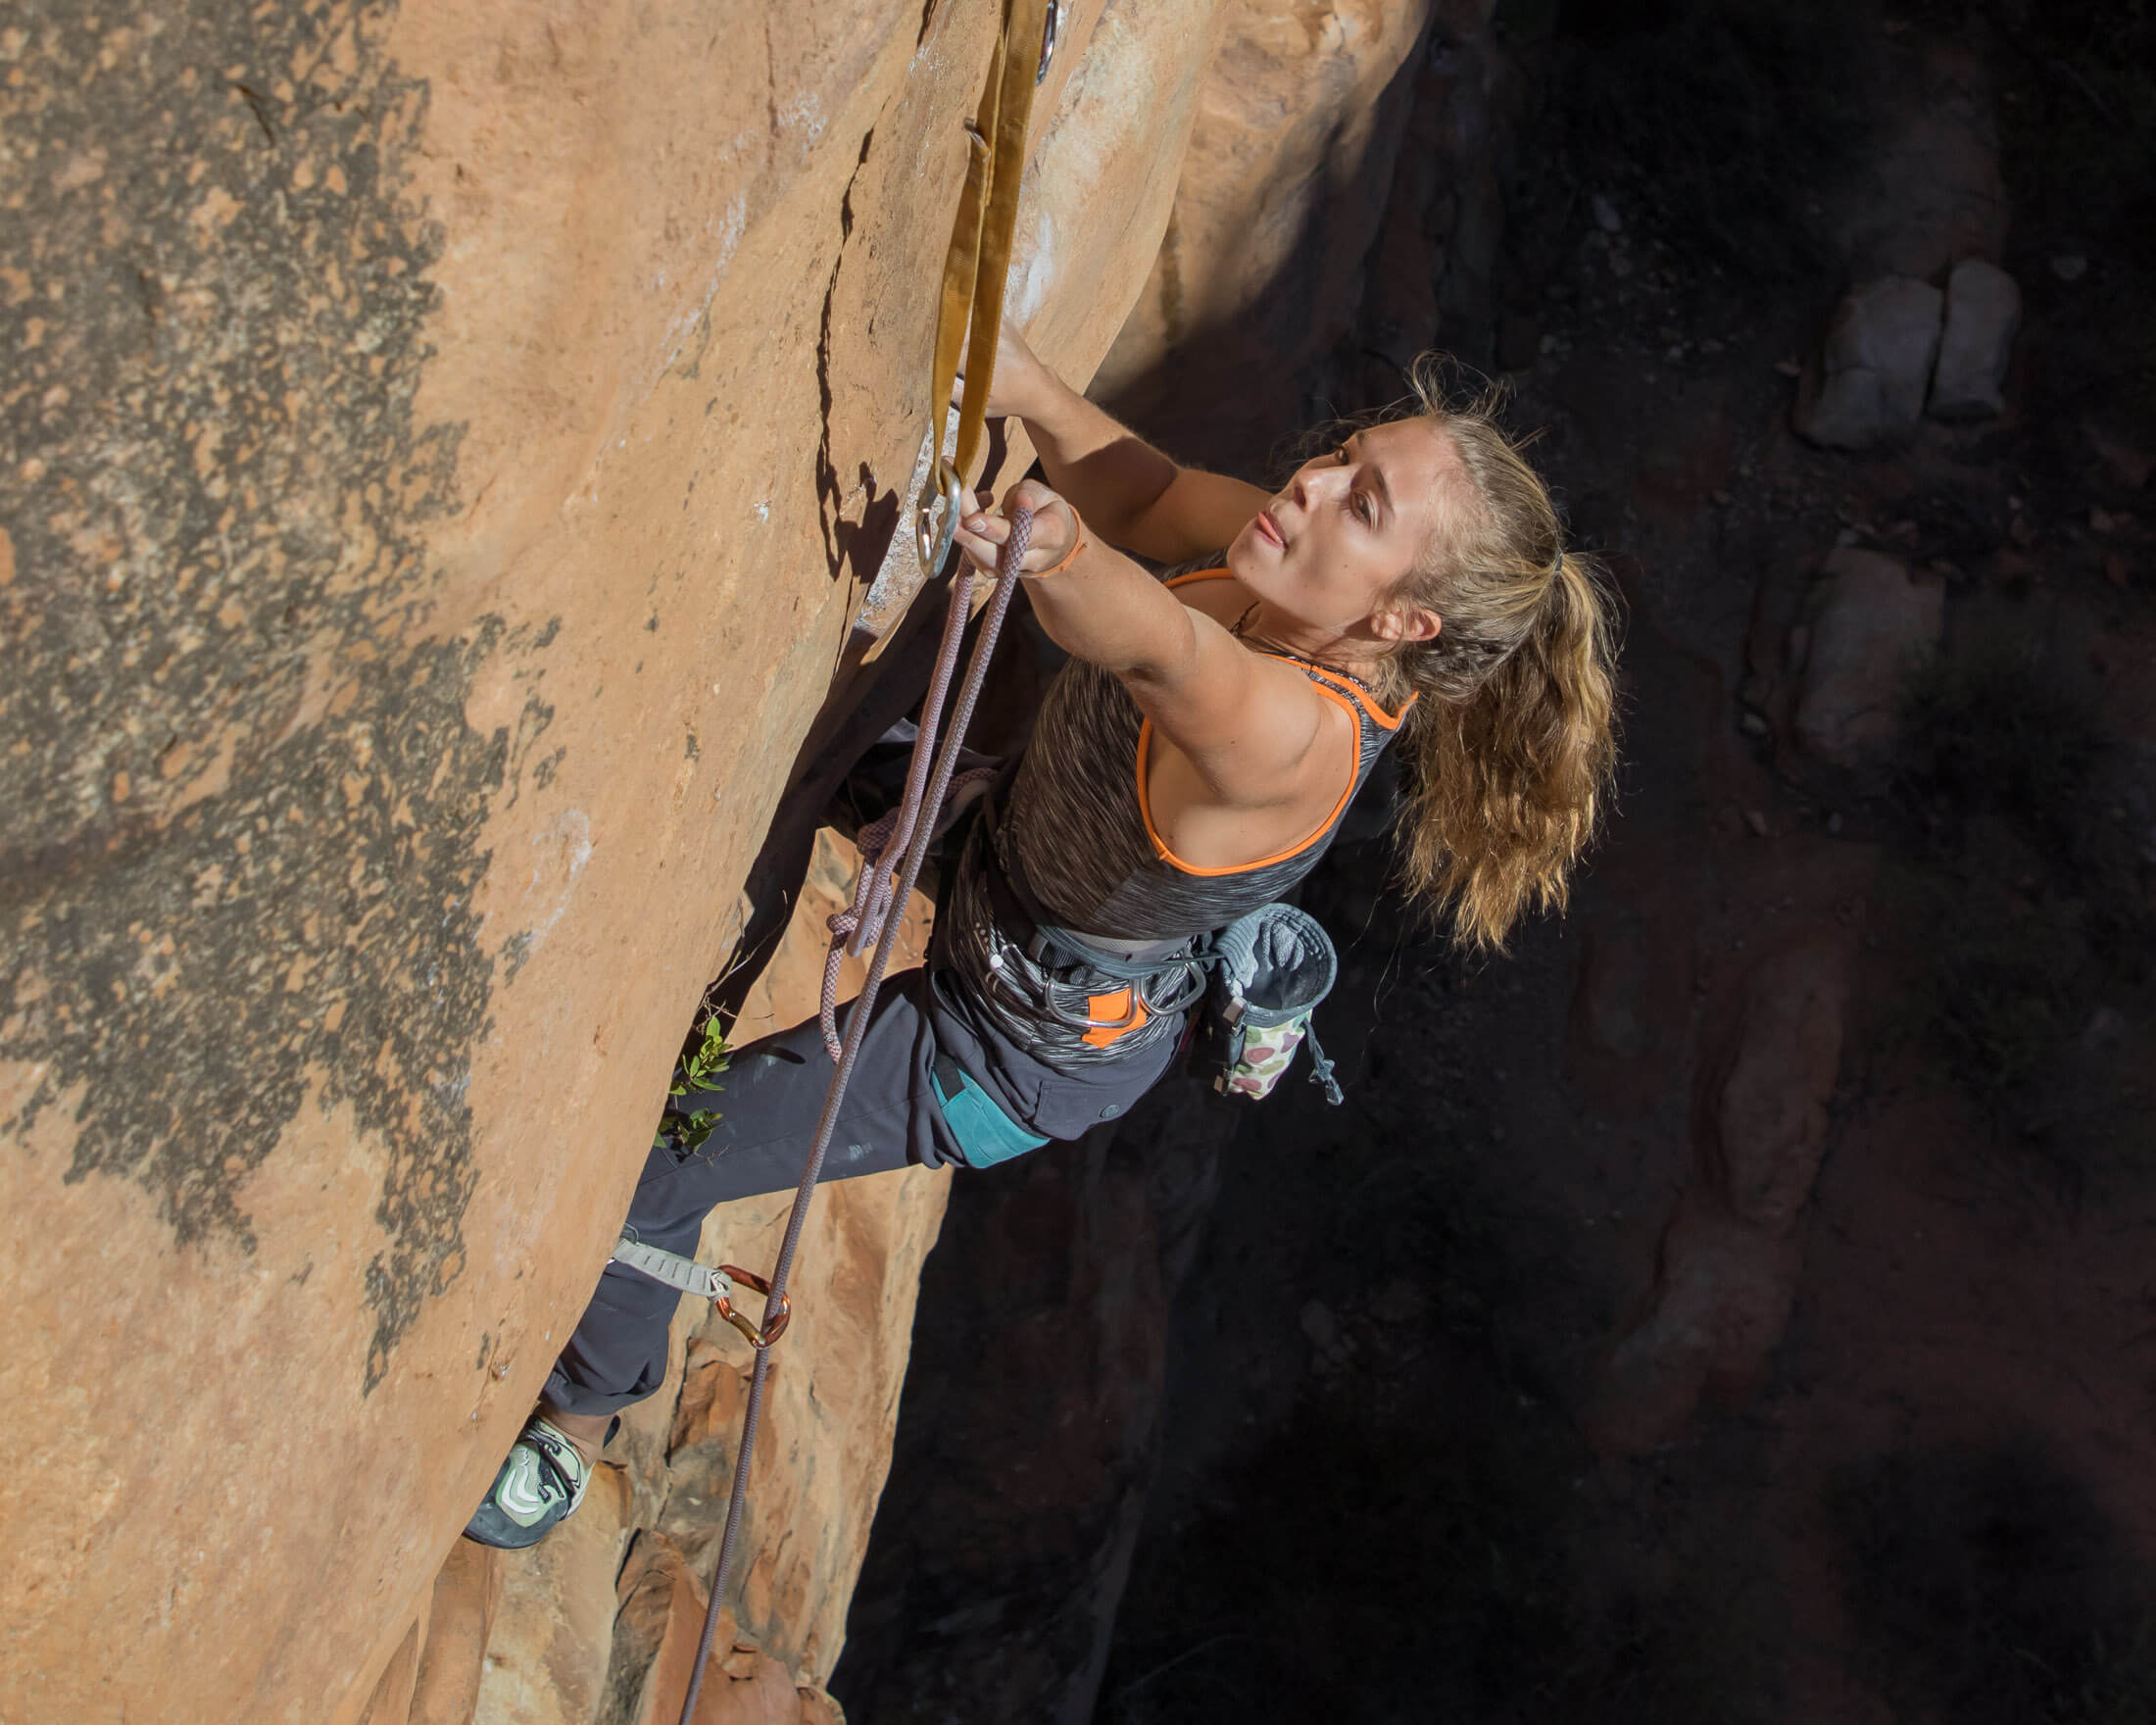
It’s important to rehearse clips too, especially when clipping positions are tenuous. If a clip is really desperate and your preferred sequence doesn’t put you in a position where you can take one hand off the wall to clip, you might have to transition into a move stable position before making the clip. It would be wise to rehearse this too if you’re worried that you might dork the clip on a send burn. If reaching for a clip costs you energy or causes you to risk slipping, extend the draw. And, lastly, if you’re coming to sport climbing from bouldering, know that best thing you can do might be to work on your clipping technique.
Commit sequences to memory
Unlocking a sequence and then memorising it are two different things. If you find a workable sequence only after trying to climb a section several different ways, you still need to put in some work to remember your final sequence. Repeated rehearsals of a section will aid muscle memory as well as your memorisation of the sequence, but visualisation will also help and can be practised long after your arms are spent. Regarding tick marks, I only recommend using tick marks if they are actually useful – if there’s a smattering of similar looking holds close together or maybe a wide hold or rail with one sweet spot. Remember to brush tick marks when you’re done.
Start linking sections
After you’ve dialled in the separate sections, it’s time to start linking them together. It’s when you start linking sections that you will figure out where you need to rest and where you’ll face a redpoint crux. There are two approaches to linking sections: high point and low point (top down projecting). Normally, when you start giving a project serious burns, your goal will be to reach a new high point every time, that is, the highest point you can reach from the ground without falling. A low point or top-down approach, on the other hand, would mean extending the lowest point from which you can climb without failure to the anchors. You might start by climbing to the anchors from just a few bolts below the top, then from the middle of the route, and then the bottom third.
At first glance a high point approach might seem like the most obvious way to tackle a project, but the low point or top-down approach also has its advantages. Top-down projecting is an especially useful way to practise linking the sections on sustained power-endurance pump fests. By starting with the uppermost section and adding successive lower sections to it, you will ensure that you spend more time practising the section you’ll climb when you’re most fatigued.
Hangdogging
Once considered poor form, hangdogging has become a common tactic for figuring out sequences, rests and clipping positions on sport projects. While it is perfectly acceptable to climb bolt-to-bolt – pausing to rest and try out different sequences – there are a few best practices that you should follow to get the most from each hang and to avoid testing your belayer’s patience.
Hangdog only when your partner is prepared for it
If you value your belaysionship, warn your partner before you embark on an epic hang fest. It’s only fair to first ask if she wouldn’t mind giving your a patient belay while you figure out the moves on your project. If you’re going to climb bolt-to-bolt, tell her in advance so that she knows what to expect and can give you the best belay possible. Tell her in advance if you plan to climb bolt-to-bolt, so she can be prepared to give you the best belay possible. You might even want to tell her which sections of a climb are the most difficult for you, which clips you’re likely to fumble, and any other information that might help her give you a safer, smoother belay.
Go in direct
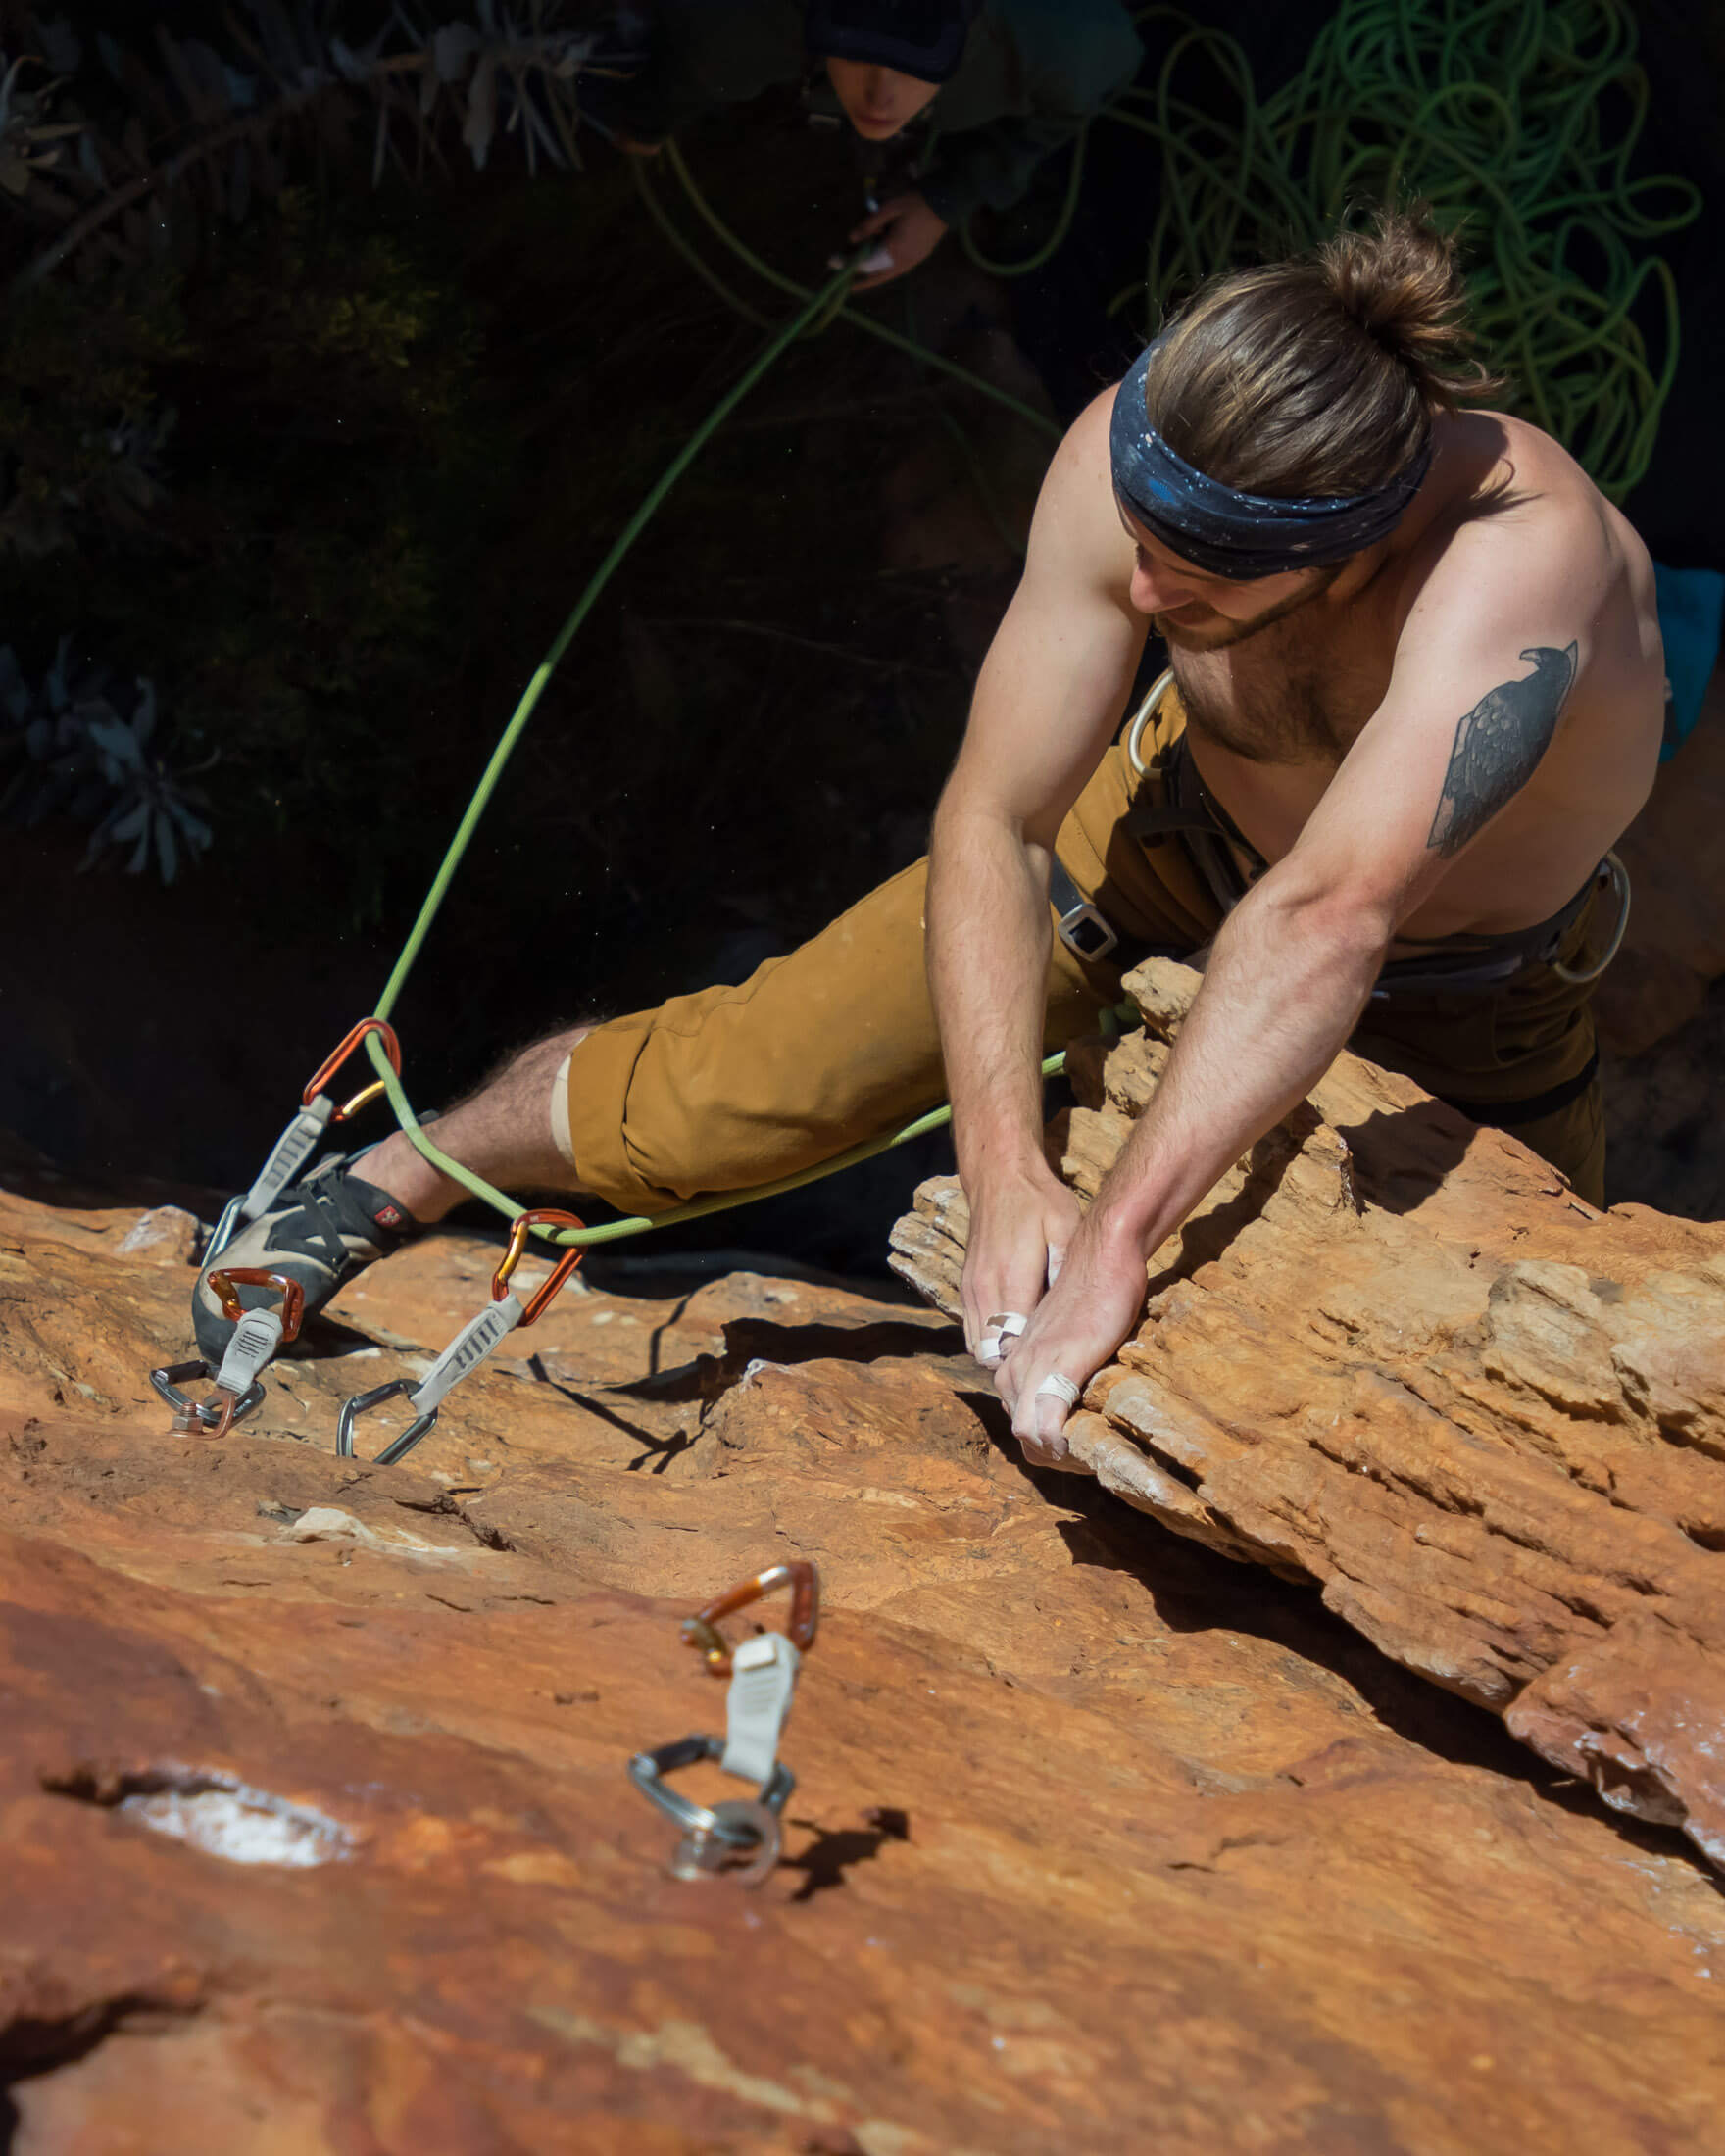
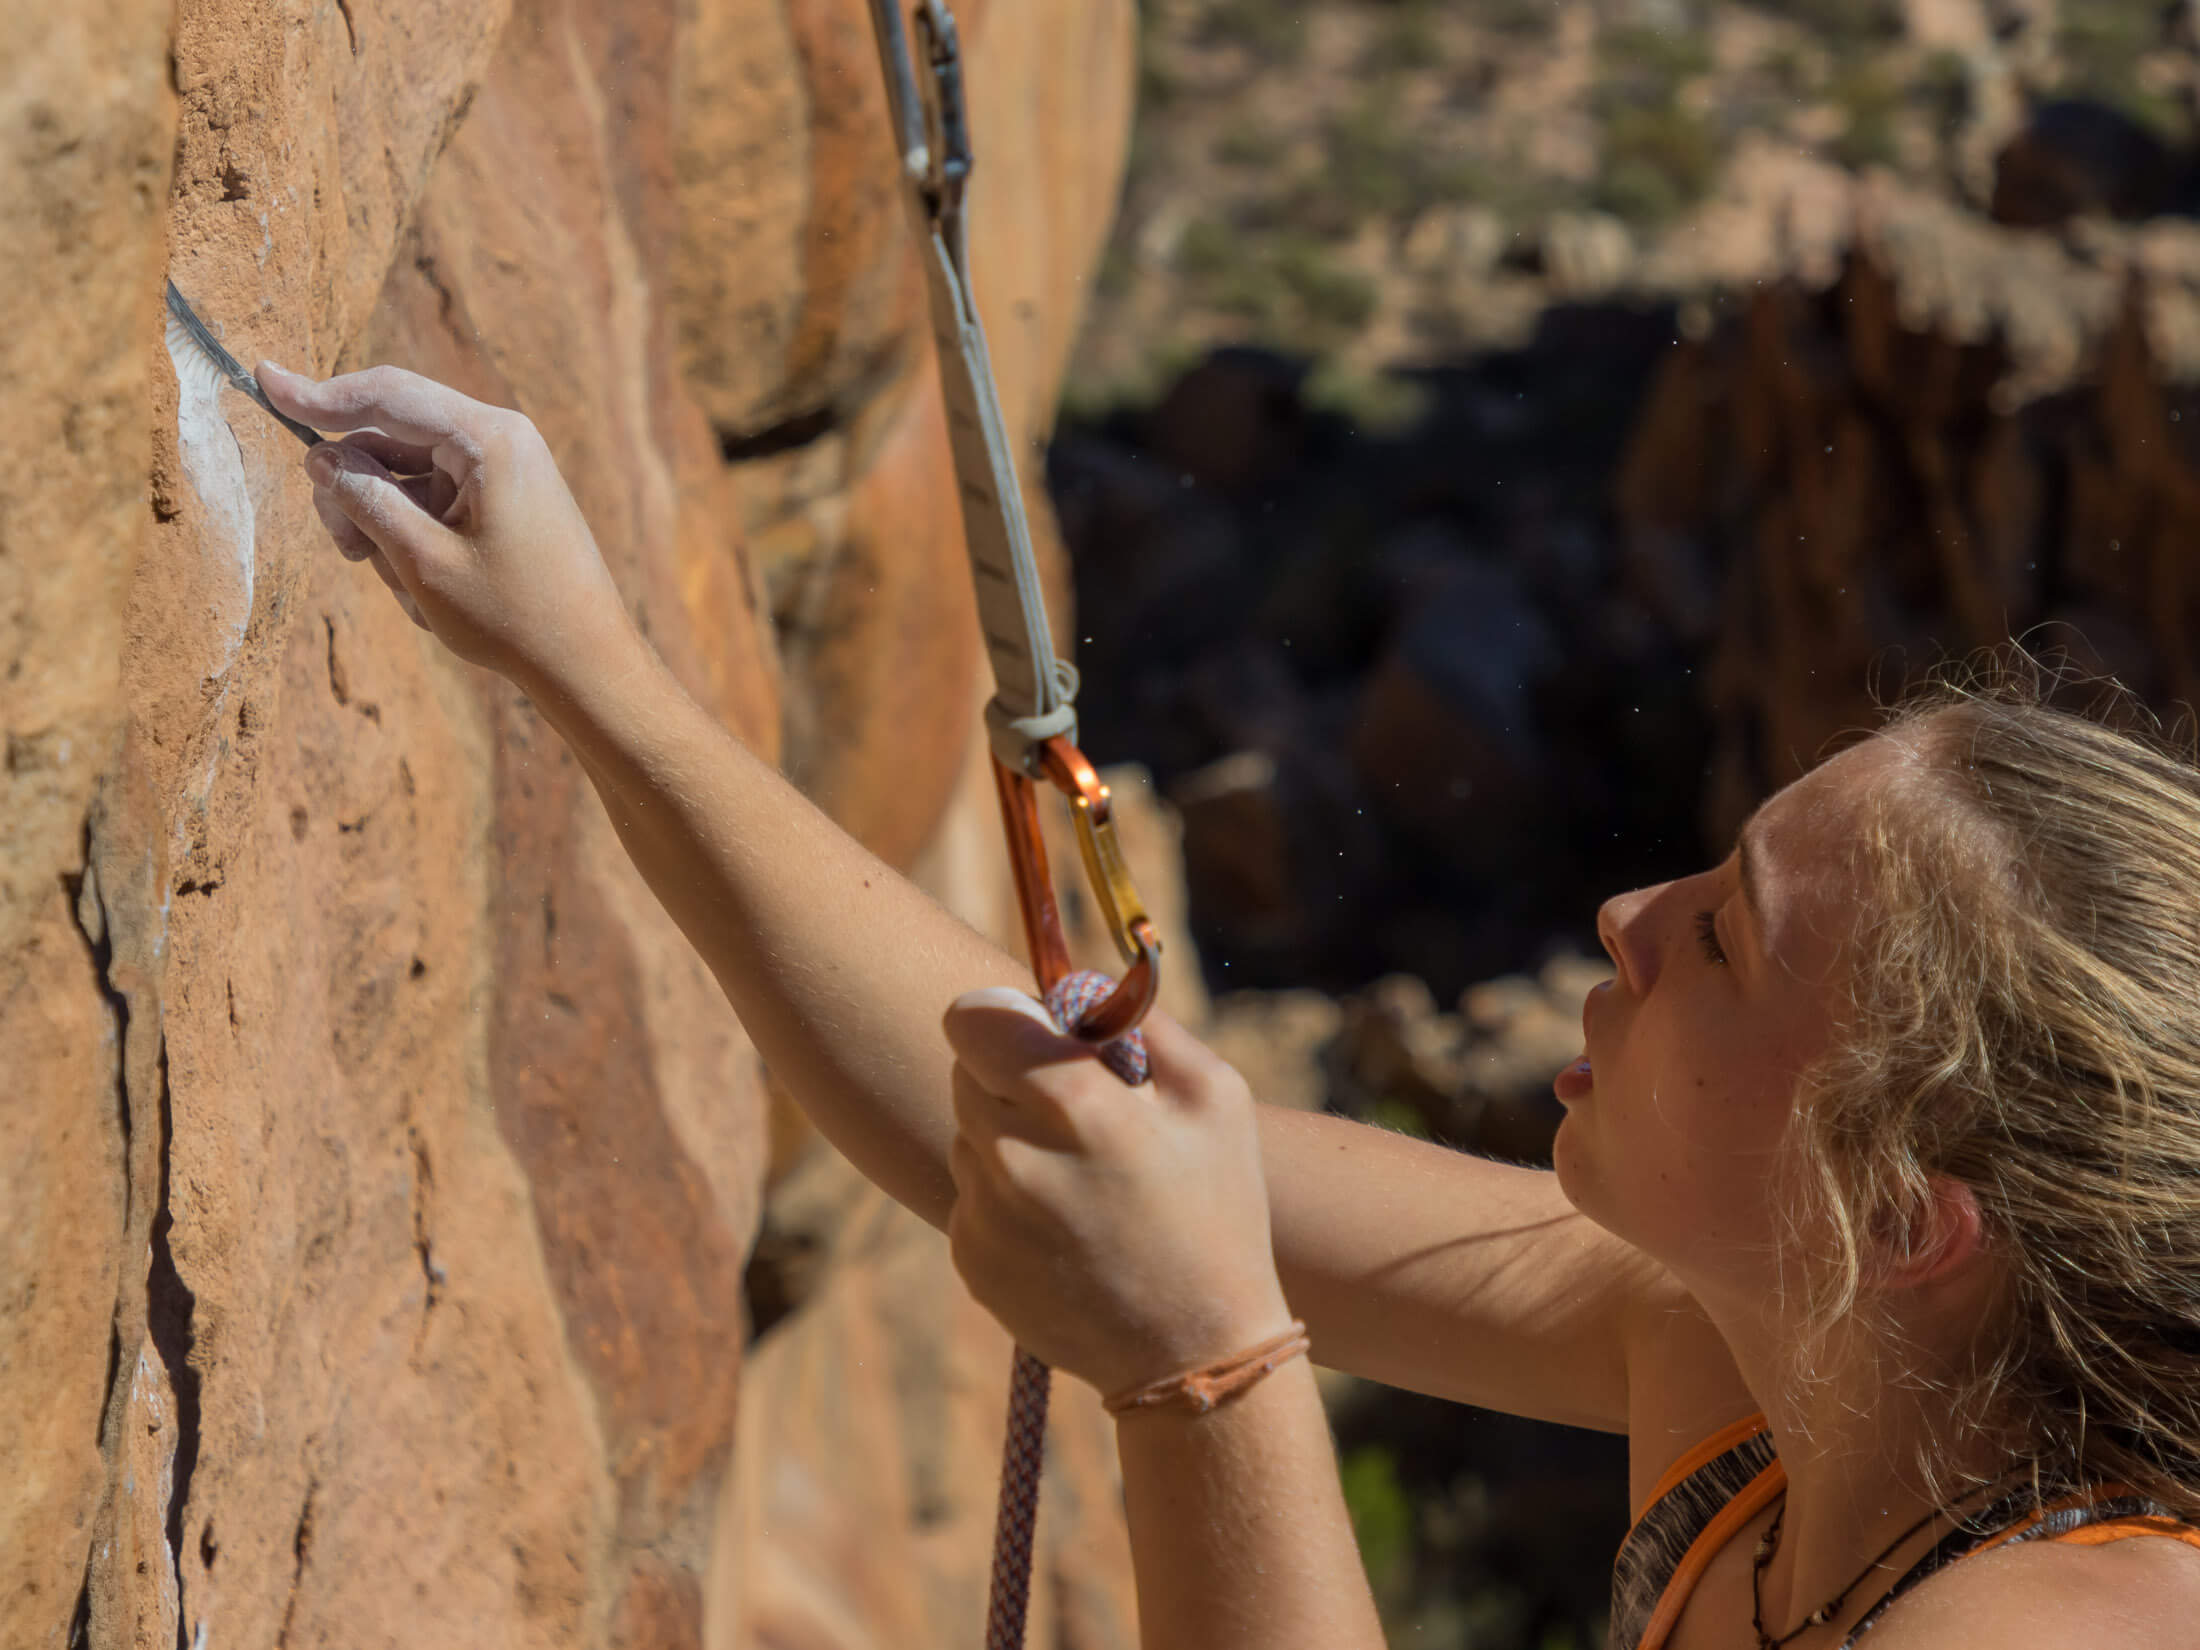
Once your belayer has taken your weight, clip yourself in direct to your highest bolt using a quickdraw (Keep a spare draw on your harness for this purpose – longer draws are usually more useful). Once your weight is on the bolt itself, the belayer can put a little slack in the system and enjoy a moment to move freely, stretching the neck and relaxing the shoulders. You, in the meantime, can get your breath back and get a good look at the holds around you – study them and try to imagine how you might use them in a sequence. When your inspection is over and you’ve had a good rest, ask your belayer to take, unclip the quickdraw connecting you directly to the bolt, and ask your belayer to give you your weight.
Lower before climbing into a sequence you want to rehearse
Many climbers start climbing from their highpoint, not realising that they’re skipping a move that they haven’t tried yet – usually happens after a reachy clip. If your intention is to rehearse the whole sequence, lower down two or three moves before getting back onto the wall. The same applies if you’re headpointing a route (rehearsing on top rope). You should always climb into the sequence that you want to practise. If you start from a static position at the lowest point in the sequence, it’s very likely that your feet (and possibly even your hands) won’t be on the holds that you will use when you link the sequence from below.
Climbing efficiently
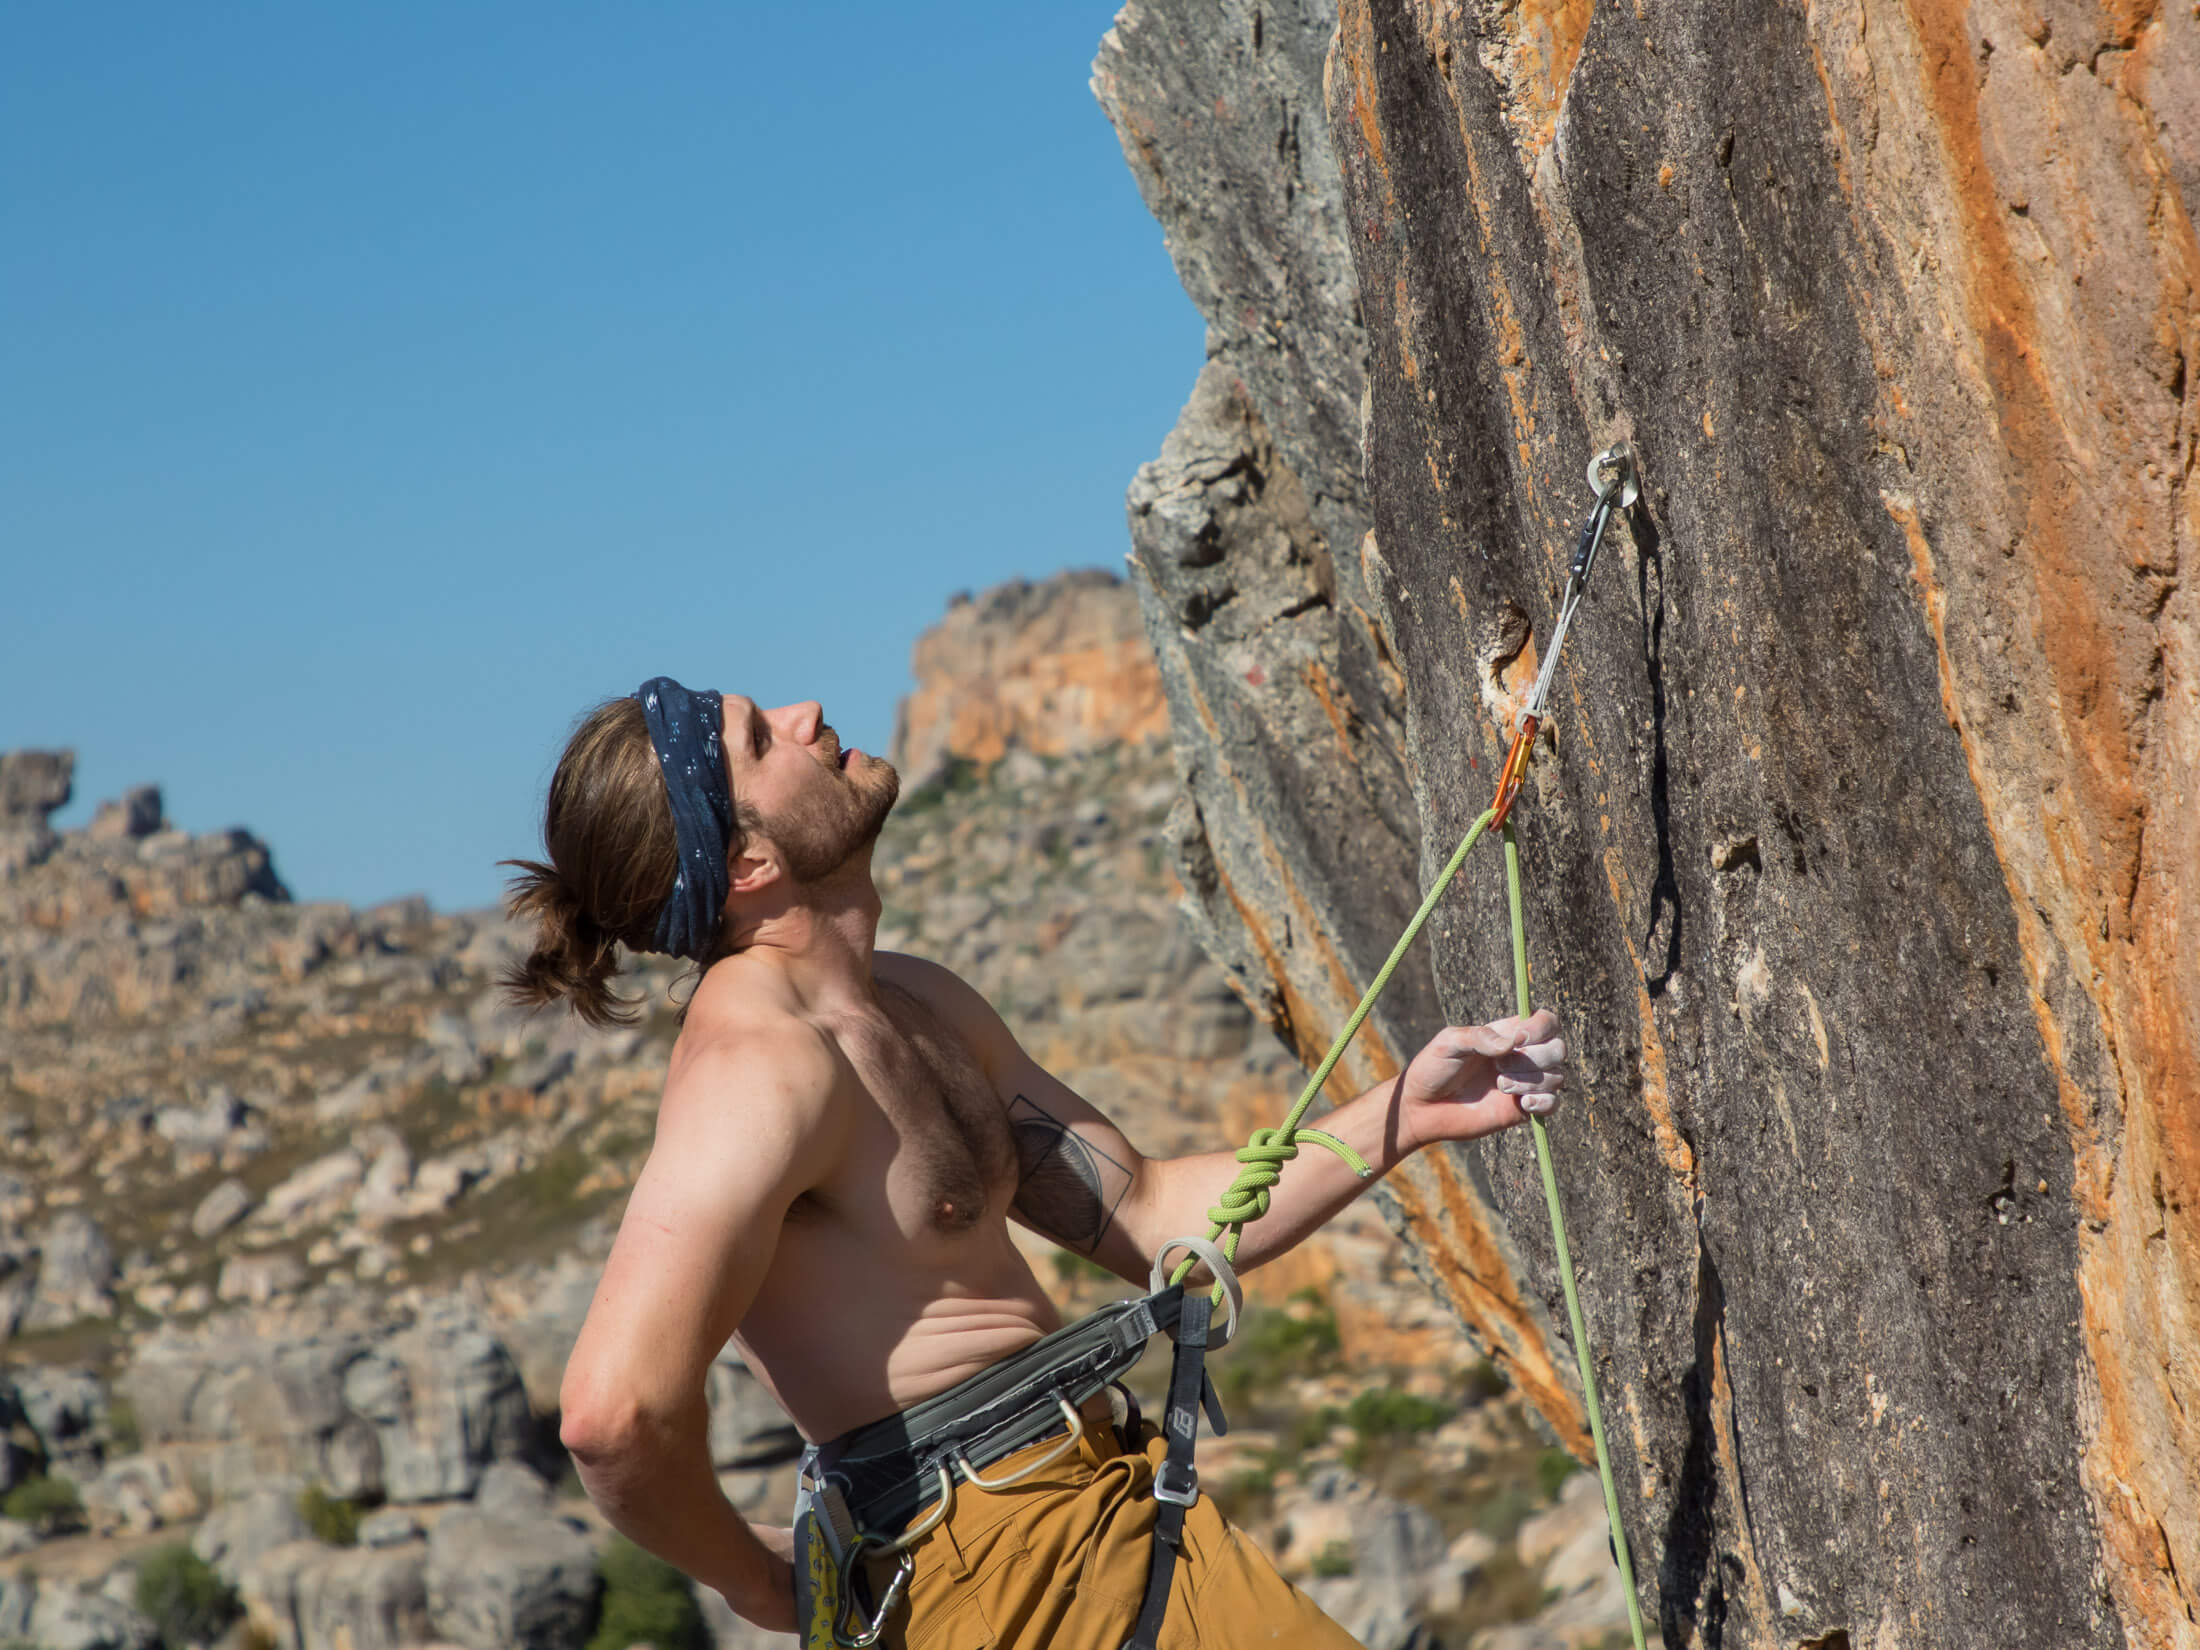
Even with the right sequence, you can still climb poorly and squander all your energy. Besides knowing what moves to pull, you need to know how to pull them efficiently so that you still have enough energy to pull crux moves when pumped. This of course is a topic worthy of its own article (and you can read that here), but for now I’m going to stick to the fundamentals.
Grip the rock lightly
The amount of energy needed to keep you on the rock varies over the course of a climb, and the first thing you’ll want to focus on is ensuring that you grip the rock only as tightly as is necessary for every move or rest. Constantly monitor how tightly you’re holding the rock and try to lighten your grip to the point that it’s just enough to prevent a loss of friction. This might require you to weight your feet more heavily, and here you have to assess your footwork. Is it precise and certain, or are you taking seconds longer than you need to and then gingerly weighting the feet because you don’t know if they’ll stick. If you answer with the latter, you might benefit from practising a few skills drills.
Stay relaxed
The key to gripping the rock lightly is to stay relaxed. When we climb scared, we overgrip, breathe too shallowly, and pump out a lot sooner. The same can be said for our movements and rock reading ability. When we feel anxiety, apprehension or fear, we’re a lot less able to think creatively and move smoothly. Of course, knowing that you need to be relaxed doesn’t make it any easier to actually be relaxed. A fear of falling, for example, cannot be reasoned with. If the idea of taking a whipper scares you, the only way to overcome your fear is to make a habit of taking safe falls regularly.
Hone your movement skills
Once you’ve identified the best sequence for each section and have gleaned all the micro beta you can (the minutiae of each move), you still need to practise them so that you can execute the moves as efficiently as possible. What does efficient look like? Smooth and controlled. What enables it? Well defined schema or muscle memory. If you’ve ever pulled a move for the first time and found that your body just automatically knew what to do, that was muscle memory. Although it’s nice to be able to pull a move without thinking too much about what you’re doing, the real advantage of muscle memory is that it ensures better muscle recruitment and allows you to set up and execute moves faster, both of which save energy.
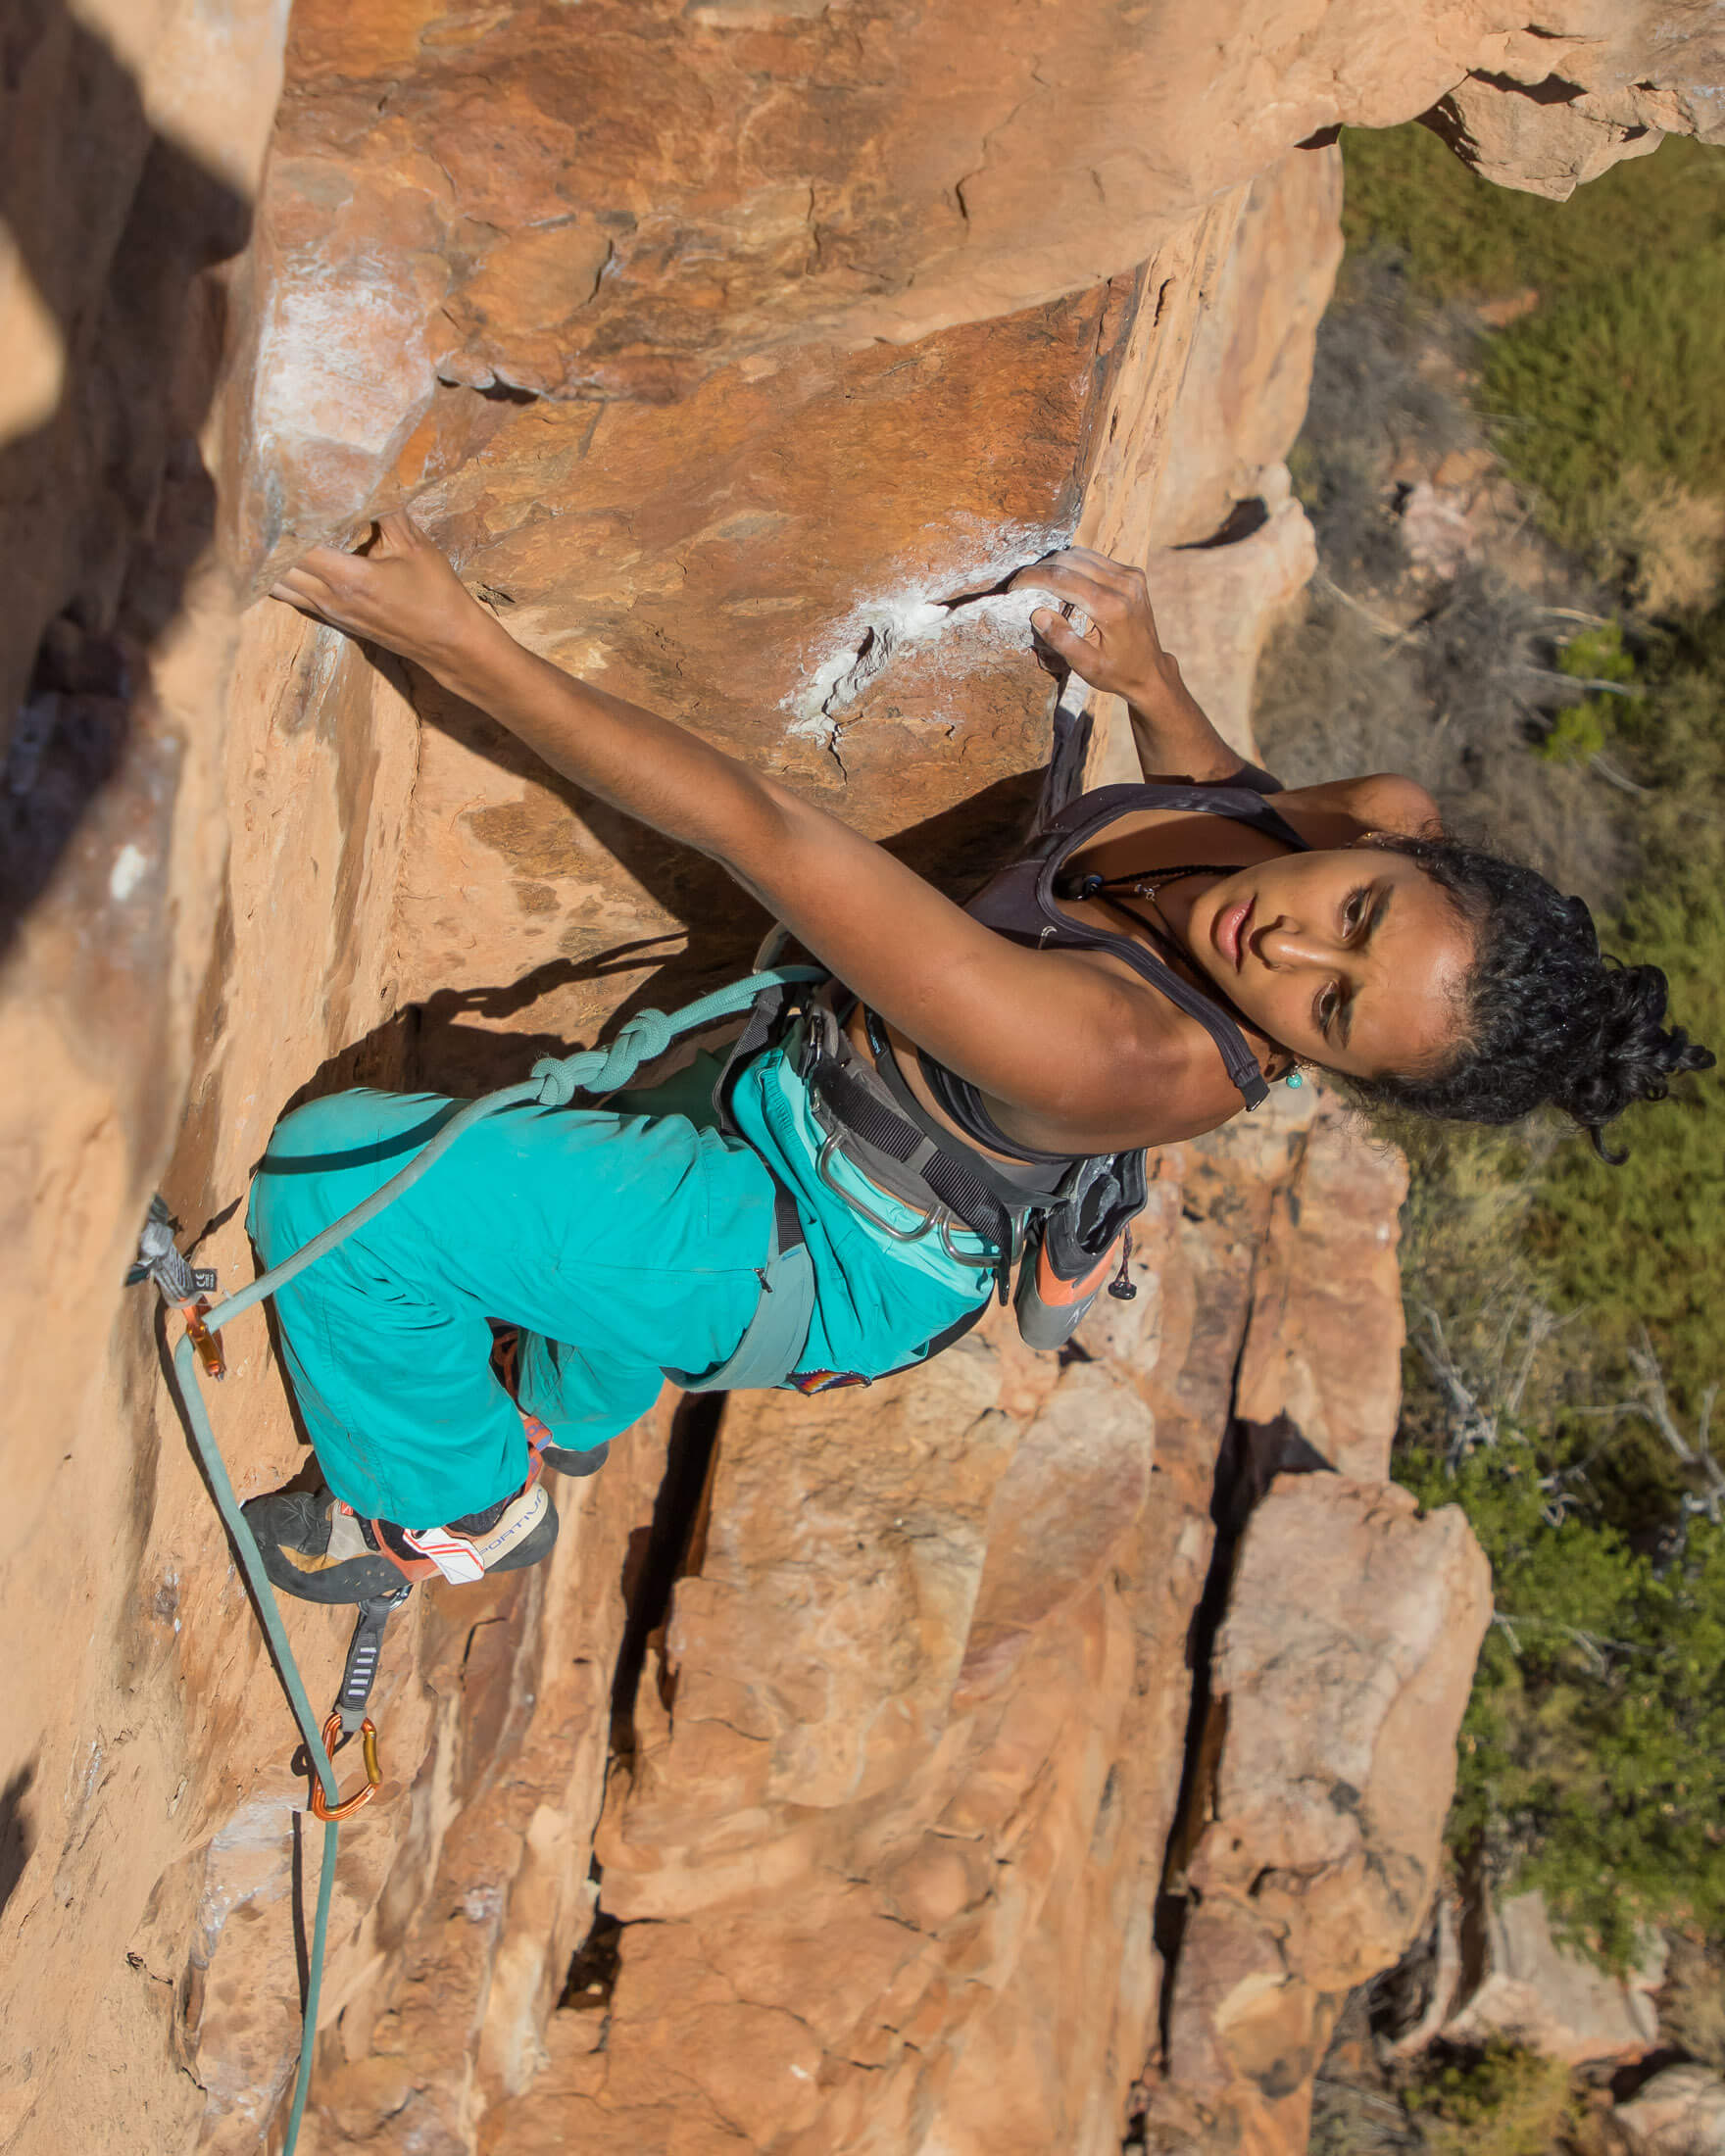
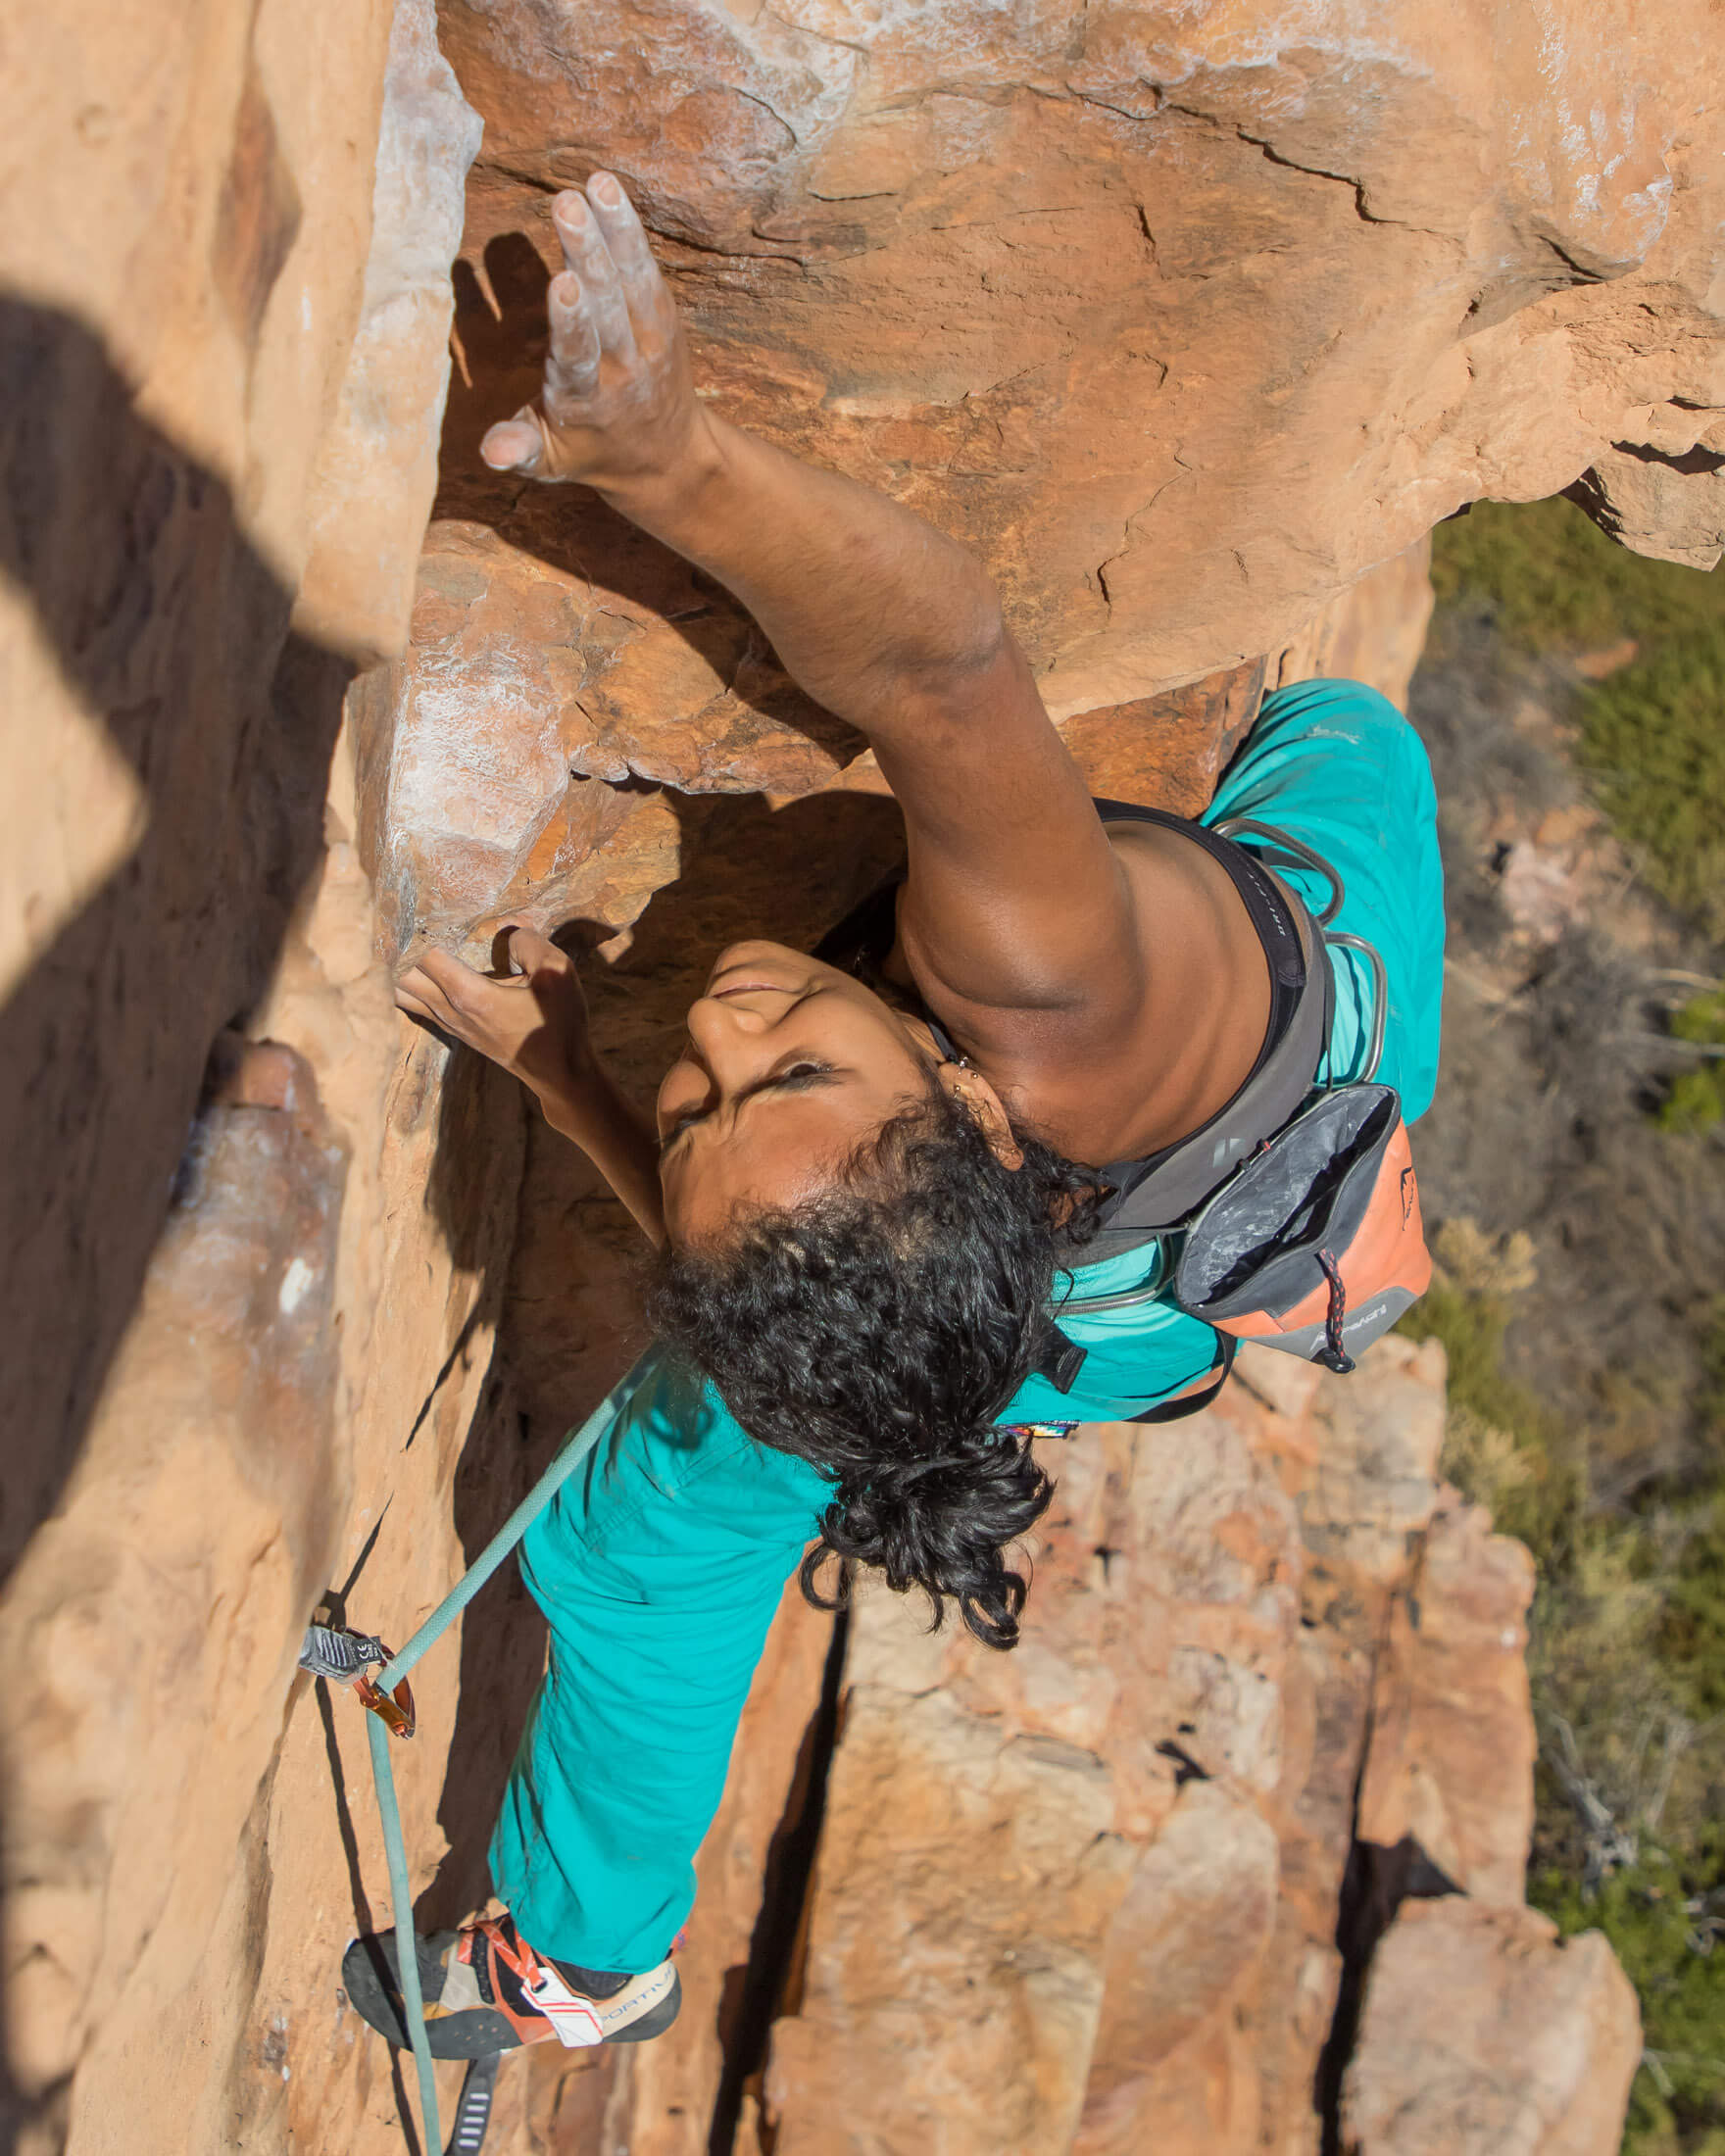
You can refine your movement skills on the rock by climbing a sequence repeatedly. However, if one move is particularly tricky, you might want to try practising it in the gym on a simulation problem. Move about that in a minute.
Resting and shaking out
In hard climbing, knowing how to make the most of every rest is just as important as knowing how to pull sequences with maximum efficiency. Employ the follower the following tactics to keep the needle on the pump-o-meter out of the red.
Relax into rests
After you’ve composed yourself, try to get your breathing and heart rate down. When those are under control, scan your body for any signs of tension. Are you wasting energy by tensing muscles anywhere that it’s not needed? That’s energy that could be conserved. As with actual moves, you should aim to hold the rock as lightly as possible when resting. The idea is to rely more on skin-to-rock friction than on forearm strength. If the hold and position don’t allow you to properly rest your forearms, aim to at least calm yourself so that you can think clearly going into the next sequence.
Get creative
As with actual moves, always be on the lookout for new creative ways to catch a rest. Beyond the most obvious rests – stems, knee bars and jams – there are usually opportunities for a perch, shoulder scum, or cheeky little butt rest. If you haven’t heard of such techniques, first familiarise yourself with them (my article on finding rests can help you here), and then start looking for these opportunities every time you climb – not just when you get back on your project. As with other movement skills, you’ll improve your resting skills if you practise them at every opportunity.
Use mini shakes
If you watch how the best climbers in the world climb, you will likely see them do something called a mini-shake. This technique is used to help reduce lactic acid build up in the arms while an athlete is climbing. Such a tactic is especially useful on very sustained routes – those that have no obvious rests. But it can also be used between rests on more forgiving routes. Next time you watch an IFSC World Cup, look for instances in which climbers use this technique. You’l wonder how you never noticed it before.
G-tox
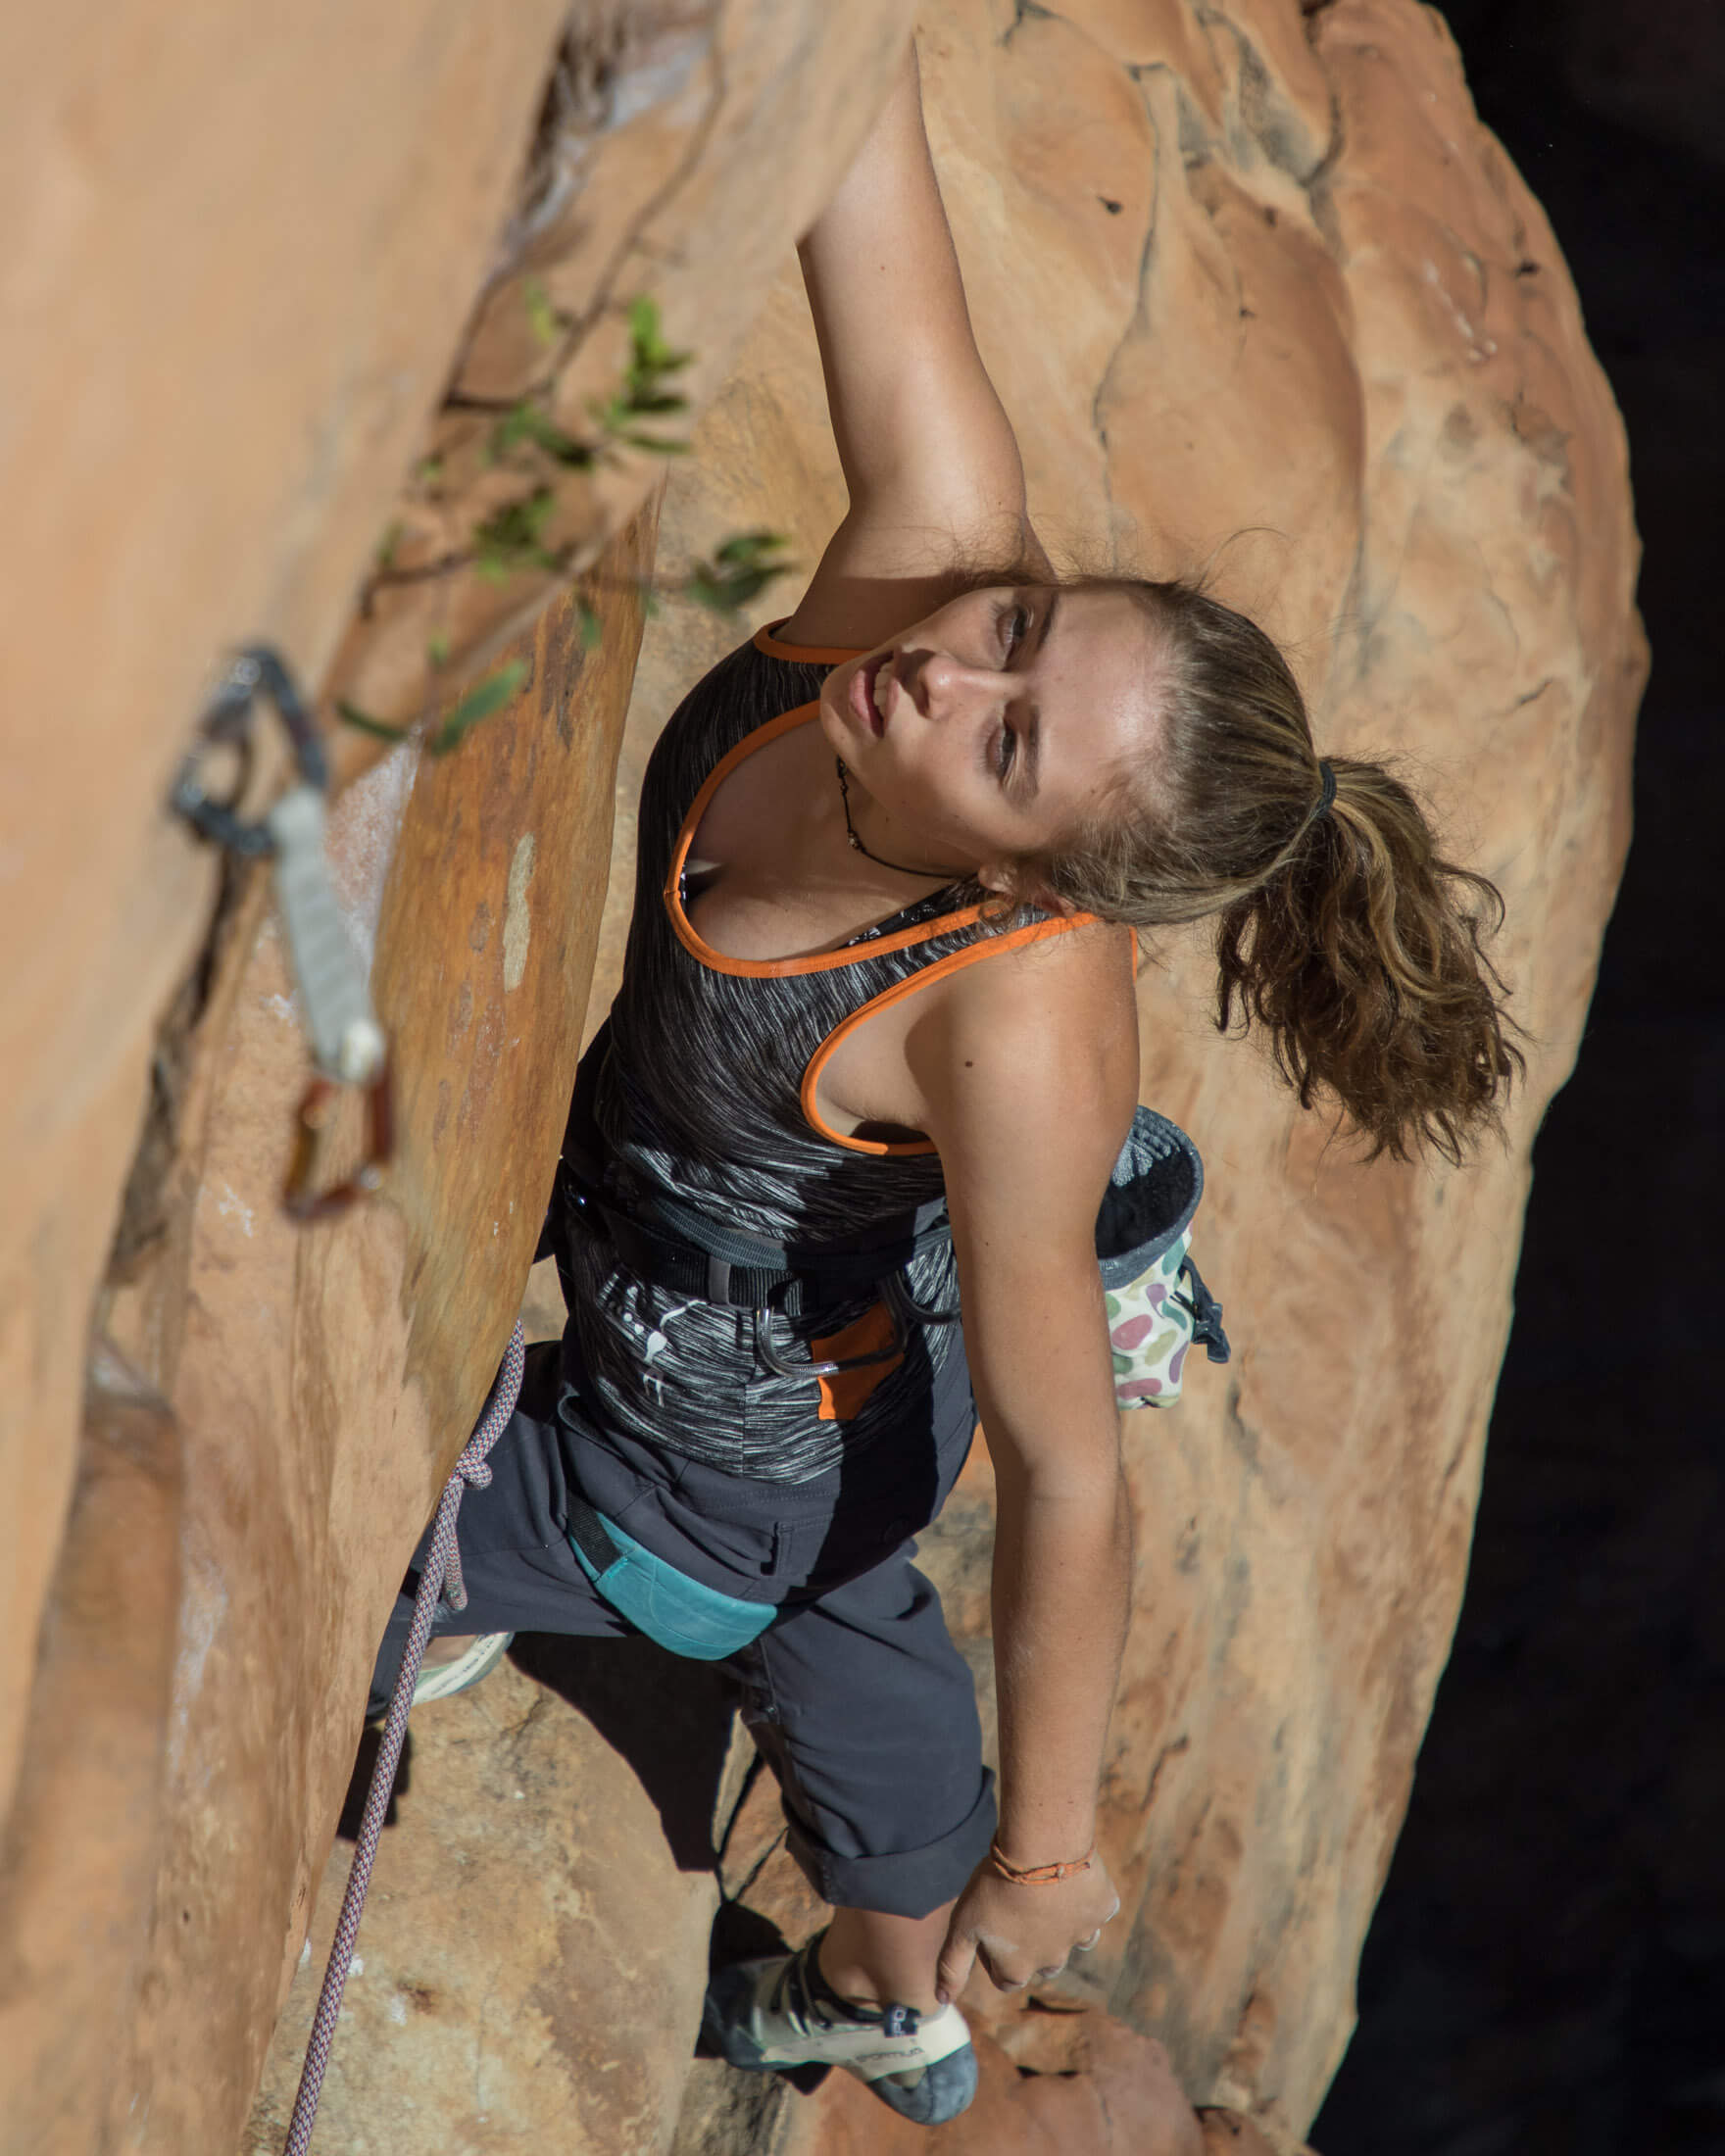
You’ve probably already know how to use the standard shakeout to great effect – dangling and shaking your arms to encourage blood flow and speed recovery through the removal of lactic acid. The G-tox method popularised by Eric J Hörst is just an adaptation of that. Instead of simply dangling and shaking your arms, you alternate between holding your arm above your head and letting it hang, all while giving it gentle rotating shakes. It is claimed that this technique accelerates blood flow and recovery. Climbers who have tried it say they feel it makes a difference.
Rest properly between attempts
So you don’t get it on your first send attempt. That’s almost to be expected. How long should you wait before giving it another burn? There is no hard-fast rule because there are many factors that can contribute or hinder recovery during this time, but aim for 20 to 45 minutes between attempts. In this time, you might want to sip some water, nibble on a snack or take a short walk, and only then, after you've given your mind a short break, go through the sequences again in your mind.
Pre-send routine
The goal in linking sections to reduce the number of hangs to one. If you can do that, you’re ready for your first serious send burn. But, before you rope up, there are few things you might want to do to prepare your body and mind.
Warm up properly
Pulling hard while cold won’t only compromise your performance, it will also drastically increase the risk of injury. If your project involves pulling hard straight from the start, you should warm-up some other way first. If there are no easier climbs or traverses around, you can use a portable fingerboard to do some easy hangs and an exercise elastic to warm up larger muscles. After warming up, rest 30 minutes at least before getting on your project. In this time, you can do a little light dynamic stretching, visualise sequences, and put yourself in the right headspace to send.
Do a bolt-to-bolt pre-burn rehearsal
So it’s the day of your first redpoint attempt. Before you get on your project and give it your all, you should do two things: warm up and rehearse the moves one last time. If the route allows for it –maybe it involves some easier climbing lower down and finger-friendly holds – you can probably do these at the same time by climbing your project bolt-to-bolt for your warm up. Just be careful to not tax muscles and tendons while they are still cold. If a safe warm-up on your project isn’t possible, find a more suitable way to warm up.
Get your head right – no pressure
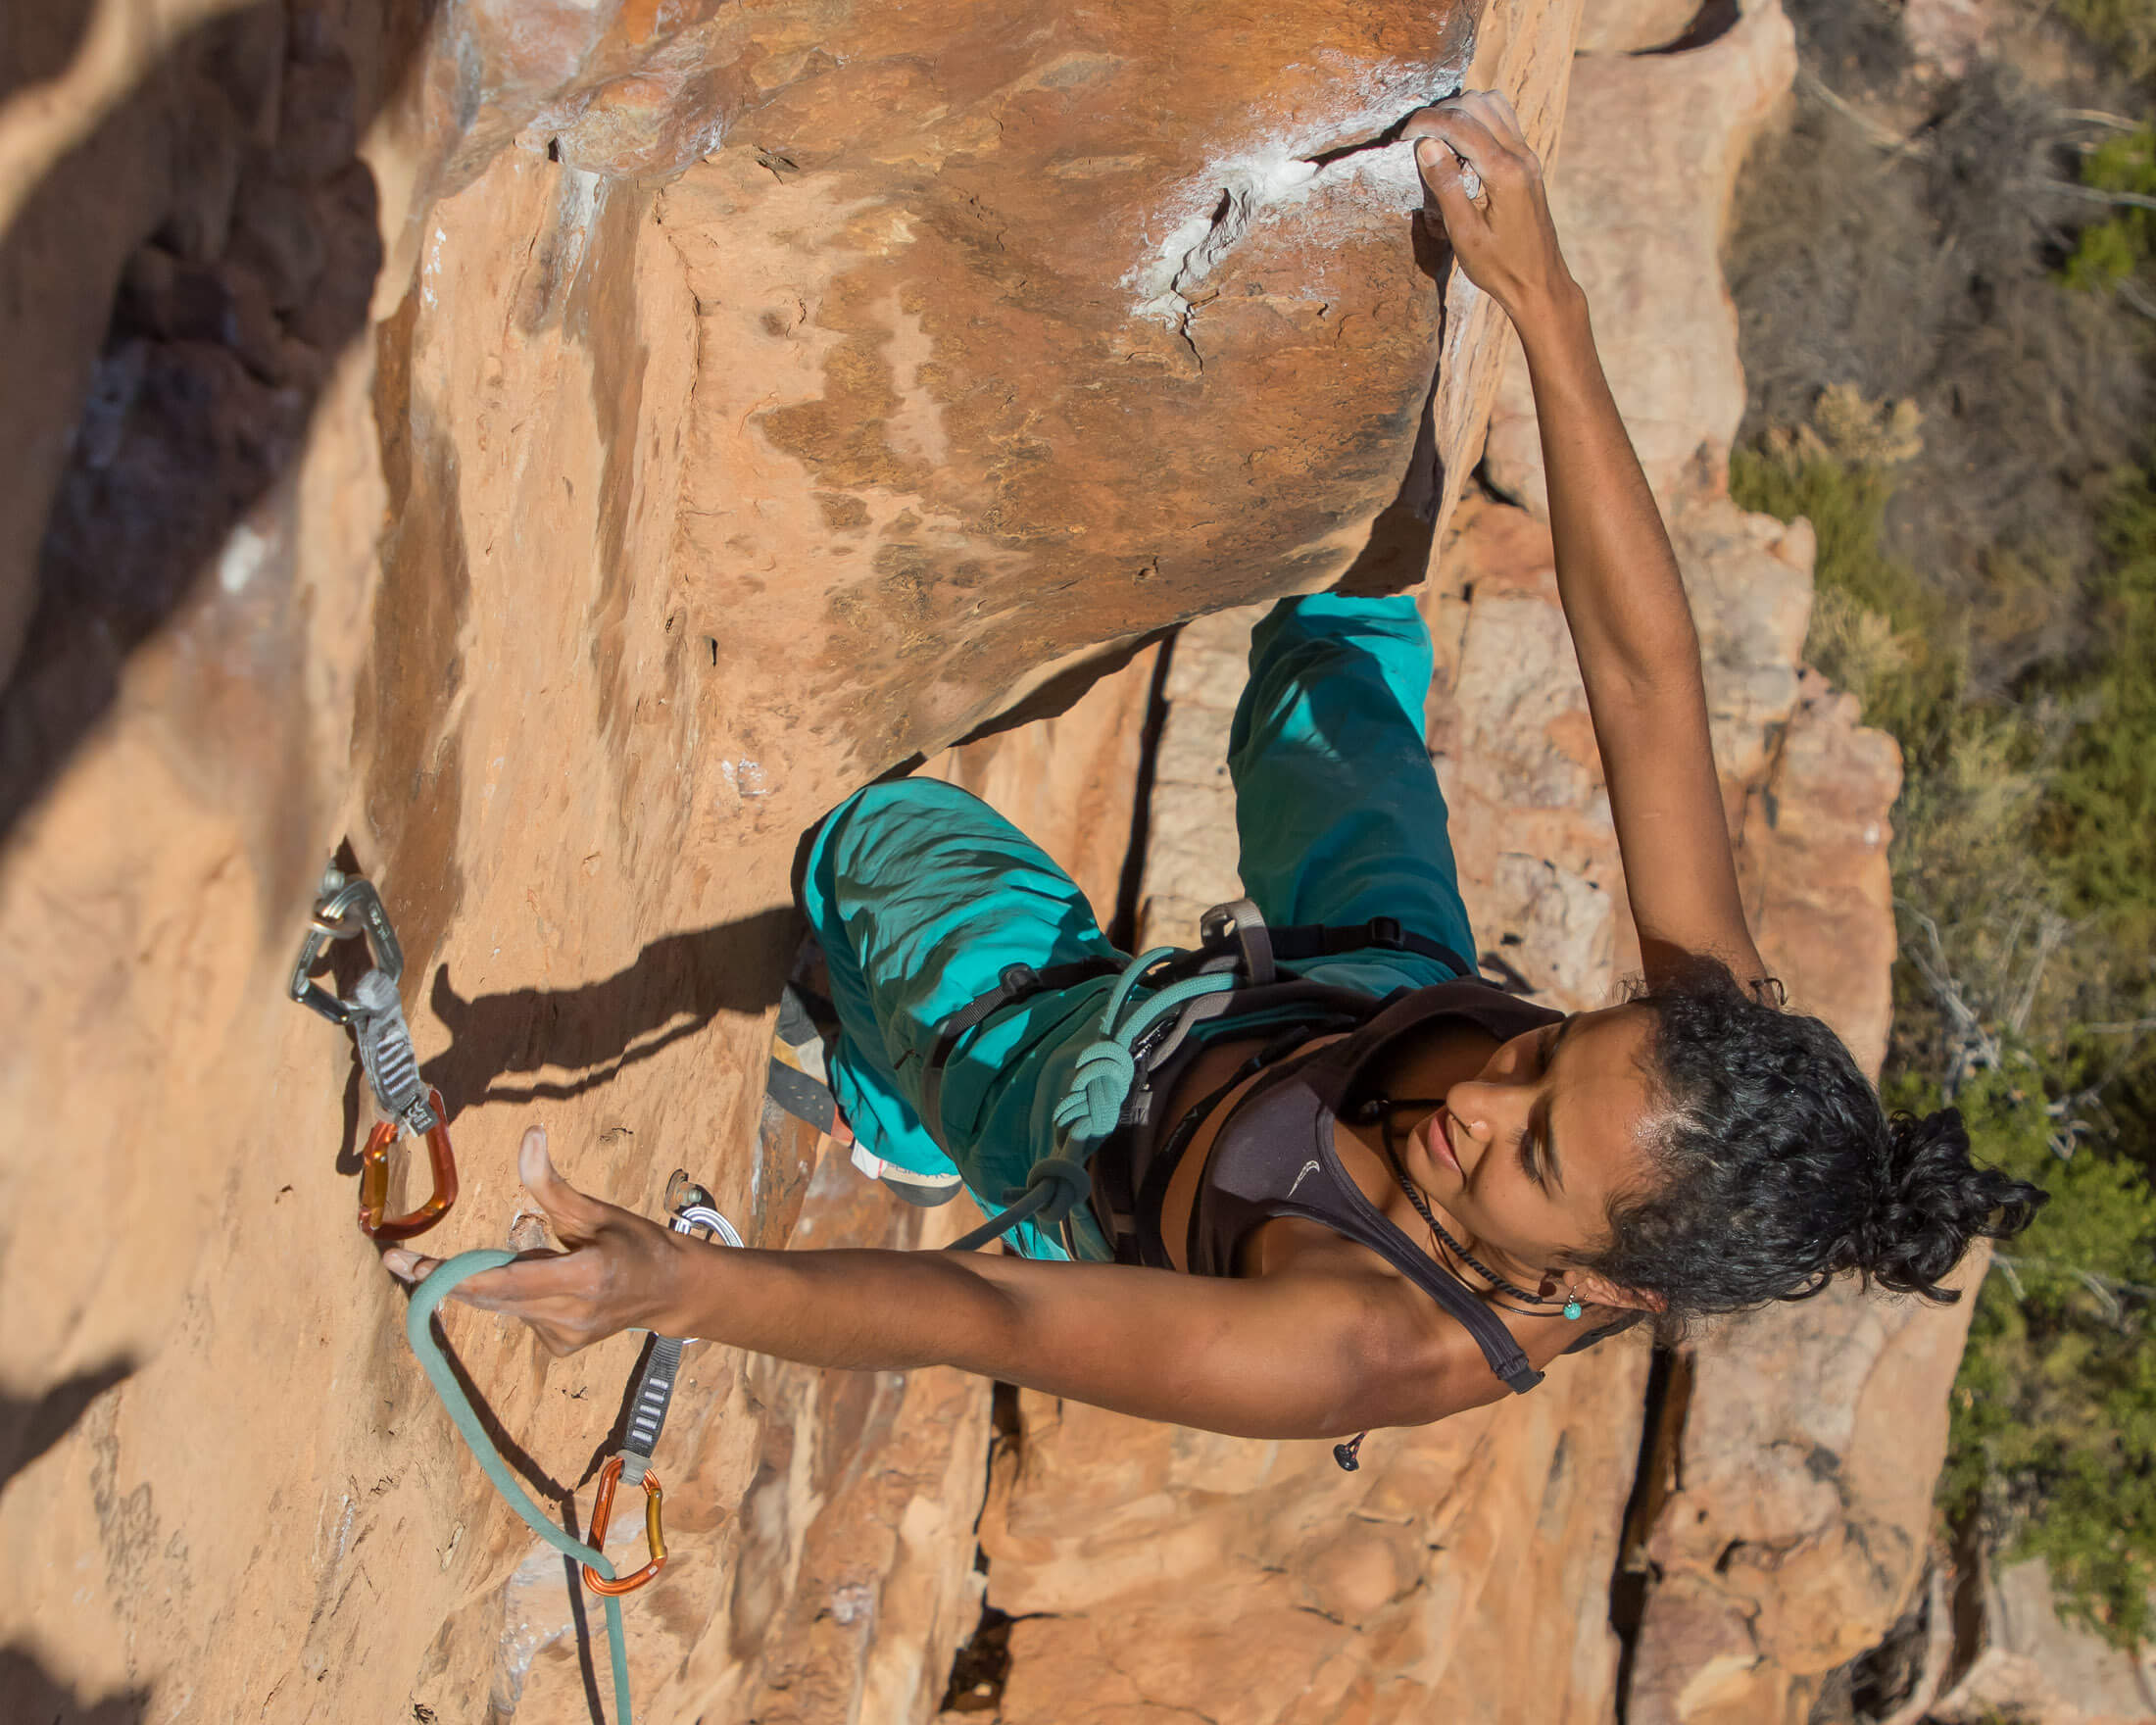
When you rope up for a send attempt, don’t fall into the trap of feeling that you must send right there and then. Such thoughts only create pressure to perform, something that benefits very few climbers. Do expect success to come – after all you have put in a considerable amount of preparation, rehearsing and training – but also accept that it might take many more attempts. Remind yourself that it’s okay to fail. It’s part of the process and is almost expected.
Last checks
So you’re tied in and are ready to go for it. But before you trade first pumps with your belayer, there are just a few last things you should still do. The first is a partner check – something that experienced climbers are often quite bad about. Besides ensuring your safety, a buddy check should help put you in send mode by reassuring you that you’re in the system and can trust the belay. With that out of the way, you can then do whatever little thing you do as part of your pre-climb routine to reassure yourself that you’re good to go. This might be something that aids performance, like brushing off the soles of your shoes, or it could be some little habit that merely helps put you in the zone. I sometimes just close my eyes and tell the voices in my head to shut up.
Choosing the right time to send
If a project proves to be at the very limit of your ability, you’ll want to swing certain factors in your favour before making your next mission, especially if you have to take a flight or long drive to get there. In such cases, it makes sense to wait until everything is just right.
Conditions
Wind, rain, snow, high temps and humidity can all crush any hopes of a send. If conditions are highly season-dependent, plan to send during peak season (those months when you’re most likely to get prime conditions), but then still keep an eye on the weather and understand that temperatures and humidity can vary between crags in the same area. I’ve heard people say that it’s not worth visiting Rocklands until June, but it’s possible to get good temps in the Pass as early as the first week of May. But also, don’t wait for the perfect season and then squander the best sending temps by getting to the crag too late. In warmer climes the best time to send is early in the morning and long before the sun has had a chance to warm the sun and air.
Training peaks
If during your first session on a project, you find that you’re struggling to pull crux moves in isolation because you’ve just not strong enough, you will probably need to engage in some kind of strength training before you have a chance of pulling those moves on a redpoint attempt. Power endurance and endurance are aspects of your fitness that will improve as you work the route, but to train pure strength, it helps to be more focussed. On average it takes at least four or five weeks of training to produce any kind of significant result, and then you still have to rest for a week or two to see the biggest strength gains. Your best chance of a redpoint might be in the few weeks after that.
Training and conditioning
Your first few sessions on a route should tell you if you have any serious weaknesses that you’ll need to address before you have a serious chance of sending your project - you’ll want to design a training programme to address those. But there are also a few things you can do to put you in the best condition possible regardless of the type of route you plan to climb.
Take sufficient rest days
Most of us can’t put in more than two days of hard climbing before performance starts to suffer and it’s time to take a rest day. But also know that if you’re on an extended trip, you might have to occasionally take two rest days to fully recover and benefit from any gain in fitness. Note that a rest day means resting your climbing muscles. You can still do some light to moderate cardio like trail running or mountain biking if you find yourself in an area where these are on offer. Rest days can also be a good time to engage in some antagonist training if you're on an extended trip and need to do some maintenance.
Look after your skin
How important it is to look after your skin depends a lot on the nature of the rock. With smoother skin-friendly rock like that found in the New River Gorge, having your skin in perfect condition isn’t crucial. But if you’re going to be pulling hard on sharp little edges, you will need to practise proper skincare to ensure that your skin can withstand several hard send attempts. You want thick skin with solid calluses, but you also don’t want these to become so hard that they crack and split. In my article on skin care for climbers, I explain how to avoid this and offer some tips to fix other skin issues.
Eat and sleep properly
Beyond practising proper skin care, you should make sure that your body is well rested. It might be tempting to go out for a ‘few’ beers after the first day of a weekend trip, but you’d probably be better off getting in a few extra hours of sleep and avoiding even just a little hangover. But proper rest should really start before the weekend if that’s when you need to bring your A game. Experts claim that the average person needs at least seven to eight hours sleep, and that can be more for athletes. If you have a fulltime job, getting in a few good nights while also packing for a trip can require some forethought.
Use a simulation to train crux moves
If your project is more than a few hours away, you probably won’t have the opportunity to session it during the week (assuming that you’re not on an extended trip). In such cases, the best way to train for crux sequences is to create a simulation of the moves on your home wall or in the local gym. Work through these simulation sequences several times per workout to develop the specific motor programs and strength needed to send the project. As you would when engaging in fingerboard training, train on a simulation shortly after warming up and while you can still put in close to maximum effort.
Get out there and crush
That’s it – everything you could possibly want to know about the process of projecting hard routes. The only thing left to do is go out there and get on it. Still, if it’s more instruction that you’re after, know that there are many more useful articles where this came from. I’ve included links to related articles in the page above, but I also have many more on trad climbing, bouldering, and gear. You can find these and others in the climbing section.
