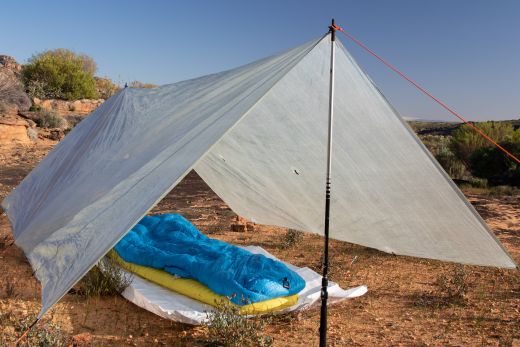
Camping tarps have come a long way in recent years, and today’s outdoorsman has a plethora of ultralight options to choose from. While having such a variety is great, it can make choosing a tarp a bit of a challenge. With flat tarps, cat cut tarps, and multi-sided tarps on offer, just deciding on the type of tarp you want can be anything but straight forward. Fortunately for you, you’ve found this handy guide, which explains what to look for in a tarp as well as which types of tarp are better suited to certain conditions or purposes. But, before you get stuck in, know that this is just one of four articles on tarp camping. If you’re new to the whole minimalist camping thing, I strongly recommend reading those next.
Factors to consider when buying a tarp
The best way to start narrowing down your search is to consider where you intend to pitch your tarp as well as how you intend to use it. These four factors should at least help you identify the kind of tarp that will best meet your needs.
Intended configuration
Some types of tarp are designed to be used in a certain way. For example, most catenary cut tarps and multi-sided tarps are designed to be pitched in an A-frame configuration while square hammock tarps can only be rigged in the diamond configuration.
Versatility
Can you rely on an ideal campsite - level, spacious, and unobstructed - every night, or does your tarp need to allow you enough flexibility to pitch it around obstacles or in confined spaces? Rectangular flat tarps are great for making the most of challenging circumstances.
Footprint
If your tarp can only be configured one way, you will want to think even more carefully about its size and the amount of space you’re likely to have to pitch your tarp in. A 12’ cat cut or hex tarp is probably not the best option for camping in densely wooded forests.
Capacity
Although footprint and capacity both relate to size, there isn’t a perfect correlation. Two tarps or different styles can both be capable of sheltering two campers even if one has a 9’ ridgeline and the other 12’. If campsite size is unlikely to be an issue, I still suggest getting a tarp designed for two even if you’ll sleep solo most of the time.
Types of tarp
A tarp’s shape determines what it’s best suited for, which configurations it can be rigged in, and how taut it can be pitched.
Square flat tarps
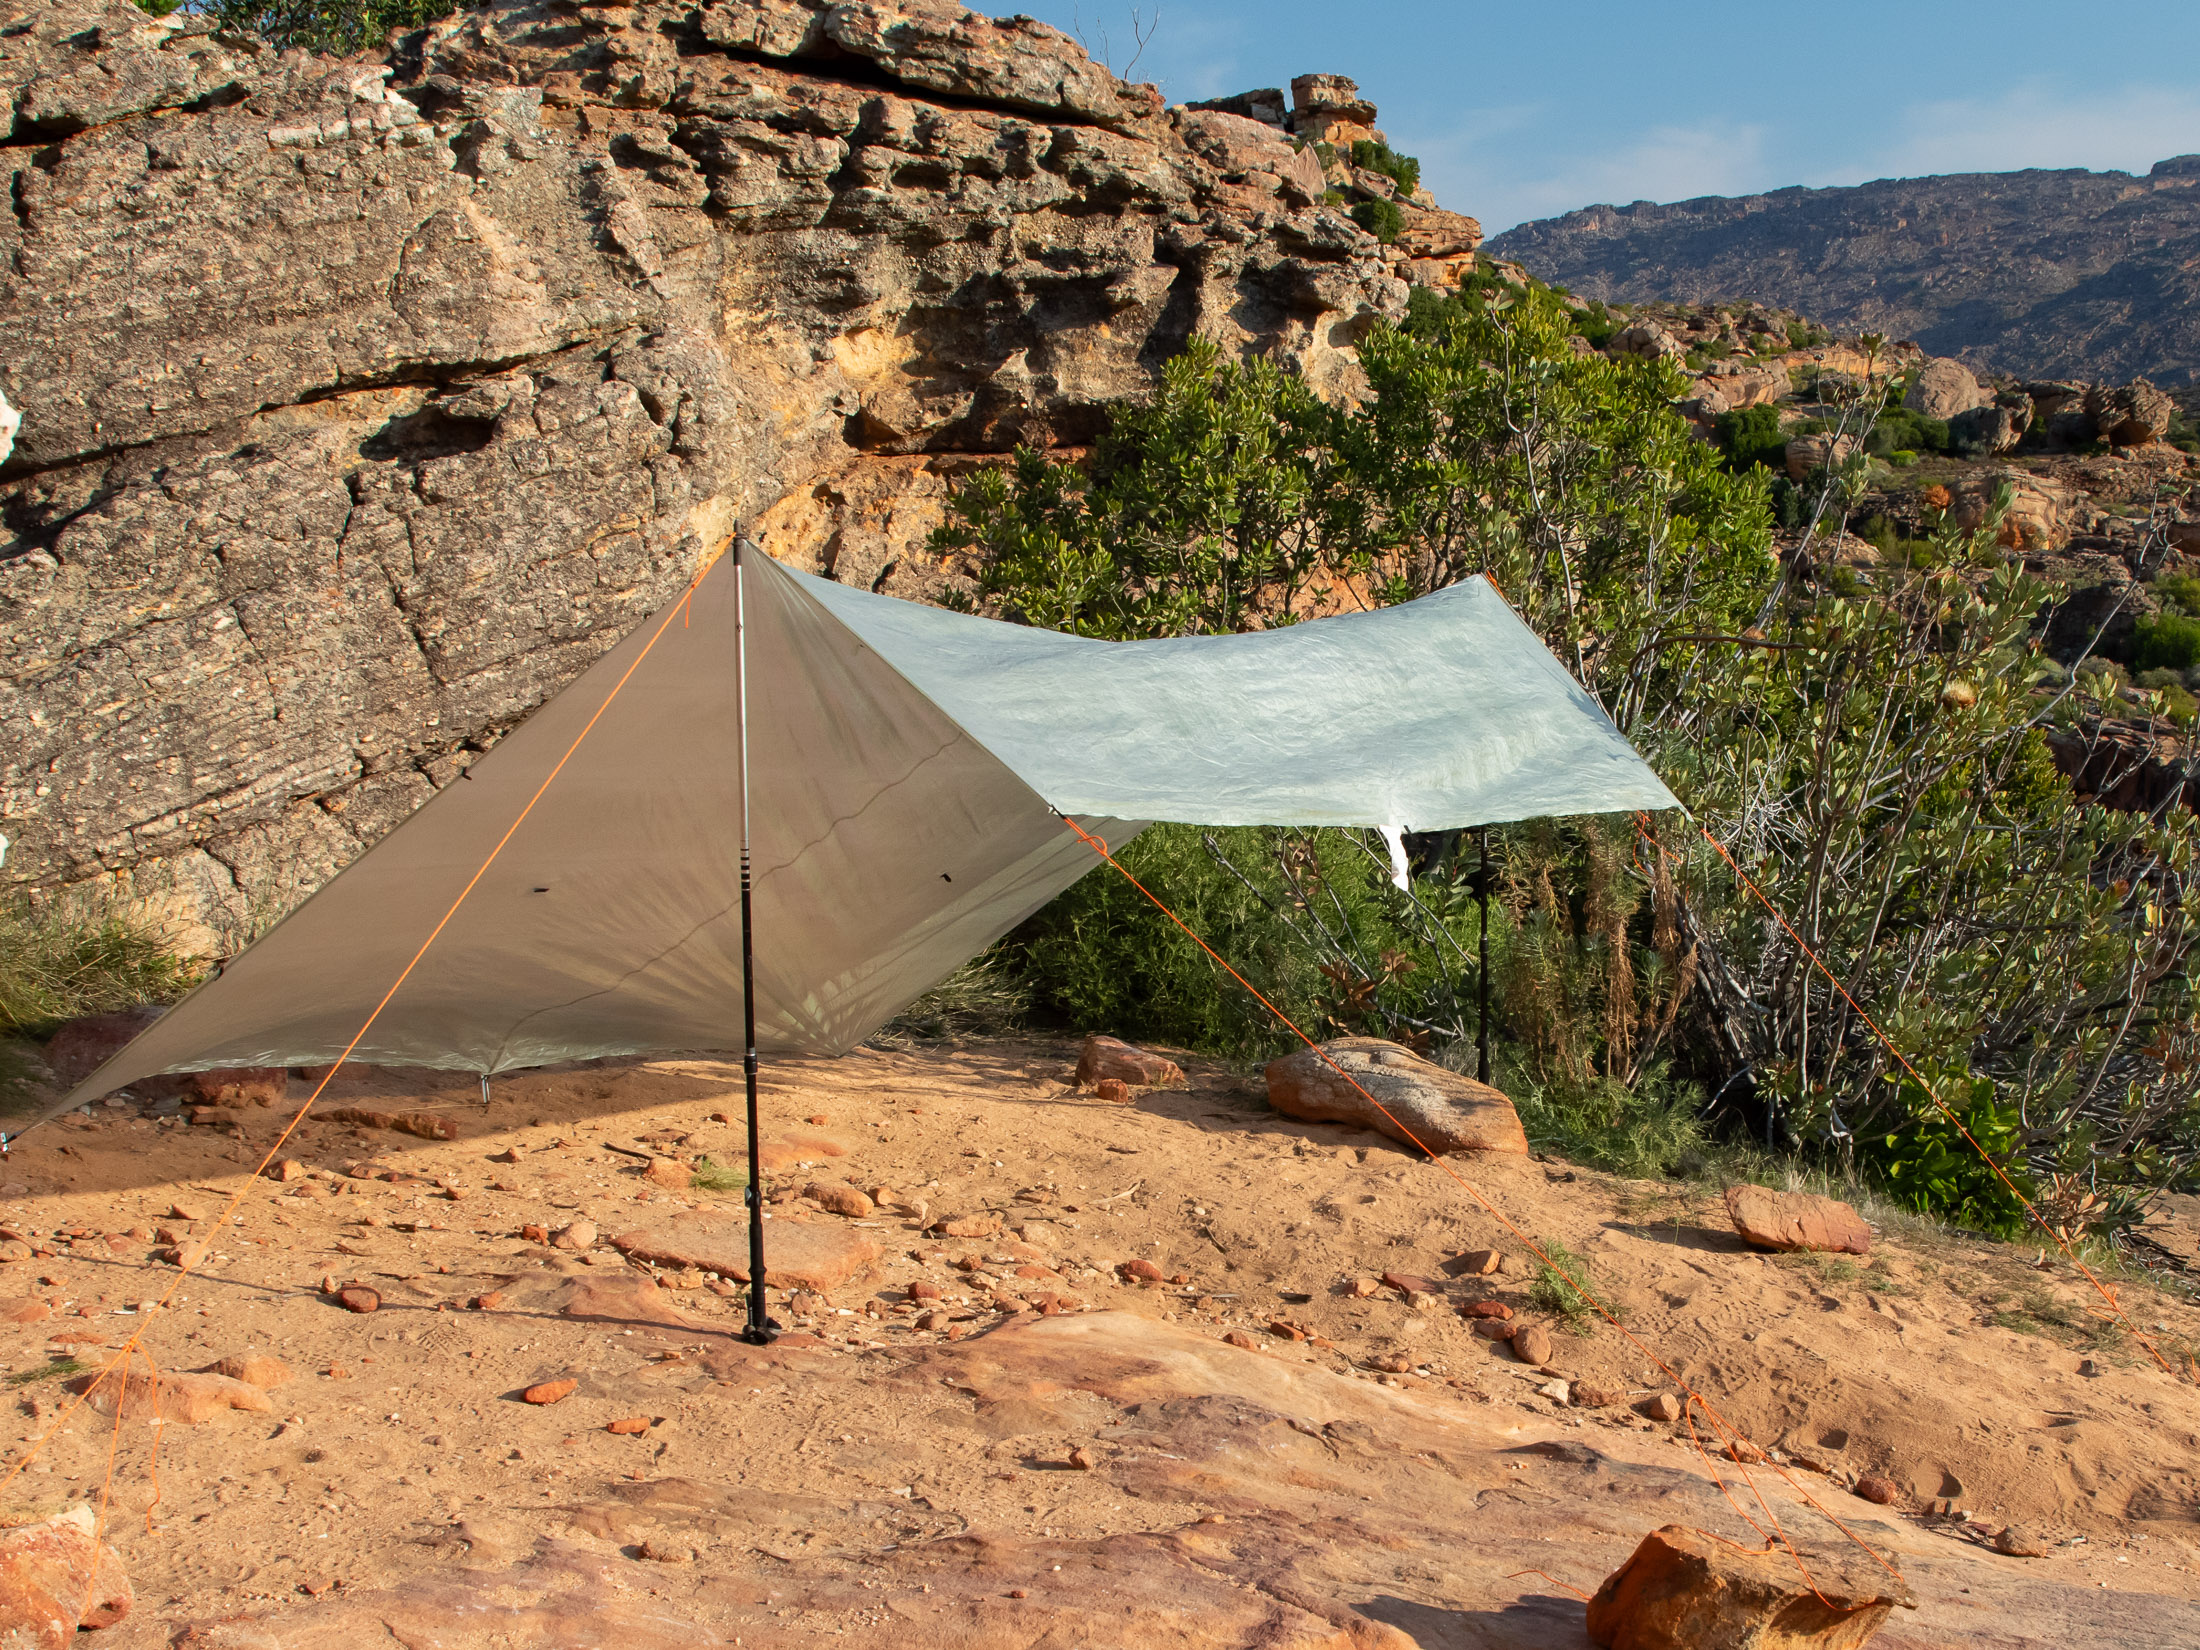
Rectangular tarps are generally more versatile than square tarps, but there is at least one configuration that a square tarp is better suited to. The diamond is the go-to for hammock camping, and a square tarp ensures a symmetrical pitch and maximum coverage when rigged in configuration. This makes a square tarp a better choice when you are going to suspend your tarp between trees. A square tarp is also less likely to flap even if it does have straight edges, and a large square tarp is just as versatile as a rectangular tarp of similar length, albeit a little heavier.
- REI Trailbreak Tarp (Buy at REI)
- Eagles Nest Outfitters SunFly Shade (Buy at Backcountry.com)
- Paria Outdoors Sanctuary 10’ x 10’ (Buy at Paria Outdoors)
Rectangular flat tarps
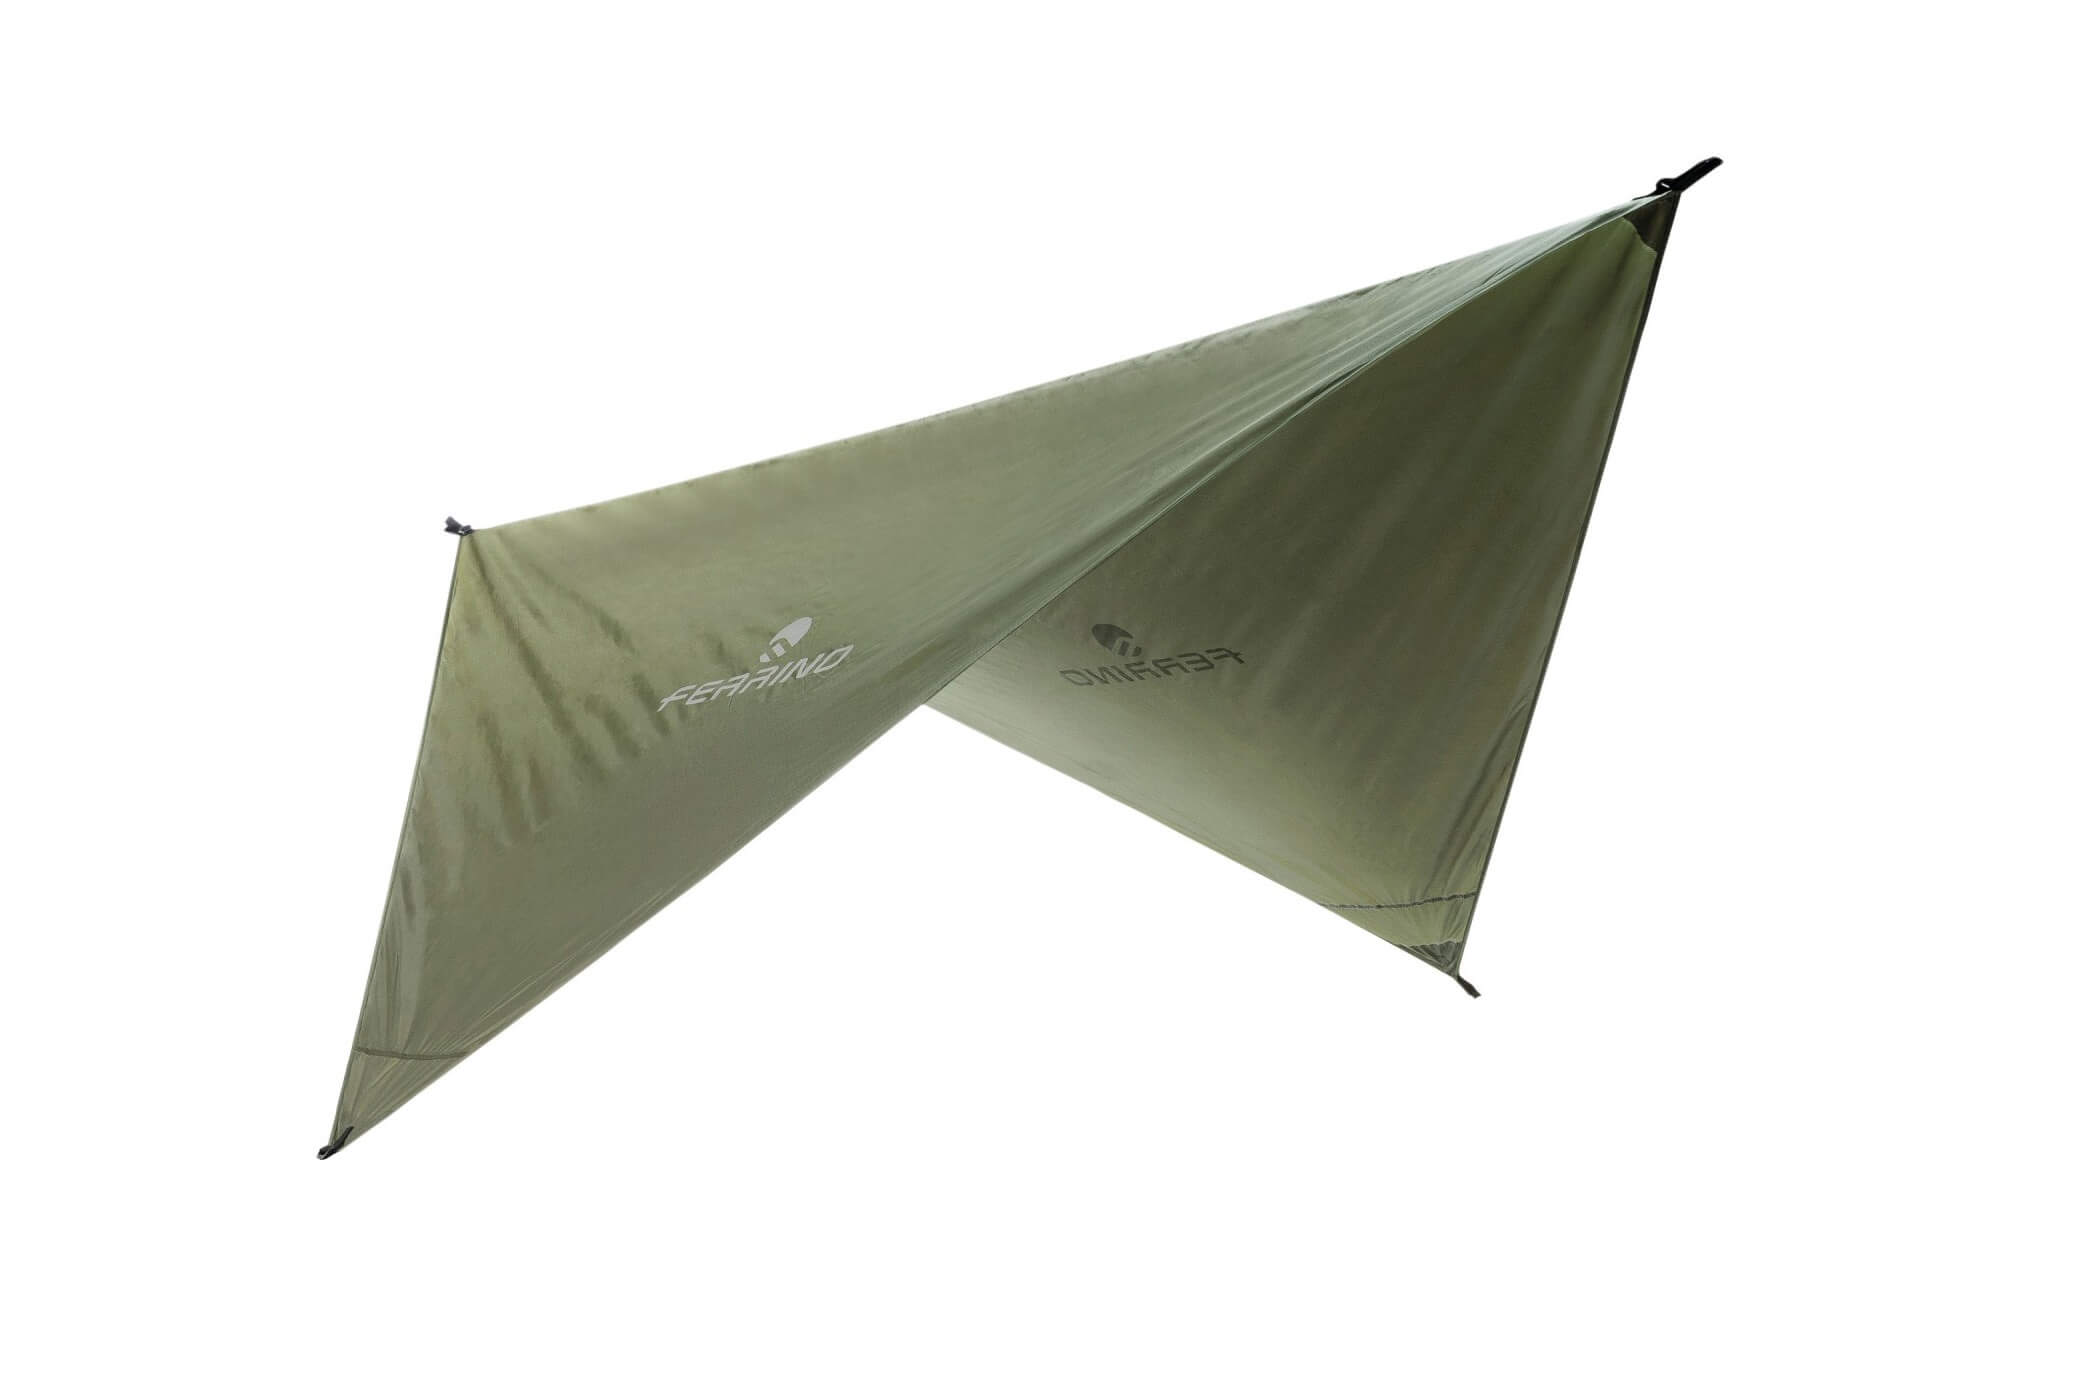
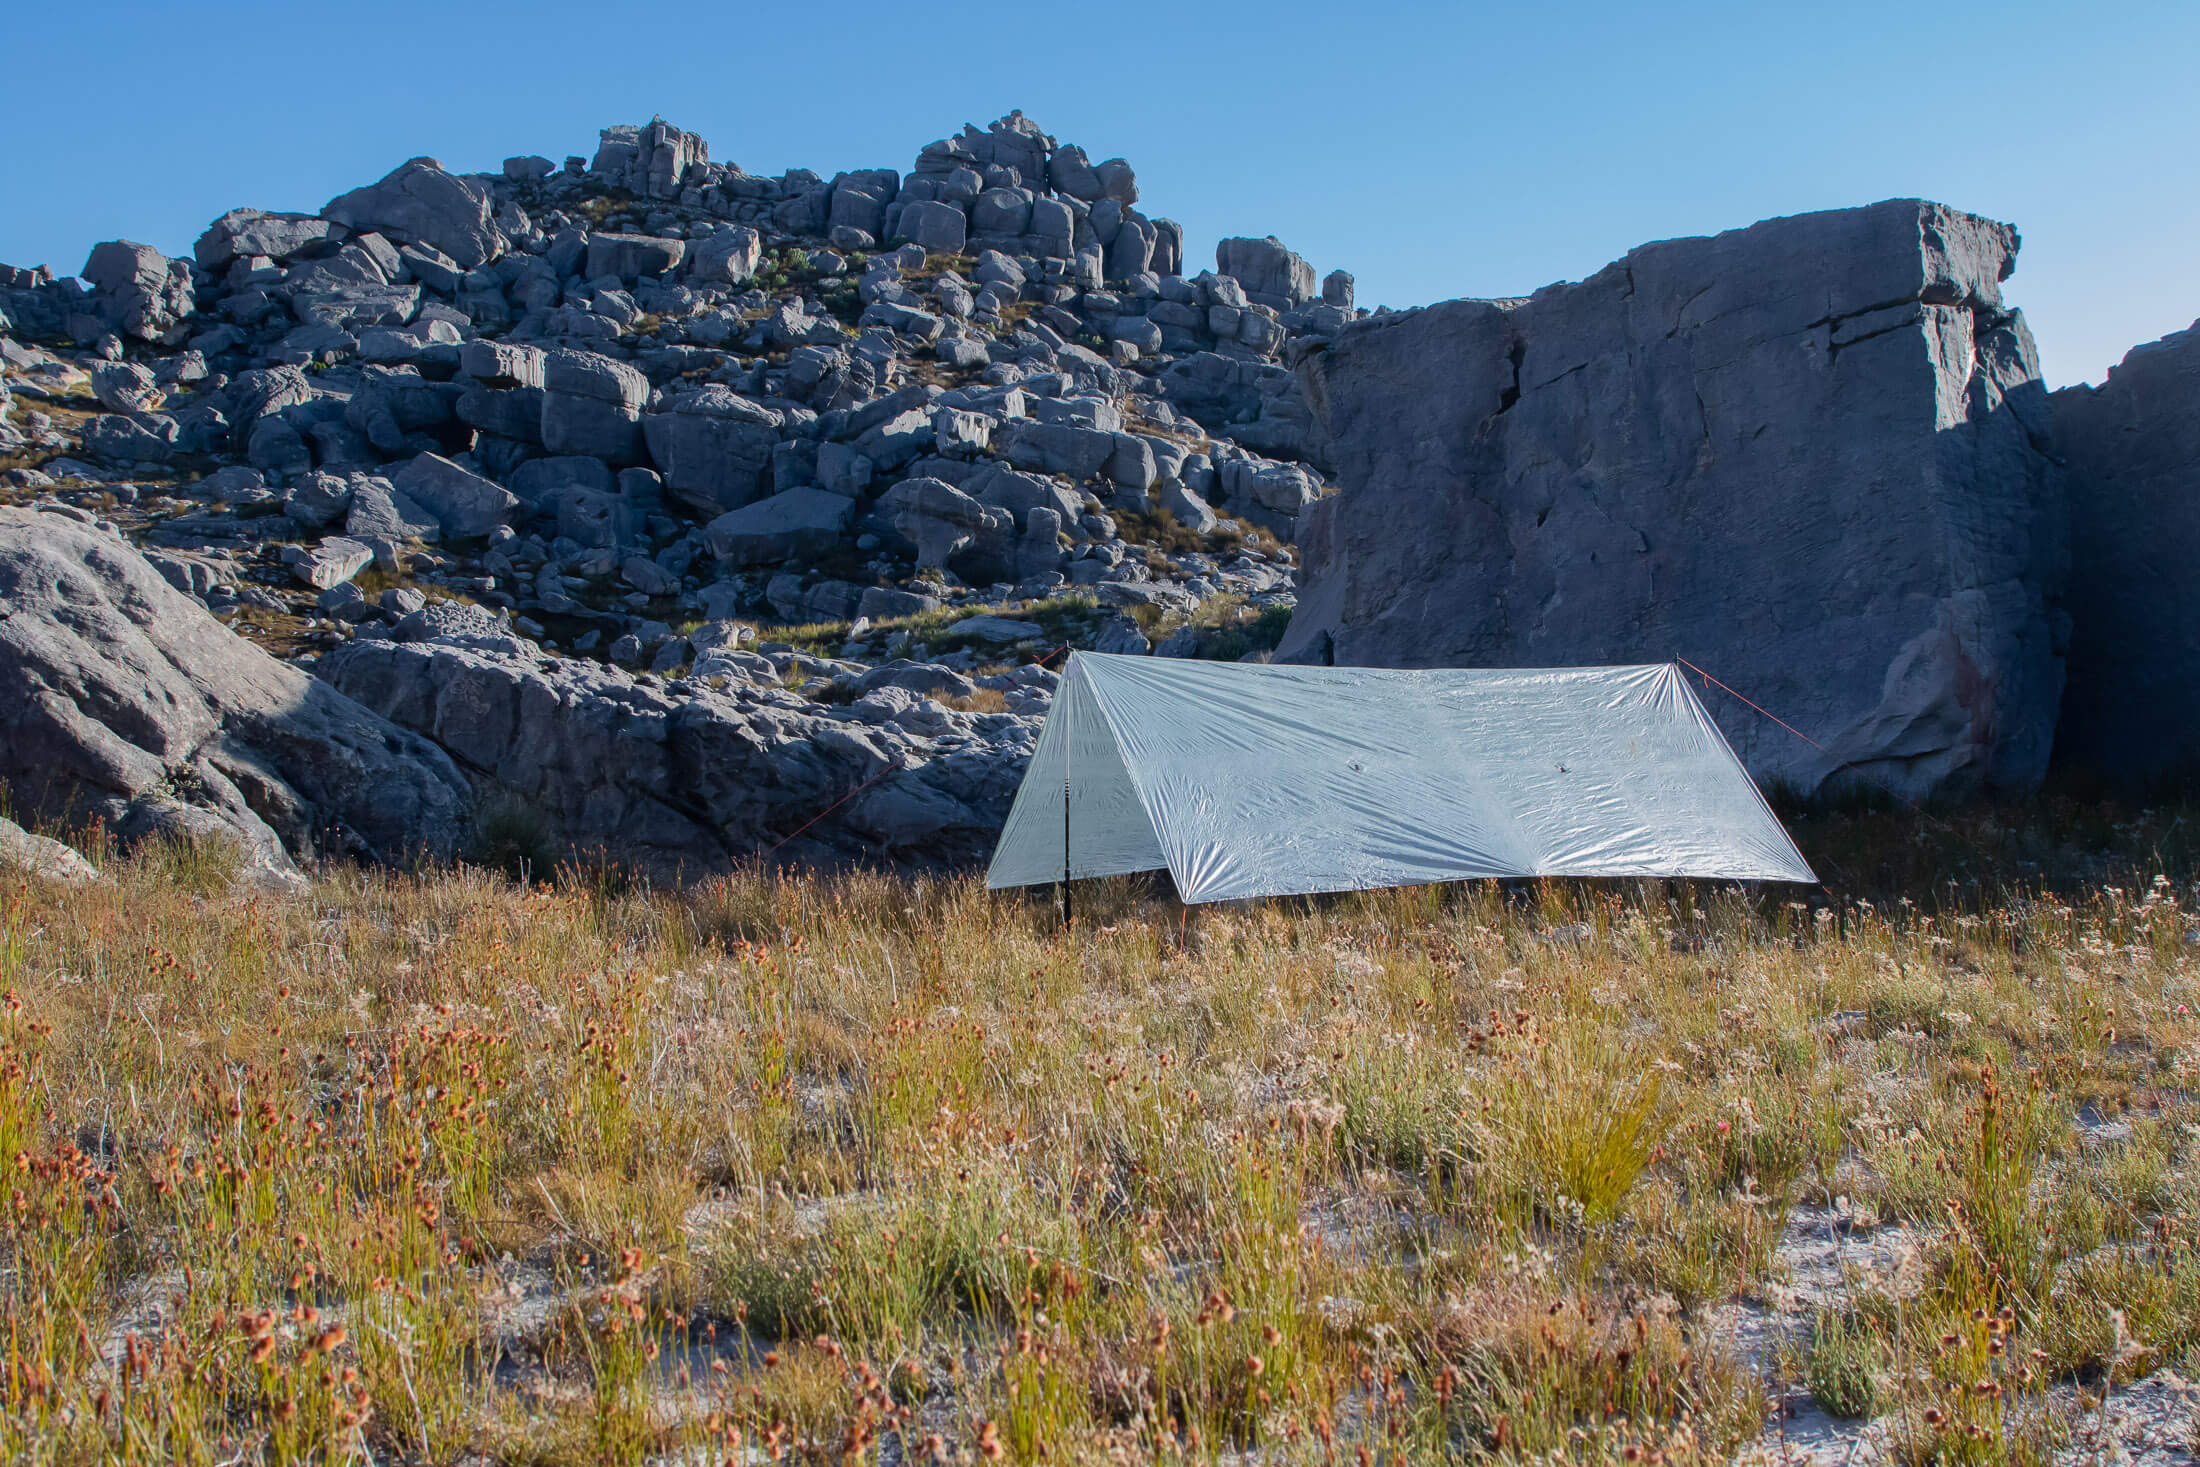
Flat tarps are simple square or rectangular pieces of fabric with straight edges. The advantage of this most basic of designs is that you can set it in many different configurations, making it a lot more versatile than a catenary cut tarp or shaped tarp. If you’re going to have to pitch your tarp in a range of conditions, a flat tarp will give you options. It can be rigged over a wide area when space allows for it, in a narrow space when it doesn’t, open sided to afford a view, or closed to offer protection from the elements. The disadvantage of a flat tarp is that it’s difficult to get a pitch taut from edge to edge with straight sides. The result is that flat tarps tend to flap in the wind.
- MSR Thru-Hiker 70 Wing Shelter (Buy at REI)
- Kammok Kuhli Shelter (Buy at REI)
- Sea to Summit Escapist (Buy at Backcountry.com))
- Rab Siltarp 2 (Buy at Backcountry.com))
- Zpacks 8.5' x 10' Flat Tarp (Buy at Zpacks)
Catenary cut tarps
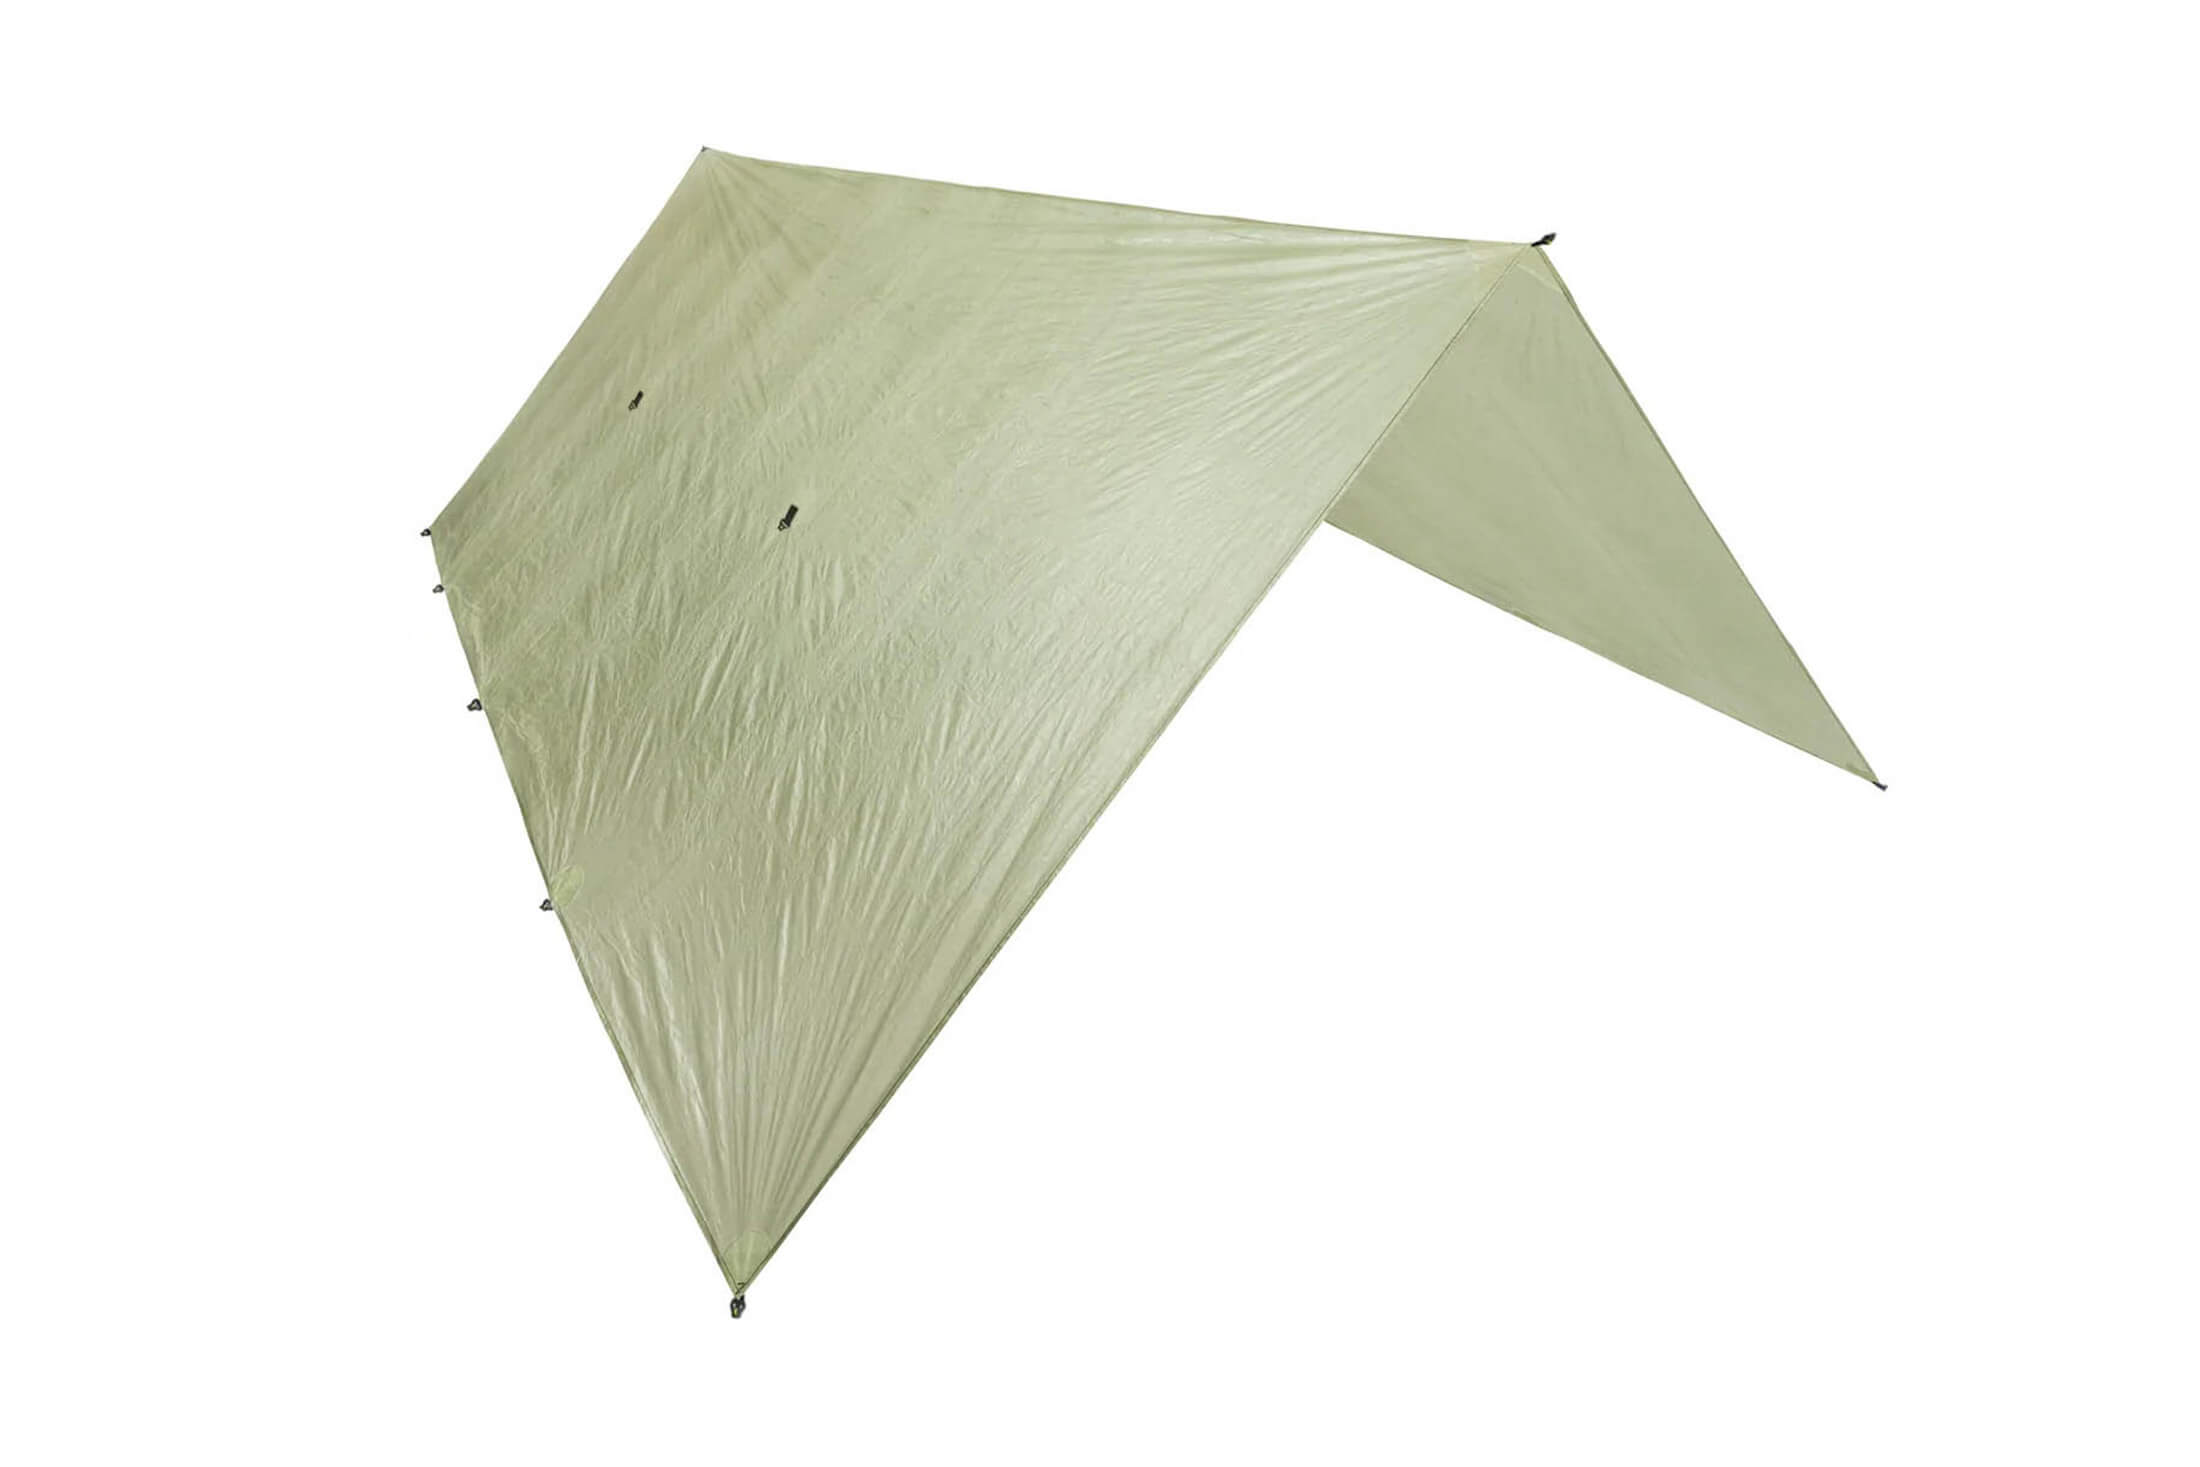
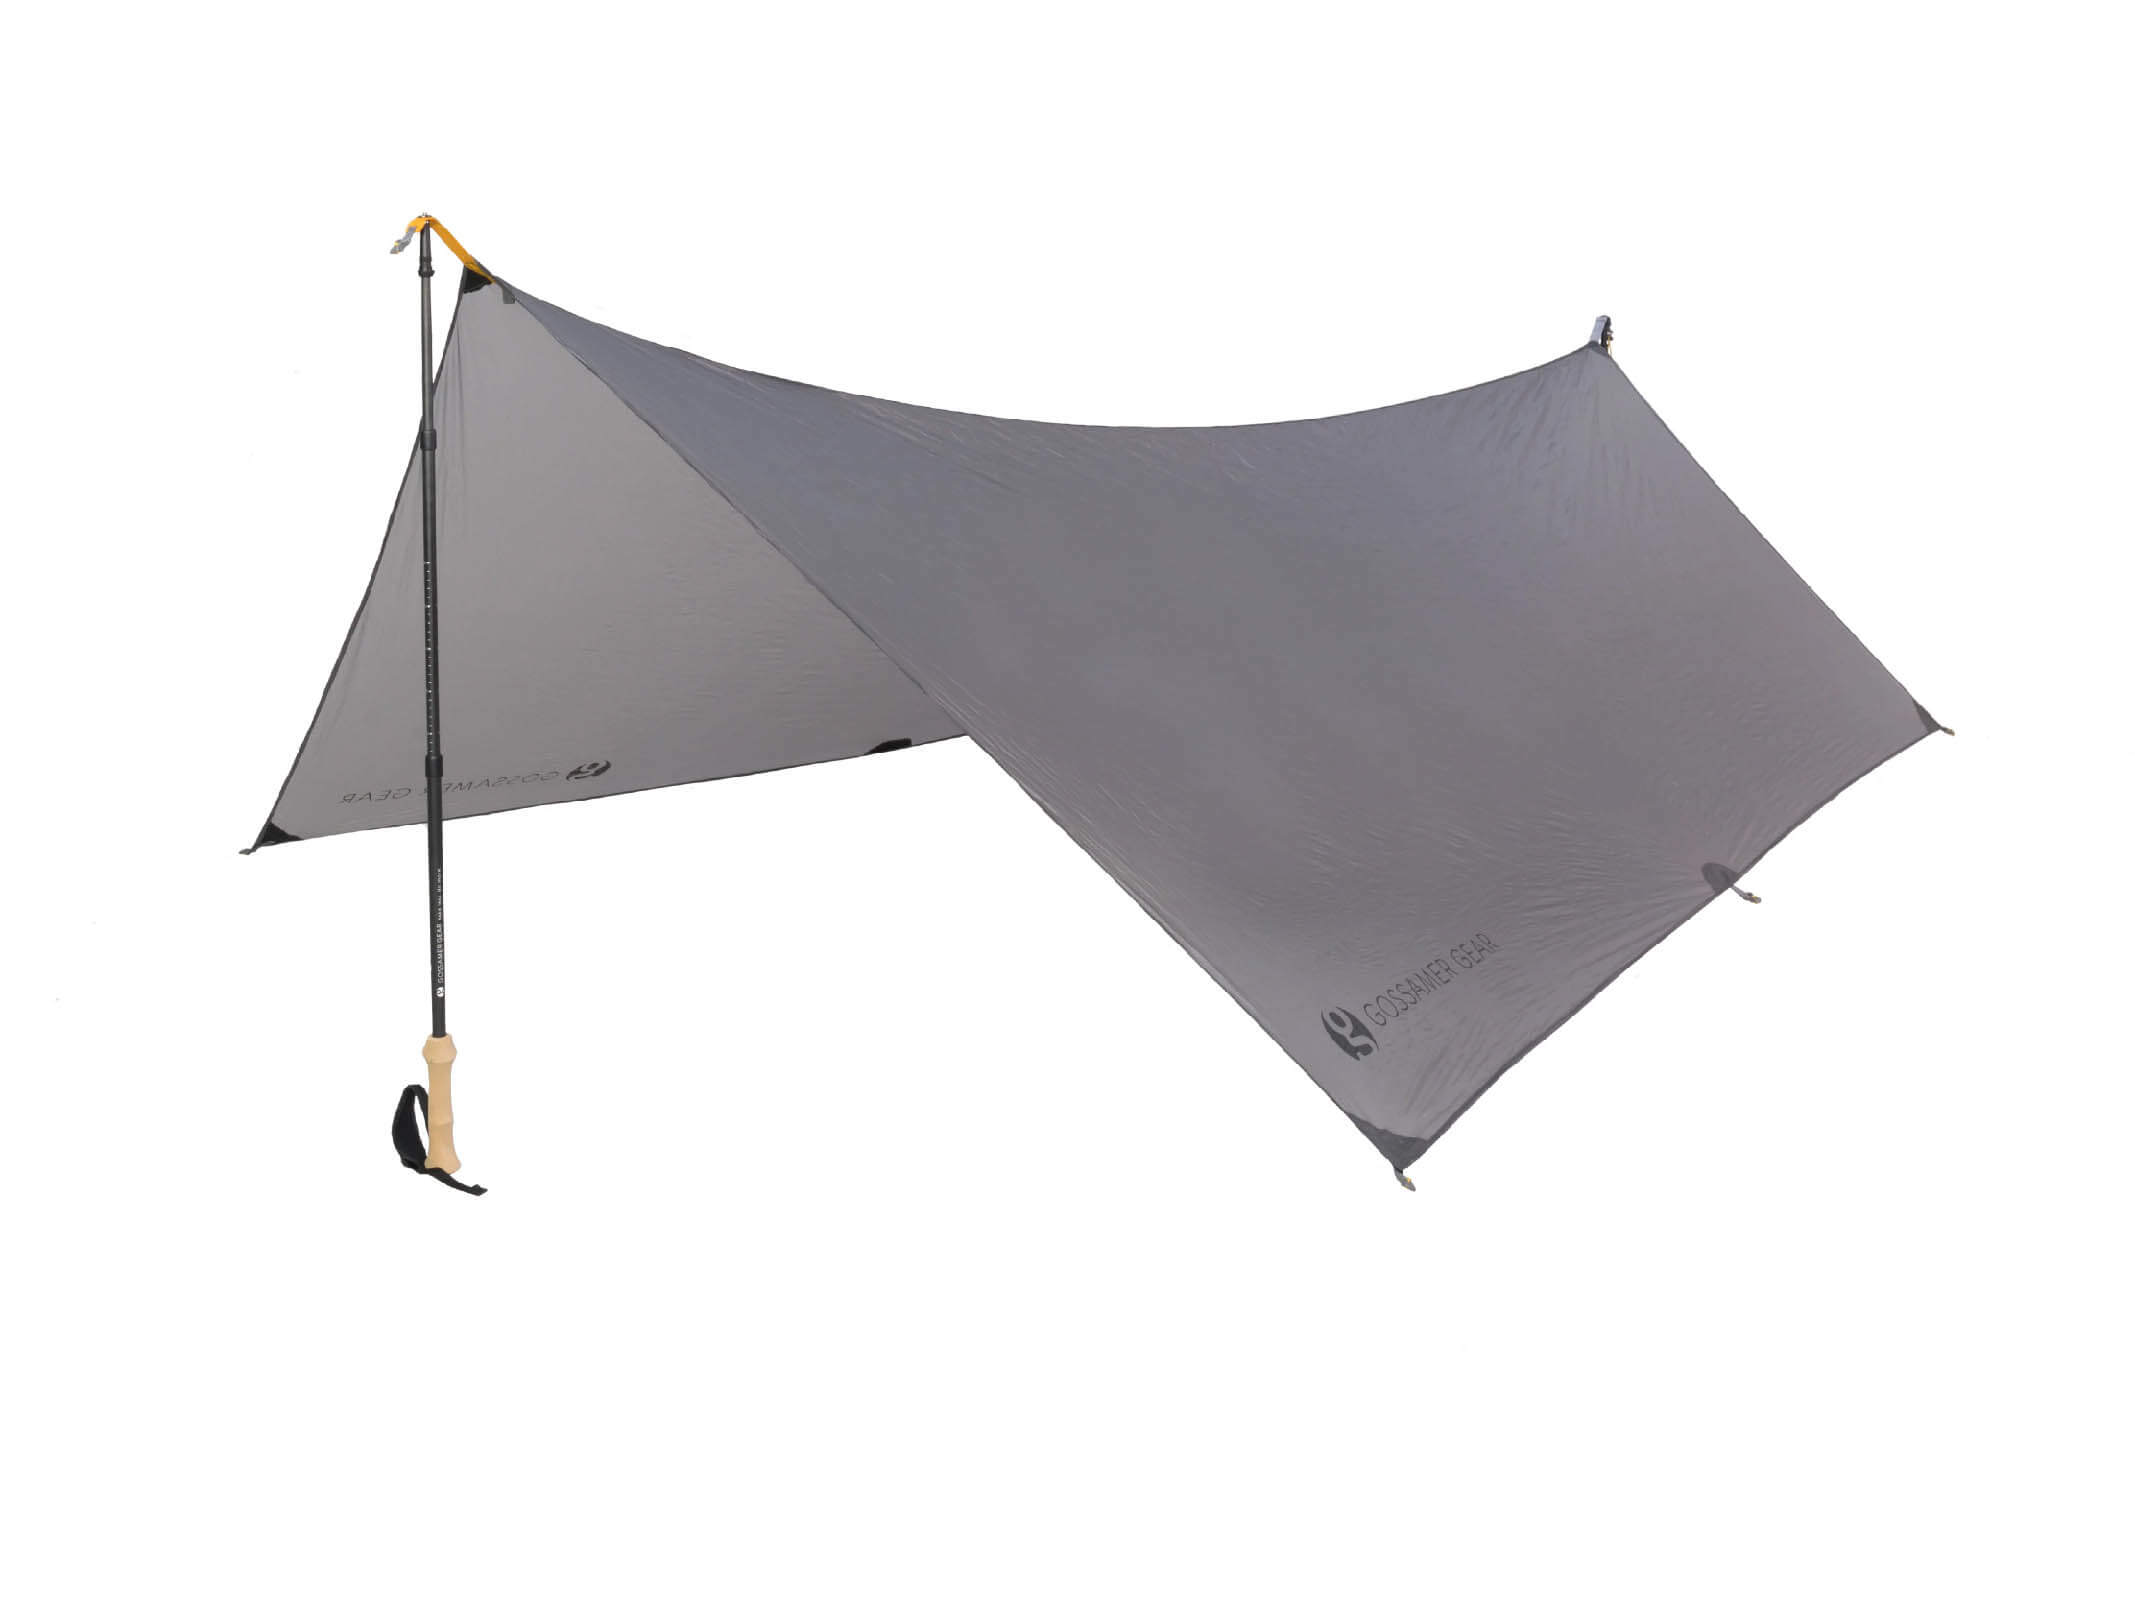
Catenary cut tarps look rectangular but actually have slightly curved edges. The advantage of these curves is that they can help to ensure a tight pitch, which reduces flapping and adds to the overall stability of the shelter. The downside to this design is that it can only be rigged one or two ways – in an A-frame or closed-end A-frame configuration – as these are the only setups that ensure properly tensioned tie-outs and guylines. If you choose a catenary cut tarp, it should be because you expect to be able to use a flat and level campsite with ample space every night.
- ENO HouseFly Rain Tarp (Buy at REI)
- Eagles Nest Outfitters ProFly (Buy at Backcountry.com))
- Gossamer Gear Twinn Tarp (Buy at Gossamer Gear)
Hexagonal and heptagonal tarps
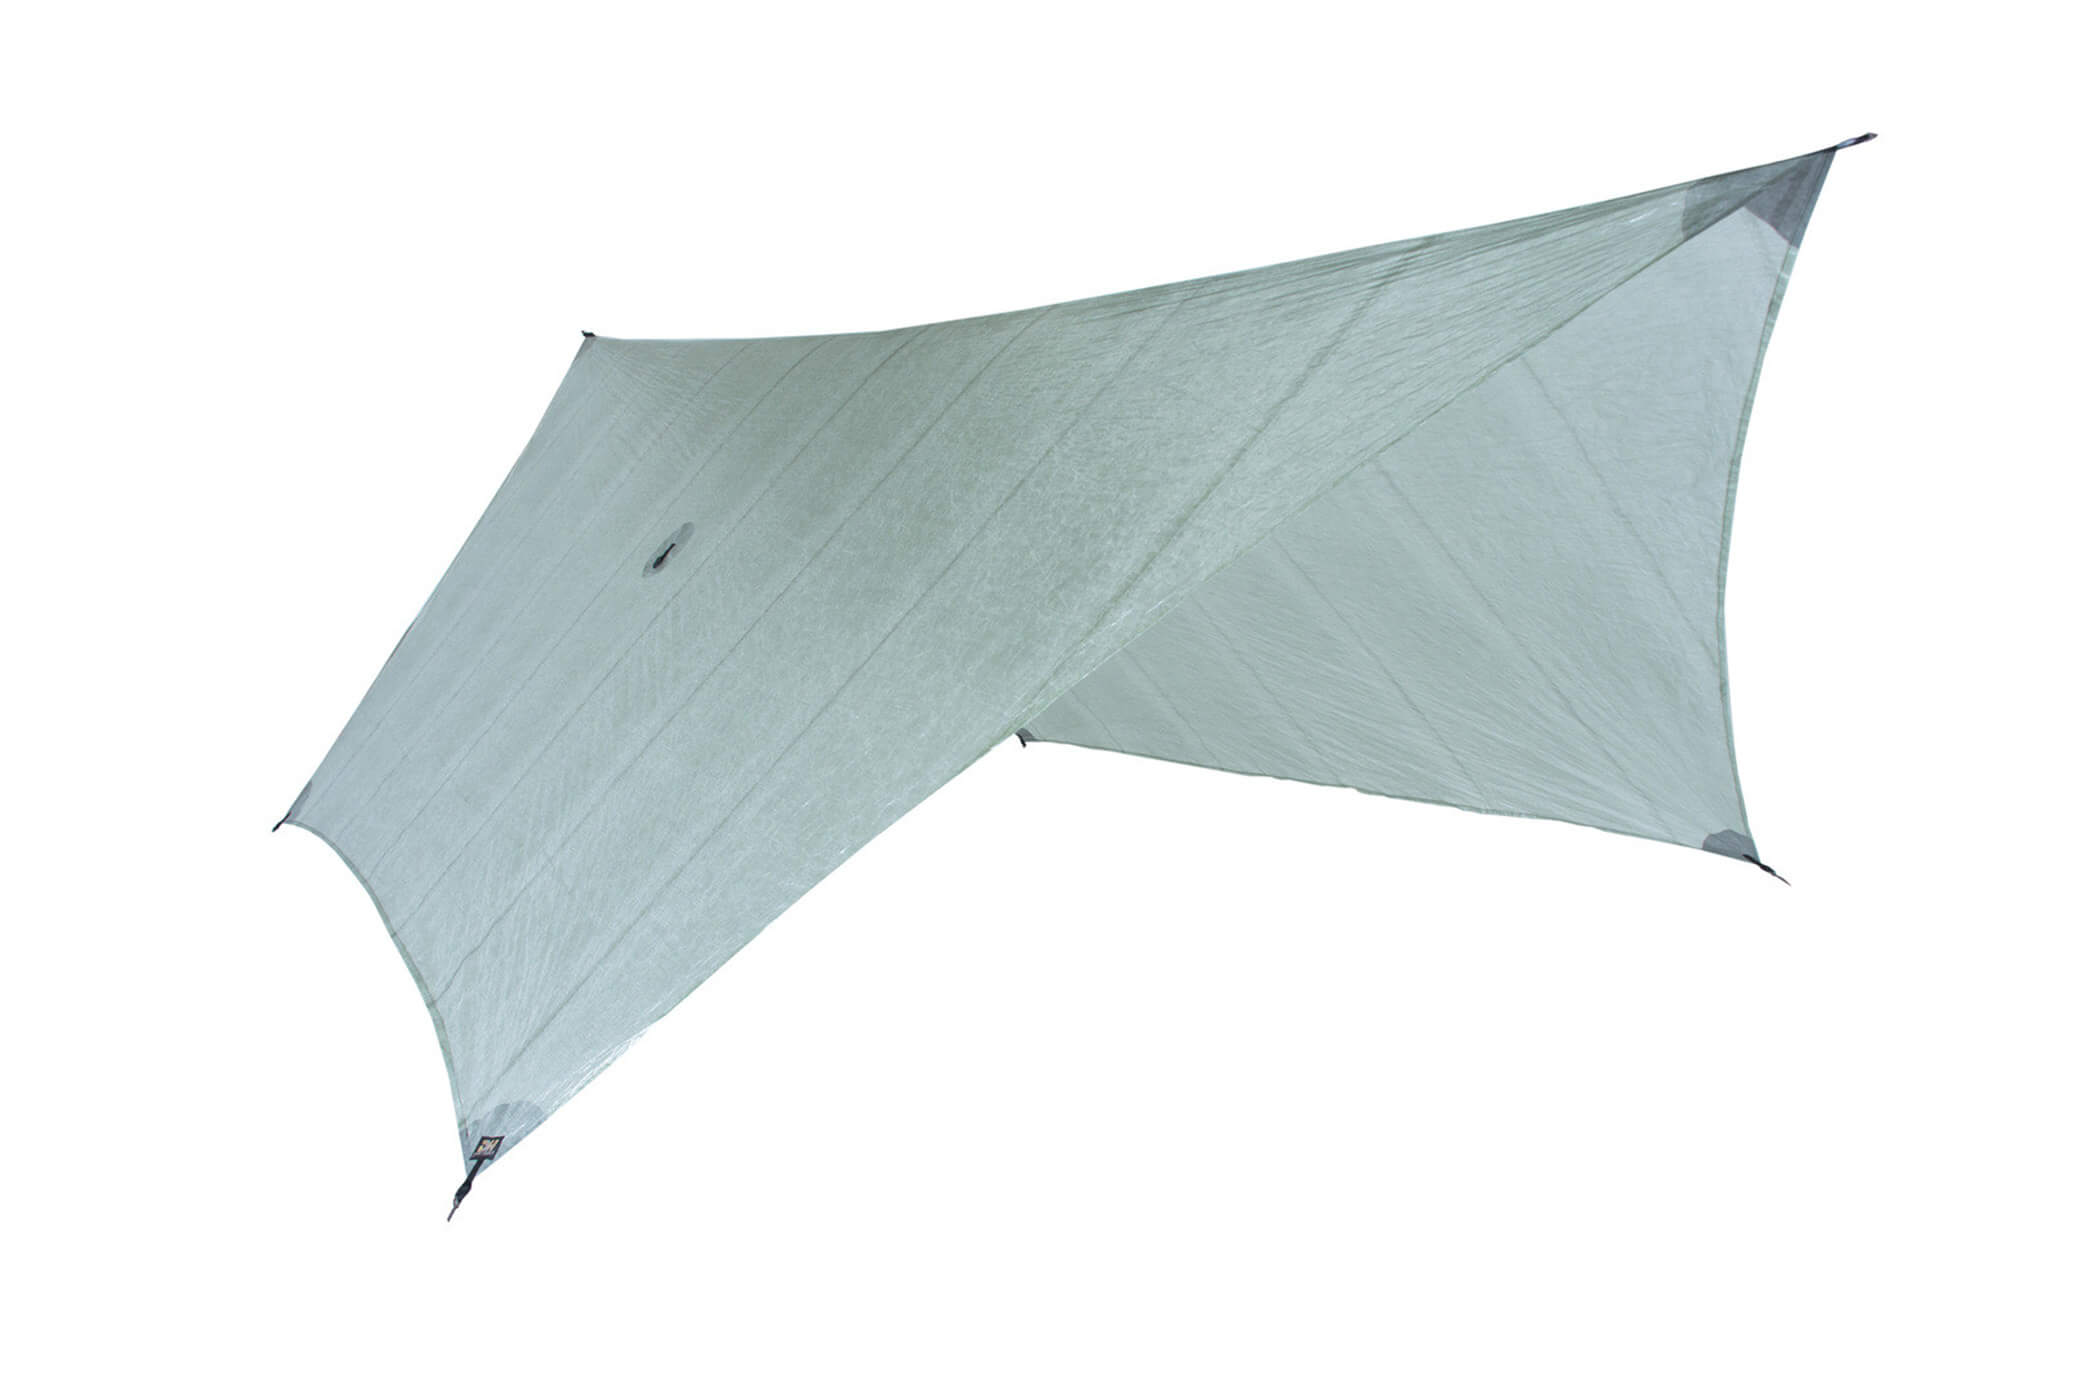
Some tarps have six or seven sides, which allows for a larger usable footprint (that which you can shelter under) with the same amount of material. In such designs the roof extends out over the entrance and rear of the tarp while tapering back towards the ground, where coverage is not as important. The downside to these shapes is that, like cat cut tarps, they can only be rigged in a very limited number of configurations. Accepting this limitation and wanting to make the most of it, some tarp manufacturers have designed their hexagonal and heptagonal tarps with catenary cut edges.
- Dutchware Xenon Hex Tarp (Buy at Dutchware)
- Hammock Gear Hex Tarp (Buy at Hammock Gear)
Size
Because tarps are not enclosed, they have to be wider to account for bounce back and rain that is driven sideways. As a result, your tarp might need to be bigger than you think. For a solo camper, a tarp measuring 7’ x 9’ is a good size, while a 8’ x 9’ tarp will be big enough for two. If buying a tarp for hammock camping, you will want to consider the length of your hammock. You want a tarp that extends about 8-12 inches past the ends of your hammock. A 9’ x 9’ tarp has a 12.7 ft ridgeline - long enough for most hammocks.
If you will be sleeping solo on most adventures, don’t just go for the smallest and lightest tarp. Even a 8’ x 10’ tarp can be very light, and the weight difference between that and a 7’ x 9’ tarp really isn’t enough to warrant choosing the smaller tarp. Rather consider the tie-outs available on different sizes (larger tarps often have more tie-outs - important when choosing a flat tarp) and the amount of space you can expect to find in the campsites you’re likely to use. If you expect to use your tarp in dense woods, a sprawling tarp might not be your best option.
Tie-outs
The number and position of tie-outs on a tarp determines not only how taut it can be pitched but also how it can be pitched. Some configurations require the use of tie-outs on a tarp’s panels or on the edges between the corners and the ridgeline, and the more tie-outs a tarp has, the more versatile it will be (up to a point). Of course, some tie-outs are more useful than others, and you will want to know what to look for before choosing your first tarp.
Corner tie-outs
Every tarp should have corner tie-outs. Even square tarps that have been designed to be rigged in a diamond configuration above a hammock have them (in many such designs they are the only tie-outs).
Edge tie-outs
Tarps used for anything other than hammock camping should have tie-outs along their longer edges (three between each corner tie-out is the norm on larger tarps). Some fully tricked out tarps will also have tie-outs on the short edges between the ridgeline and corners. These aren’t as useful as panel ties-outs, but they can help with certain configurations.
Ridgeline tie-outs
Again, unless your tarp is only going to be rigged in a diamond configuration, it should have tie-outs at both ends of the ridgeline (essential for rigging many configurations if you don’t want to have to fold your tarp over a ridgeline cord). Some tarps have tie-outs along the ridgeline itself, but I would consider these less useful unless you intend to suspend an A-frame from a ridgeline frequently.
Panel tie-outs
In my experience, panel-tie outs are the least useful type of tie-out. They can sometimes be used to pull a wall out to make more space inside your shelter, but more often than not this creates some slack in the edges, which can result in a very flappy tarp - something I try hard to avoid.
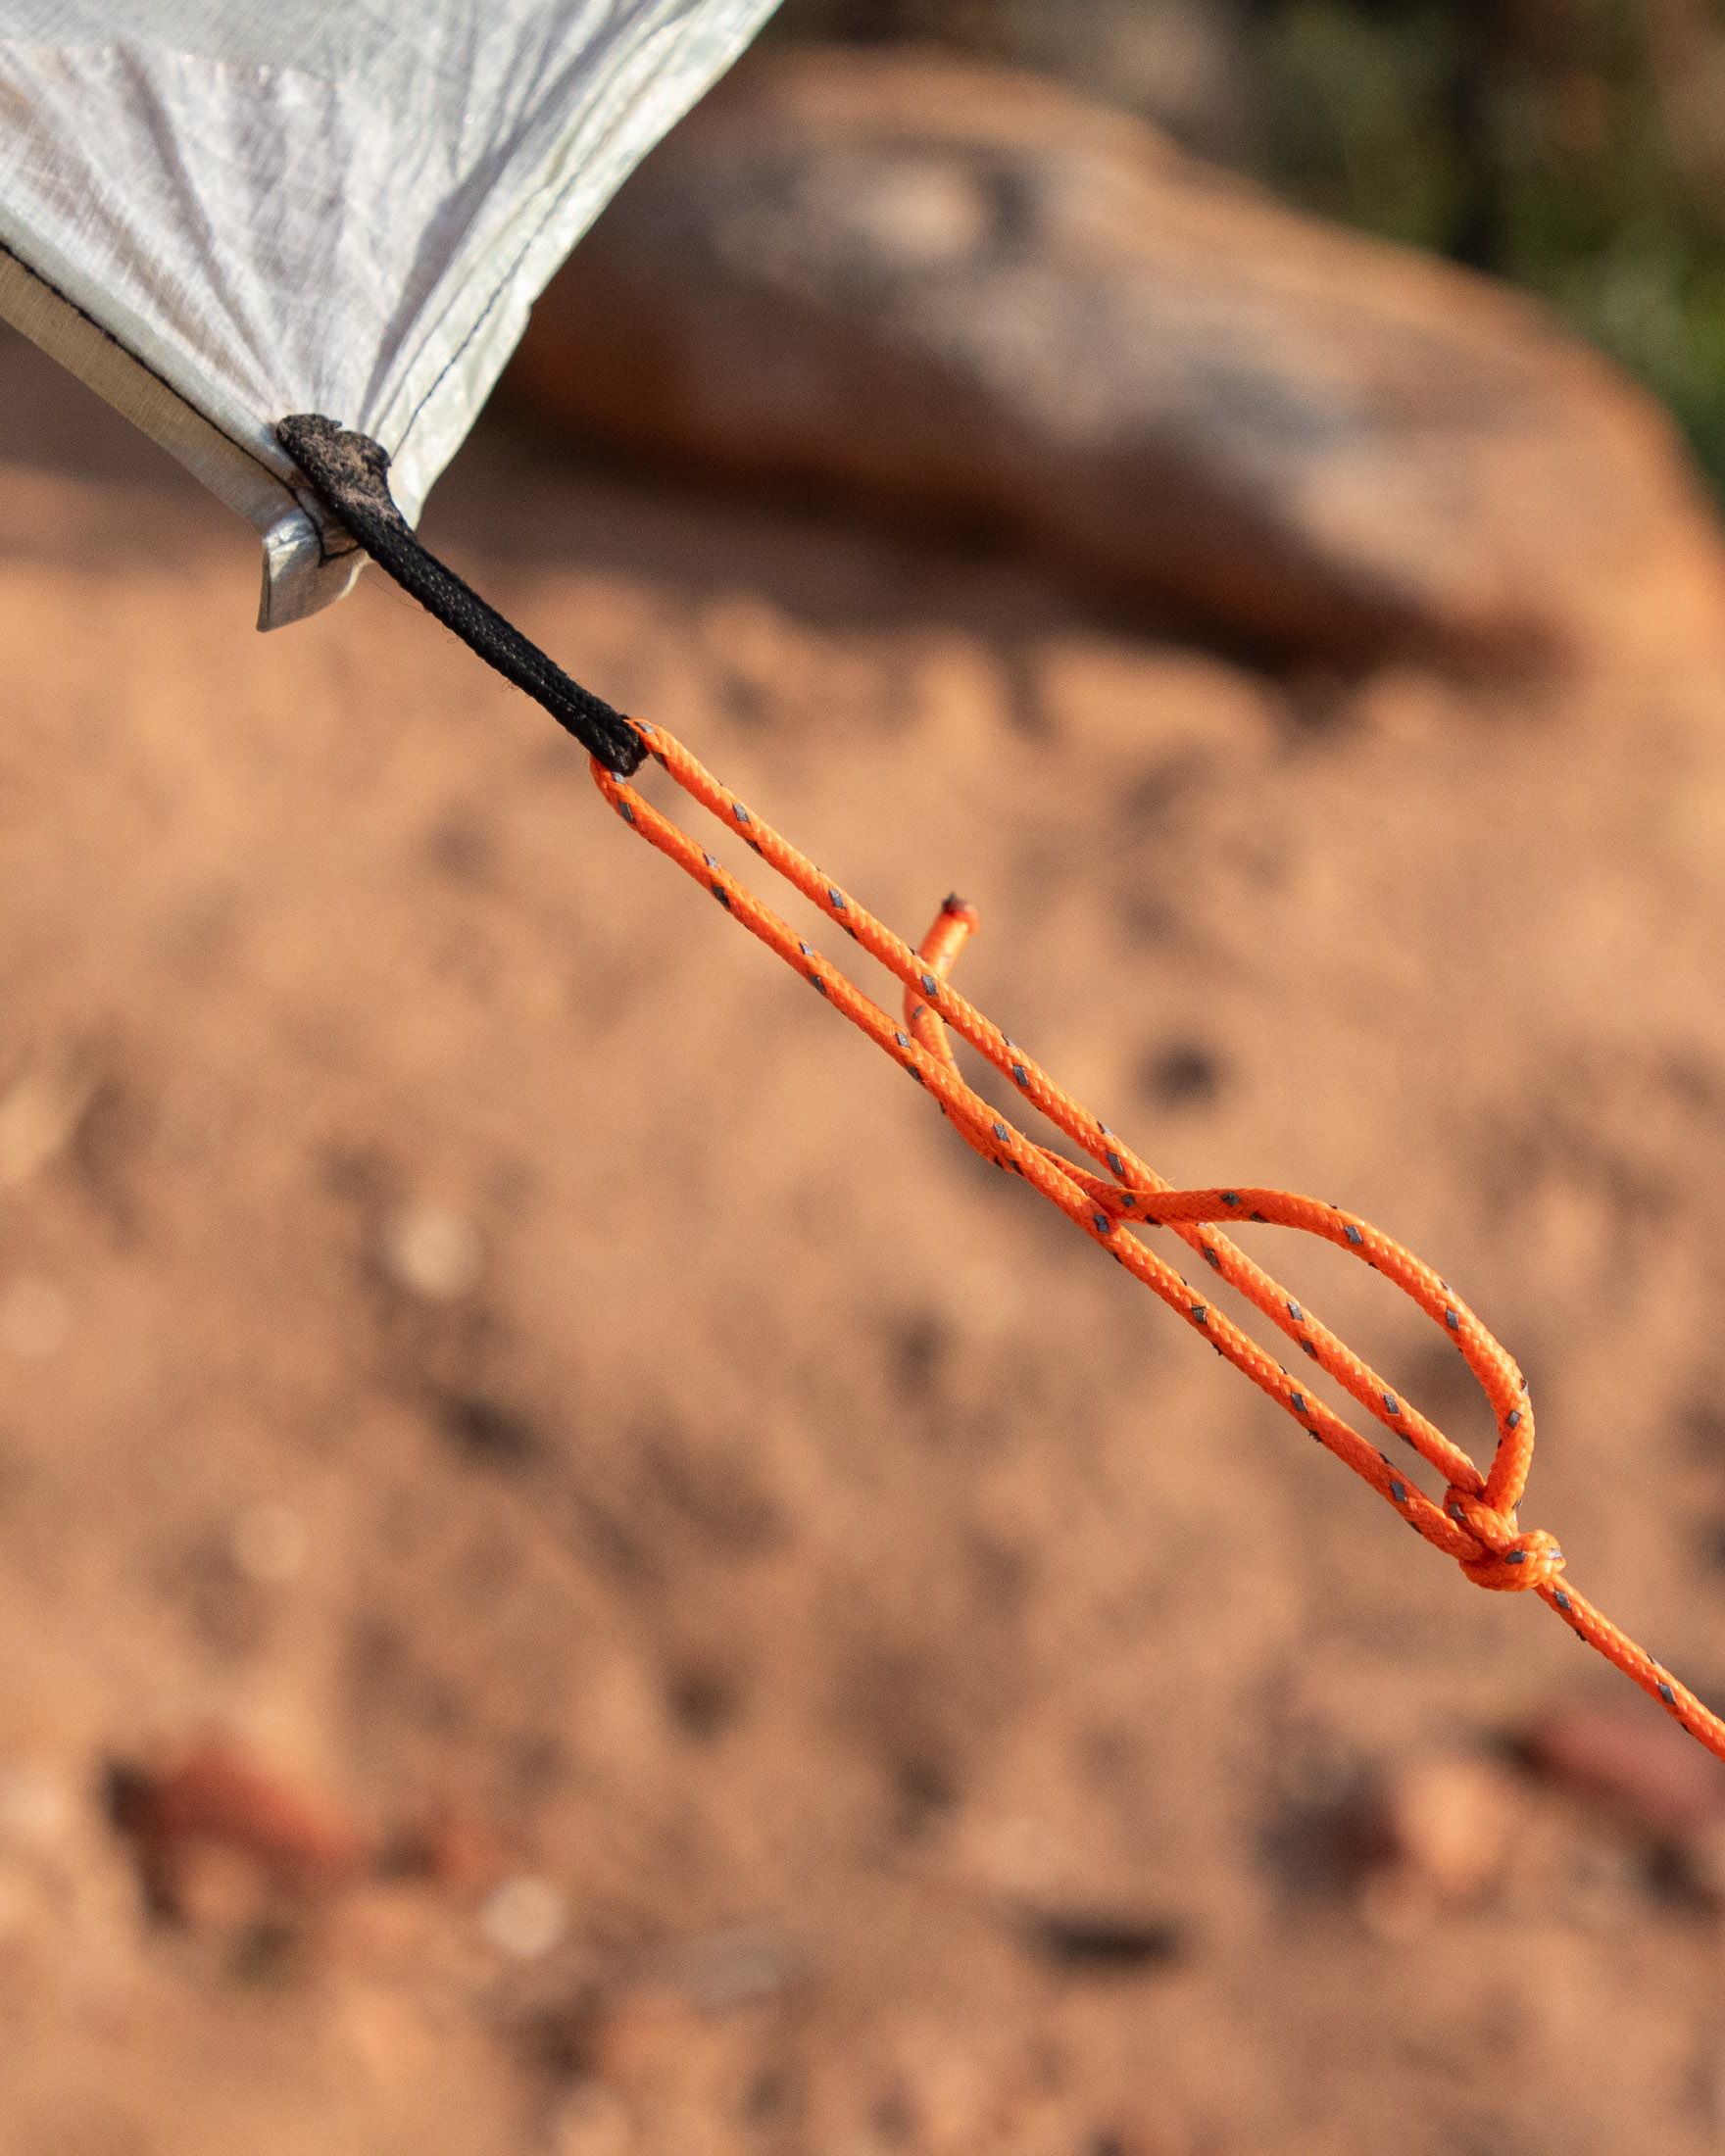
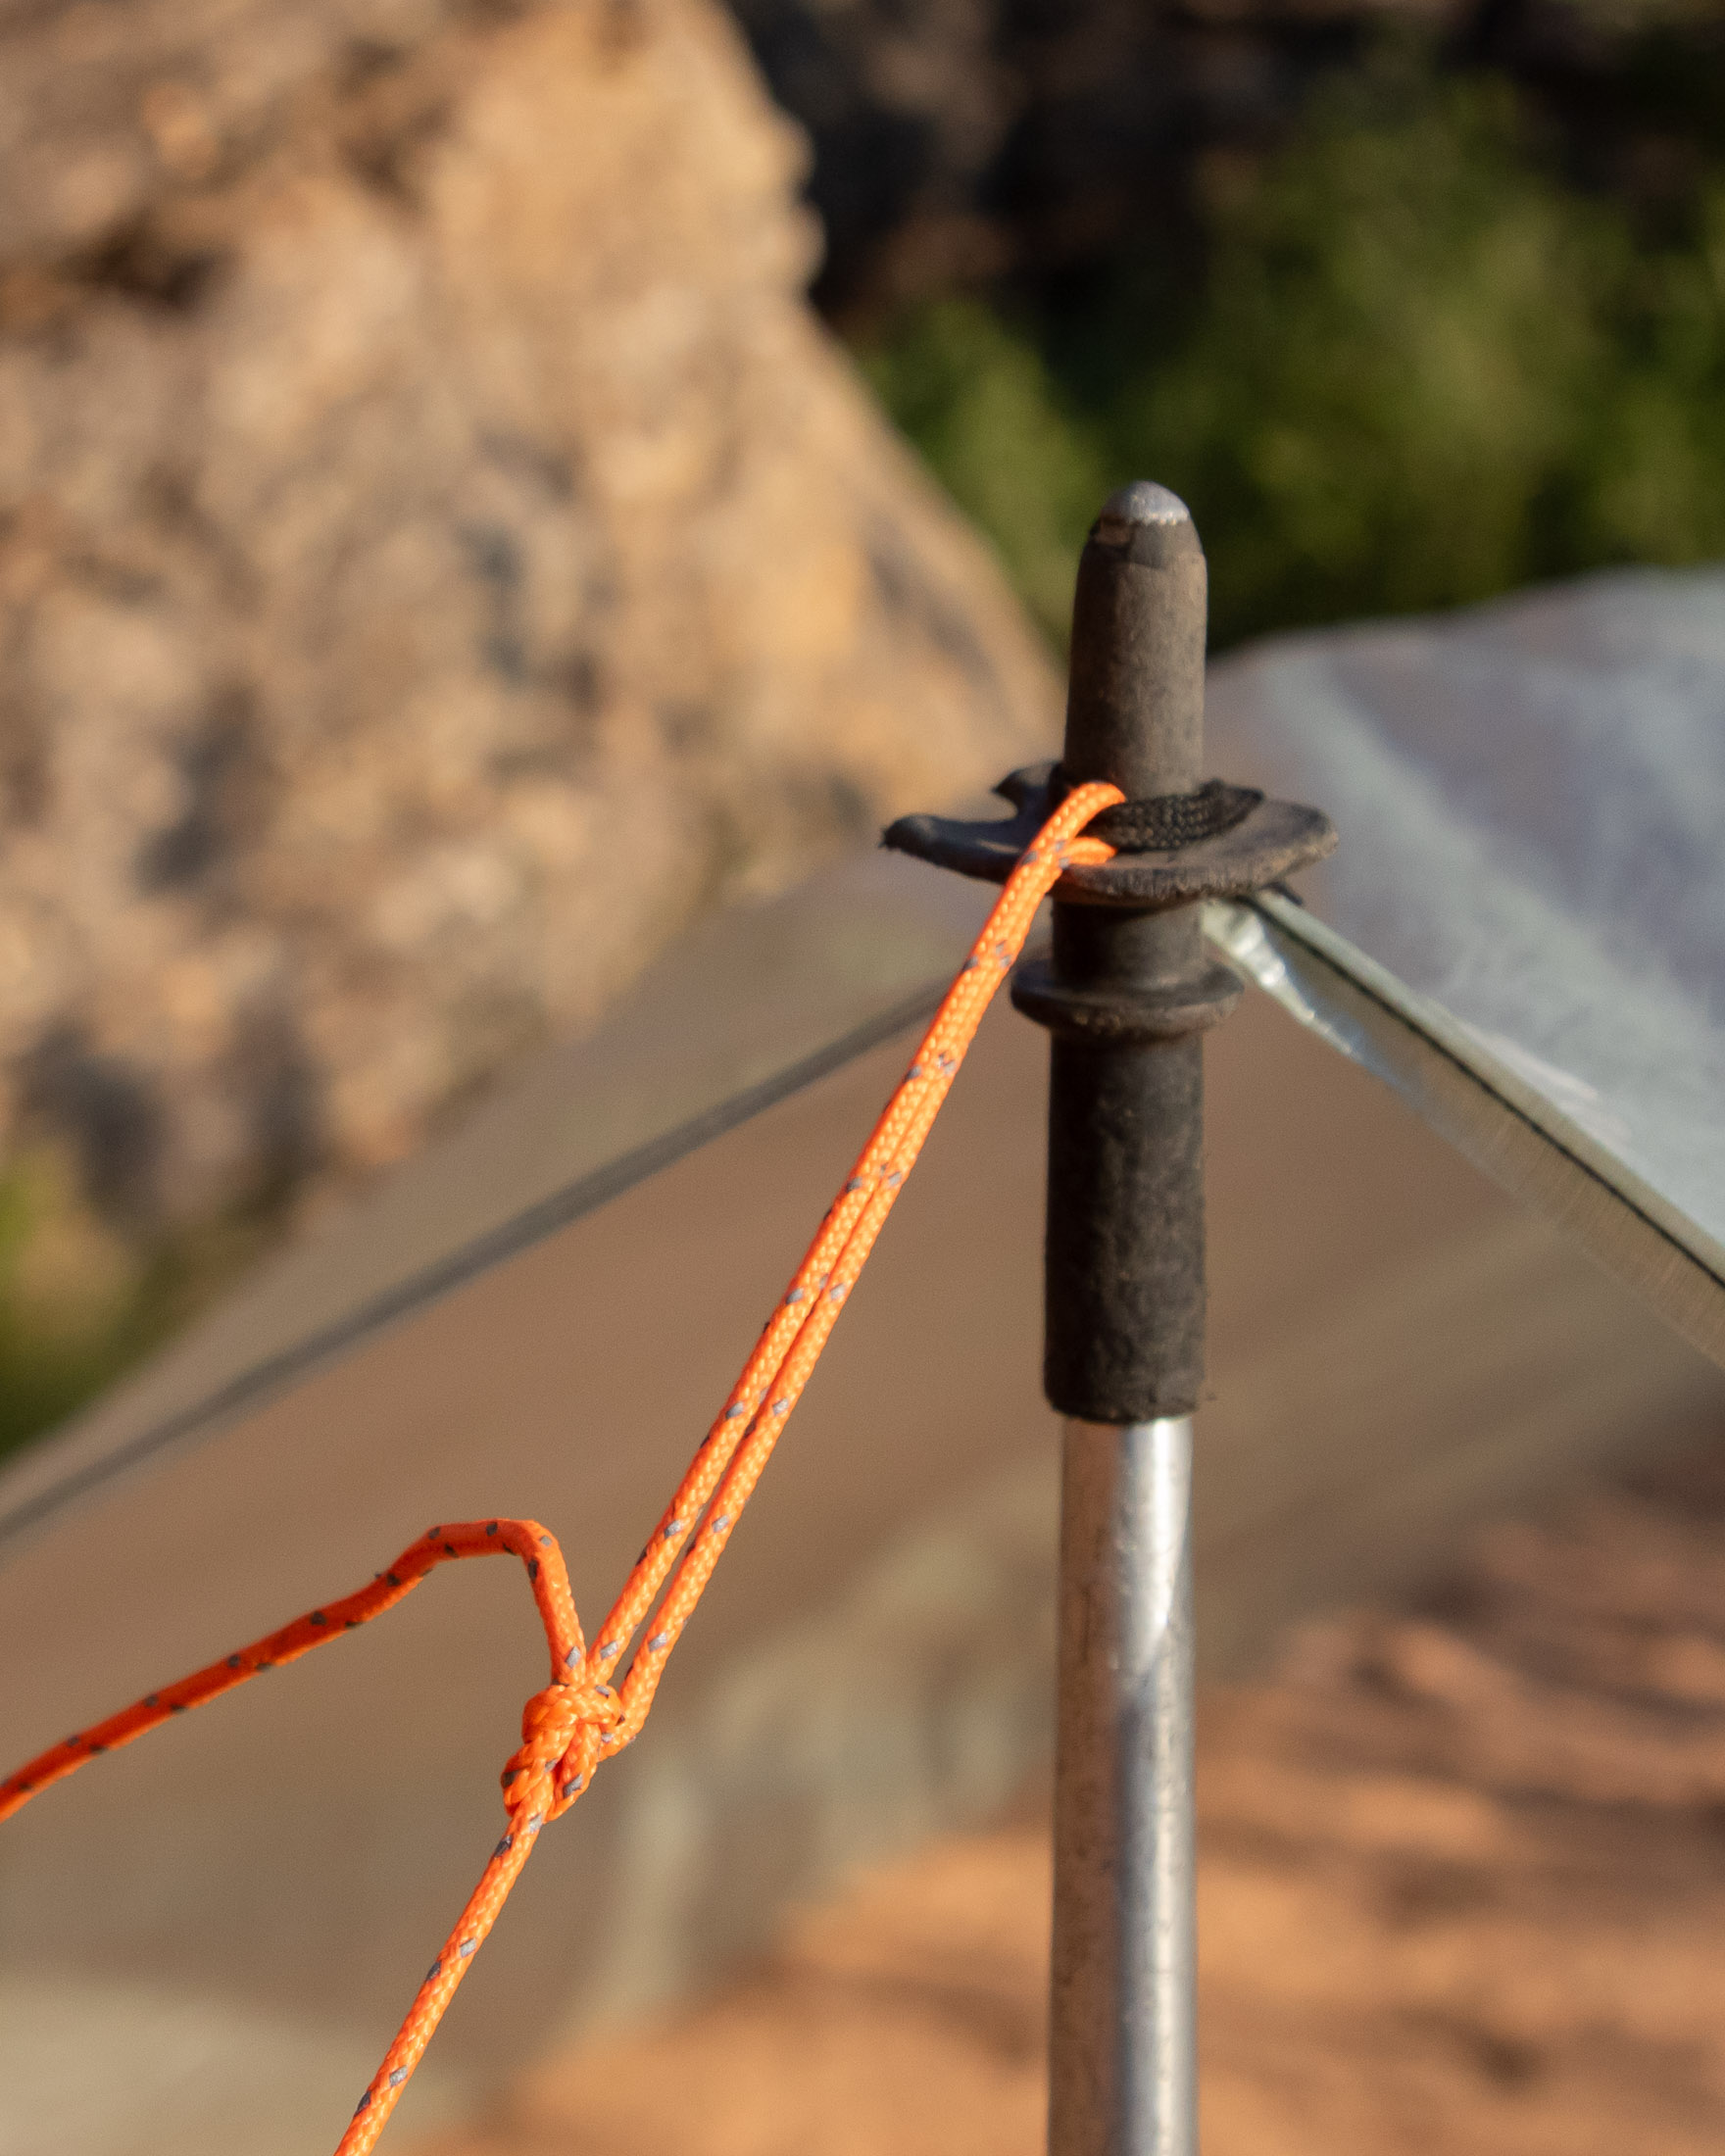
The tie-outs on some tarps have guyline adjusters to make it easy to shorten or lengthen gylines. These are convenient nice-to-haves. Simple loop tie-outs can work almost as well if you learn a few rigging tricks.
Fabric
With the exception of Dyneema Composite Fabric, tarp fabrics are usually described as a combination of coating and material. For example, nylon can be described as PU nylon, silnylon, or SIL/PU nylon depending on whether it is coated in polyurethane, silicone, or a combination of the two. Unfortunately, there is not nearly enough space here to go into coatings and the many different coating-fabric combinations. But that’s why I have another article just on fabrics. For a full account of how a choice of fabric and coating will affect a tarp’s performance, read this next. Otherwise the brief descriptions below should be enough to help you make a decision.
Dyneema Composite Fabric (Cuben Fiber)
Dyneema Composite Fabric – previously known as Cuben Fiber – is by far the most expensive material available. Many times stronger than steel, DCF achieves the same strength as nylon at a fraction of the weight. And it also doesn't stretch or absorb moisture when wet. This lack of stretch makes it suitable for flat tarps, which don’t need to be stretchy in the same way cat cut tarps do.
Nylon
Nylon is generally lighter and stronger than polyester, making it the preferred choice for ultralight backpacking tents and tarps. When used in tents, nylon is usually coated with silicone on the outside and polyester on the inside (a polyester coat can be seam-taped, silicone can’t). But seams aren’t a feature in tarps, and so many tarp manufacturers prefer silnylon (SIL/SIL coating) which has several advantages – improved strength and reduced weight – over SIL/PU coated nylon.
Polyester
Polyester is not as strong as nylon, but what it lacks in absolute strength it makes up for in UV resistance, inherent waterproofness, and stiffness. Once relegated to price point tents and tarps, polyester is making a comeback, and new high-end polyesters are finding their way into ultralight tarps. The one advantage that polyester has over nylon (besides price) is that it doesn’t absorb water and sag like nylon can.

Tarps are modular shelters
In most cases, you can provide ample protection from wind and rain by using a bivvy bag with your tarp. If you want more protection than that, it’s also possible to augment your setup with inner walls and a bathtub floor (These are usually integrated, but you can also find standalone bathtub floors for use with tarps). At this point the differences between tarps and other types of ultralight shelter can become blurred. If you decide you need more protection from the elements and want to see a wider range of ultralight enclosed shelters, see my guide to ultralight tents and shelters.
Popular models
The following list of tarps is not exhaustive, but it’s a good place to start your search. Every tarp on this list is large enough to shelter two campers.
| model | type | material | footprint | weight | price |
|---|---|---|---|---|---|
| Zpacks Flat Tarp | rectangular flat | DCF | 10’ x 8.5’ | 200 g / 7.1 oz | $350 |
| MSR Thru-Hiker 70 Wing | rectangular flat | nylon | 9.5’ X 8’ | 340 g / 12 oz | $180 |
| Hyperlite Mountain Gear Square Tarp | square flat | DCF | 8.6’ x 8.6’ | 251 g / 8.9 oz | $389 |
| Sea to Summit Escapist | square flat | nylon | 10’ x 10’ | 440 g / 15.5 oz | $240 |
| Big Agnes Ptarmigan Tarp | square flat | polyester | 9’ x 9’ | 623 g / 22 oz | $80 |
| Gossamer Gear Twinn Tarp | catenary cut | DCF | 10’ x 9.6’ | 255 g / 9 oz | $150 |
| Kammok Kuhli UL Tarp | catenary cut | nylon | 11’ x 7.5’ | 395 g / 14 oz | $130 |
| Hammock Gear Hex Tarp | hexagonal | DCF | 11’ x 8.6’ | 145 g / 5.1 oz | $365 |
| Dutch Gear Xenon Hex Tarp | hexagonal | polyester | 11’ x 9.5’ | 345 g / 12.1 g | $145 |
If you decide you need the protection of a fully enclosed inner wall with integrated bathtub floor, there are at least three options you can choose from. These have to be bought separately. Note that the narrowest of these is only wide enough for one sleeper.
| model | footprint | weight | price |
| Paria Breeze Mesh Bivvy | 7’ x 2.8’ | 368 g / 13 oz | $70 |
| Mountain Laurel Designs Bug Bivvy | 6.9’ x 2.3’ | 180 g / 6.5 oz | $140 |
| SplitFin SplitWing Mesh Body | 6.8’ x 4.7’ | 317 g / 11.2 oz | $135 |
| Sea to Summit Escapist Inner Bug Tent | 7.3’ x 4.3’ | 385 g / 13.6 oz | $230 |
Get more advice from this gearhead
This is just one article in a four-part series on tarps and tarp camping. Next up is a how-to guide to tarp camping, then an article on tarp configurations, and finally an article on tarp rigging techniques. Read all four, and you’ll know all there is to know about tarp camping and rigging. If, after all that, you want to learn more about the whole fast and light approach to human-powered exploration, check out my articles on fastpacking and ultralight gear.
