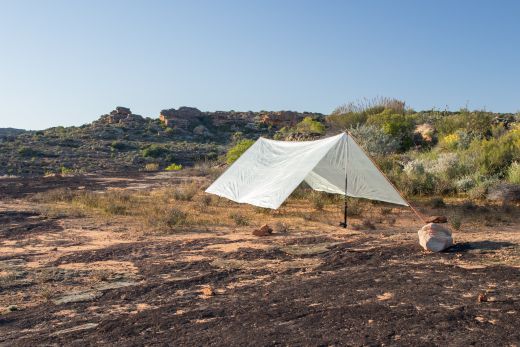
If you have just recently taken up tarp camping, you probably already know that pitching a tensioned shelter is not nearly as easy as setting up a dome tent. Because they have to be properly tensioned, tarps and shelters require certain skills that you probably haven’t needed before. But that’s why this handy how-to guide exists: to give you everything you need to know about pitching tensioned shelters and tarps.
- Wind and tarp orientation
- Creating your own guyline system
- Supports
- Anchoring your shelter
- Knot & hitches
- Rigging a ridgeline
Wind and tarp orientation
Always plan your pitch with the wind in mind – not just the prevailing wind but also the wind as you might experience it through the night. Katabatic winds can be predictable, and if you find yourself camped in a valley with such localised weather patterns, it’s best to keep them in mind. What does this mean practically? If you expect anything stronger than a moderate breeze, it would be wise to choose a tarp configuration that creates as low a profile as possible and then orientate your tarp so that the most shallowly angled sidewall faces into the wind. Besides creating a more effective shelter, this will also ensure that your tarp catches as little wind as possible – improving the odds that it will stay properly anchored.
My article on tarp configurations explains which configurations work best in strong winds, but it’s also important to know that there’s a certain amount of flexibility within each configuration and by making small tweaks, you can make your tarp perform better. The best way to make any configuration shed wind is to angle the sides more shallowly and pitch it closer to ground – the smaller the gap between your tarp and the ground, the better.
Guylines
Stock guylines have two limitations: they are usually too short, and they make it difficult to use natural features like rocks and vegetation for anchors. When planning to use a tensioned shelter or tarp, it’s almost always better to devise your own guyline system – one that meets your needs. If you have a shaped tarp or catenary cut tarp, you will probably only ever rig it in one configuration. In this case devising a guyline system is pretty simple. In your kit, you only have what you need for that configuration. A flat tarp, on the other hand, can be rigged in many different ways and will require you to devise a guyline system that allows for some flexibility.
Short pre-tied guylines
If your preferred tarp configuration requires several guylines of the same length, pre-tying some guylines can be very useful. Besides reducing the amount of a faff involved in pitching a tarp, pre-tied guylines allow you to use thinner and lighter cord. 1.3 mm cord is too thin to untie once a knot in it has been properly tensioned, but that doesn’t matter if you are going to leave those guylines tied. For an A-frame pitch, you will need between six and ten such guylines depending on how many tie-outs you have on each side. I always recommend using high visibility cord for guylines, but going with a bright colour is even more important when it’s this thin.
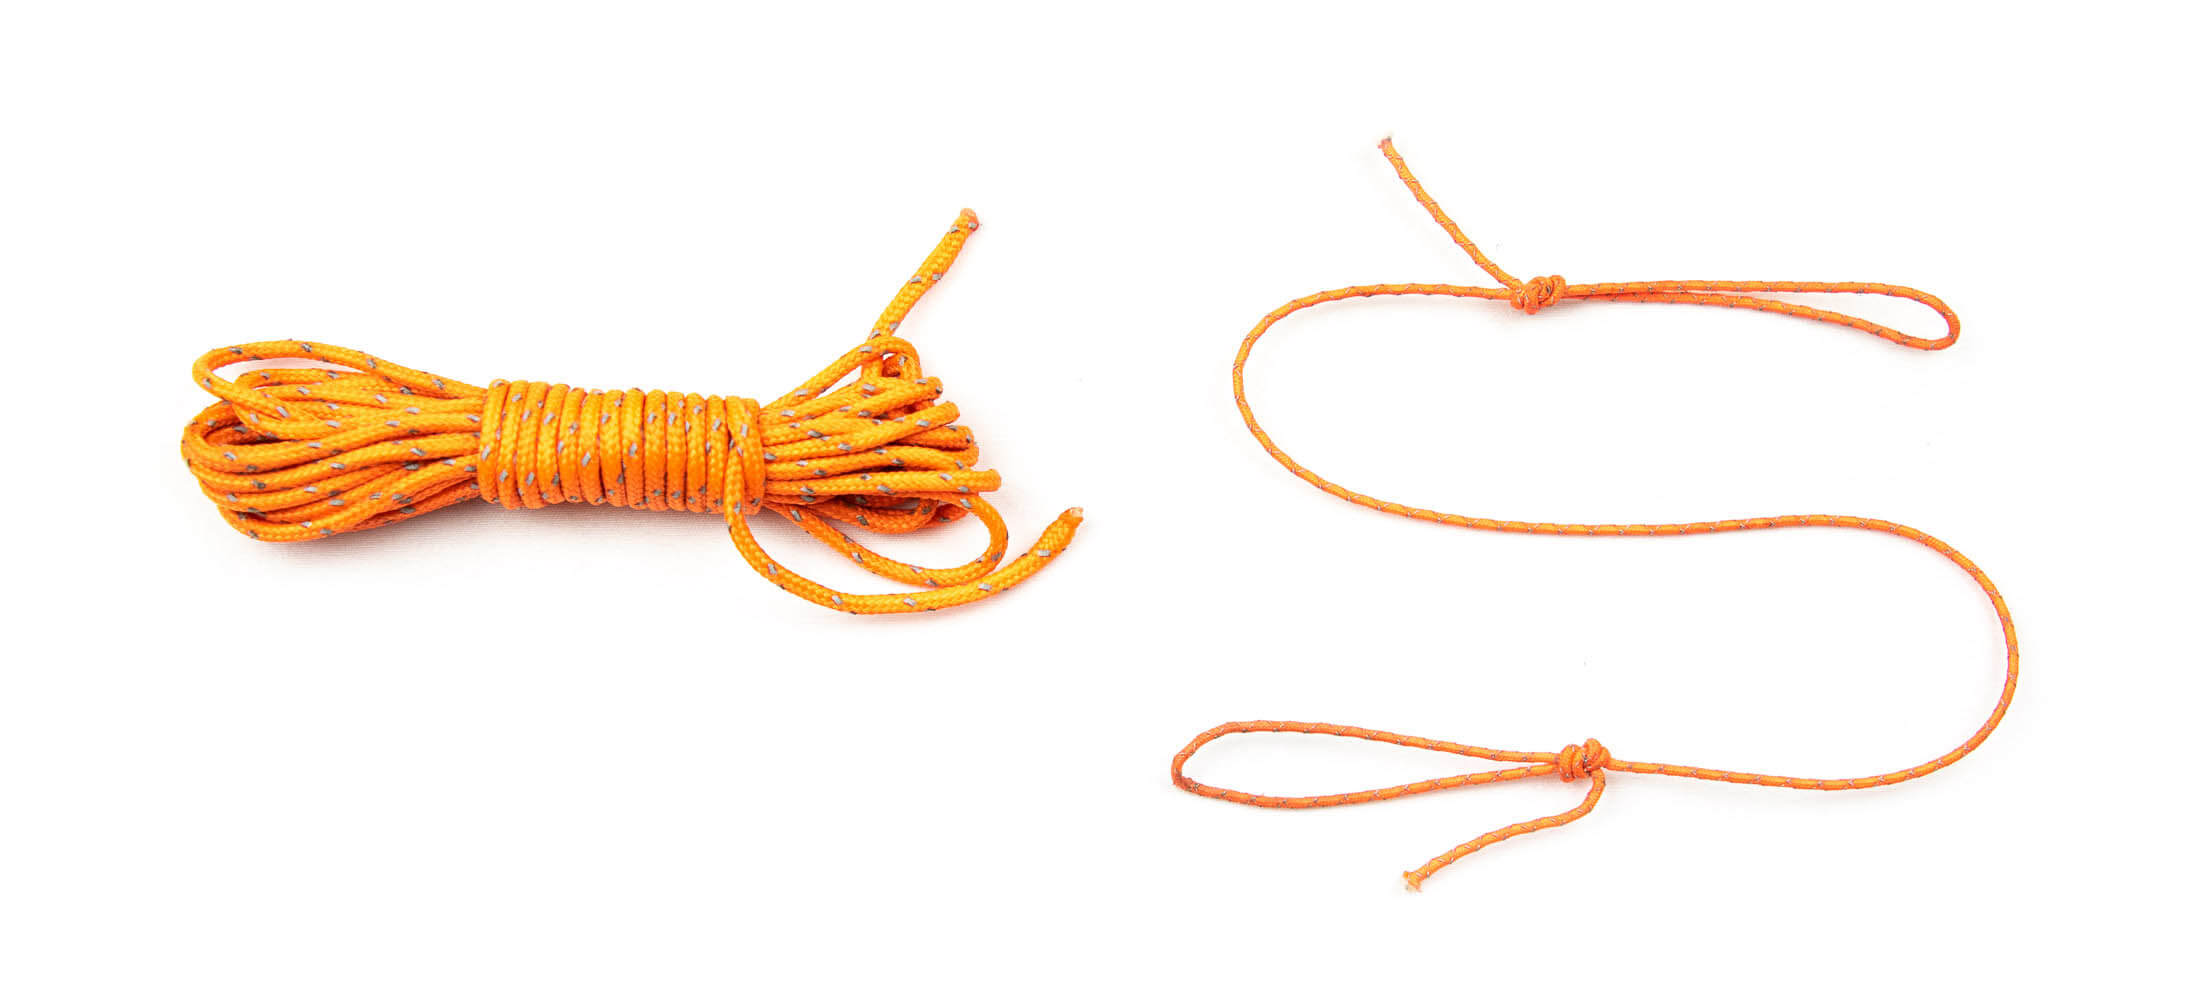
Long tensioning guylines
In addition to your shorter pre-tied guylines, you will also need some longer guylines for staking down the high points of your tarp. Again, the number you need will depend on which configurations you intend to use. A close-ended A-frame is rigged with one long guyline, a regular A-frame with two long guylines, and a lean-to with four. To keep your options open, I recommend carrying no fewer than four guylines around 2 meters (6.5 ft) long. Unlike your pre-tied guylines, these have to be made of cord that is thick enough to be easy to untie. I recommend a brightly coloured or reflective 2.3 mm cord.
Supports
If you use a tarp tent or some other kind of shelter (not a flat tarp) you will probably have to use dedicated tent poles or trekking poles of the right length. If, on the other hand, you are using a flat tarp, there are a range of things that you could use for supports. The most convenient of these will be pieces of gear that you will already have on you because they serve some other purpose.
Trekking pole
Trekking poles are the most popular type of support. Because their primary function is to assist with hiking and they are in a hiker’s hands most of the time, they don’t add any weight to one’s pack. Poles with an adjustable telescoping function are particularly useful in that they allow you to adjust the height of your setup. If you go this route, I suggest getting poles that extend rather than shorten beyond the length you’d normally have them when hiking.
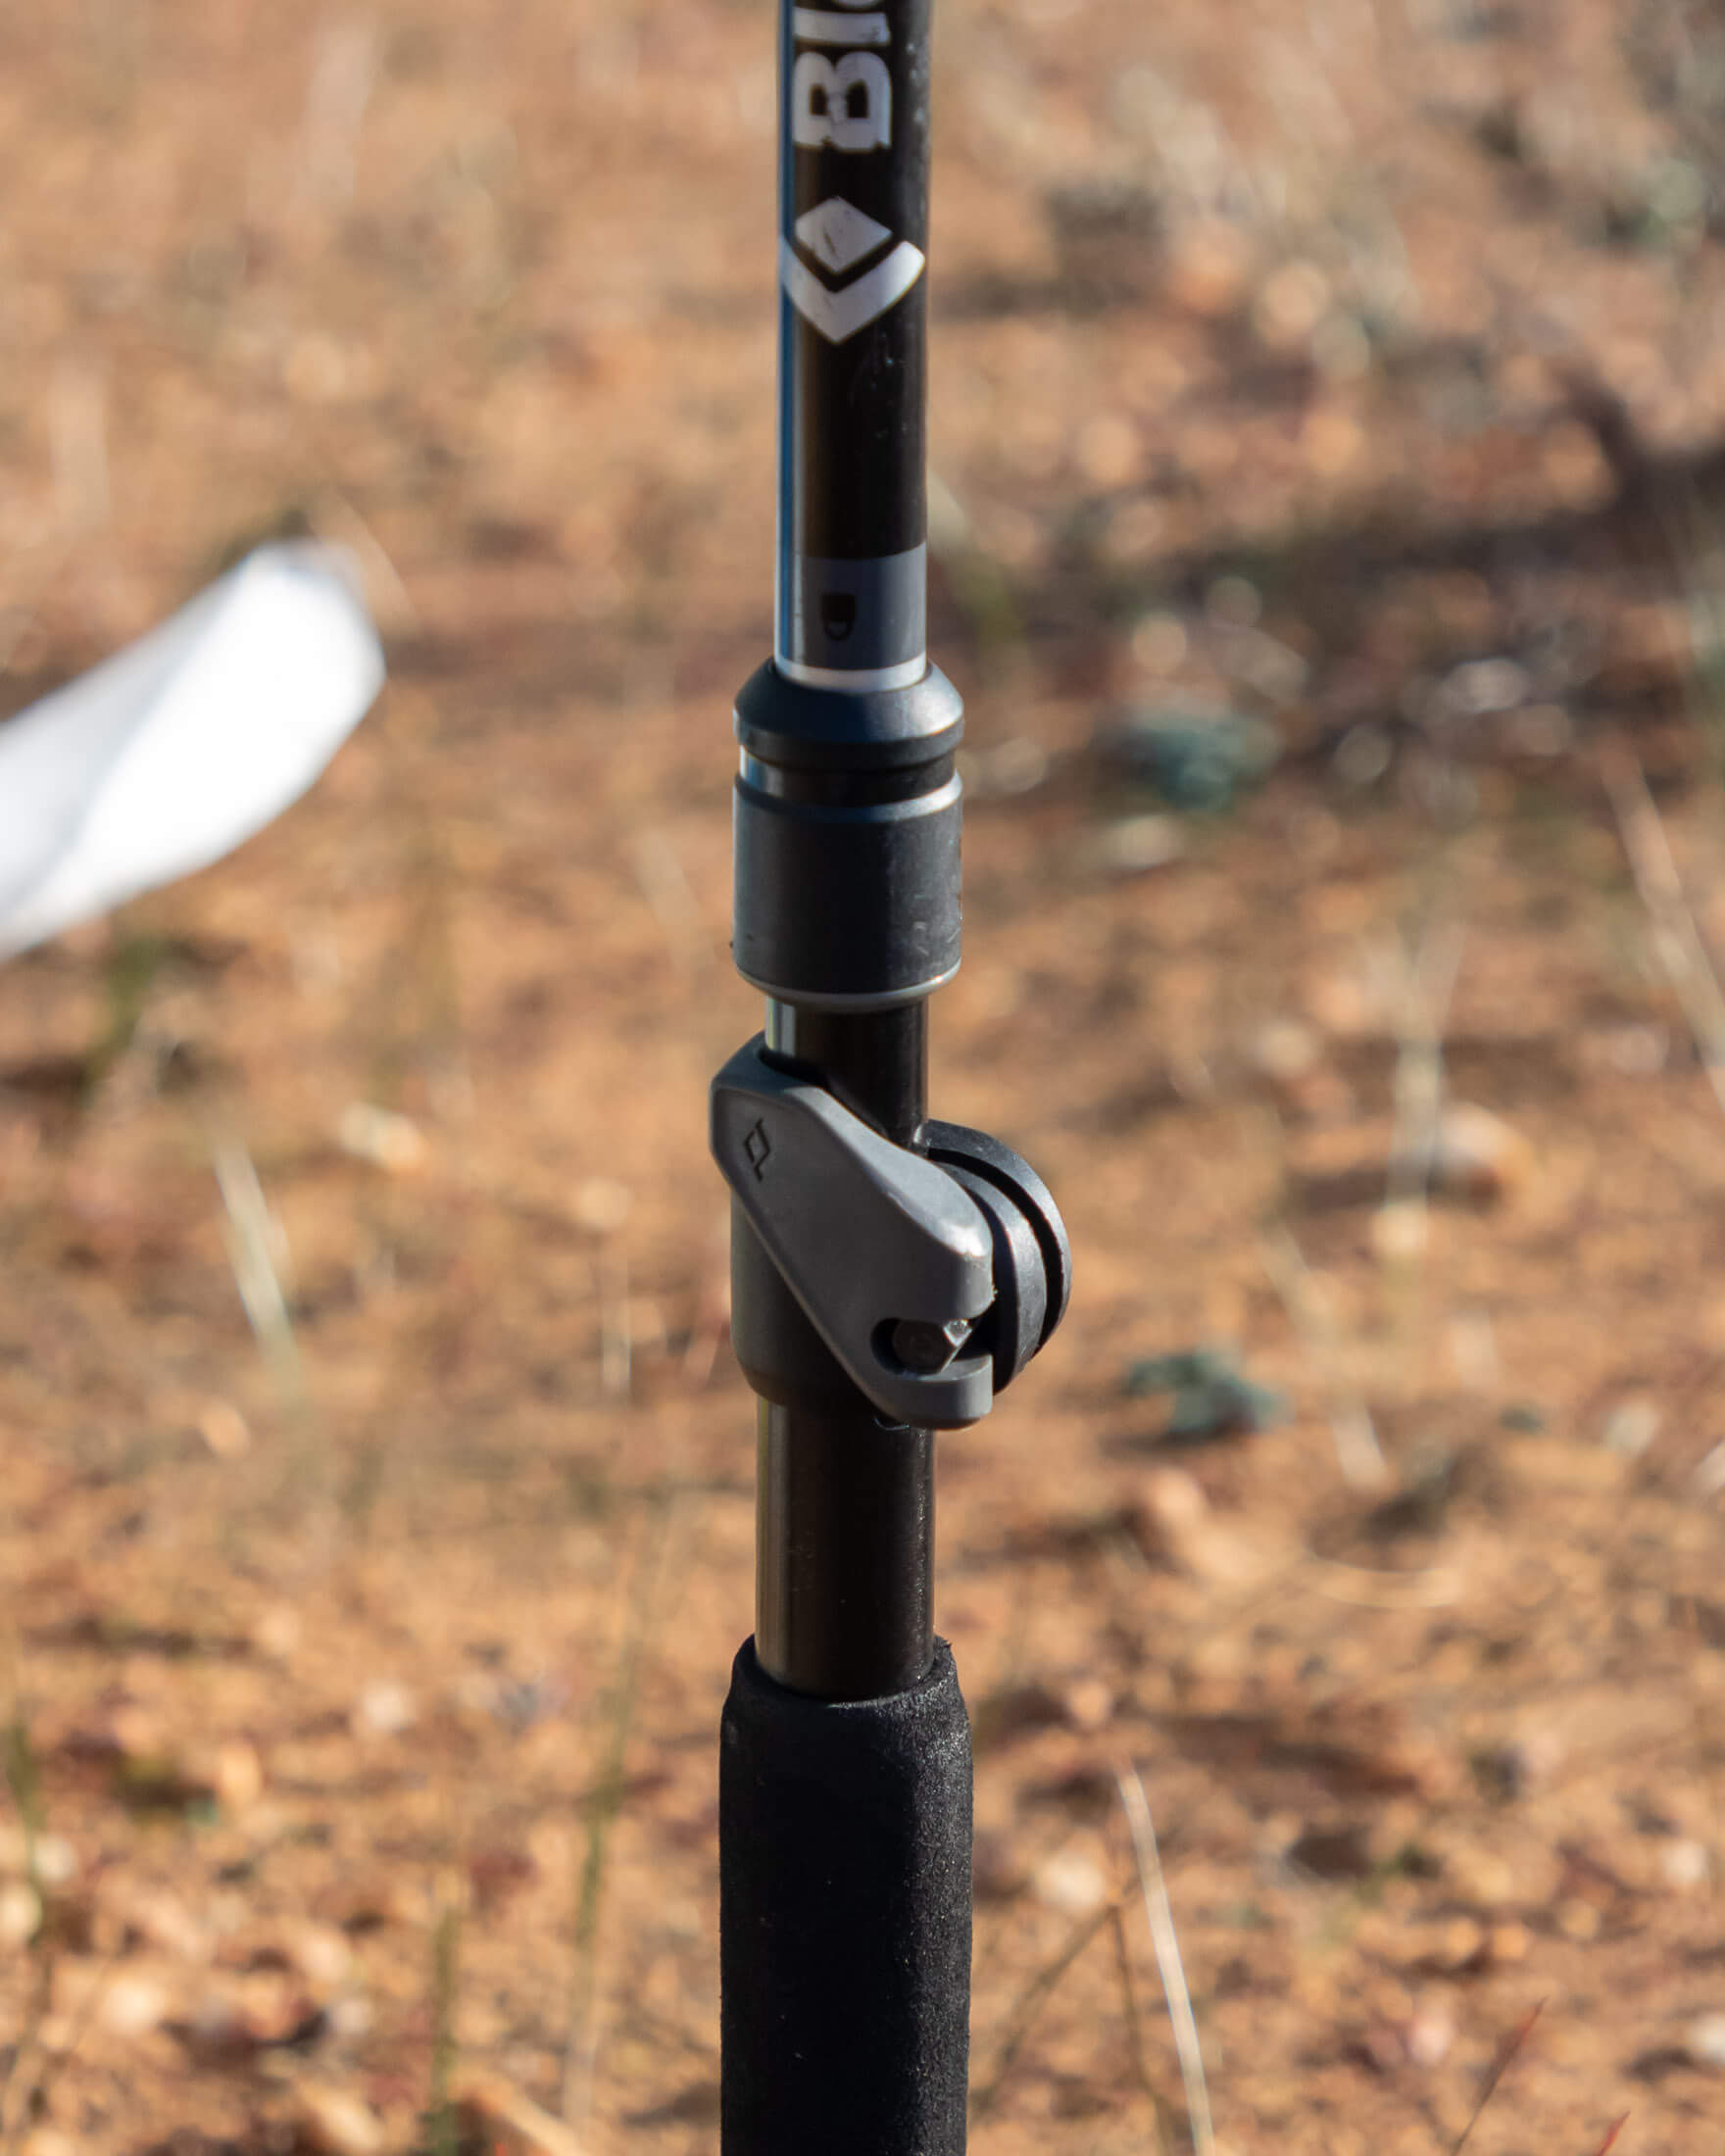
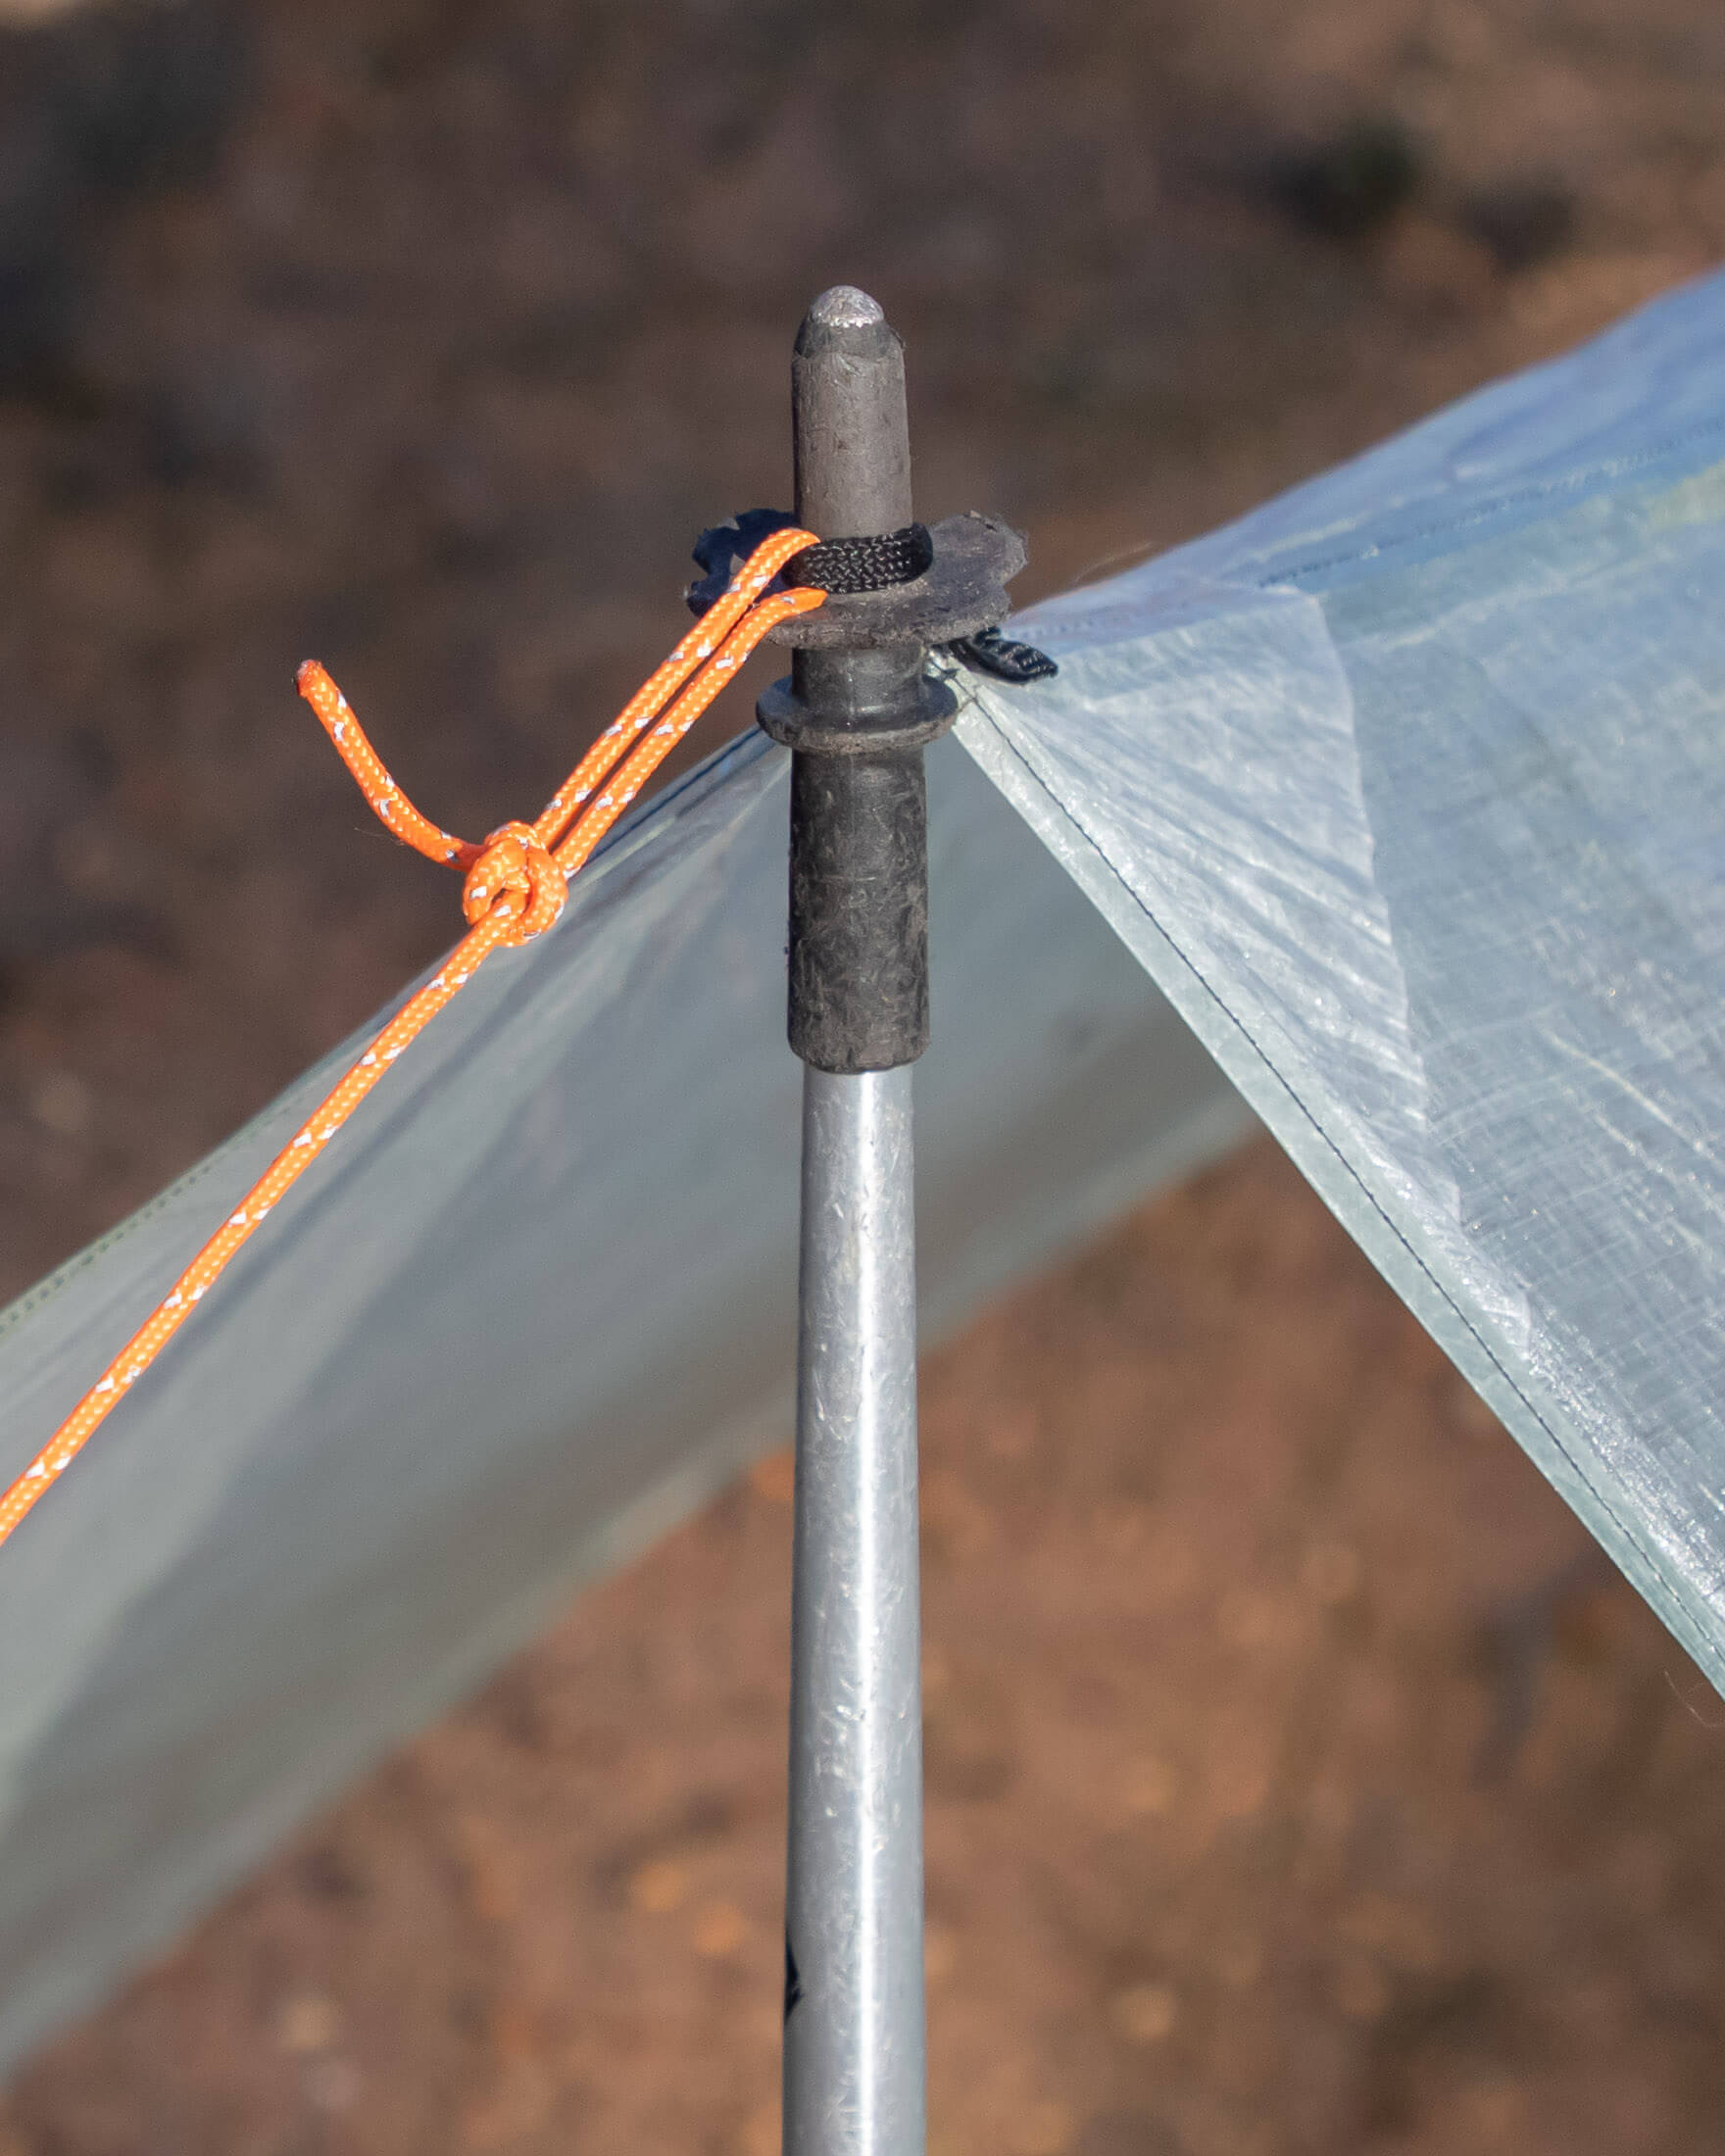
Some shelters can be rigged with the pole the right way up – with the tip on the ground and the tarp pulled over the top of the trekking pole, but simple tarps are always rigged with the trekking pole tip through the tie-out and with the handle on the ground.
Paddle
Like a trekking pole or bike, a paddle can be used for rigging a tarp as well as for fulfilling its main purpose. But there is one advantage that a paddle has over other pieces of gear that can be used as supports: it can be self-supporting if you bury it deep enough in a river bank. It is still a good idea to still pack some longer guylines in case your chosen camping spot proves to be more rocky than sandy.
In addition to the paddles themselves, you will also need some kind of strap or cord for securing your tarp to the paddle’s shaft. This will need to be designed so that it holds the tarp at the desired height and does not slide down the shaft. My recommendation is that you tie loops in the ends of a section of cord just long enough to wrap around the shaft three times. It’s important that it’s only just long enough as this will ensure that the wraps are kept tight and secure against the paddle.
Bicycle
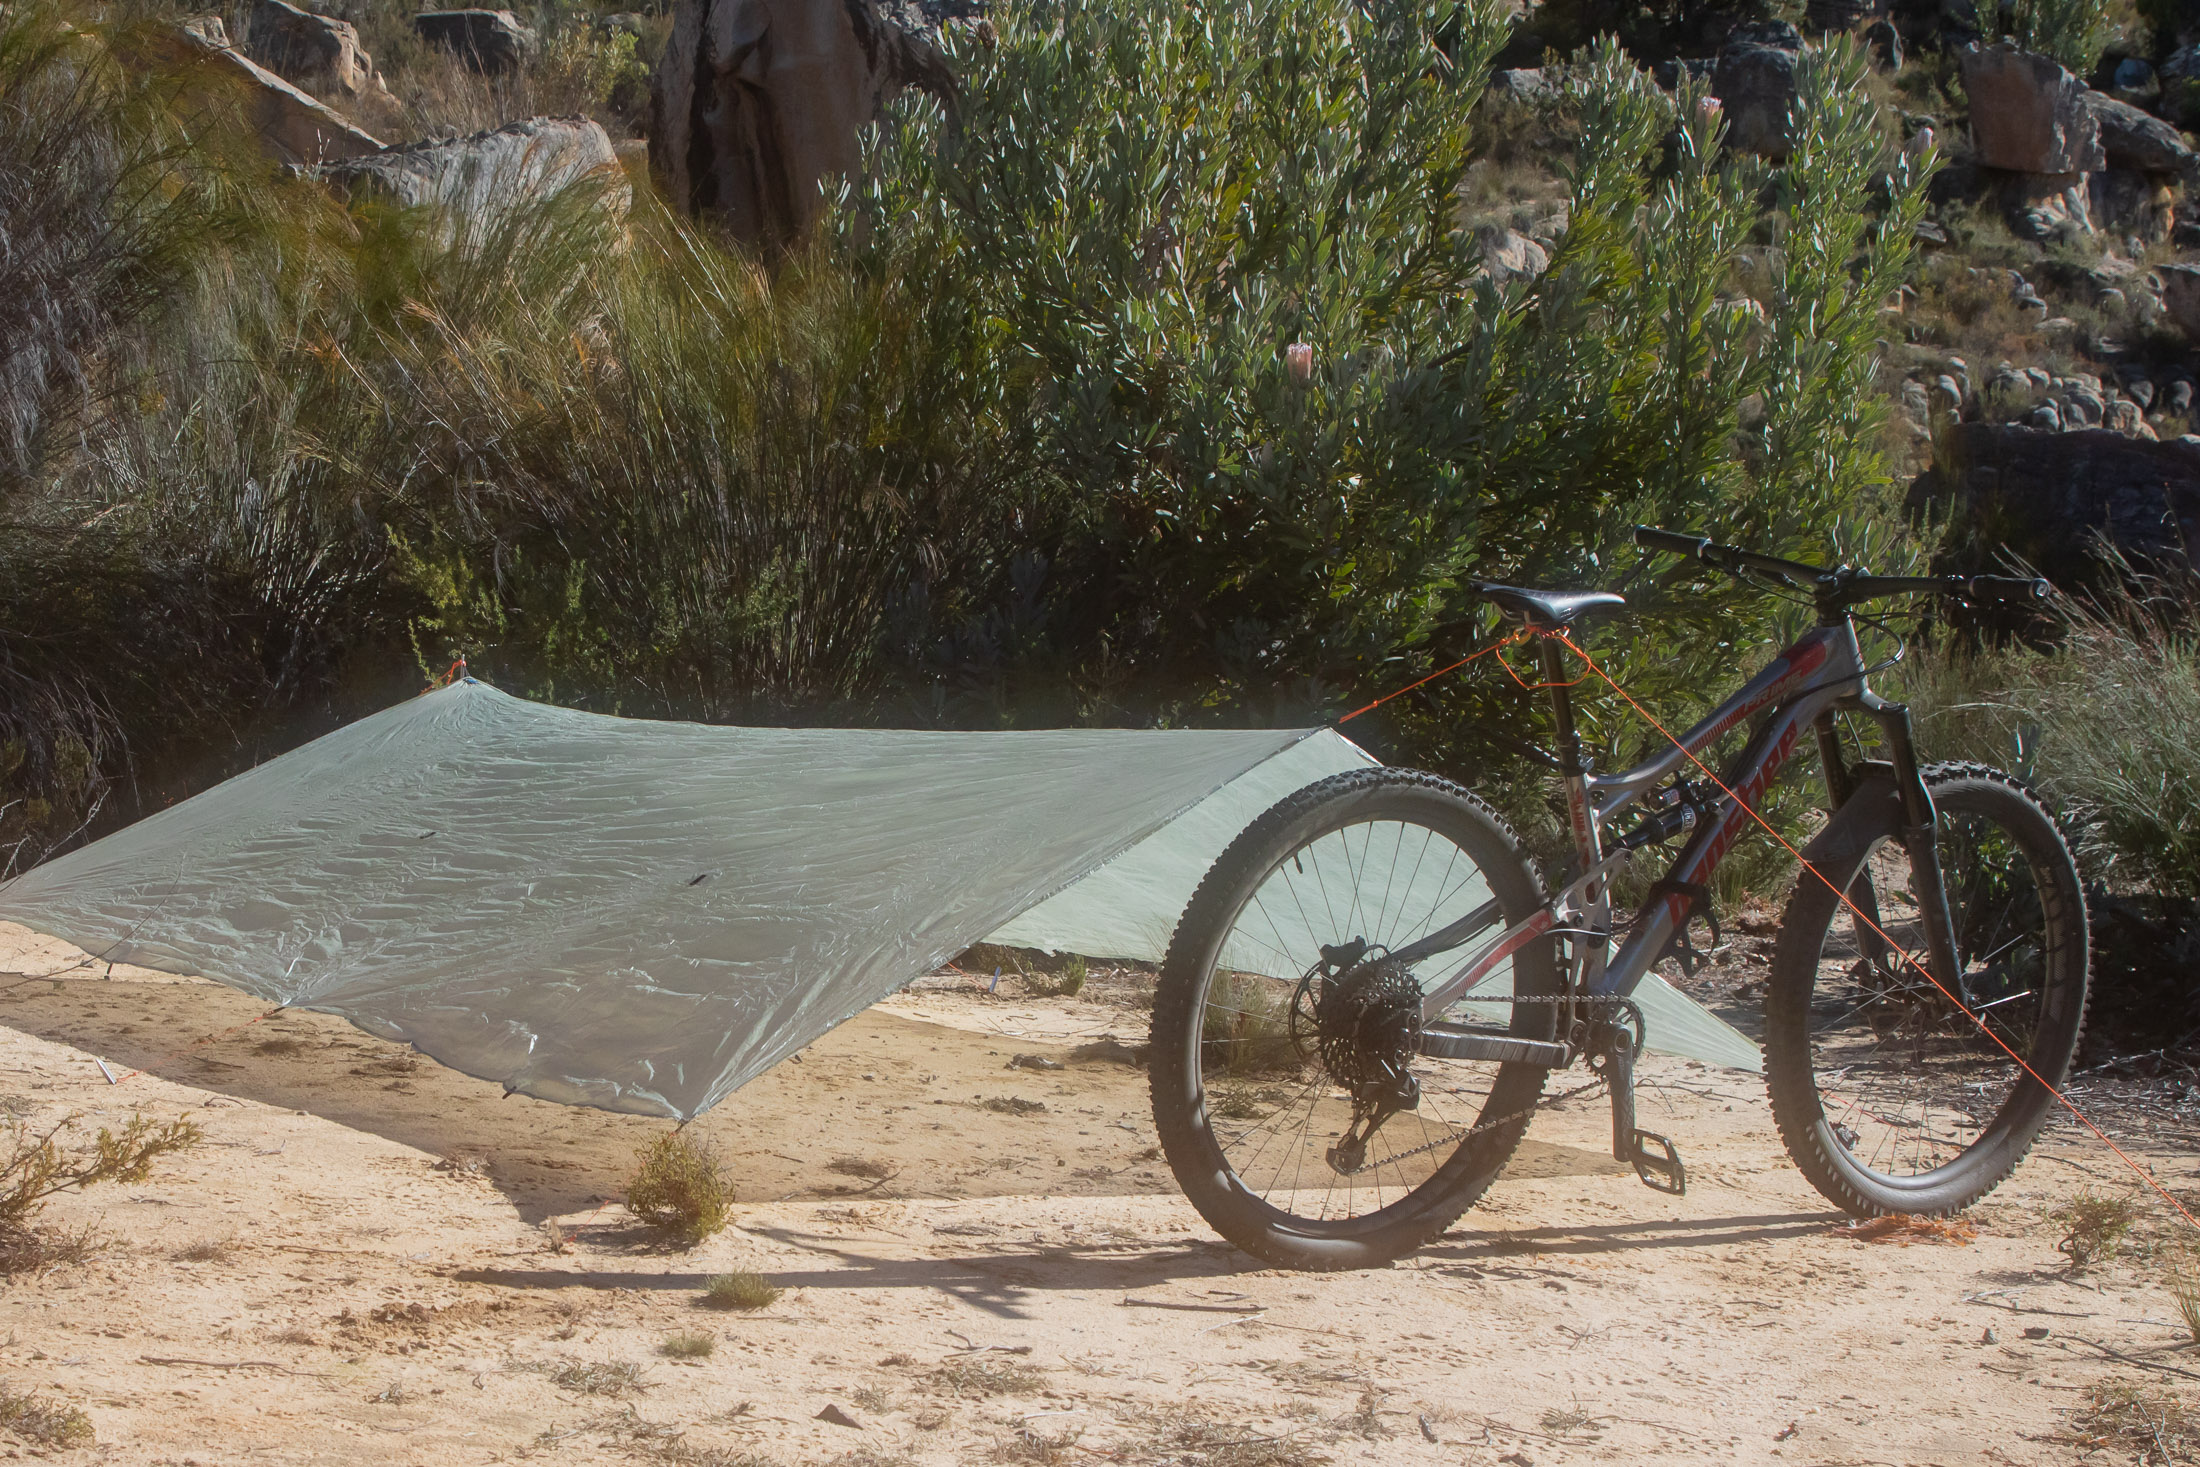
Bikepackers know that light is right, so it makes perfect sense that tarps should become popular with pedal powered adventurers. Besides being very light itself, a tarp can also be rigged sans poles – using only the bike for support – which lightens the rider’s load even further. To do this, you would need to separate the front wheel from the rest of the bike so that you can use it as the second support. Standing on its fork and rear wheel, a bike will make a stable support once tensioned.
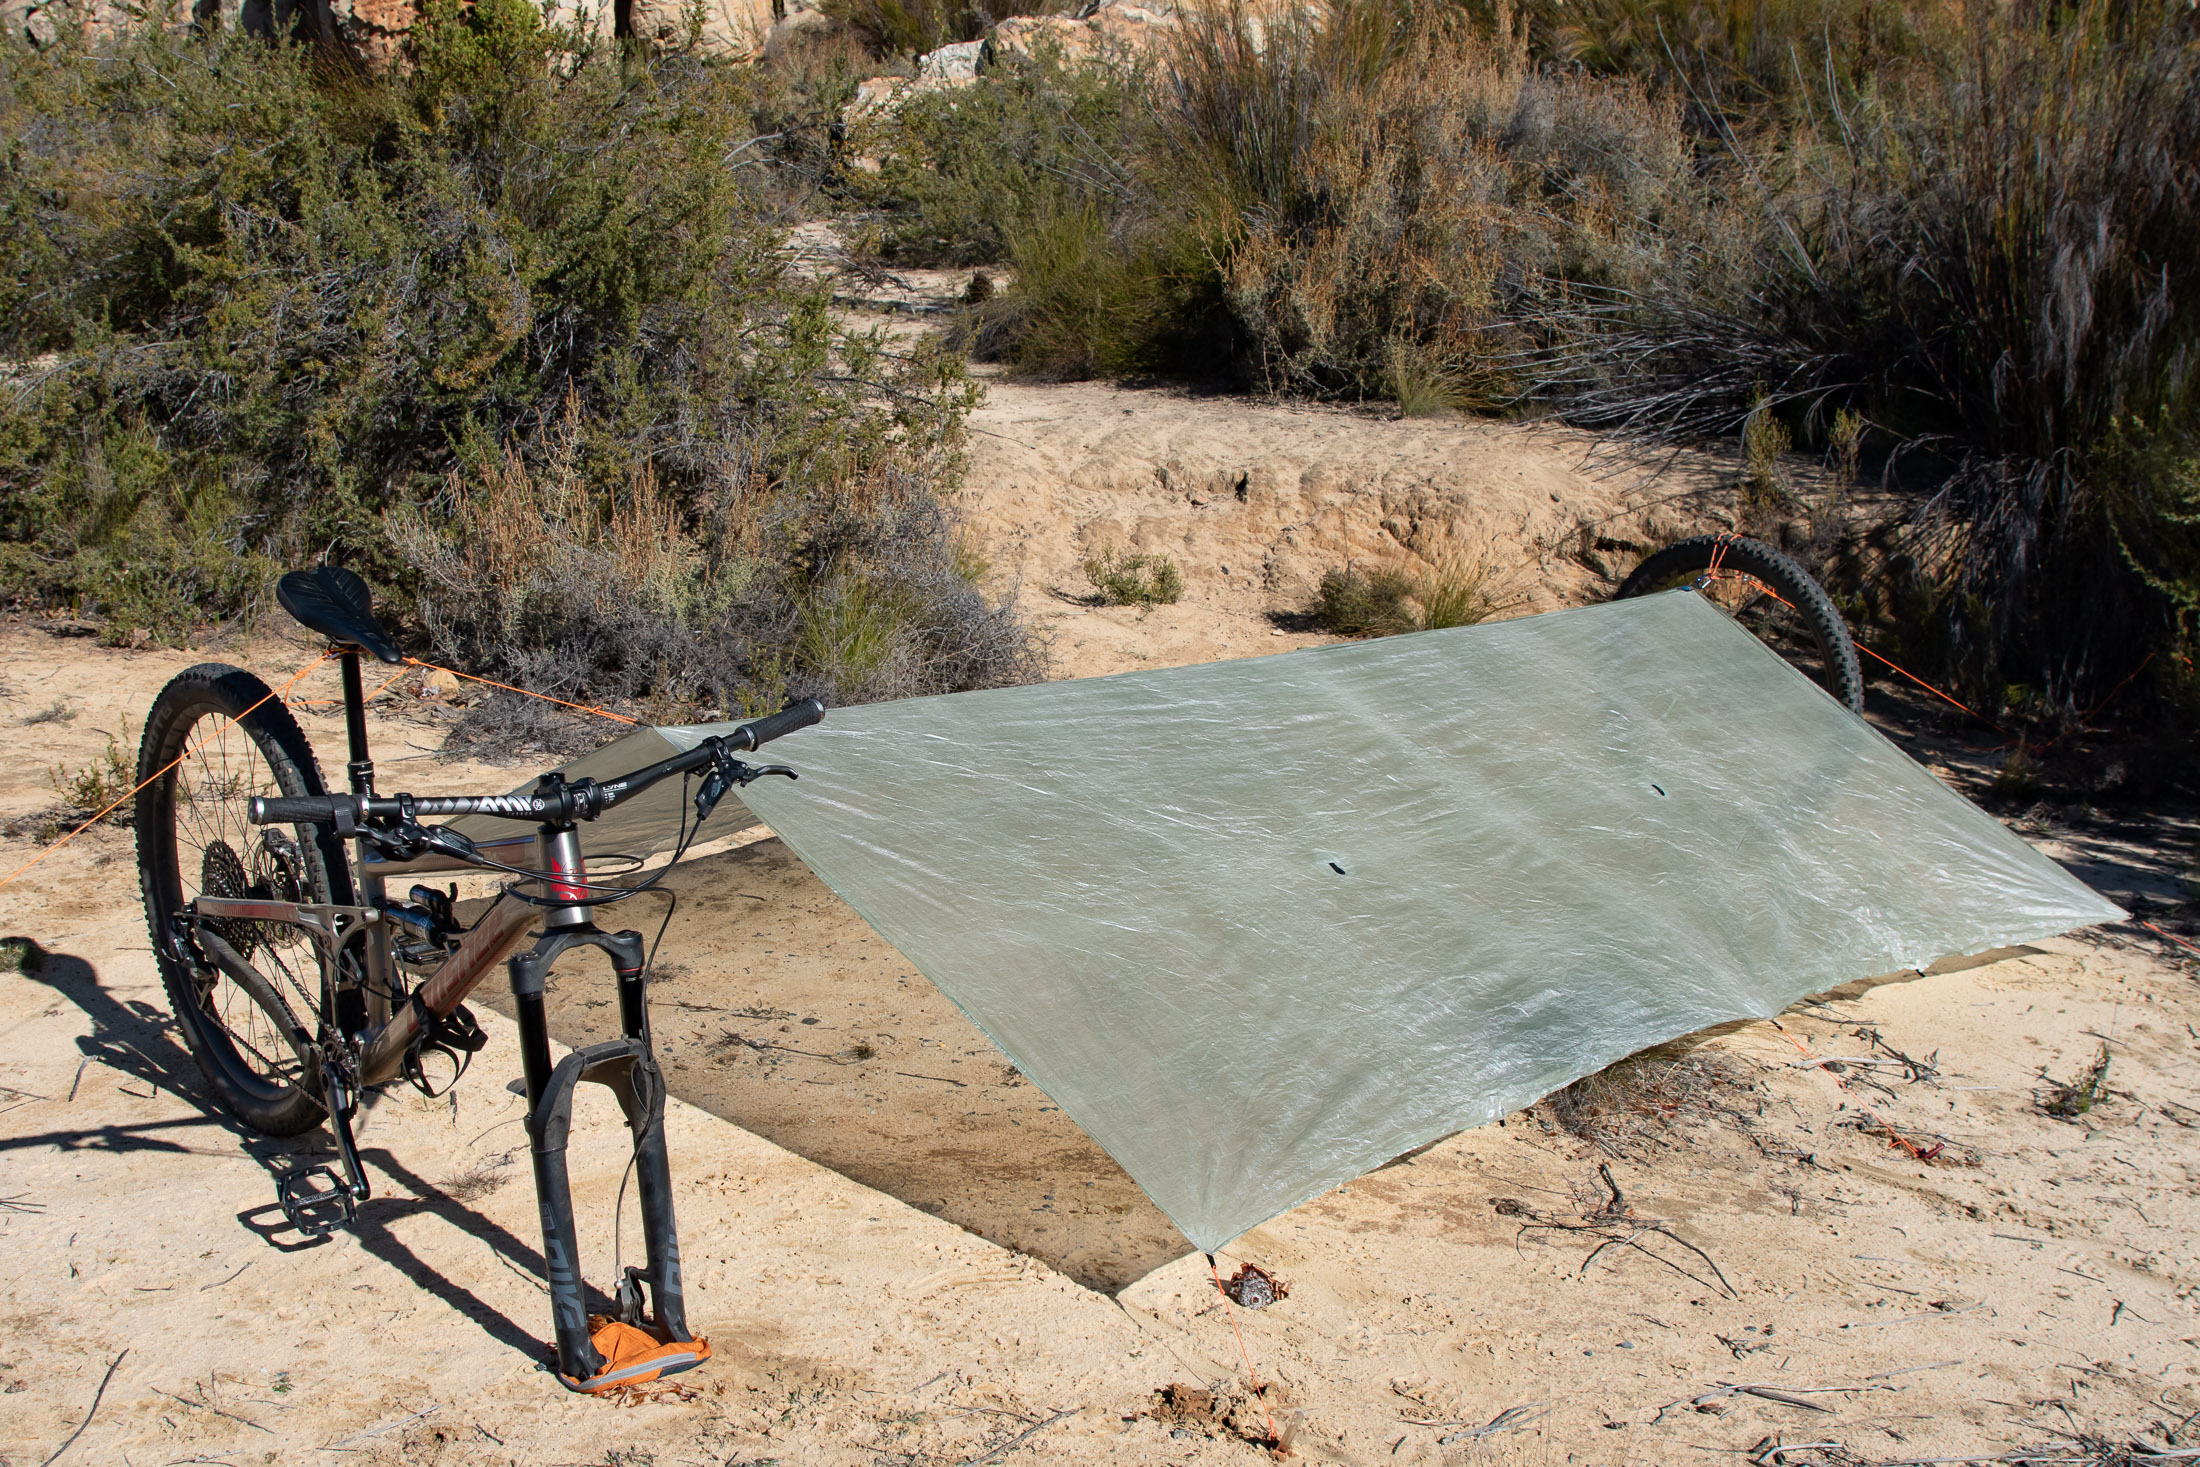
There are only two disadvantages to this bike-only setup: It limits the height of your pitch to just a few feet, and having the bike in front of the door can make it difficult to get in and out of your tarp even when you’ve left a gap. That’s why some bikepackers will opt for a configuration that uses the complete bike at the tail end of the tarp and an accessory tarp pole (48” is a good length) at the other.
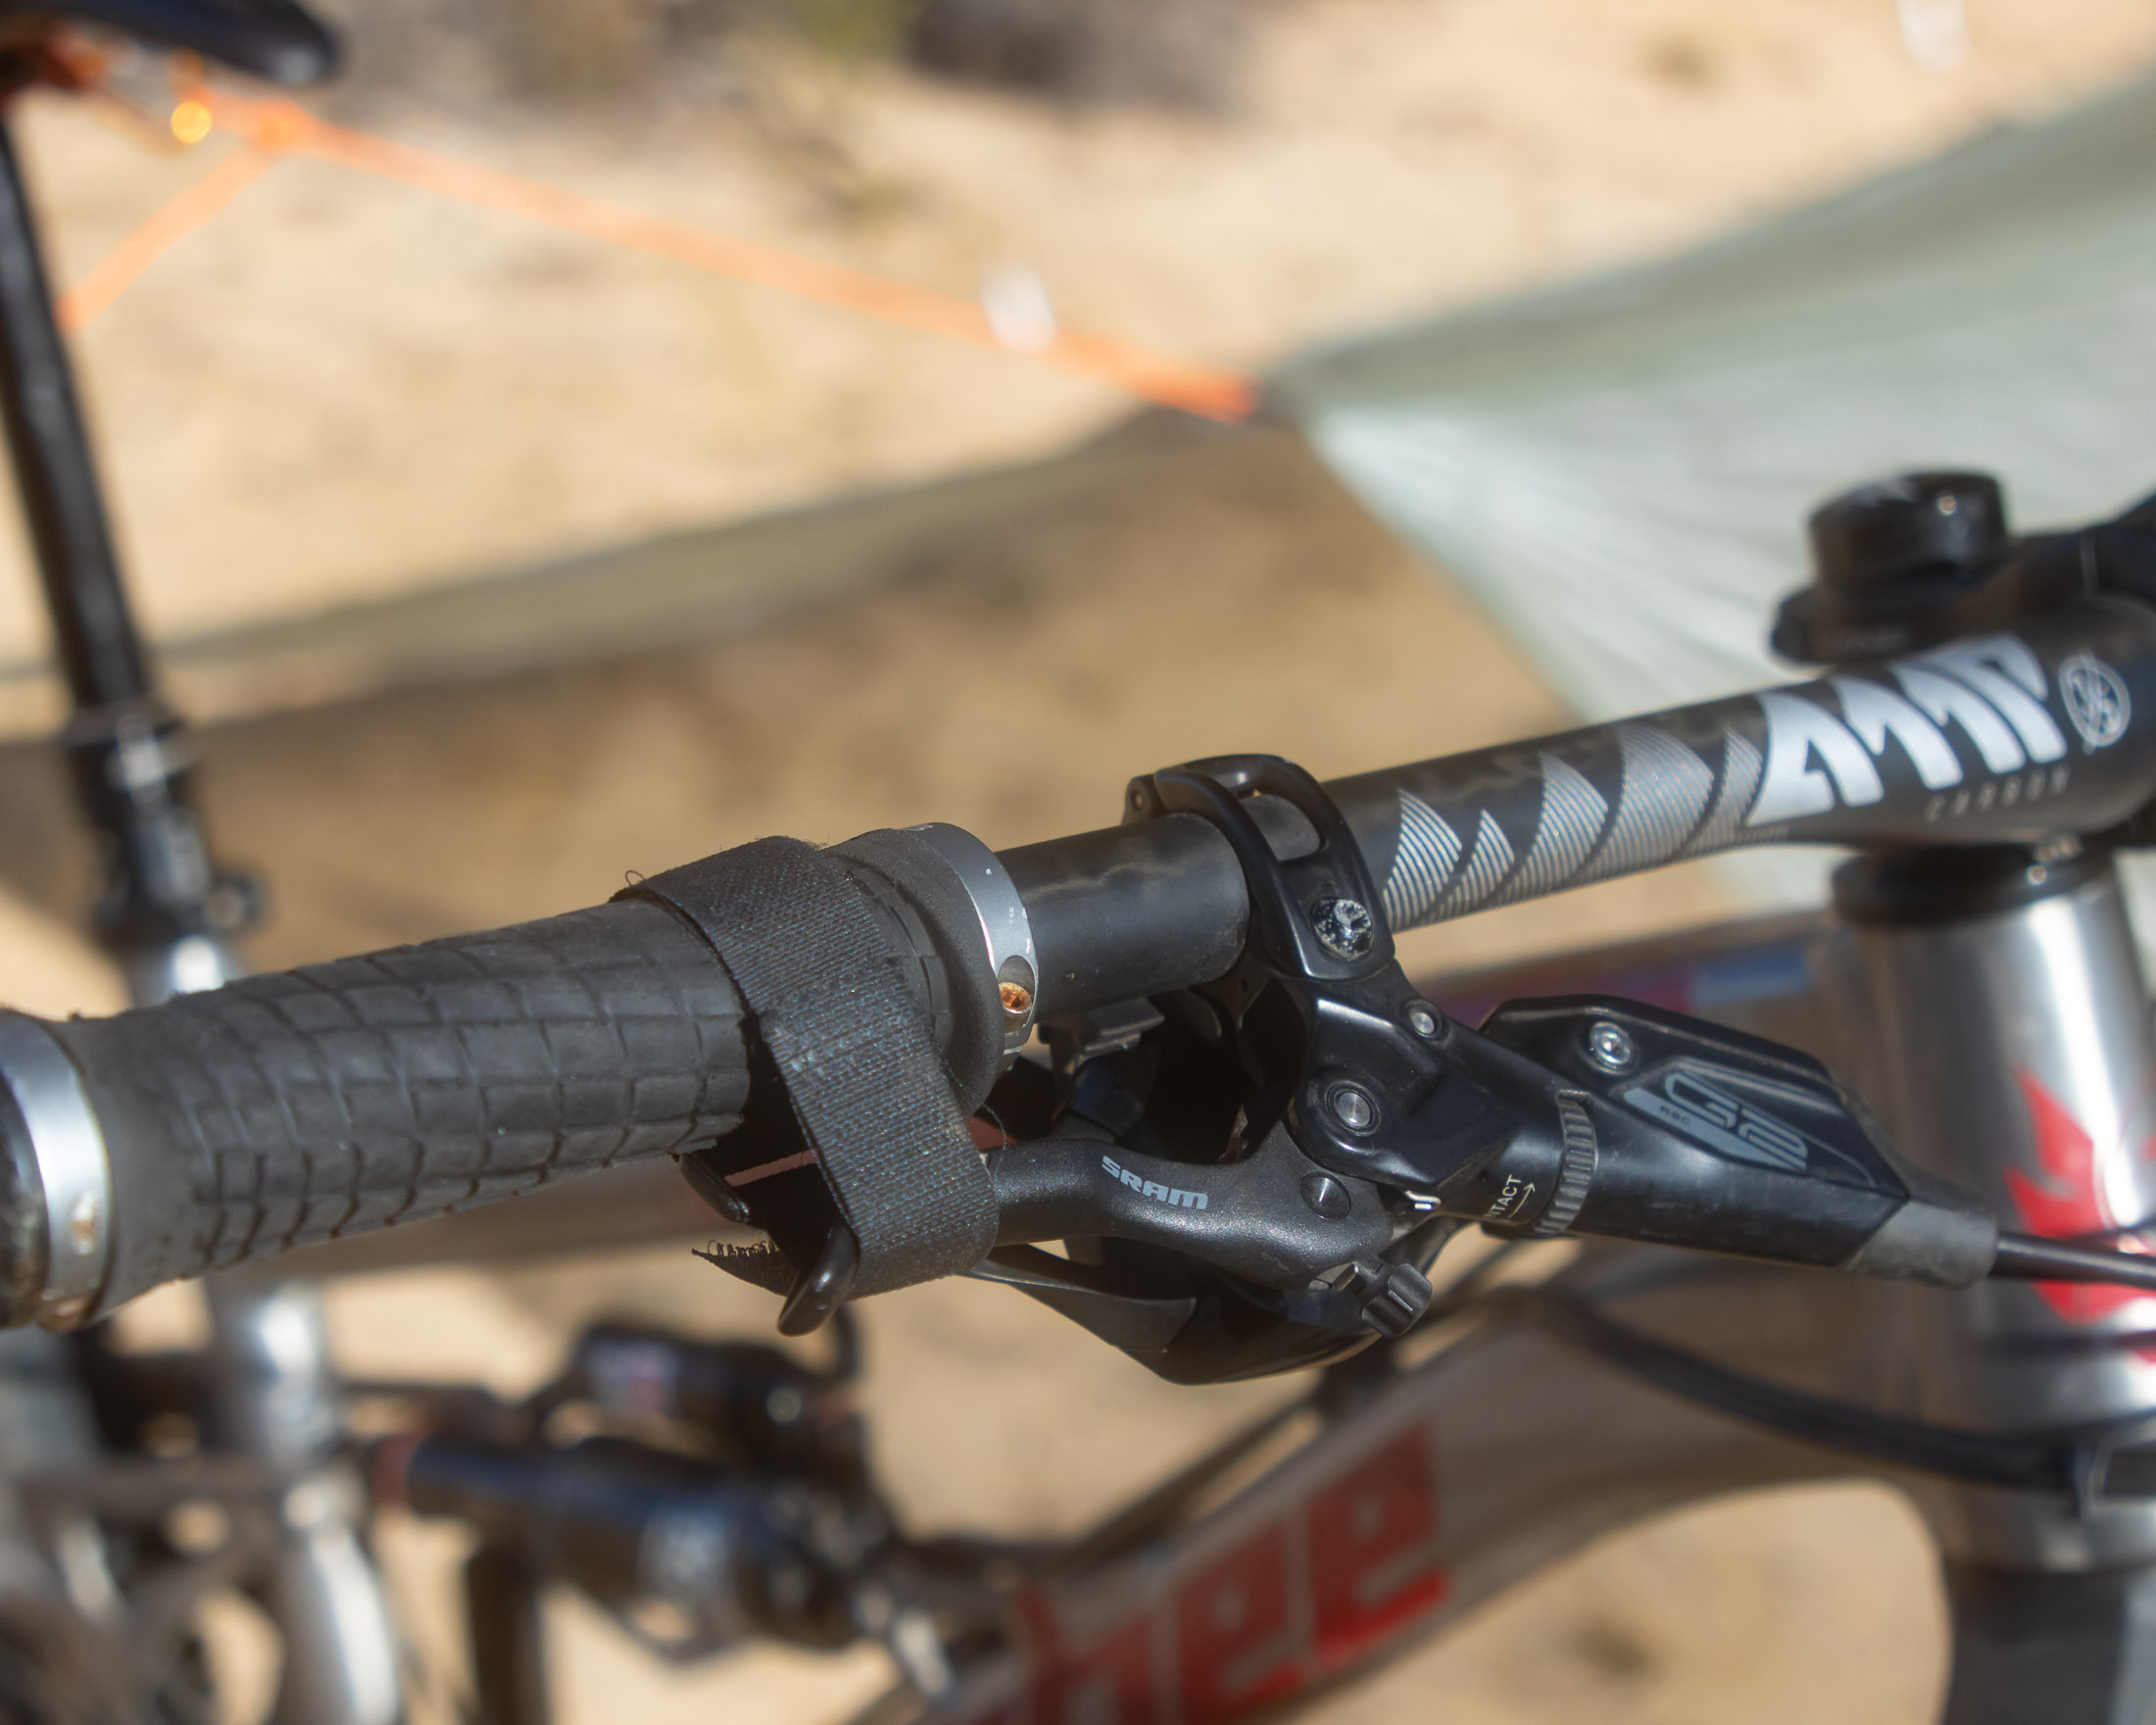
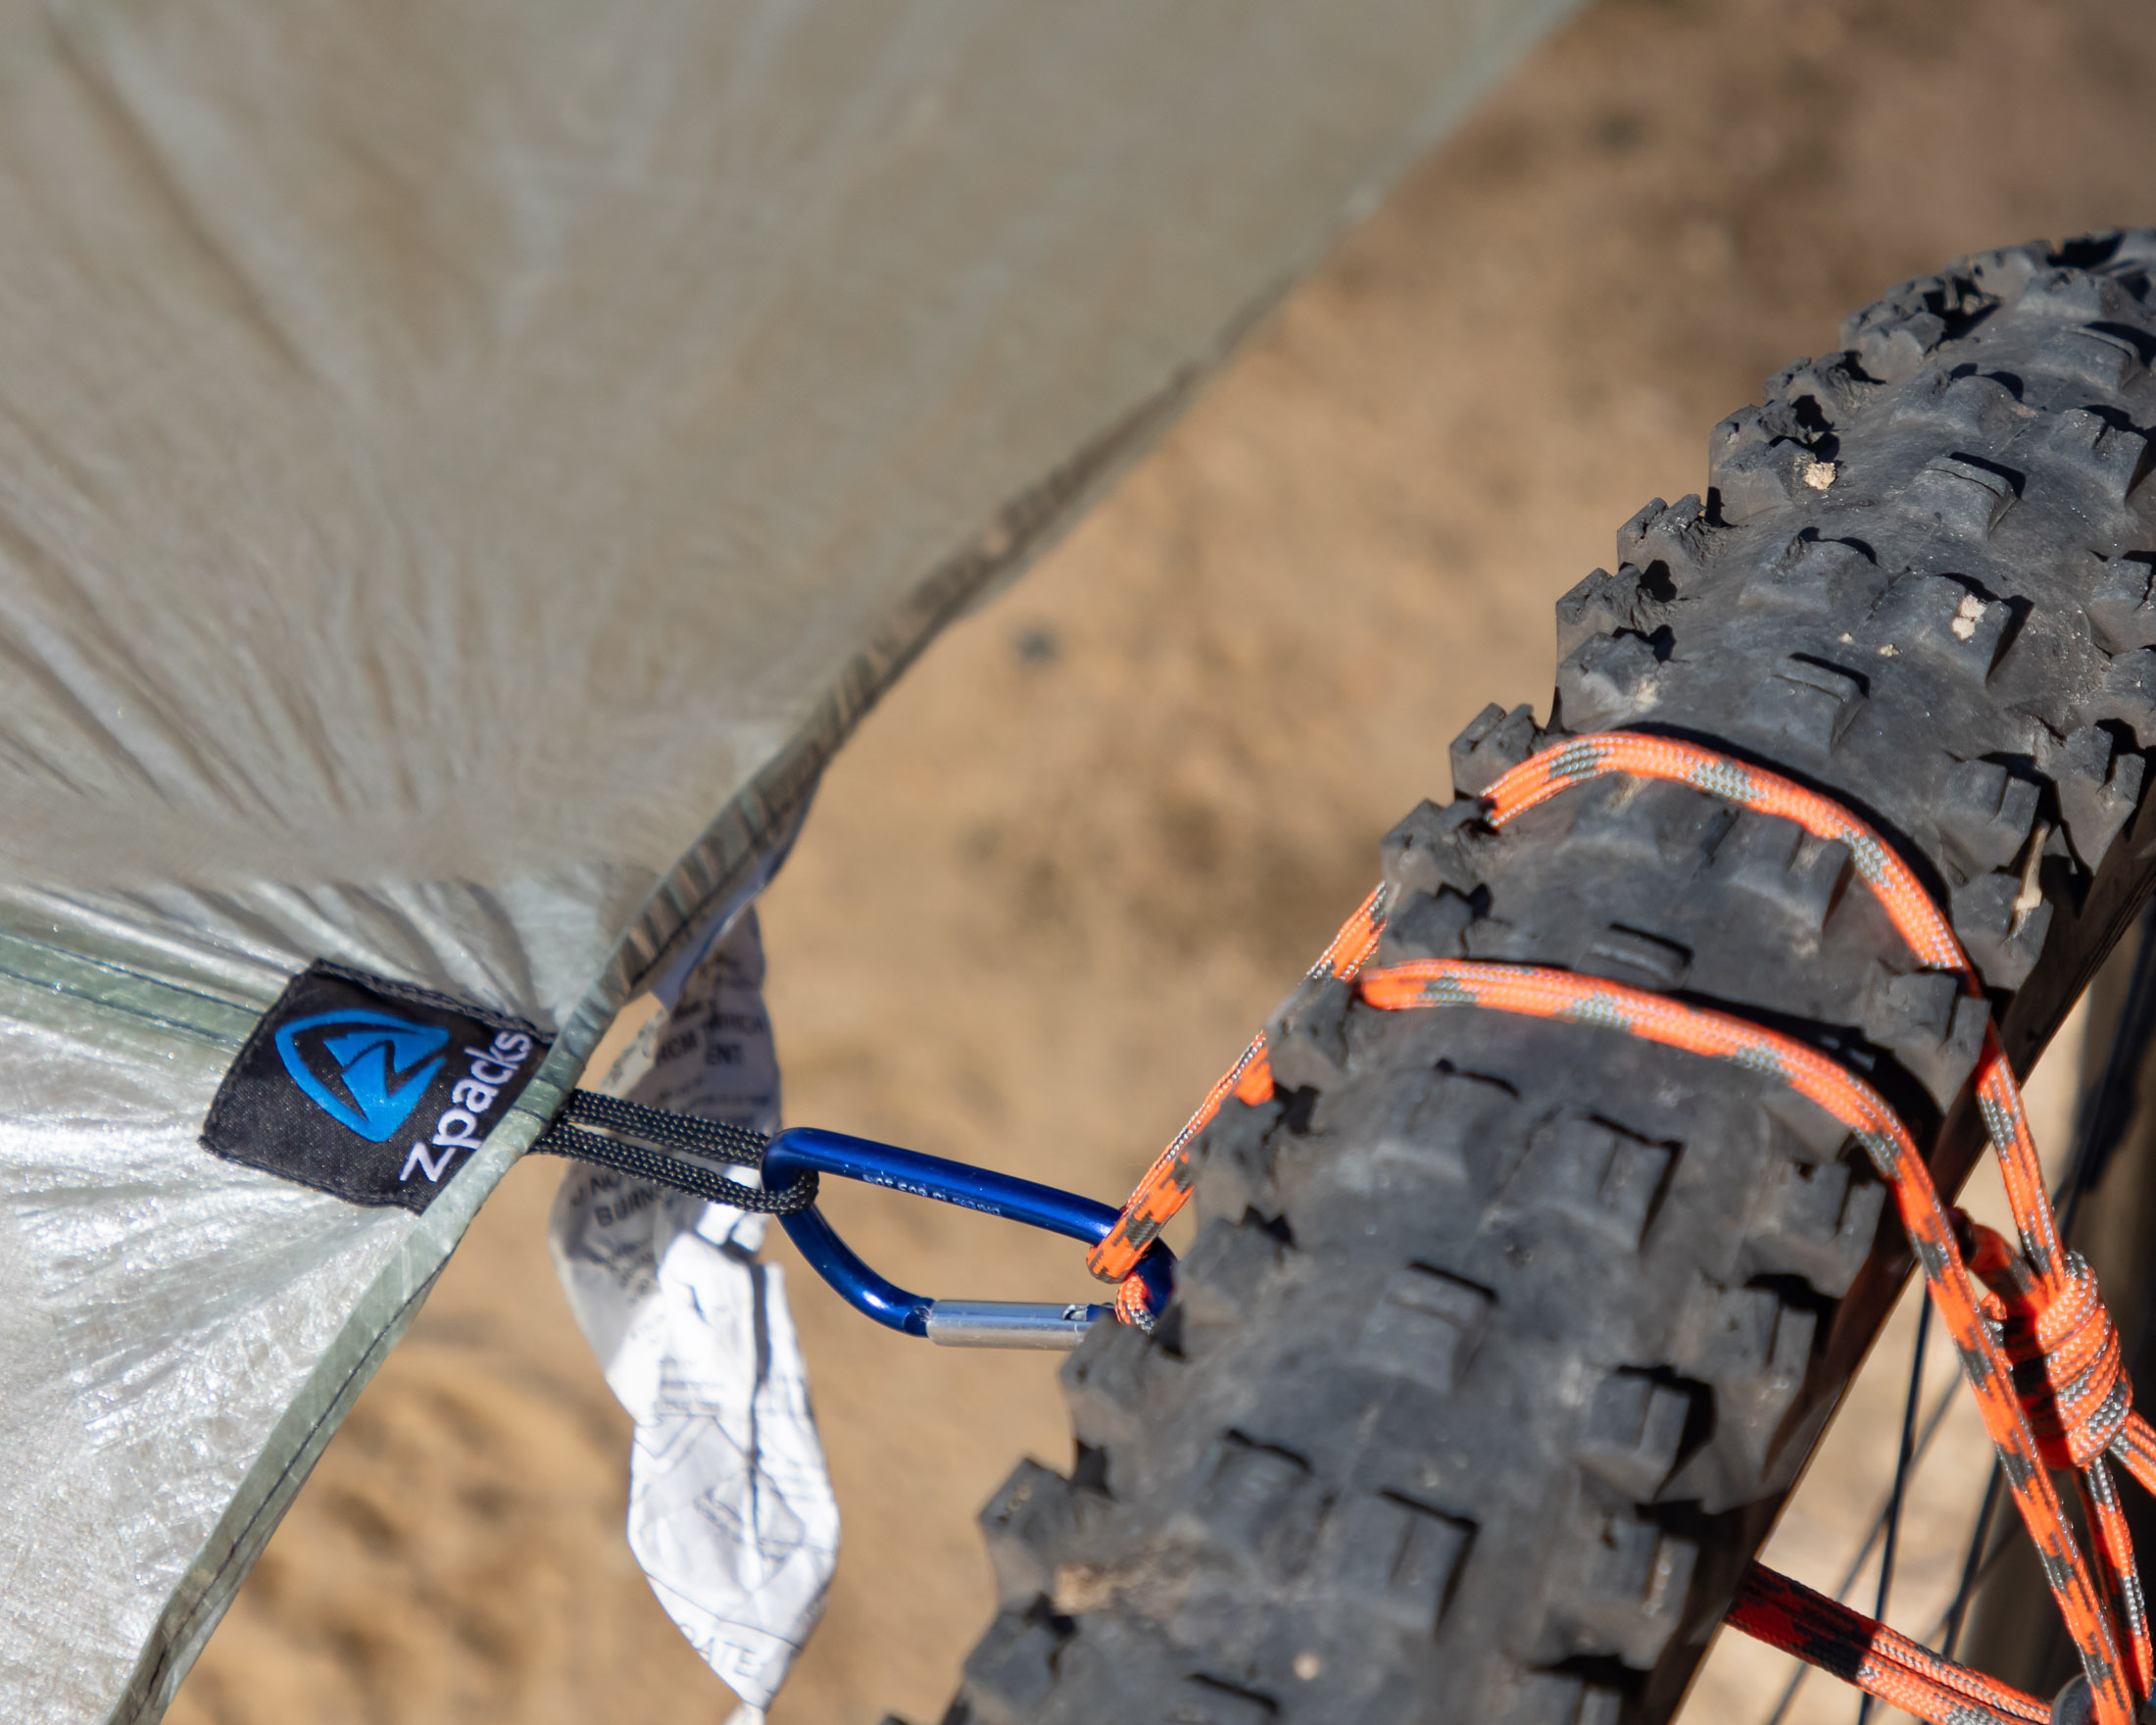
Besides raising the height of the pitch, this setup creates a more open doorway – the end help up with the pole – which makes it easier to get under and out from under your tarp. Tip: To stop the wheels from rolling, use a strap or strong elastic band to keep one of the two brakes engaged. Given that you’ll only pitch your tarp in an A-frame when using a bike for support, a cat cut tarp can make more sense for bikepacking.
Knots
To pitch a tarp you will need to know, at the very least, three knots: one for connecting the loops in pre-tied guylines to tie-outs, one for securing longer guylines to tie-outs and anchors, and another for tensioning your pitch.
Larks Head (loop-to-loop hitch)
You will use this hitch for connecting the loops on the ends of your pre-tied guylines to your tarp’s tie-outs. To link two loops together with this hitch, pass one end of the guyline through the tie-out loop and then bend the guyline back towards itself. Next, open the loop in the other end of the guyline (now through the tie-in) and thread the rest of the guyline through this. Finally pull the whole thing tight and neaten it up.
Bowline (securing knot)
If you were ever a scout, this is the knot you probably would have learned first. It has many applications in many different activities, but in tarp rigging it’s commonly used to connect a guyline to a tarp tie-out at one end and to a stake at the other. I’m not going to try to explain how to tie a simple bowline. Animated Knots does this much better, and you can see their demo here.
Trucker’s hitch (tensioning knot)
Like the bowline, the Trucker’s Hitch can be used for securing a guyline to an anchor or tie-out. The difference is that Trucker’s Hitch creates a 2:1 pulley and can be used for tensioning a tarp. The trick to using a Truckers Hitch is knowing that the other end of the guyline has to already be secured to something. That’s why I recommend that you secure only the secondary primary guyline with this hitch. In an A-frame pitch only one of the two primary guylines has to be tensioned to ensure that the tarp is taut right through its length.
Anchors
Because they have to be tensioned, tarps and shelters require sturdier anchors than freestanding tents. Here’s everything you need to know about creating anchors that will allow for a tight pitch.
Types of stake
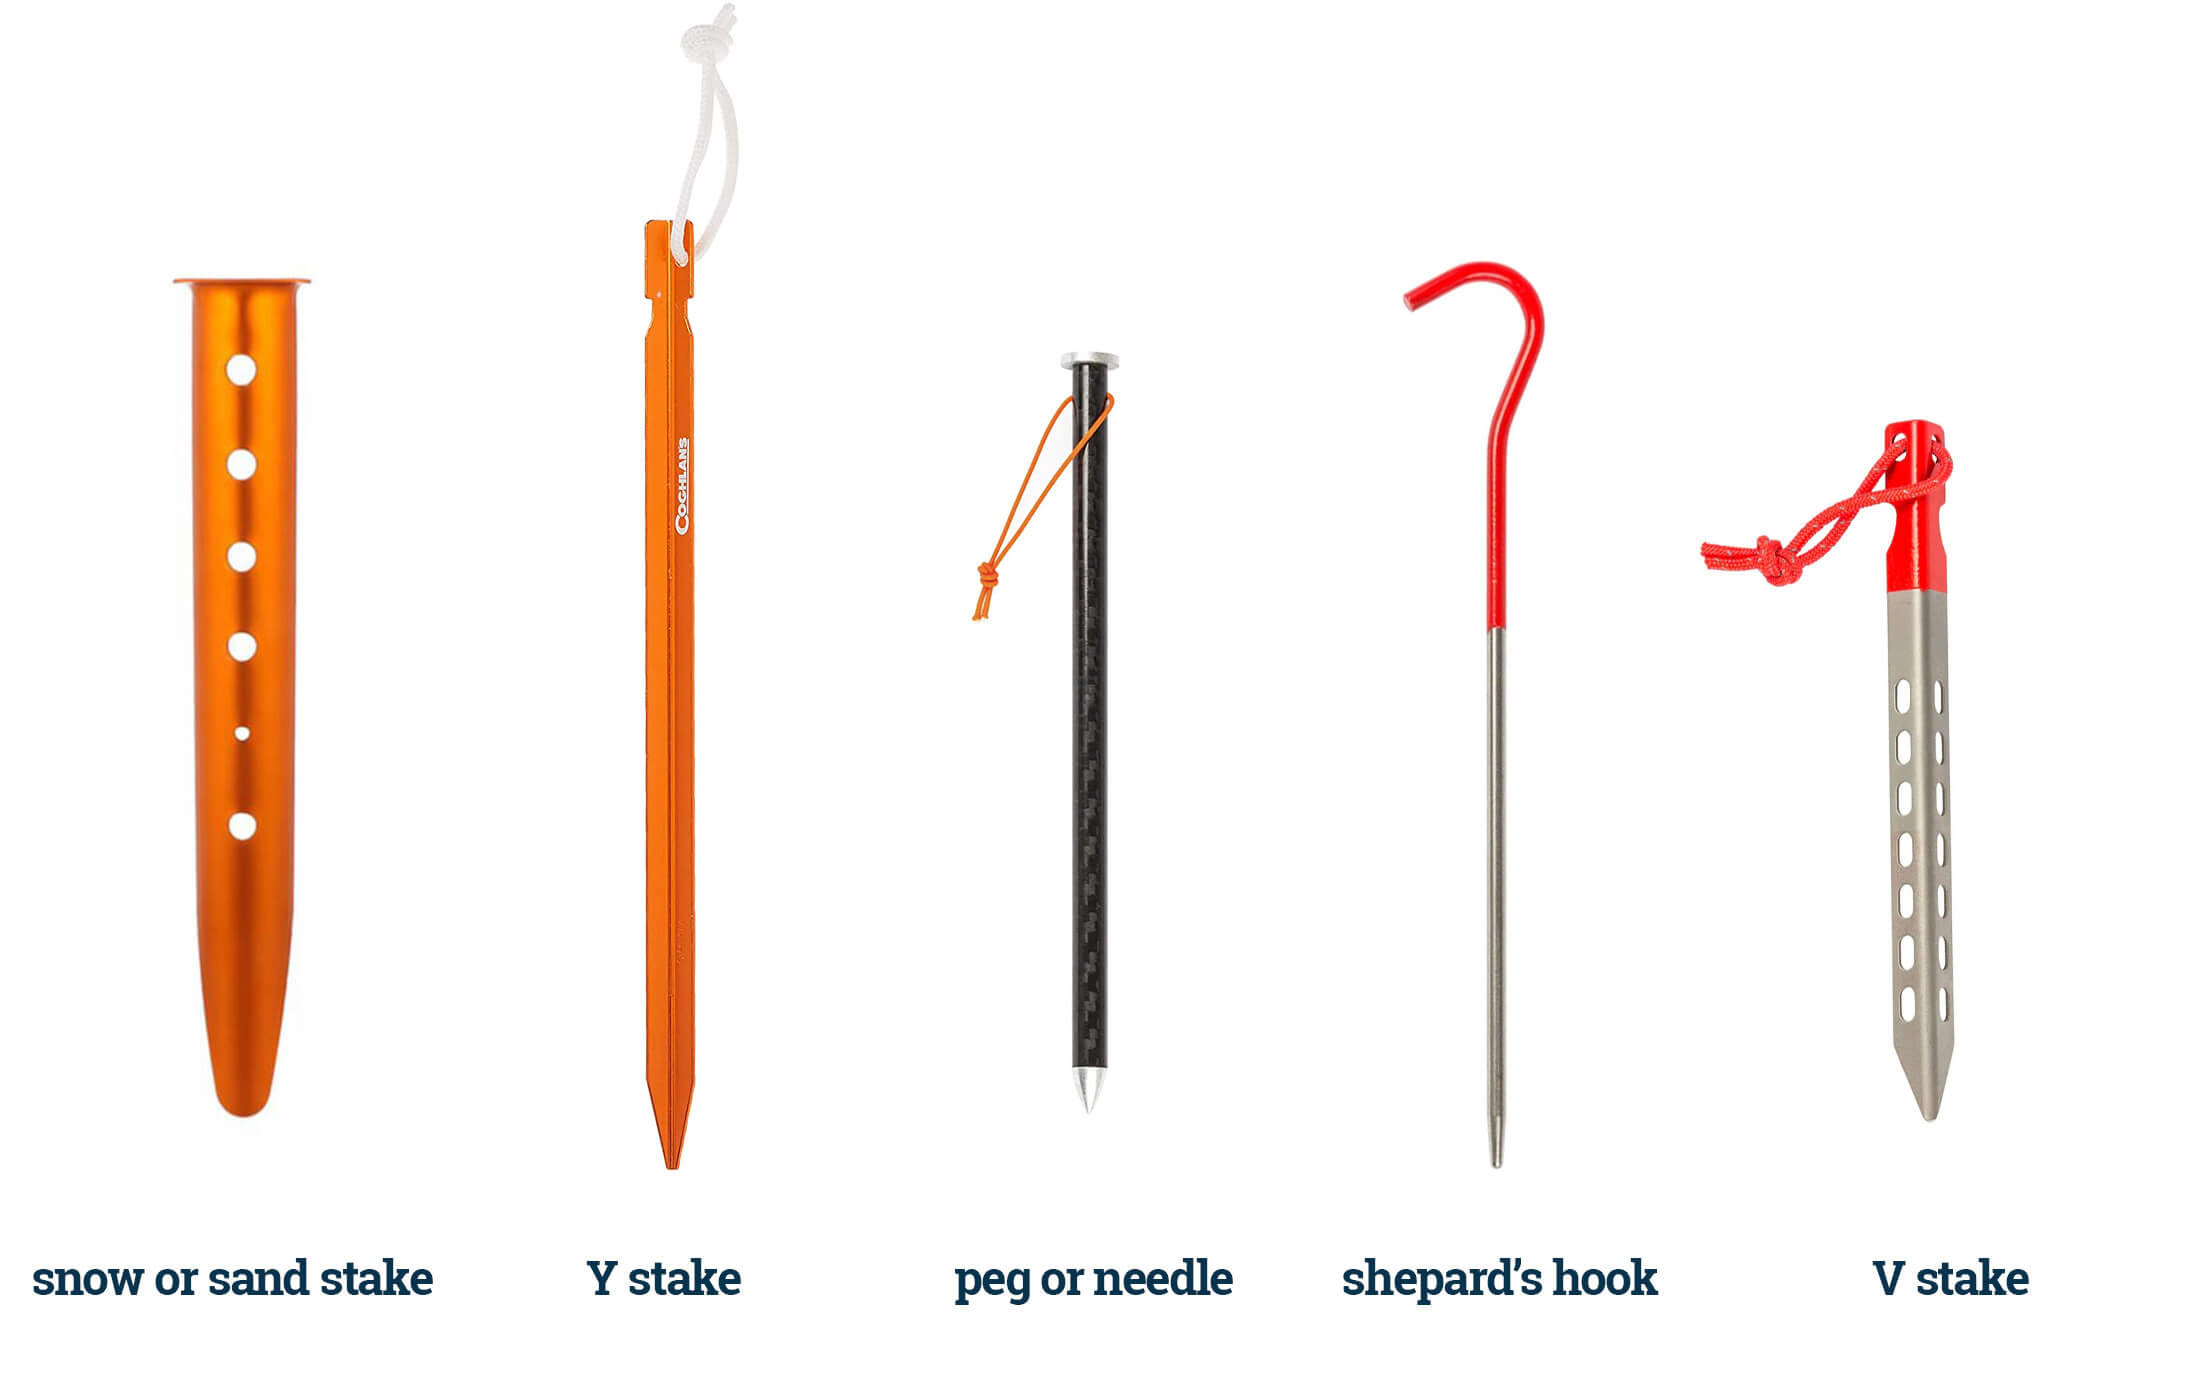
Different types of stake perform best in different types of soil, and you’ll want to know a peg from a sand stake if you’re going to be pitching your shelter over ground that is sandy or rocky.
Peg or needle
These basic stakes work best in medium compact soil. With their straight shafts and flat heads, they are easy to pound into the ground, but they offer less holding power than most other types of stake. If you anticipate needing to stake hard ground, it would be worth investing in quality carbon pegs, which are generally stronger and lighter than aluminium alternatives. Some pegs have eyelets in them while others have notches or wide heads for securing a guyline.
Shepard’s hook
Shepard’s hook stakes are similar to pegs in the simplicity of their shafts, but then they are also longer and thinner, and they have a hook resembling a shepherd’s staff on the guyline end. Many tents come with these types of stakes. Like pegs, they can be prone to bending, and they have a tendency of turning and releasing the guyline if they’re not secured correctly. To minimise this risk, pound them in far enough to anchor the end of the hook in the ground.
Y stake
With a Y-shaped profile, this type of stake offers more holding power than a peg or shepard’s hook, and it’s more resistant to bending. The only downside to Y stakes is that they’re not as easy to pound into more compact or rocky ground. Still, if you want a set of stakes that will work well enough in most conditions, Y stakes are pretty versatile. Some manufacturers make them in different lengths, which is useful if you want longer stakes for anchoring primary guylines and shorter stakes for staking a tarp’s edges down.
V stake
Like Y stakes, V stakes offer more holding power than a peg or shepard’s hook, but then they’re not quite as strong as a Y stakes and are more likely to bend if pounded into hard ground. This type of stake is a good choice if the soil around your campsite is generally soft to medium in compactness. Some V stakes have holes along their shafts. These allow you to secure a guyline to a point lower down the stake – useful if you can’t get the hole shaft into the ground and you want to reduce leverage on the stake.
Snow or sand stake
Snow and sand stakes have wide concave profiles which ensure maximum holding power in these softer substrates. This design means that they weigh more than other types of stake, but they are indispensable for pitching a shelter on a beach, in a sandy desert, or in winter conditions. Like some V stakes, most sand and snow stakes have holes in them. These mid-shaft attachment points allow for other anchoring tricks – more about those in a minute.
Creative solutions to staking hard and soft ground
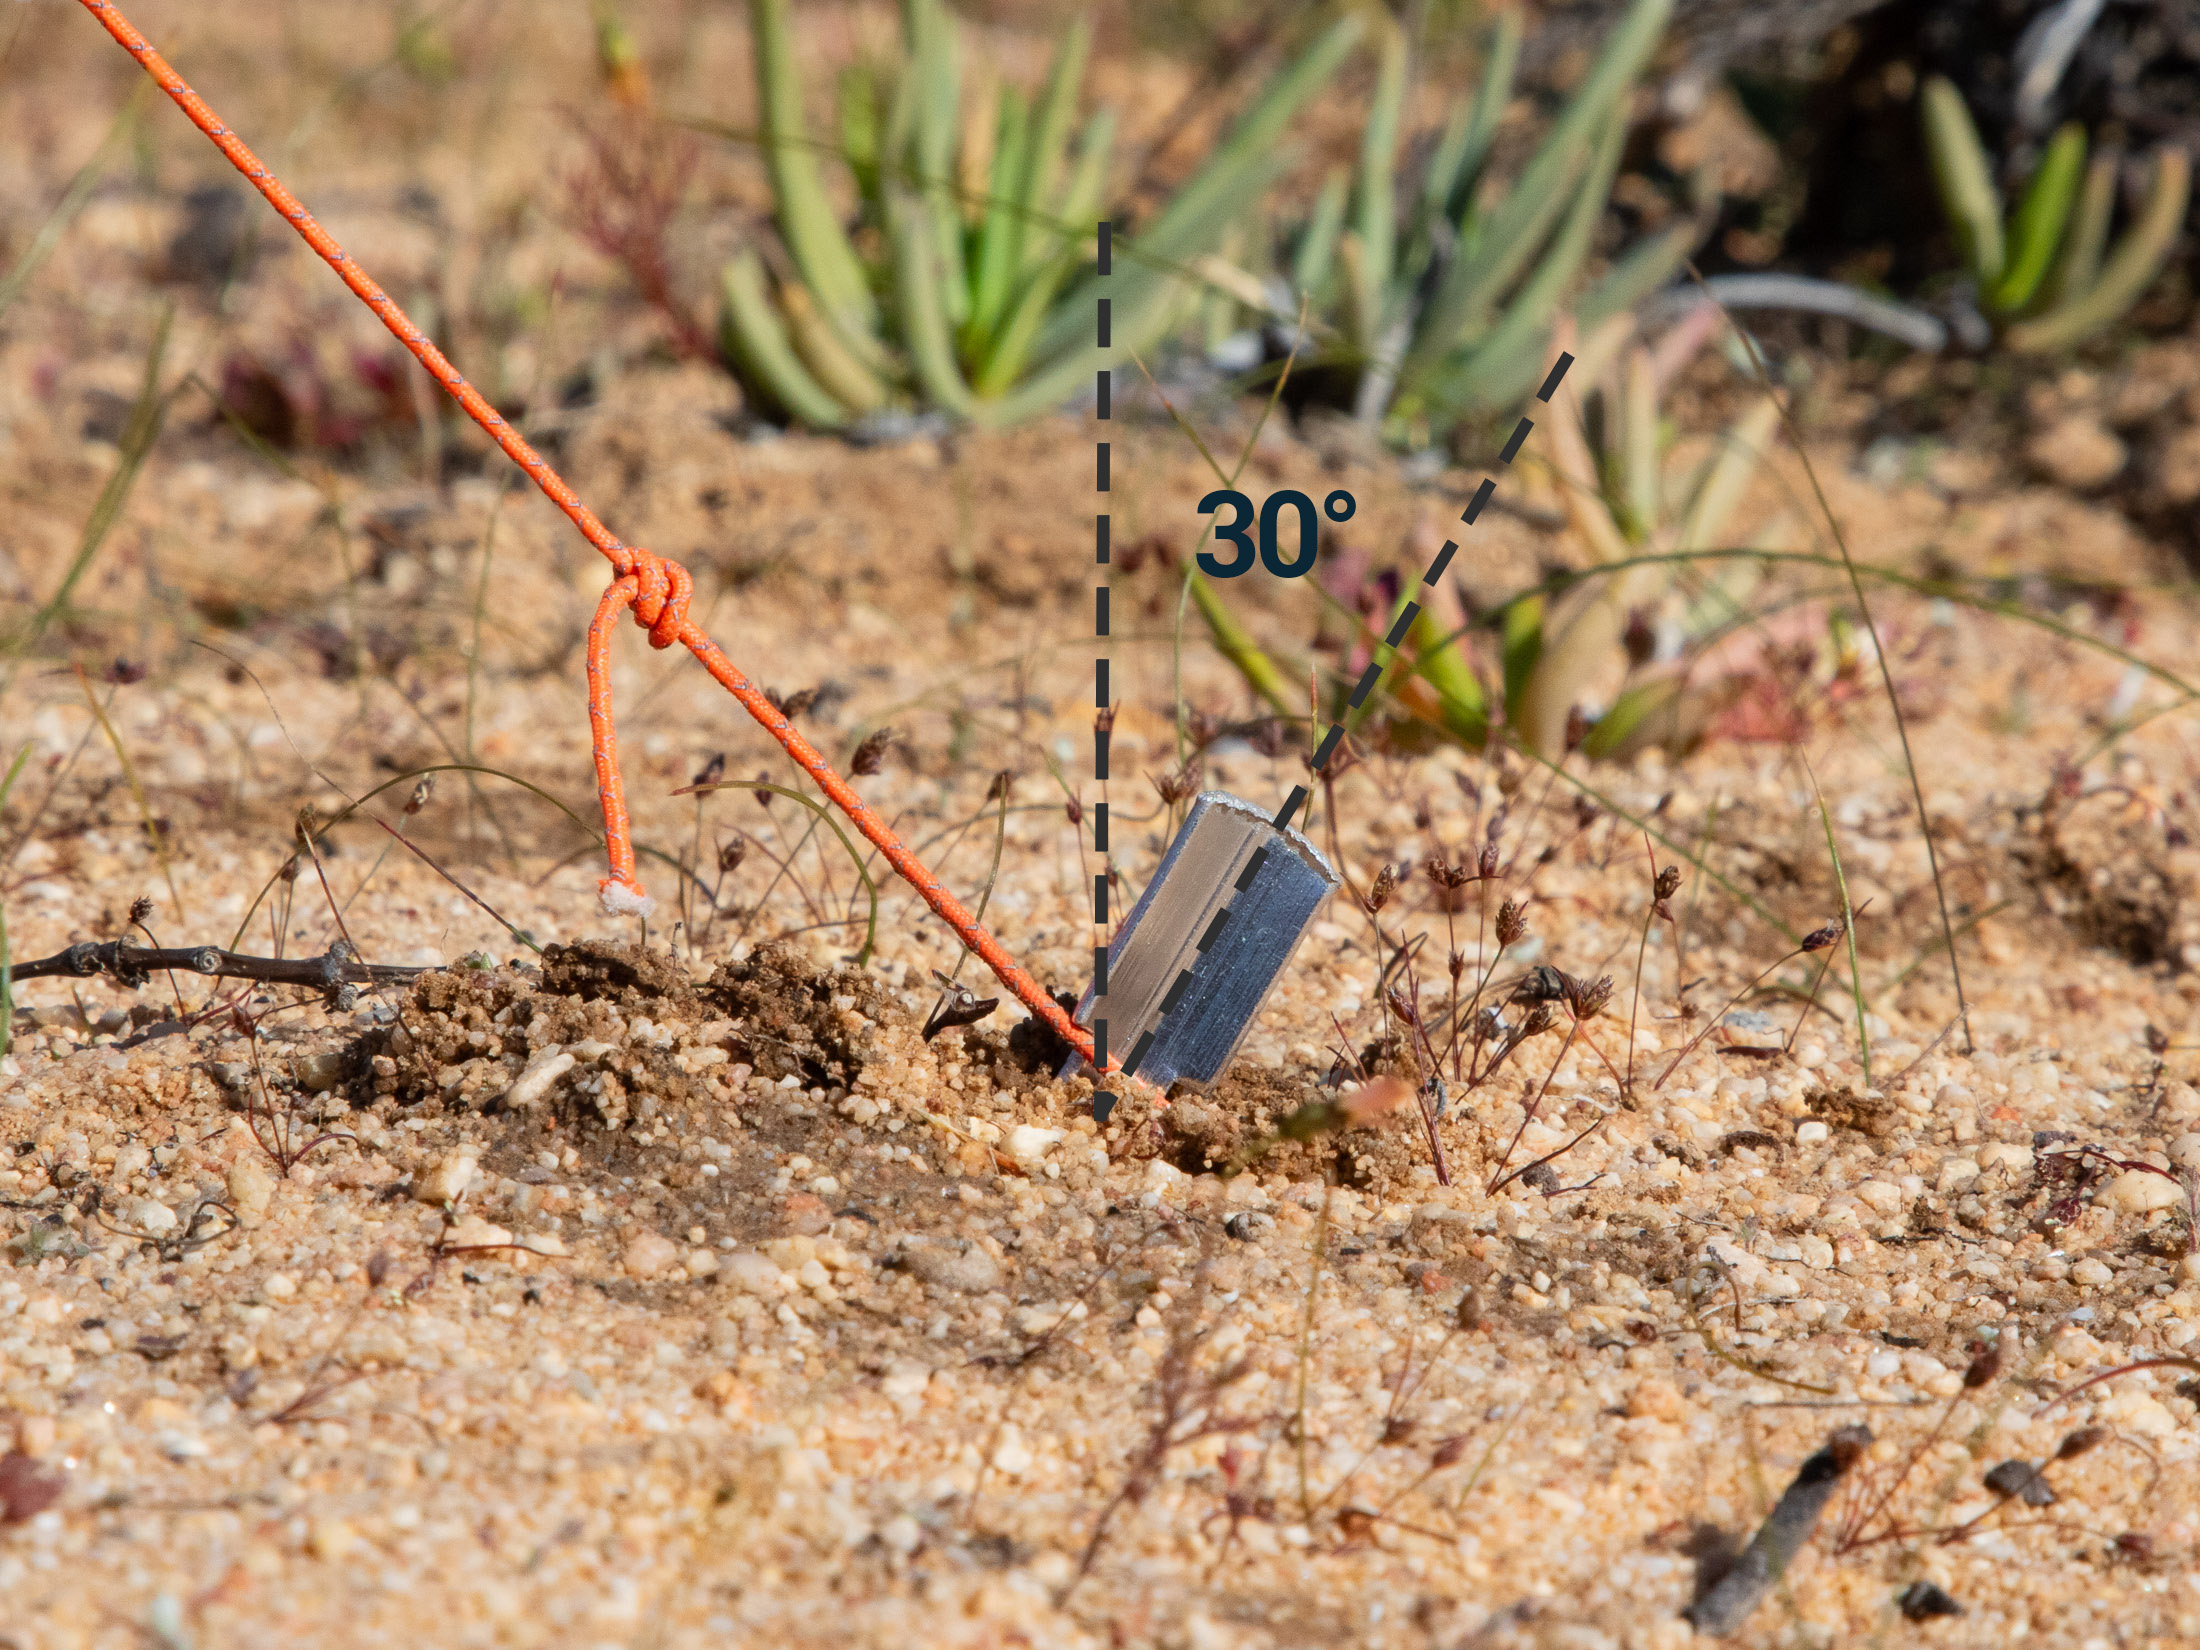
The normal way to use a stake is to drive it into the ground at an angle that leans away from your shelter. 65° is about right. However, there are situations – those involving very hard or soft ground – where you will have to get more creative in how you use your stakes.
Hard ground
When the ground is too hard to stake, often your best option is to tie a guyline around a root or rock, but such tactics require the use of a longer guyline, something you might not have enough of. When forced to use a short pre-tied guyline, the best option is to put the guyline round the middle of the stake, lay it flat on the ground, and then put rocks on top of it. Alternatively, you might also be able to find a hole or crack that’s the perfect shape and size for a stake.
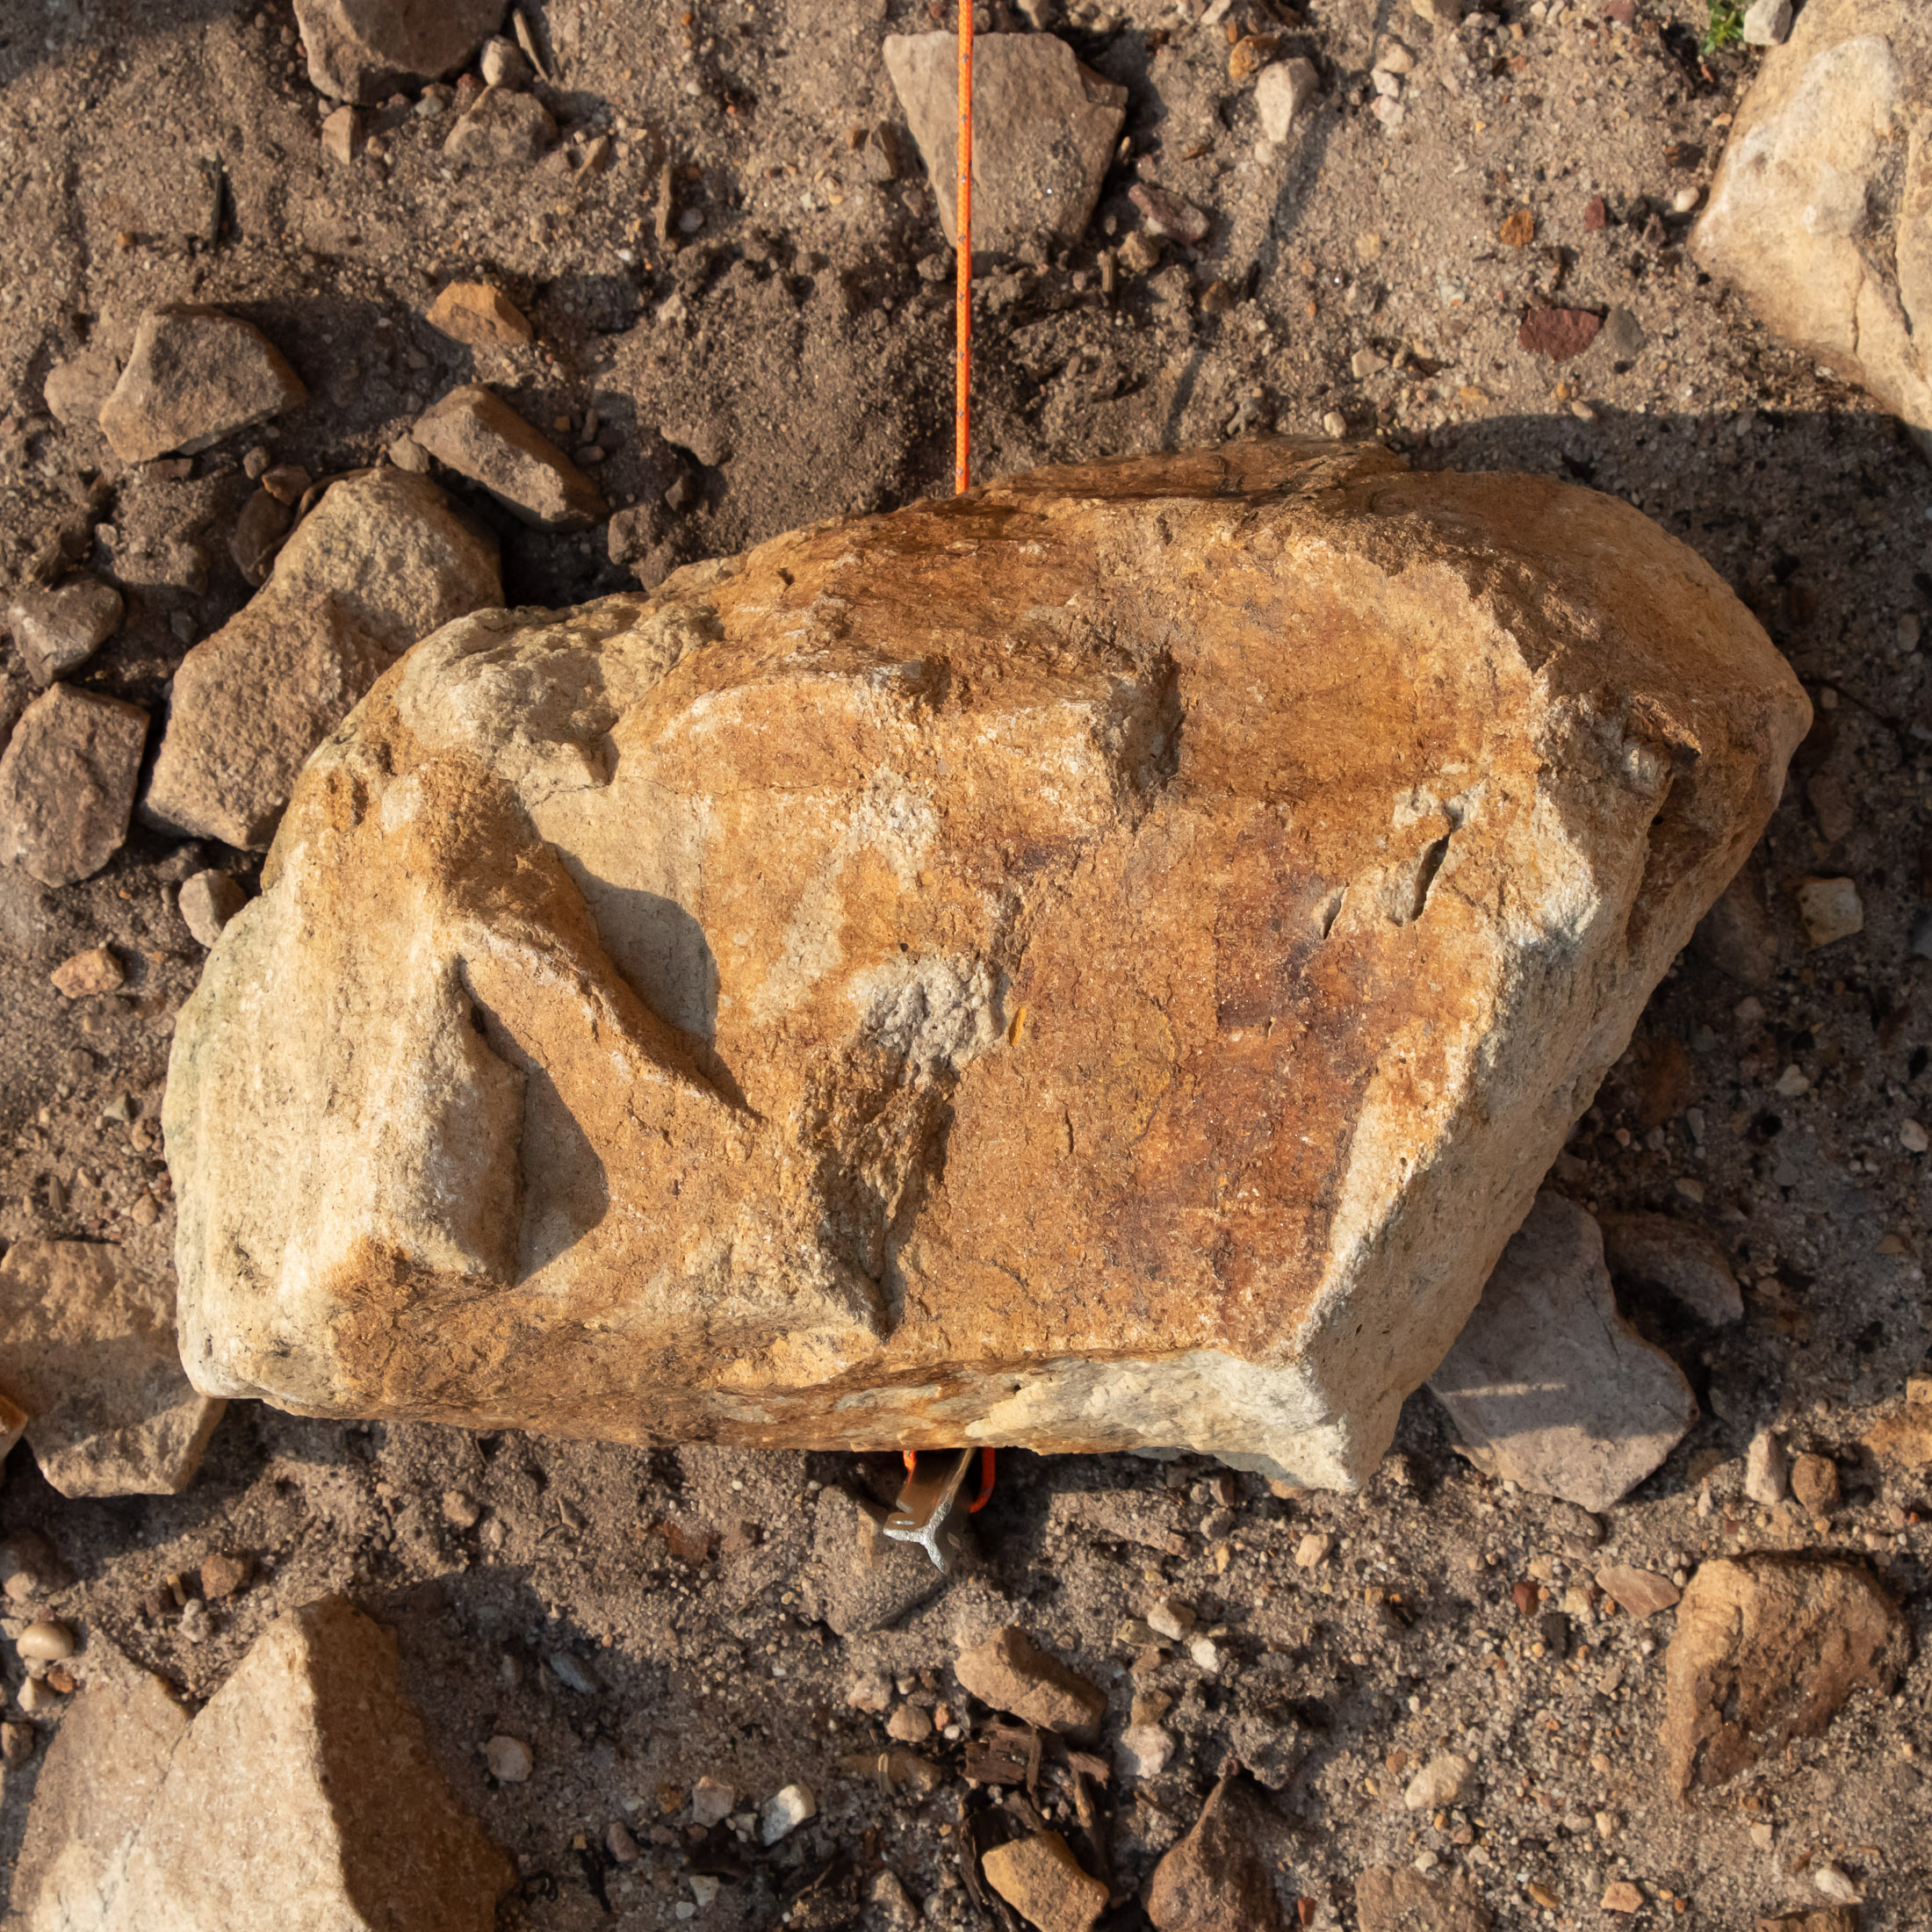
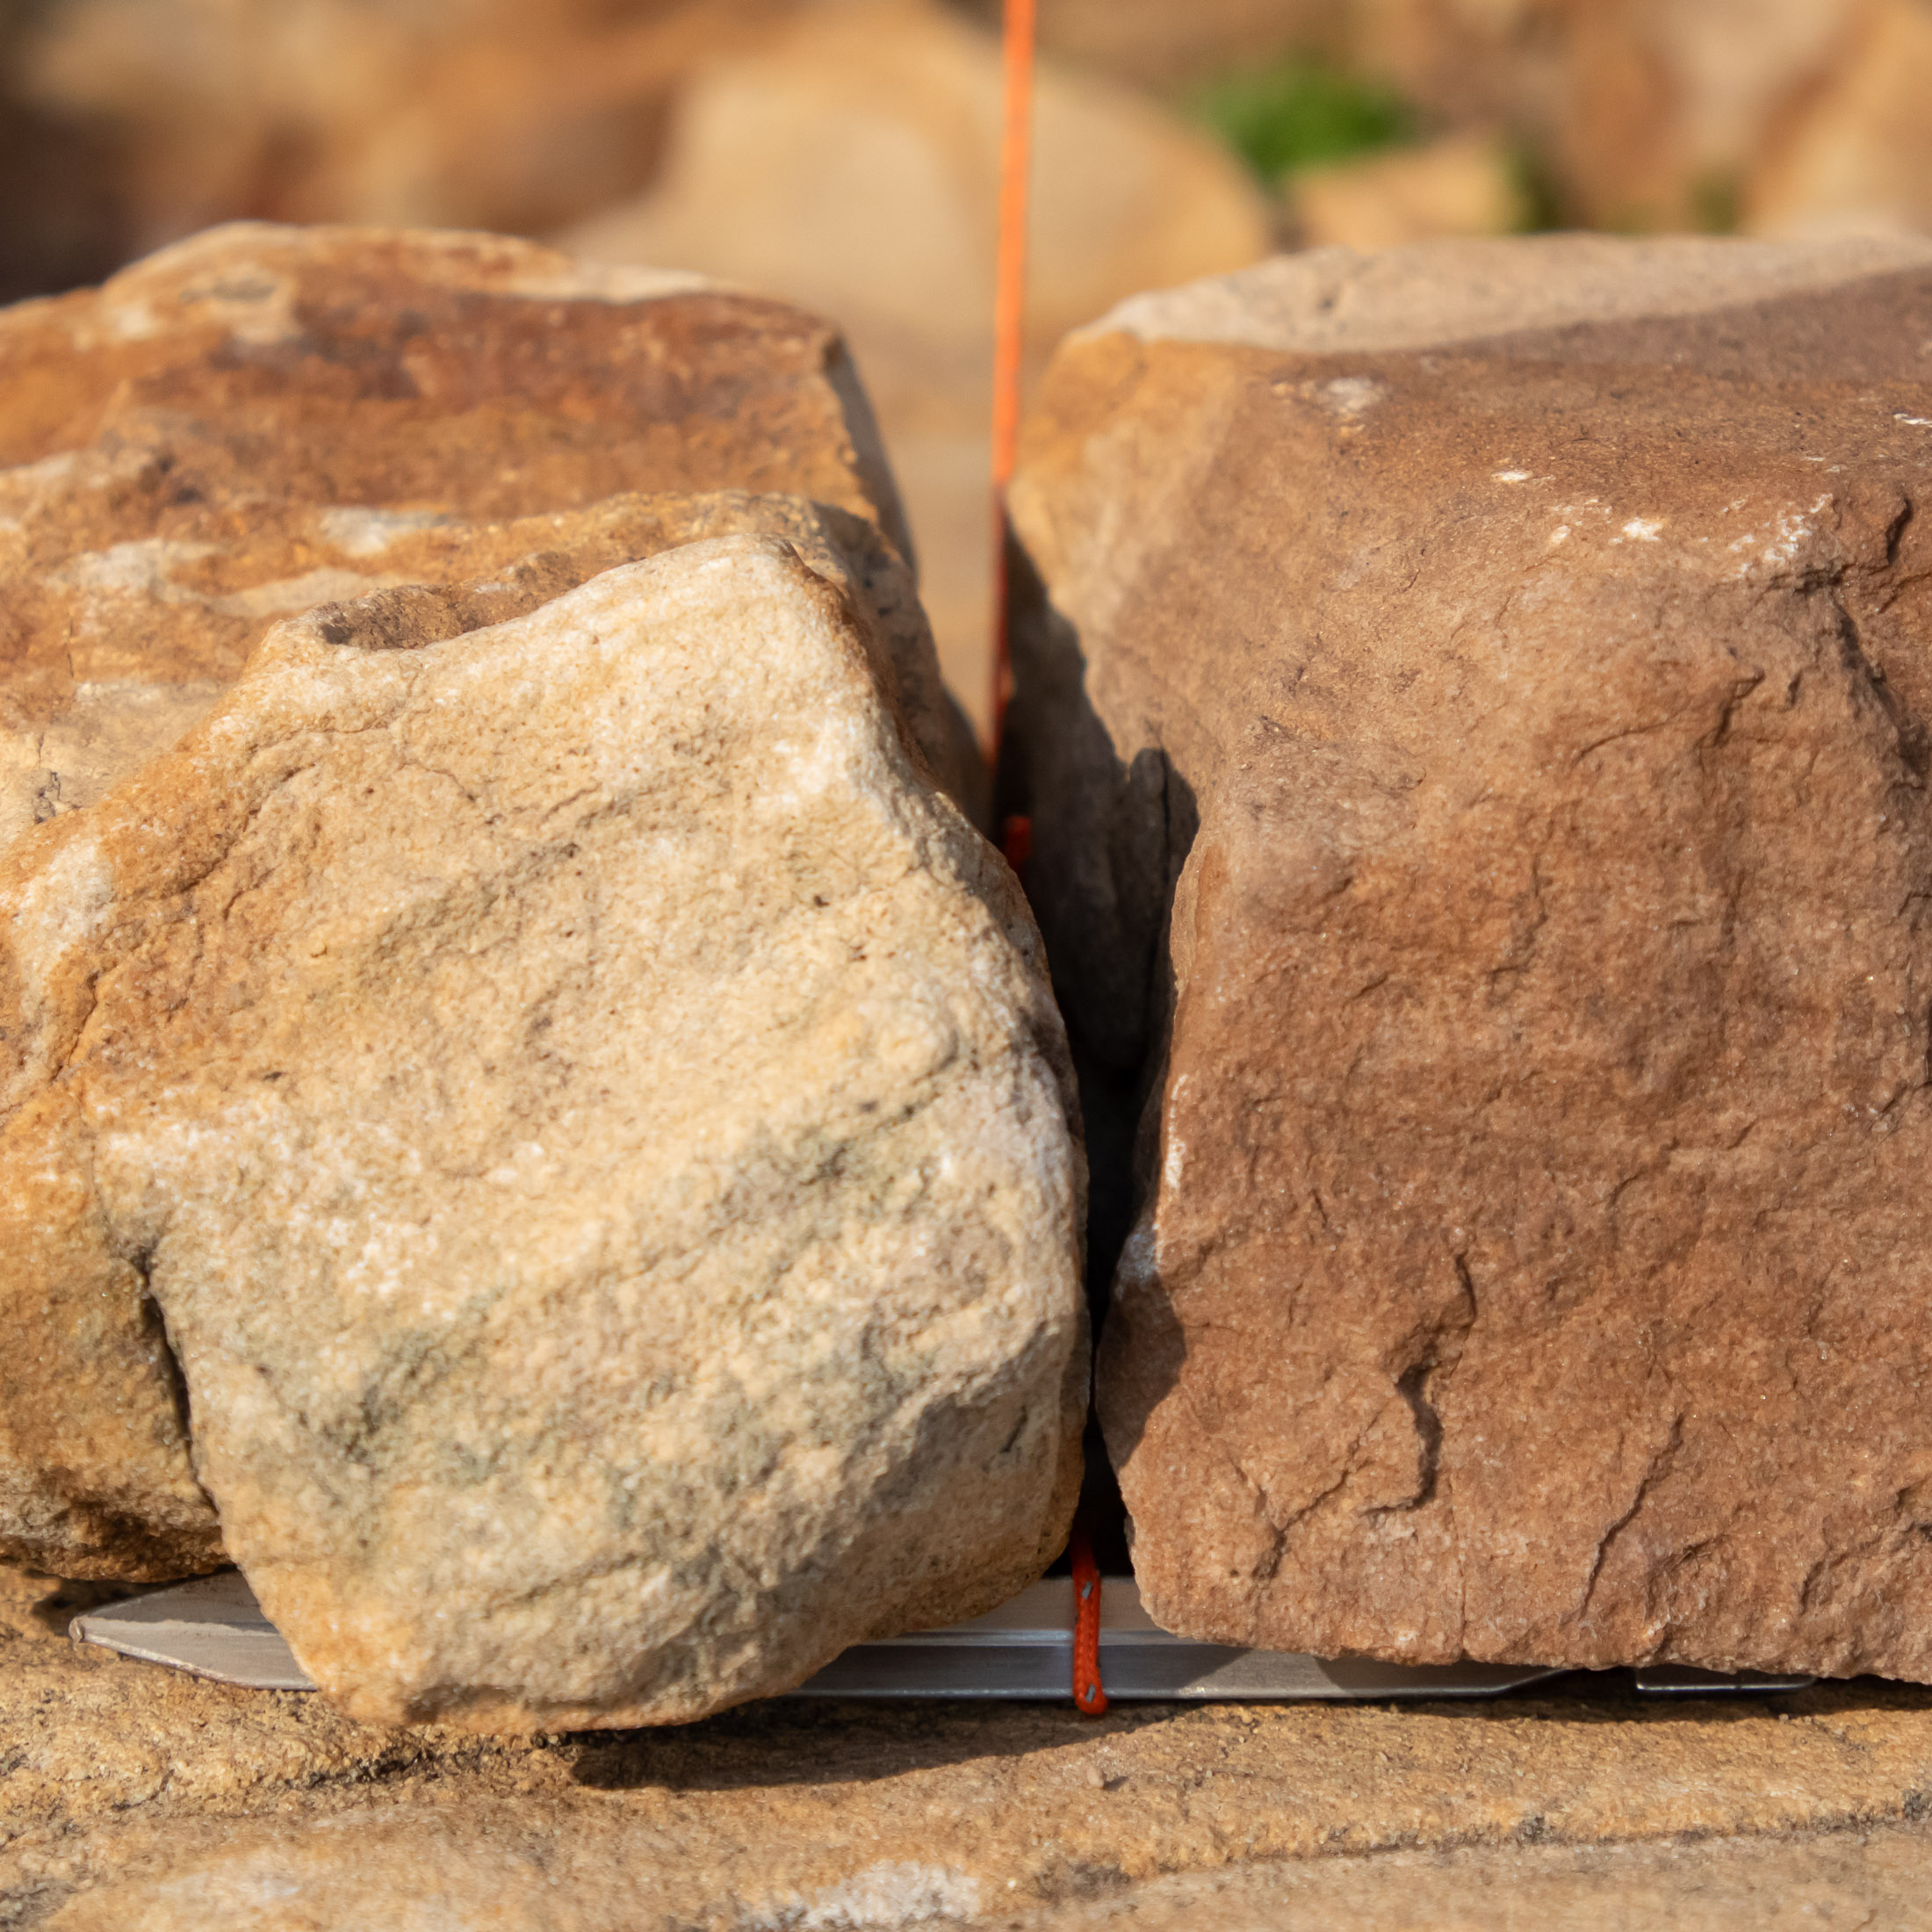
If a stake will go into the ground but not as deep as you want it, the easiest solution is usually to slide the guyline loop down the shaft to the ground and then place a rock on the guyline and against the stake – holding it in place. For this to work, you might have to put the stake into the ground at a 90° angle.
Soft ground
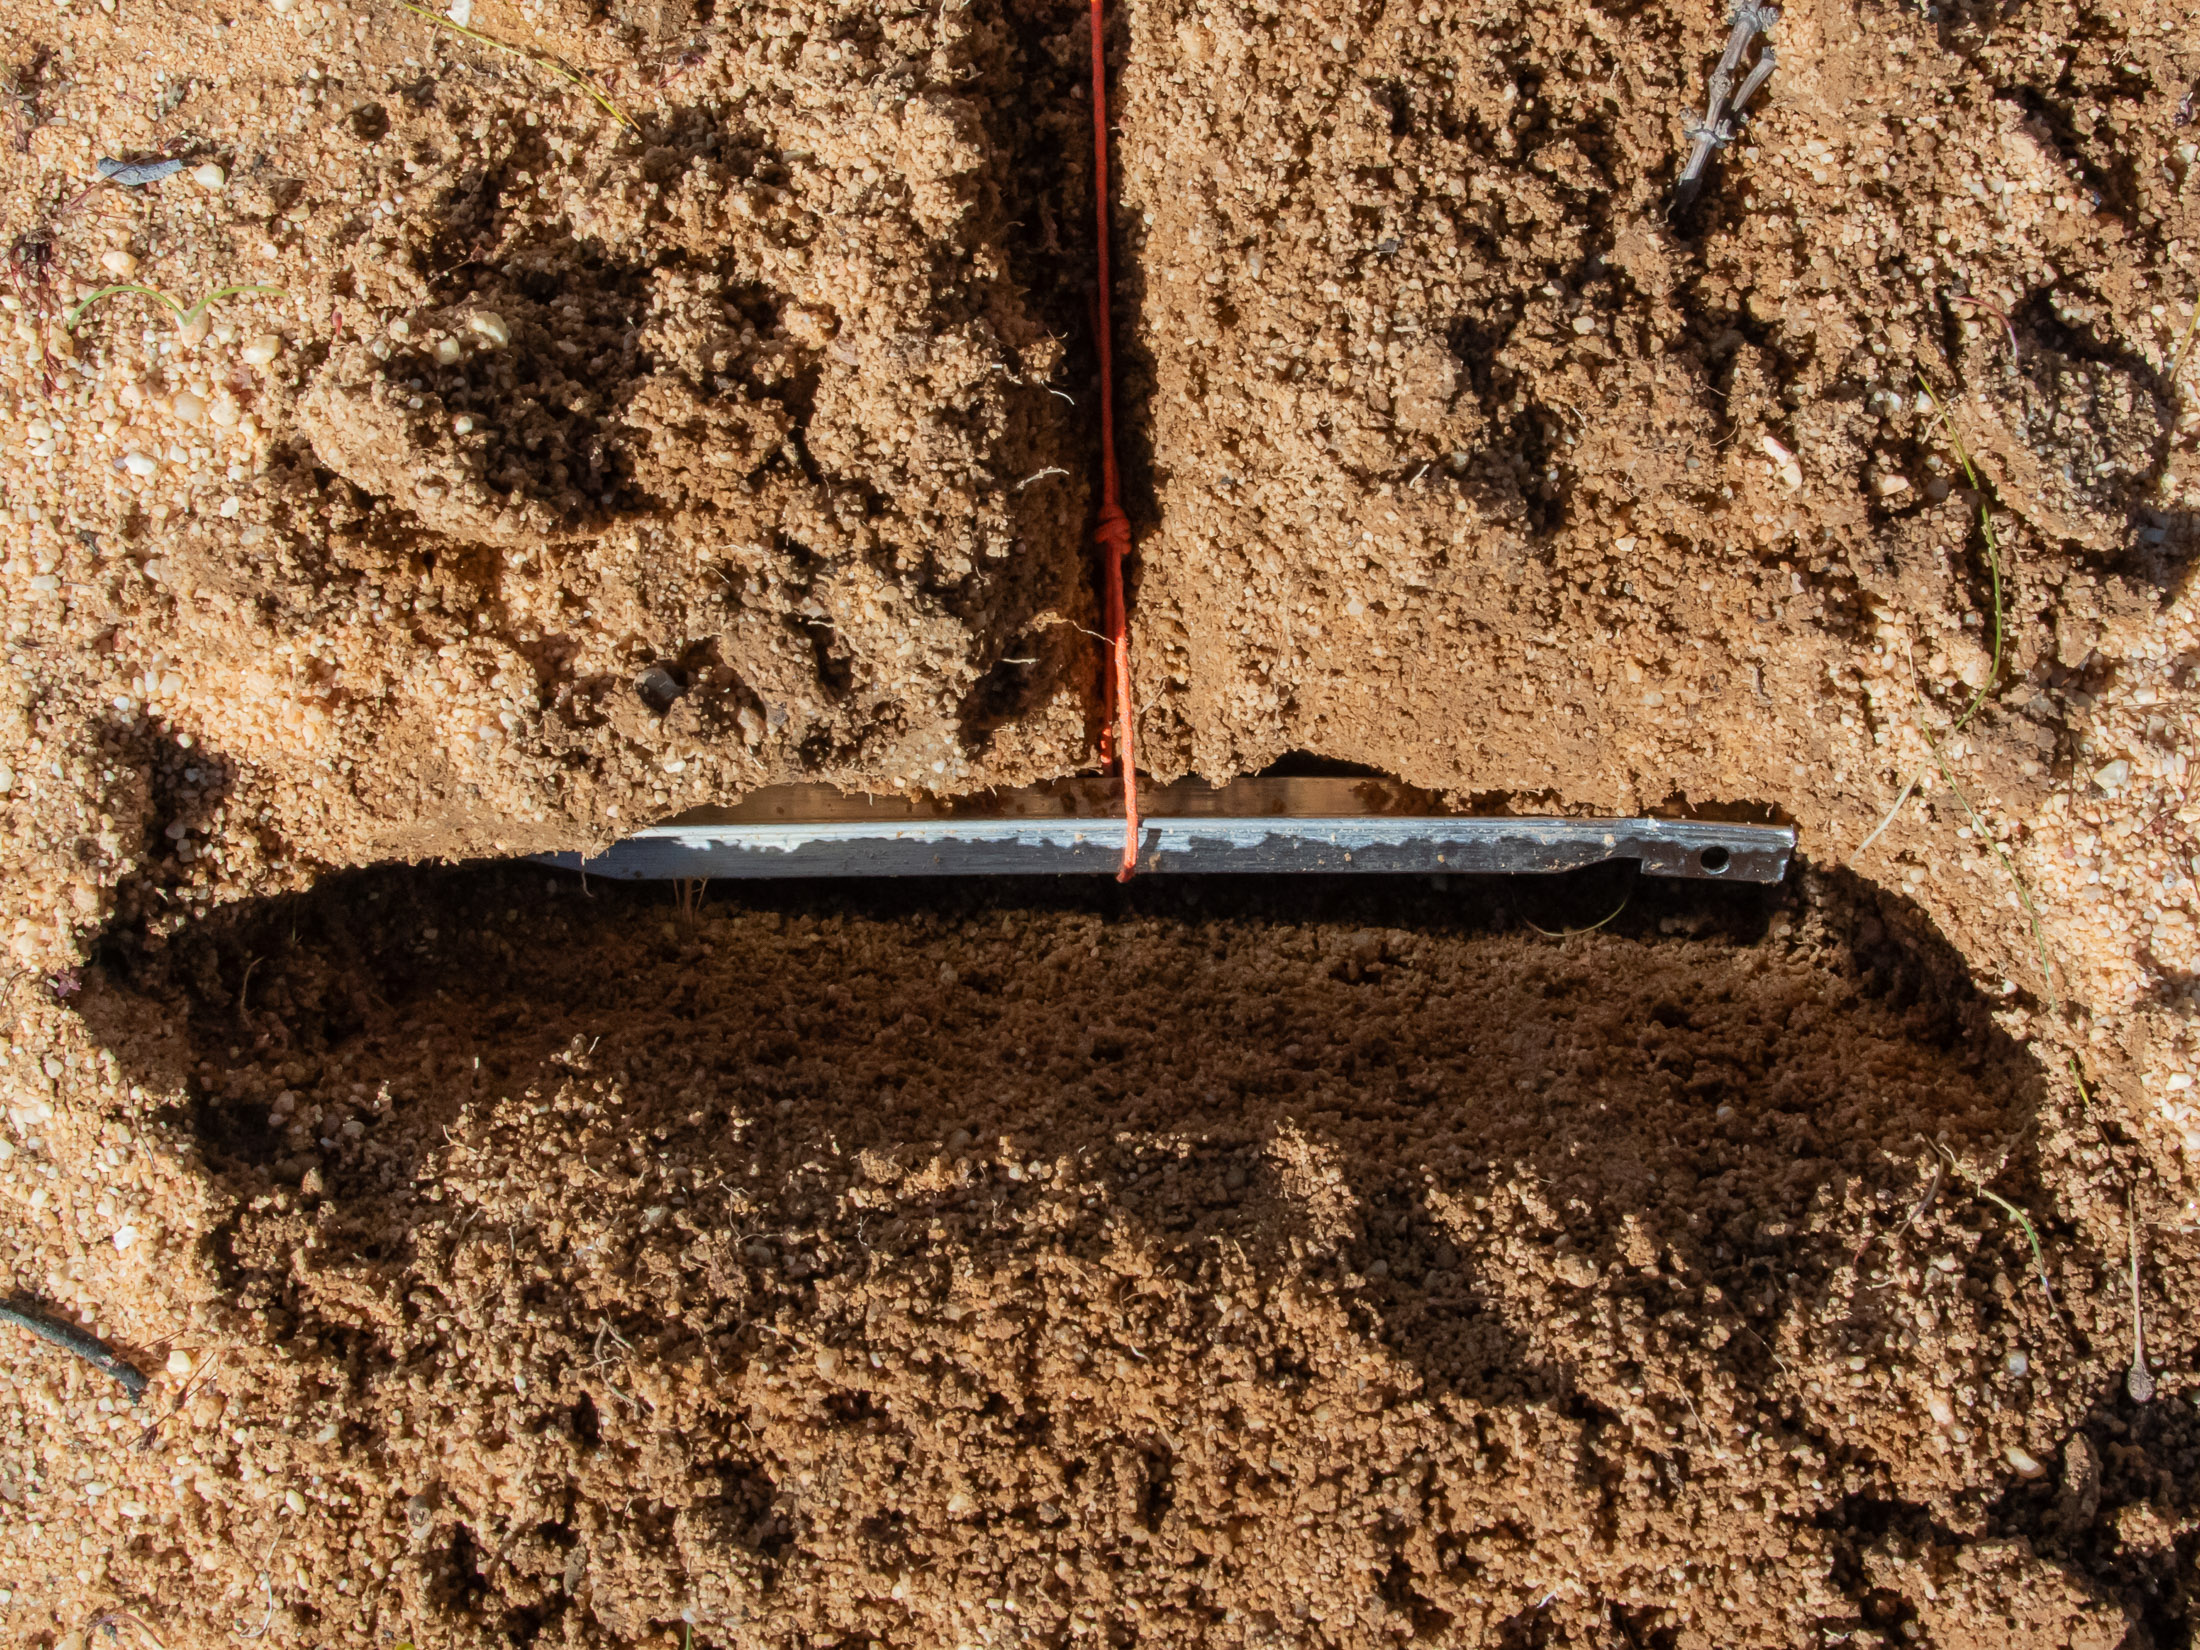
When the ground around your pitch is sandy or very loose, the best solution – if you don’t have a sand stake – is to dig a small T-shaped trench (12 cm / 5 inch deep) and then bury your stake with the guyline around the middle of the shaft. The guyline will sit in the arm of the T facing the tie-out, and the stake will lie in the top of the T at a right angle to the guyline. Once you’ve filled in the trench, pack down the soil as much as possible. Tip: Aim for a steep-sided trench that is no wider than necessary.
Rocks and roots
Natural features are great when they ground is too hard or soft to stake properly, but even
When you can get a few stakes in, a rock or root might still provide a much more solid or conventient anchor.
Rocks
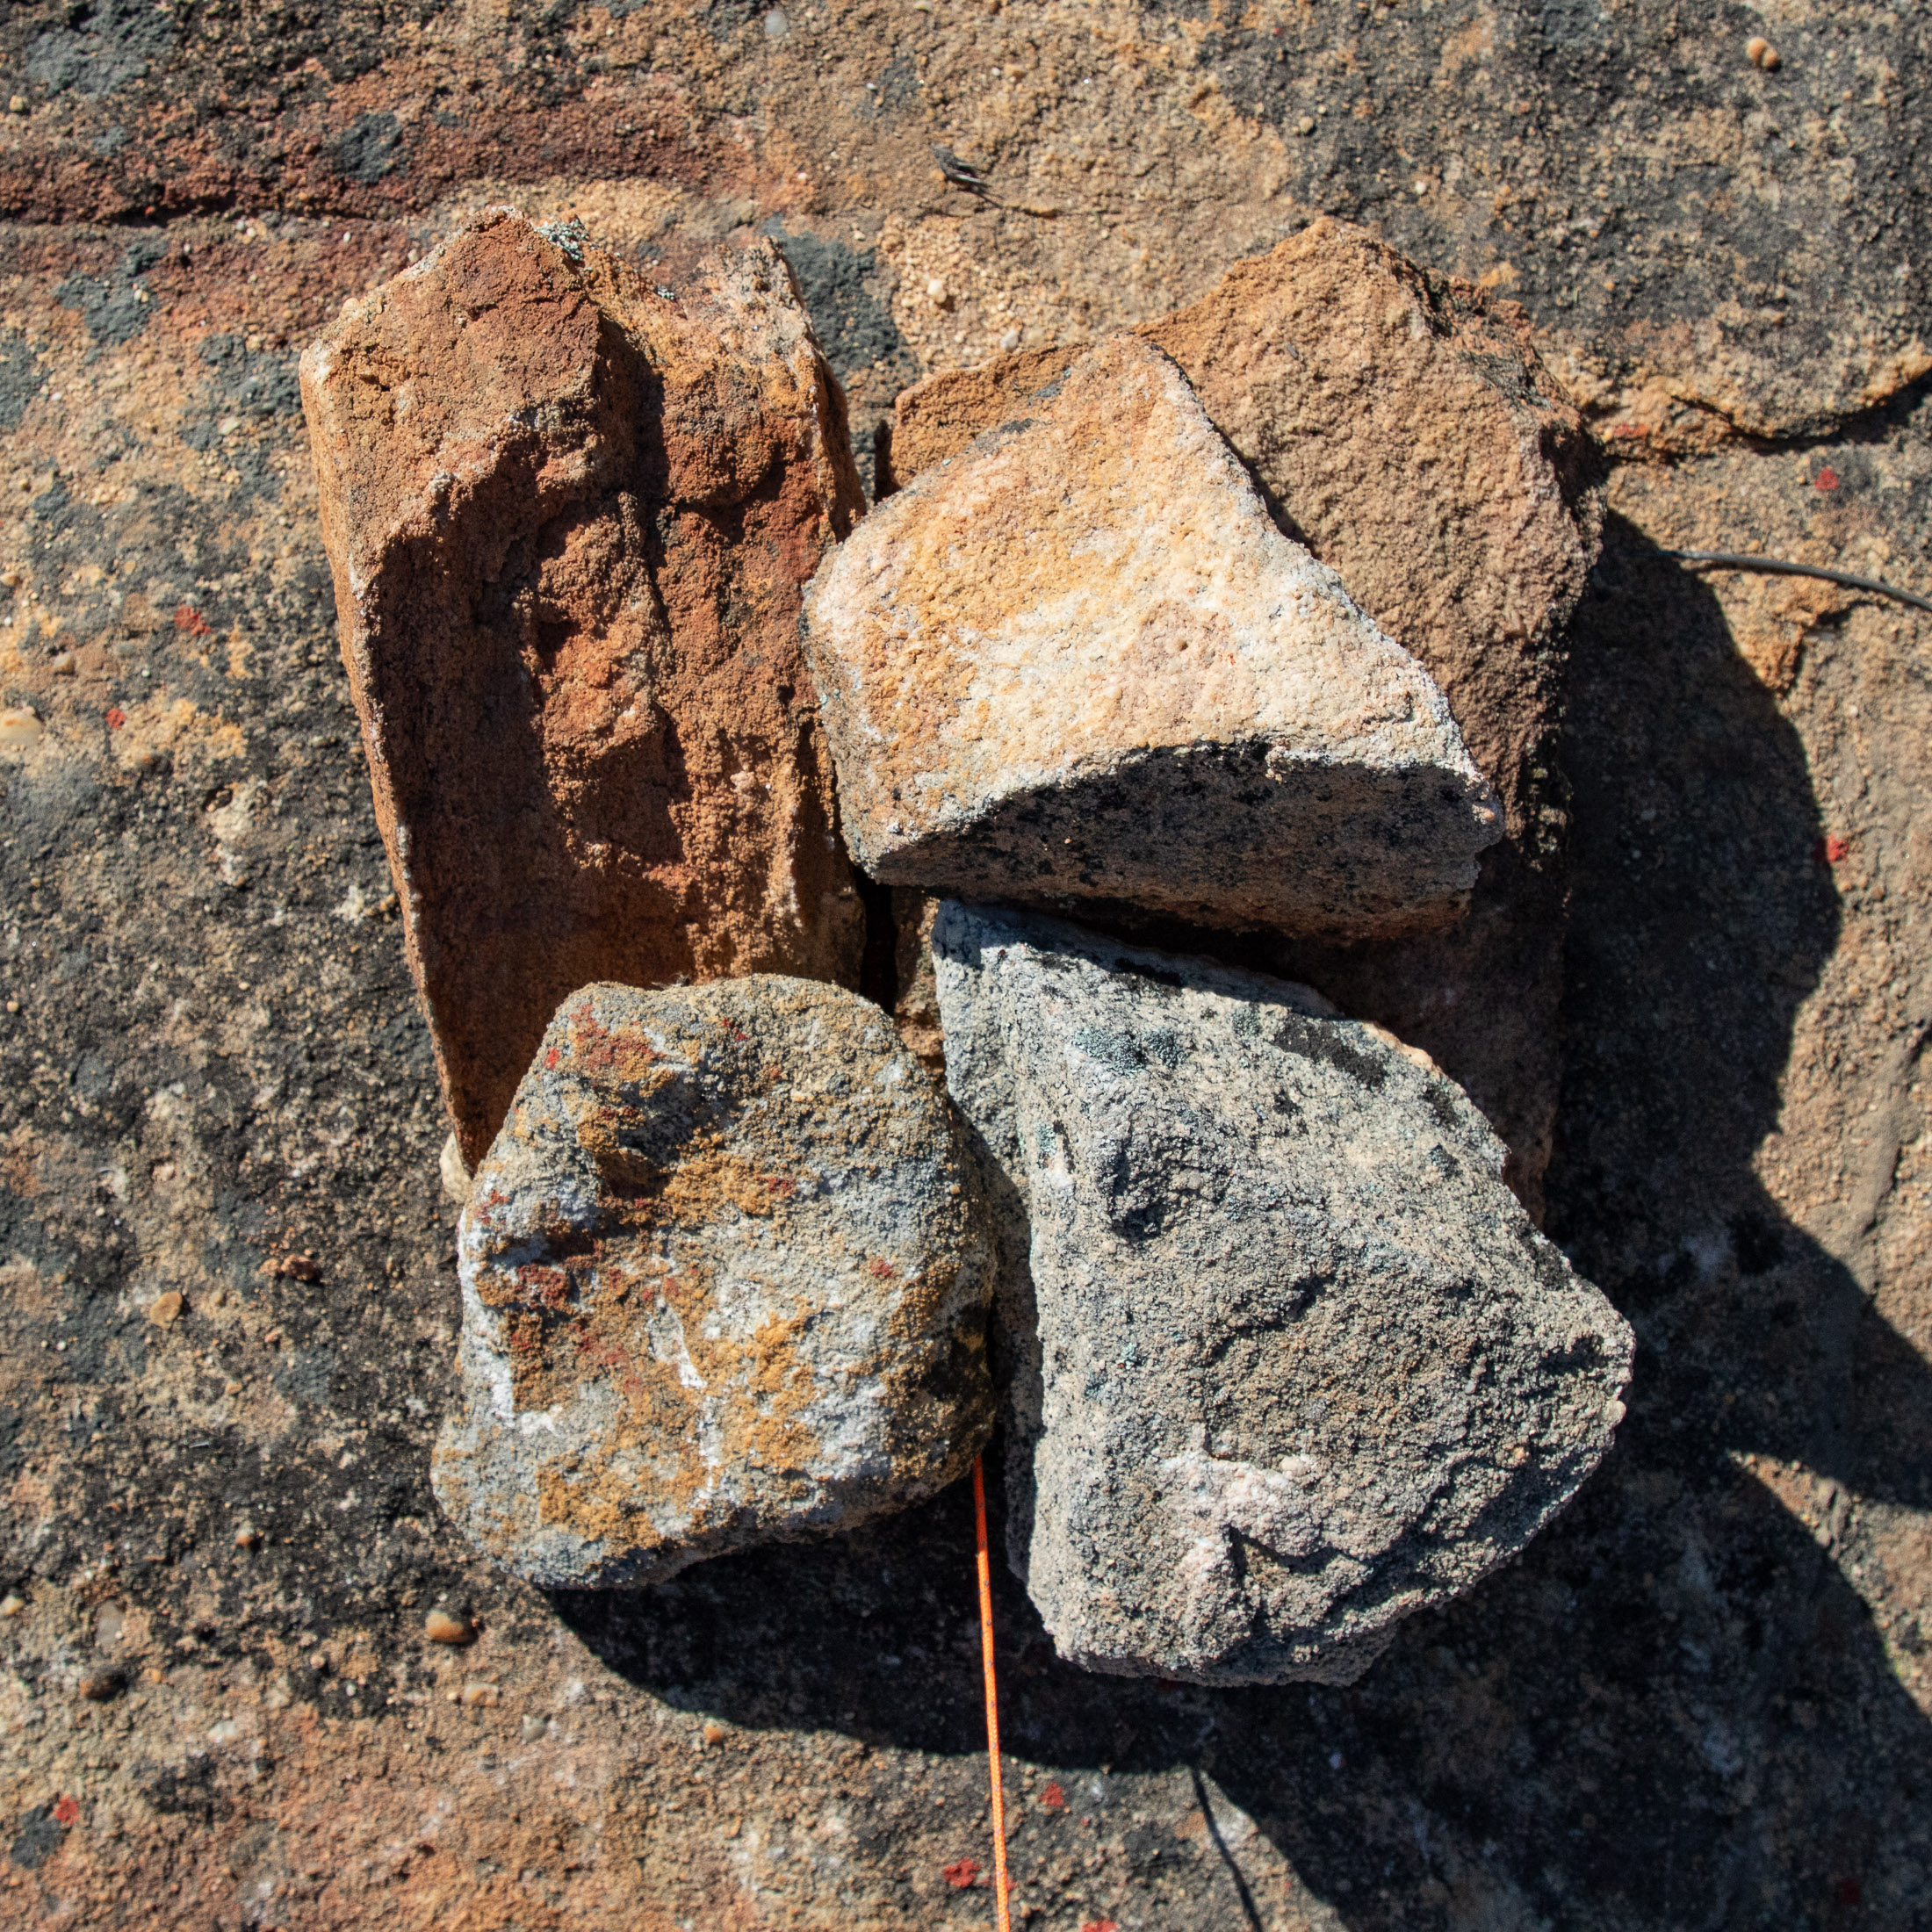
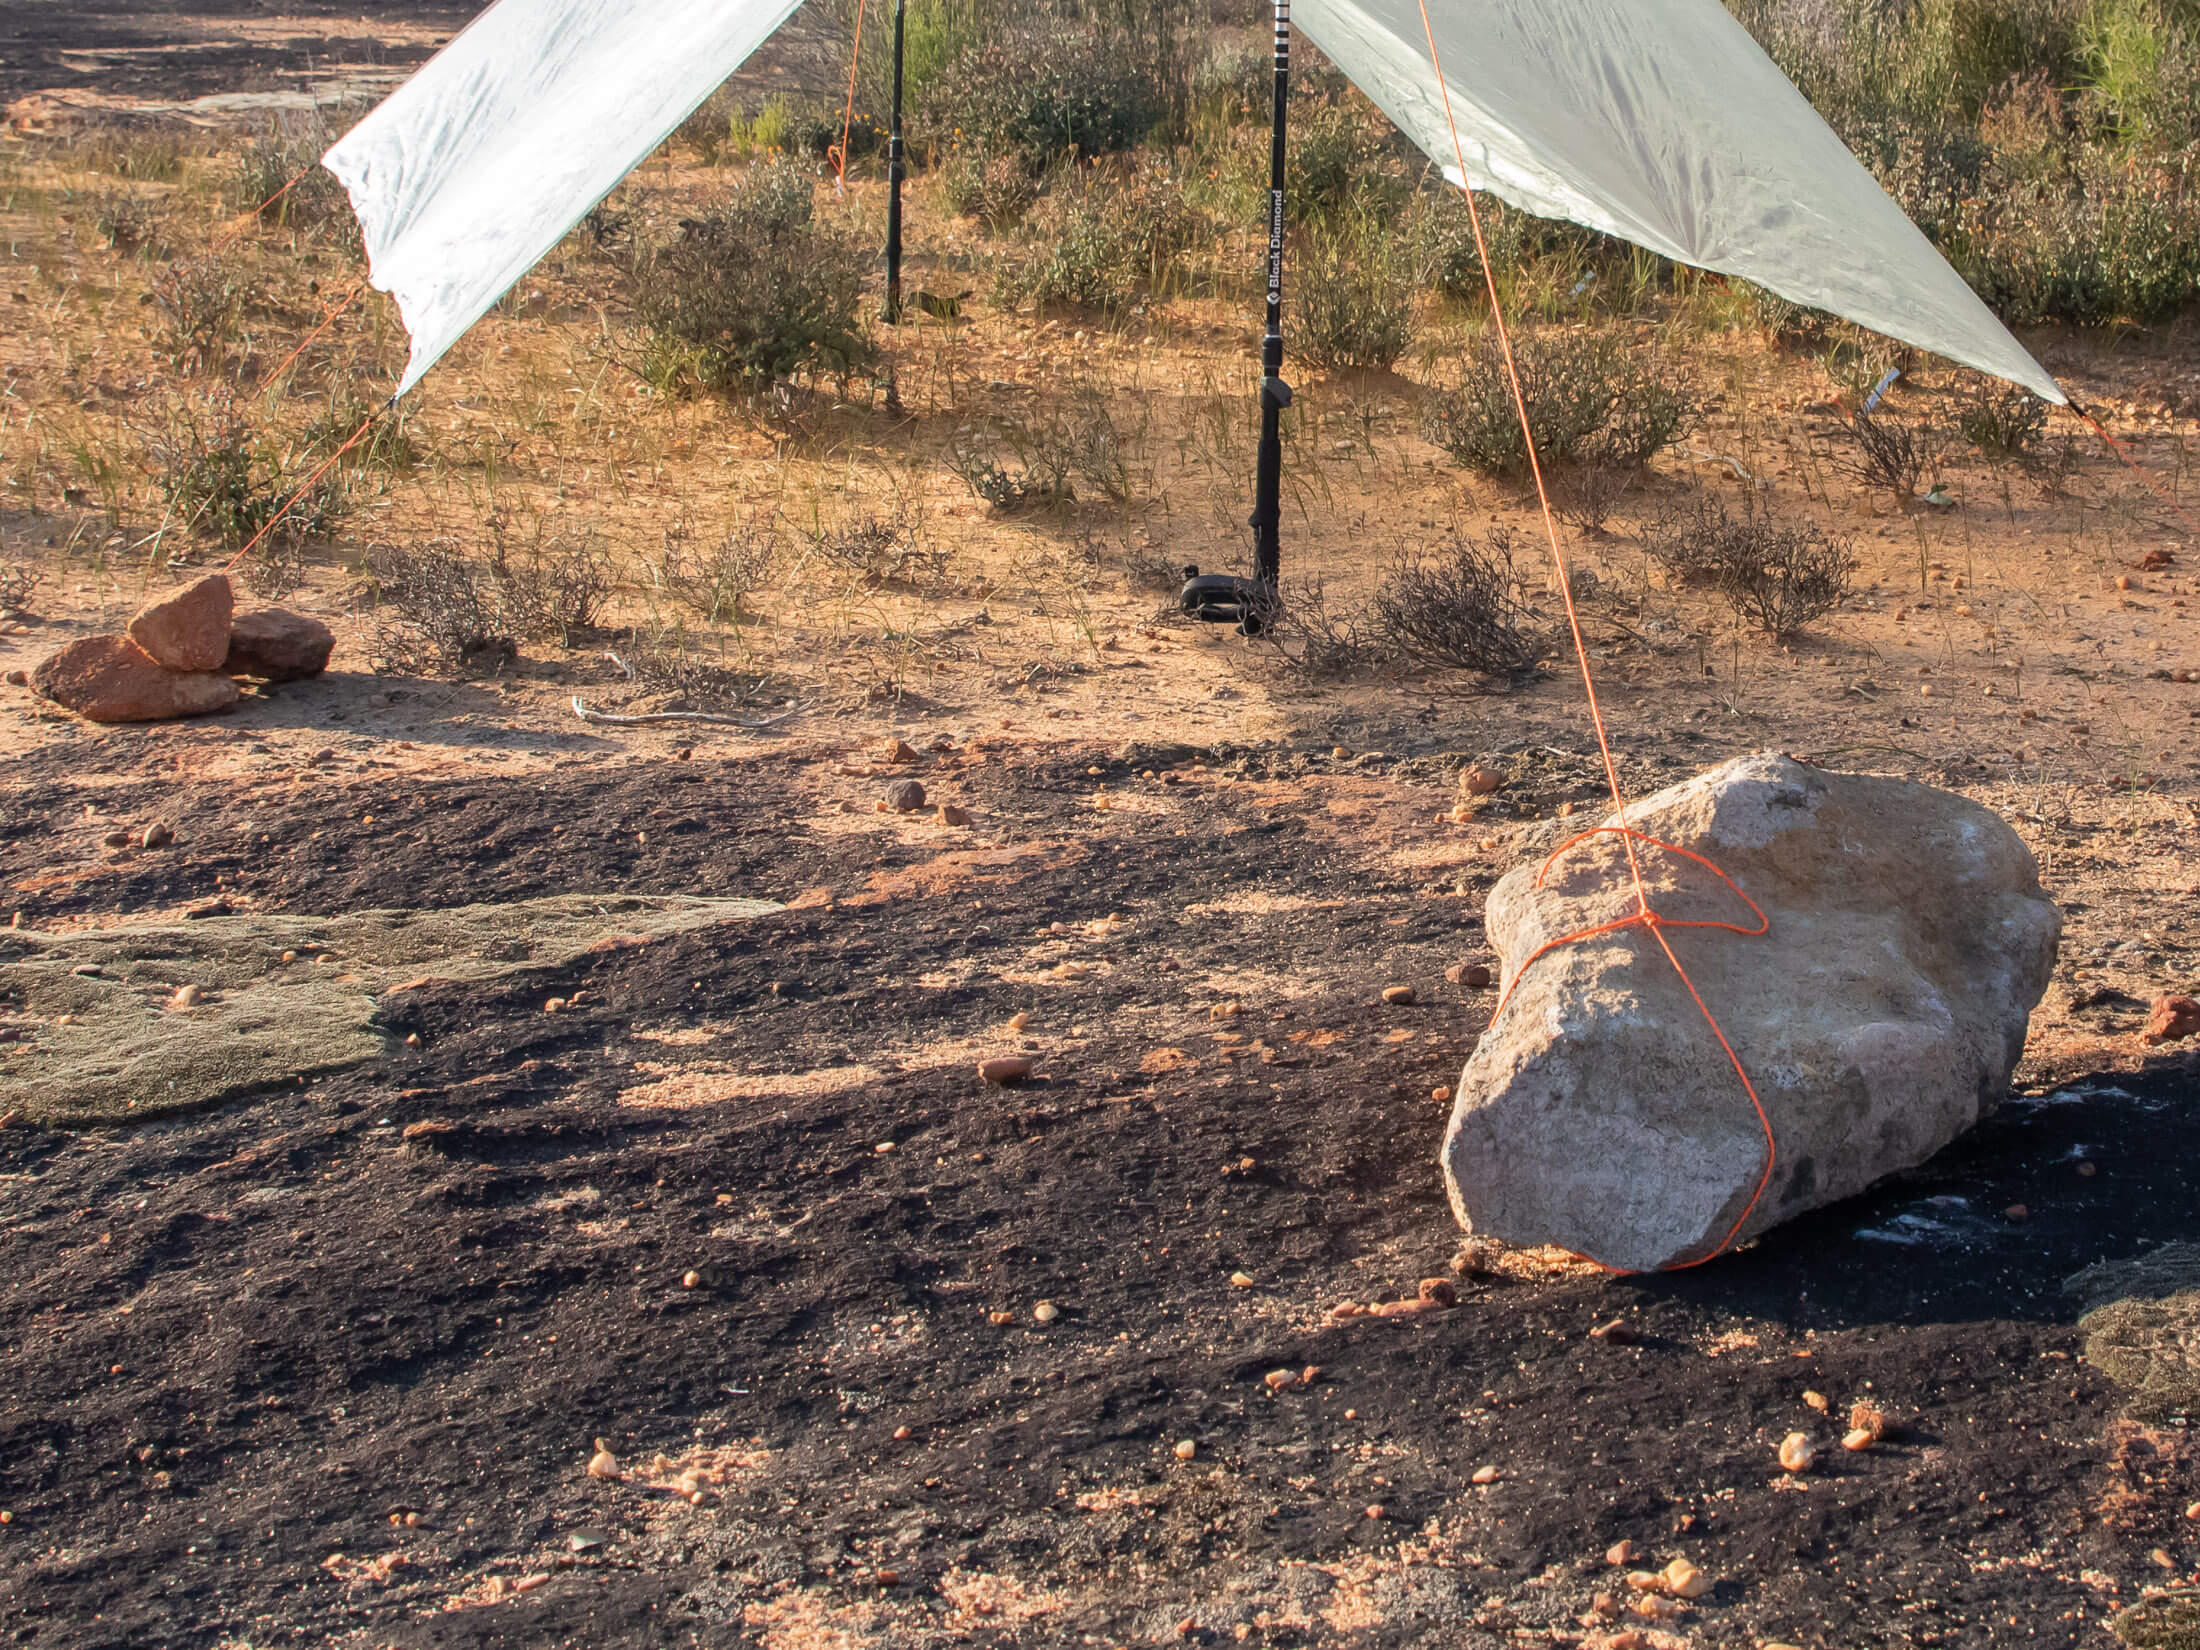
The ideal rock is one that is large enough to provide a solid anchor but not so heavy that you can’t carry it – being able to move it will give you options. You can also use several smaller rocks by tying your guyline to the biggest in the bunch and then packing the others on top of this. Either wrap the guyline around the girth of the rock (a bowline is best for this) or put a loop around a protrusion or feature in the rock.
Boulders and bedrock features
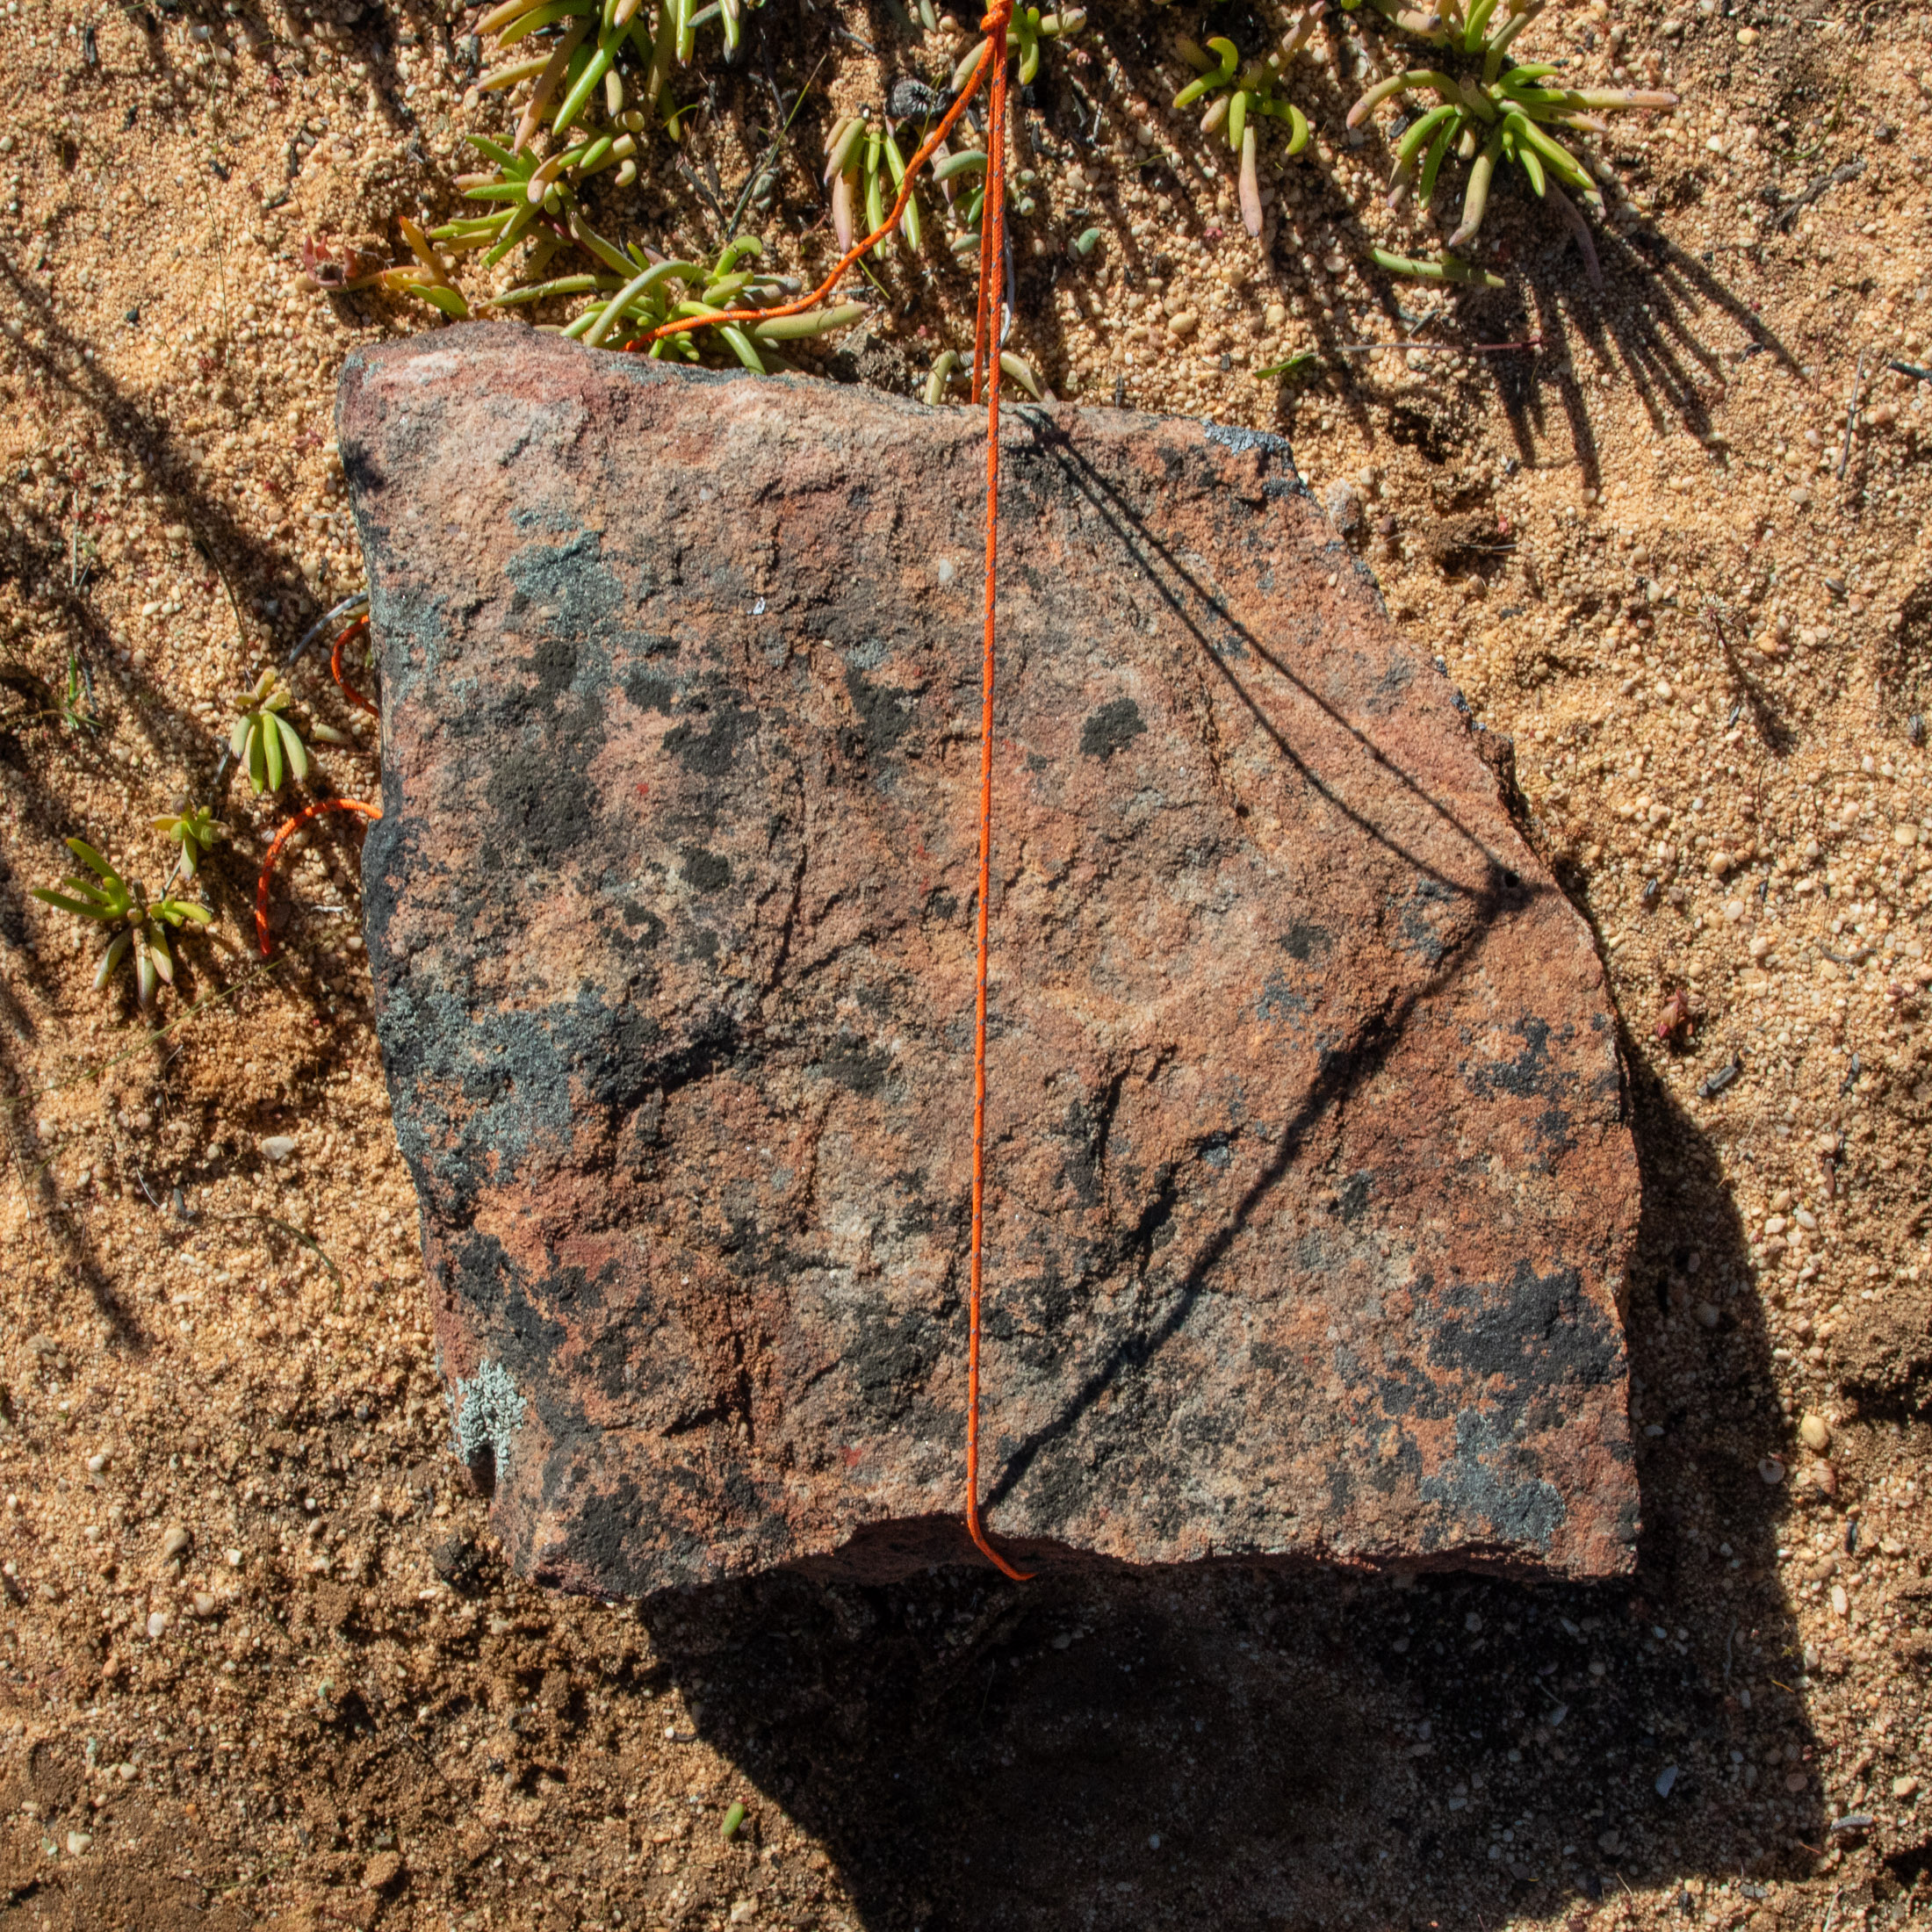
The pros and cons of using boulders and rock features are the same: They cannot be moved. So you don’t need to worry about their stability or strength, but then you do need to pitch your tarp or shelter close enough to these features for them to be useful. If you want to tension your tarp against such an anchor, secure your guyline to the rock first using a bowline and then attach the other end to the tarp tie-out with a truckers hitch.
Roots
Roots and the trunks of bushes and small trees make for great anchors, but like boulders, you have to plan your pitch around them. The easiest way to secure your tarp to vegetation is to use a long (not pre-tied) guyline and a bowline, but you can also secure a pre-tied guyline to a larks head and then attach this to your tie-out with some kind of clip (always useful to have).
Platform anchors
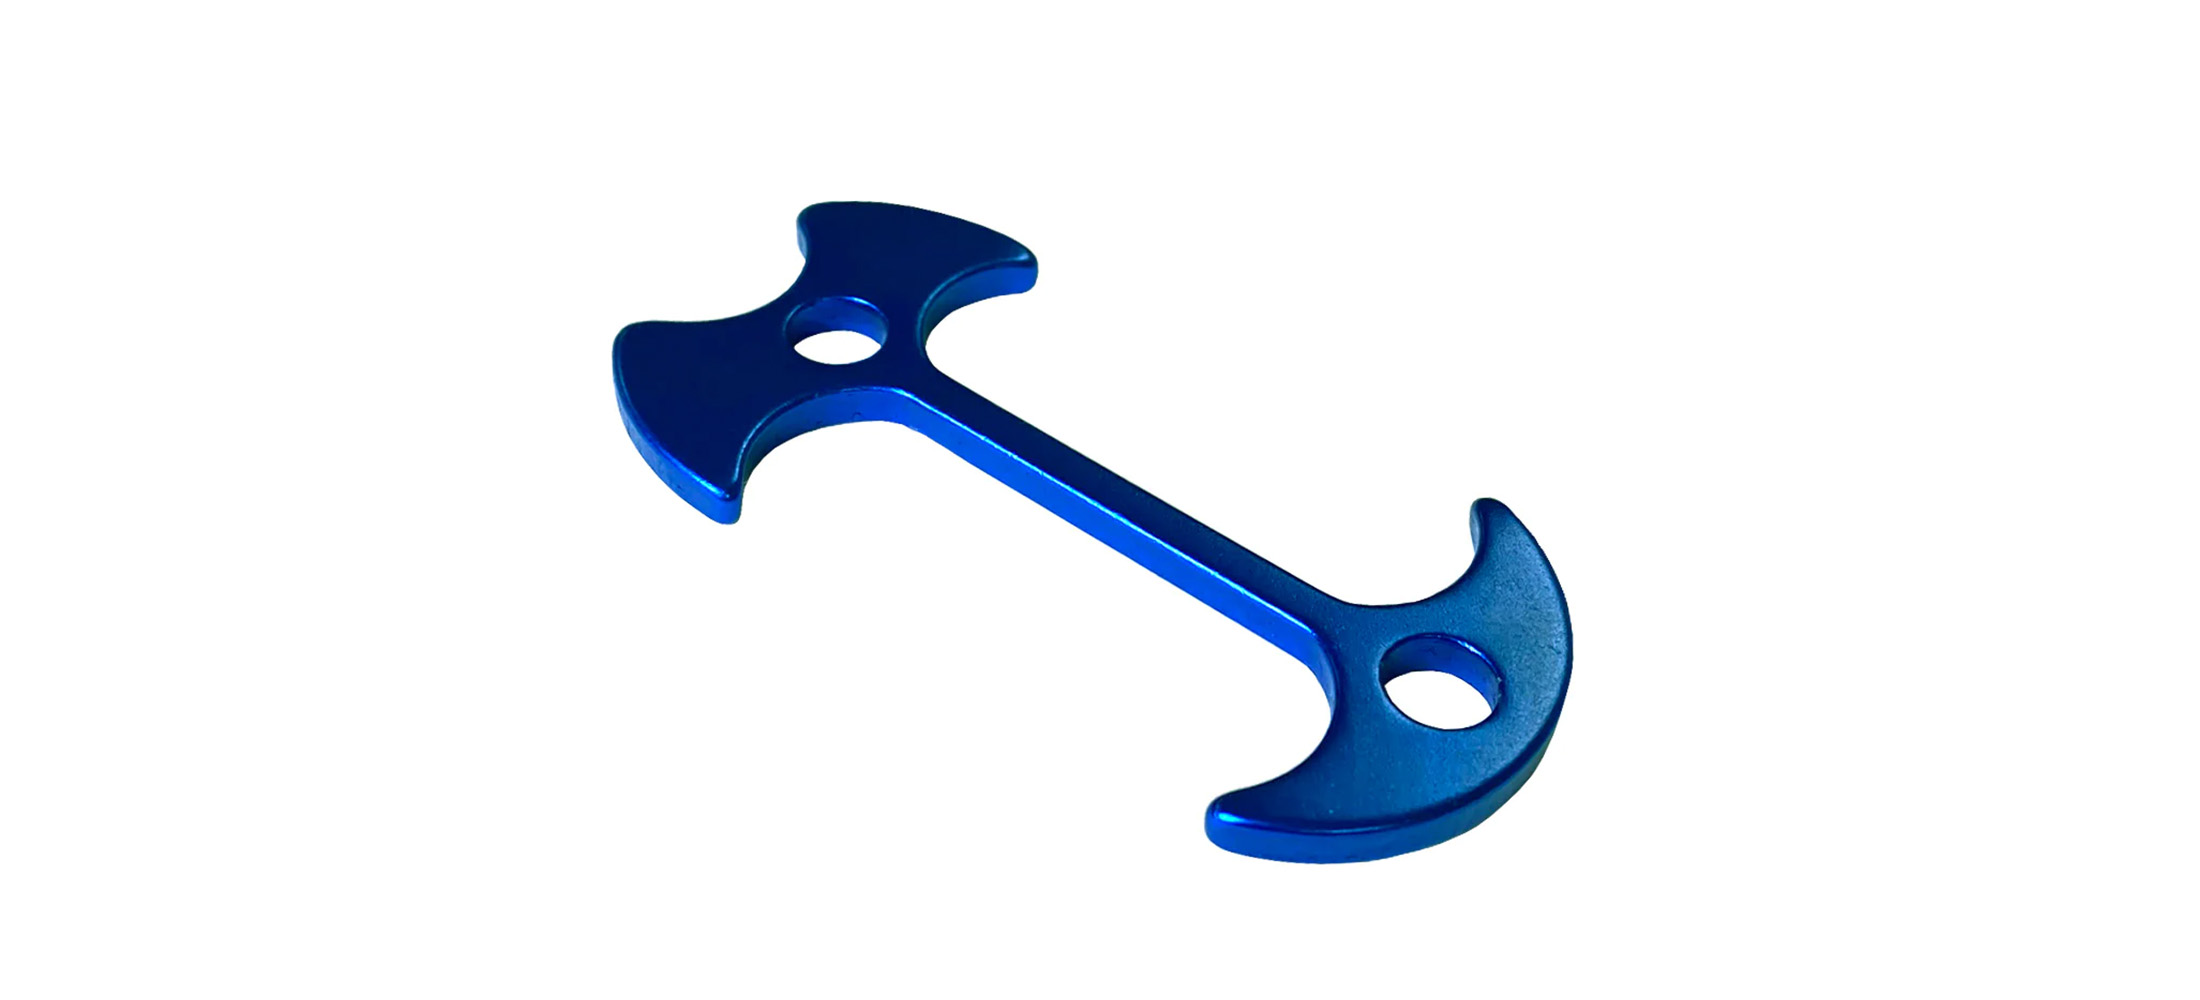
In some wilderness areas, campers are only permitted to pitch their tents or shelters on wooden platforms. This can present a challenge to campers using tarps and non-freestanding shelters which require the use of stakes just to keep them erect. At least one gear company has a solution to this challenge. A platform anchor is a fishbone shaped piece of metal designed to be slipped between two boards. With holes at both ends, platform anchors can be connected to a pre-tied guyline much like you would connect a guyline loop to a tie-out.
Ridgelines
A ridgeline is a length of cord rigged between two uprights. These supports can be pieces of gear like paddles or trekking poles, which need to be tensioned before they will stand upright, or, more commonly, they can be self-supporting features, like trees. Given that they are so much easier to use, trees are the more popular choice of upright when rigging a ridgeline. Once you’ve set up a ridgeline, you can either fold your tarp over it, or suspend your tarp underneath it. The advantage of the latter is that it allows a more secure connection to the ridgeline. And it’s not a complicated setup.
- Tie one end of your ridgeline cord to one of the two trees with a bowline.
- Wrap the other end of the cord around the second tree and secure it in place with a trucker’s hitch.
- Attach your prusik loops to either end of the ridgeline cord.
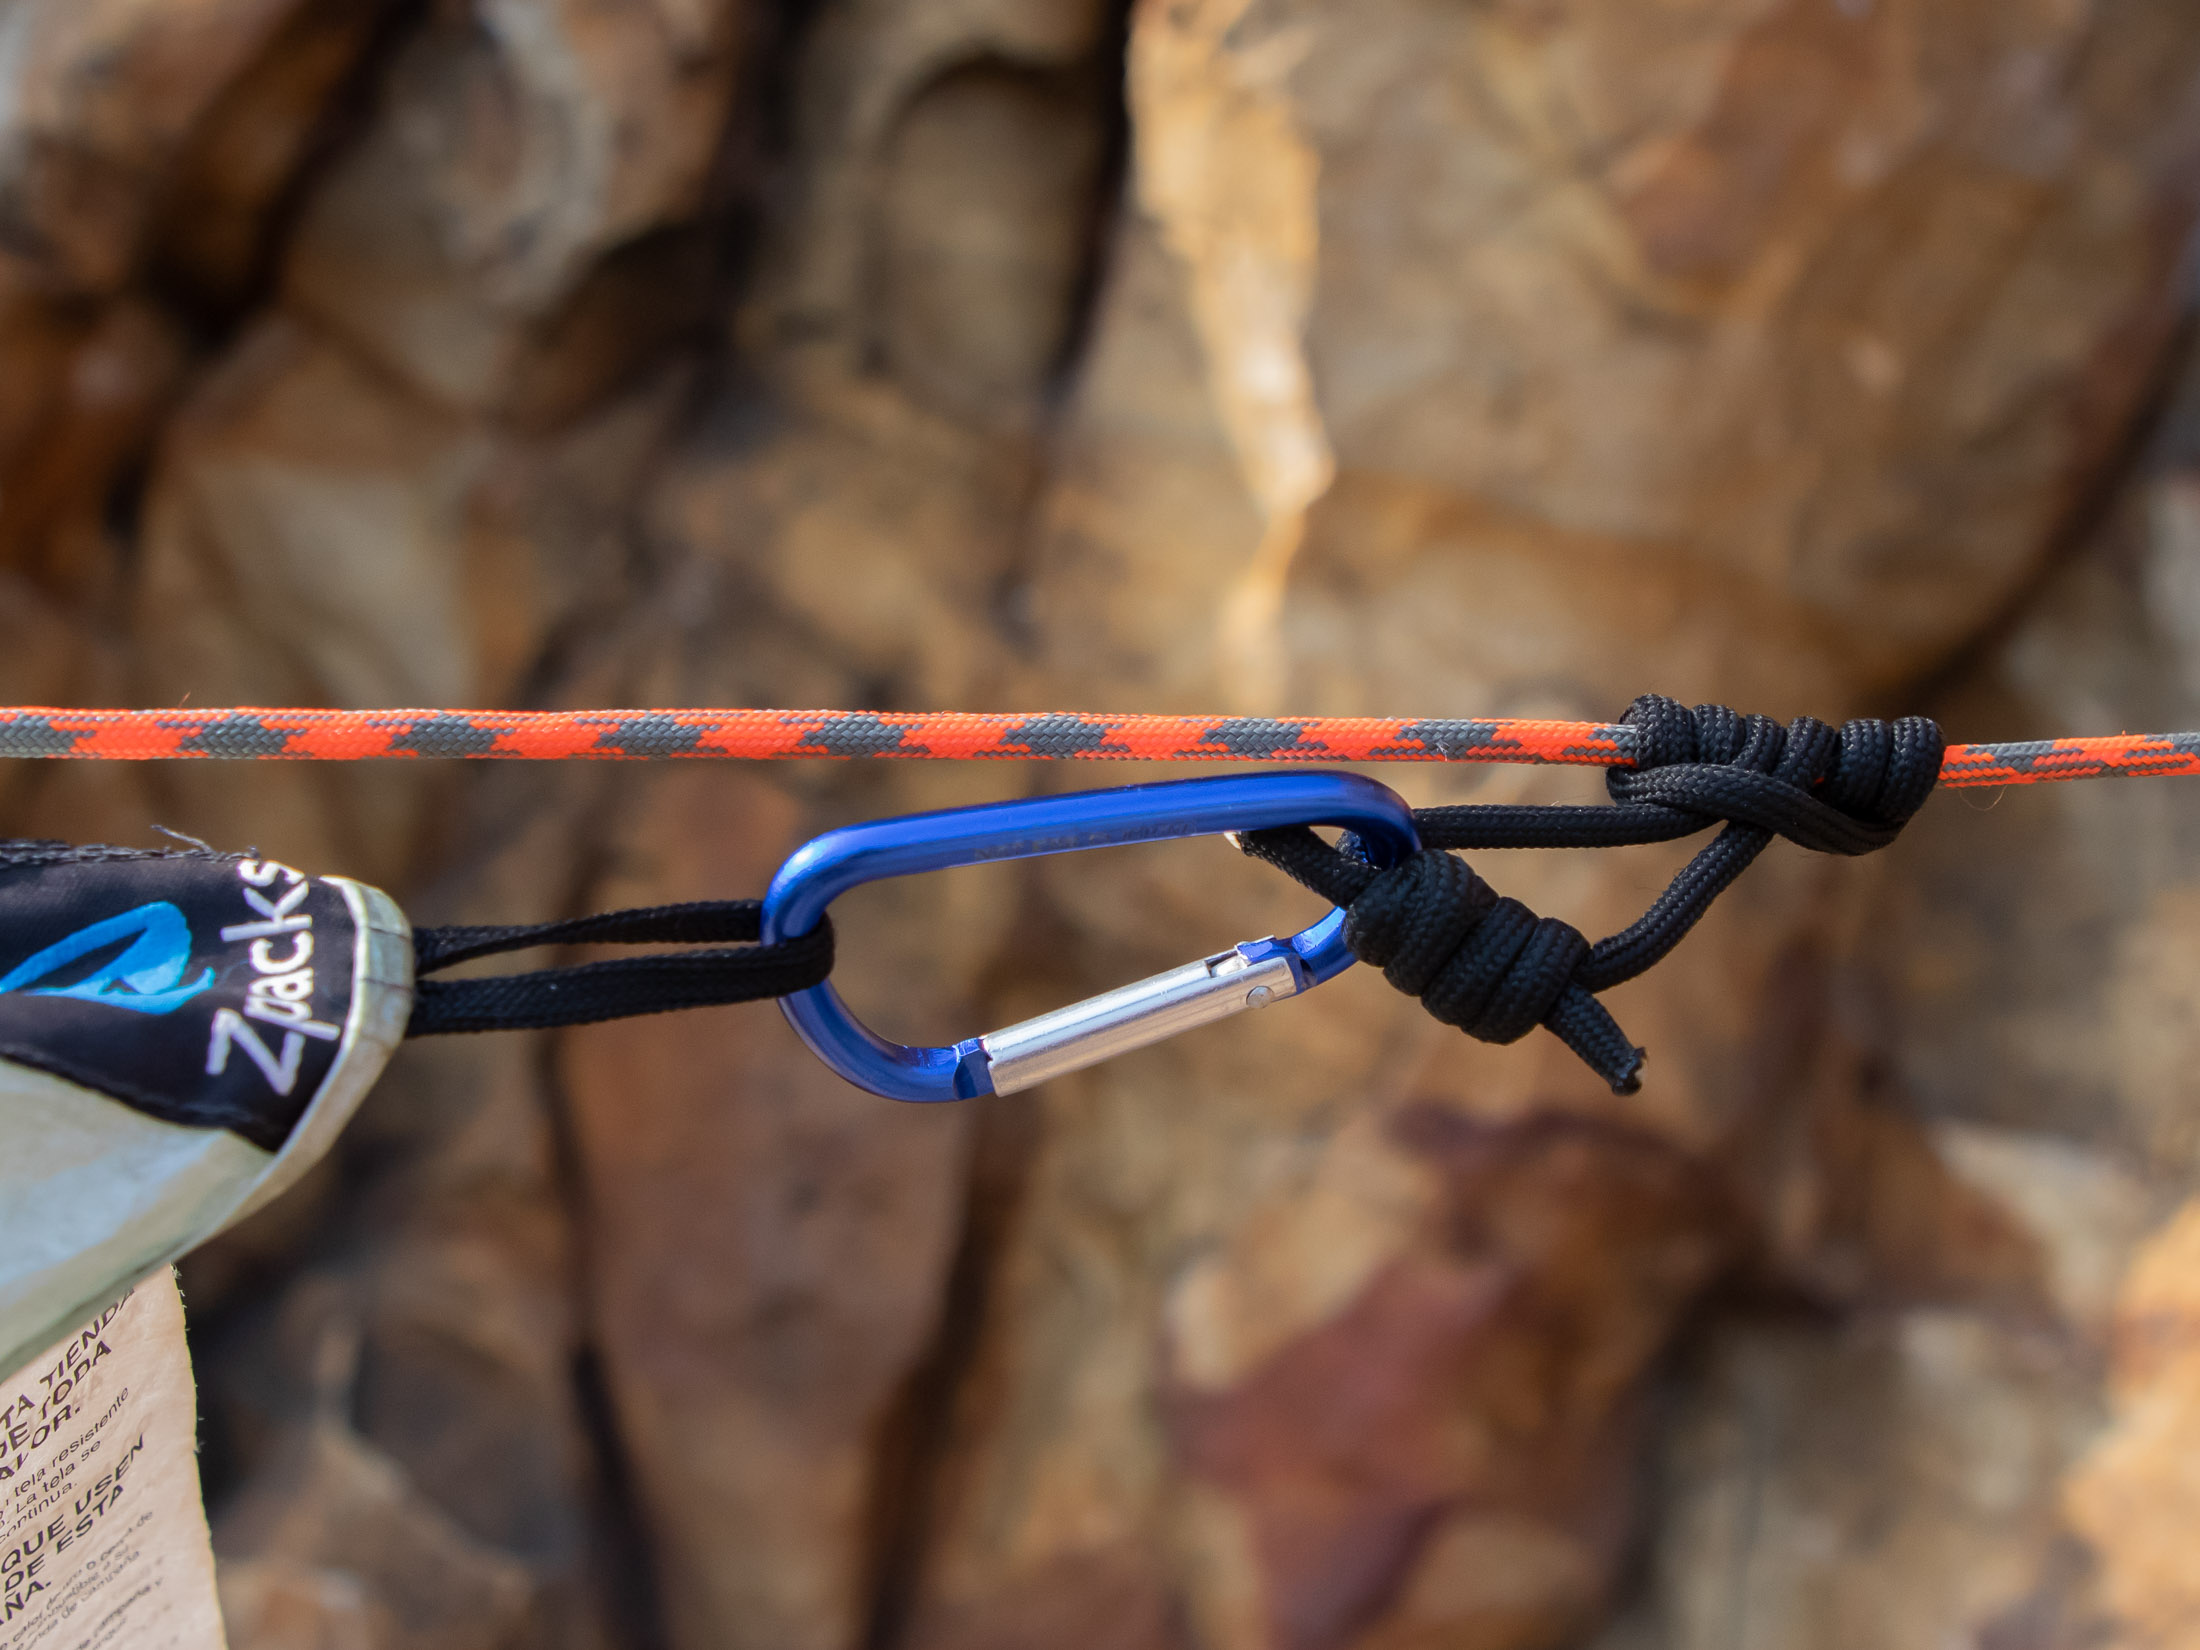
You now only need to clip your tarp’s tie-outs to the purisk loops using connecting hardware and then adjust their position on the ridgeline (they will slide when loosened) to ensure a taut pitch.
Get out there
The best way to hone your tarp rigging skills is to get out there and put them to work. There’s no better way to hone your outdoor skills than to spend time in the field. That said, if it’s further instruction you’re after, this site has many more how-to articles filled with pointers, practical tips, and valuable insights. This article was actually just one of four that make up a series about tarps. If you haven’t read my articles on tarp camping, tarp configurations, or tarp choice, you might want to read these next.
