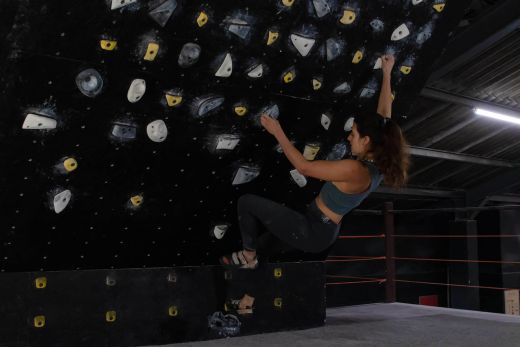
For those climbing in the V5 to V7 range, board training is an effective way to train the strength and skills needed to tackle steeper and more powerful climbs. Whereas hangboarding is great for isolating forearm strength and bouldering is best for training all round strength and skill simultaneously, board training is the most effective exercise for focussing on the trifecta of contact strength, upper body power, and core – the abilities most integral to climbing hard, steep boulders and routes. In this, the fourth article in my series on training for climbing, I offer an introduction to this valuable training tool by looking at the different types of board, how to train different abilities on them, and how to avoid injury.
- Standardised walls
- Spray walls
- Systems walls
- Contact strength training
- Upper body power & strength training
- Core training
- Managing the risk of injury
- Board training intensity
- Setting problems on a board
Standardised walls
Standardised walls like the MoonBoard, Kilter Board and Tension Board are a good choice if you want to train on problems of a certain difficulty or don’t want to spend time setting your own problems. You only need to consult the library of problems for that system and choose those that will help you meet your training goals. The MoonBoard is the original here in that it was the first system that used a specified layout – one where each hold has a specified location and orientation on the board. This level of specification makes it possible to set and climb the same problems as your friends and even pro climbers. But more importantly it allows you to climb problems that have been set with a certain training objective in mind.
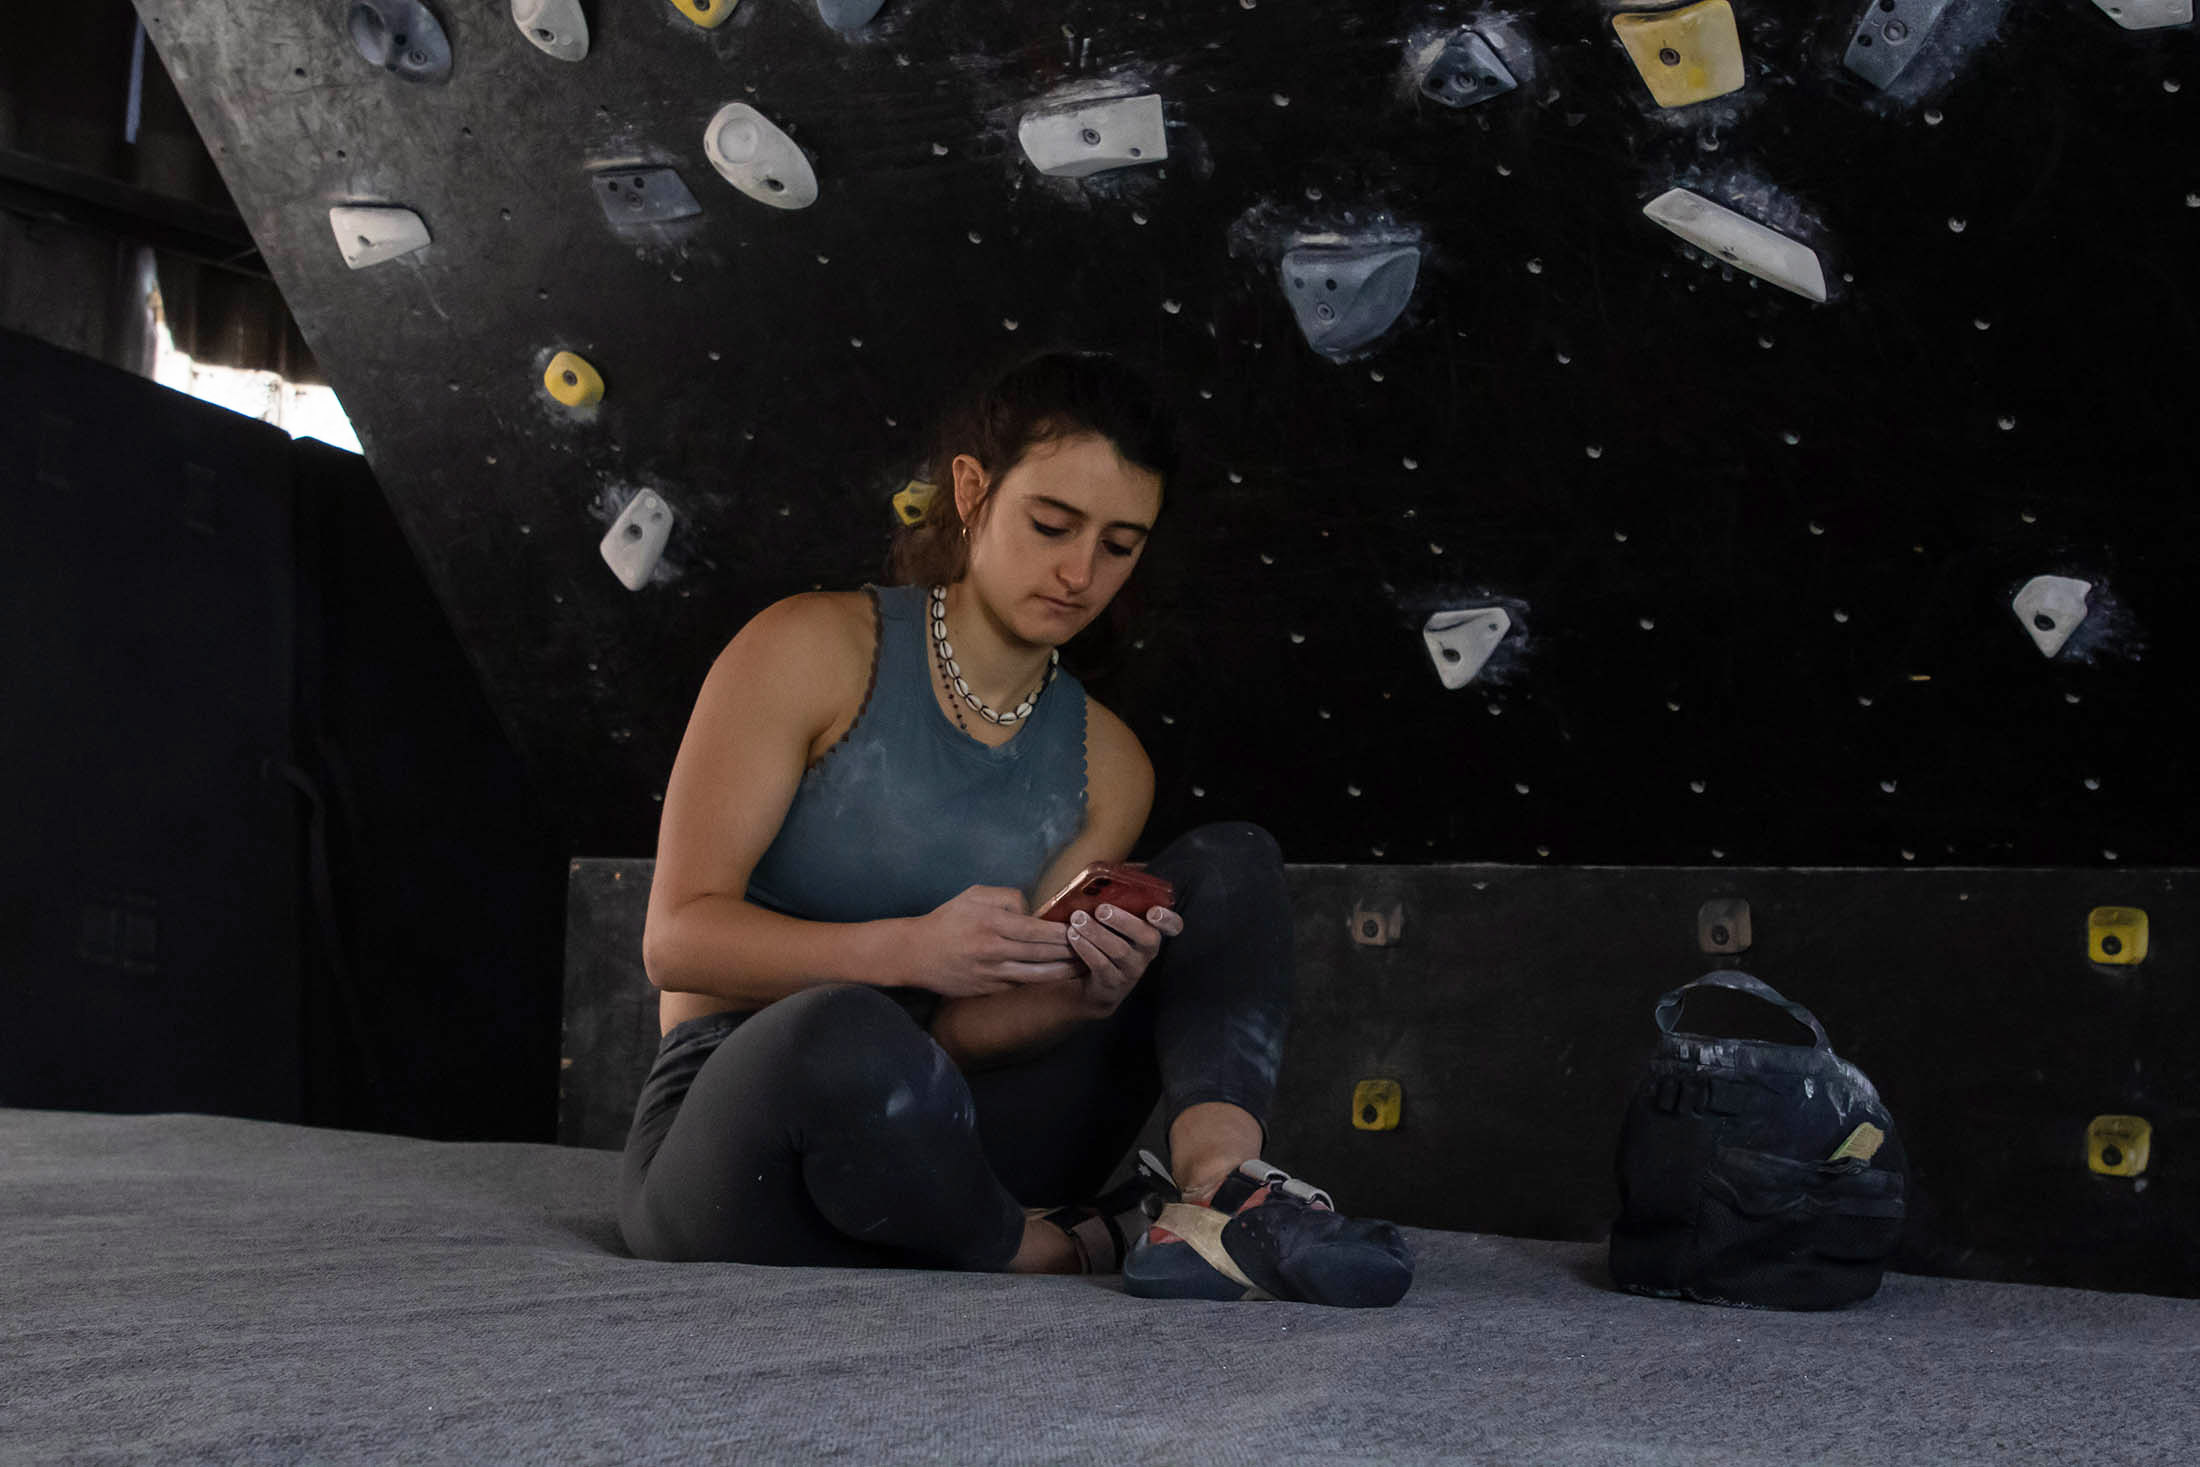
Since the creation of the original MoonBoard, standardised walls have gone high tech, and all three systems now have an app that can be used to browse, filter, and select problems that are then illuminated on the board (coloured LEDs indicate whether a hold is intended as a starting hold, finishing hold, foot-only hold, or hold for hands and feet). This ability to mark out a problem with the tap of a button is particularly useful for high volume training as it allows you to move quickly from one problem to the next – You don’t need to memorise a problem before getting on it. If this is your goal, it helps to create a problem playlist before you start your session. This feature allows you to plan a workout around a certain training focus (ie crimps) and cut down on the time between problems once your session starts.
Spray walls
A spray wall is simply a steep bouldering wall densely packed with climbing holds of various shapes and sizes. It doesn’t have any preset problems but rather leaves the business of route setting up to the climber. With so many holds, there’s an almost infinite number of sequences that you can set on a spray wall, making it a great wall on which to practise limit bouldering and set replica problems. With limit bouldering, the aim is to set your own problem, making it as hard as possible without making it impossible. To achieve this, you have to make small changes to each move until it is right at the limit of your ability. Every subsequent move is set the same way, until the sequence reaches the top of the wall.
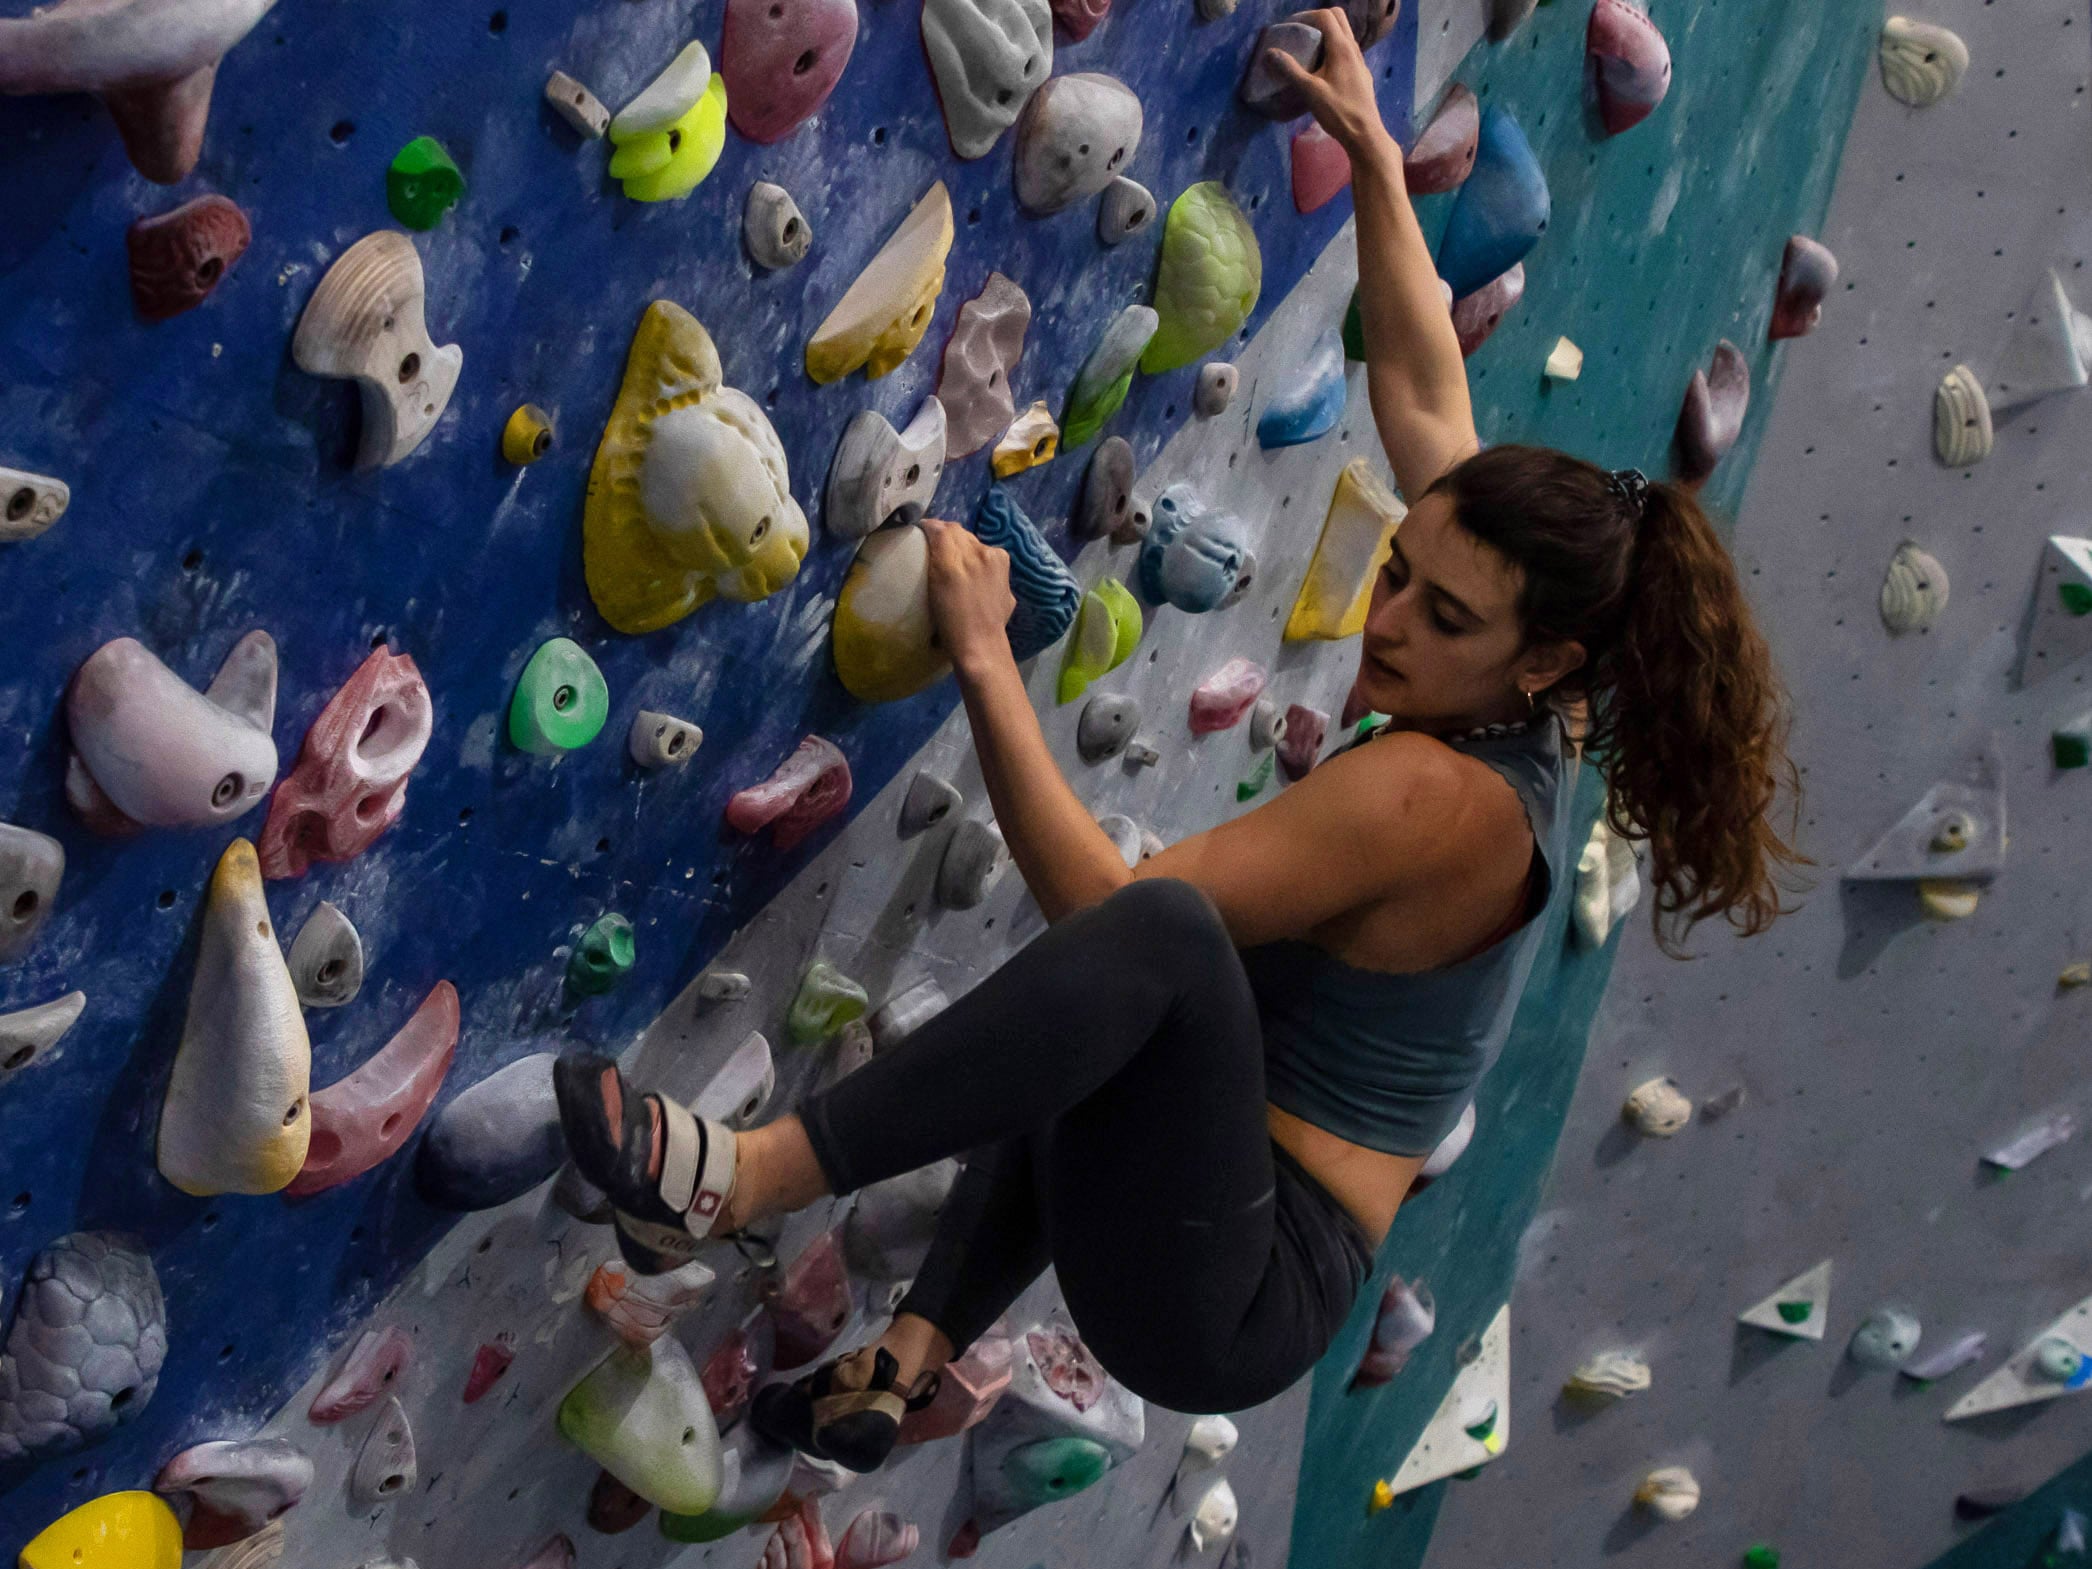
With replica training, the objective is even more focussed in that the idea is to find a combination of holds that simulates the crux sequence on a current project and then use the problem to train the coordination and strength needed to execute the moves on rock. If the available holds and the angle of the wall allow for it, you can actually set replicates for several crux sequences found on the same sport route and then combine these into a circuit (a popular training strategy for many pro climbers). Lastly, a spray wall will typically have larger holds than a MoonBoard, making it the better option for training big dynamic moves – something that is best done on a circuit of similarly themed problems (big moves, big holds, bad feet).
Systems walls
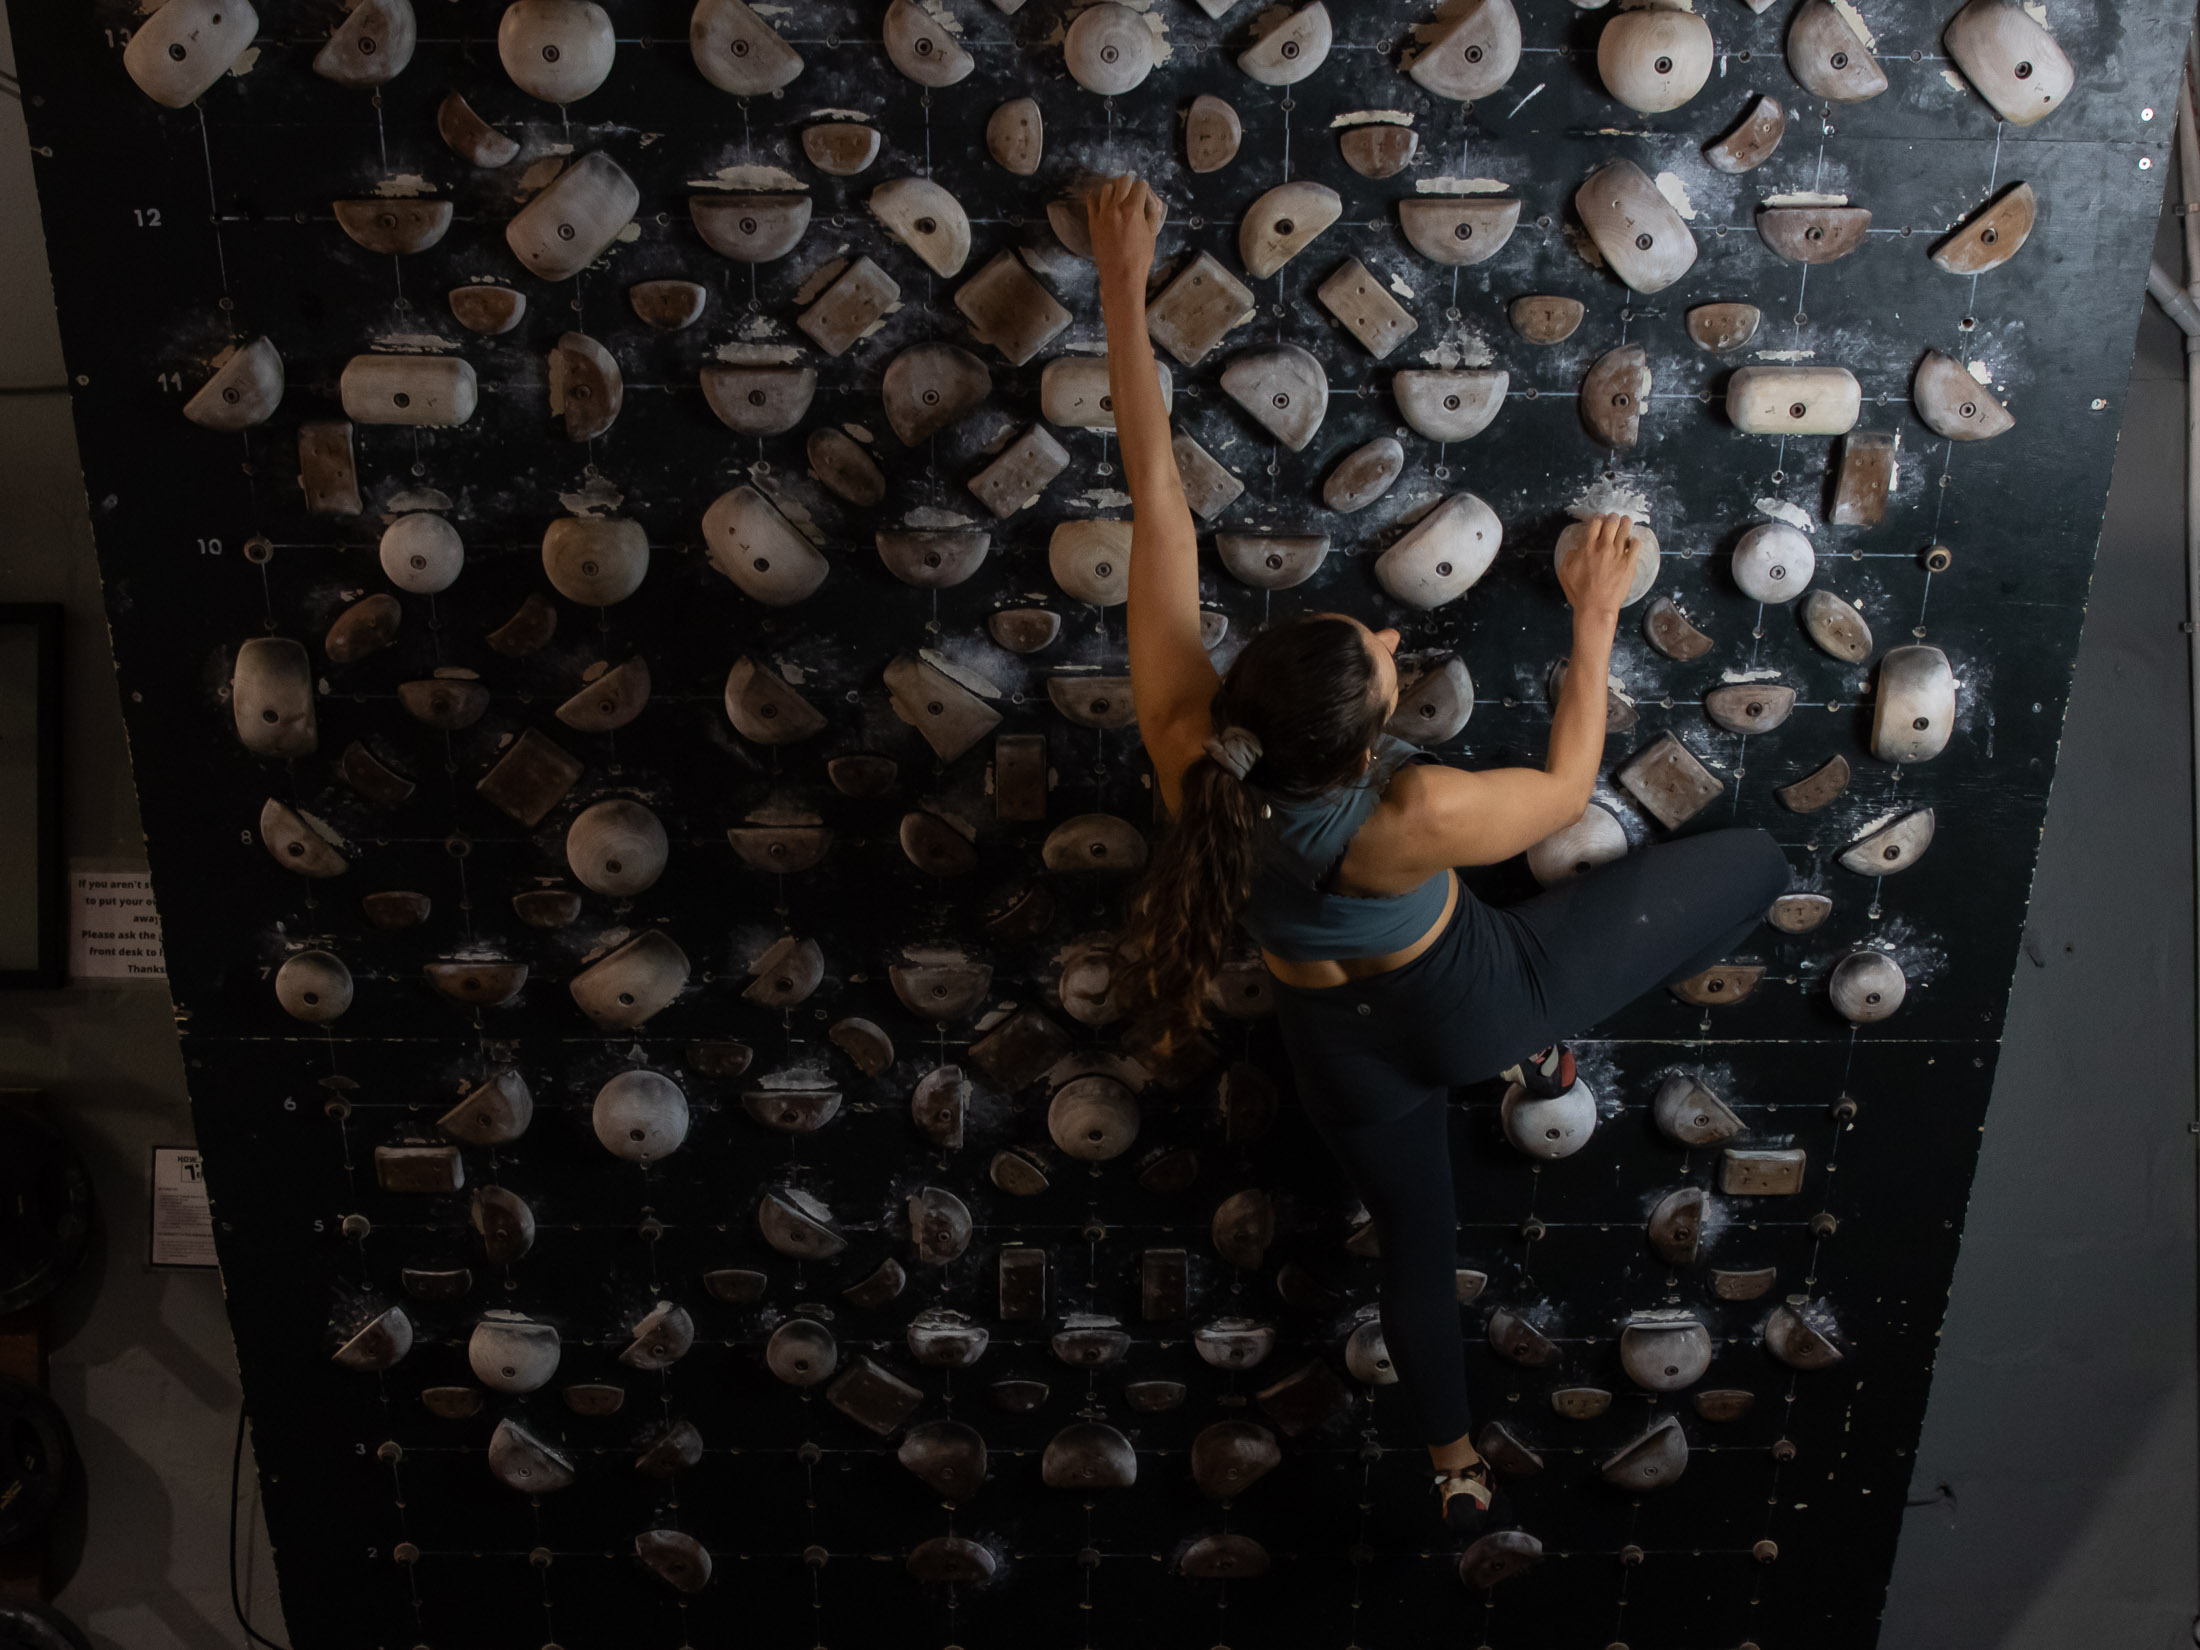
A systems board is an overhung wall fitted with a dozen pairs of matching holds. This type of setup allows you to climb mirrored sequences by first leading with the one hand and then leading with the other. The advantage of such a workout is that it works the relevant muscles on both sides of your body equally, something that is particularly useful when training weak-arm positions – like gastons or underclings – and when training grip strength for certain types of holds – like edges, pockets, slopers or pinches (a grip that is difficult to train on a hangboard). Likewise, you can better hone recently acquired movement skills when you can practise them by first reaching with one hand and then reaching with the other.
Contact strength training
Like bouldering and hangboarding, board training is very effective at building allround grip strength, but it’s especially effective at training contact strength (rate of force development). Whereas grip strength describes the maximum force with which you can grip a hold, contract strength is the ability to grab a hold with force on contact. Think of how you might latch a small hold that you’ve reached using a dynamic move. As soon as your fingertips make contact with the hold, you bear down on it to counter the sudden increase in load as your full weight is borne by your forearms. Your fingers might uncurl slightly as the load peaks, but then as you become established on the hold, you adjust your grip to a more mechanically strong position. It’s this ability that you develop in training contact strength.
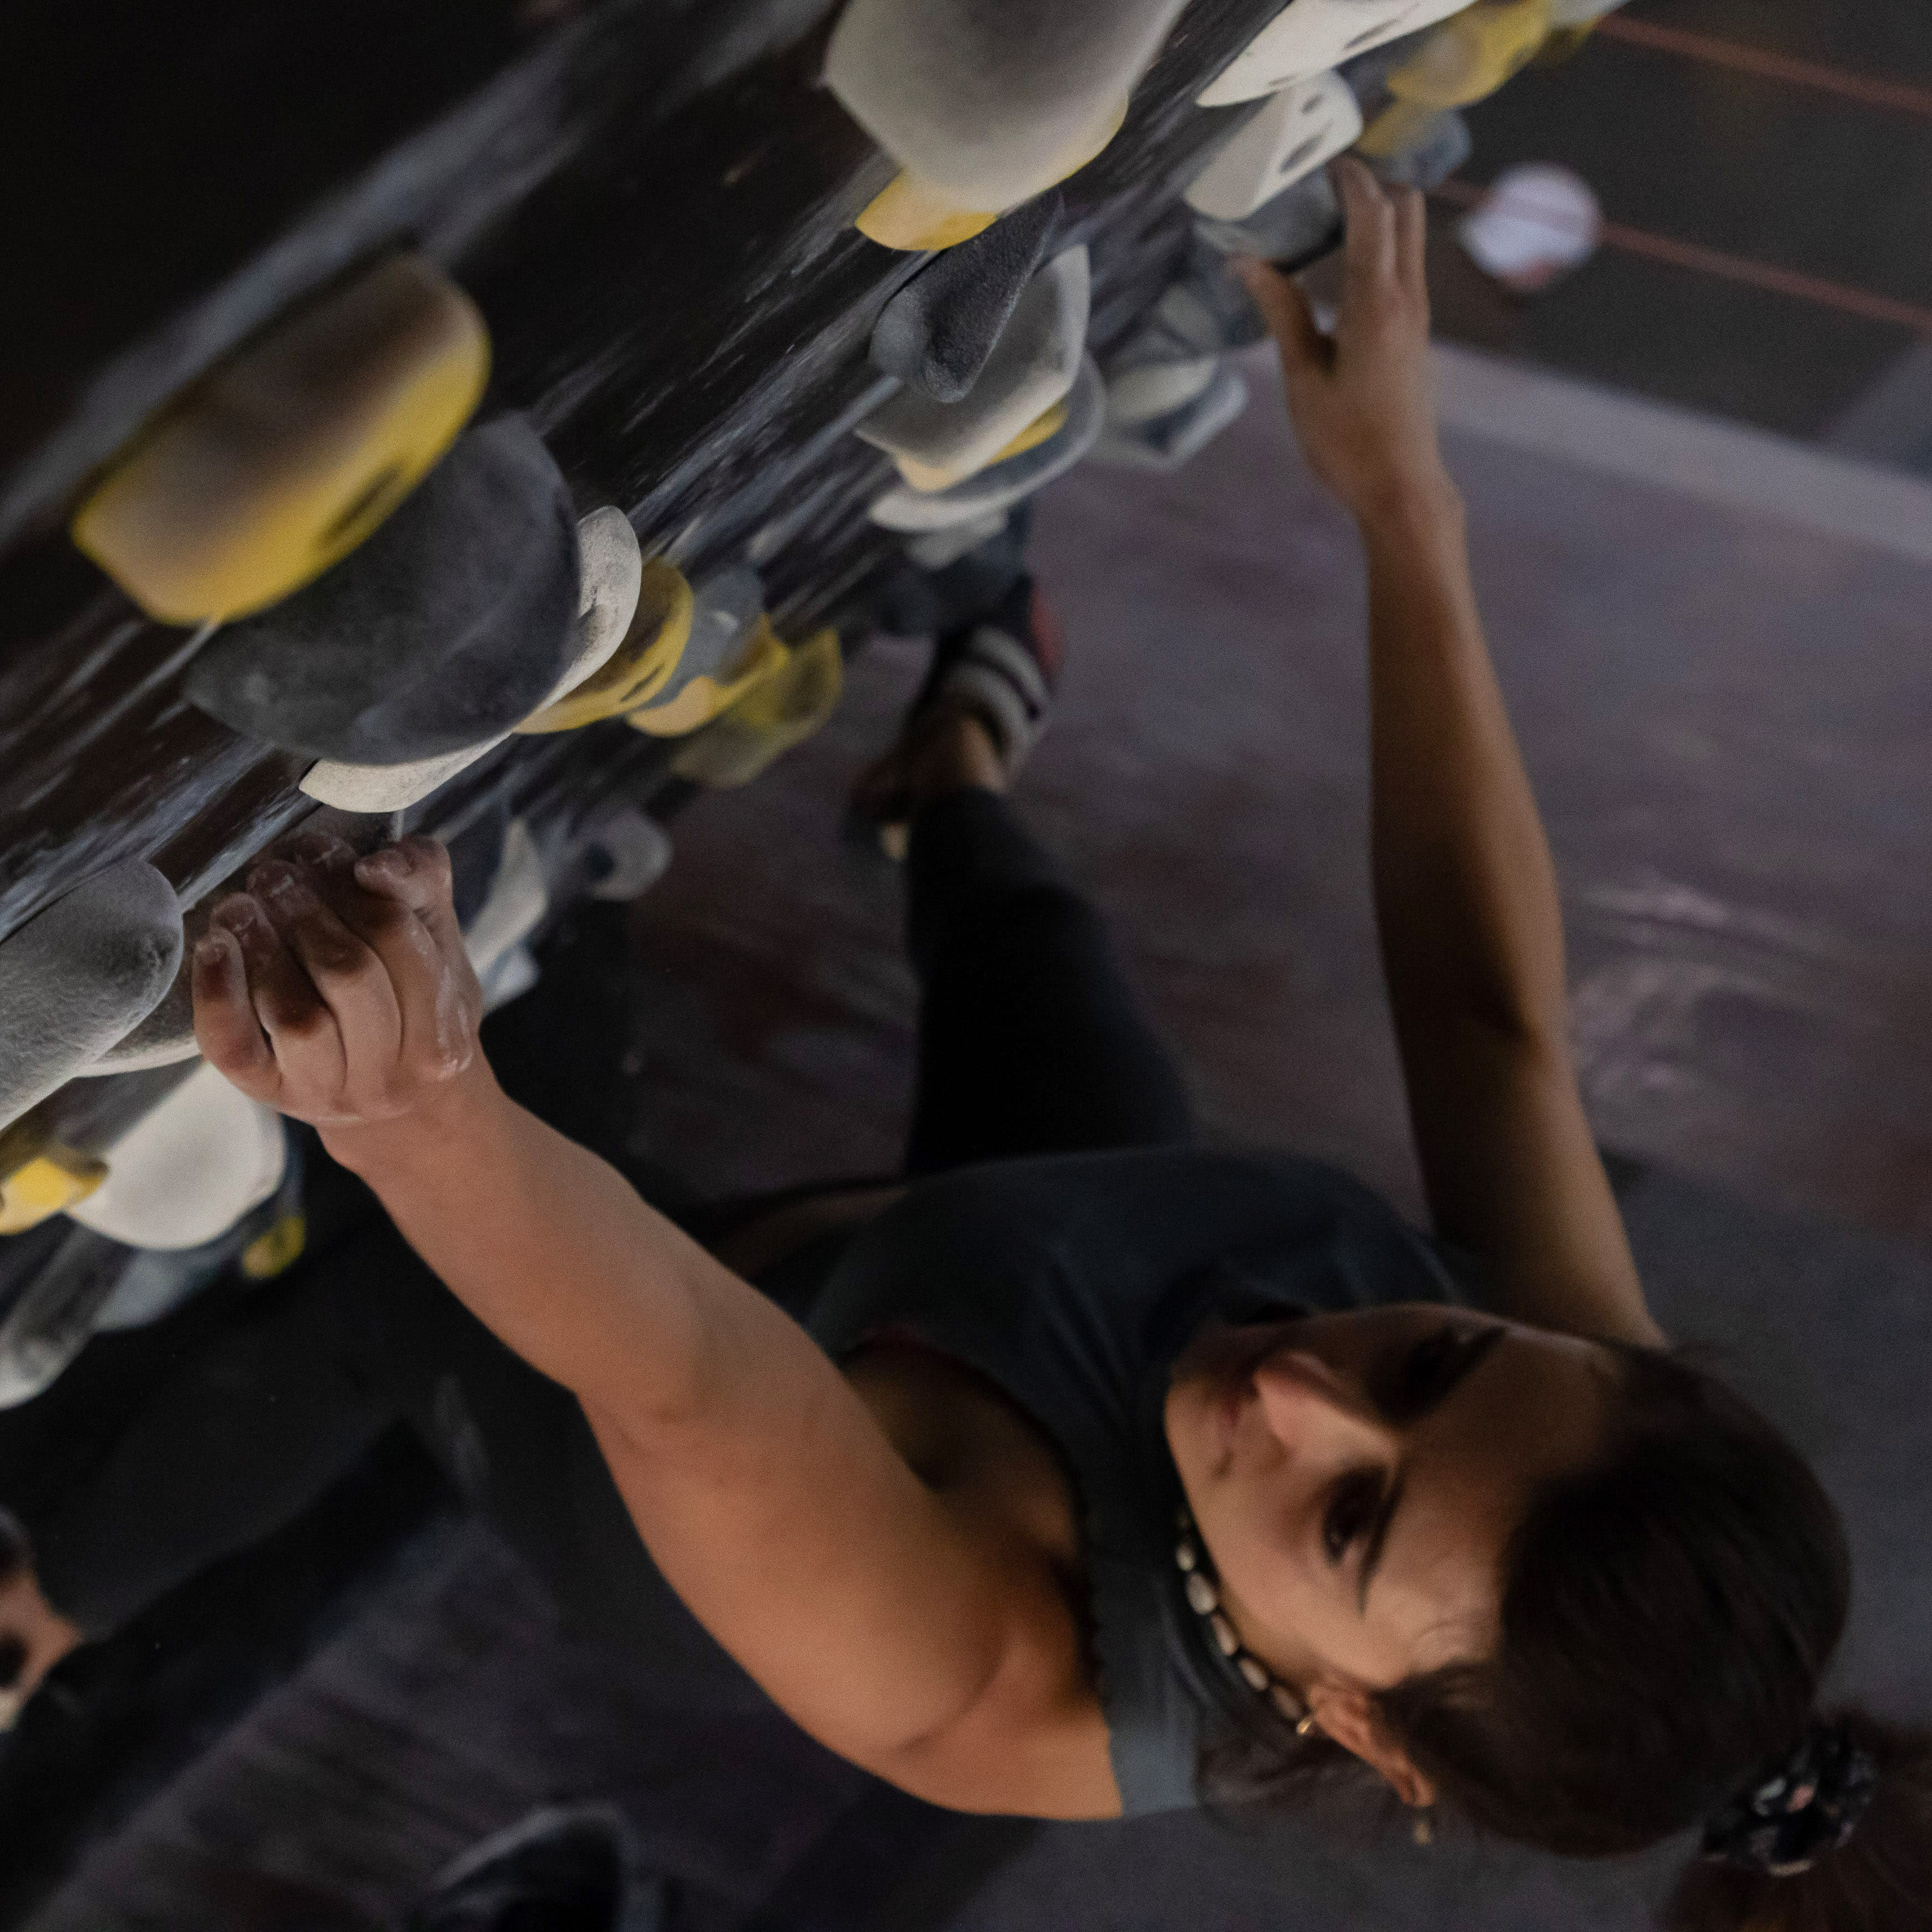
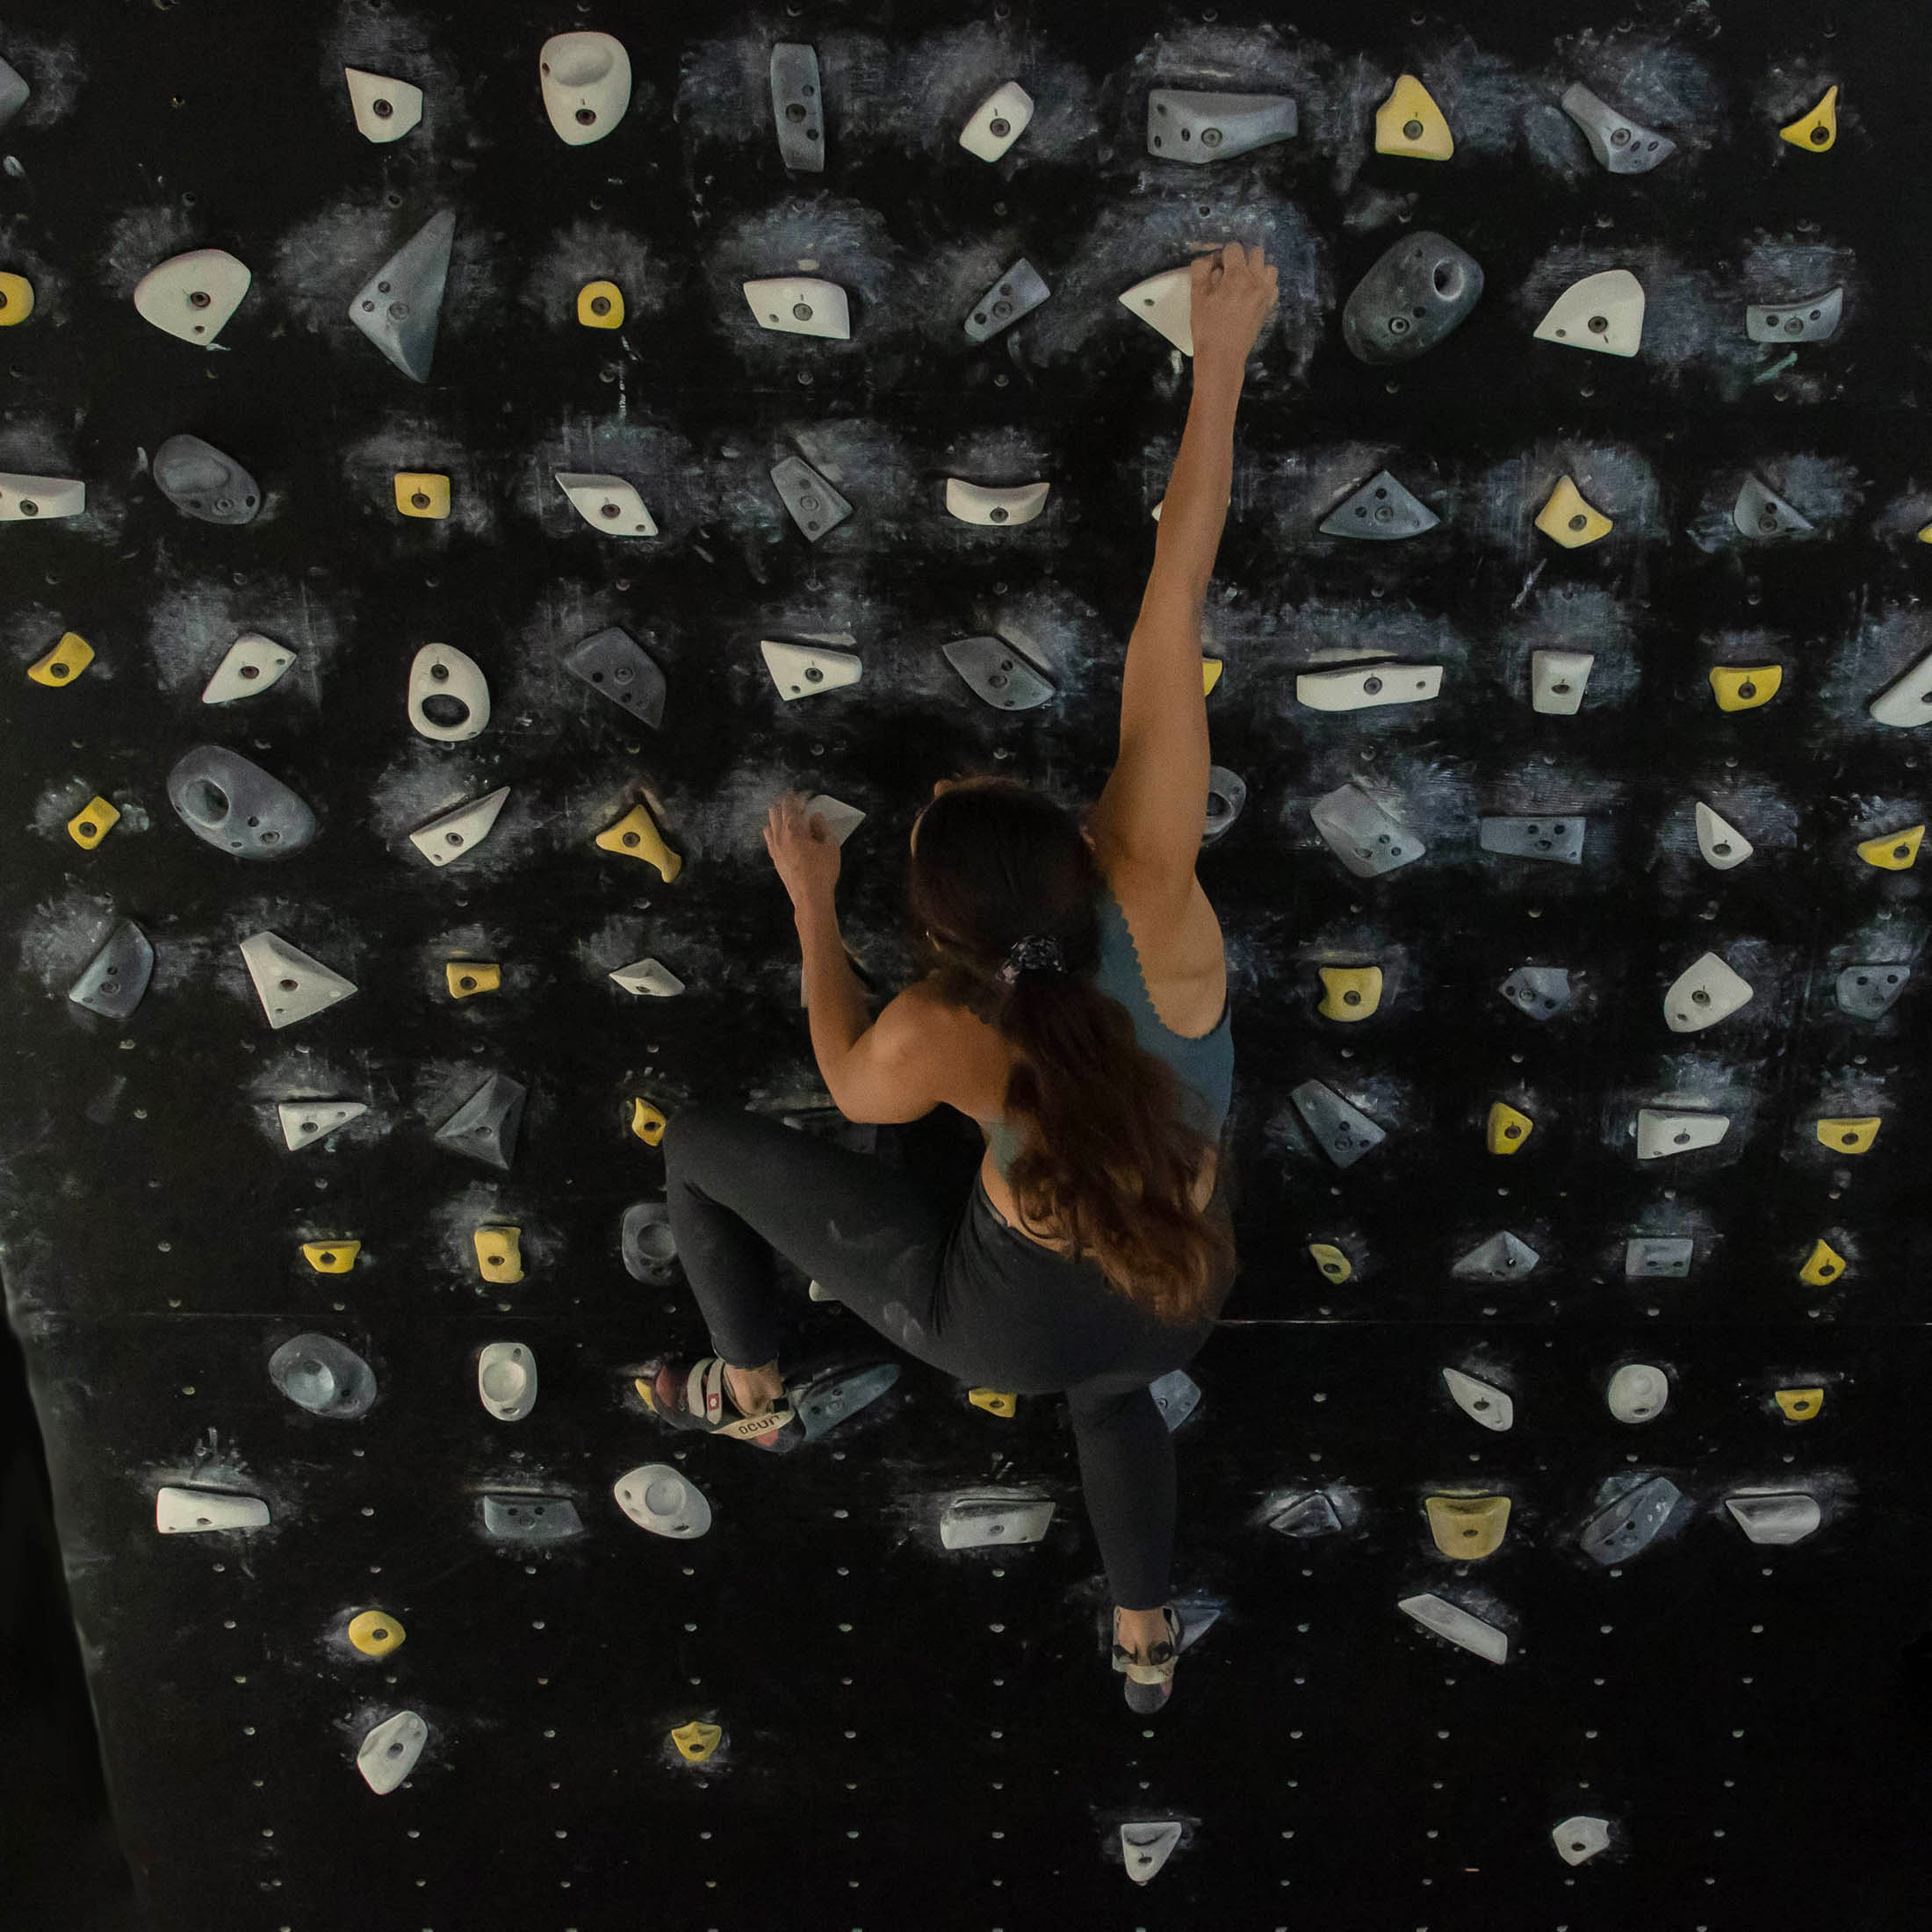
What makes the likes of the MoonBoard so suitable for training contact strength is the angle of the wall and the size of the holds. When the wall is steep and the holds are small or awkwardly oriented, it’s very difficult to move statically between holds. Intermediate and even more advanced climbers have to make most moves at least semi-dynamically, which loads the fingers suddenly and thereby trains contact strength. In terms of exercises, there is actually no special way to train contact strength – climbing problems that involve dynamic moves to small-ish holds will train your fingers appropriately – but what is important is that you take decent rests (at least four minutes) between burns and that you stop when you start to become fatigued.
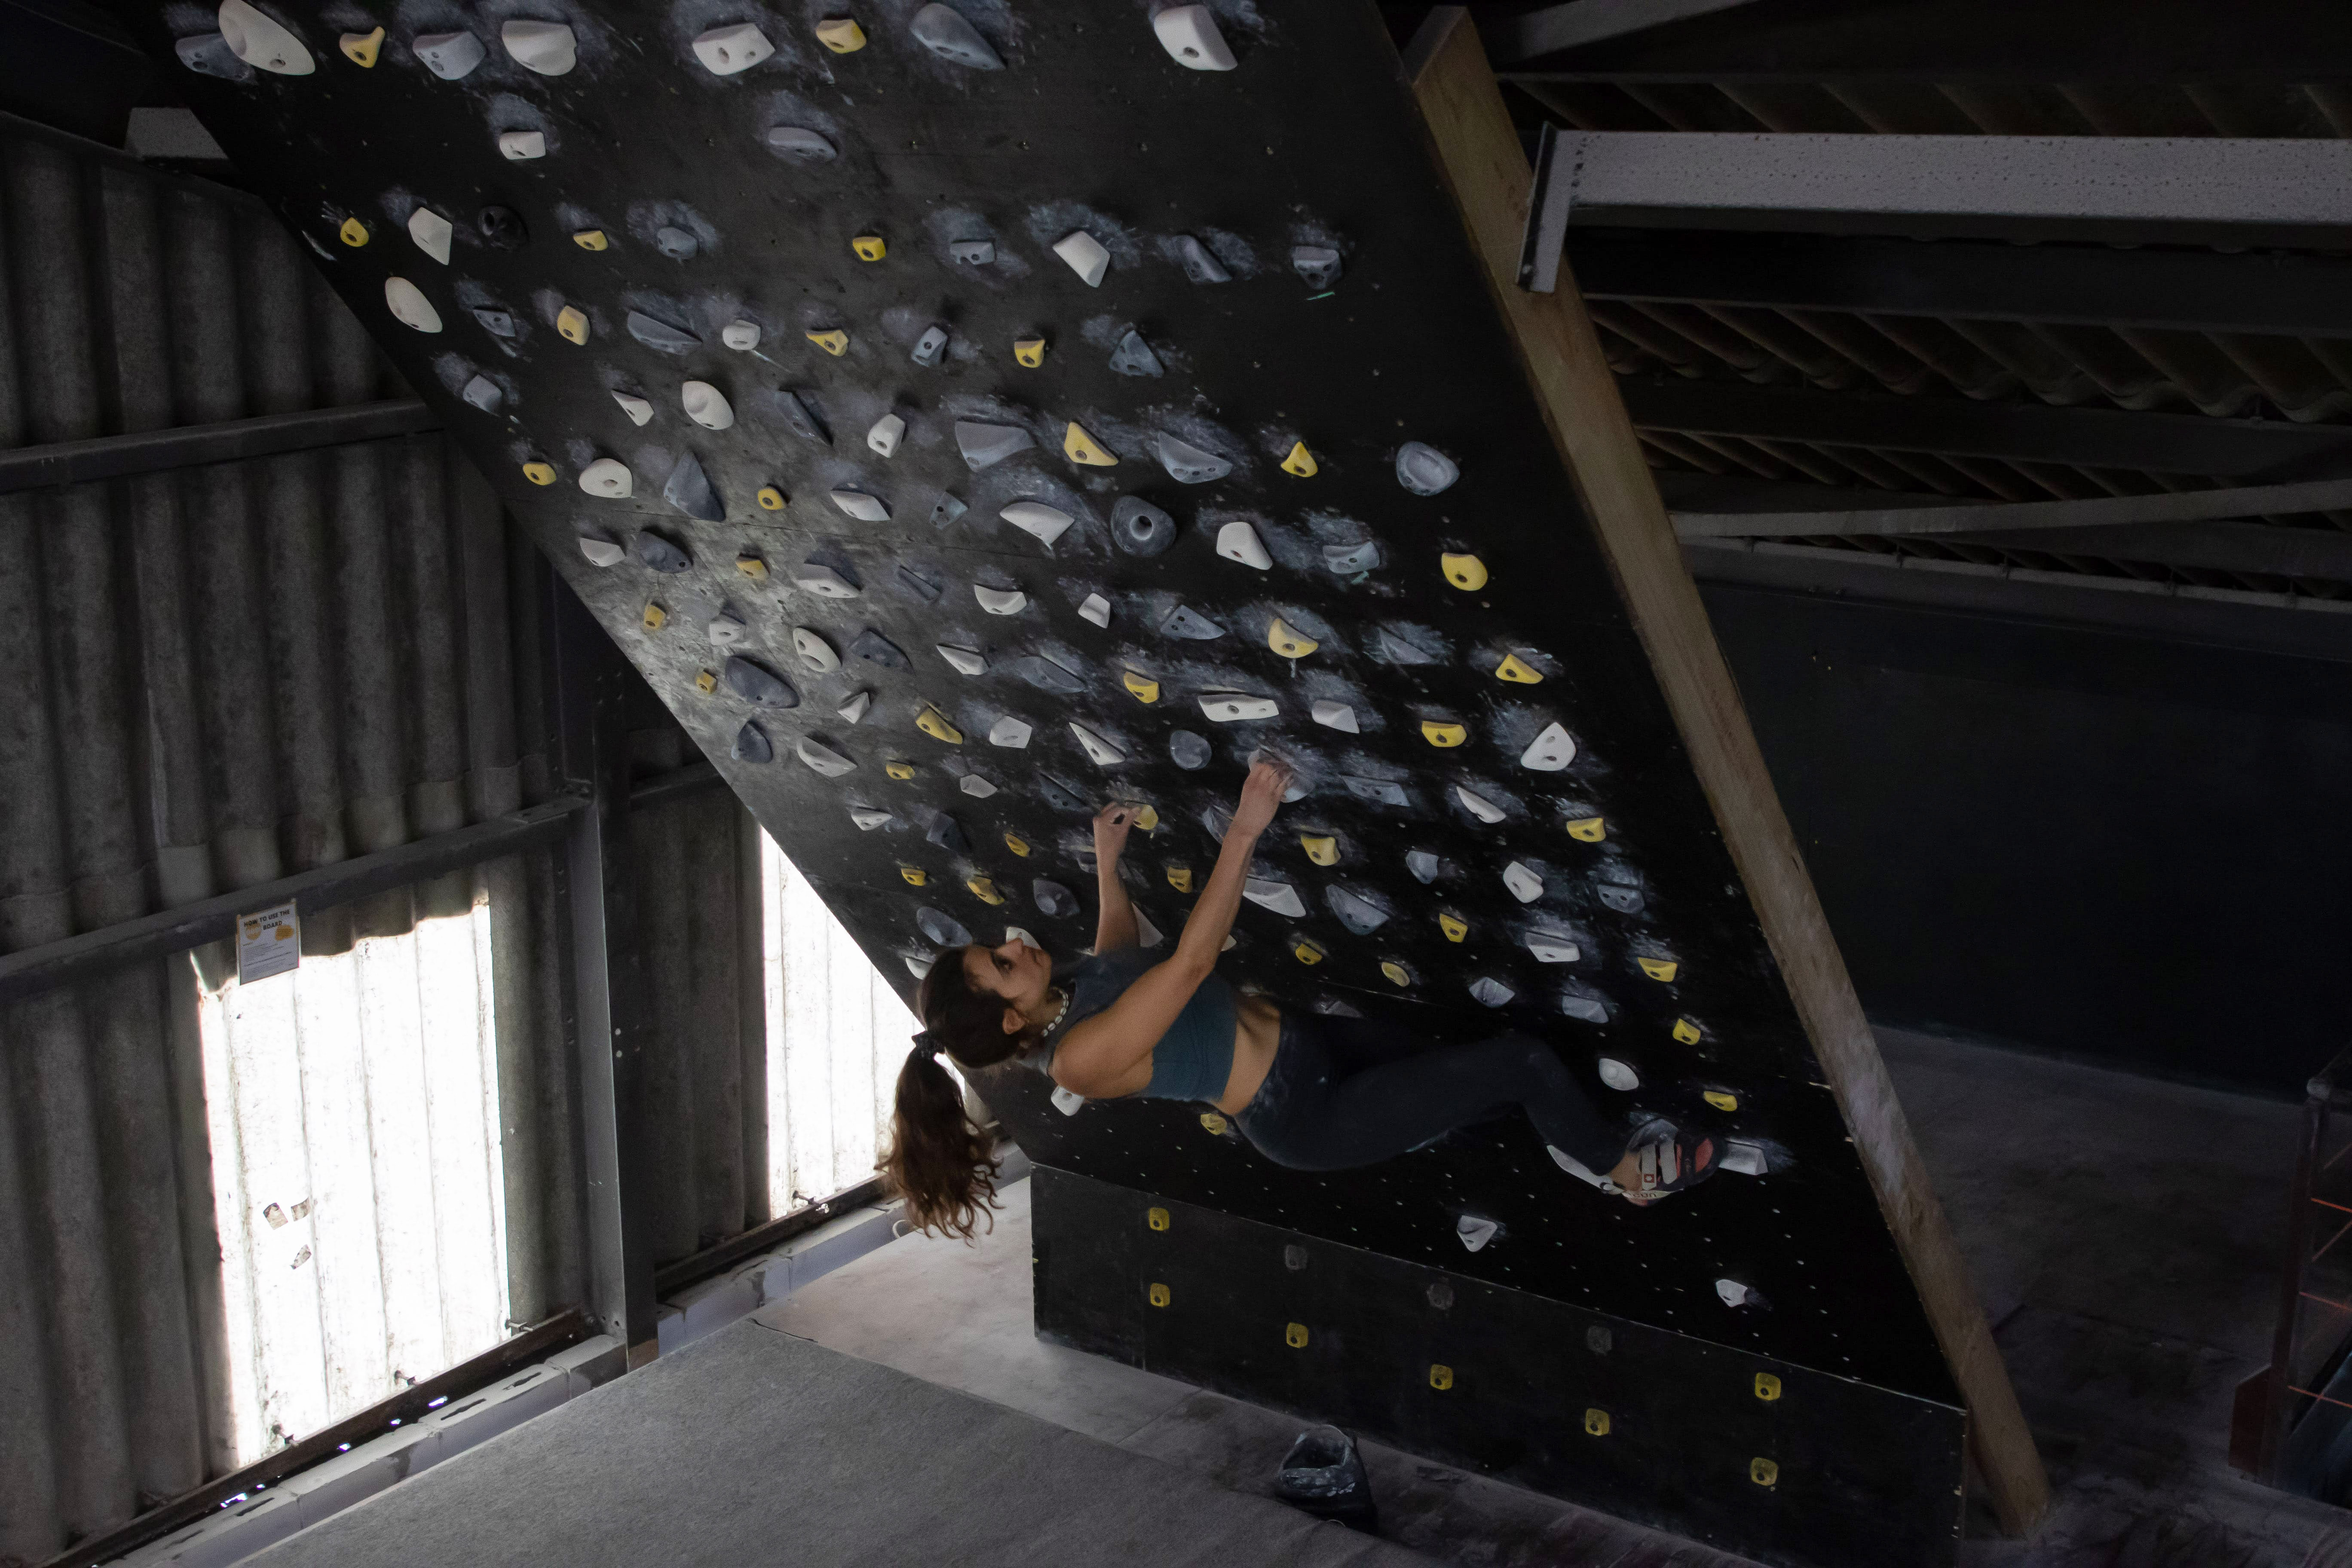
One last caveat: Contact strength is a lot more useful to advanced climbers (5.13 or V9 and up) than it is for intermediate and beginner climbers. If you are only just getting into 5.12, training contact strength shouldn’t be a priority. If you want to know why, I recommend checking out Part 2 of Dr. Jason Hooper’s Youtube series on contact strength. In addition to explaining who would benefit from training contact strength, Dr Hooper goes into the various factors that contribute to functional contact strength in far greater detail than I could here.
Upper body power & strength training
Like grip strength and contact strength, upper body power and strength are related but not the same. Whereas strength describes the ability to exert force to overcome sustained resistance, power is the ability to exert force at a high velocity. In climbing, you will use strength for making a slow controlled reach and holding a strenuous position, and you will use power for making bigger, more dynamic moves like dynos and deadpoints.
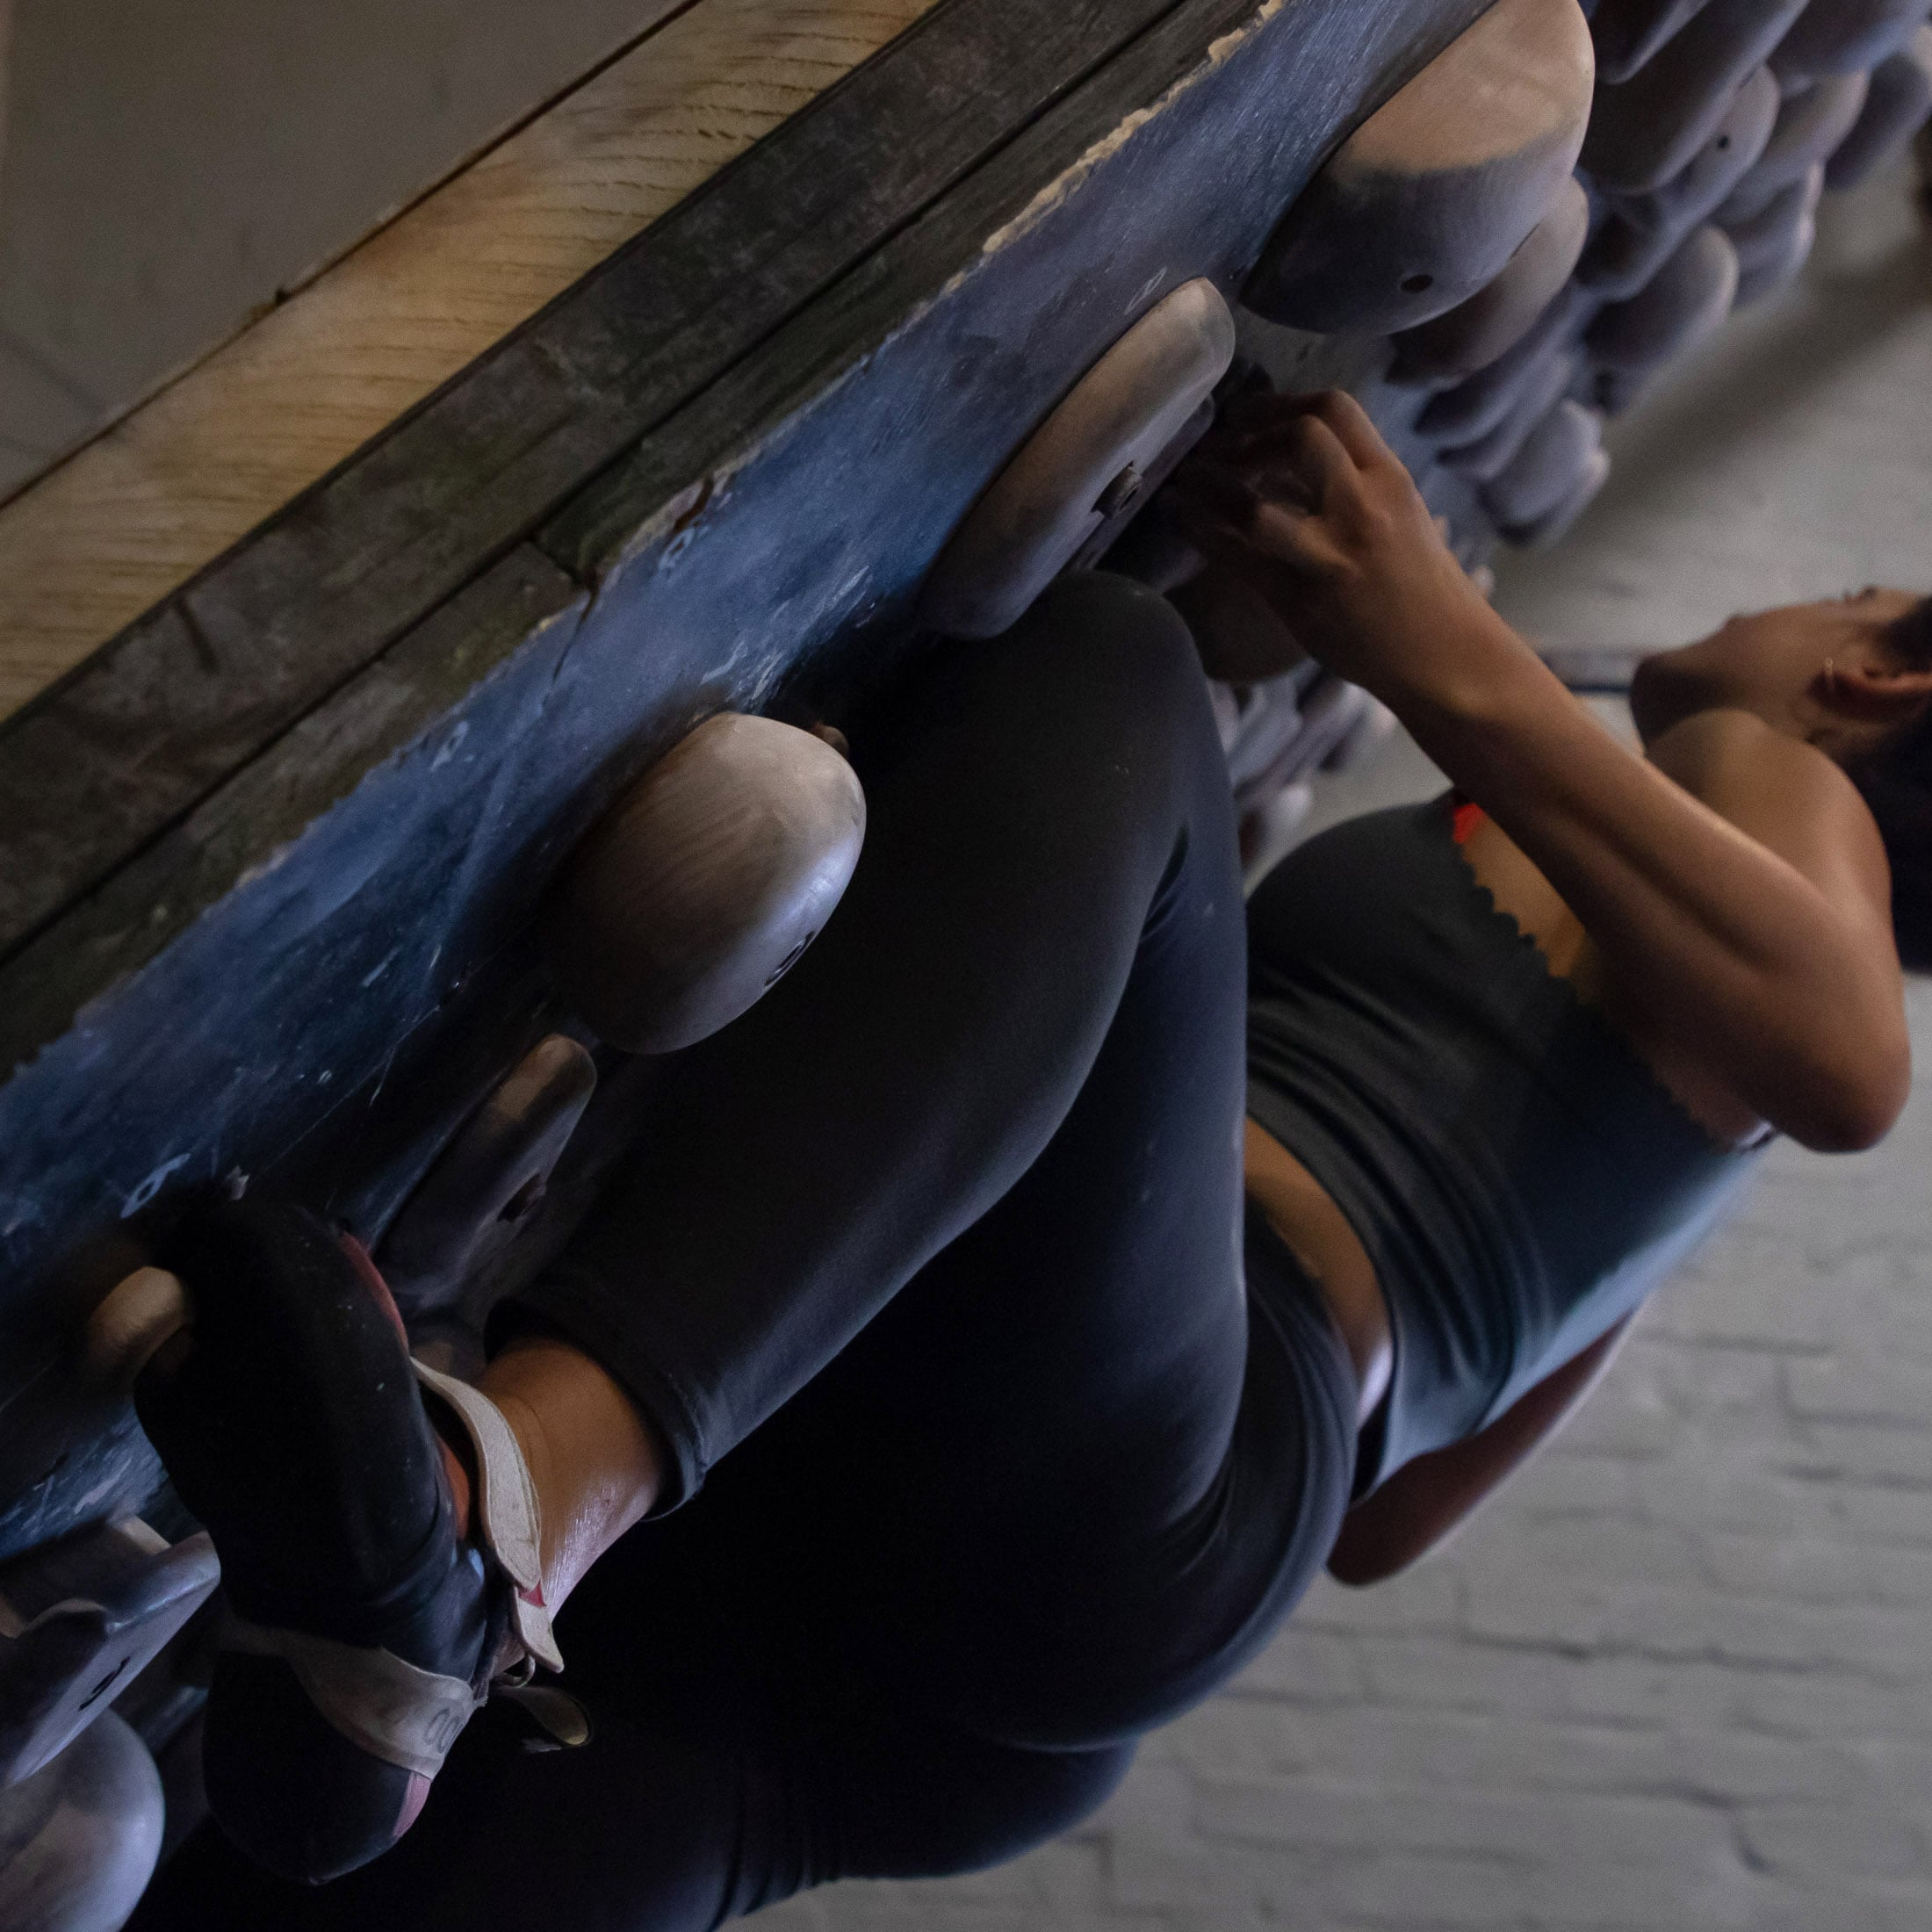
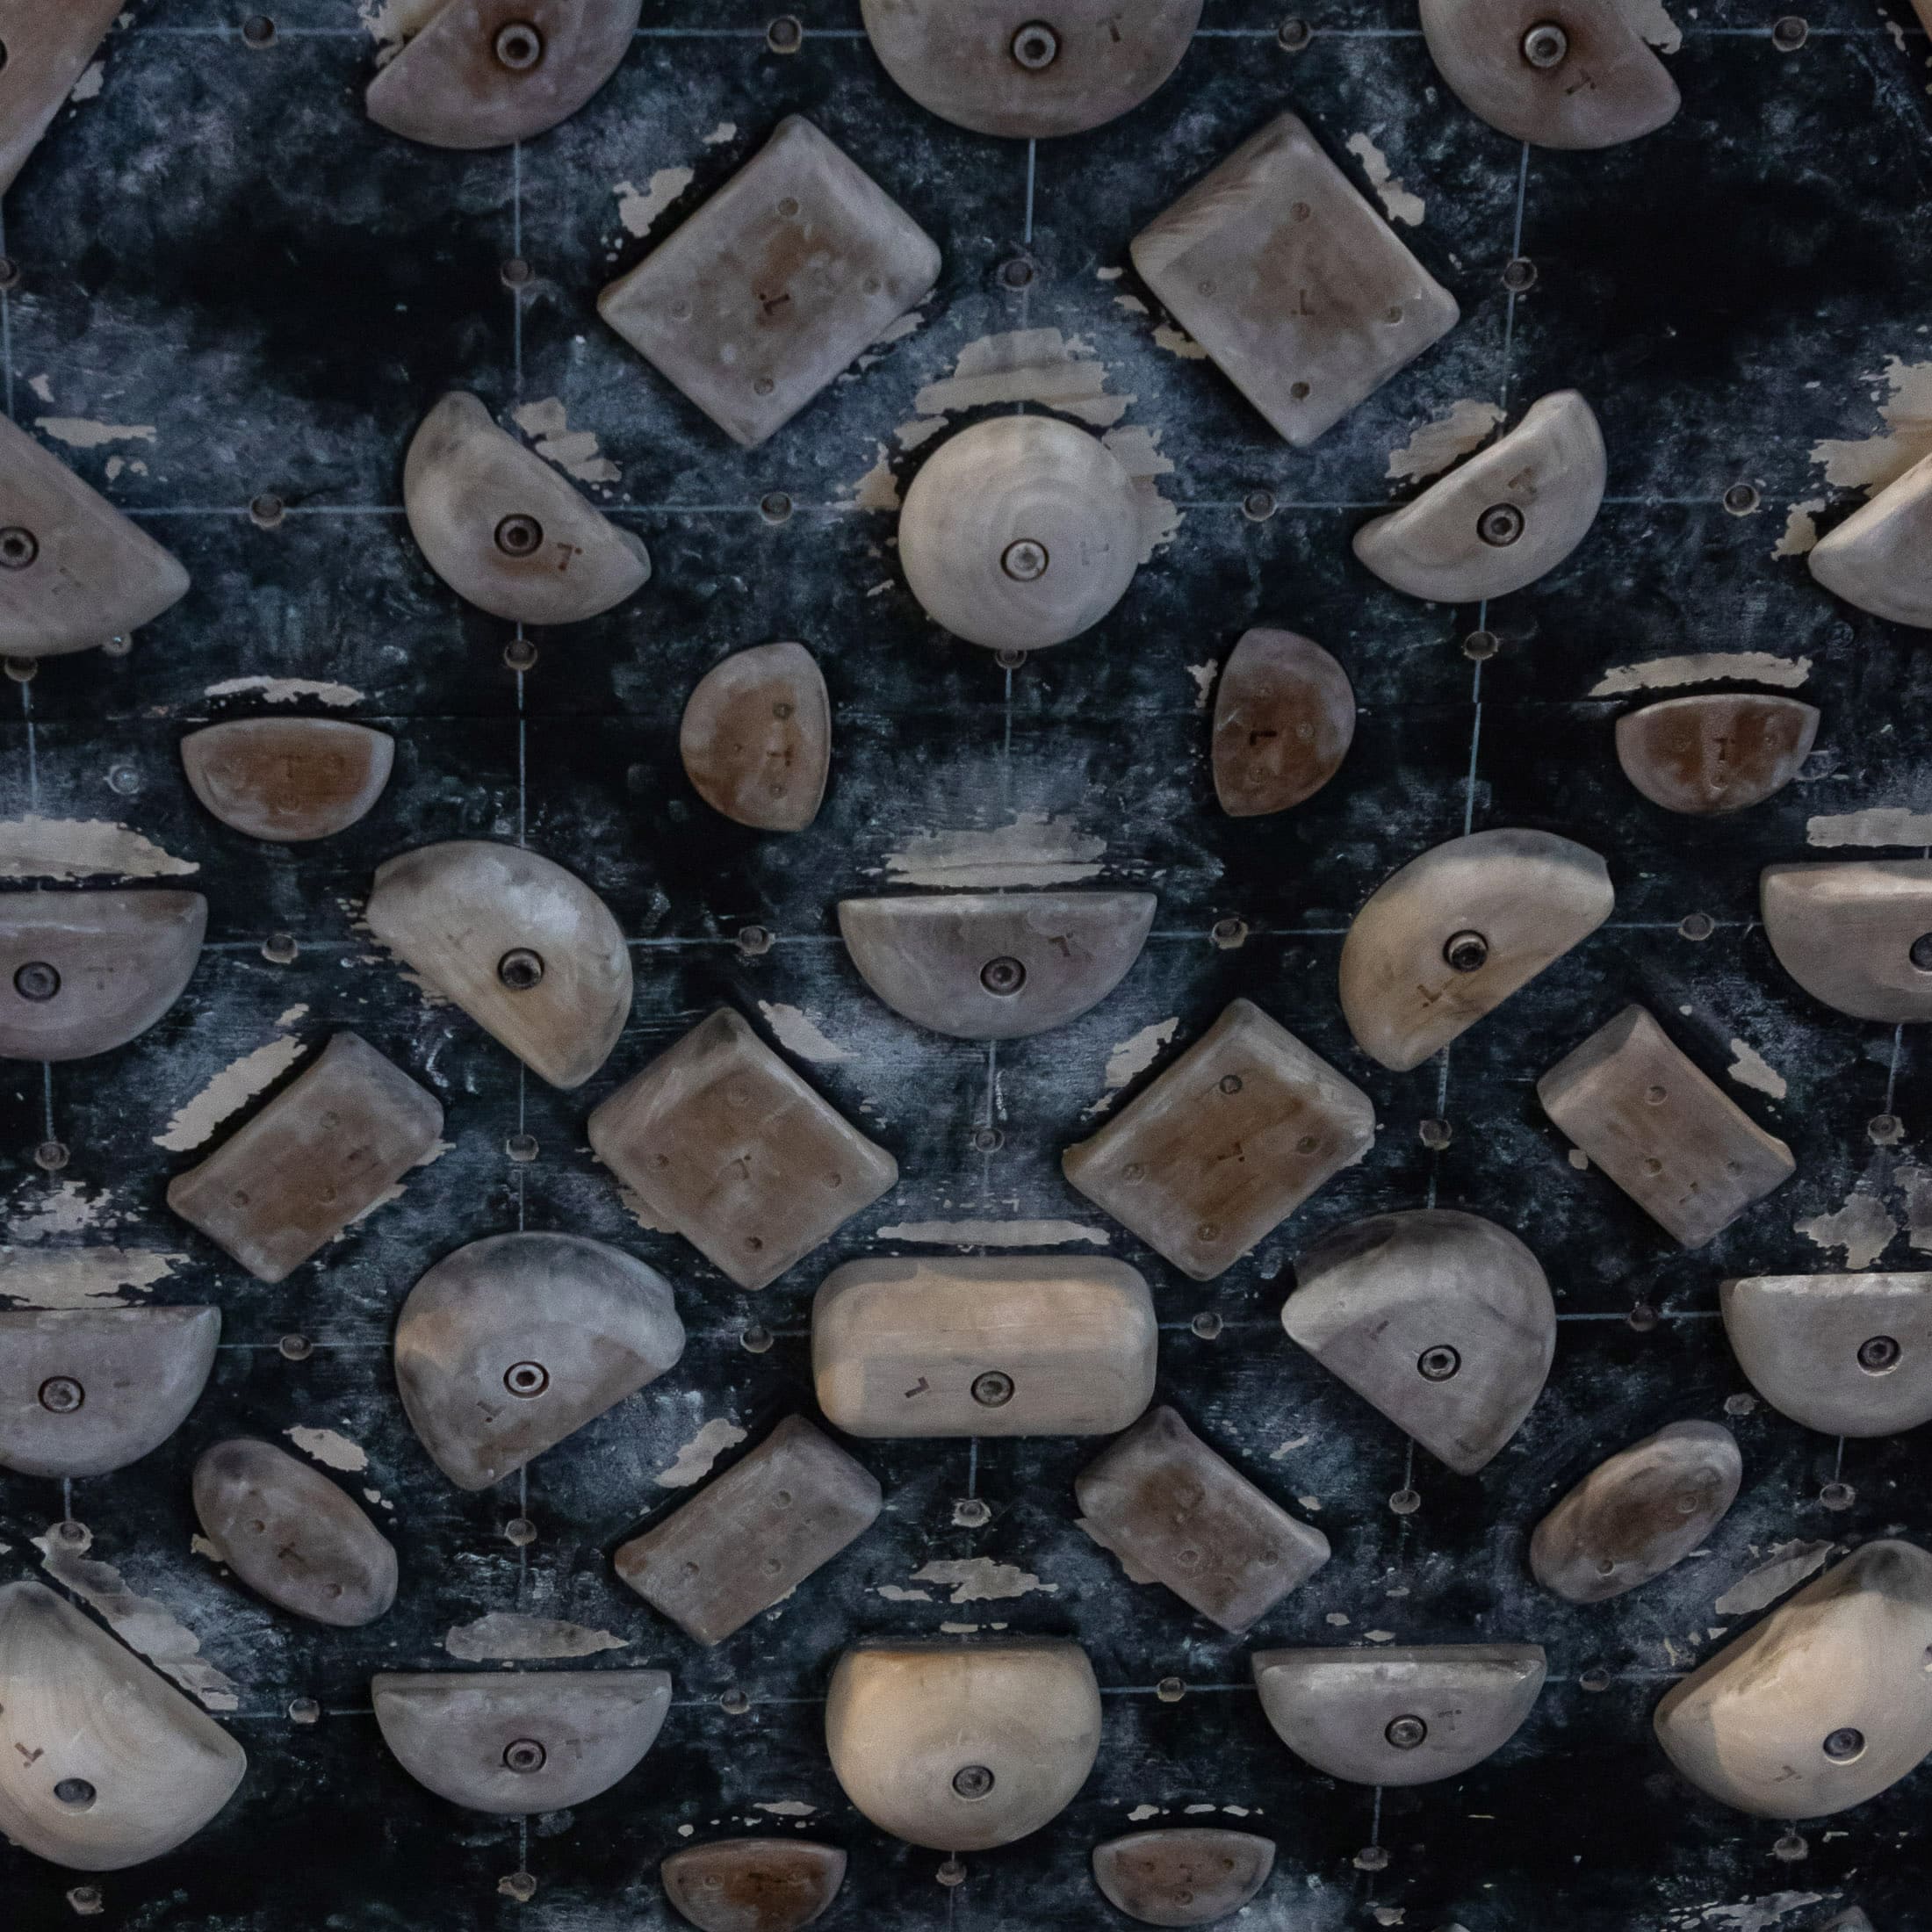
When it comes to upper body strength, the most important abilities to train are your weak-arm positions: gastons, underclings and sidepulls. These are best trained on a systems board using mirrored problems of a particular theme. For example, if you wanted to train gastons, you would climb matching sequences that had at least a few gastons in them. As with lock-off training, the goal is to train isometric (static) strength as well as isotonic strength, and to do that you will need to pause with each reach and hold the position for three or four seconds before grabbing the next hold. If you use an adjustable Tension Board with the system hold layout for this exercise, you can put the board at a less steep angle (25 to 30 degrees) to make this easier.
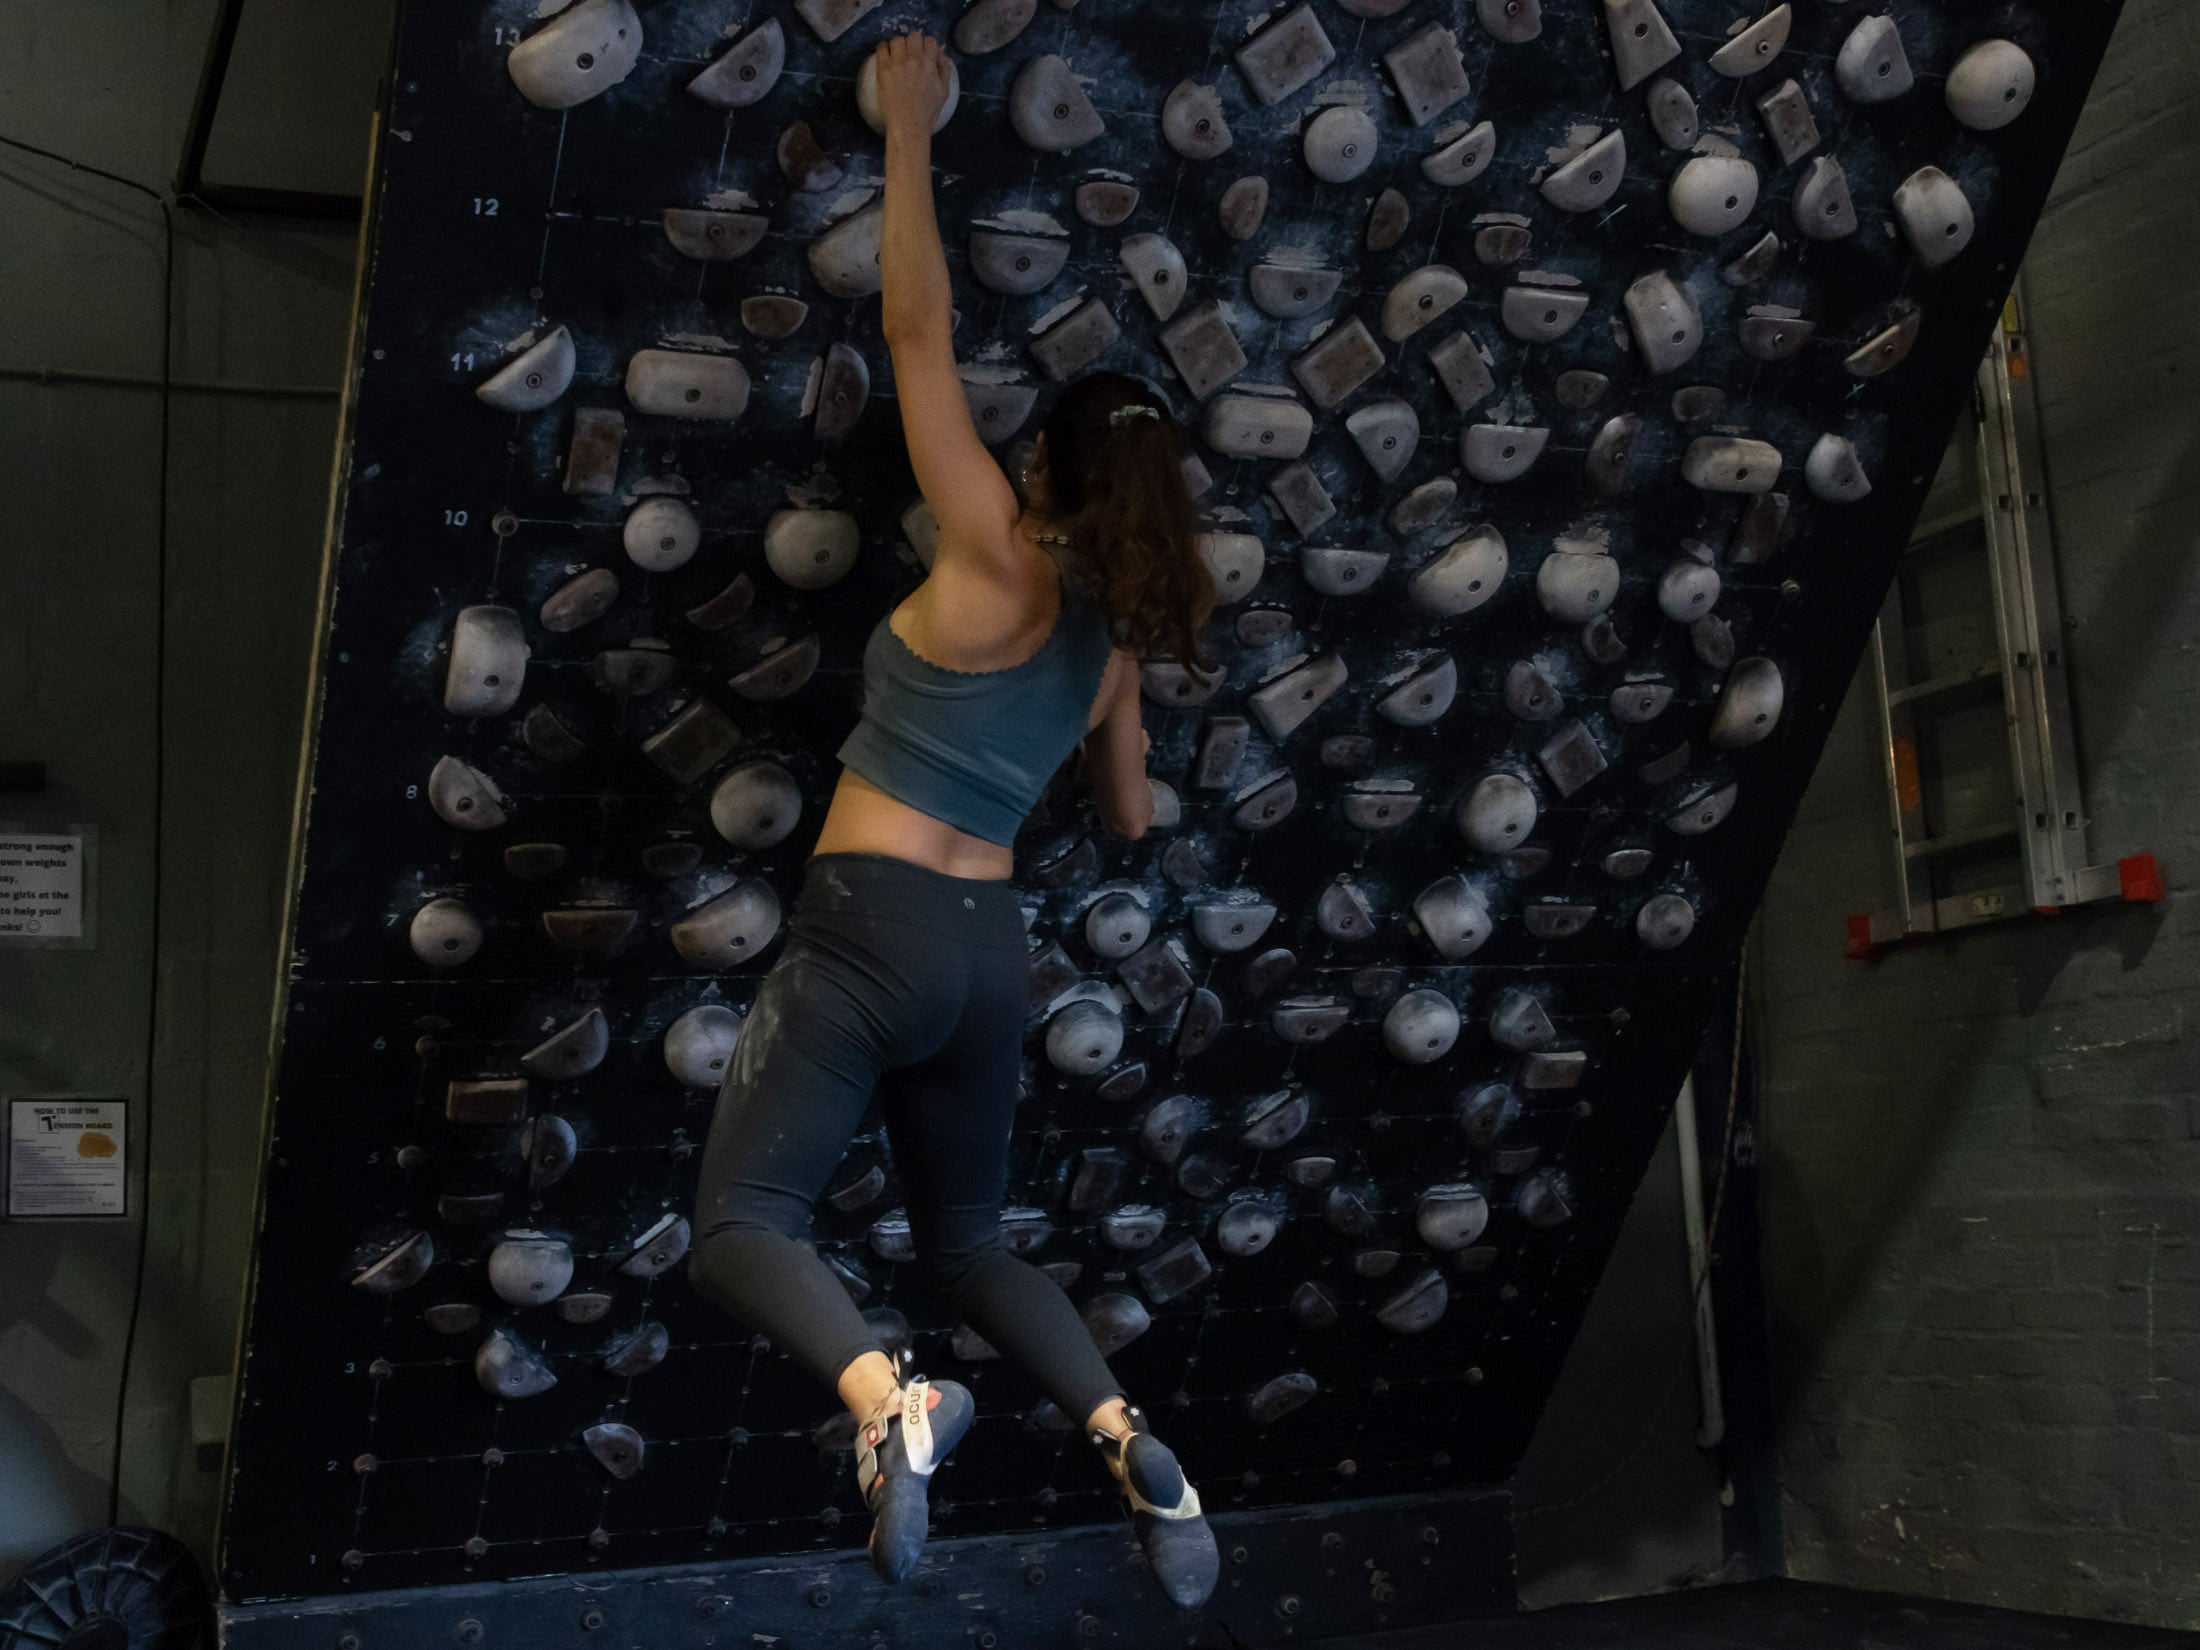
Training power requires a very different approach. Instead of locking off and holding strenuous positions, the goal here is to build explosive upper body power, and that means practising the kinds of moves that test this capacity – powerful deadpoints and dynos. While you can practise these on standardised walls like the MoonBoard or Tension Board, I recommend using a systems wall or spray wall since these are more likely to have large finger-friendly holds. If you practised dynamic moves on the smaller edges typically found on a MoonBoard, you’d be training contact strength as well as dynamic strength. What’s wrong with that? Nothing, as long as you accept that you have to end the exercise as soon as you start to feel fatigued. By training dynamic power on problems with larger holds, you would avoid this limitation and would be able to train even after your fingers start to tire.
Core training
A steep wall is one of the best tools for training sport-specific core strength, which is why it’s often included in the last phase of a core training program. For this purpose, we want to isolate two abilities. This first is the ability to create tension between your hands and feet during moves where you are stretched out. Most climbers find it difficult to keep their feet on a steep wall as the distance between their feet and hands increases. To train this strength, you will plant your feet at equal height somewhere near the top of the kickboard. Then, starting with your hands around chest level, ‘walk’ your hands up the board, stretching yourself out as much as possible until your feet come off. With this exercise, you quickly realise that body tension depends as much on the strength in your upper back and shoulders as it does on your core muscles (lower back muscles, obliques, hip flexors, and glutes).
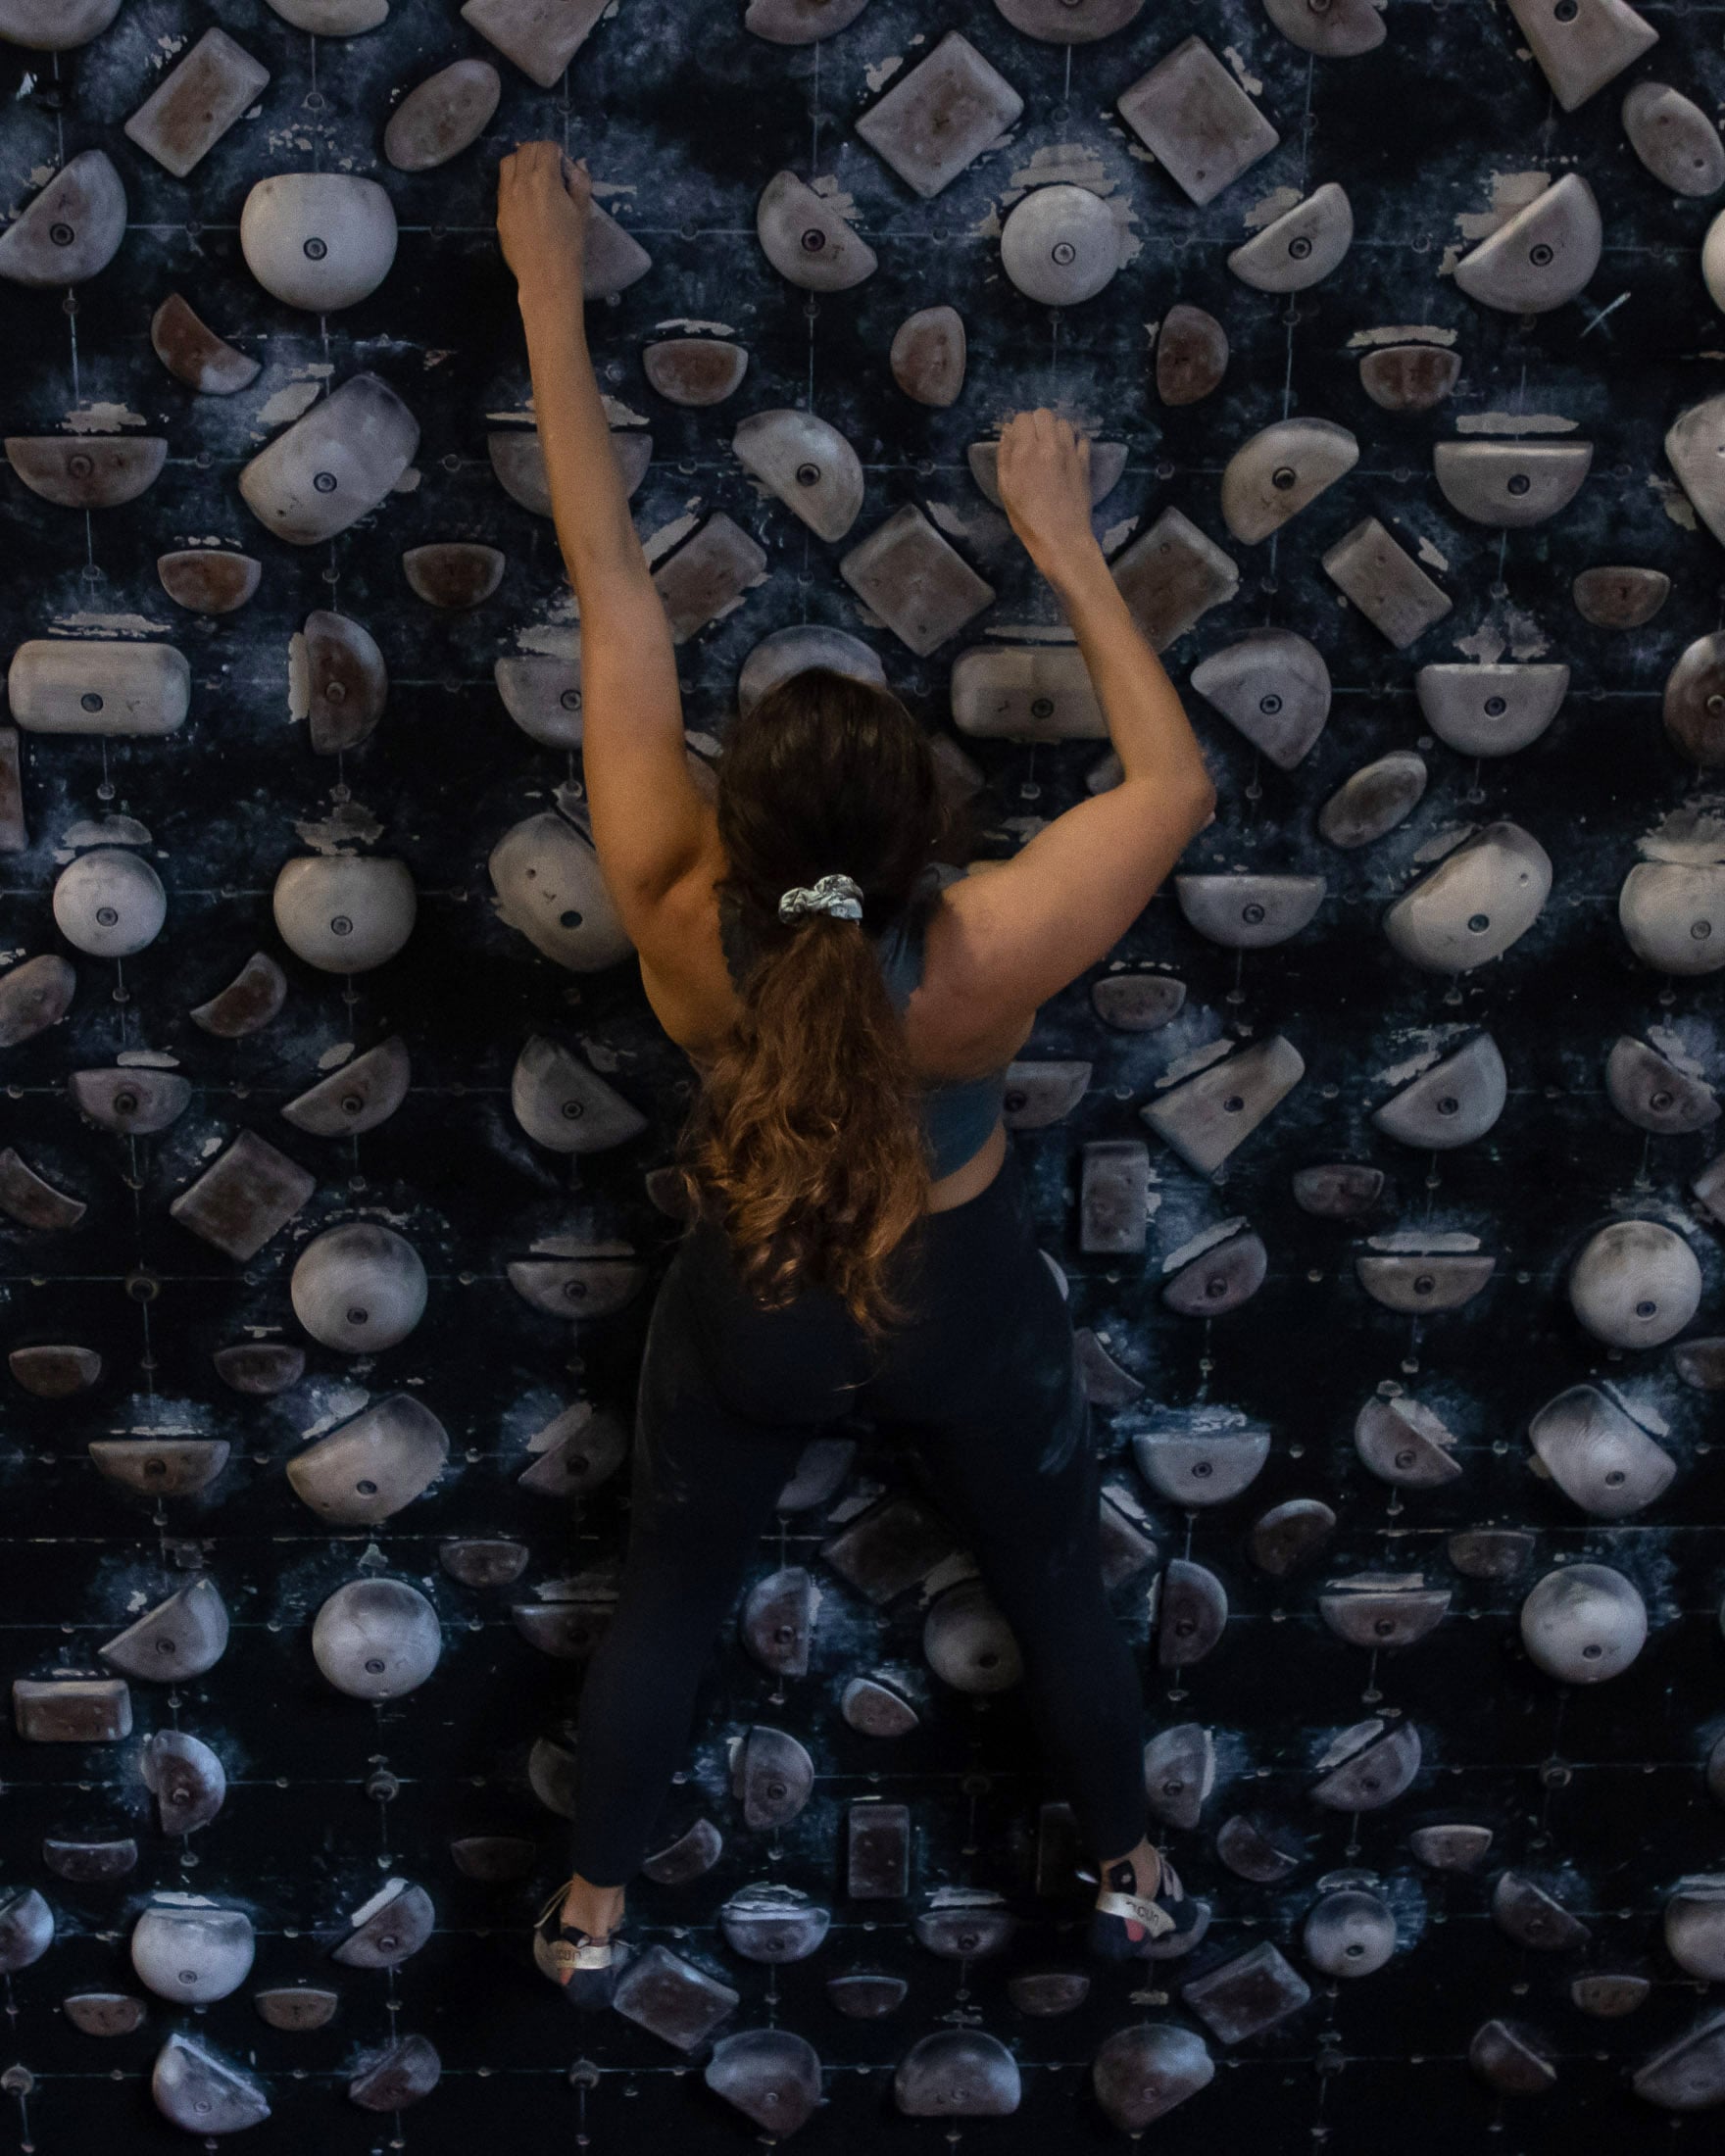
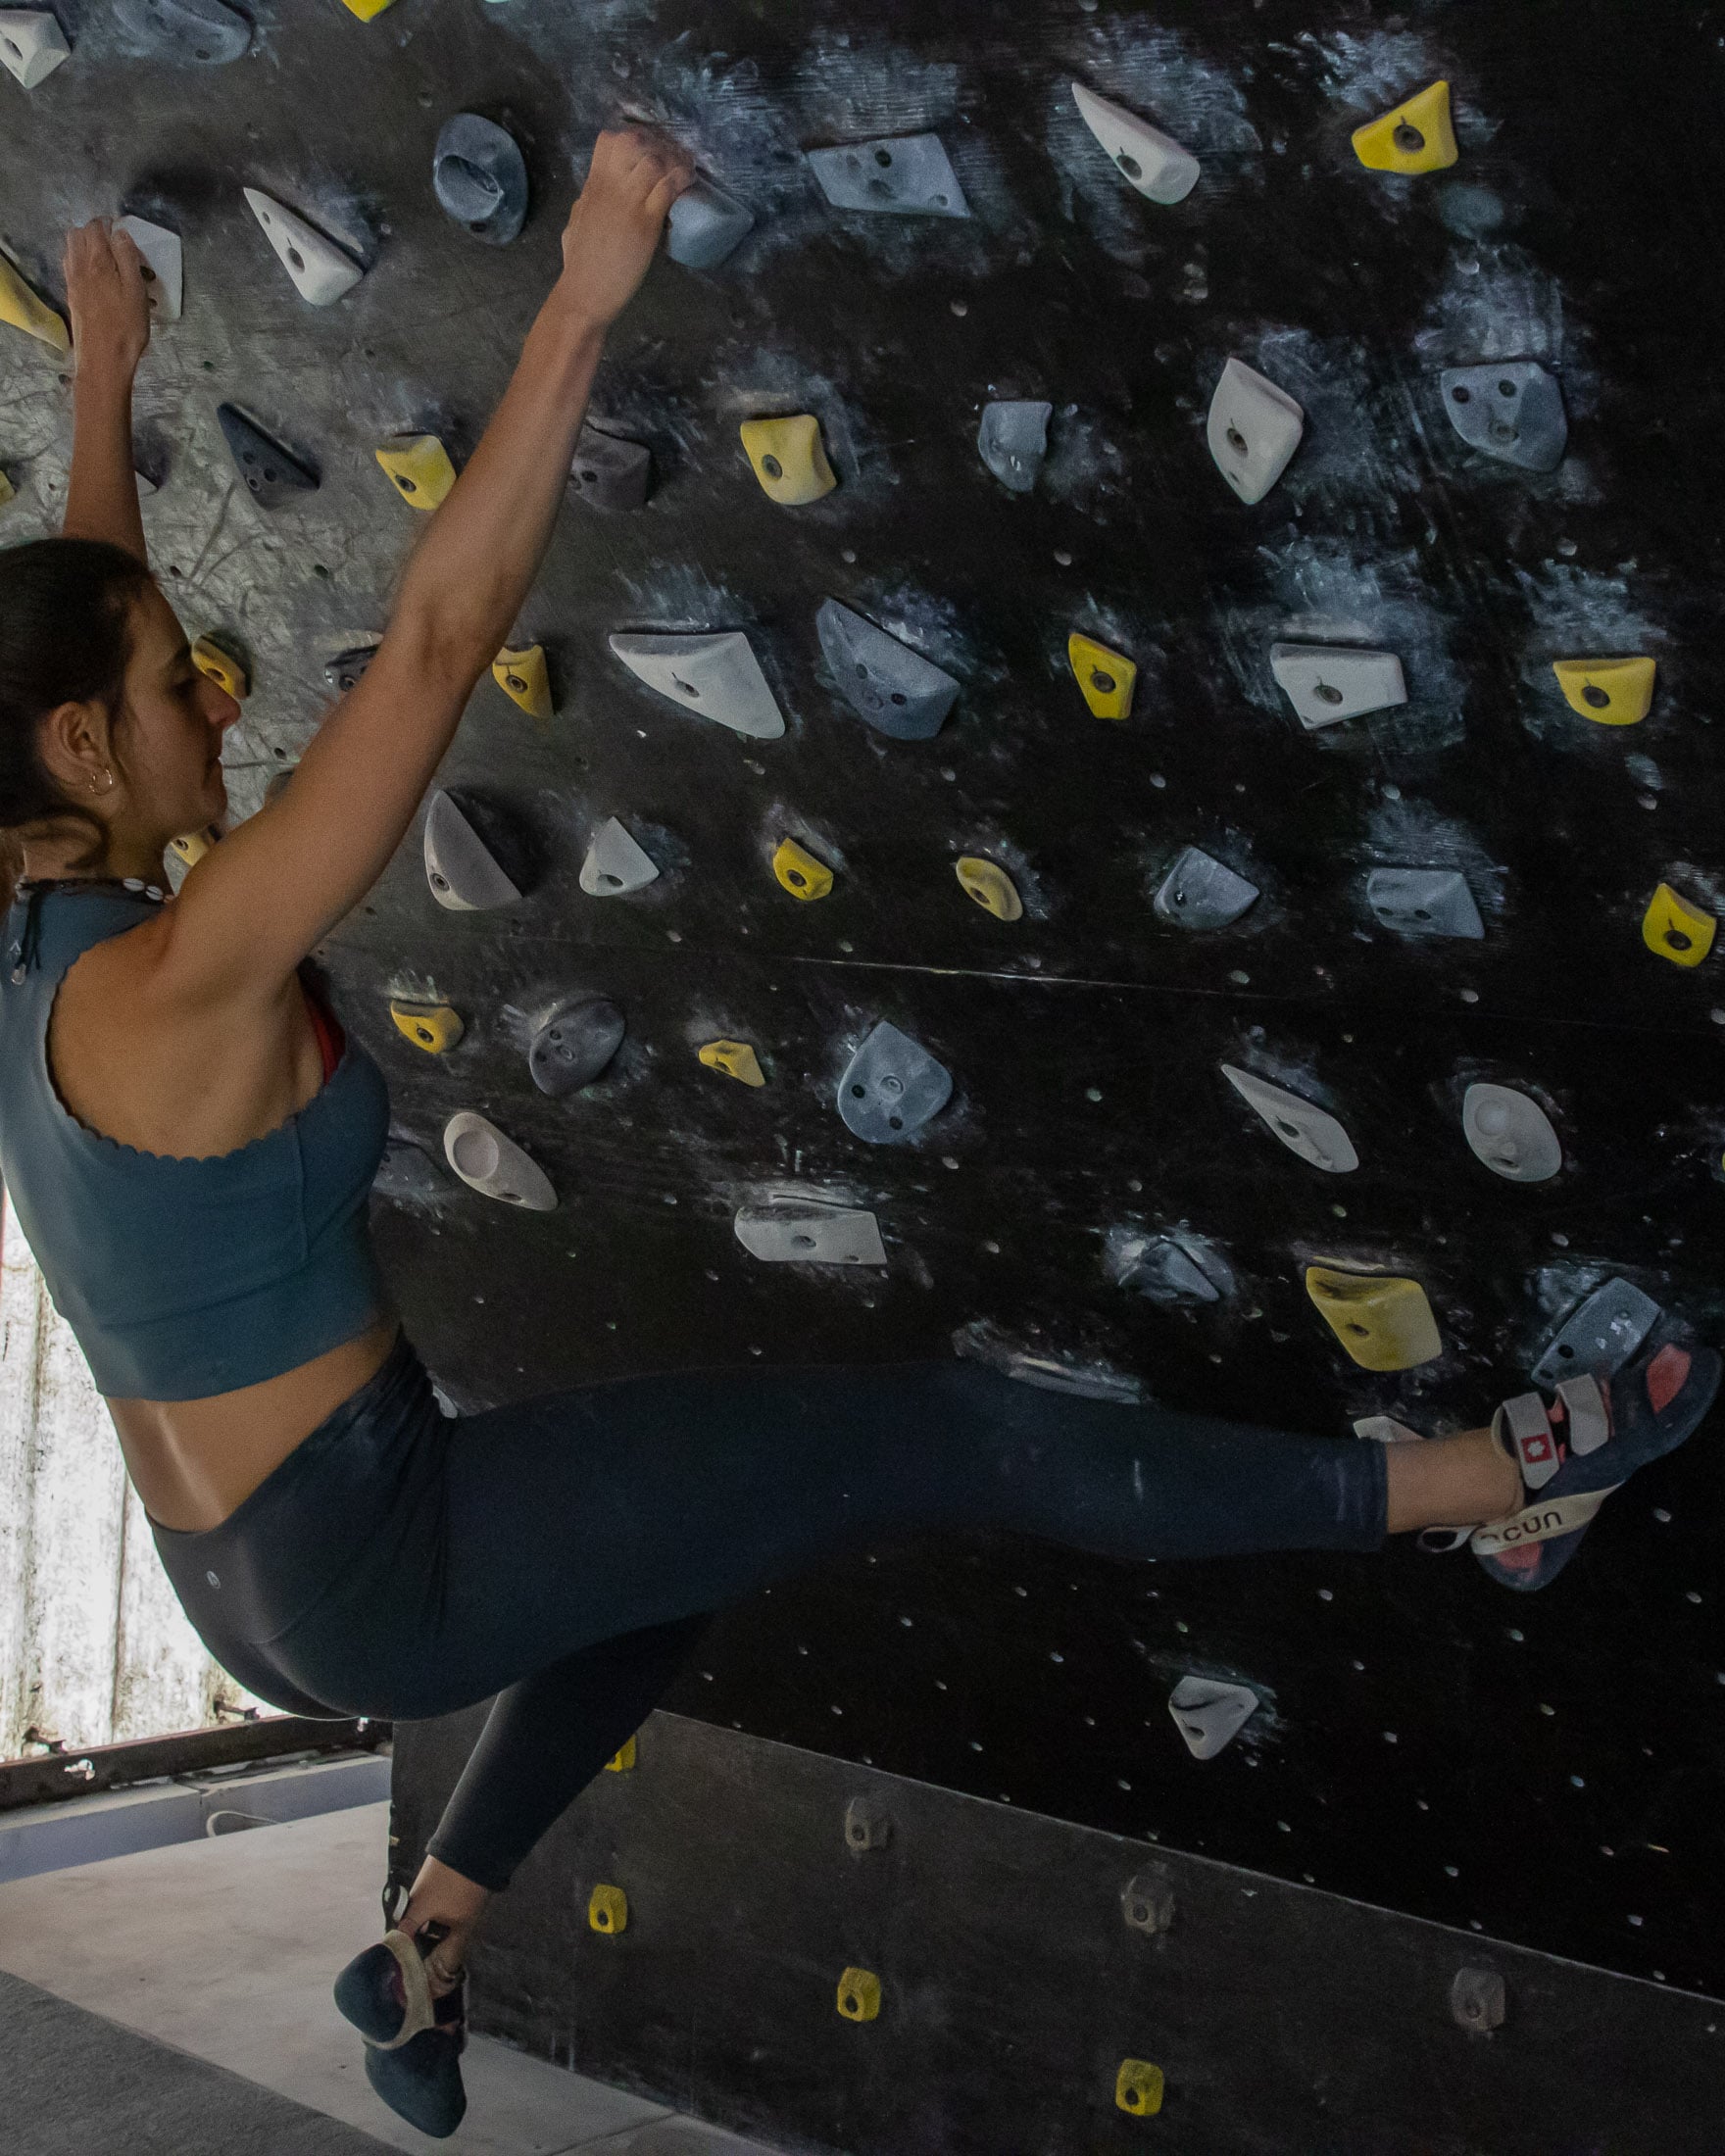
The second core-related ability is that which involves swinging your feet back onto the wall after you have cut loose. To train this strength, you will deliberately cut your feet cut loose between each move and then place them back on the wall. Obviously, this doesn’t mimic good climbing technique – it is only meant to build the strength needed to quickly get your feet back on the wall when cutting loose is unavoidable. Try to practise swinging your legs to both left and right to build the strength and coordination in the muscles on both sides of your body equally.
Managing the risk of injury
Given how fun board training can be compared to an exercise like hangboarding, it’s easy to keep at it, but the longer you work a certain type of hold at high intensity, the more susceptible you become to injury. To avoid overdoing it, you should move on from a problem after failing at the same difficult or finger-intensive move three times. This way you will avoid repeatedly hammering your joints and pulleys in the same way. Likewise, you don’t want to give up on a problem that has a hard right-hand crimp only to throw yourself at another problem that requires you to crimp hard with your right hand. Aim for diversity in both climbing style and hold type.
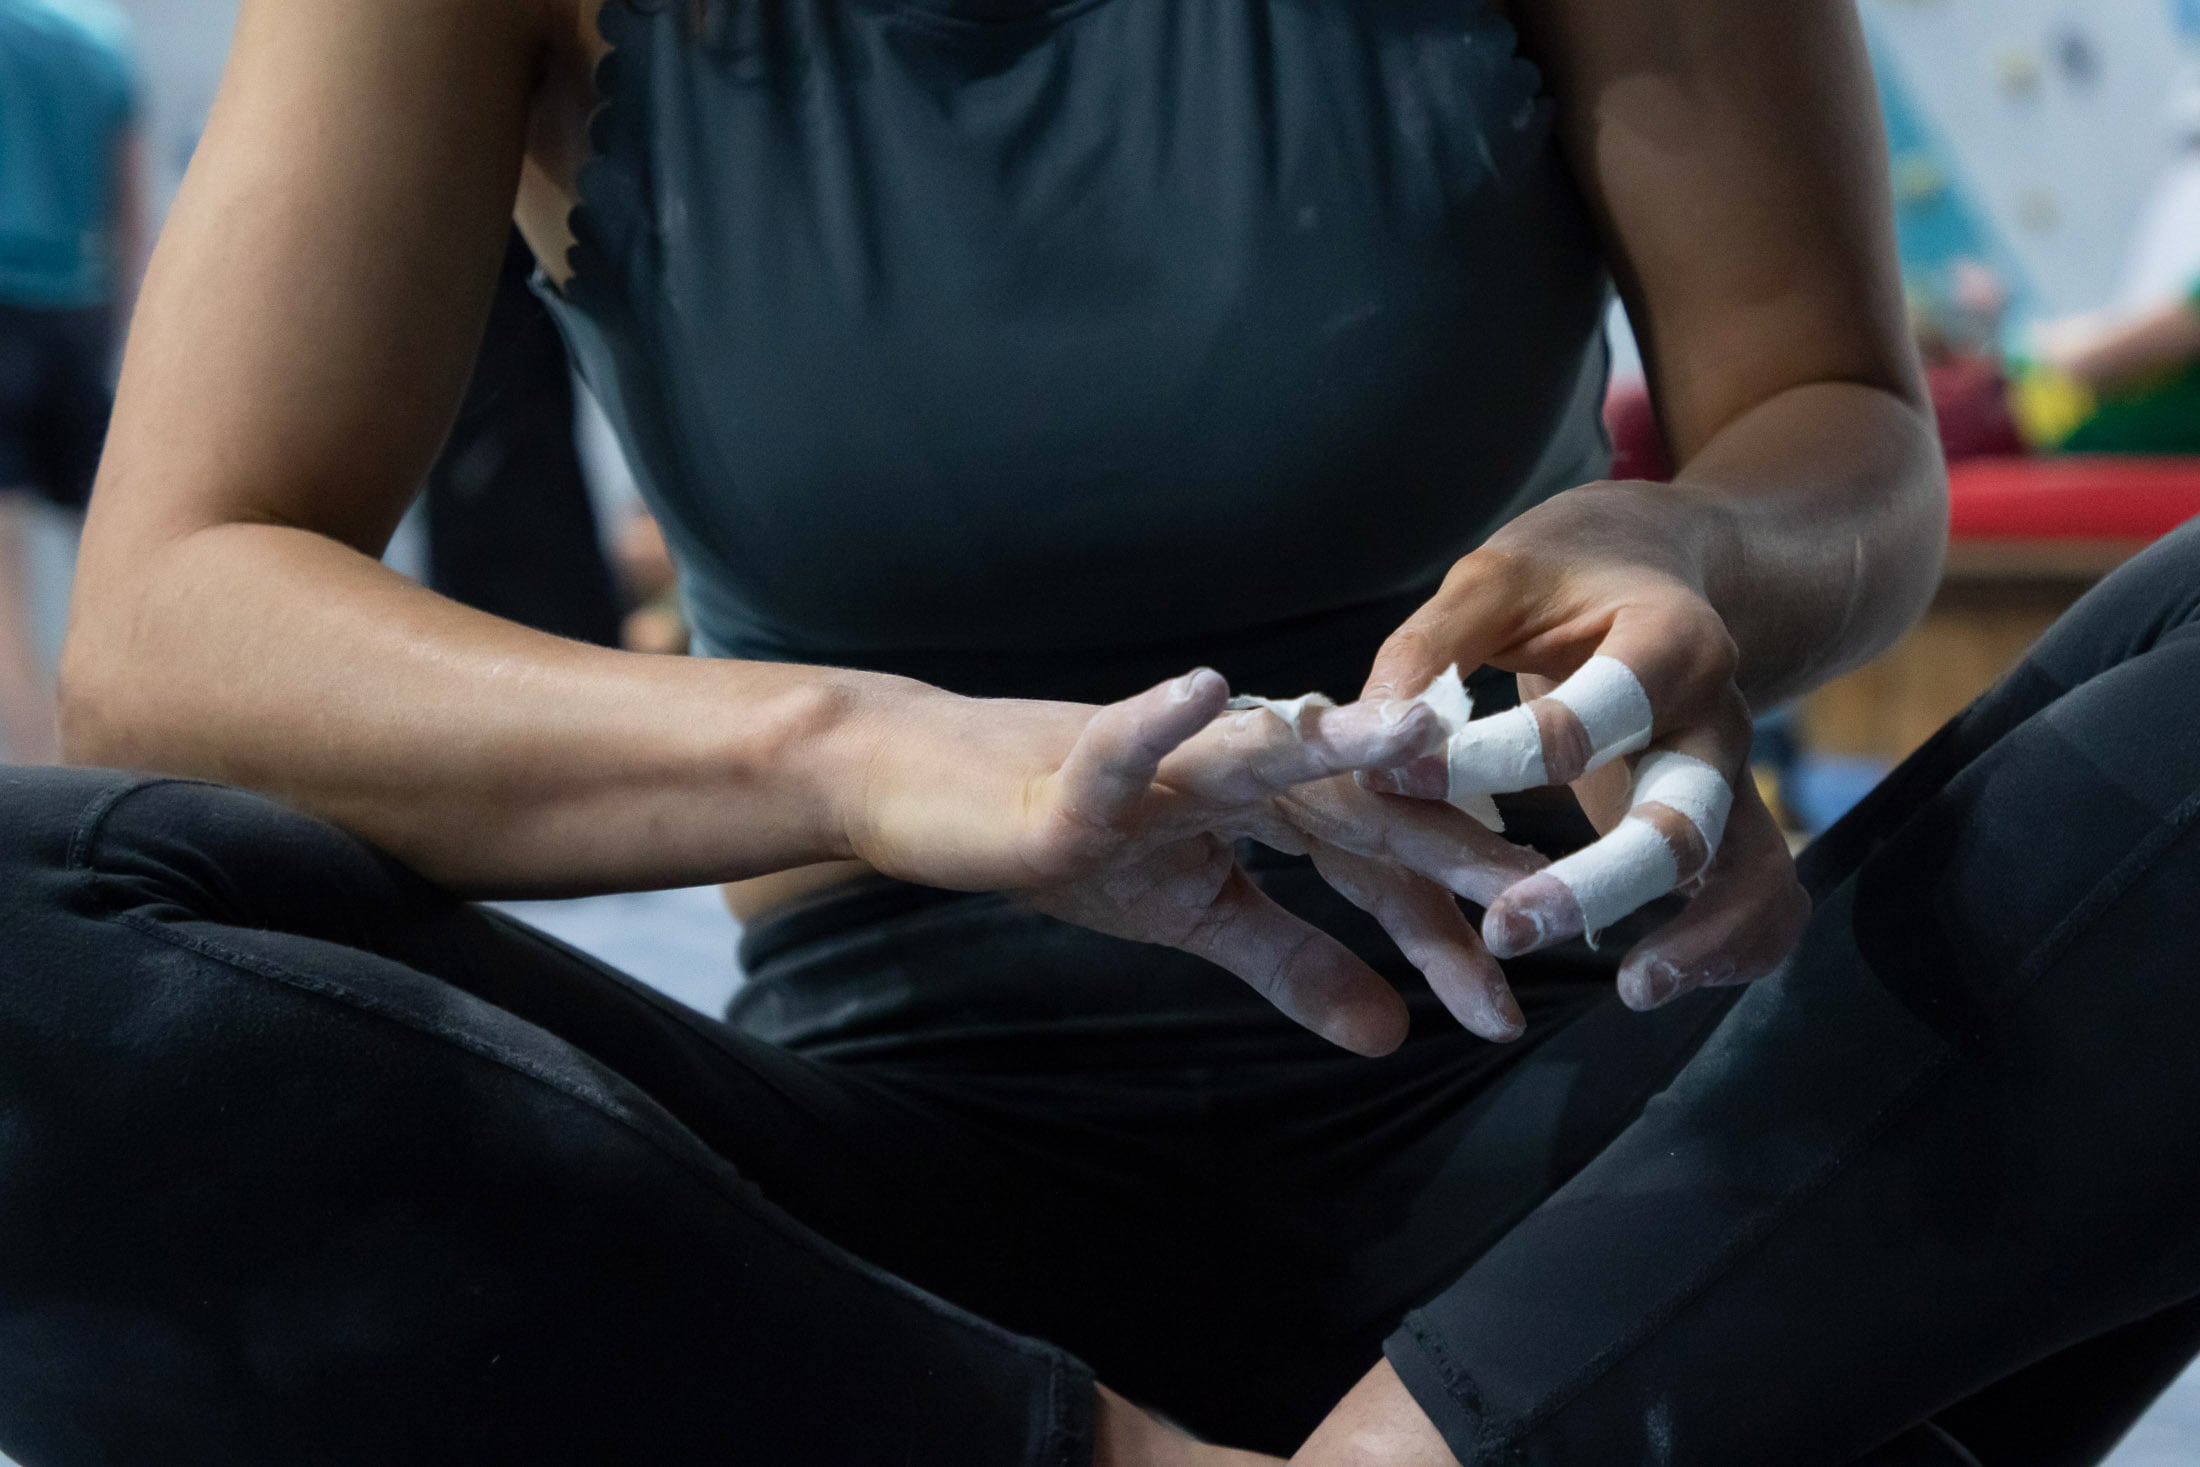
The second thing you can do to mitigate the risk of injury is to limit fingery training to the start of a session when you are still fresh (but after a thorough 15-minute warm up on pre-set problems or increasing intensity). When you start to tire, move on to big finger-friendly holds. This will give you the opportunity to train upper body power or forearm power endurance even after your fingers and forearms have started to fatigue. Similarly, if the wall is adjustable, you can set it to a less steep angle than the default 30 or 40 degrees.
Board training intensity
Another way to mitigate the risk of injury is to vary the intensity of your sessions – a strategy that will also be necessary for you to achieve your training goals. High intensity sessions pose the greatest risk of injury and should be limited to one session a week unless you are already climbing at a high level (around V10), while medium and low intensity sessions can be performed more frequently.
High intensity
With a high intensity session you choose two to four projects that are so hard that you can barely do the individual moves on your first attempt. At this level of difficulty, you will aim to be able to send a project after spending at least a few – and up to six – sessions working it. Again, try to vary the type of movement and holds to mitigate the risk of a repetitive strain injury. It’s also essential that you warm up thoroughly by starting easy and climbing progressively harder pre-set problems until you reach your flash grade.
Medium intensity
When performing board training at medium intensity, the aim is to climb six to twelve moderately hard problems. You should be able to flash the easiest of these (but they’ll be close to your limit) while the hardest could take up to several attempts to send. As with a high intensity session, it’s still important to ensure that there is variety in the type of movement (dynamic vs static and different arm positions) and hold type.
Low intensity
In a low intensity session, the goal is to complete around 20 to 30 problems including your warmups. You should be able to flash most of these problems (with the easiest being about 3 grades below your flash grade), and the hardest should take you only a few attempts. Many climbers prefer to perform this type of session using a pyramid structure in which you work up through the grades and then back down. Digi boards are also very useful in this kind of session since they negate the need to memorise problems.
Setting problems on a board
If you’ve never set your own problems on a board, this is a skill you will have to develop, especially if you are going to use a board for limit training or creating themed problems for training certain abilities. When putting together a new problem, first look at the board and try to plan out a sequence. By just getting onto the wall and picking out holds on the fly, you’re unlikely to come up with anything interesting or evening challenging. Obviously, there will be a lot of trial and error as you go. Some moves will initially be too easy and some will be too hard. Unless you were born a route-setting genius (unlikely), you will need to spend some time tweaking your new problem to get it to the point where it flows.
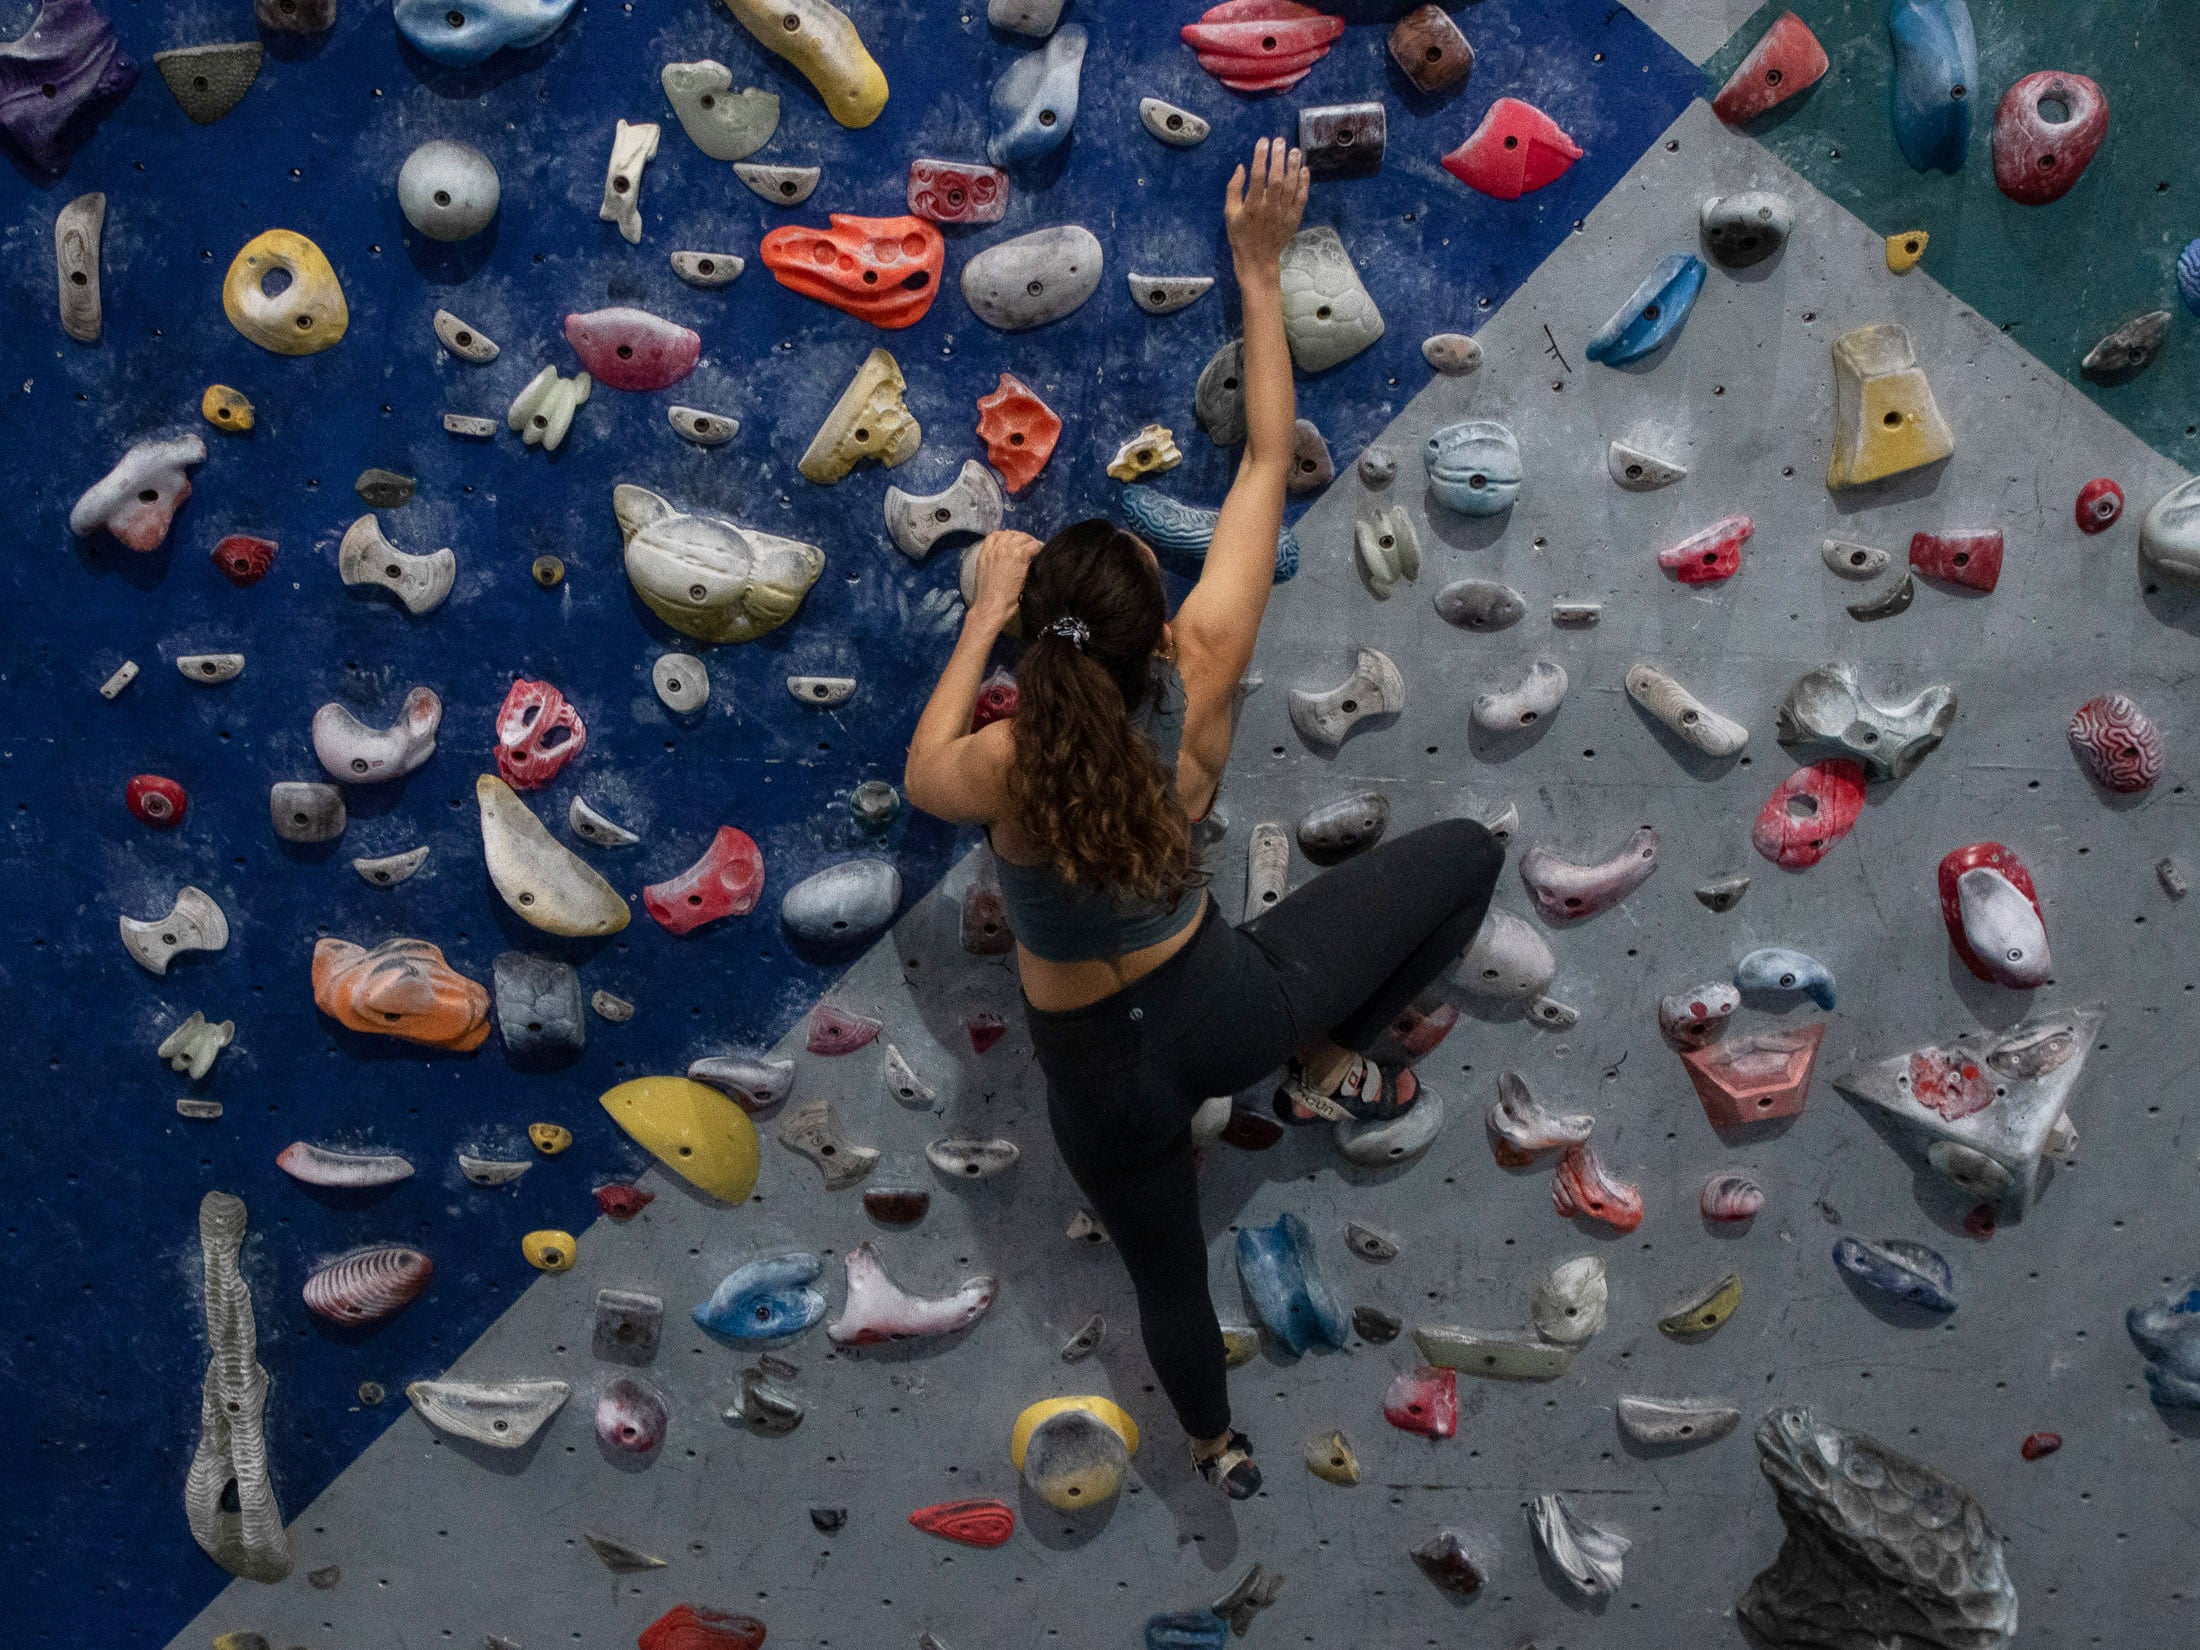
In the case of medium intensity problems, you should be able to do individual moves in a couple of tries or even link two or three moves on your first attempt. But you should not be able to flash the problem. With high intensity problems, it should take you at least several attempts to do the hardest individual moves. Some crux moves might take you more than a single session to execute properly. Setting problems at this level obviously takes a lot of energy, and you might only get an accurate idea of how hard a problem is when you return fresh in the next session. Lastly, if you don't have a digi-board, it would be best to record the problems in a training log-book using the board reference number or, if it’s a spray wall, by creating a rough sketch of your problem.
Learn more
You now have everything you need to know about board training. But don’t stop here. On this website you’ll find many more training-related articles on everything from developing your own training program to hangboarding. Regardless of whether you are trying to send your first 5.12 or crush V7, you’re going to find something that will help you take your climbing to the next level.
