If you have been climbing for a few years and have recently seen your performance plateau, you’ve probably realized that your training (if you’re doing any) needs to be more structured if you’re going to continue progressing. And therein lies the challenge. Not all climbers will have a training plan written for them by a coach – either because it’s not within their budget or because they simply prefer to coach themselves. Fortunately, you’ve found this very detailed guide, which will make developing your own training program a lot easier. As the first instalment in a whole series on training for climbing, this article will introduce you to the fundamentals of training, give you a brief overview of the different types of training, and then explain how you can use these to create a training program that will help you crush your long-term project.
- Factors to consider when creating a training program
- Energy systems and fitness components
- Basic training concepts
- Phase 1: Power endurance
- Phase 2: Strength
- Phase 3: Endurance
- Upperbody isolation & antagonist training
- Forearm antagonist training
- Core training
- Structuring your training program
Factors to consider when creating a training program
Before you start designing your training program, it’s worth considering the following factors. These will focus your training and ensure that your efforts translate into improved climbing performance.
Climbing goals
Your climbing goal could be a grade, a route, or even a level of competency in a certain style. It needs to really motivate you (There will be boredom and pain), so choose wisely. Once you’ve decided on your main objective, you need to give yourself a time frame so that you know when to peak. This might coincide with an upcoming trip or the time of year you expect the best conditions. If your goal is a grade two or three harder than you are currently climbing, it would be a good idea to set yourself incremental goals using a grade pyramid. This is good for motivation (ticking boxes always is) and it will ensure that you climb enough routes at each level to ensure moderated overload.
Training goals
There’s no way you can train everything with an equal amount of focus. In fact, you are unlikely to incorporate even half of the exercises listed here in a single program or macrocycle. And that’s why you need to set yourself training goals – to keep yourself focussed on those aspects of your climbing ability that will result in the largest improvements in performance. Usually, this will mean focussing on your weaknesses. Your climbing ability is like a chain which is only as strong as its weakest link. Following this analogy, there’s no point in working on your already impressive grip strength when the problem is an inability to shake off the pump on the 5.10 headwall. You need to identify your weaknesses – in this case, endurance – and then develop training goals that will strengthen them.
Climbing trips and seasonal objectives
If you have any big climbing trips planned or know that you want to focus on climbing rock in certain months of the year, you will need to factor that into your training plan too. This is important for ensuring that training and climbing don’t clash (You can’t climb rock four days a week and still train) and is also useful for making sure you’re in the best shape possible for a big trip. For example, if you have a trip to the Red River Gorge planned for the fall, you know that it would be a good idea to get an extra power endurance phase in before the trip. Something else that you need to keep in mind when making space for climbing trips in your program is that you need at least a full week of rest before the trip so that you can recover properly from your training and bank the gains.
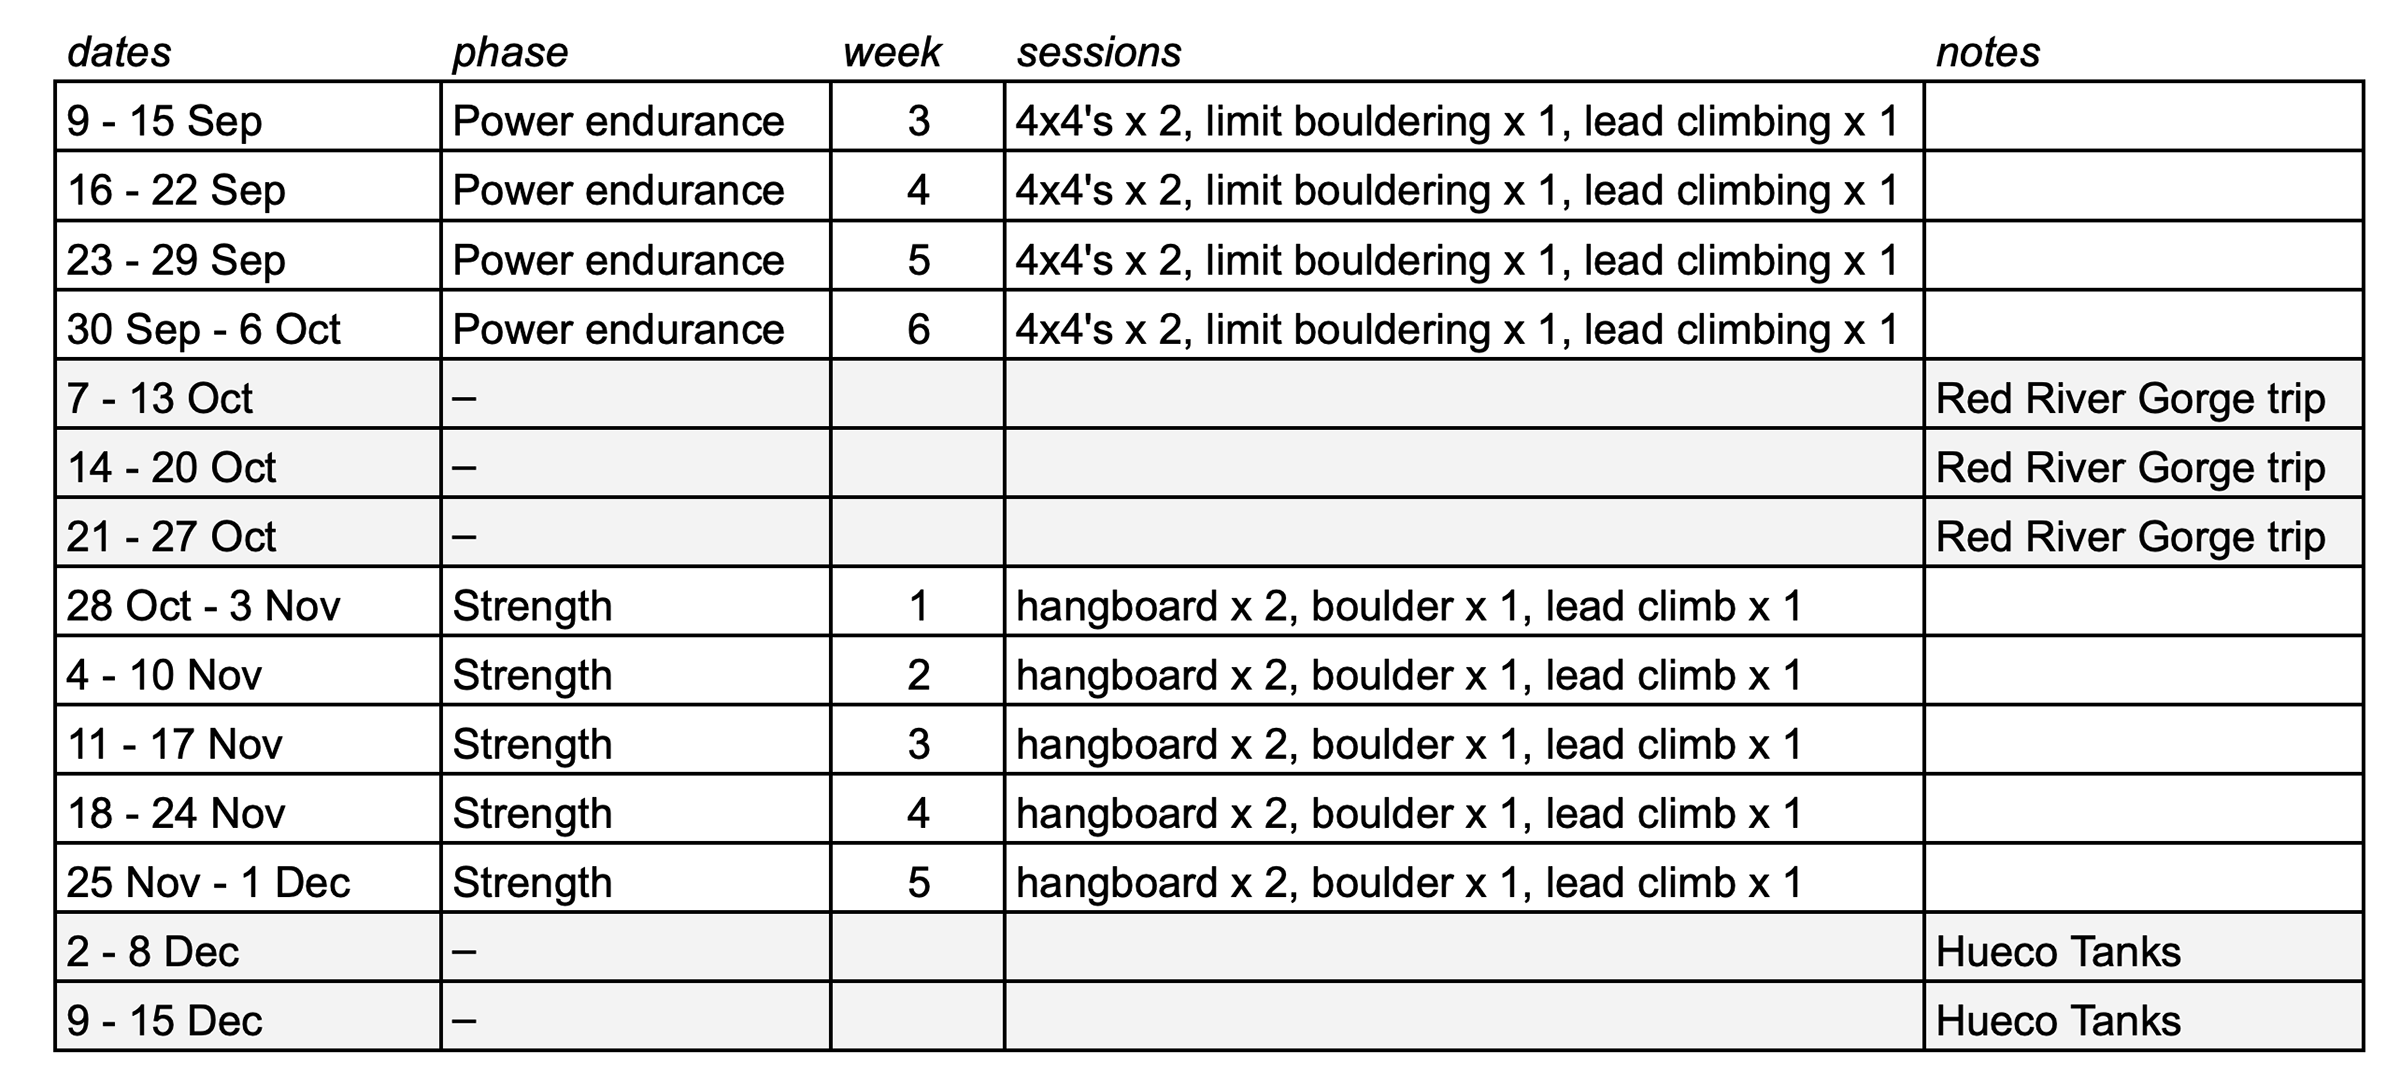
Your routine
If life becomes difficult because work, domestic responsibilities, and climbing clash, all aspects of your life could suffer. To avoid this, you’ll need to plan your training so that it fits into your weekly routine (Training cannot take precedence over everything else). Getting into a good routine will be easier for students and people who work regular hours since they can rely on there being little variability from one week to the next. It might be boring, but routine is the best way to ensure that you’re productive with your time. If the nature of your work makes a routine impossible, you will have to make a plan at the start of every week or make the most of opportunities to train when they present themselves. Just also remember to factor in rest days and open days for climbing rock.
Injury prevention
Compared to muscle, connective tissue takes longer to repair and strengthen. As a result, your muscles can become stronger than their pulleys and tendons, which in turn can lead to injury. Your fingers are most at risk here, and you’ll need to listen to your body and take certain precautions to avoid an injury that could lay you off for months. If you’ve had a finger injury in the last 6 months, you’ll need to avoid loading your fingers aggressively, especially in the half-crimp and full crimp positions. The other common cause of injury in climbers is a muscle imbalance. These injuries are most commonly seen in the shoulders and elbows. If either of these have given you trouble, you will first want to shore up the relevant antagonist muscles (A physio can give you guidance here).
Energy systems and fitness components
The forearm muscles receive the most attention when training for climbing since they are usually the weakest physical link in a climber’s chain of abilities. As a result, we tend to focus on this muscle group when we profile energy systems. Like most muscles, your forearm flexors derive energy through ATP stored in your muscles and then, when that’s depleted, through three different energy systems: the aerobic energy system, the lactic energy system, and the alactic energy system. The lactic and alactic systems are anaerobic in that they produce energy without oxygen. This allows them to produce ATP quickly but only for a relatively short period. The aerobic system, on the other hand, produces energy more slowly but in a sustainable way.
Given the different roles these systems play in energy production, you might think that they work separately or in a sequential manner, but it’s more complicated than that. They actually work in tandem even though one will usually produce more energy than the others depending on the intensity and duration of the exercise. In climbing, the alactic system will be dominant as a climber moves through the crux but will then be relieved by the aerobic system as she moves onto easier terrain. To put it simply, the anaerobic systems fuel short bouts of intense activity while the aerobic system can ensure a steady supply of energy at lower levels of intensity. In climbing training, we often talk about strength, power endurance, and strength – facets of fitness in which one of the three systems is dominant.
Strength (alactic system dominant)
The anaerobic alactic system fuels your body’s most high-powered activities, and it does so with very little fatigue right up until the point where it can’t produce any more energy – about 8 moves into a hard boulder problem – which is where the lactic system kicks in. Because sport climbs usually involve longer but slightly less intense bouts of activity, you’re more likely to rely on the lactic system than the alactic system when climbing routes – unless the crux is low down or the climbing up to the crux is easy. To train this system, climbers will typically limit reps (or time on the wall) to 8 seconds or less, keep the intensity high, and take long rests between burns and sets.
Power endurance (lactic system dominant)
While the alactic system can provide energy for only several seconds, the lactic system can provide energy for up to a minute, albeit at a slightly lower intensity. The downside to this process is that it produces metabolic byproducts that cause fatigue and bring on that pumped feeling you know so well. Fortunately, the lactic system rarely works alone. On harder routes, the lactic system and aerobic system take turns to provide energy as the intensity of the climbing fluctuates. When you have to bare down hard on small holds, the lactic system powers your muscles, and when the intensity eases up, the aerobic system provides most of the necessary energy. With power endurance training, the goal is to maintain a higher level of intensity for up to a minute without getting too pumped.
Endurance (aerobic system dominant)
The metabolic process of the aerobic energy system involves many more steps and produces ATP more slowly than the anaerobic systems, but it can produce more ATP than the lactic or alactic systems. If you are not getting pumped while climbing, it’s because the intensity level is low enough for energy to be replaced by the aerobic system. When the climbing is easy enough (5 or 6 out of 10 in terms of effort), you might be able to climb pitch after pitch for hours with little sign of fatigue, depending on your fitness level. This is the goal of endurance training – to extend the period of time for which you can climb at low to moderate levels of intensity. Besides this main benefit, training your aerobic energy system will also allow you to recover more quickly on and off the wall and will ensure better support for the lactic system when the climbing is harder.
Basic training concepts
An understanding of the following basic training concepts will help you train more efficiently, mitigate the risk of injury, and stay motivated.
Progressive overload
Muscular adaptation is achieved through a cycle of overload, recovery and supercompensation. This applies to both muscle recruitment and hypotrophy, the difference being that gains in muscle recruitment are seen relatively soon compared to those made in hypertrophy. What this means for your training is that you might see small increases in capacity in as few as two sessions. To induce further supercompensation, you then have to increase the resistance or number of reps so that muscles are overloaded to the same extent that they were at the start of the training phase. This process of incrementally increasing the work done by a muscle is called progressive overload.
Measurement
To be able to track your performance and ensure progressive overload, you need to keep a record of your workouts and climbing performance. For this purpose, you will need to have metrics for your climbing goals and your training goals. Deciding on a metric for your climbing goals will be easy enough – it will usually be grade. But don’t just fixate on the hardest grade you want to climb. You’ll likely need to establish a base at your current grade and climb several more routes of this difficulty before upping the ante. In line with this approach to progression, you might want to climb one 5.12a, three 5.11d’s, six 5.11c’s, and nine 5.11b’s (a typical grade pyramid).
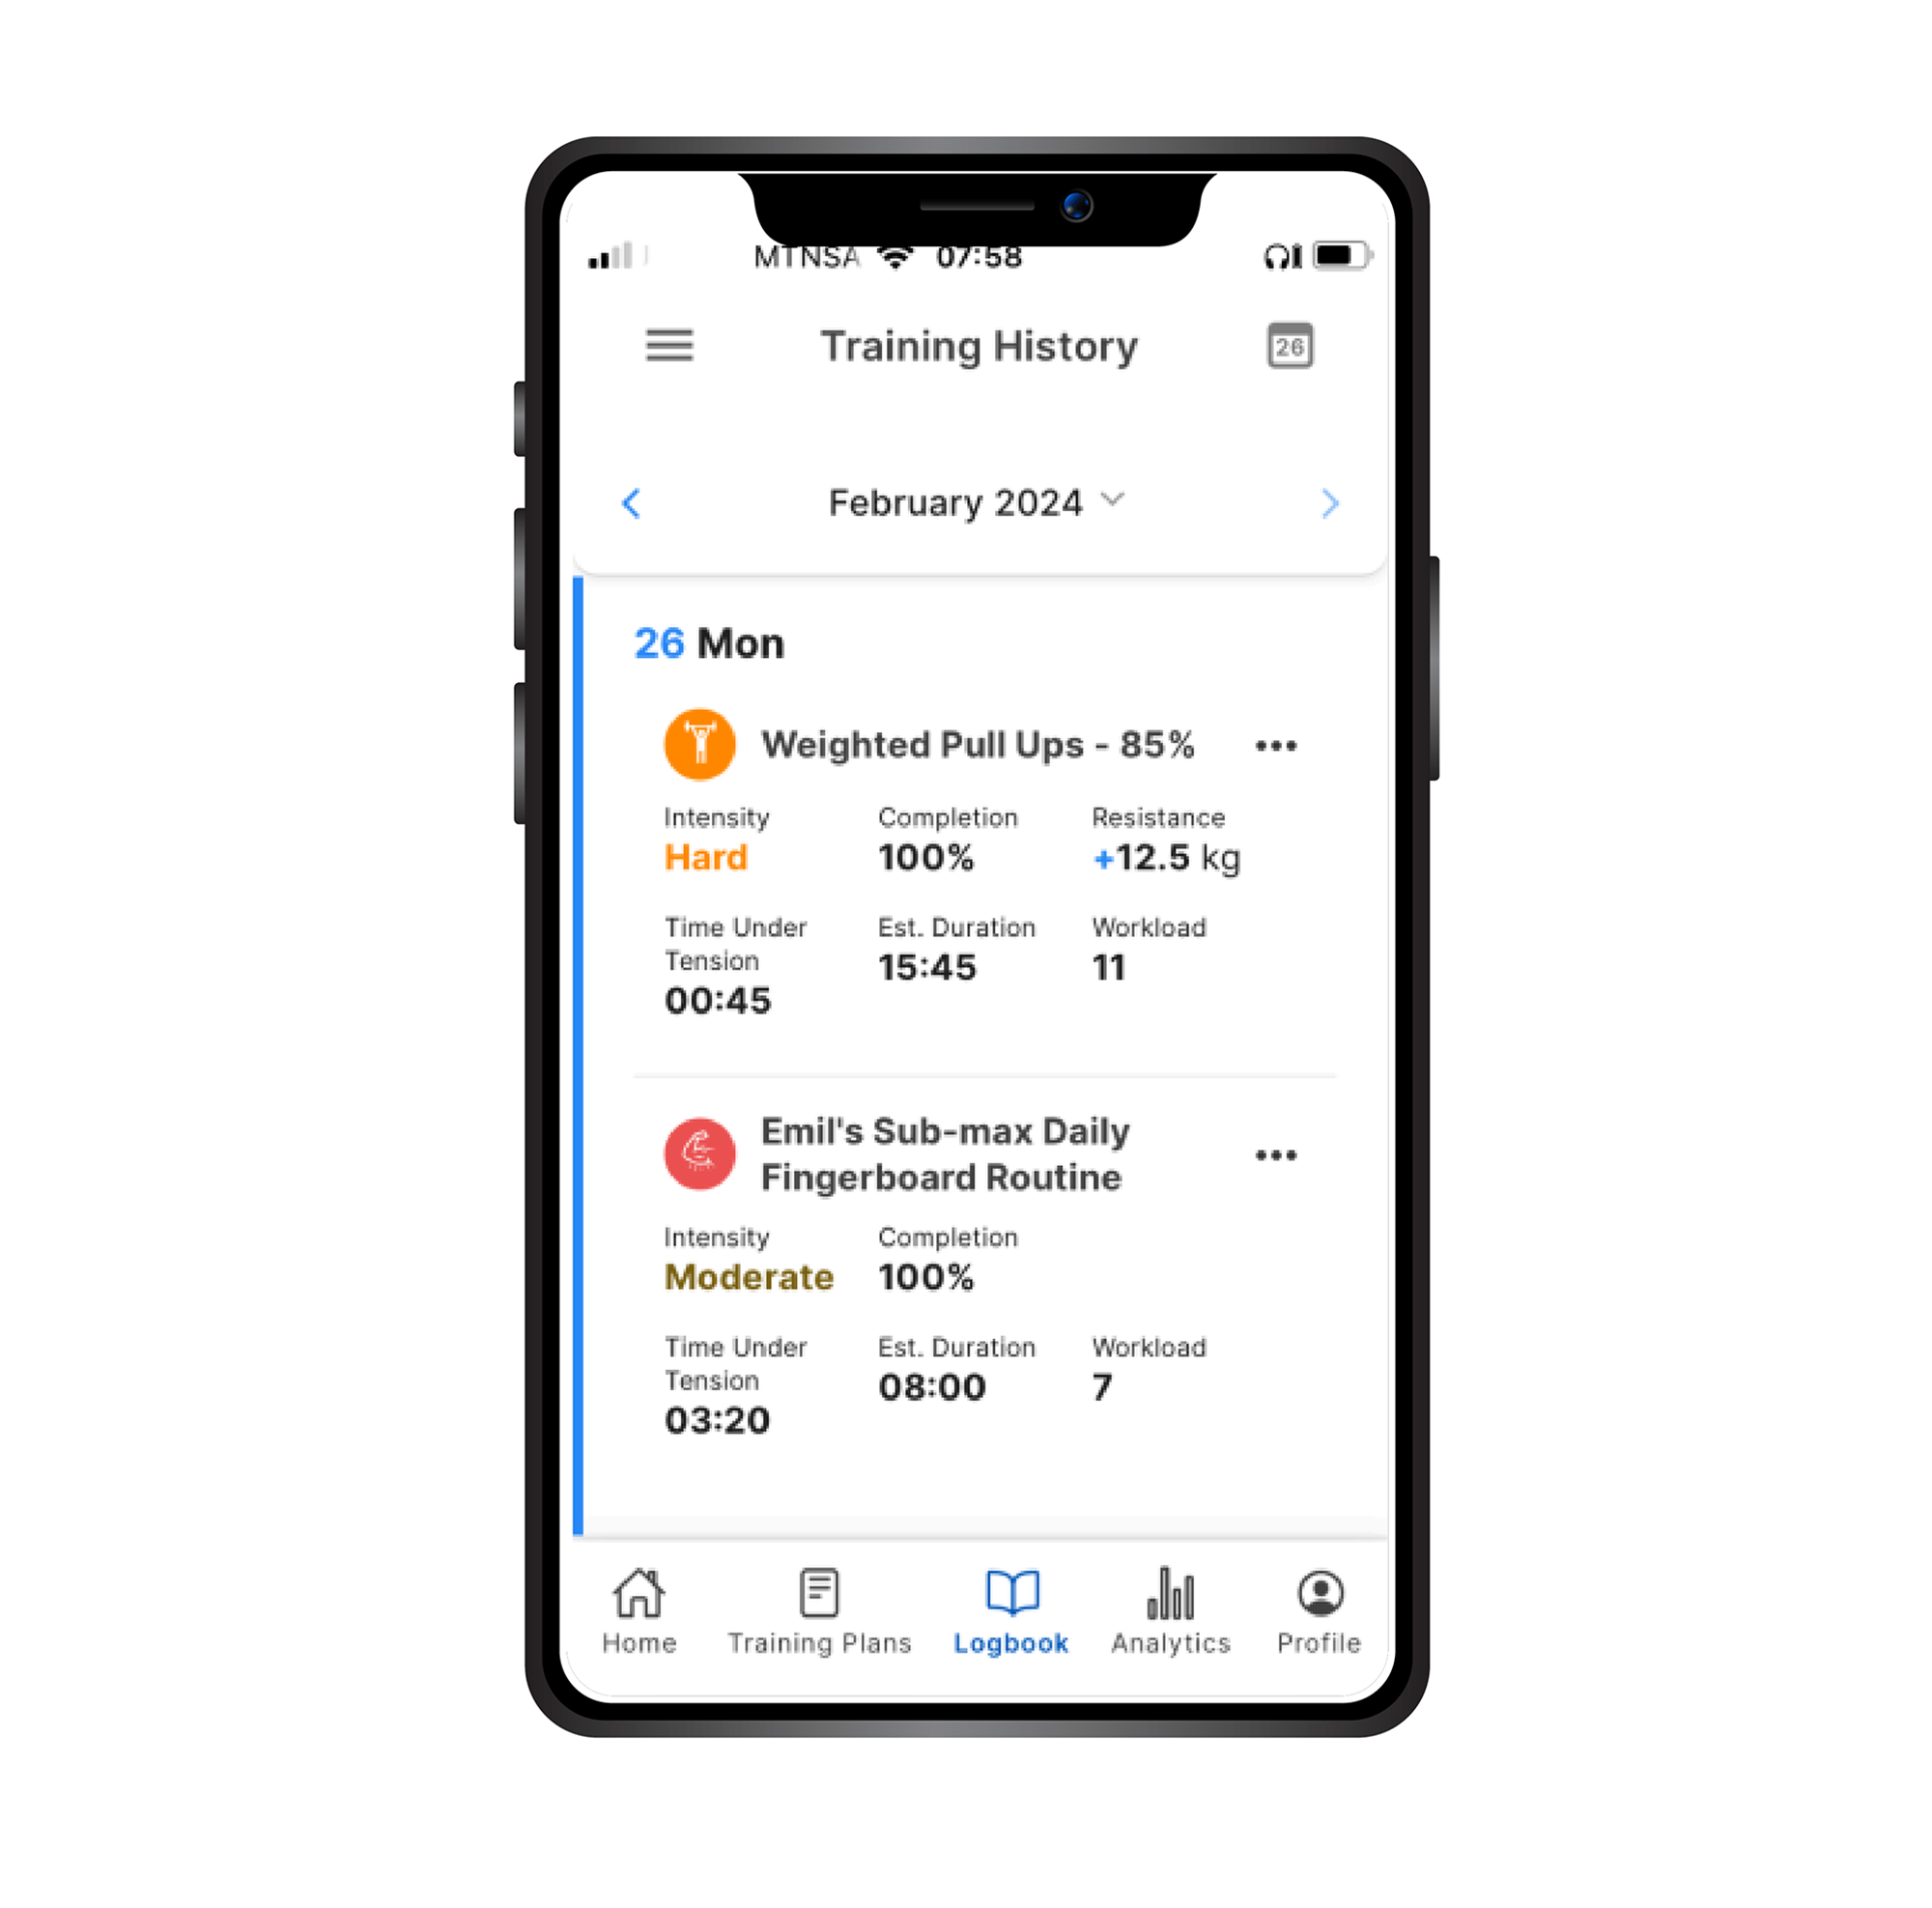
When it comes to metrics for your training goals, things can get more complicated, but here you have even more to gain by keeping a record of your workouts and tracking your progress. To ensure gradual and consistent progression, it helps to make notes on which holds on the hangboard you used, how long your hangs and rests were, and how many reps and sets you did. That way, you’ll know what to aim for in your next session whether you’re going to repeat the previous workout (You won’t increase the workload with every session) or take things up a notch. This approach can even be applied to bouldering or board training with a margin for variation.
Rest and recovery
Motivated climbers might be tempted to skimp on rest days to get in more training, but would be to neglect one of the most important parts of training. You don’t get strong while training or even immediately afterwards. Supercompensation and other types of neural and muscular adaptation occur in the days after a workout, and by skipping your rest days, you miss out on benefitting fully from all the hard work you put in. Worse yet, by going days without resting taxed muscles, you risk overtraining and injury. To get the most from your training, take rest days, get enough sleep, and eat sensibly. Also note that a rest day is one on which you give your forearms and major pull muscles a break. You can still train your core and antagonist muscles when giving your hardest working muscles a break.
Periodization
While you can train strength and endurance concurrently, you are likely to get better results by focusing on a single ability or energy system at a time. This strategy is commonly known as periodisation or block training as it involves breaking a training program down into blocks (usually 4 to 6 weeks), each with its own focus. For example, in the strength phase, you would train max grip strength and upper body power by practicing exercises like bouldering and hangboarding, and in the endurance phase you’d train your aerobic capacity by doing interval training and climbing laps. The advantage of this approach is that it ensures that a certain energy system or muscle group is overloaded regularly enough to induce supercompensation or an improvement in aerobic capacity.

When structuring a program this way, you would incorporate some hard bouldering into your endurance phase routine – just enough to keep your max strength up.
The only downside to the traditional block training approach is that you can lose gains made in one phase by not training the relevant energy system in the next phase. For example, you might find that your max strength weakens during your endurance phase even as your aerobic capacity improves. To overcome this limitation, many coaches recommend a hybrid form of periodization in which you focus on one type of training during a certain phase but still incorporate other types of training so that you don’t lose the gains made in previous phases.
Phase 1: Power endurance
The goal of this first phase is to give you the fitness required for sustained climbing up to 30 moves or around 60 seconds. This is the kind of climbing that you do on hard redpoint sends – that which puts you deep in the pump. If you are relatively new to structured training, I recommend doing this phase before your strength phase as it will allow you to develop a base level of fitness before you get into the more intense strength phase.
Redpoint repeaters
With redpoint repeaters, the object is to climb the same route four or five times with five-minute rests between burns. This sounds simple enough, but it does require you to select the right route and do the necessary prep work. The route needs to offer sustained climbing with no rests for at least 20 moves – around the height of a tallish gym route and long enough to get your pump on. In terms of difficulty, it should be two or three grades below your maximum redpoint grade and should not be so technically difficult that you are likely to fall off anywhere. To reduce your chances of making a technical mistake, you will first have to get the moves dialed in (the prep work). It can make sense to do this in a previous session if you want to start your redpoint repeaters as fresh as possible. Aim to do two sets of repeaters (on two different routes) in a single session.
4 x 4’s
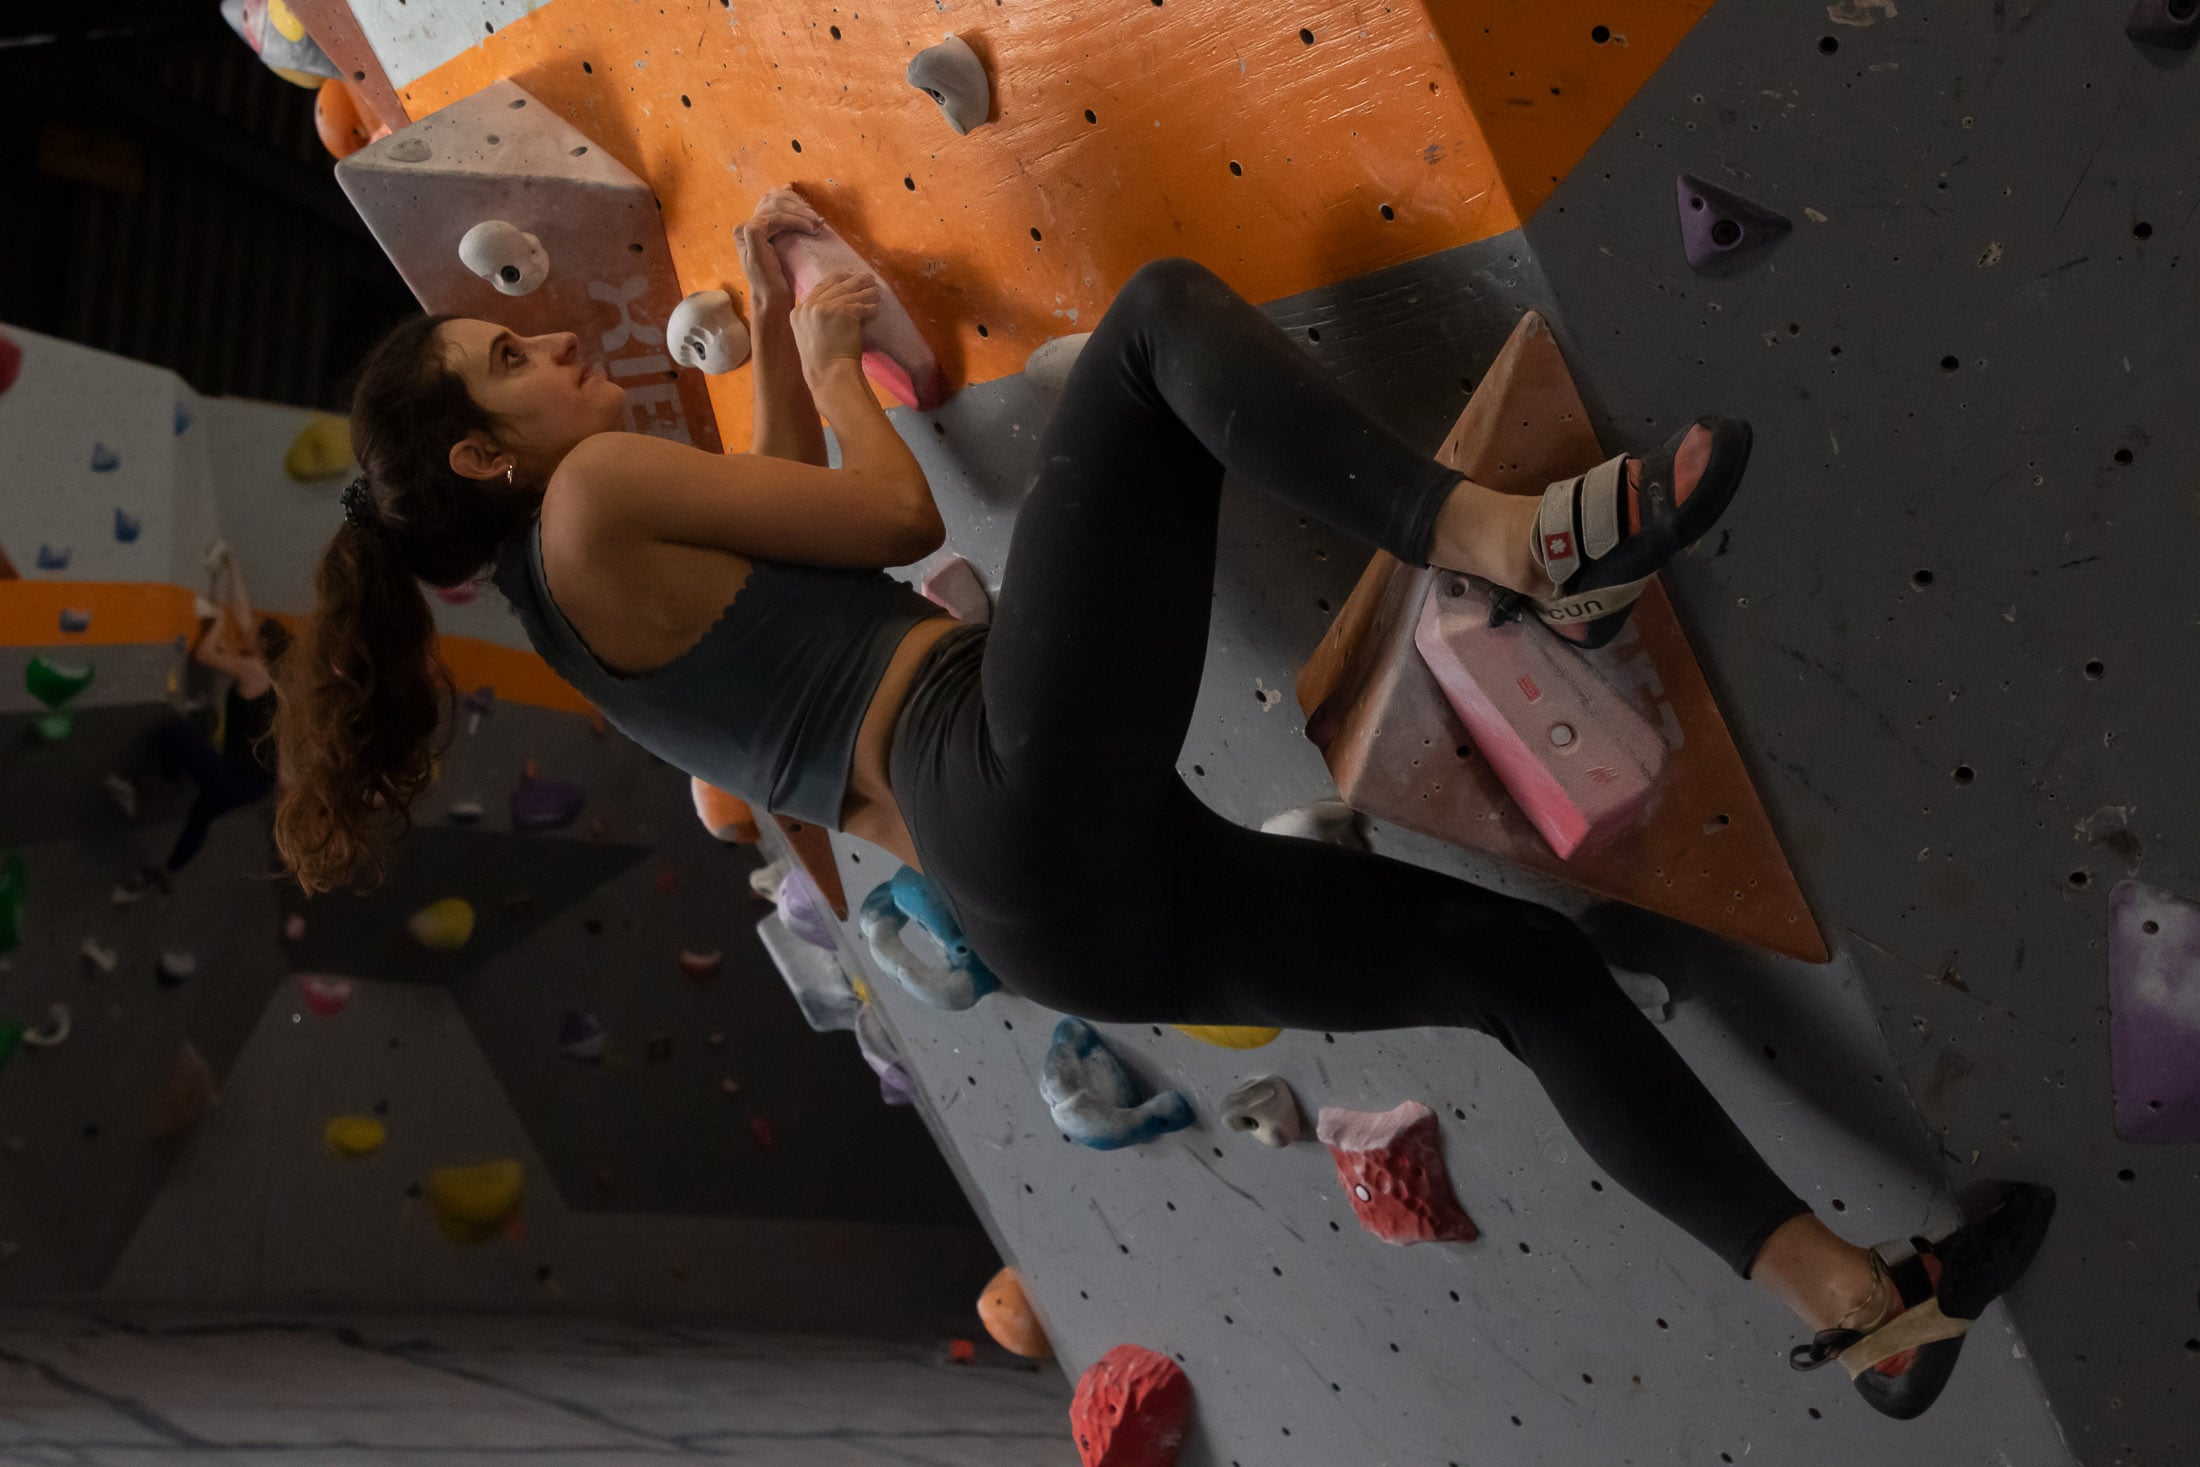
With this exercise, you will choose four different boulder problems of approximately the same grade – just easy enough that you can climb all four of them consecutively. This will probably be one grade below what you can flash. Climb the four problems as quickly as possible, then rest for four minutes and climb all four in quick succession again. Ideally you will complete the first three sets and then fail on the fourth set. Progress in this exercise means gradually adding harder problems to your set. As with most exercises recommended here, problems should be physically hard but not so technically difficult that you’re likely to fall off because you make a mistake. When you fall off, it should be because muscles have been taxed to failure.
Phase 2: Strength
Improving your max strength is important not only because it allows you to latch smaller holds and pull down with more force but also because it determines the upper limits of your endurance and power endurance. Improve your strength, and you will also be able to climb harder for longer without getting pumped – provided that you also train your lactic and aerobic energy systems. But strength is also the hardest physical component to train. Unlike power endurance and endurance, which mostly involves conditioning the lactic and aerobic energy systems, strength gains depend on better muscle recruitment and hypotrophy – the enlargement of muscle fibers. To induce this kind of supercompensation, climbers will typically rely on a combination of off-the-wall and on-the-wall training, thereby ensuring both a sufficiently high level of resistance and sport-specificity.
Lifting
In recent years, many climbers have started using edge or block lifting to supplement (or even replace) hangboarding. Why? Because there are at least three advantages to block pulling. The first is convenience. A lifting edge is more mobile than a hangboard even if you carry a lifting pin around with you (and you don’t even really need a lifting pin). Secondly, it’s much easier to vary the resistance in lifting compared to hangboarding. You can add or subtract weight in relatively small increments whereas your ability to vary the load in hangboarding often depends on the edge sizes available. Thirdly, you can more effectively train your pinch strength with a lifting block, although this will typically require a block designed specifically for this purpose.
Hangboarding
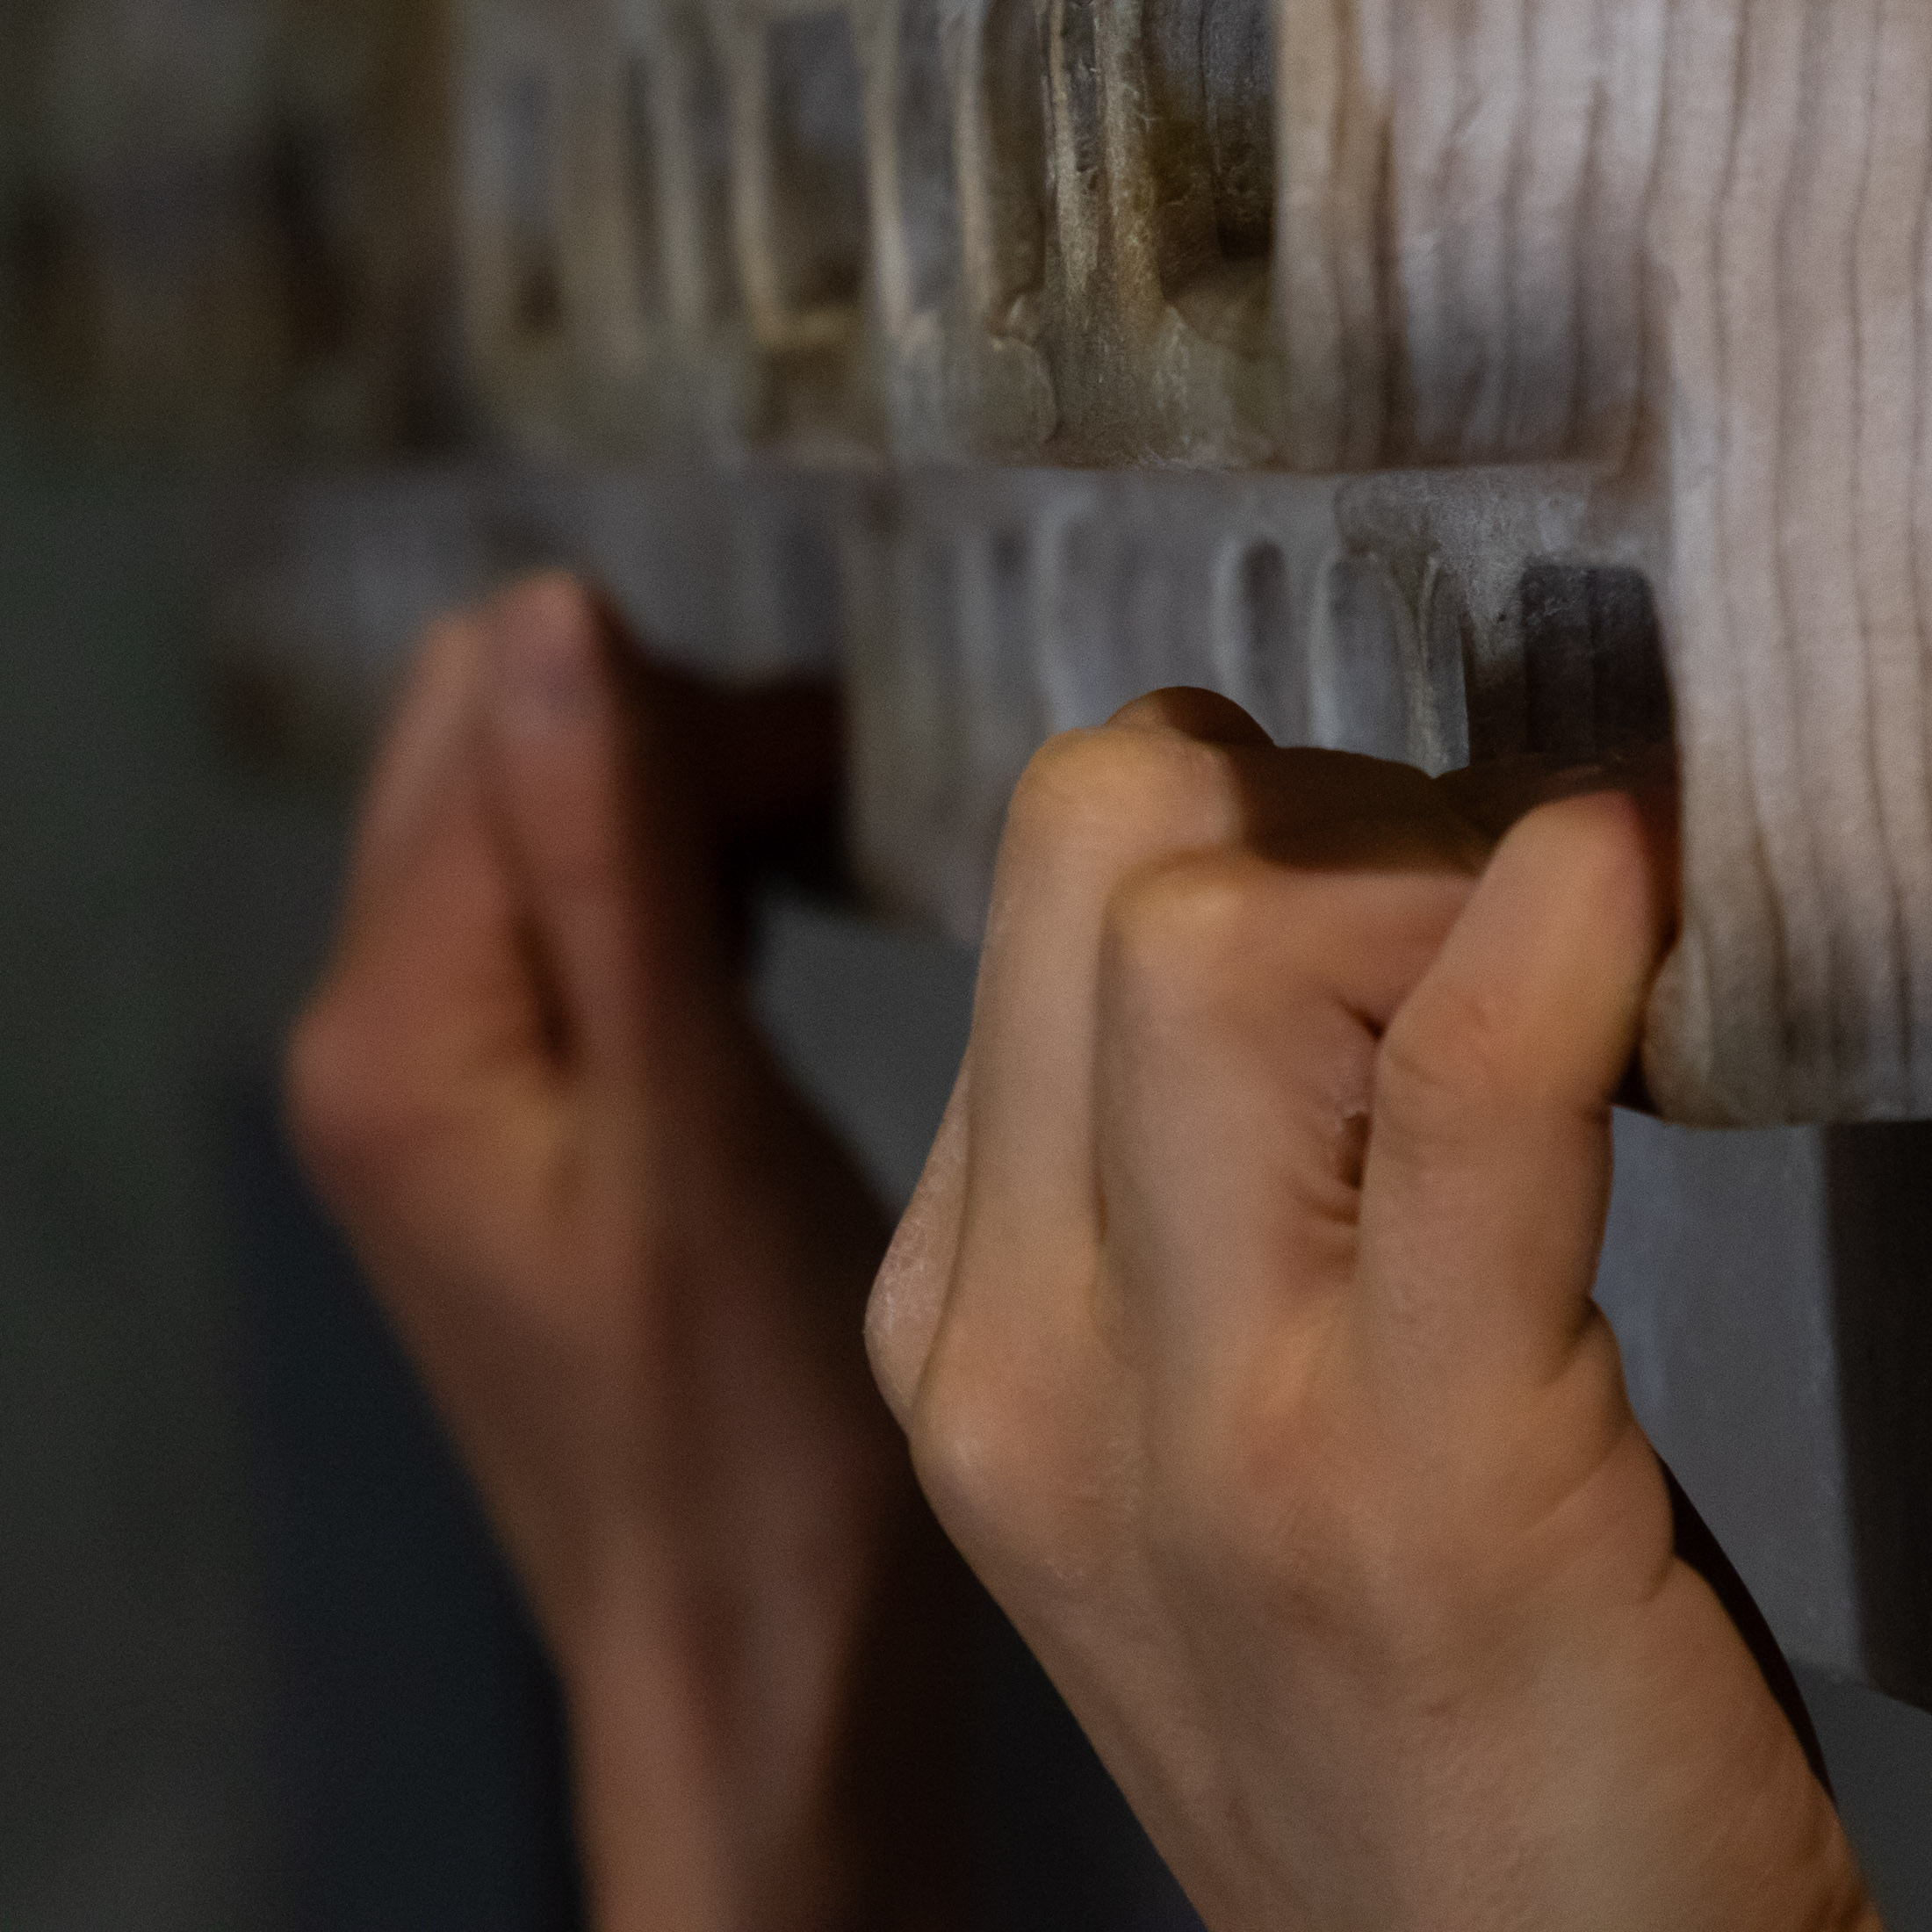
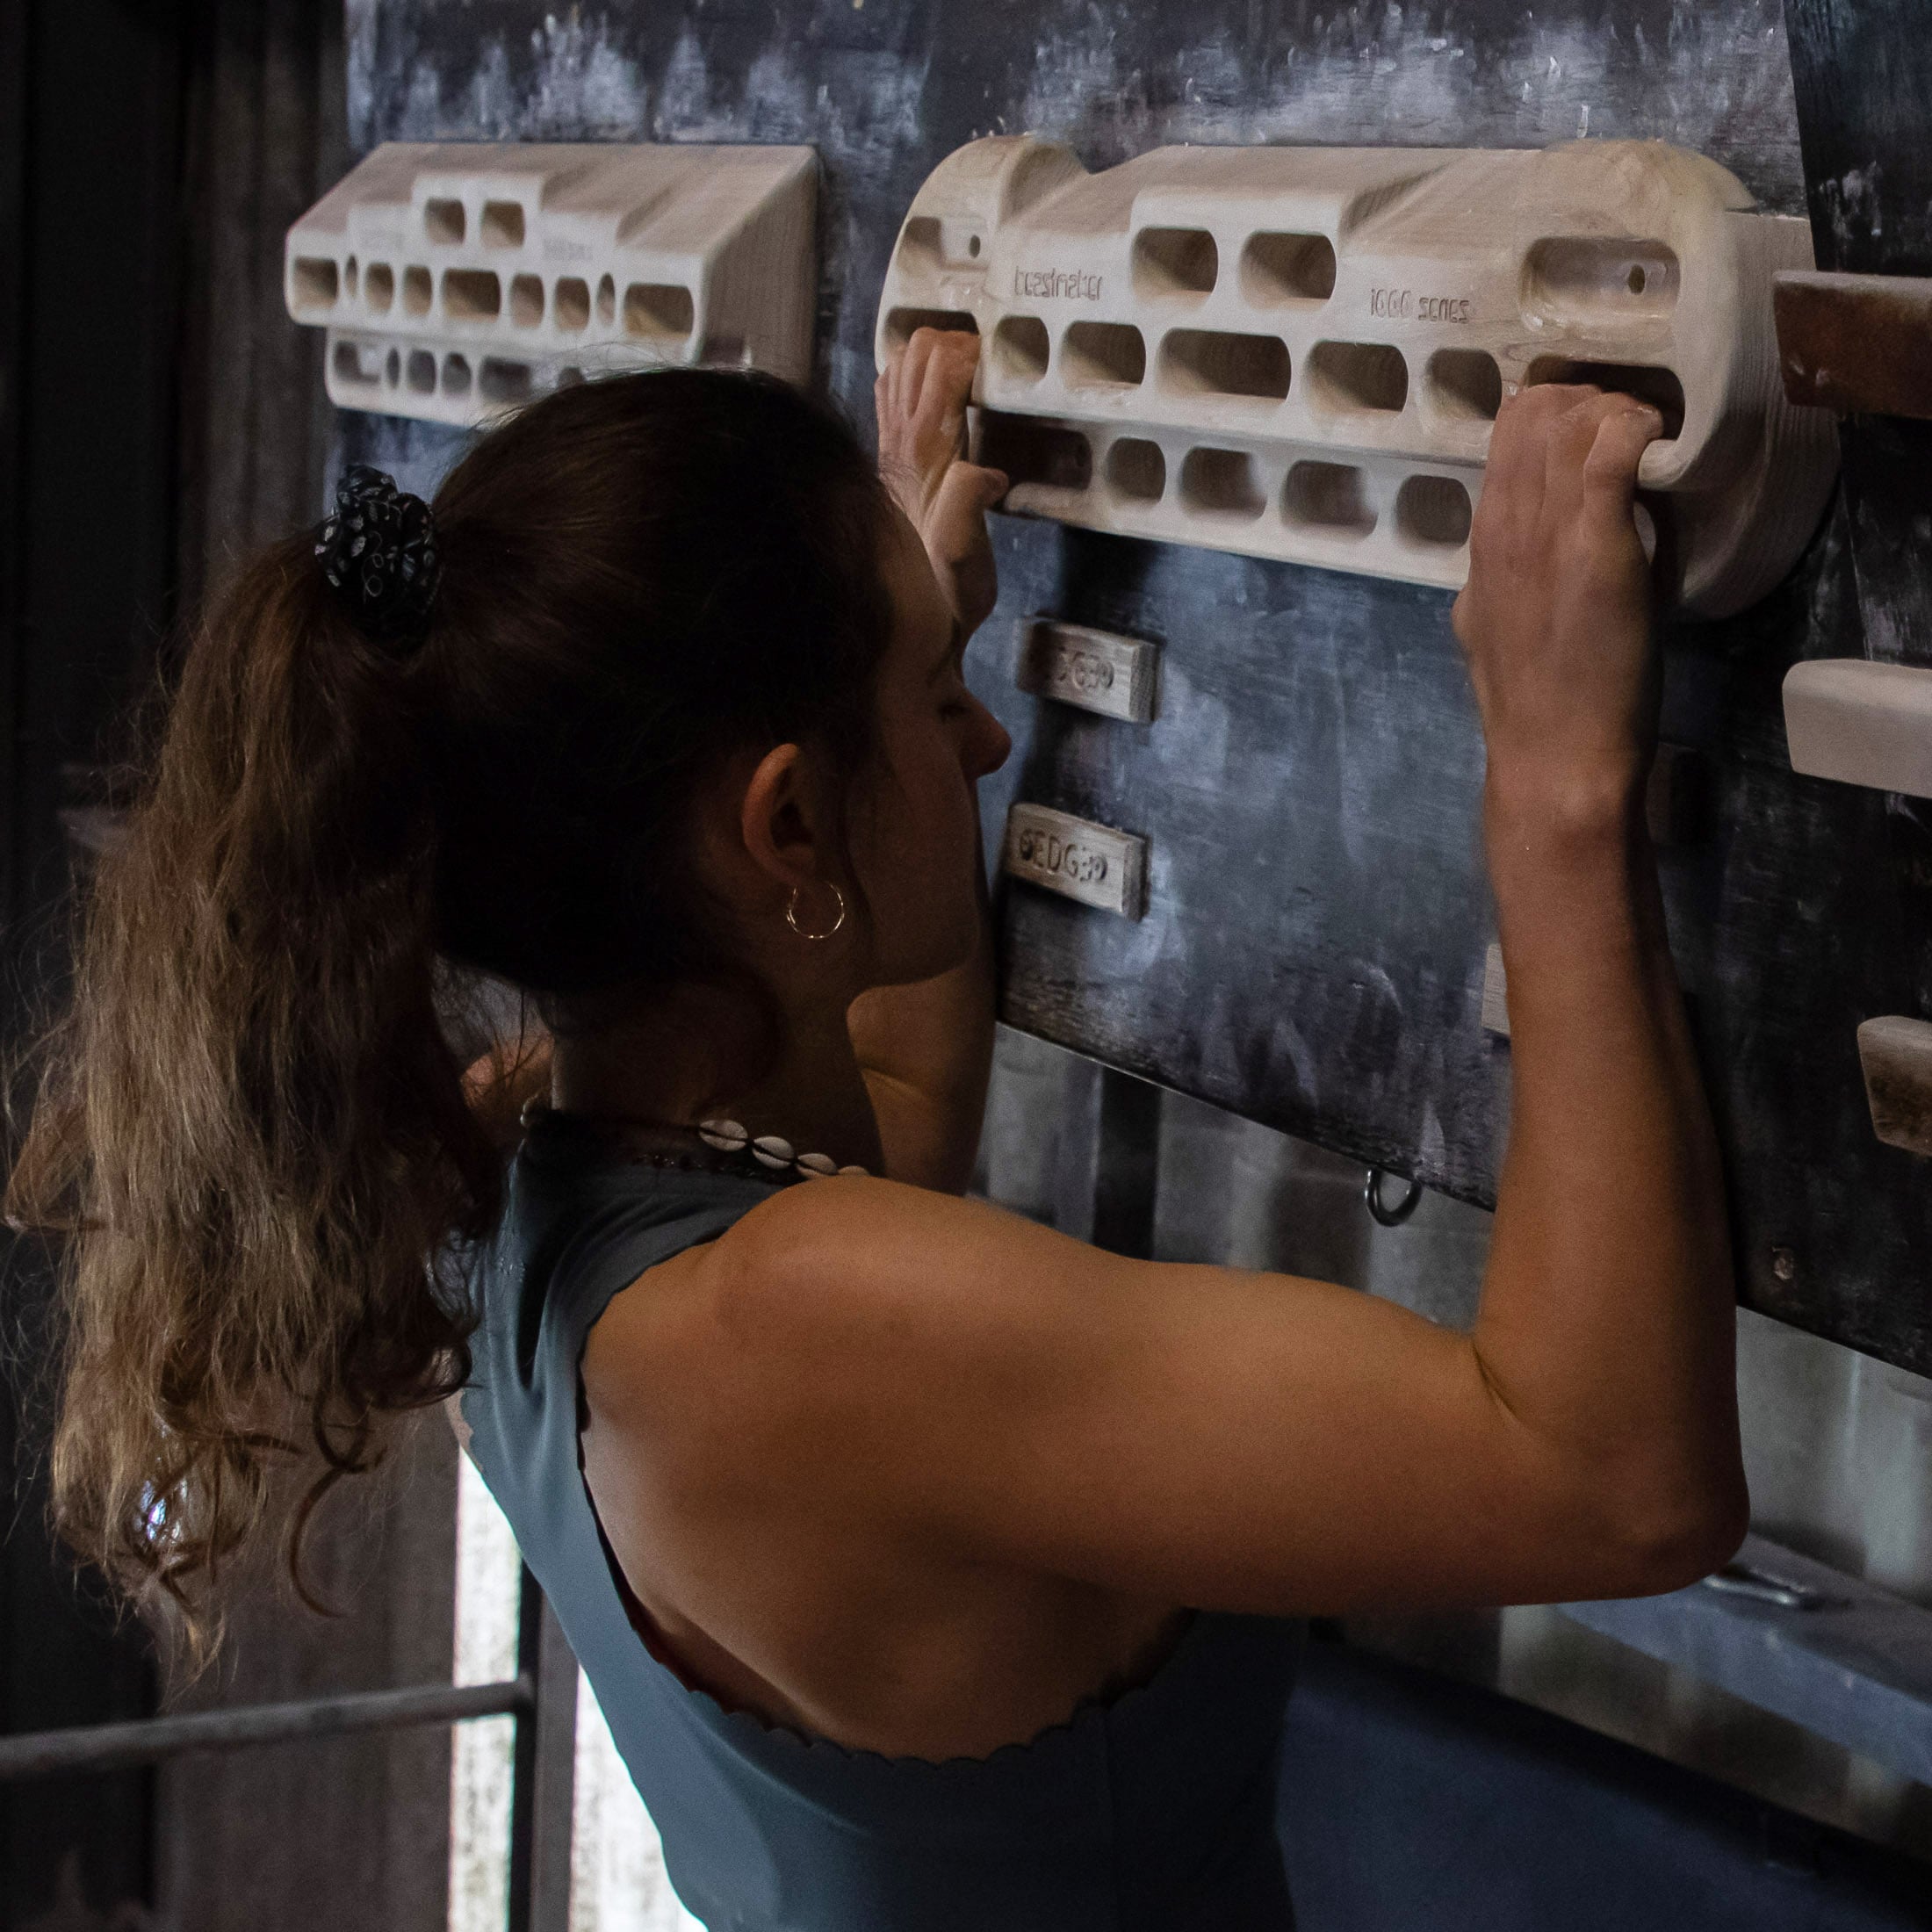
Used correctly, hangboarding can produce impressive strength gains. If used incorrectly, it can result in injury and months of downtime. The key to hangboarding is to treat it as your primary training exercise when you do use it. This is not something you should do at the end of a session or on the same day that you do hard bouldering. It replaces hard bouldering and should be done while you are fresh – after 10 to 20 minutes of easy to moderate bouldering. Beyond that, it’s also important to train different grips, practice good form, and give yourself sufficient rest between workouts. My article on hangboarding, goes into all of these in more detail.
Unstructured bouldering
This is the approach to bouldering that most climbers take in their average session. Fun and unstructured, this type of training involves rocking up at the gym, warming up on a few easy and moderate problems, and then jumping on hard problems. Then later in the session, as your energy wanes, you reduce the level of difficulty by climbing easier problems. There is no problem with this type of training (if you can call it that) as long as it’s not overused. If relied on too heavily, it can lead to injury – which brings us to the alternative to hard bouldering: volume bouldering.
Volume bouldering
The key to better muscle recruitment is not high intensity but a high volume of training at moderate intensity (70 to 80% of max). That means you have as much to gain by doing lots of sub-max bouldering as you do by throwing yourself at hard problems every session. But improved muscle recruitment isn’t the only benefit to volume bouldering. This approach also reduces the risk of injury and gives climbers more opportunities (time on the wall) to hone their movement skills. To learn more about this protocol, see my article on using bouldering as a training tool.
Board training
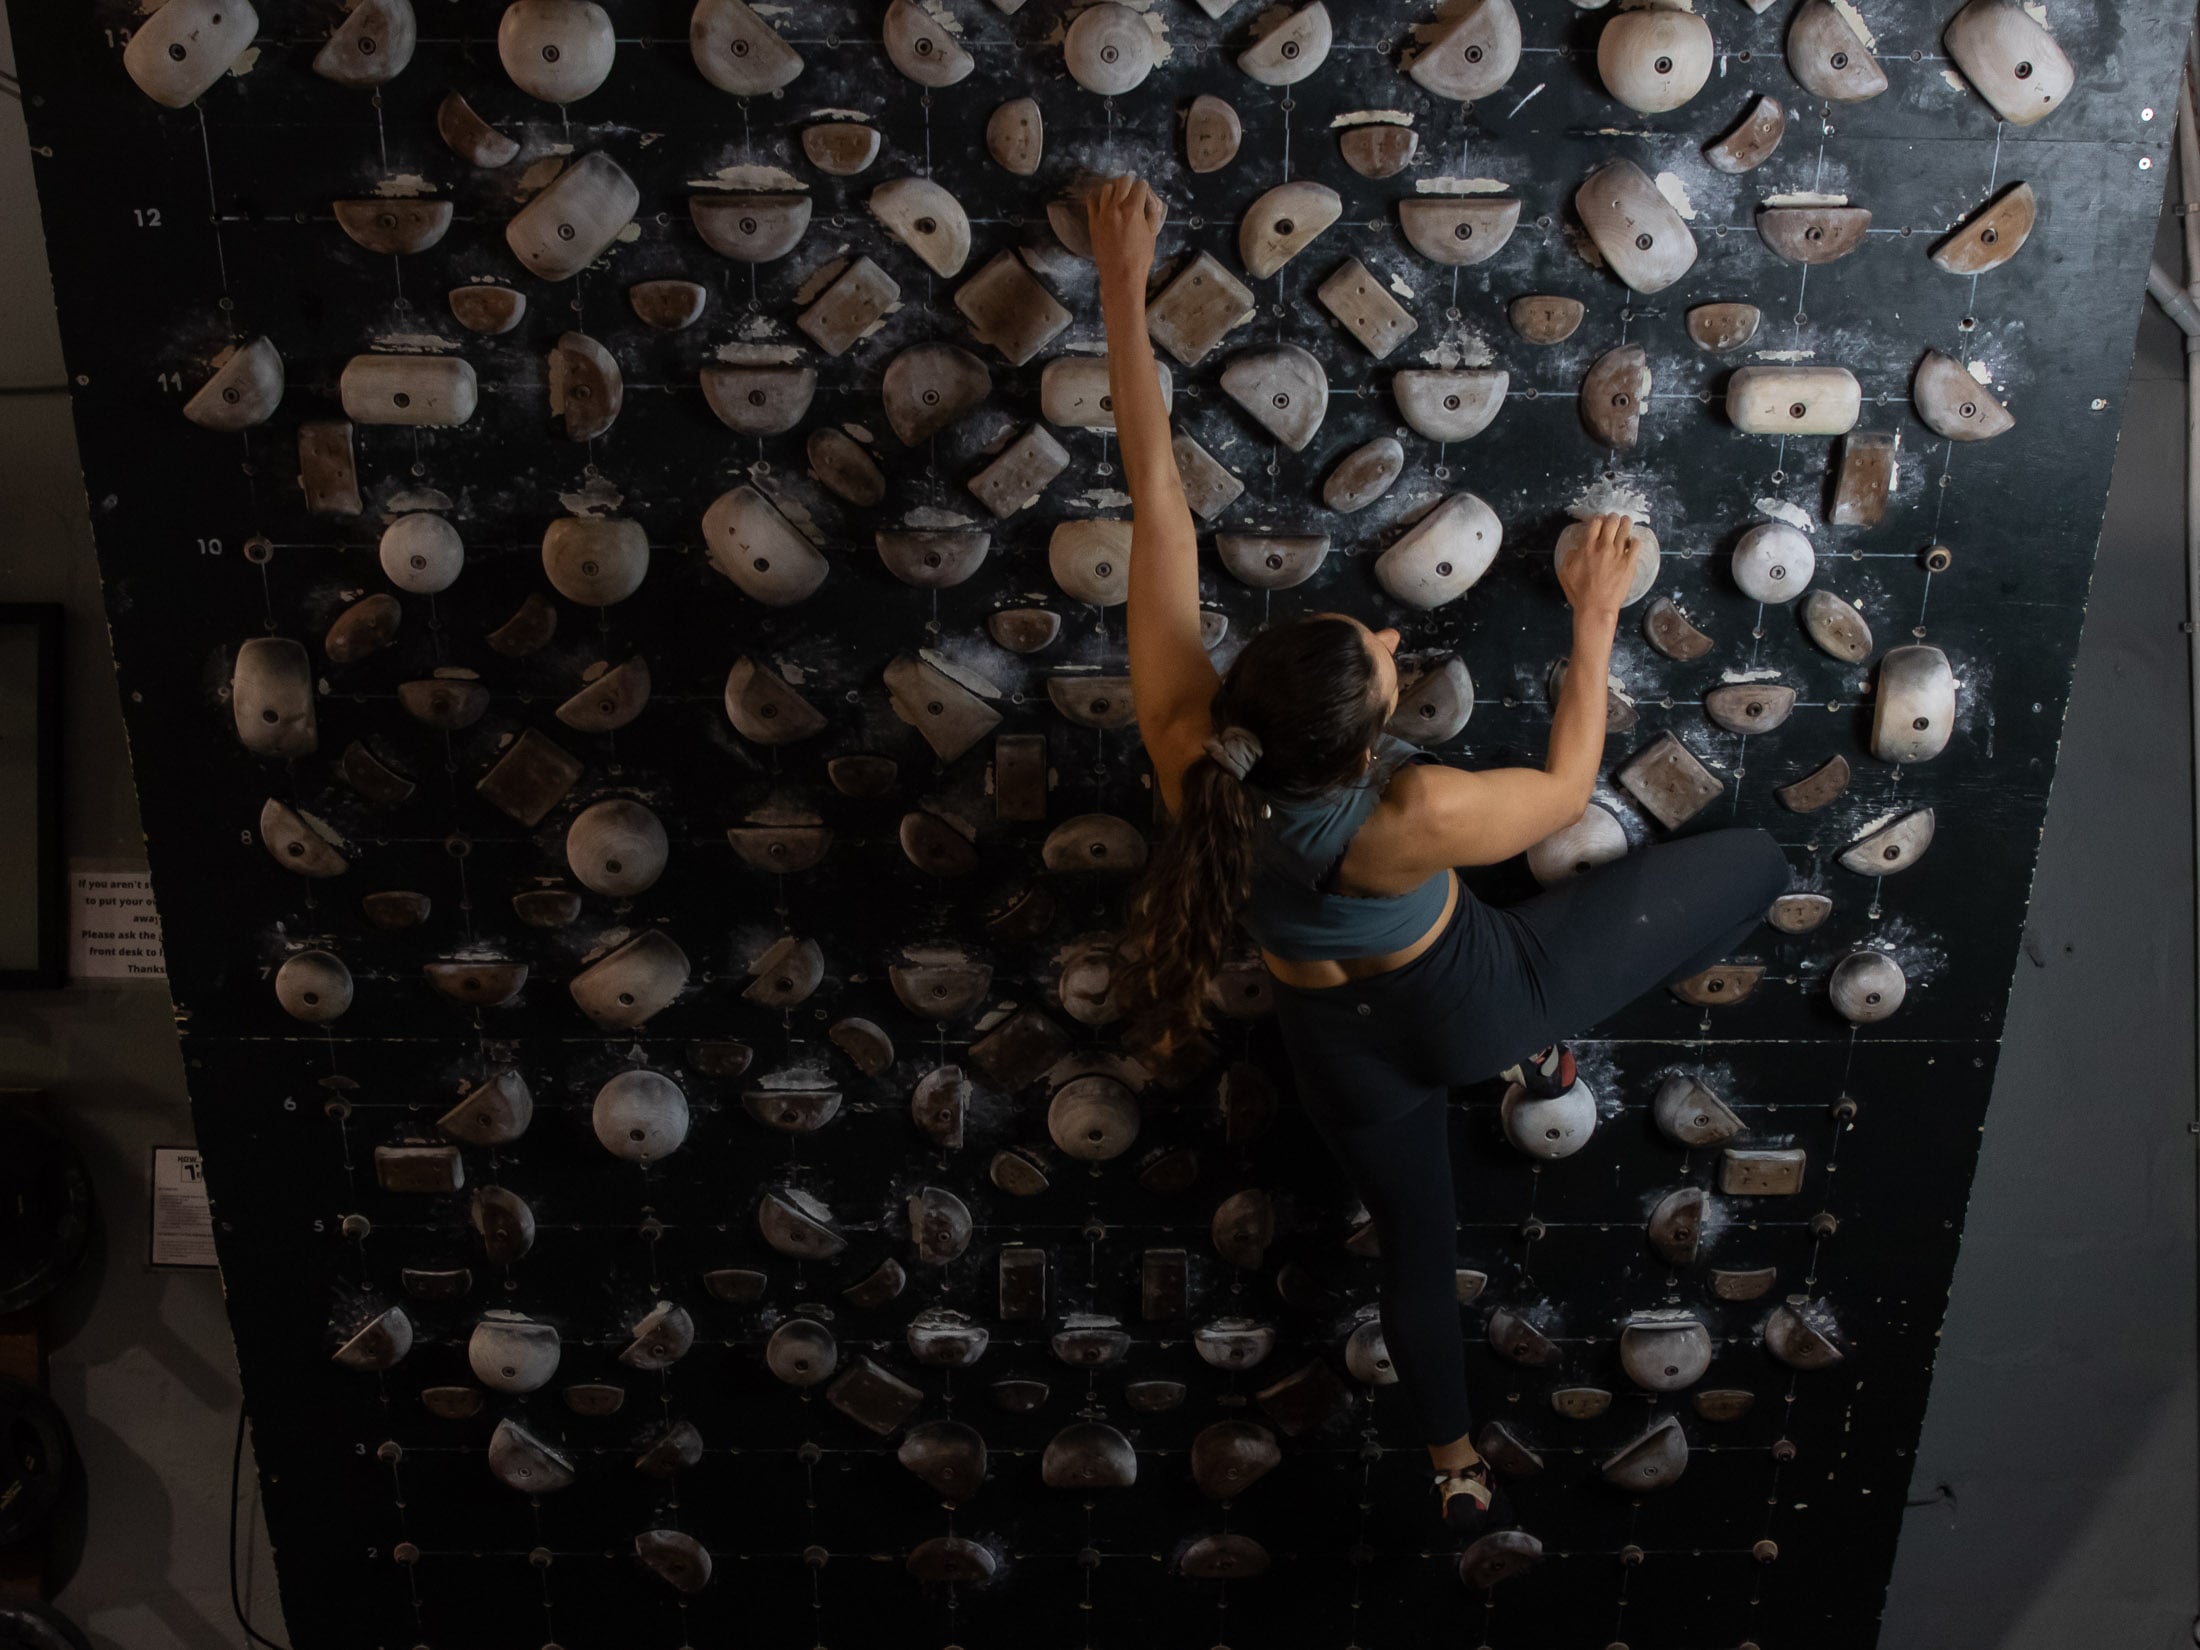
Whether you choose to train on a Moon board, Kilter board, or tension board, the biggest advantage of board training is that it simultaneously trains contact strength, core strength and upper body power in a very sport-specific way. Hangboarding is very useful for producing gains in max grip strength, but it can’t train contact strength, which is the ability to grasp a hold with force on contact. Think of what it takes to latch a small hold at the end of a dynamic move on a steep wall. You have to bear down on the hold the instant you catch it while also tightening up your core to keep your body close to the wall. There’s no better tool for training this ability than board training.
Phase 3: Endurance
Some climbers might choose to forego an endurance phase altogether if they get in enough mileage just by climbing outdoors. For those who do choose to do an endurance phase, the goal will be to improve their aerobic capacity – raise the level at which they start to get pumped – and develop the kind of fitness that will allow them to climb many more pitches in a single session. For this purpose, there are two simple but very effective exercises.
Interval training
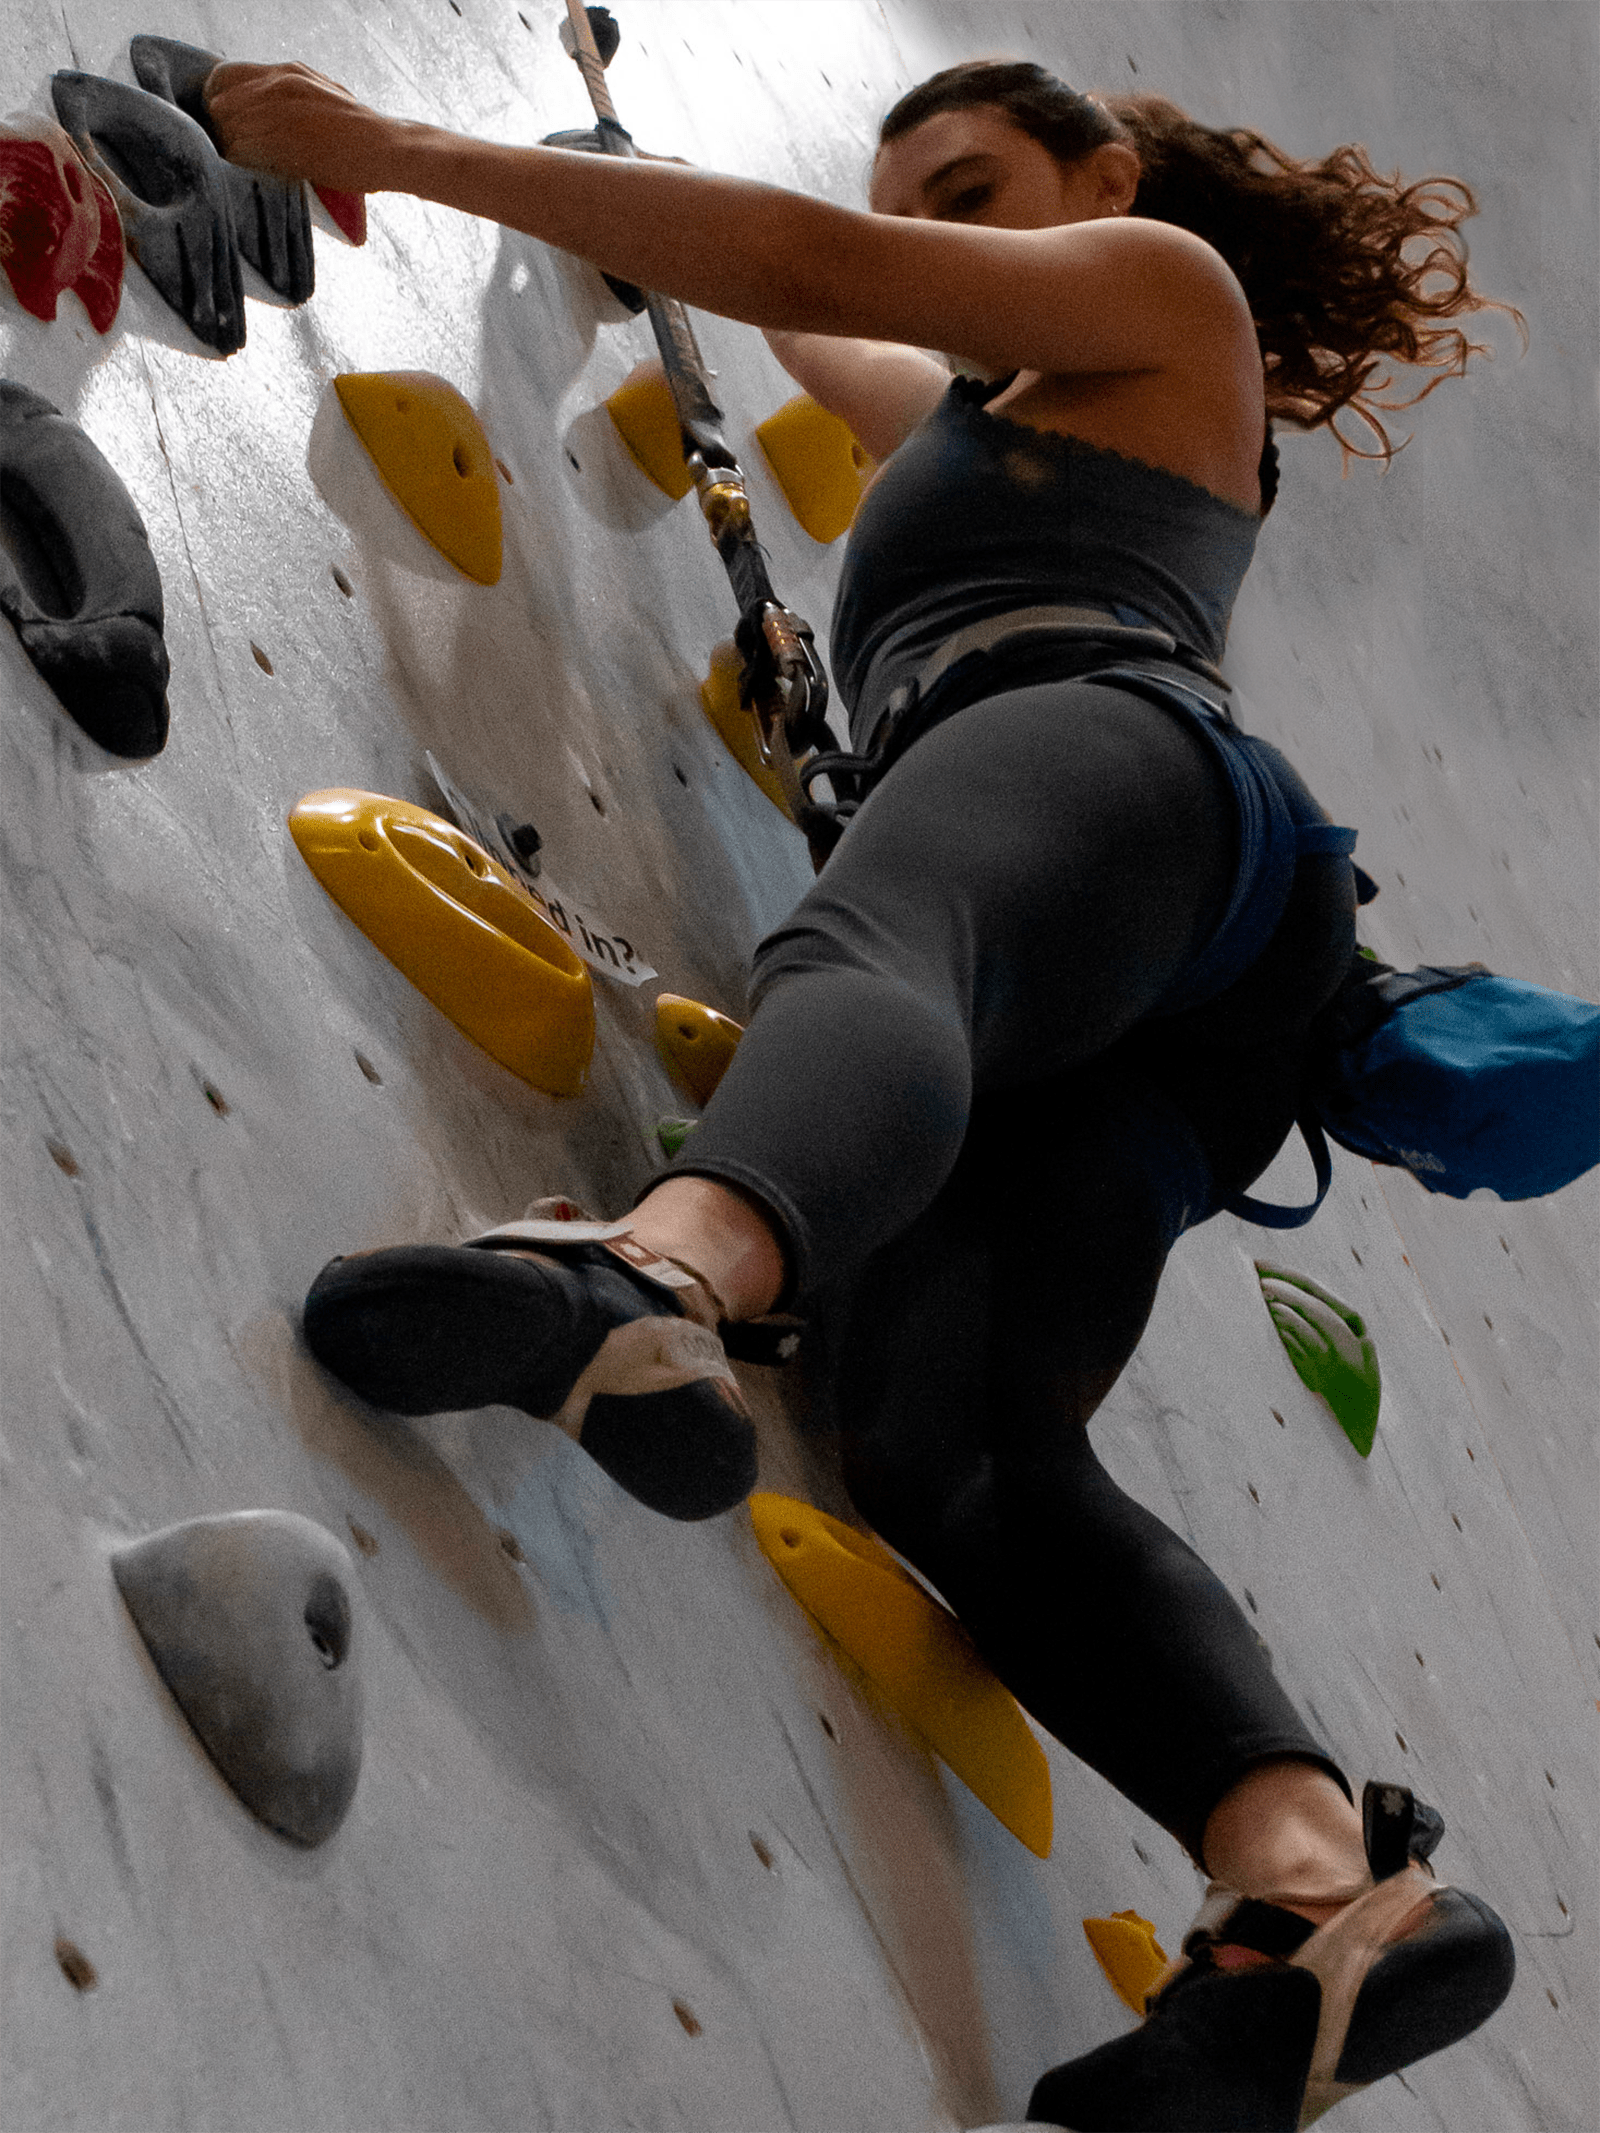
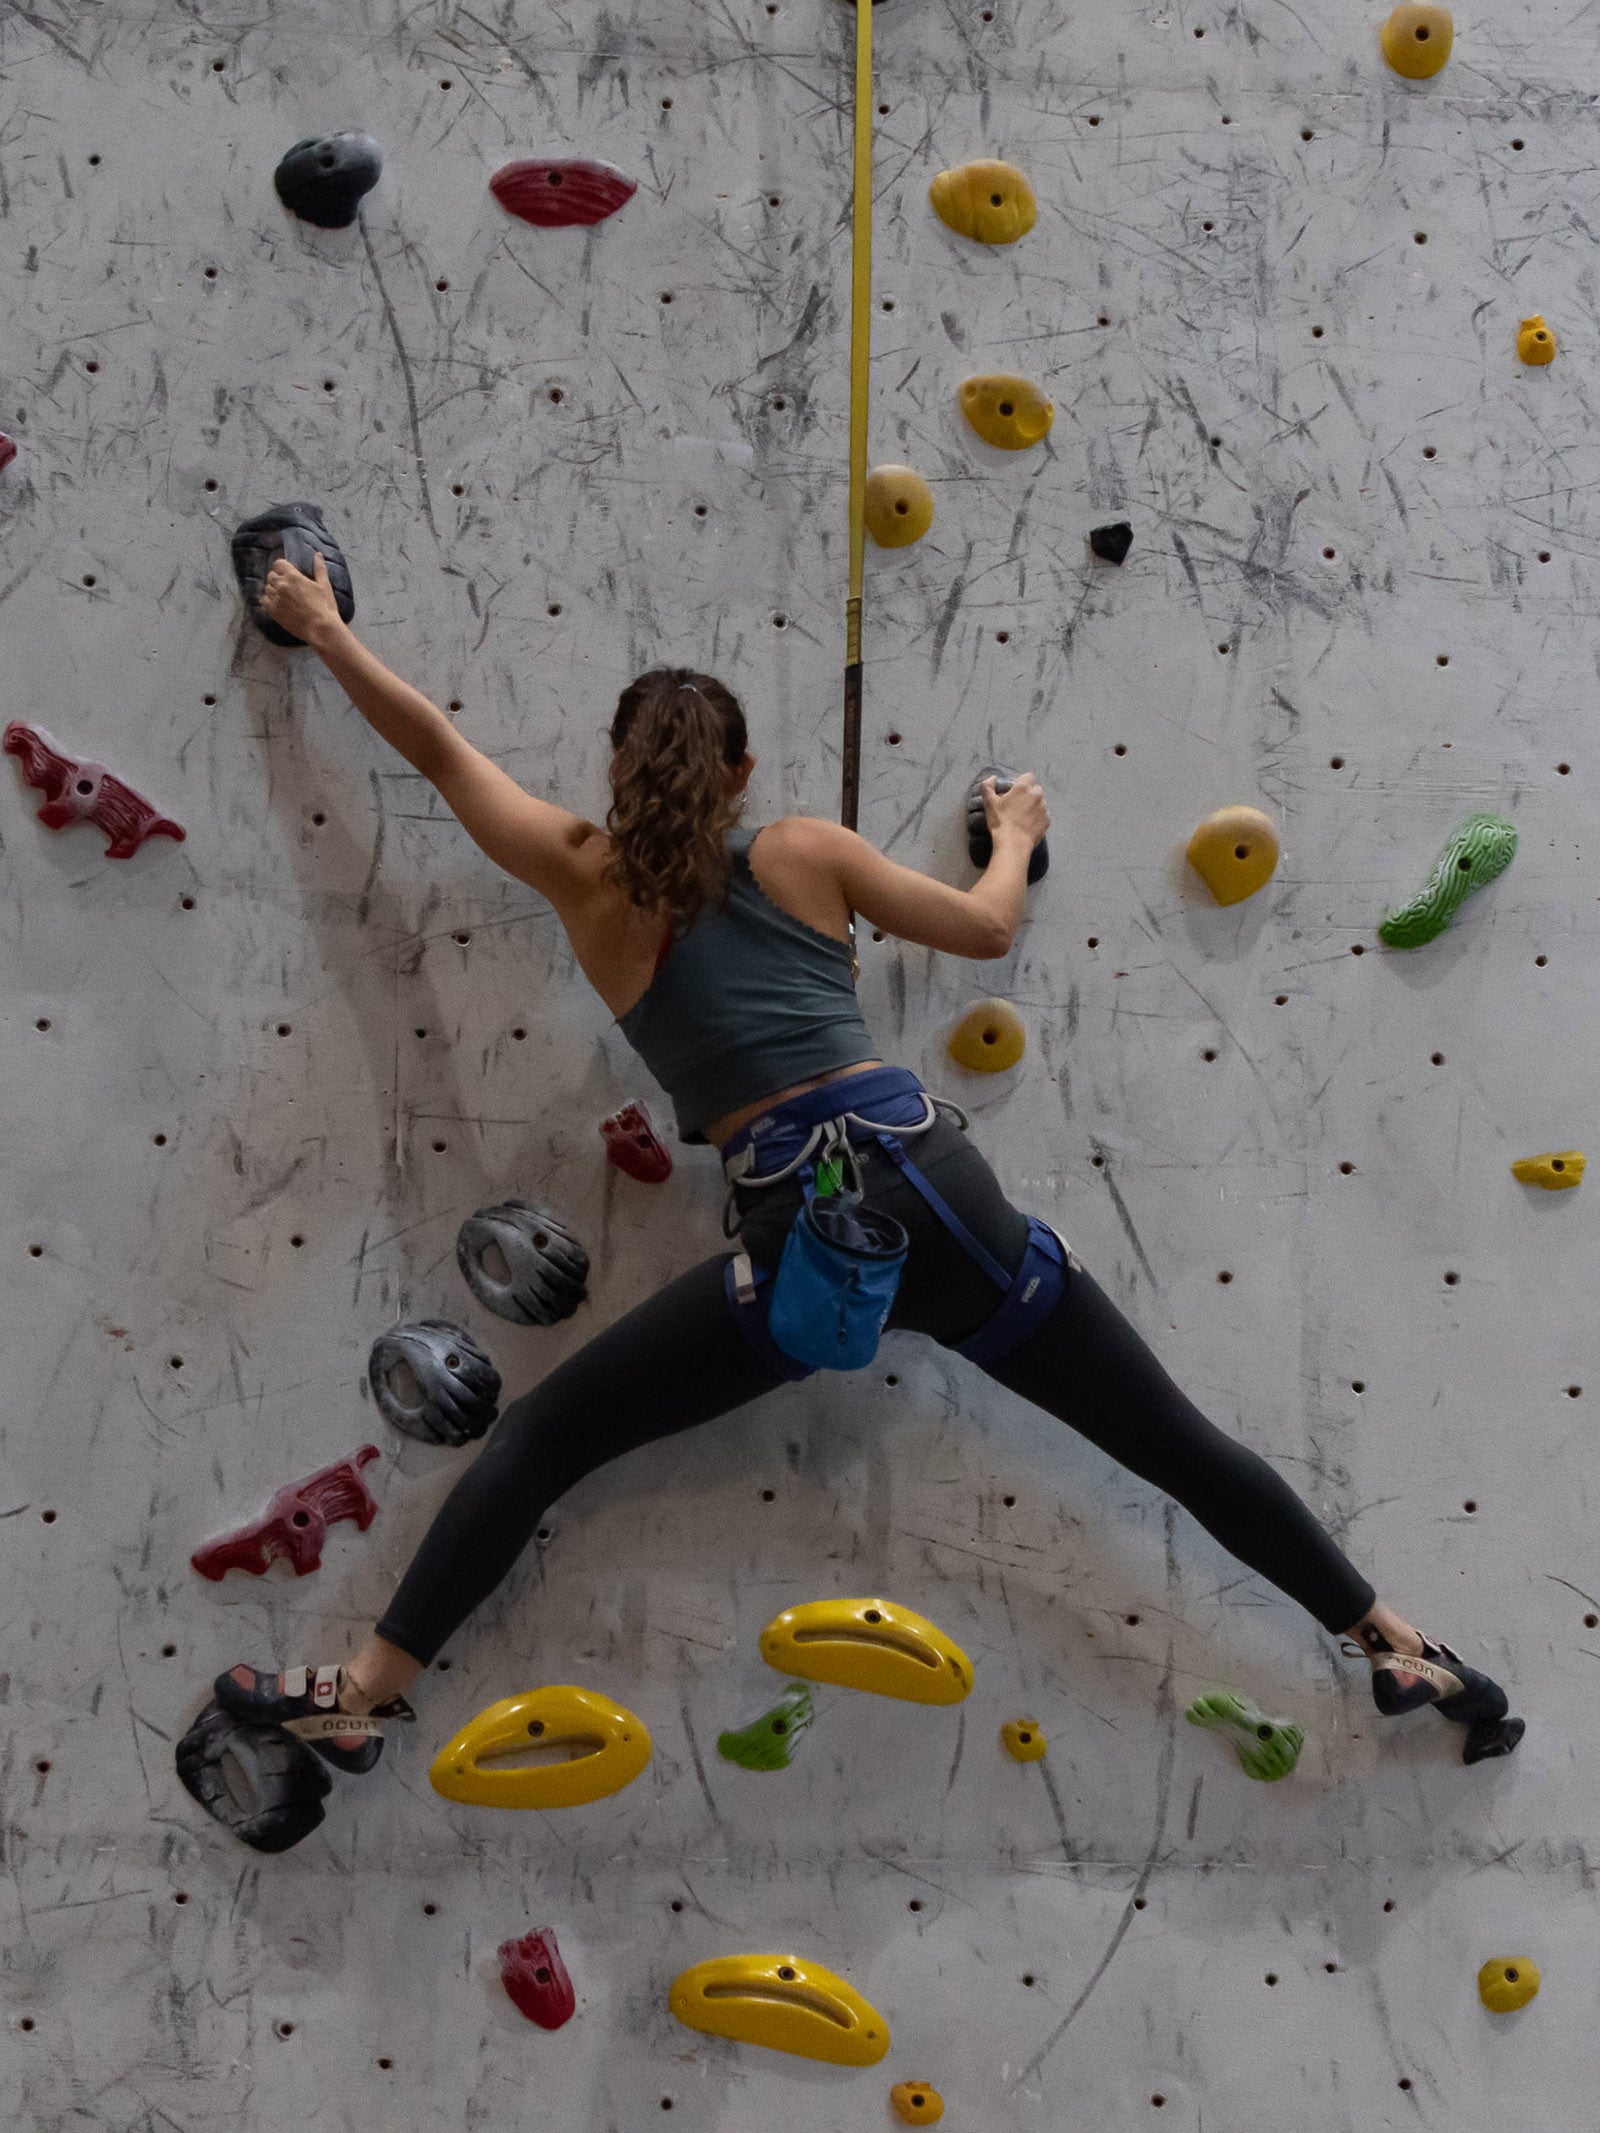
With interval training, the goal is to climb for up to 45 minutes with short rests (20 to 30 seconds) between sets that last two to three minutes. A set is simply time spent climbing without a rest – something that is best achieved using an autobelay or traverse. If you use an autobelay (better than traversing in that involves upward movement), you’ll want to climb and then down climb after topping a route since lowering off with the autobelay will give your arms a rest, defeating the point of the exercise if you hadn’t been on the wall for at least two minutes. It’s also important to remember that the objective is to get only slightly pumped – you must be able to shake it off while on the wall. If the climbing was more intense, you’d be training power endurance, not endurance.
Route laps
Unlike interval training, route laps require the cooperation of a willing partner. With this exercise, you lead or top-rope a route a few grades below your onsight ability, lower off (quickly or safely), and then re-climb the route on top-rope. Of course, you will have to choose a route that can be safely top-roped (not too steep) and won’t result in a big swing if you come off. Instead of lowering off, you can also down-climb after topping a route, which will result in you getting in more climbing between rests. Alternatively, you can pinch your thighs or squeeze your hands to prevent your hands from getting a proper break while lowering off. Aim for four to five minutes of climbing or however many laps that takes. Because you will then swap with your partner, you will rest for several minutes between burns.
Upperbody isolation & antagonist training
Some climbers might want to train upper body strength without training grip strength. Besides allowing you to isolate certain muscle groups, these exercises allow you to work your shoulders and upper arms when you can’t train your forearms – whether that be because they are too tired or because your fingers need a rest day. Here, I’ve chosen to lump this type of training together with antagonist muscle training because some target muscle groups act as both antagonists and agonists (primary pull muscles) depending on what they’re being asked to do.
Flies and pushups
Pushups are a good general conditioning exercise for climbers in that they target some of your most important antagonists – the chest and shoulder muscles – but you can make this calisthenic favorite even more climbing-specific by performing the exercise with your elbows tucked against your sides. The elbows-in variation targets your triceps more actively, thereby strengthening one of the hardest working climbing muscles in a way that dips and extensions cannot. After pushups, flies (with rings or dumbbells) are also a good exercise to add to an upper body resistance training routine since they target the pecs and deltoids in a more open position.
Tricep extension exercises
Many climbers think of their triceps as antagonists, but in some movements – like those where you push yourself upwards off a low hold – they actually act as the primary push muscles. Given this dual role in which they both support the biceps and enable long reaches, the triceps are among the most important muscles in climbing and are well worth some focussed training. For this purpose, the most effective exercises are tricep dips (rings are better than bars) and one-arm tricep pull-downs. You can do the latter using a cable machine, but I recommend using a high-resistance elastic with a gymnastic ring or lifting edge (held with your fingers pulling down on the edge or over the top of the block).
Shoulder stability exercises
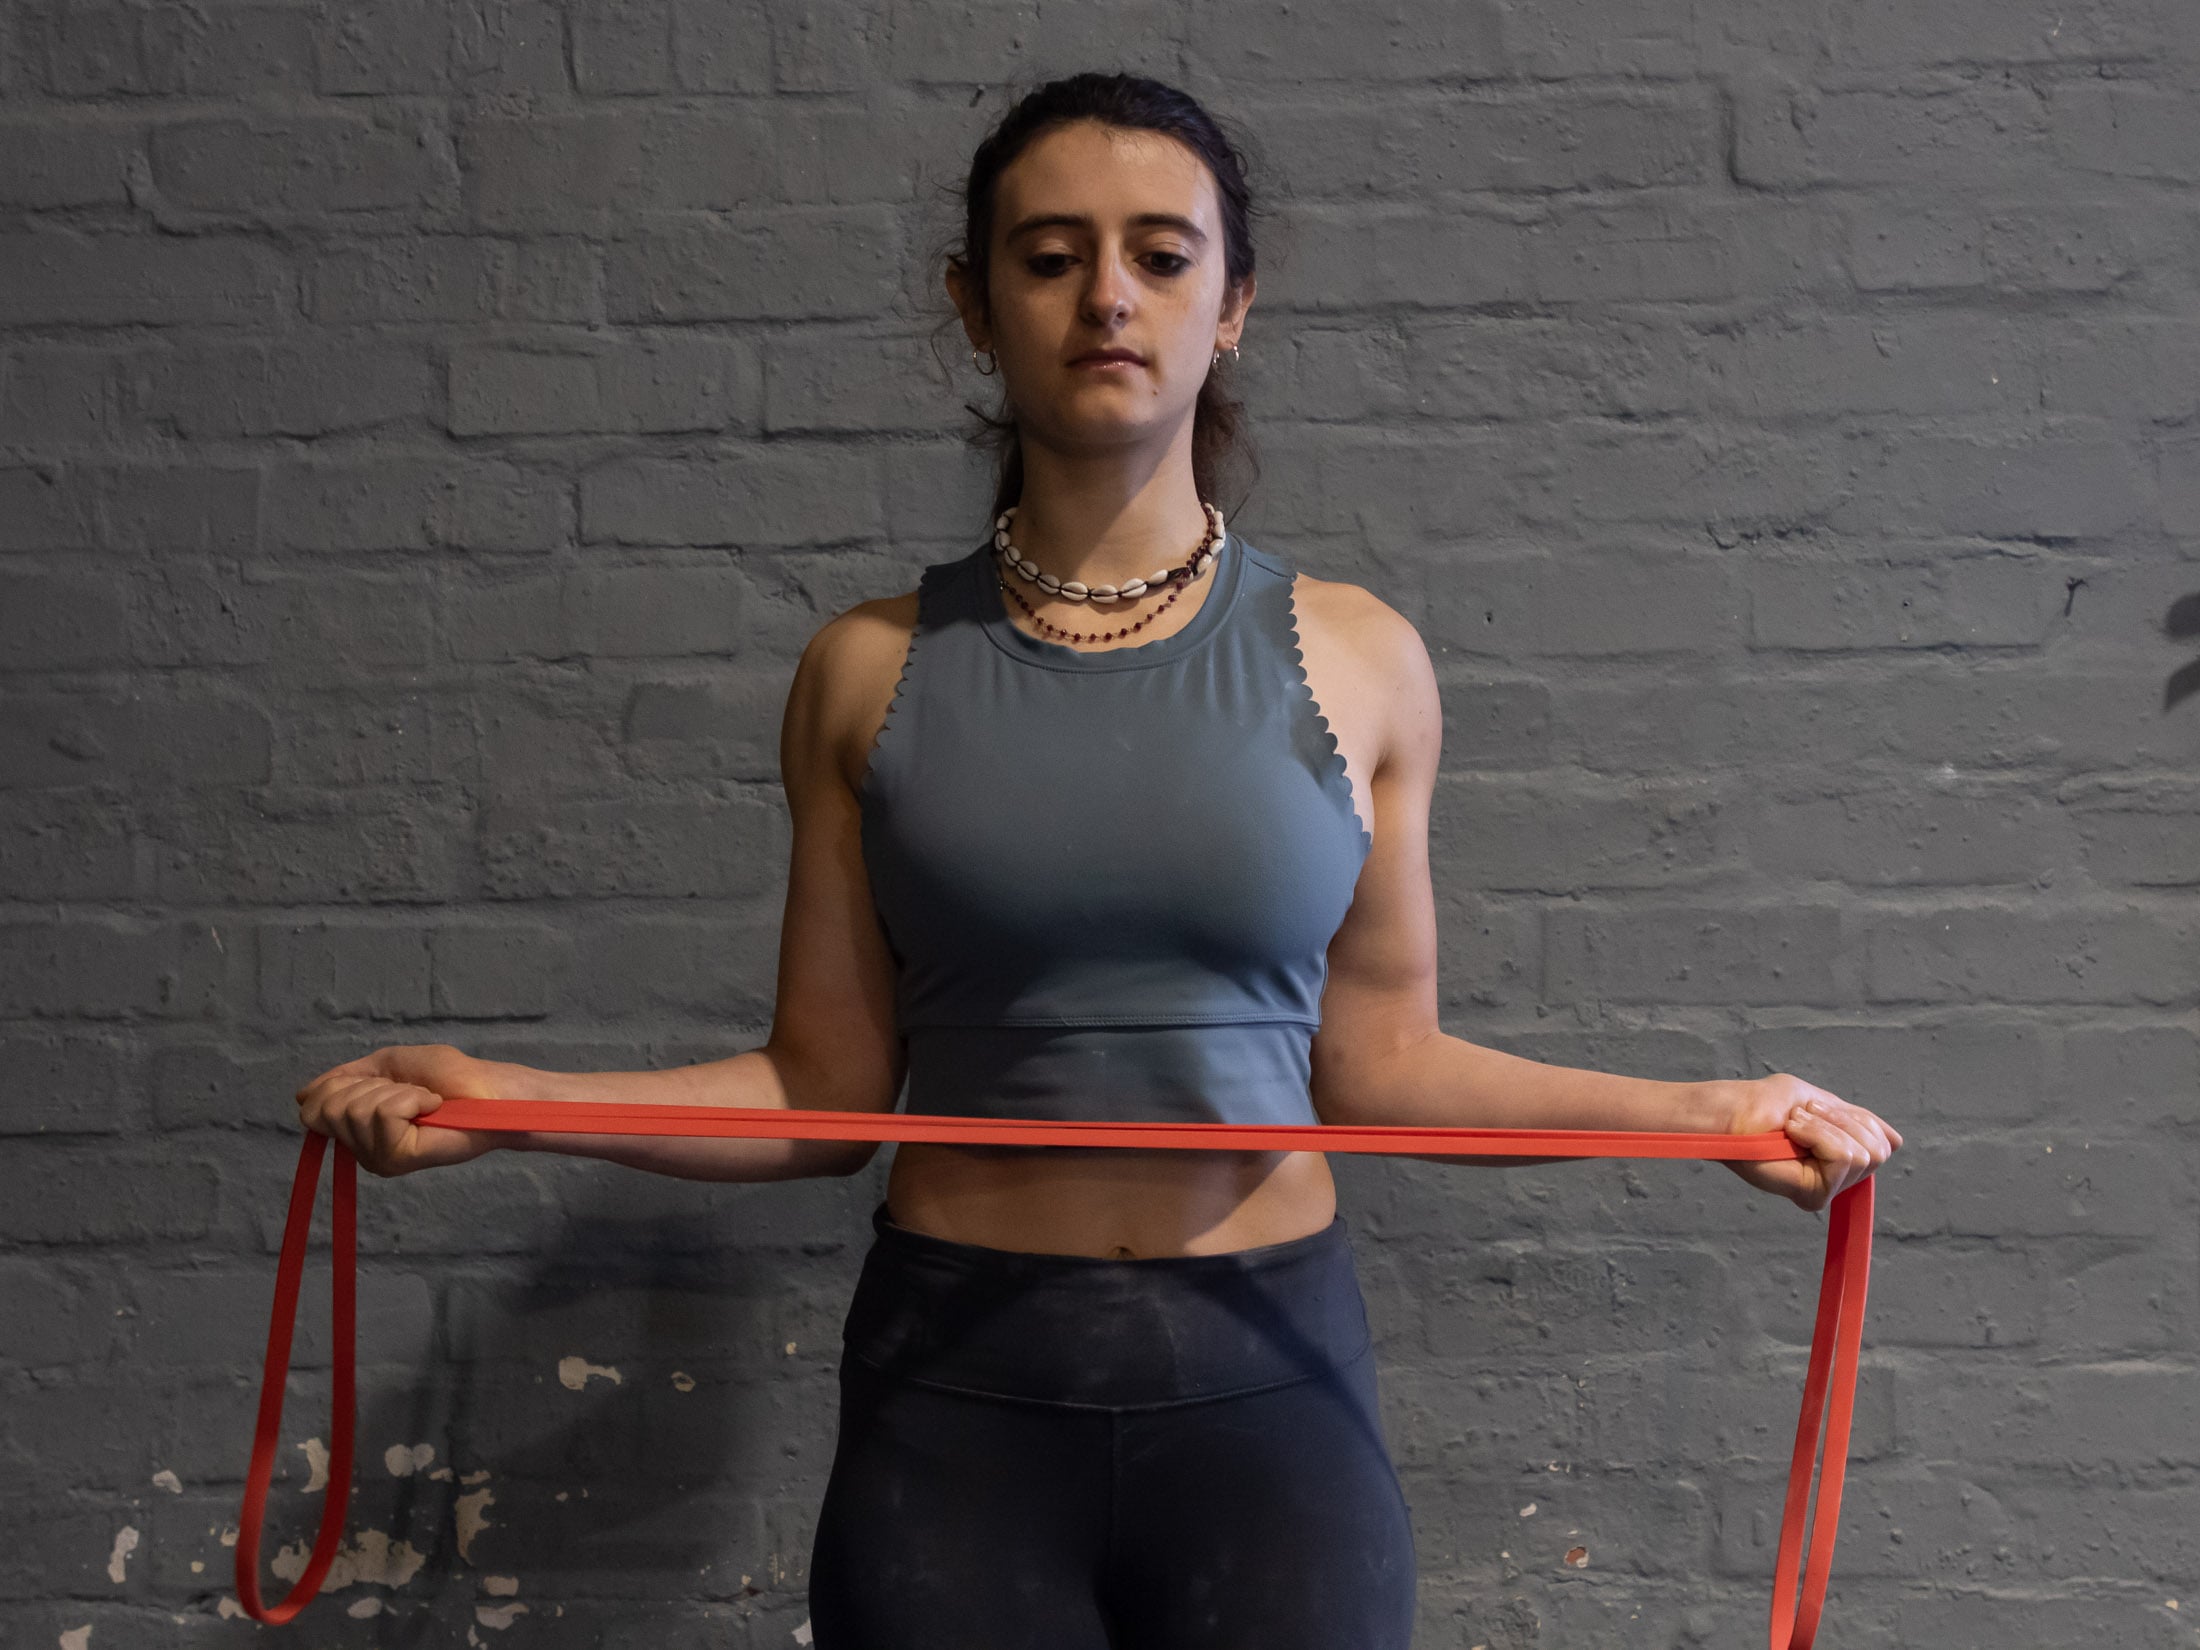
Your primary climbing muscles don’t work in isolation. They are always supported and stabilized by other muscles – their antagonists. If these are weak or underdeveloped, the biomechanics of a supported joint can become compromised, increasing the risk of injury. Your shoulder antagonists are the deltoids, rotator cuff muscles, and rhomboids. To train these, the best exercises are overhead exercises, like the shoulder press and Arnold press, and shoulder stability exercises like face pulls and bilateral external rotators (performed with a Theraband).
Bar exercises for pull-up and lock-off strength
Lock-off strength can be trained on a pull-up bar or on gymnastic rings, but if you are new to this kind of training (lock-offs or pull-ups), I recommend starting with symmetrical bar exercises like Frenchies, which avoid deep lock-offs – the kind of loading which can lead to elbow injuries. The other advantage of training lock-off strength on a bar is that you can train both your lock-off strength and pull-up strength in the same exercise. Of course, you might also want to just focus on pull-up strength using exercises like symmetrical or assisted one-arm pull-ups. Top tip: Use a wide grip when doing regular pull-ups or Frenchies. This will work your lats and back muscles more than your biceps.
Ring exercises for lock-off strength
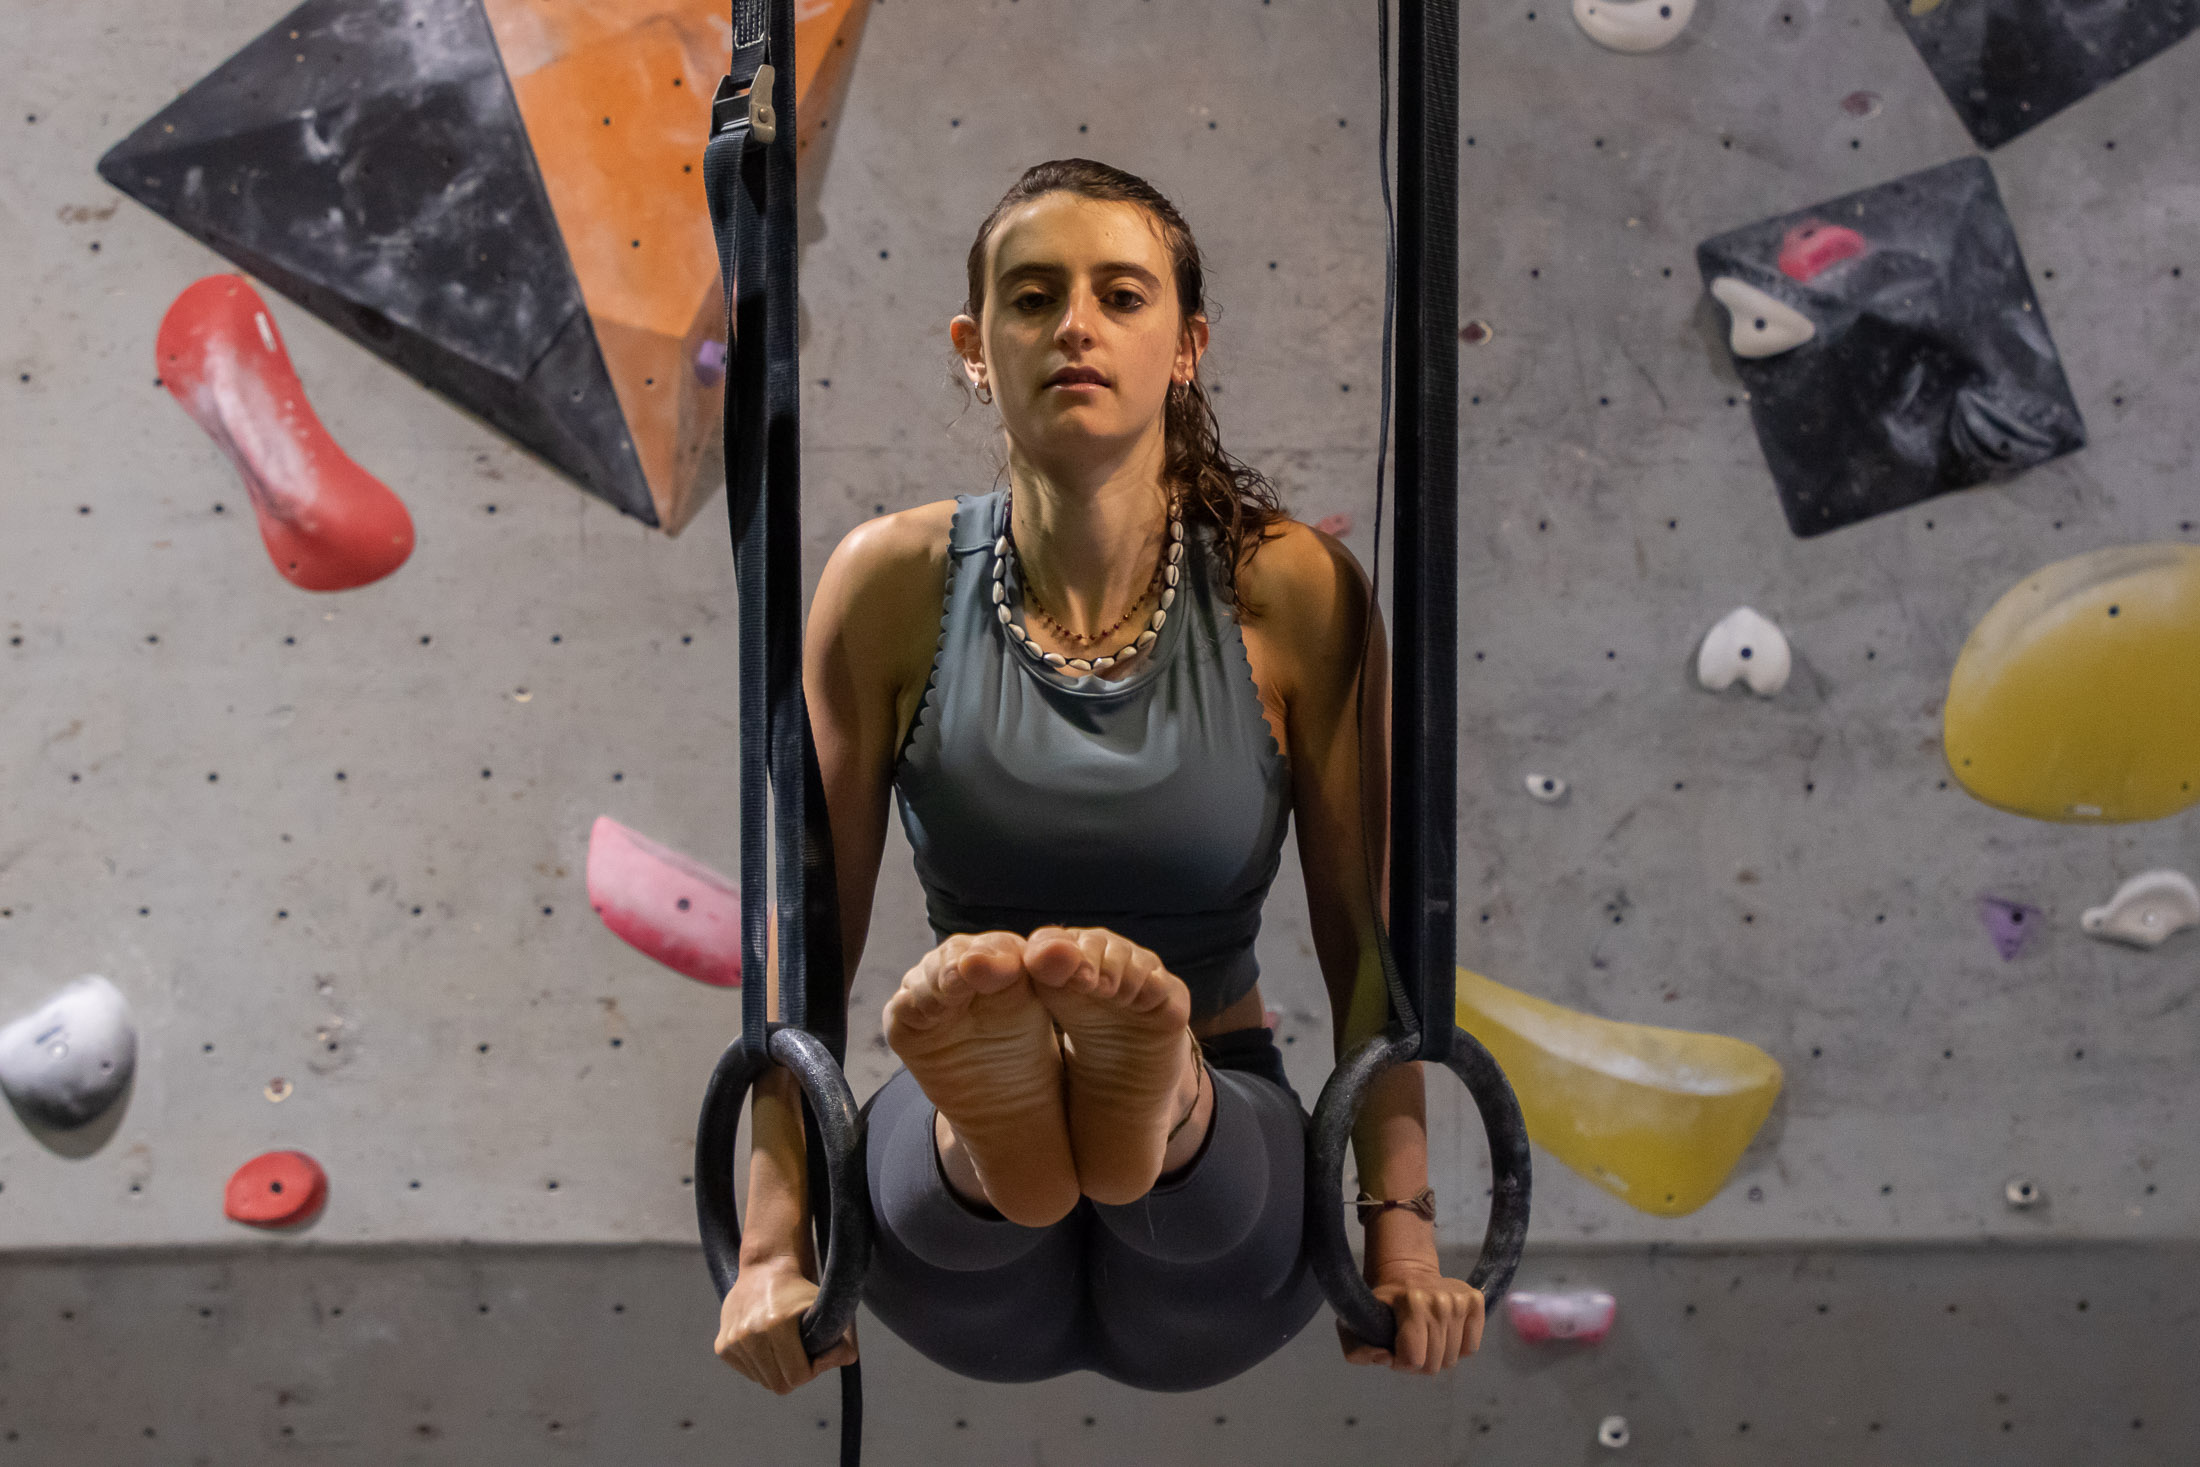
Gymnastic rings are good for training the kind of lock-off strength required to hold yourself in an elevated, vertical orientation (the same ability you would train on a bar) as well as the strength required to hold yourself in a more horizontal position, as you would do when roof climbing. The best exercise for training the former is ring lock-offs with extensions (a more advanced alternative to bar lock-offs) while the latter is best trained with low rows (rings or TRX). Instead of low rows, you can also use a ring on an elastic to perform a similar but single-arm version of the low row (standing up). The advantage of the standing, single-arm exercise is that it also trains your core to oppose the twisting of your trunk.
Peg board
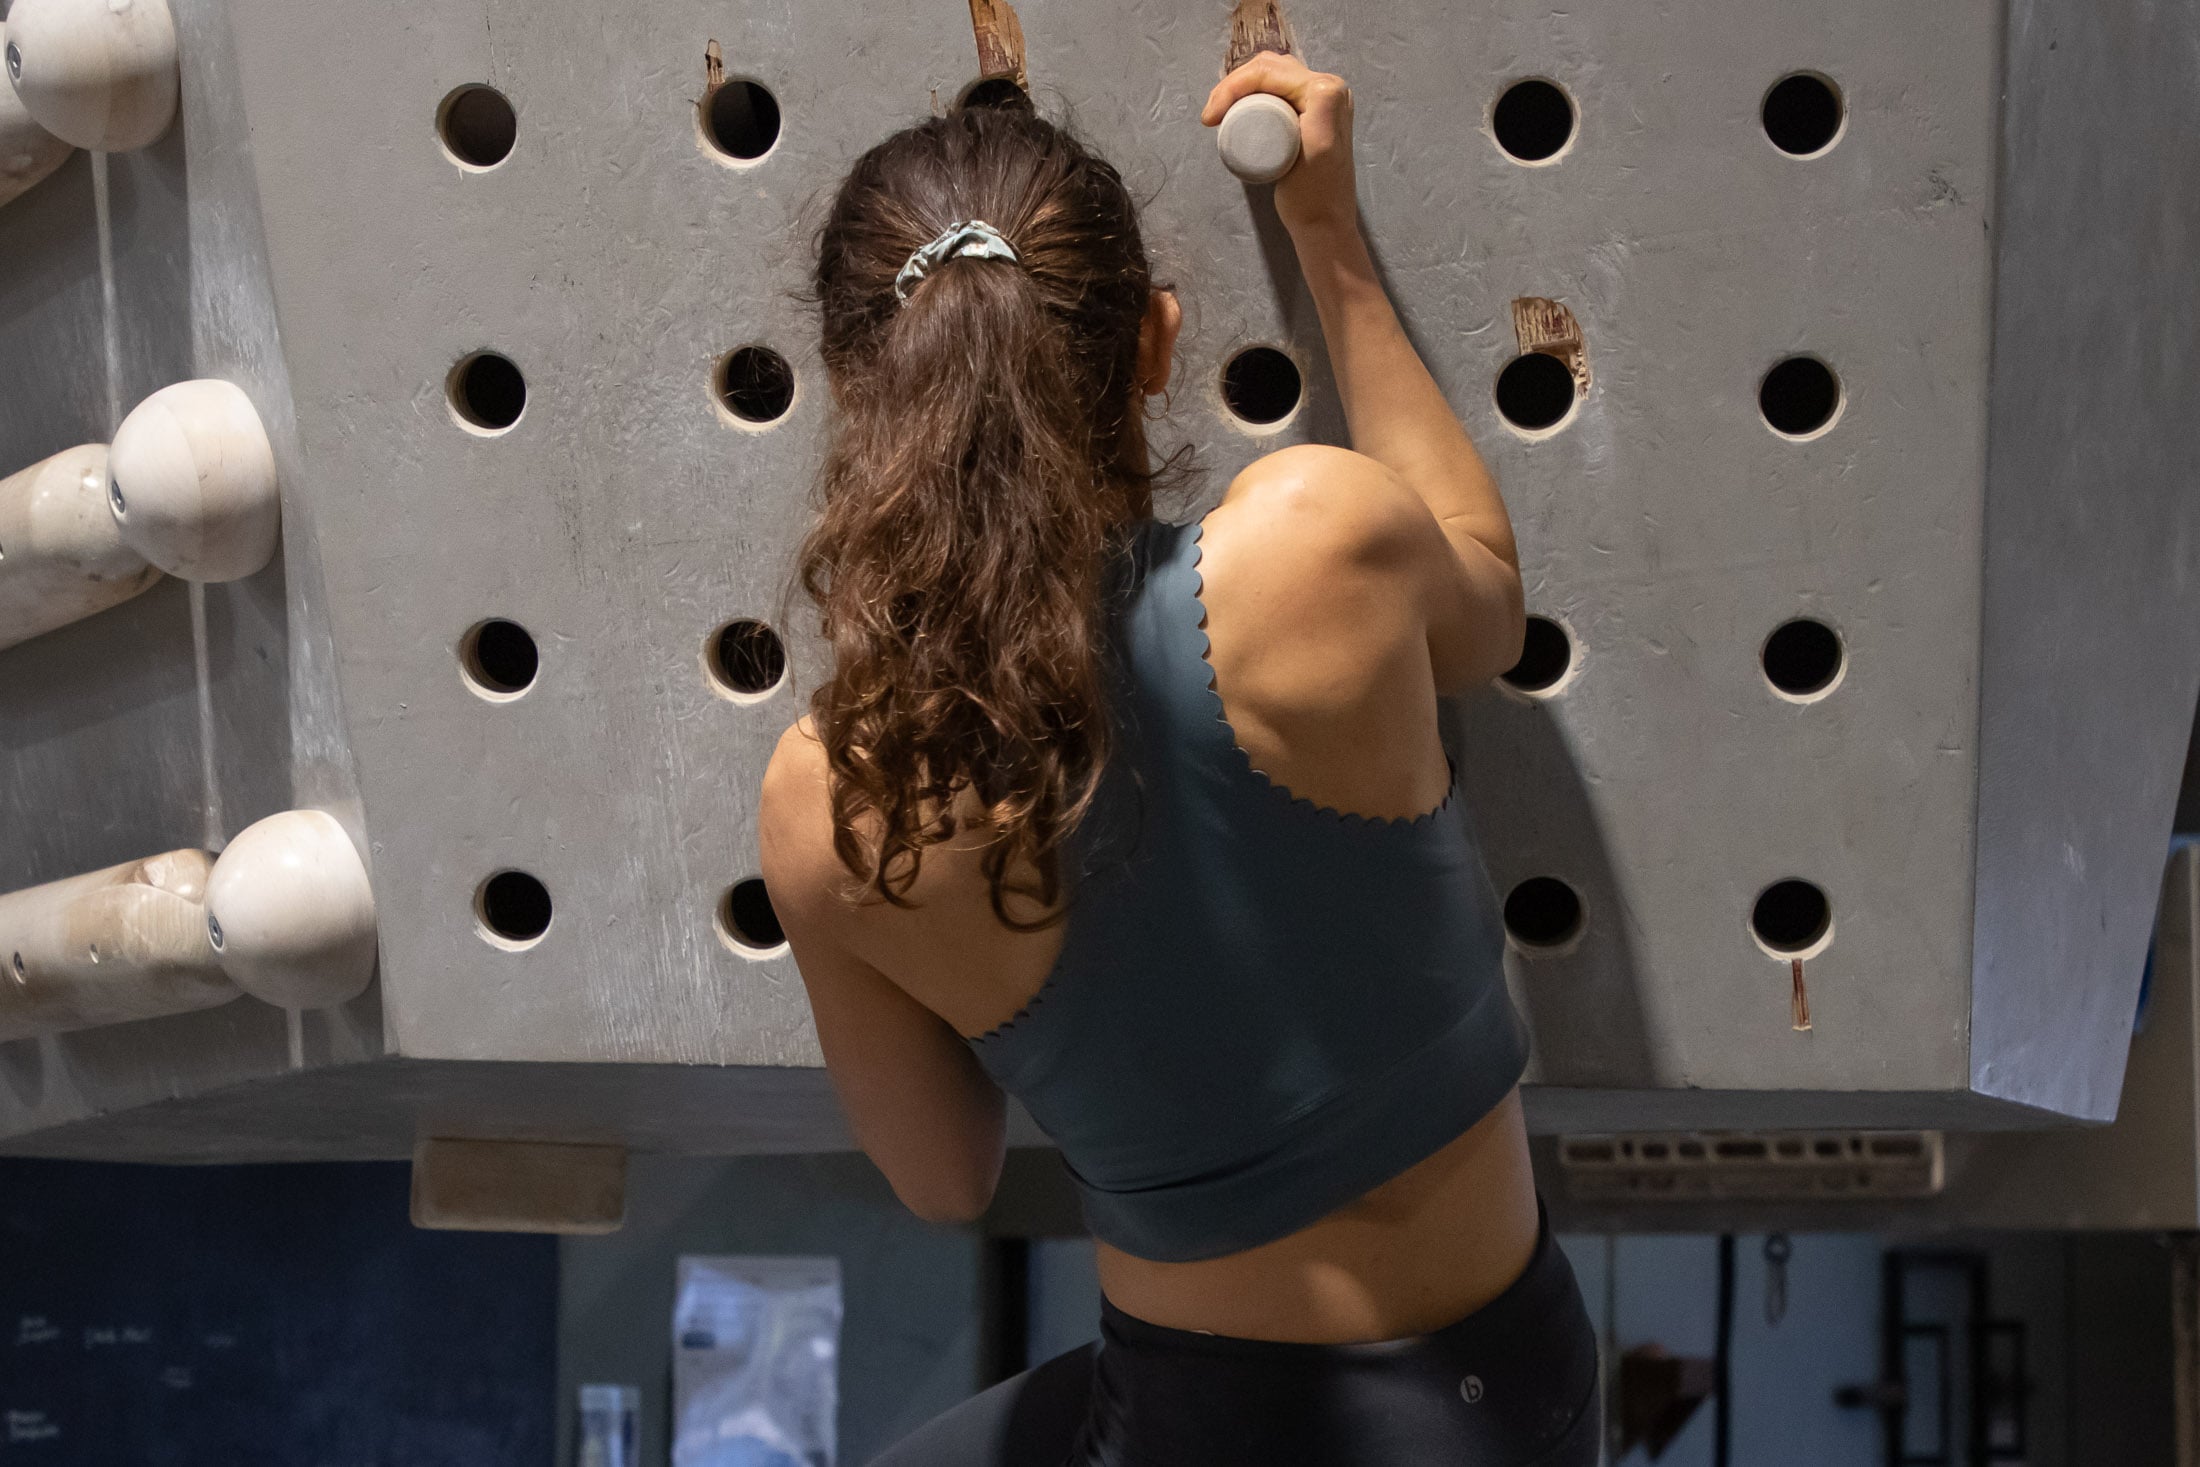
The peg board is another great tool for training lock-off strength although, like ring lock-offs, peg board campuses should only be performed by advanced climbers who already have a good base level of lock-off strength but want to take things further. The most basic peg board exercise involves simply campusing up the board in a left-right-left-right manner (slotting the two pegs into higher holes as you progress), but you’ll get more from this tool if you cross over your arms as you campus and then hold the lock-off for a few extra seconds every time you uncross your arms. Top tip: keep your core engaged and use your legs as a counterbalance through each twist.
Forearm antagonist training
Because they get worked hard in almost every session, your forearm flexors become disproportionately strong compared to their antagonist muscles. If this imbalance becomes severe enough, it can lead to a range of injuries including lateral and medial tendinosis. To avoid such an imbalance, it’s important to train your forearm extensors and the muscles responsible for forearm pronation. Like the exercises described in the section above, forearm antagonist training doesn’t have its own phase since it can be done throughout your training program.
Wrist rotation
Like your forearm extensors, your pronator teres (responsible for wrist pronation) can become relatively weak compared to their agonist muscles, the forearm flexors. And when that happens, the result often is medial tendinosis or the degeneration of the tendon on the inside of your elbow – an injury that can take months to recover from. To avoid unwanted downtime, it’s best to get ahead of a forearm flexor-pronator imbalance by performing pronator strengthening exercises. The standard exercise involves rotating your forearm while holding a hammer or light dumbbell to offer resistance. The longer and heavier the lever, the greater the resistance. Again, these need to be performed slowly.
Forearm and wrist extension
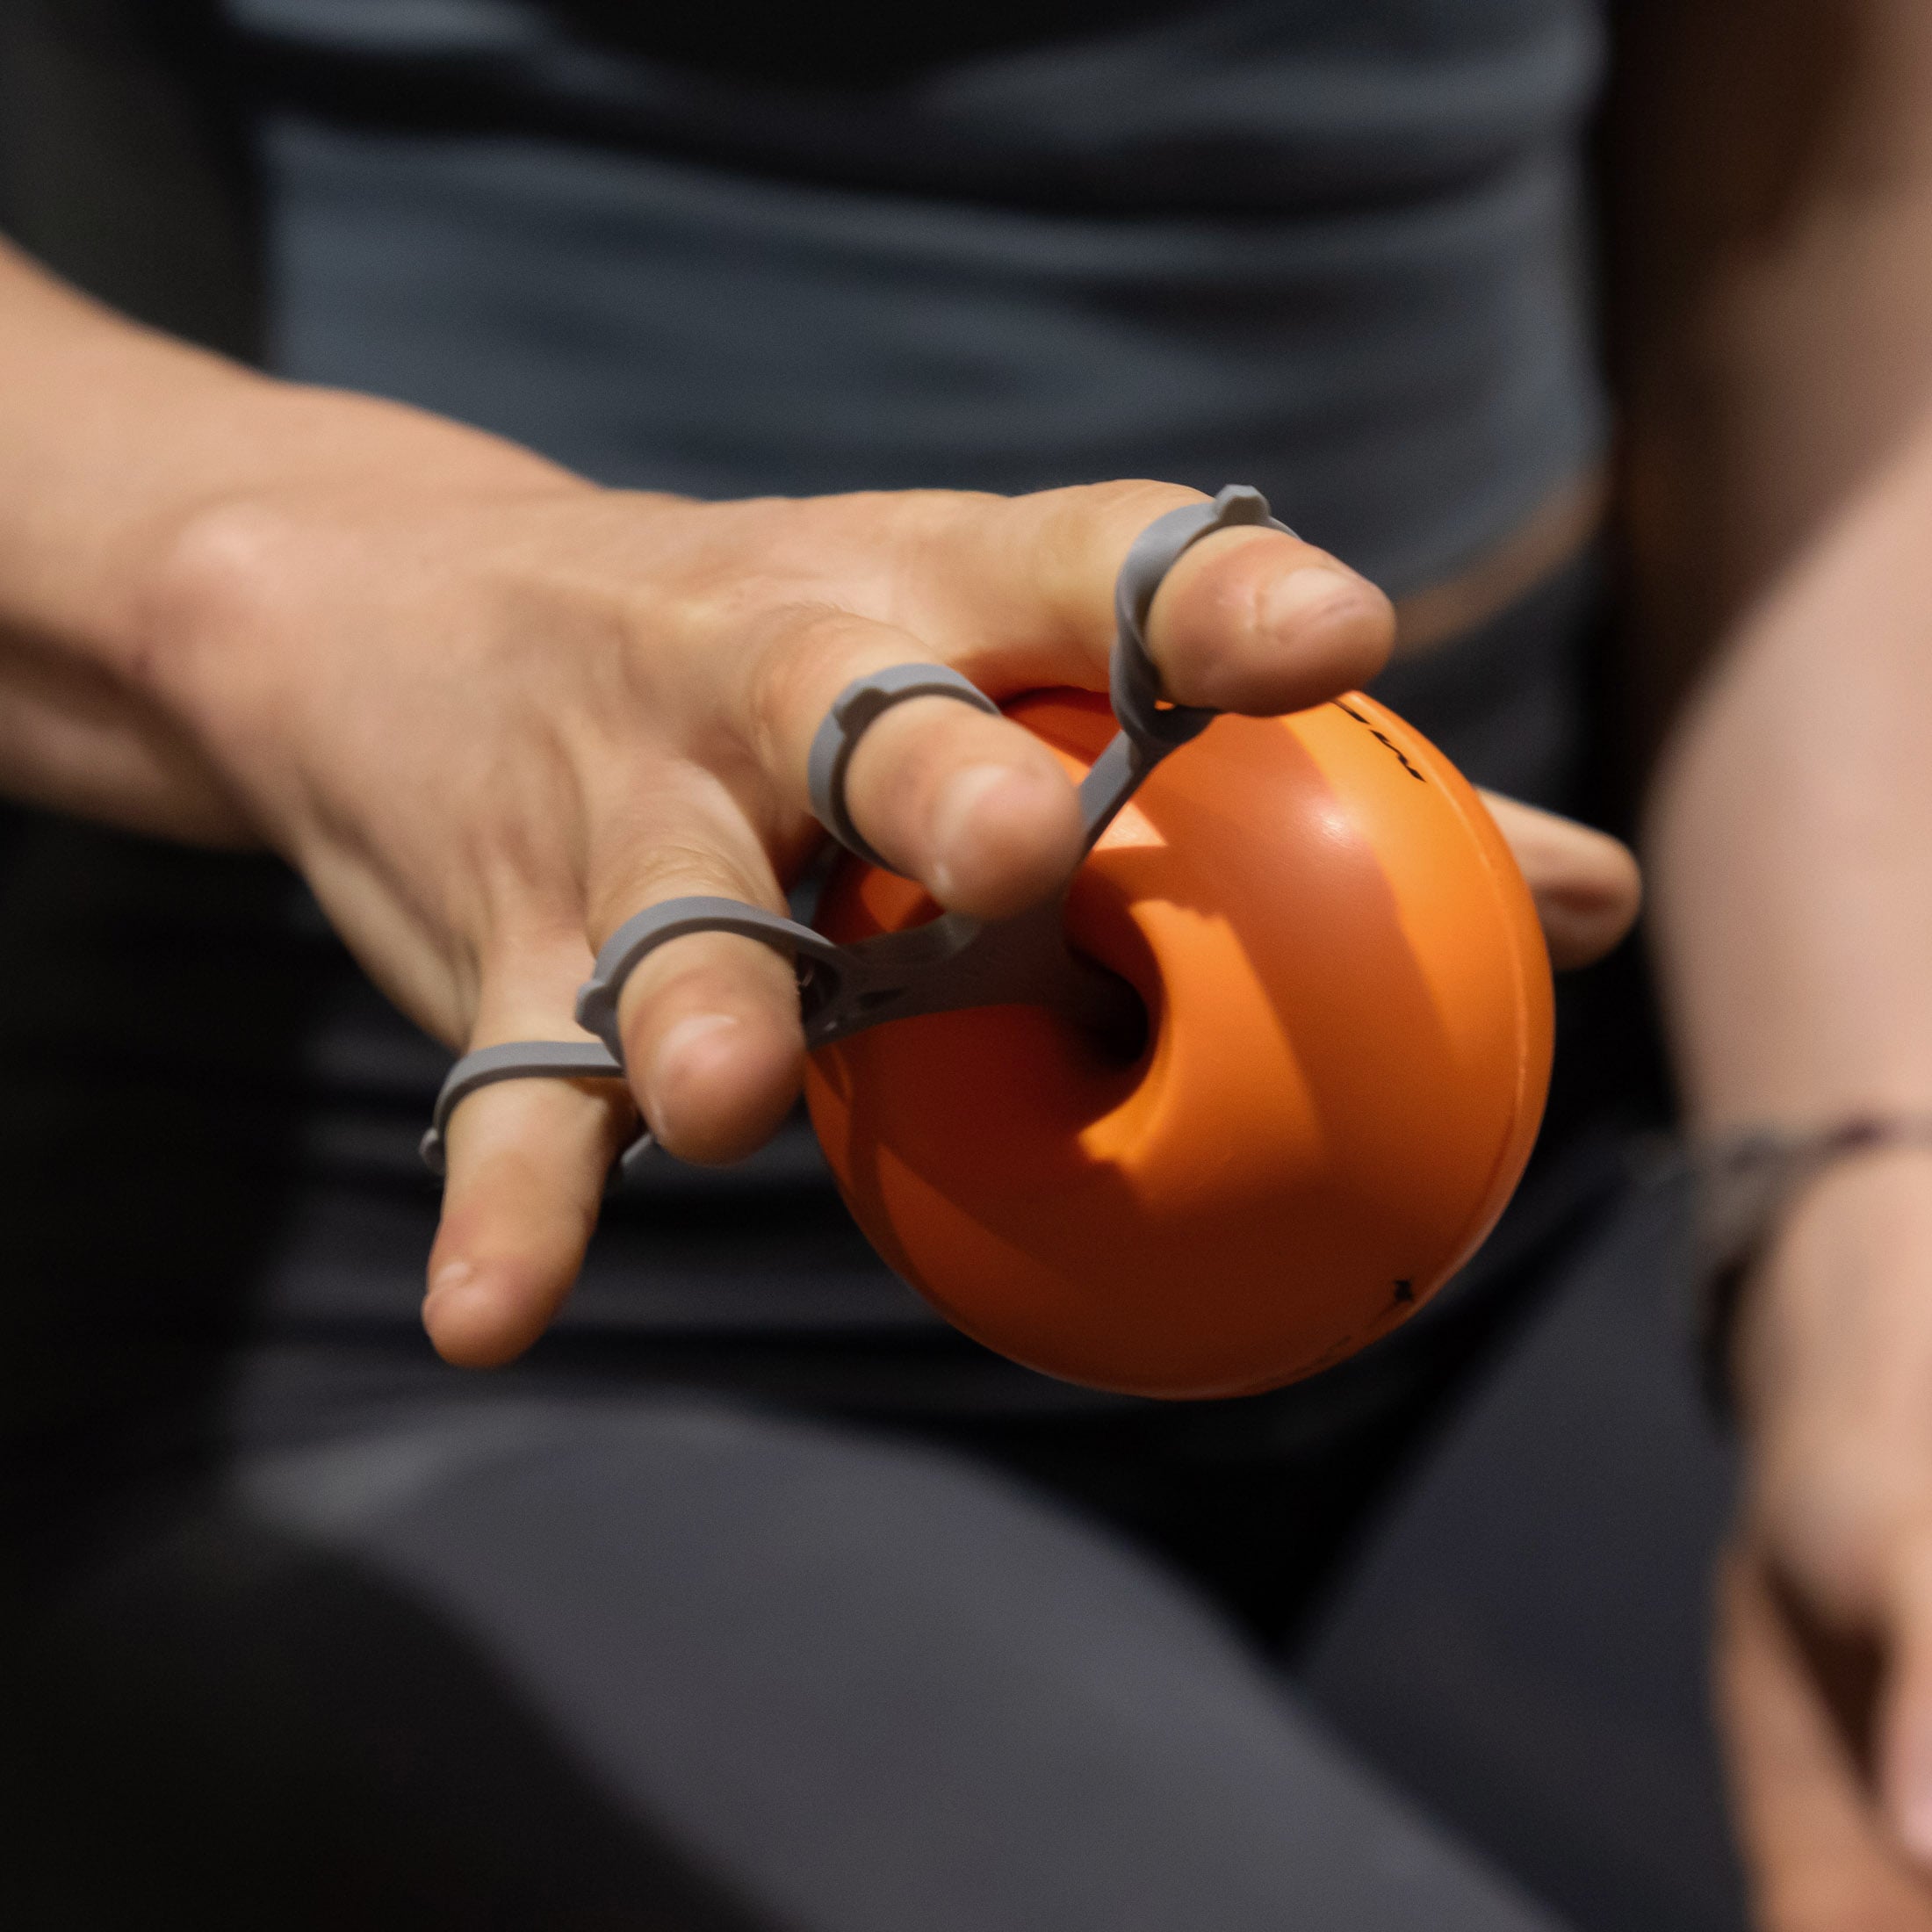
The extensor muscles that straighten your wrist and fingers are probably your most important forearm antagonists in that they oppose the forearm flexors in every grip position. The aim in strengthening these muscles is to prevent lateral tendonitis (pain on the outside of your elbow) and reduce the load on finger pulleys. The best way to do this is to perform power fingers with a Metolius Grip Master or Theraband Xtrainer (You can also use a few elastics if you don’t have either of these) and train your wrist extensors using a Therabar or dumbbell (reverse wrist curls). The key to both exercises is lots of reps performed slowly and with relatively low resistance.

Core training
Your core muscles play a big part in your climbing performance in that they allow you to twist your torso during reaches, swing your legs when repositioning your feet, and maintain body tension on steep walls. That much is well understood by most climbers. There is, however, a common misconception of what your core is. While many think that ‘core’ refers to their abdominals, the reality is that there are many more muscles involved, including the lower back muscles (erector spinae), obliques, hip flexors, and glutes. The goal in core training is to increase the strength and endurance of these muscles so that you can hold increasingly difficult moves and climb with better efficiency. To do this, climbers typically perform a combination of floor, suspension, and bar core exercises.
Floor core
The advantage of floor core exercises is that they can be done at home with nothing more than a yoga mat. The limitations of these exercises is that they focus on the anterior chain, which makes fitness gains less transferable to climbing. Still, they are effective at isolating certain muscle groups, so it can be worthwhile including these in a base conditioning phase. The best floor core exercises for climbing include plank mountain climbers, plank with alternating arm and leg lifts, side plank (and its many variations), dish tucks, and back arches.
Suspension core
Suspension core exercises are those performed using gymnastic rings or a TRX system. This type of training represents a step up from the floor core in that it trains the muscles needed to maintain body tension right through your core and into the upper posterior chain (shoulders). The best exercises for this include the inverted flies, prone I (roll-outs), and supine I. Performing these exercises with correct form is key, and it’s best to get instruction from a coach or physio when doing this kind of training for the first time. Also note that some of these exercises are quite hard on the shoulders, and it would be best to not do any intensive shoulder exercises the day after doing a suspension core workout.
Bar core
Like suspension training, bar core training develops strength that translates well into climbing performance. Think of moves on steep terrain where you have to cut loose and then put your feet back on the wall, and you get the idea. The best exercises for this type of training are the hanging knee tuck, the hanging L sit, the lever tuck, and windshield wipers. The lever tuck and single-leg levers are progression exercises for the front lever if you ever decide you want to build gymnast-level core strength. As with suspension core, it’s important to practice bar exercises with good form, and it would be best to get professional instruction when honing your form.
Structuring your training program
Once you understand your goals, the various fitness components, and the many factors that could influence how and when you train, it’s time to plan your training program. But first, a word of caution. Many climbers try to do too much and then make their programs overly complicated and difficult to implement. The steps I have recommended below ensure a more structured approach to program design, one that will make your training program both focussed and implementable.
Decide on the order and length of phases
In the program described here, I have put the different phases in the order I have for two reasons. By doing power endurance before strength, you are able to build a base of fitness and strengthen your tendons before you get into the more intense strength training phase (mitigates the risk of injury). And by doing strength training before endurance training, you can convert your strength gains into even bigger improvements in endurance, the upper limit of which is set by max strength. You may, of course, choose to do things in a completely different order or even leave a phase out if you believe it will help you reach your goals. Having your strength training phase before a bouldering trip and not after it would obviously make a lot of sense.
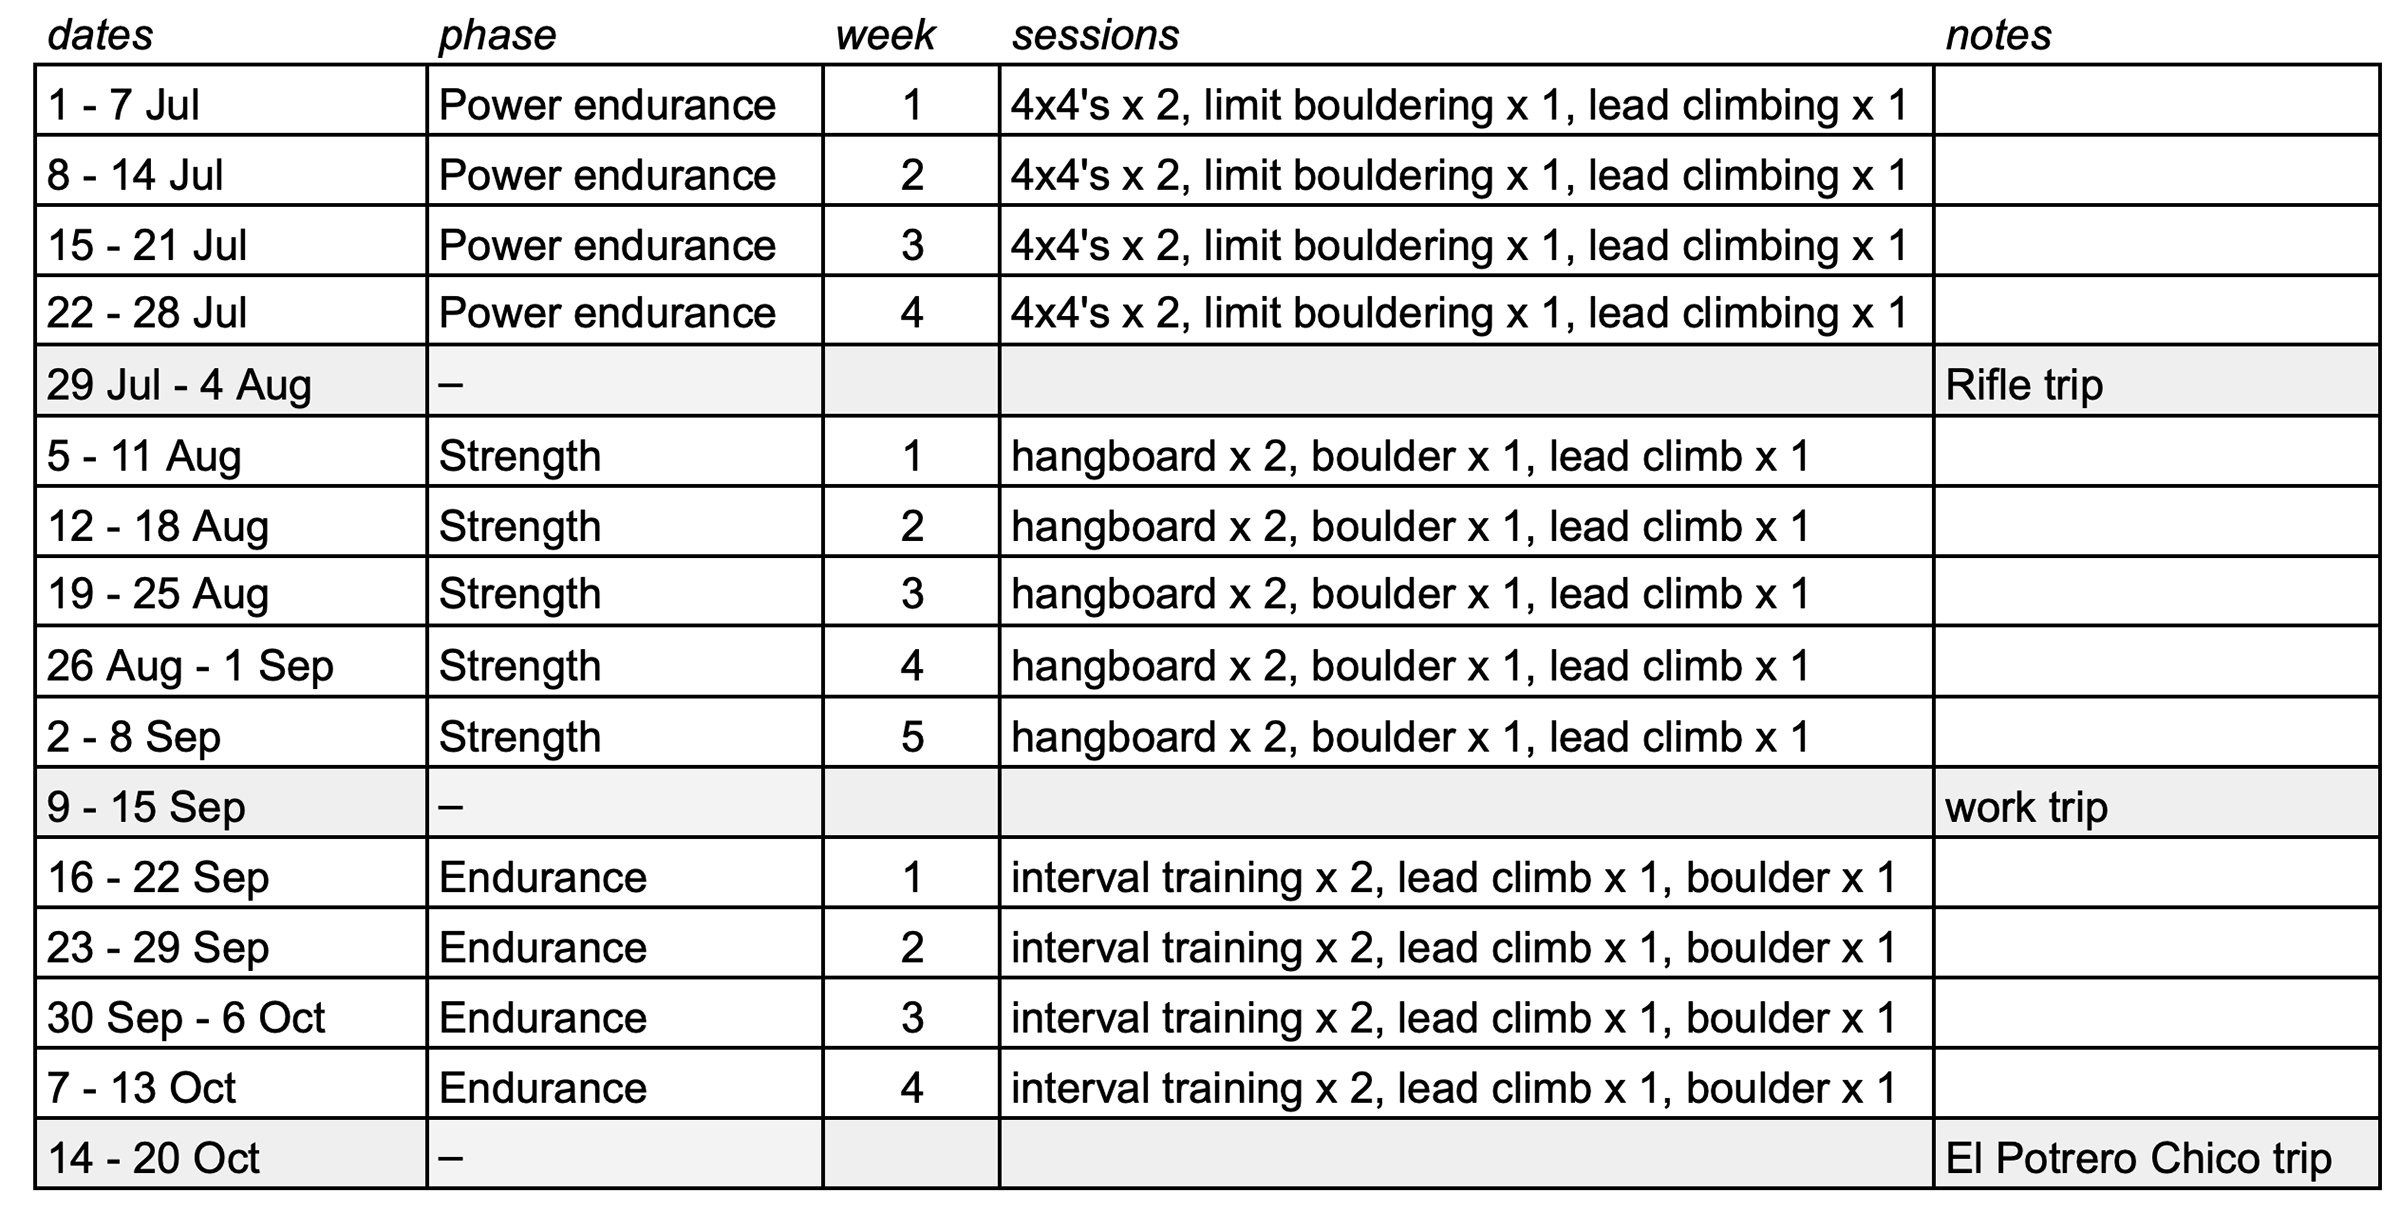
As for the length of blocks, conventional wisdom states that these should be somewhere between four and six weeks. Any shorter than that, and you’re unlikely to realize significant gains. Any longer than that and you could plateau or unnecessarily raise the risk of an overuse injury. Again, these guidelines are intended for climbers working their way up to 8a. Elite climbers might need to train in longer blocks to achieve meaningful gains. Other factors worth considering when deciding on phase length include events that could interrupt your training (You don’t want a week-long business trip in the middle of your strength phase) and your priorities. Maybe you want to see just a small improvement in your power endurance (4 weeks) but a bigger improvement in strength (6 weeks).
Plan your weekly training routine for each phase
After you have decided what kinds of workouts you are going to do in a given phase, the next step is to decide what exercises to do in each session. Here you need to consider your training goals and the limitations of your time and resources. To be practical, your weekly training routine should be designed around your schedule (including work and domestic responsibilities) and the facilities you have available at home and the gym. There might be certain days of the week where it’s just easier to get to the gym, and on those days you will have access to a much wider range of equipment. After factoring in these constraints, you can go about deciding what sessions to do when and where while also taking into account the need to take rest days and do sessions in an order that will produce the best results. Here, it helps to also consider the focus and intensity of your sessions.

For example, it wouldn’t be a good idea to perform an intense fingerboard workout the day after a full day of hard sport climbing – you’ll be too tired to perform the exercises properly. Likewise, it would be best to have a rest day before your open day so that you are properly rested for your outdoor sessions. At this stage in the planning process, I find that it helps to put your routine into a table where you can make notes on the specifics of each session: the focus or type of training, the facilities available, and the intensity and length of the workout. What you will likely find is that you can train your forearms only three days a week if you dedicate at least one day a week to an open session (reserved for climbing outside and casual gyms sessions). That means two of those sessions will be on consecutive days. Ideally, these would be the two less intense of your three training sessions.
Plan your training sessions
After you have decided on the length of phases and have devised a weekly training routine, the next step is to decide what exercises to do in each session. The ultimate goal here is to create a workout plan that details the exercises to be done, the number of sets and reps, and the levels of resistance. But before you get started, it helps to go back to the table you drafted in the previous step and remind yourself of the focus, available facilities, and intensity of each session. The tendency among many climbers is to want to do more exercises in a single session than is practical, and by reminding yourself of the focus of a session – as well as the facilities and time available – you will choose exercises that are both practical and better suited to achieving your training goals.
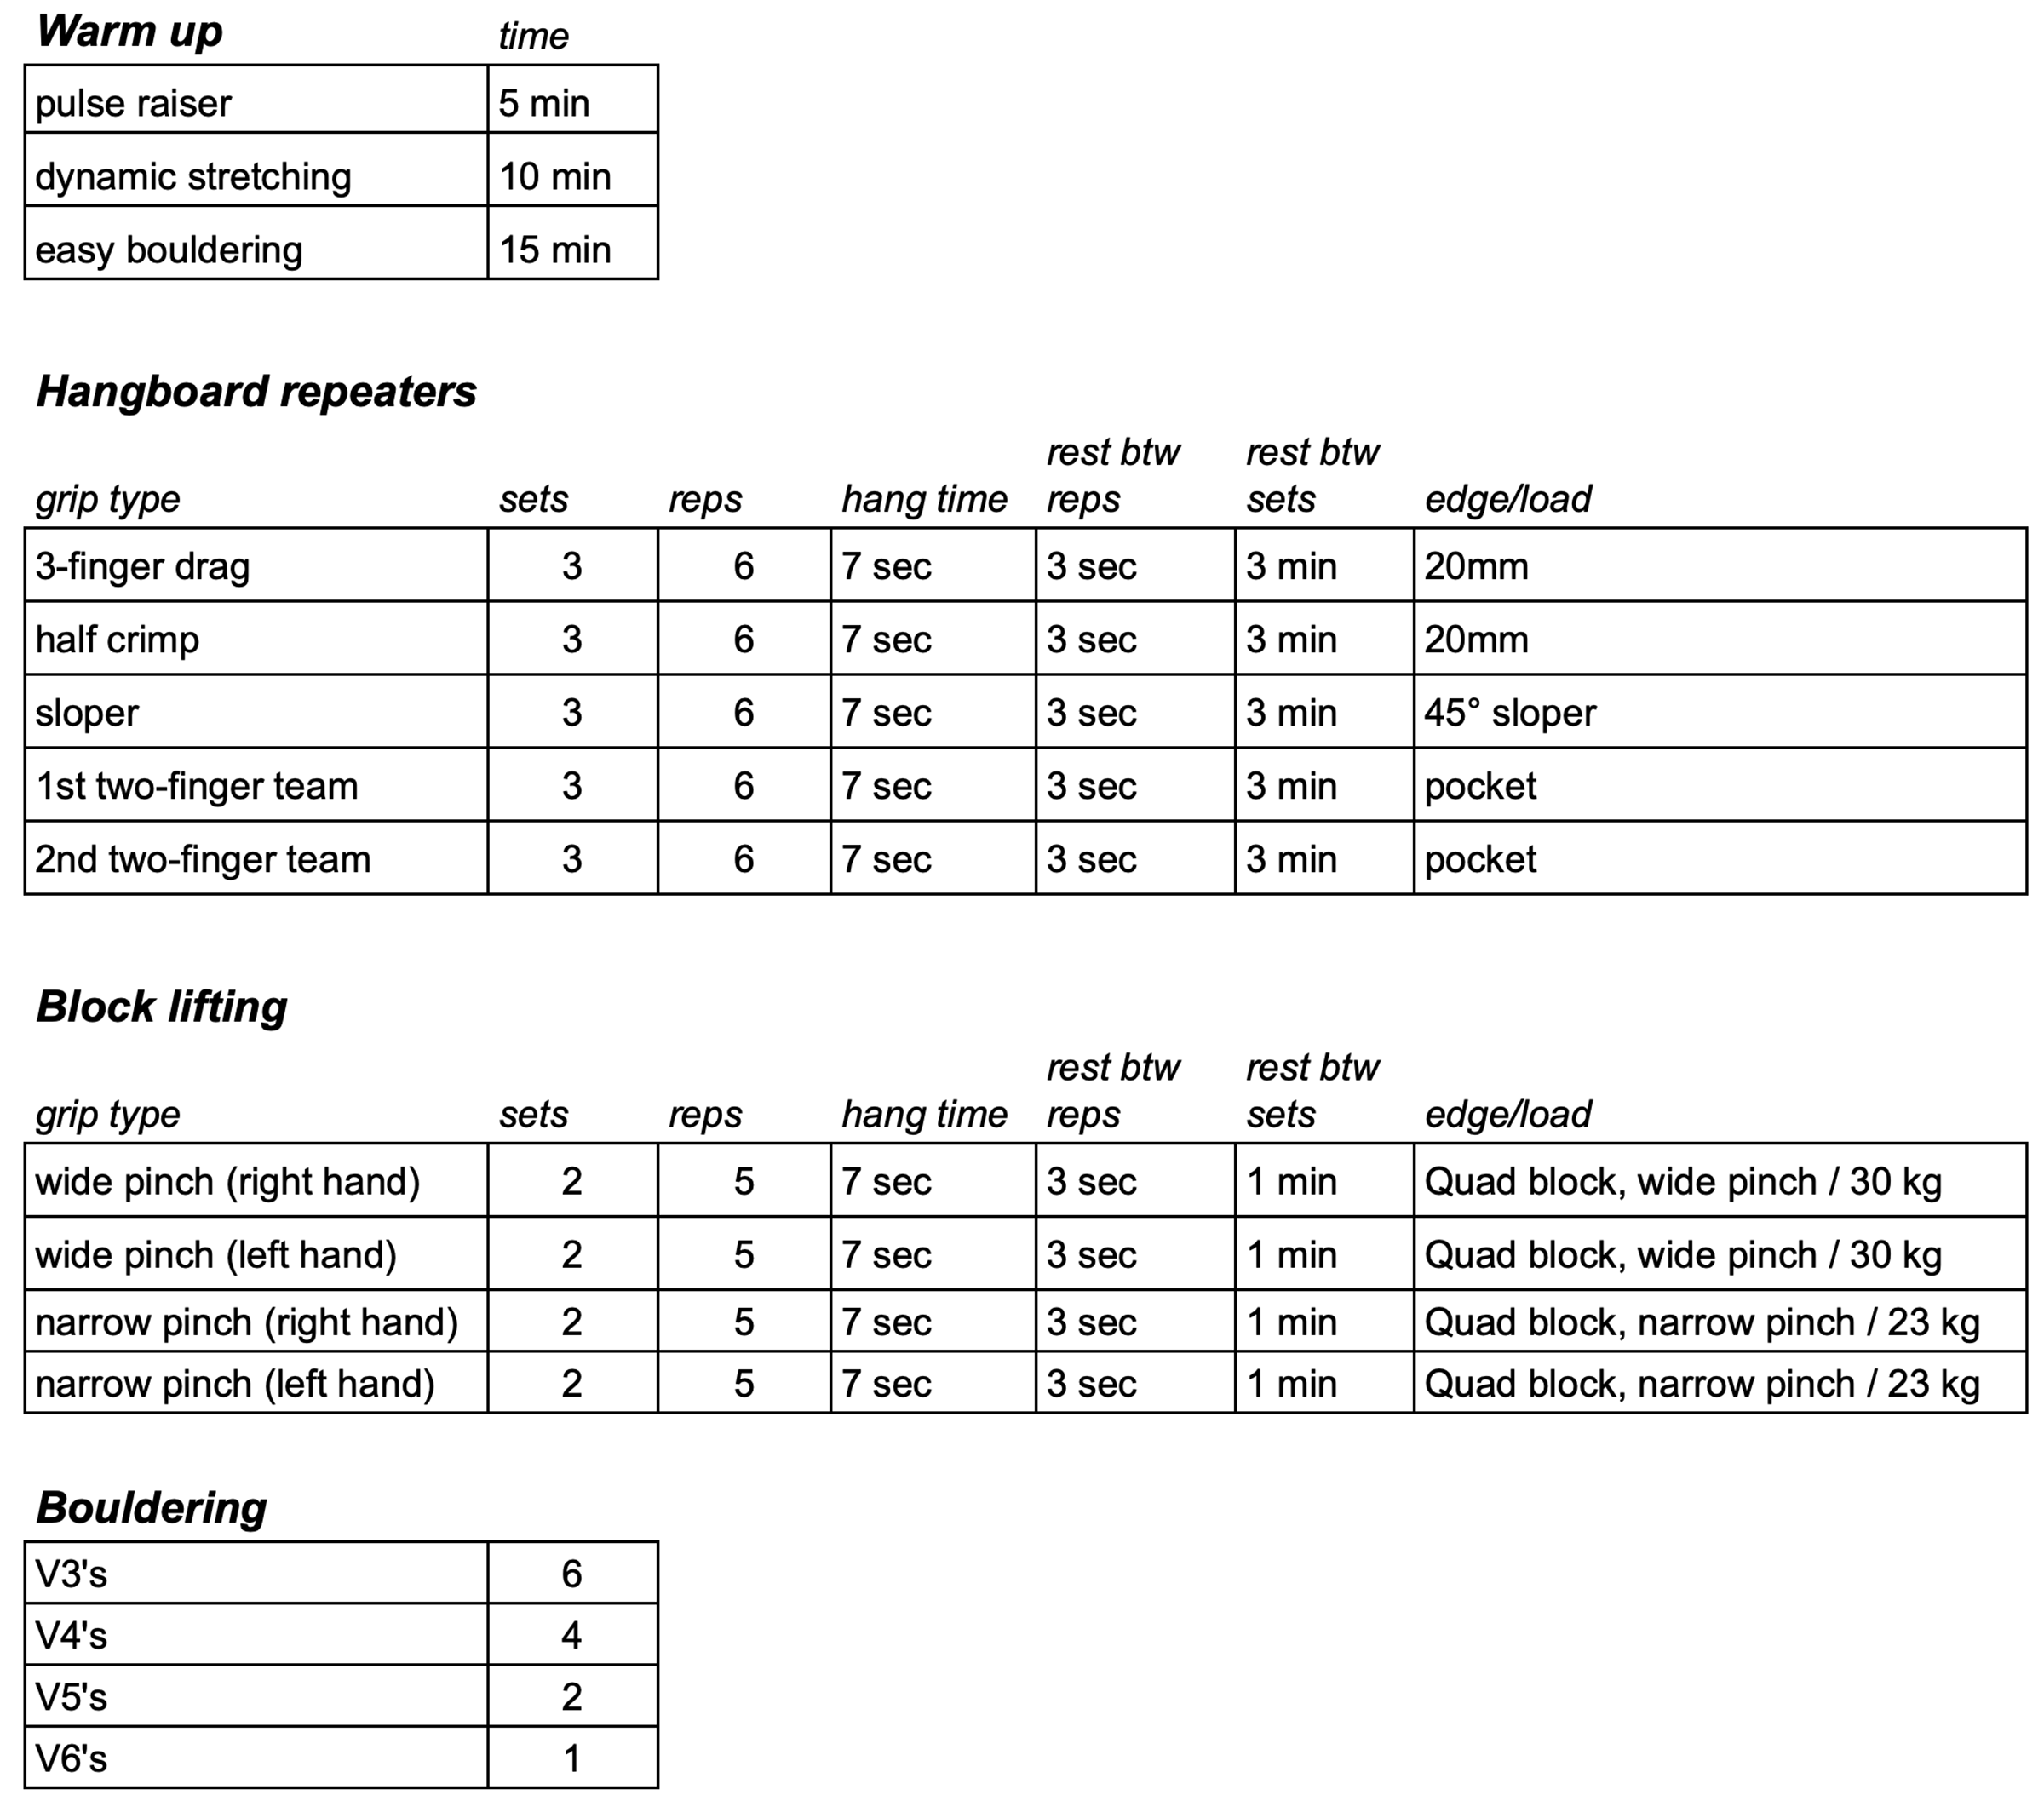
It’s hard to recommend a limit to the number of exercises you do in a session since some exercises take more time and energy than others. When fingerboarding, board training, or bouldering is the focus of a session, it’s best to limit yourself to just three of four exercises, but if the focus of the session is resistance, antagonist or core training, you will likely be able to do more exercises – as many as seven or eight. But even then, bear in mind that performing your exercises with good form is more important than sheer volume. It takes time and energy to learn to do each exercise properly, and often it’s better to do fewer exercises so that you can focus on executing them with good form. Once you have the first few exercises dialed, you can add more exercises to your workload.
Learn more
This was the first of several articles in a series on training for climbing. The purpose here was to give you a broad overview of the different types of training and explain how to combine them in a training program. If you found this useful and want to learn more about the different types of training, I have separate articles for bouldering, hangboard training, edge lifting and board training, where I go into each of these topics in more detail.
