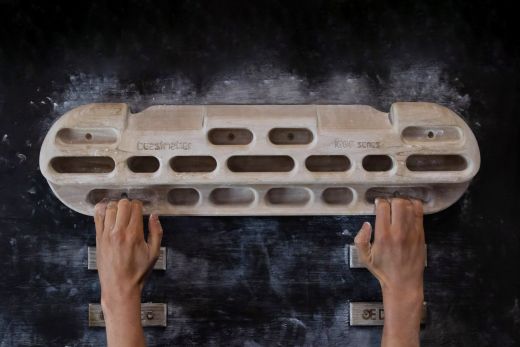
The hangboard is one of the best tools for developing grip strength, and if you’re serious about training for climbing, you’re going to use it at some point. But that then raises a few questions – how do you train on a hangboard, when should you use it, and how frequently? Despite being very simple pieces of equipment, hangboards need to be used properly and with caution to mitigate the risk of injury. With this article, I aim to help you do just that by showing you how to hang properly, describing two popular protocols or exercises, and explaining how to incorporate hangboarding into your training routine.
- Hang right
- Grip types and edge size
- Repeaters
- Max hangs
- Calibration and progression
- A typical hangboard session
- When to hangboard
- Training tips
Hang right
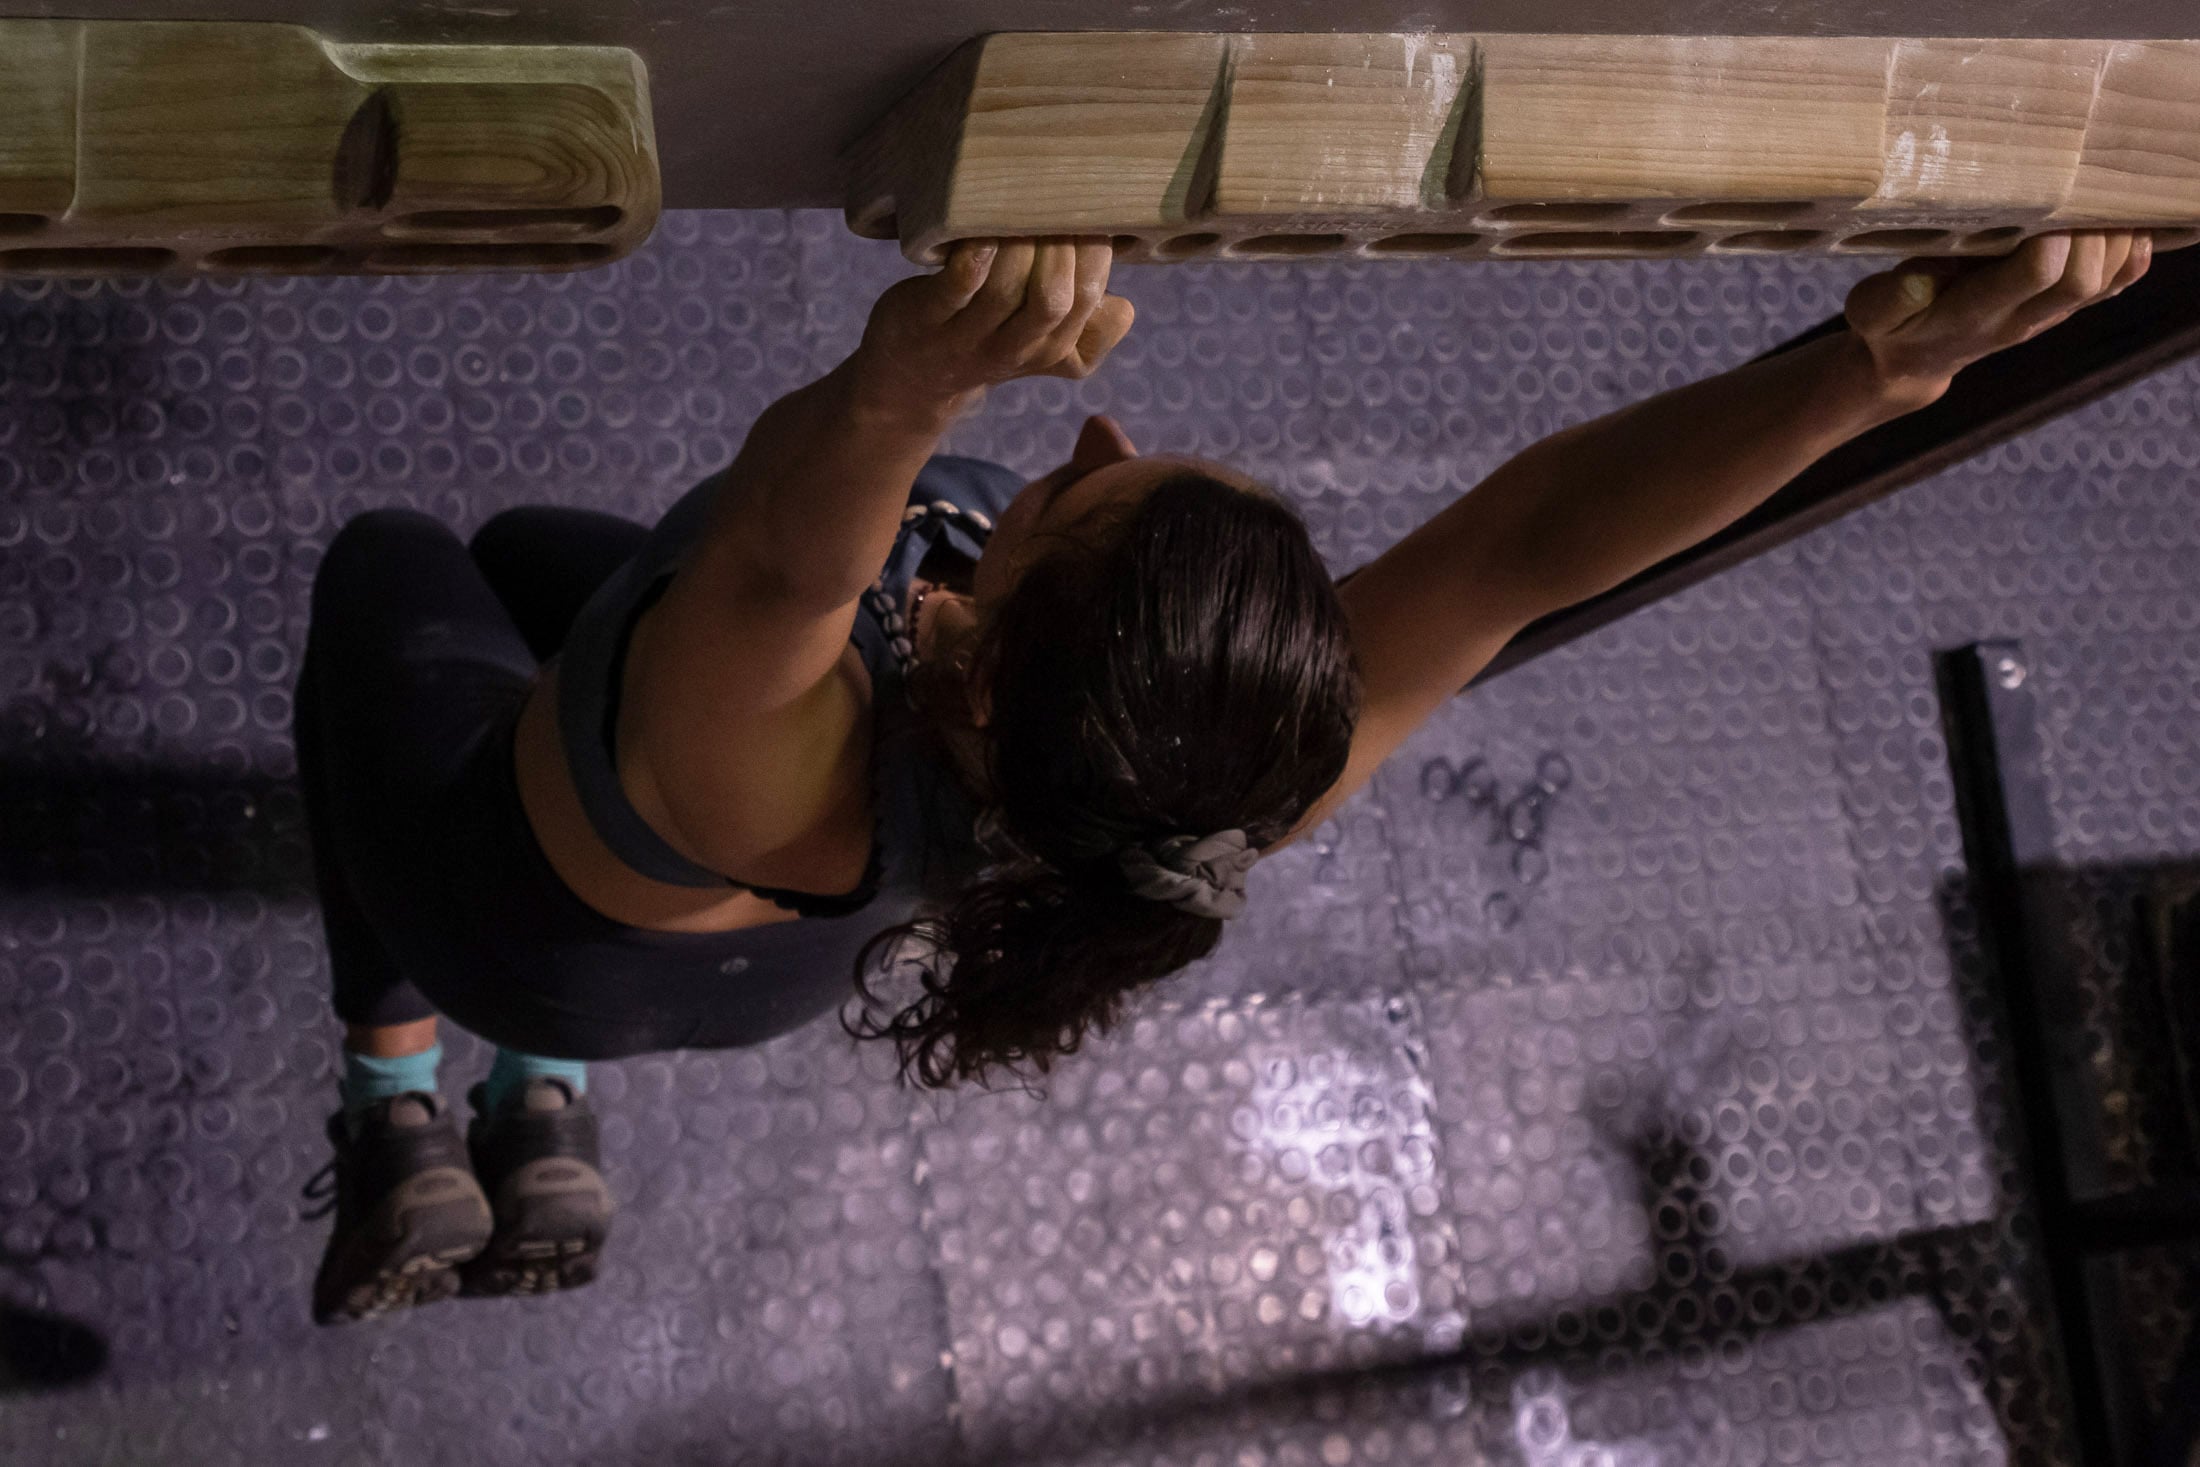
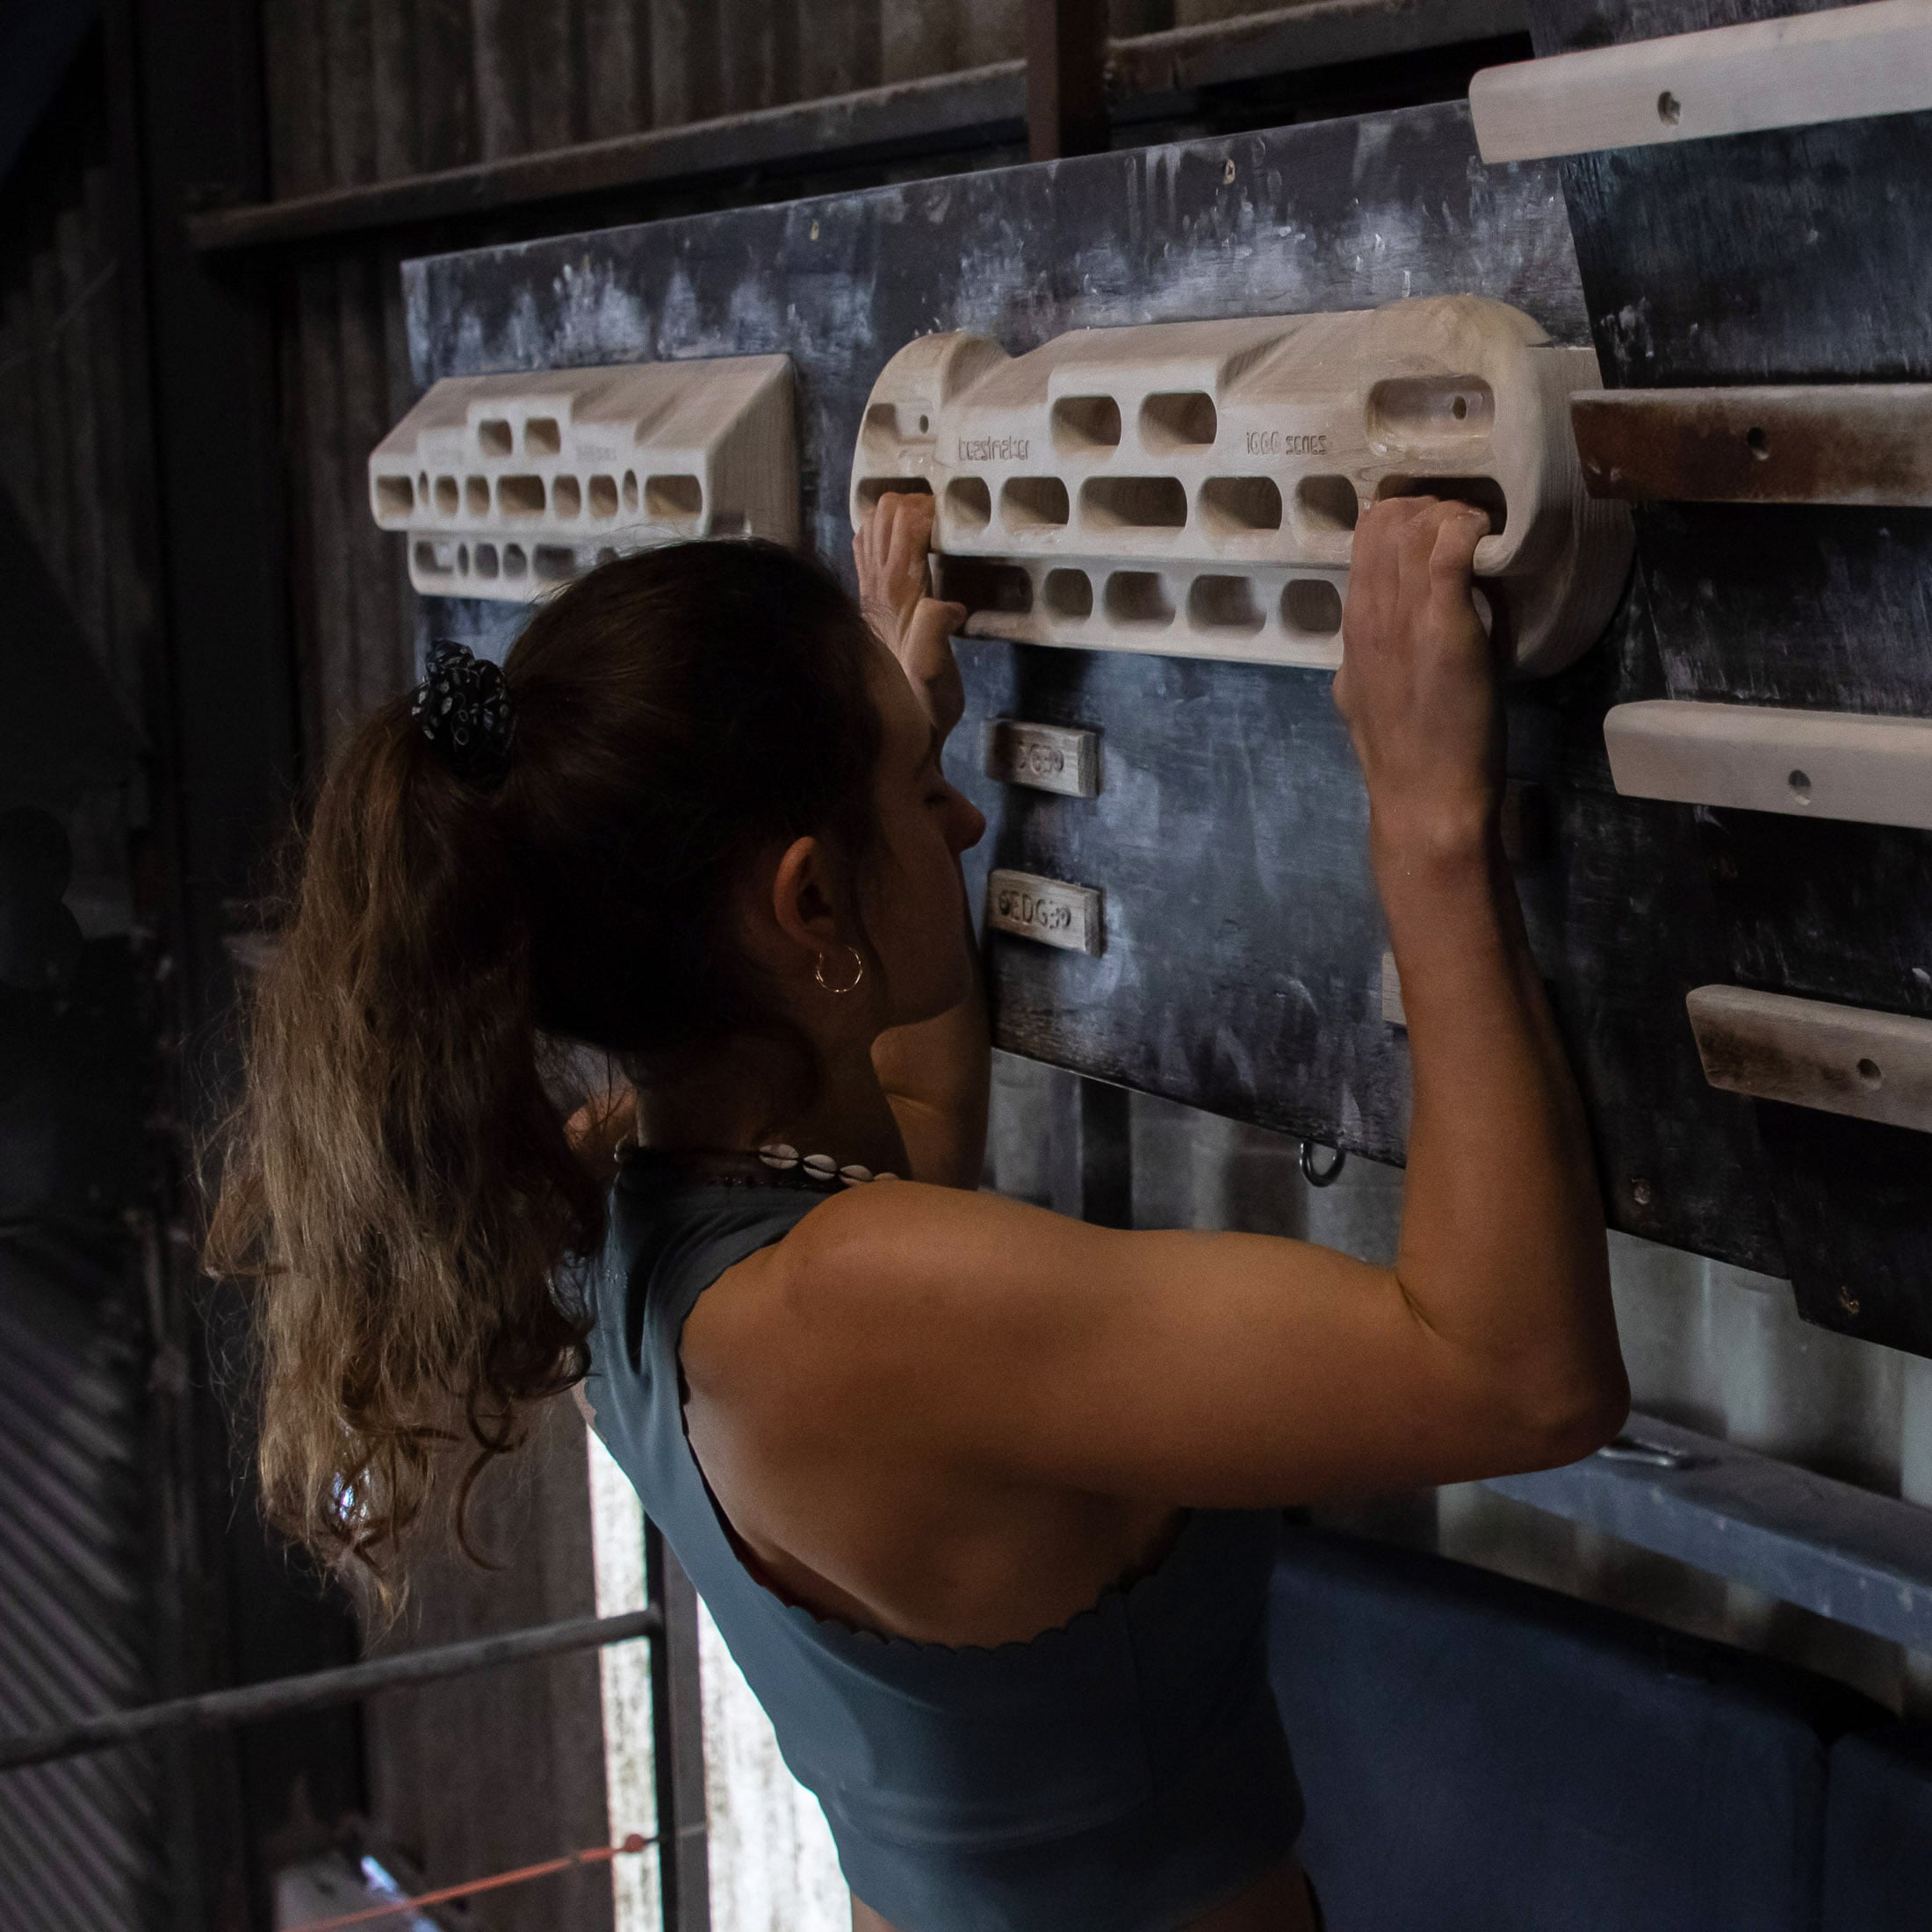
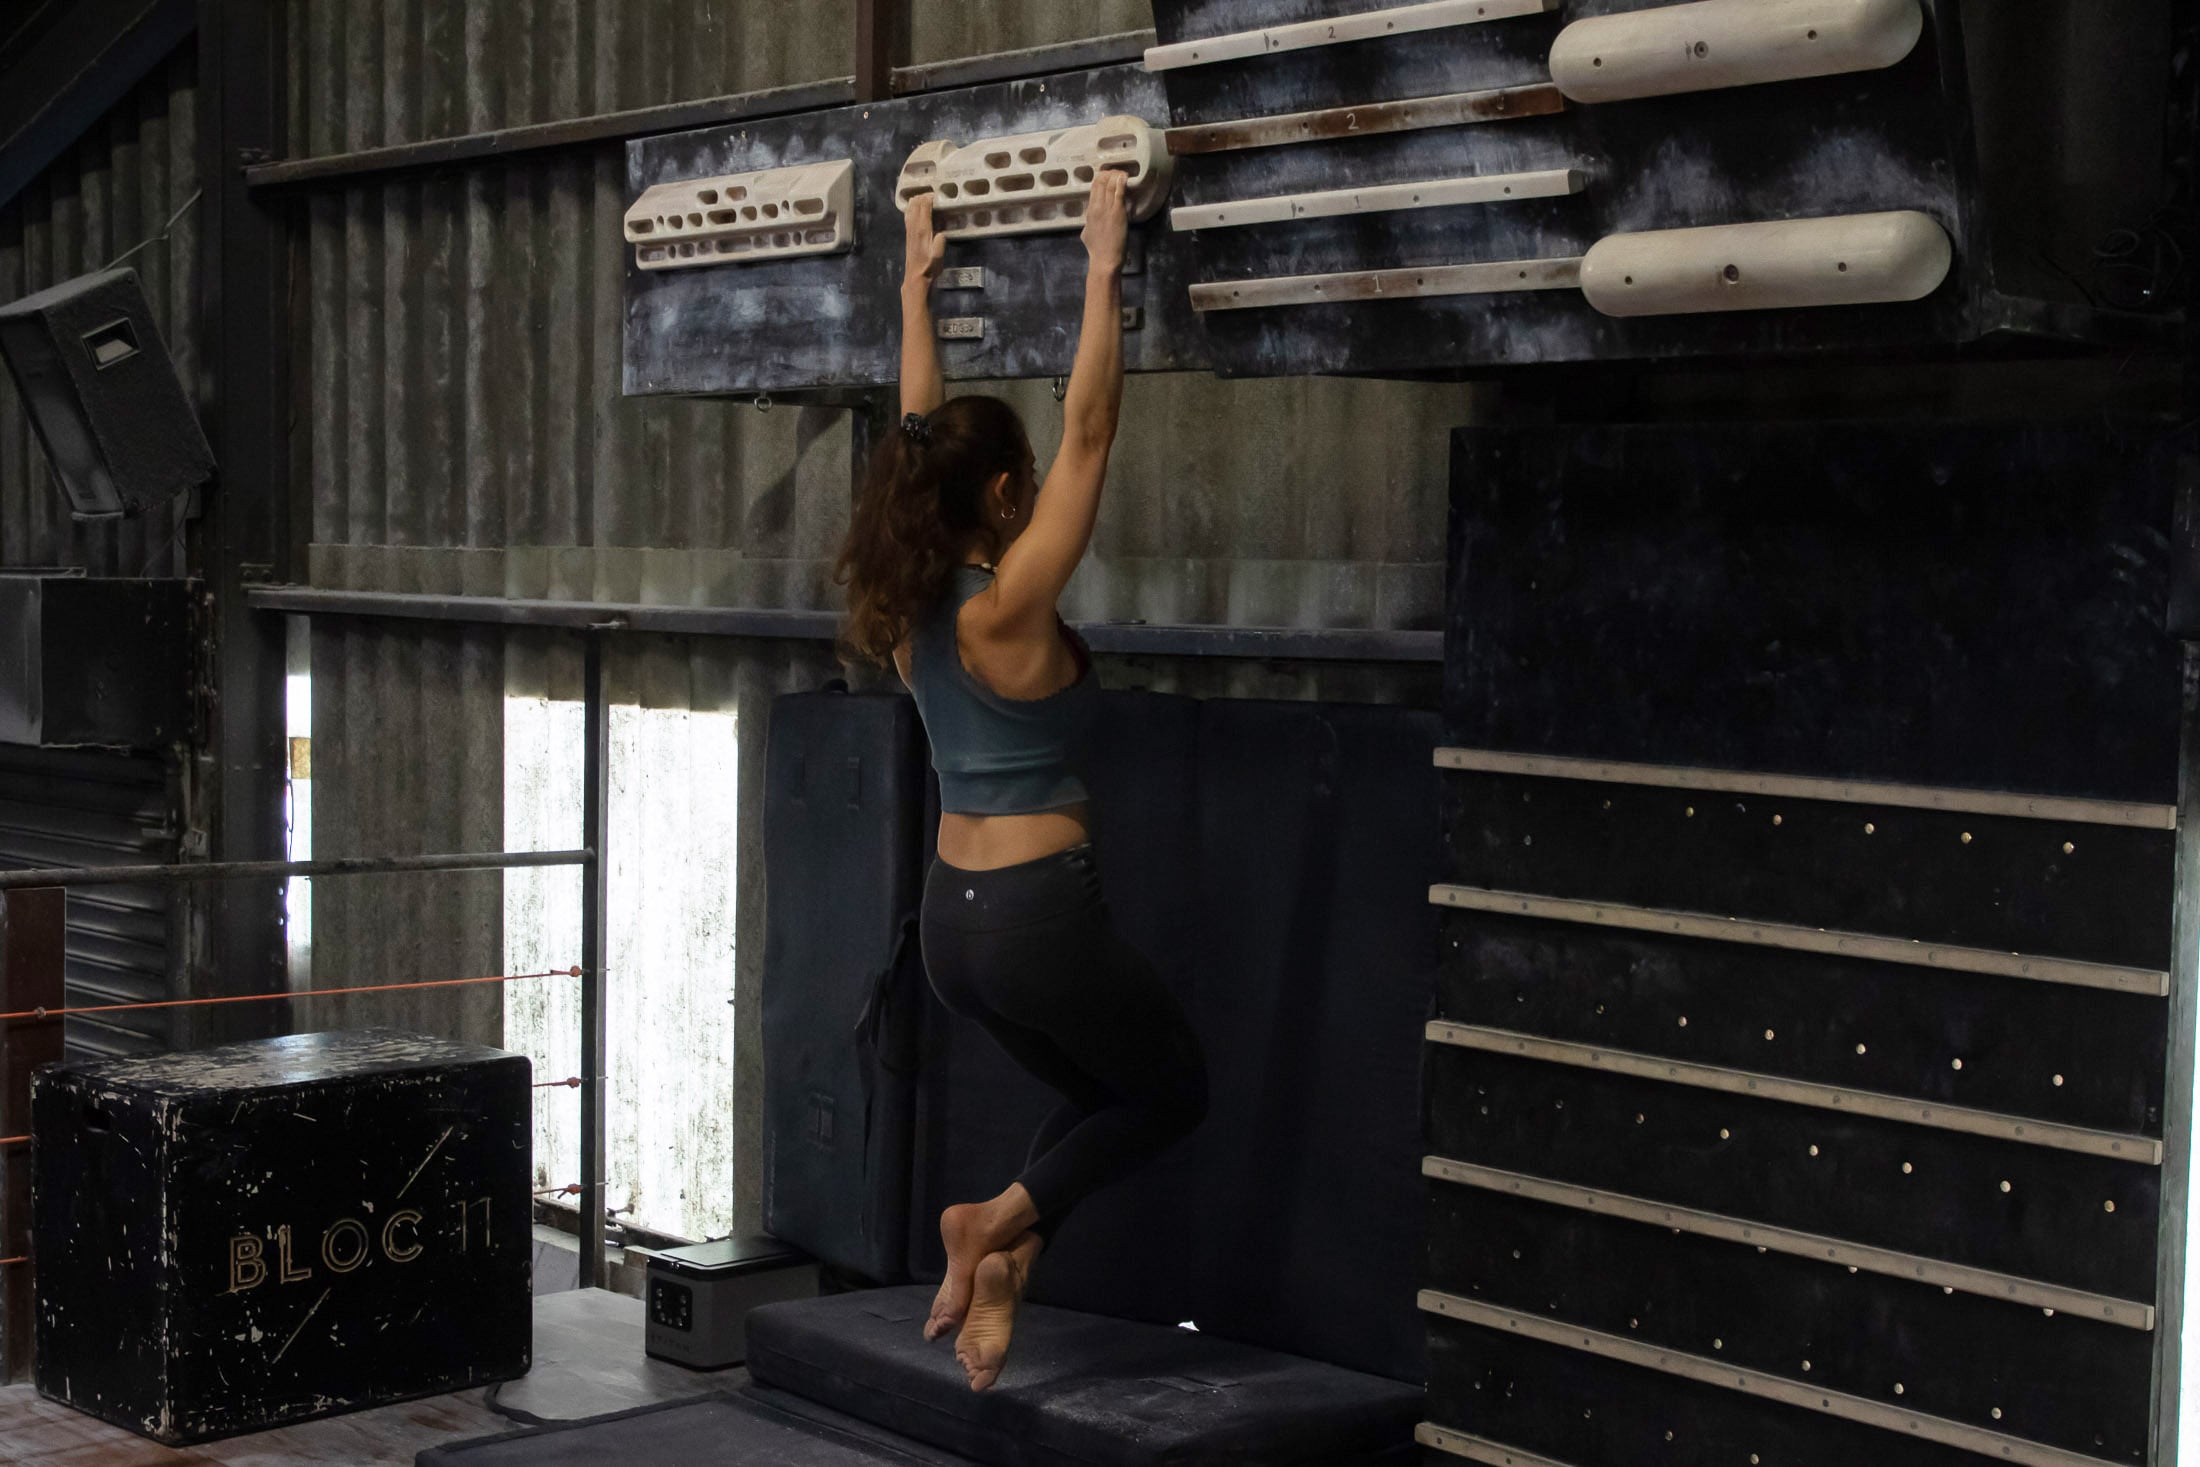
First off, it’s important to know that there is a right way to hang and a wrong way to hang. Regardless of the exercise, your hands should be shoulder-width apart, your arms should be slightly bent, and your shoulder and upper back muscles should be engaged (not in the kind of shrugged position that puts your shoulders up against your ears). This will ensure that you don’t hang directly on your joints – a bad habit that can result in elbow and shoulder injuries. How you get onto the board is also important. You also don’t want to over-retract your shoulders so much that you are arching your back and relying on your chest muscles to hold you in the hang. Proper technique will put you in a position close to vertical.
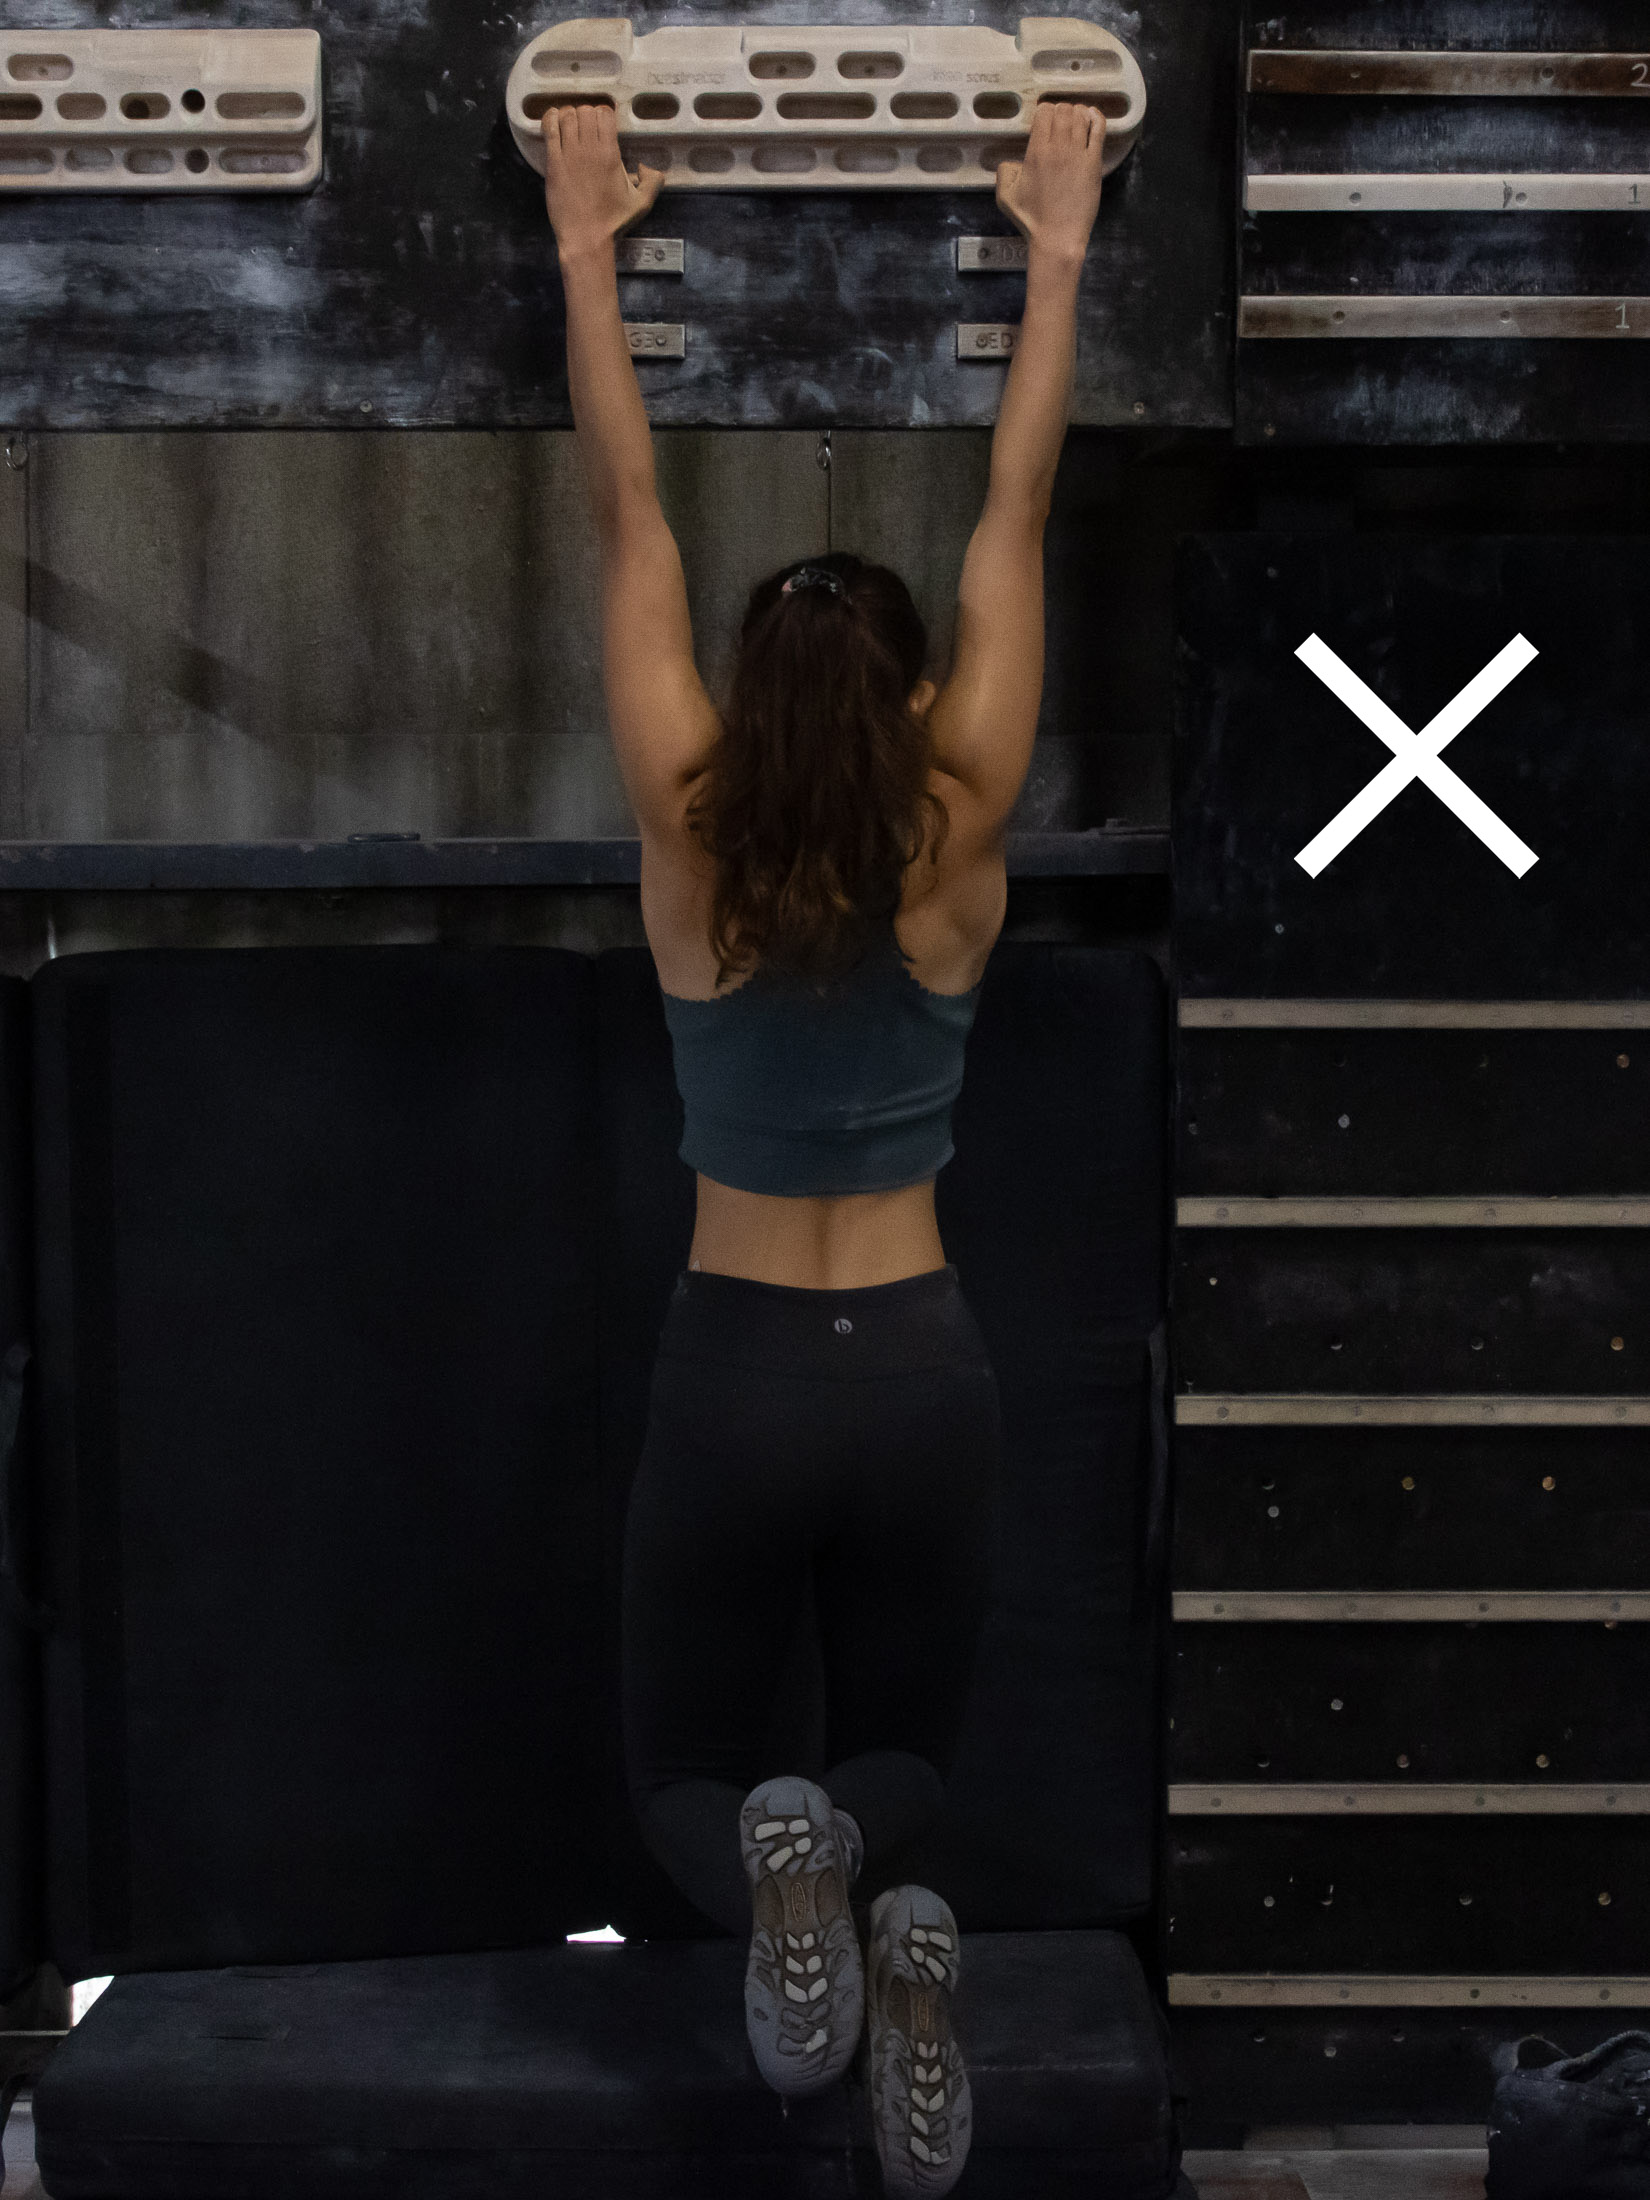
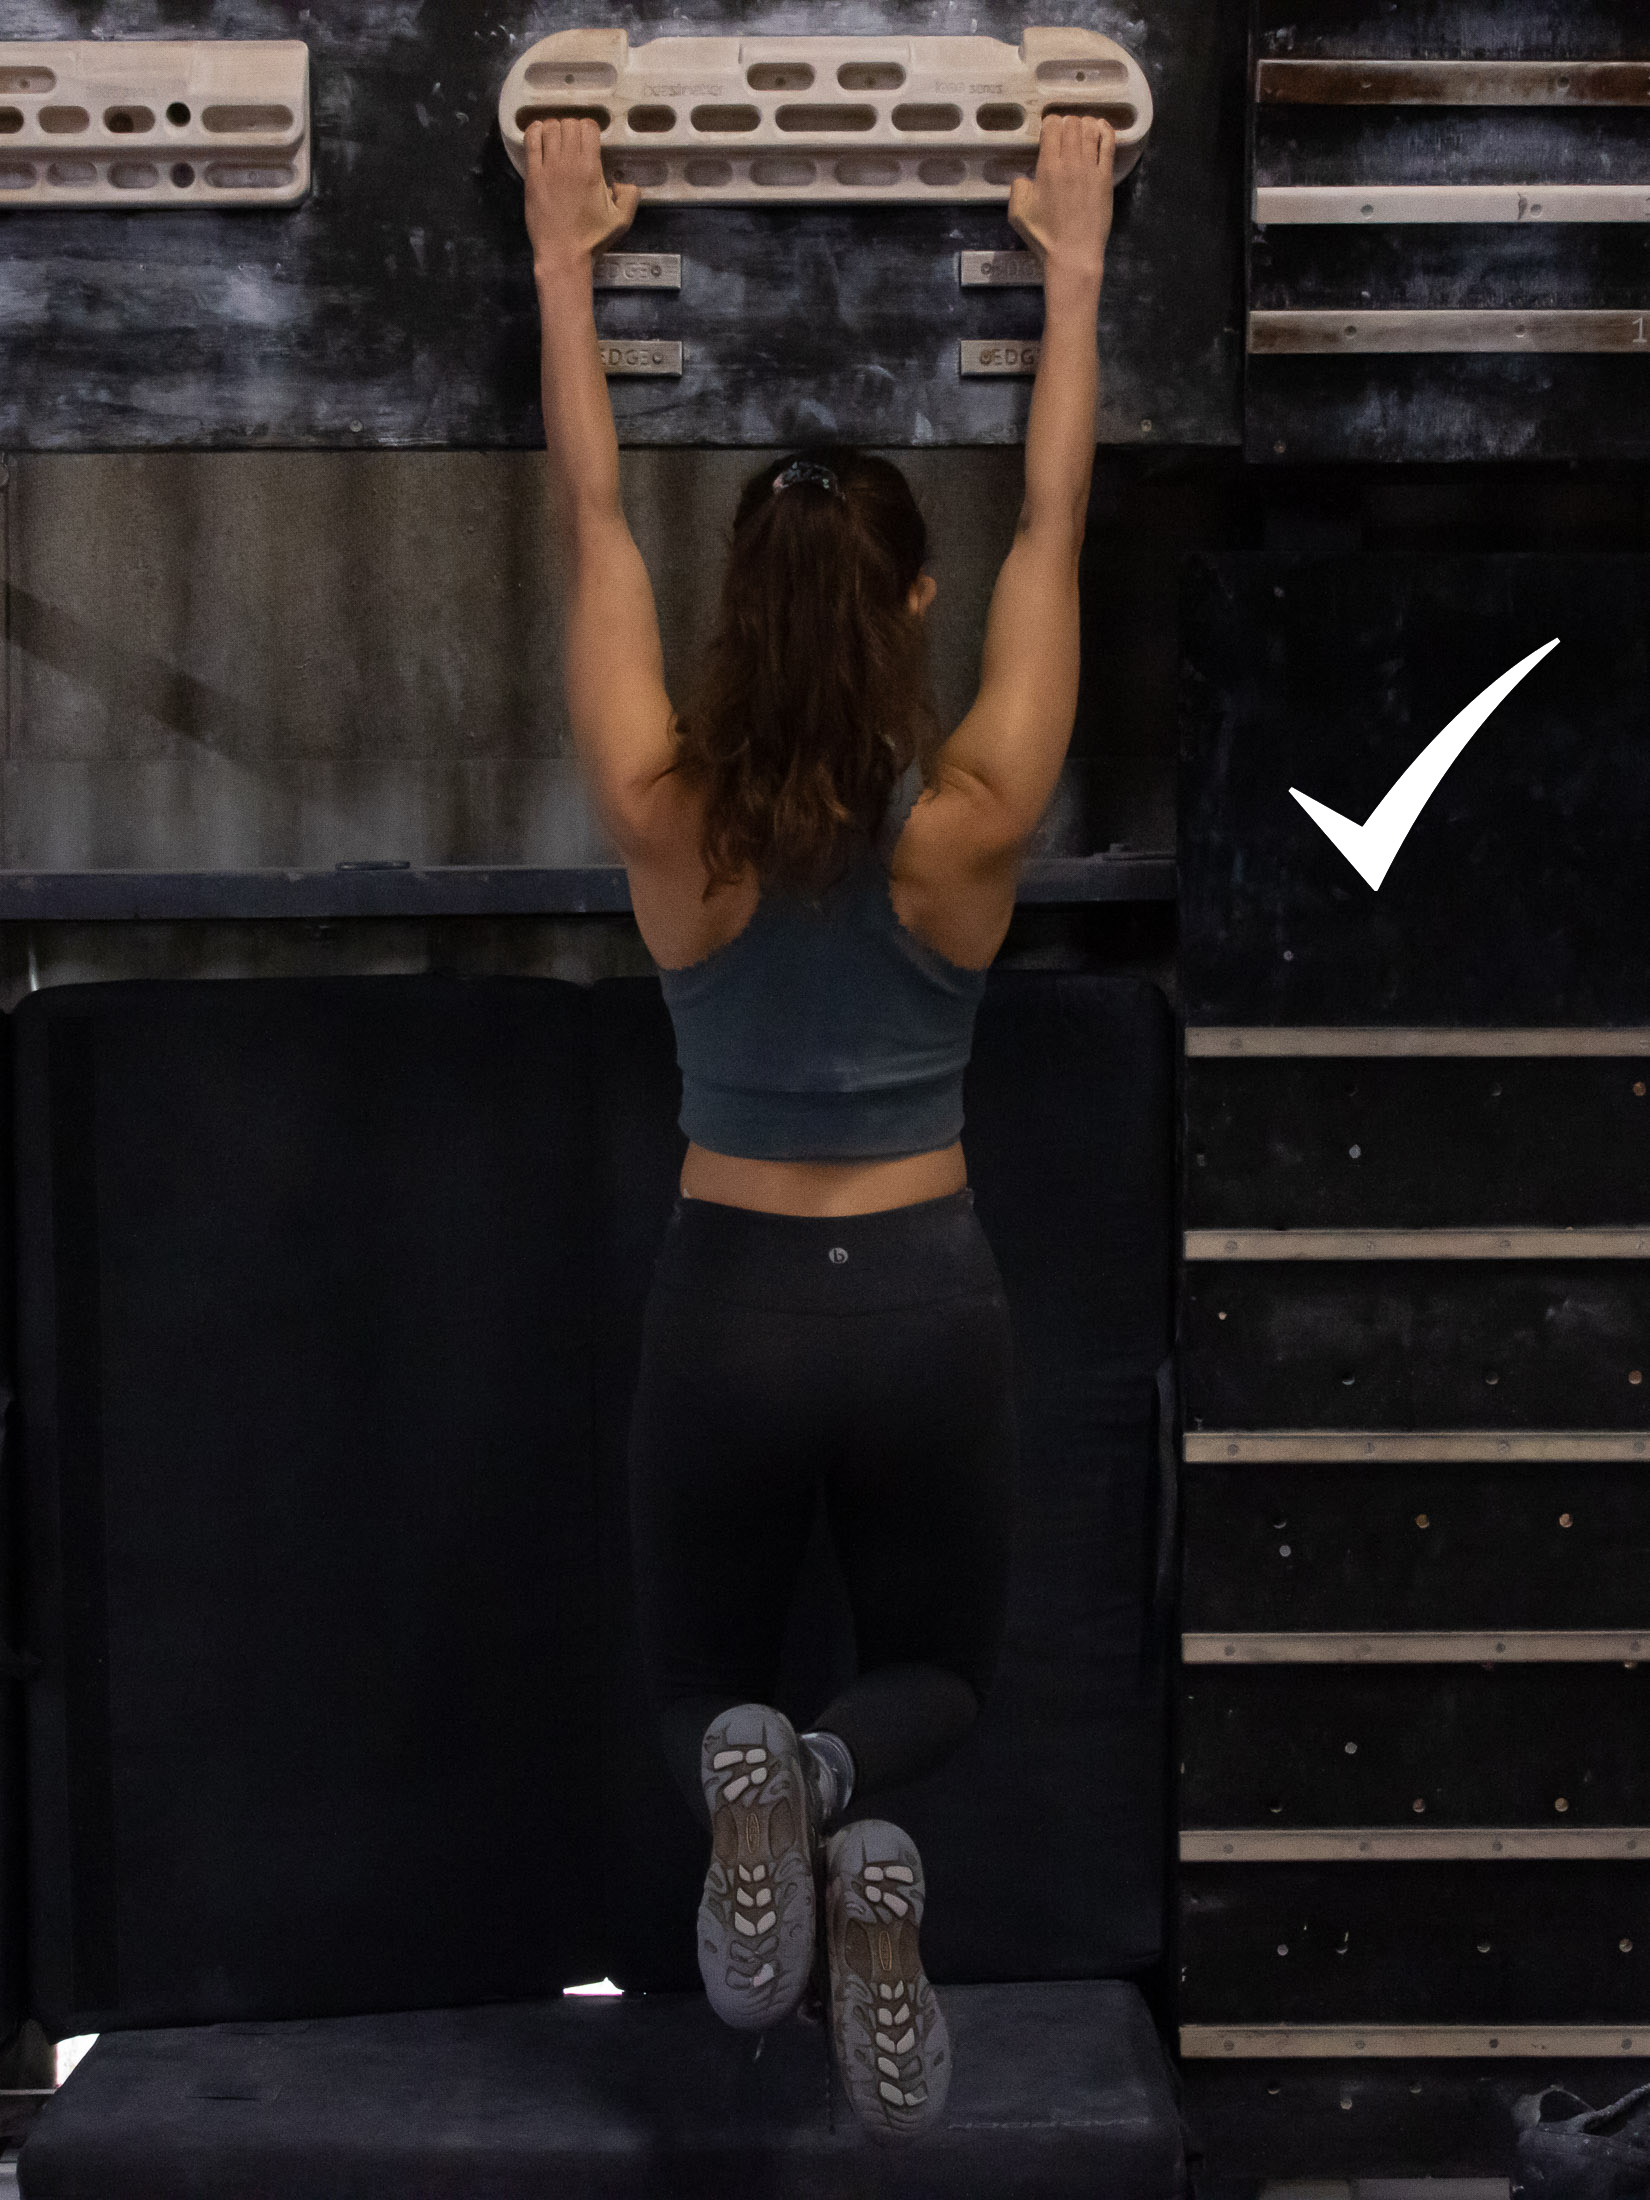
How you get onto a hangboard is also important. Firstly, you shouldn’t have to jump to reach the board, which is a sure way to shock load your tendons. If you can’t reach the hangboard from the ground, try standing on some stacked boulder pads. Secondly, you will want to avoid having your body swing back and forth when you lift your feet of the ground since this can make it difficult to stay on smaller holds. Check your balance before committing your full weight to the hang and make any adjustments to your body position before lifting your feet off the ground.
| 1. Place your hands on the board shoulder width apart |
| 2. Engage your shoulders and upper back (but without arching your back) |
| 3. Shift your weight onto the hangboard in a controlled manner |
Grip types and edge size
One of the biggest mistakes made by climbers new to hangboarding is that they don’t vary the grip type. One of the unfortunate truths in training for climbing is that a strength gain in one grip position doesn’t translate well into other grip types. For example, if you only train the open-hand position, the strength increase in your half crimp might only be twenty percent of the strength gain achieved in your open-hand grip. The point is that you have to train the other grip types if you want to improve your strength in these – the half crimp, three-finger drag, sloper open-hand, first two-finger pocket, and second two-finger pocket. The full crimp is a bit too high-risk to train on a fingerboard, and pinch strength is best trained on a system wall or with a lifting block.
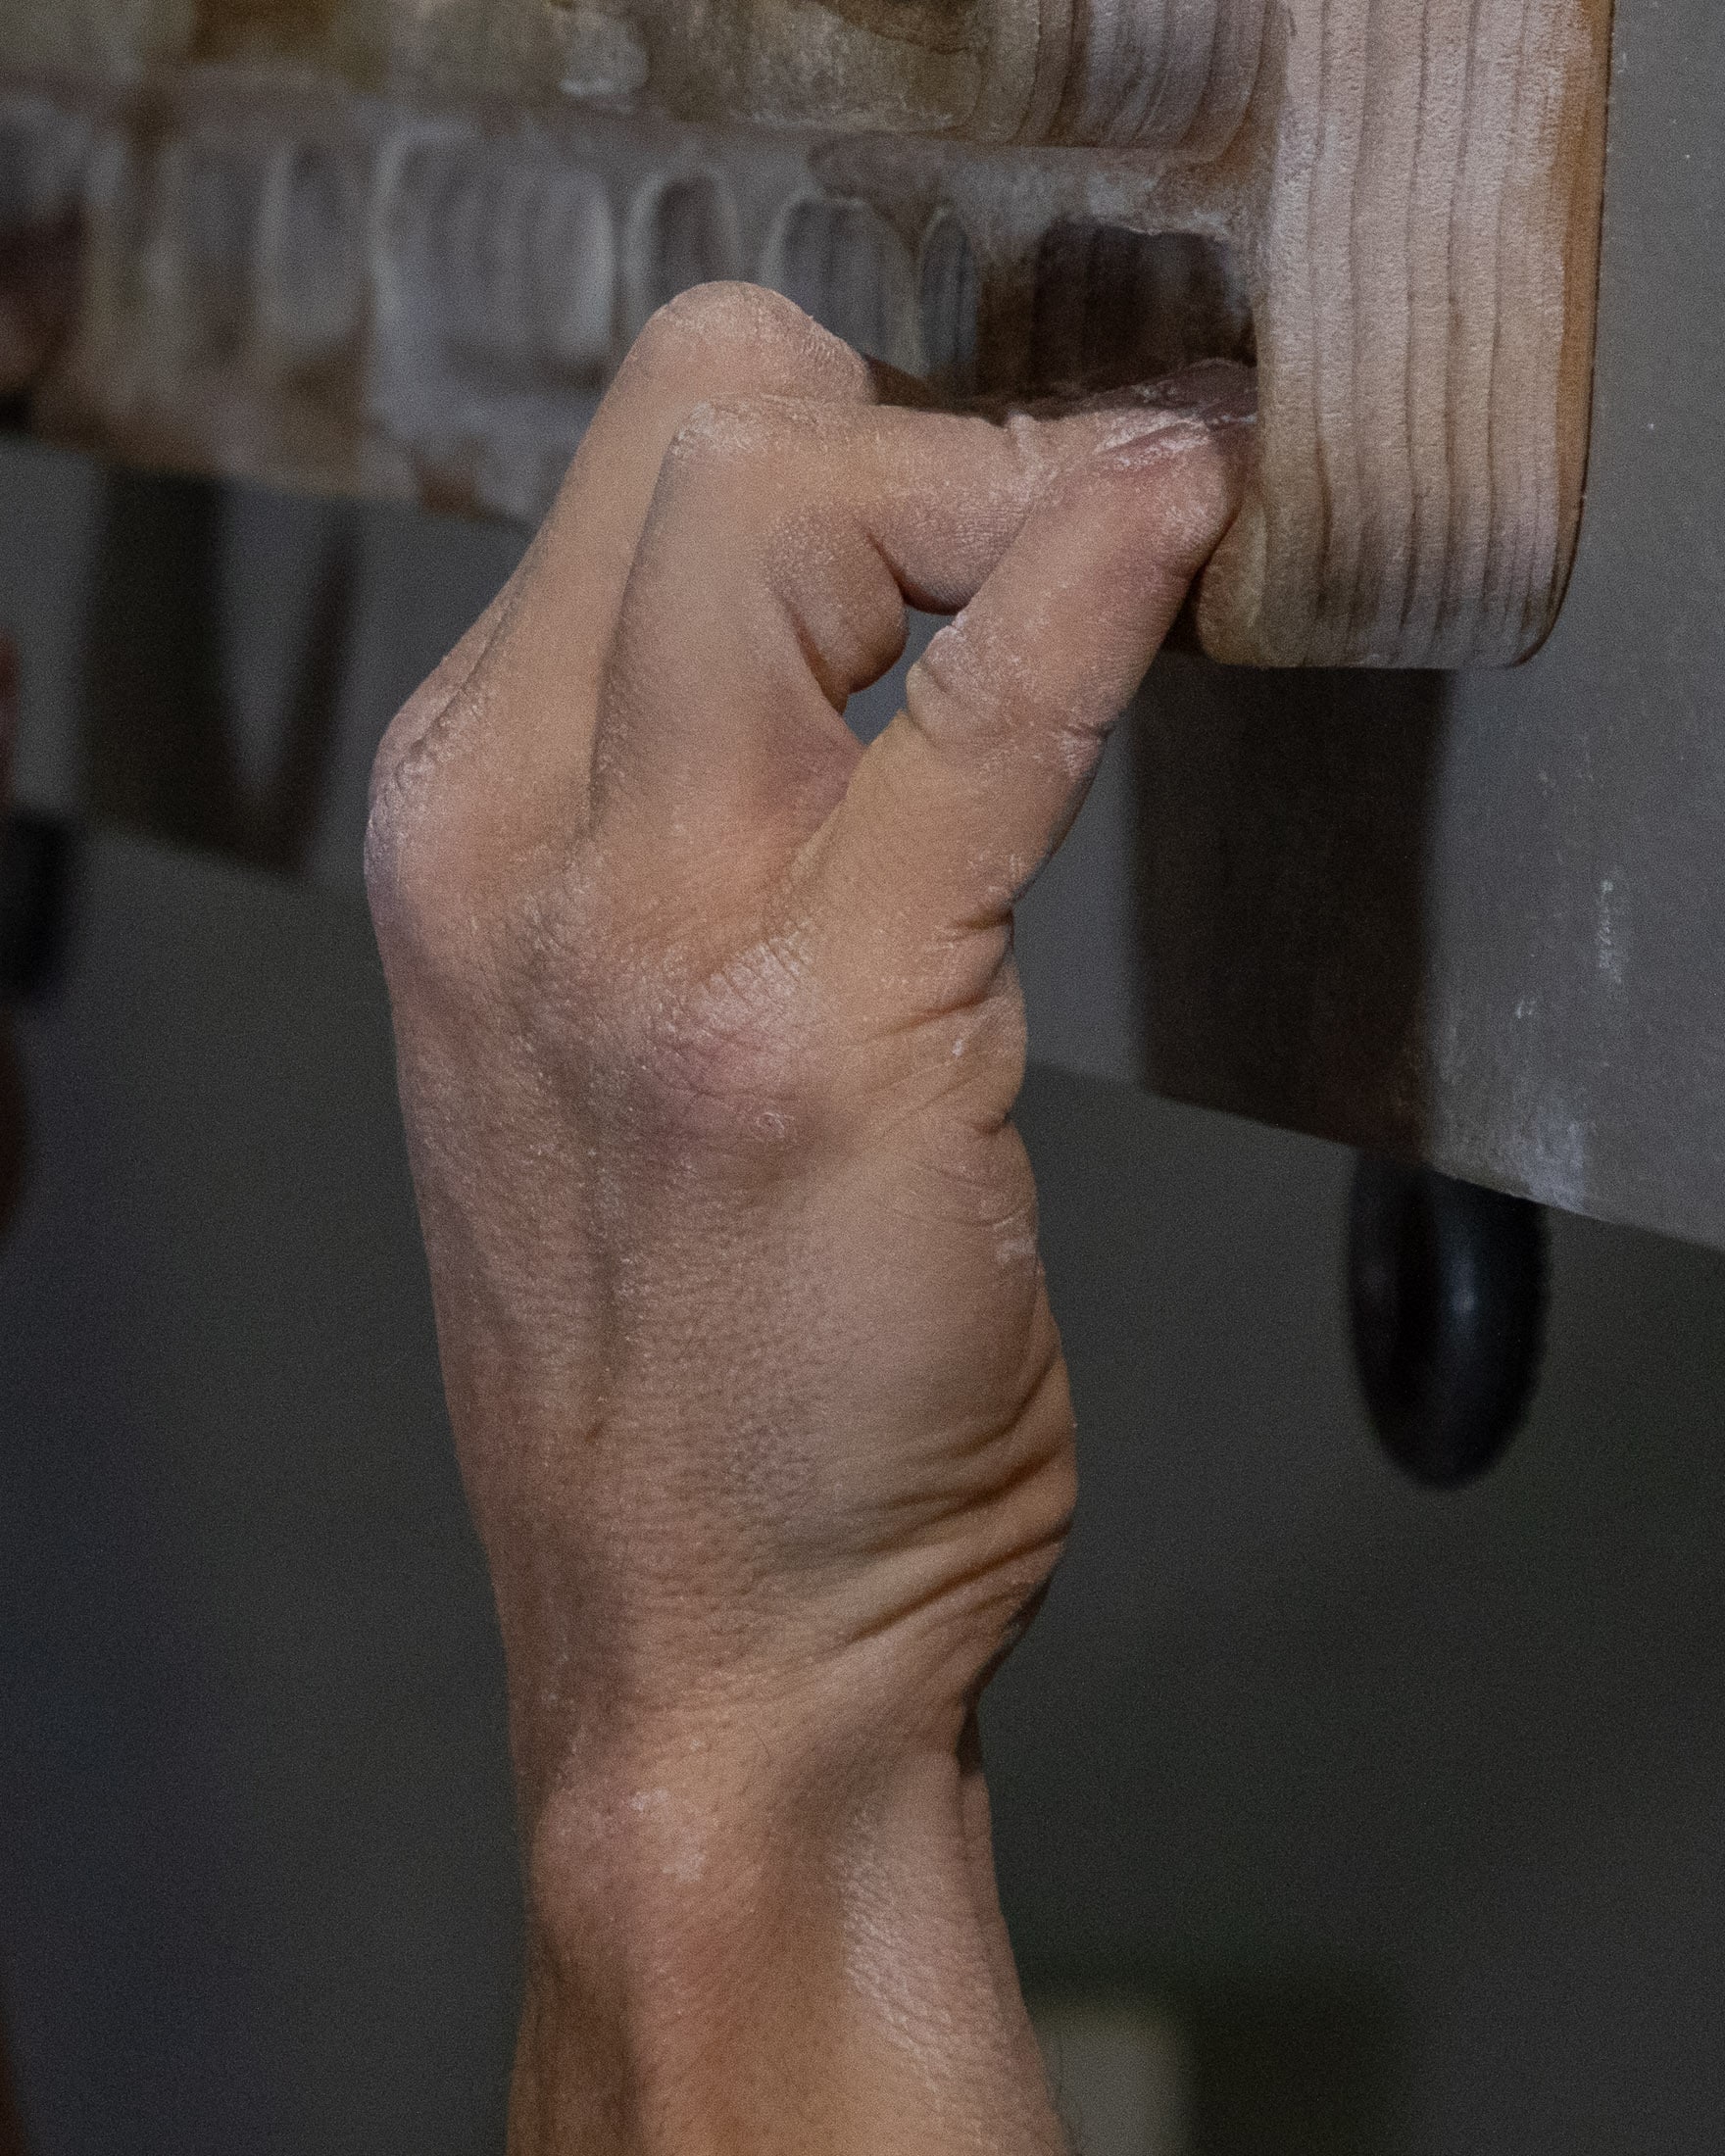
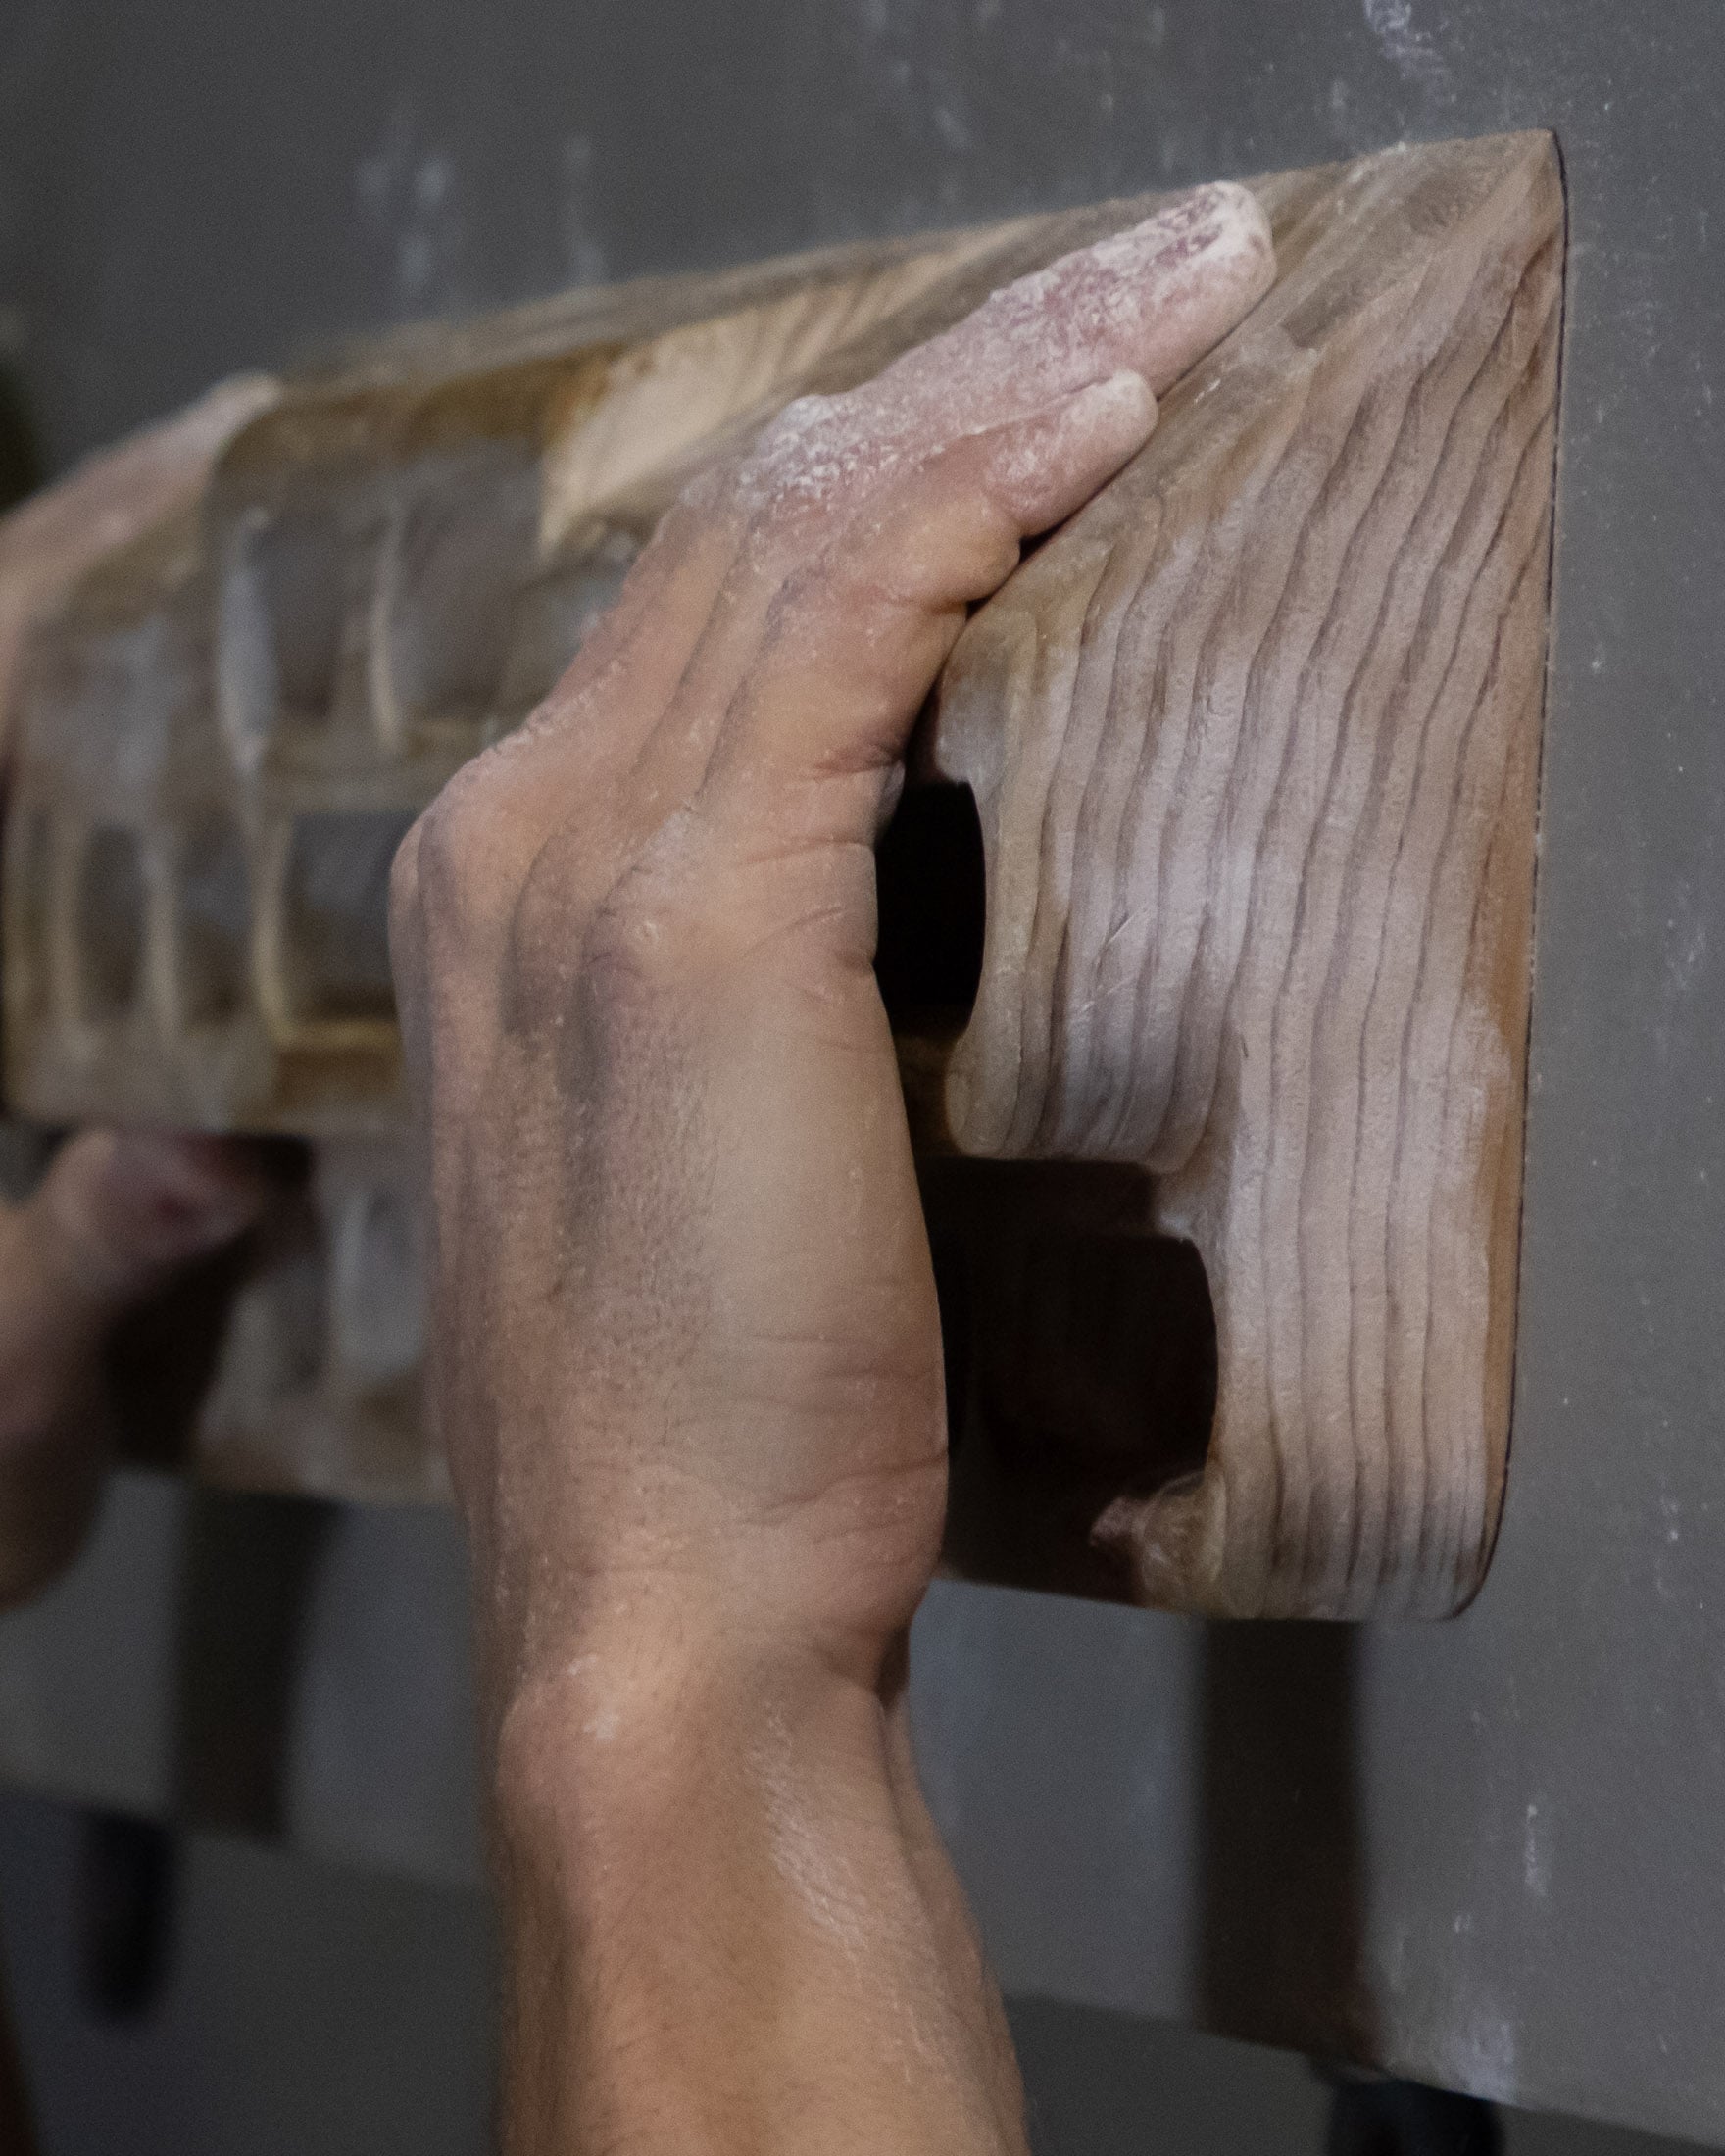
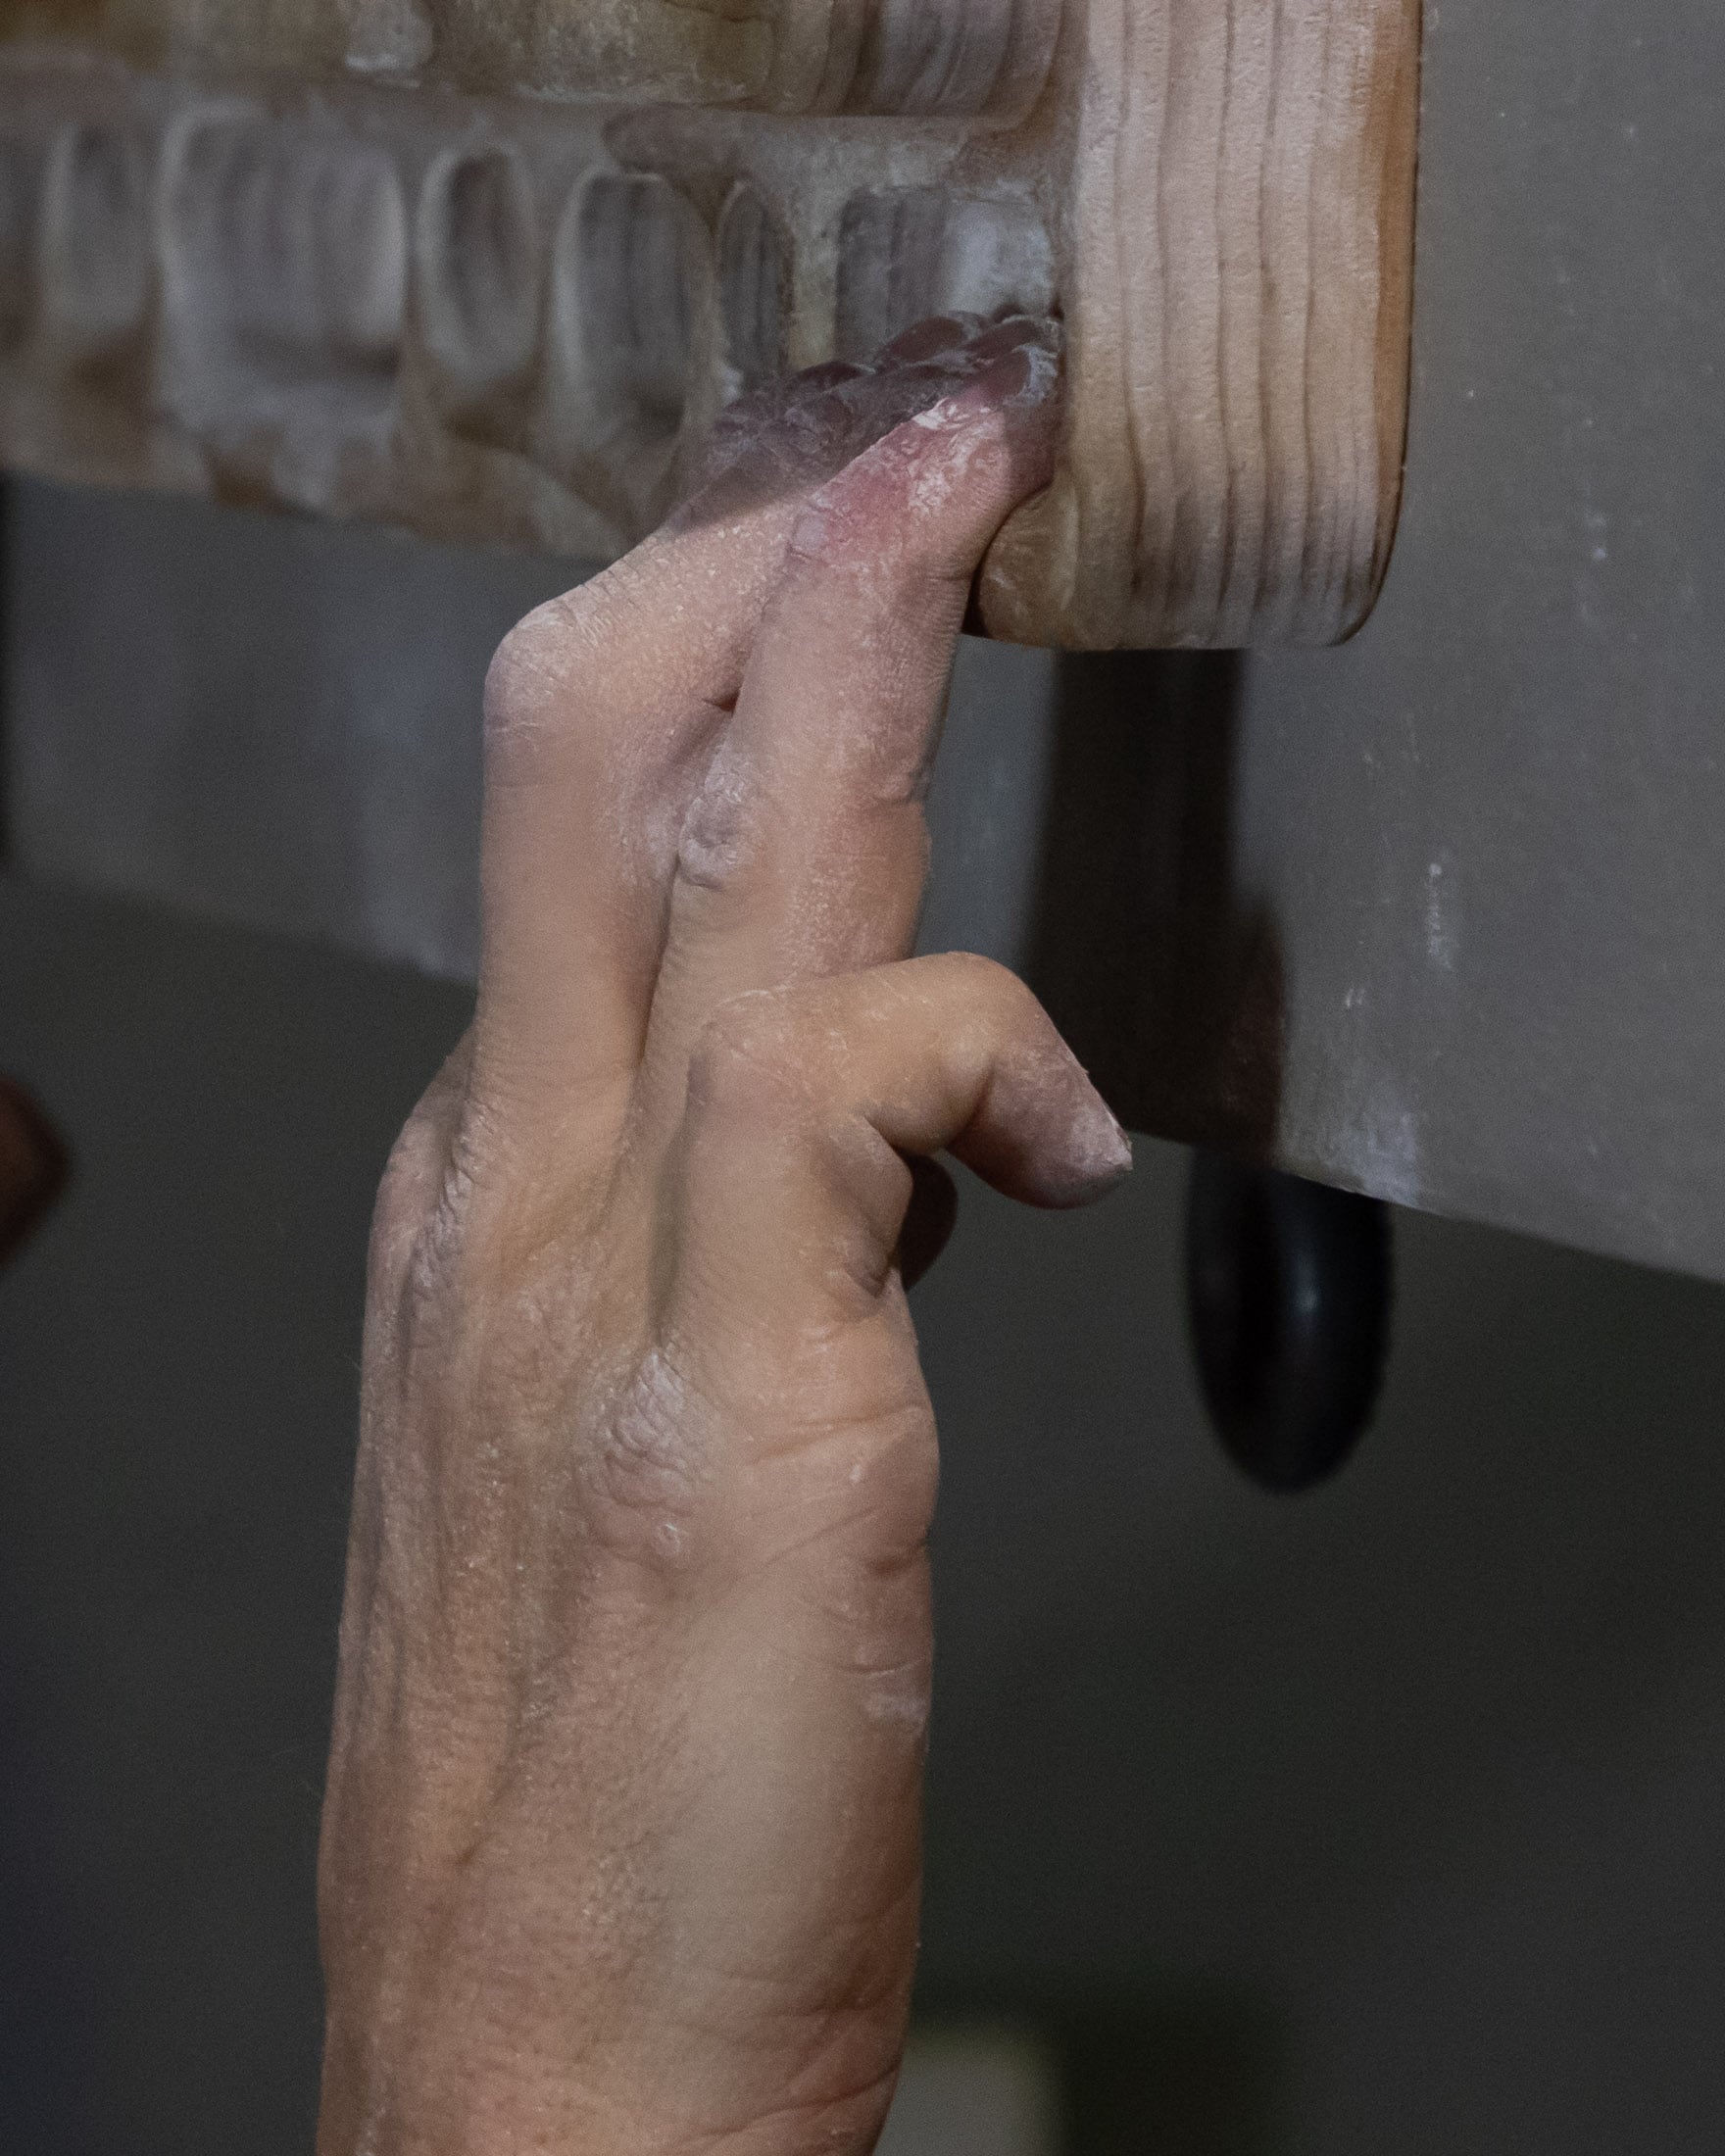
Training with bigger edges and heavy loads is generally better for promoting muscle recruitment, and larger edges reduce the risk of dry firing. This is why a 20mm edge is considered the best for general hangboarding – both for repeaters and max hangs. However, you might might want to go a little shallower when training three or four-finger grips and little deeper when training your two-finger teams. But that begs the question, what’s that 10mm micro edge for? One claimed advantage of training on small holds is that it improves intramuscular coordination on skinny holds. But it’s questionable how true this is for hangboarding, which doesn’t mimic climbing movement as much as say board training. A more likely advantage is that hanging on small edges can increase ‘pulp’ – the fleshy tips of your fingers that that deform to provide more grip when they bear down on small holds.
Repeaters
If you are new to hangboarding, this is where you should start. Repeaters can be performed with one of two protocols: 7/3 and 10/5. With the 7/3 protocol, you hang for seven seconds, then rest for three seconds, then hang for seven seconds, and then rest for three seconds. To complete the set, you continue in manner until you have done a total of six hangs. You then you rest for one minute and do another set with the same grip. Repeat this process until you have completed three or four sets with the same grip type. You will then do the same for every other grip you want to train – performing three or four sets for each grip type to make a total of nine to fifteen sets. Most climber will prioritise the half-crimp and 3-finger drag, and then train the sloper open-hand, first two-finger team, and second two-finger team.
The key to performing repeaters properly is being precise with the timing. If you follow the 7/3 protocol, you don’t want to hang for any shorter or longer than 7 seconds, and you want to rest for exactly 3 seconds. It helps to set up a phone with a timer where you can see it while you are hanging. When deciding on which protocol to use, it is worth keeping in mind that three seconds isn’t enough time to even chalk up, which is why the 7/3 protocol doesn’t work well for people with sweaty hands. If this is you, it would be best to use the 10/5 protocol which involves 10-second hangs separated by 5-seconds rests – just long enough to chalk up between reps.
To perform a single set of repeaters using the 7/3 protocol, follow these steps:
| 1. Hang for 7 seconds |
| 2. Rest for 3 seconds |
| 3. Repeat 5 more times |
After each set, rest for three minutes before performing the next set. A quick note on intensity: More advanced climbers might need to add weight using a weight vest or harness and free weights to achieve the necessary level of resistance, but this won’t be nearly as much as they would use in max hangs.
Max hangs
If you only did repeaters, you would see significant gains in your grip strength. But some well-conditioned climbers want a bit of variety in their hangboard training, and for that reason, we have max hangs. The goal with this protocol is to perform a set of 10-second hangs, each of which takes you close to failure. Because the rests between hangs is much longer than those taken when performing repeaters, fatigue isn’t as big a factor. This means that you will likely still be able to do the last hang in a set even if the level of intensity is quite high. There are two ways to adjust the level of resistance in max hangs. With the first method, you use a smaller edge size to make a 10-second hang feel difficult. The second method involves adding extra weight to make the hang more difficult.
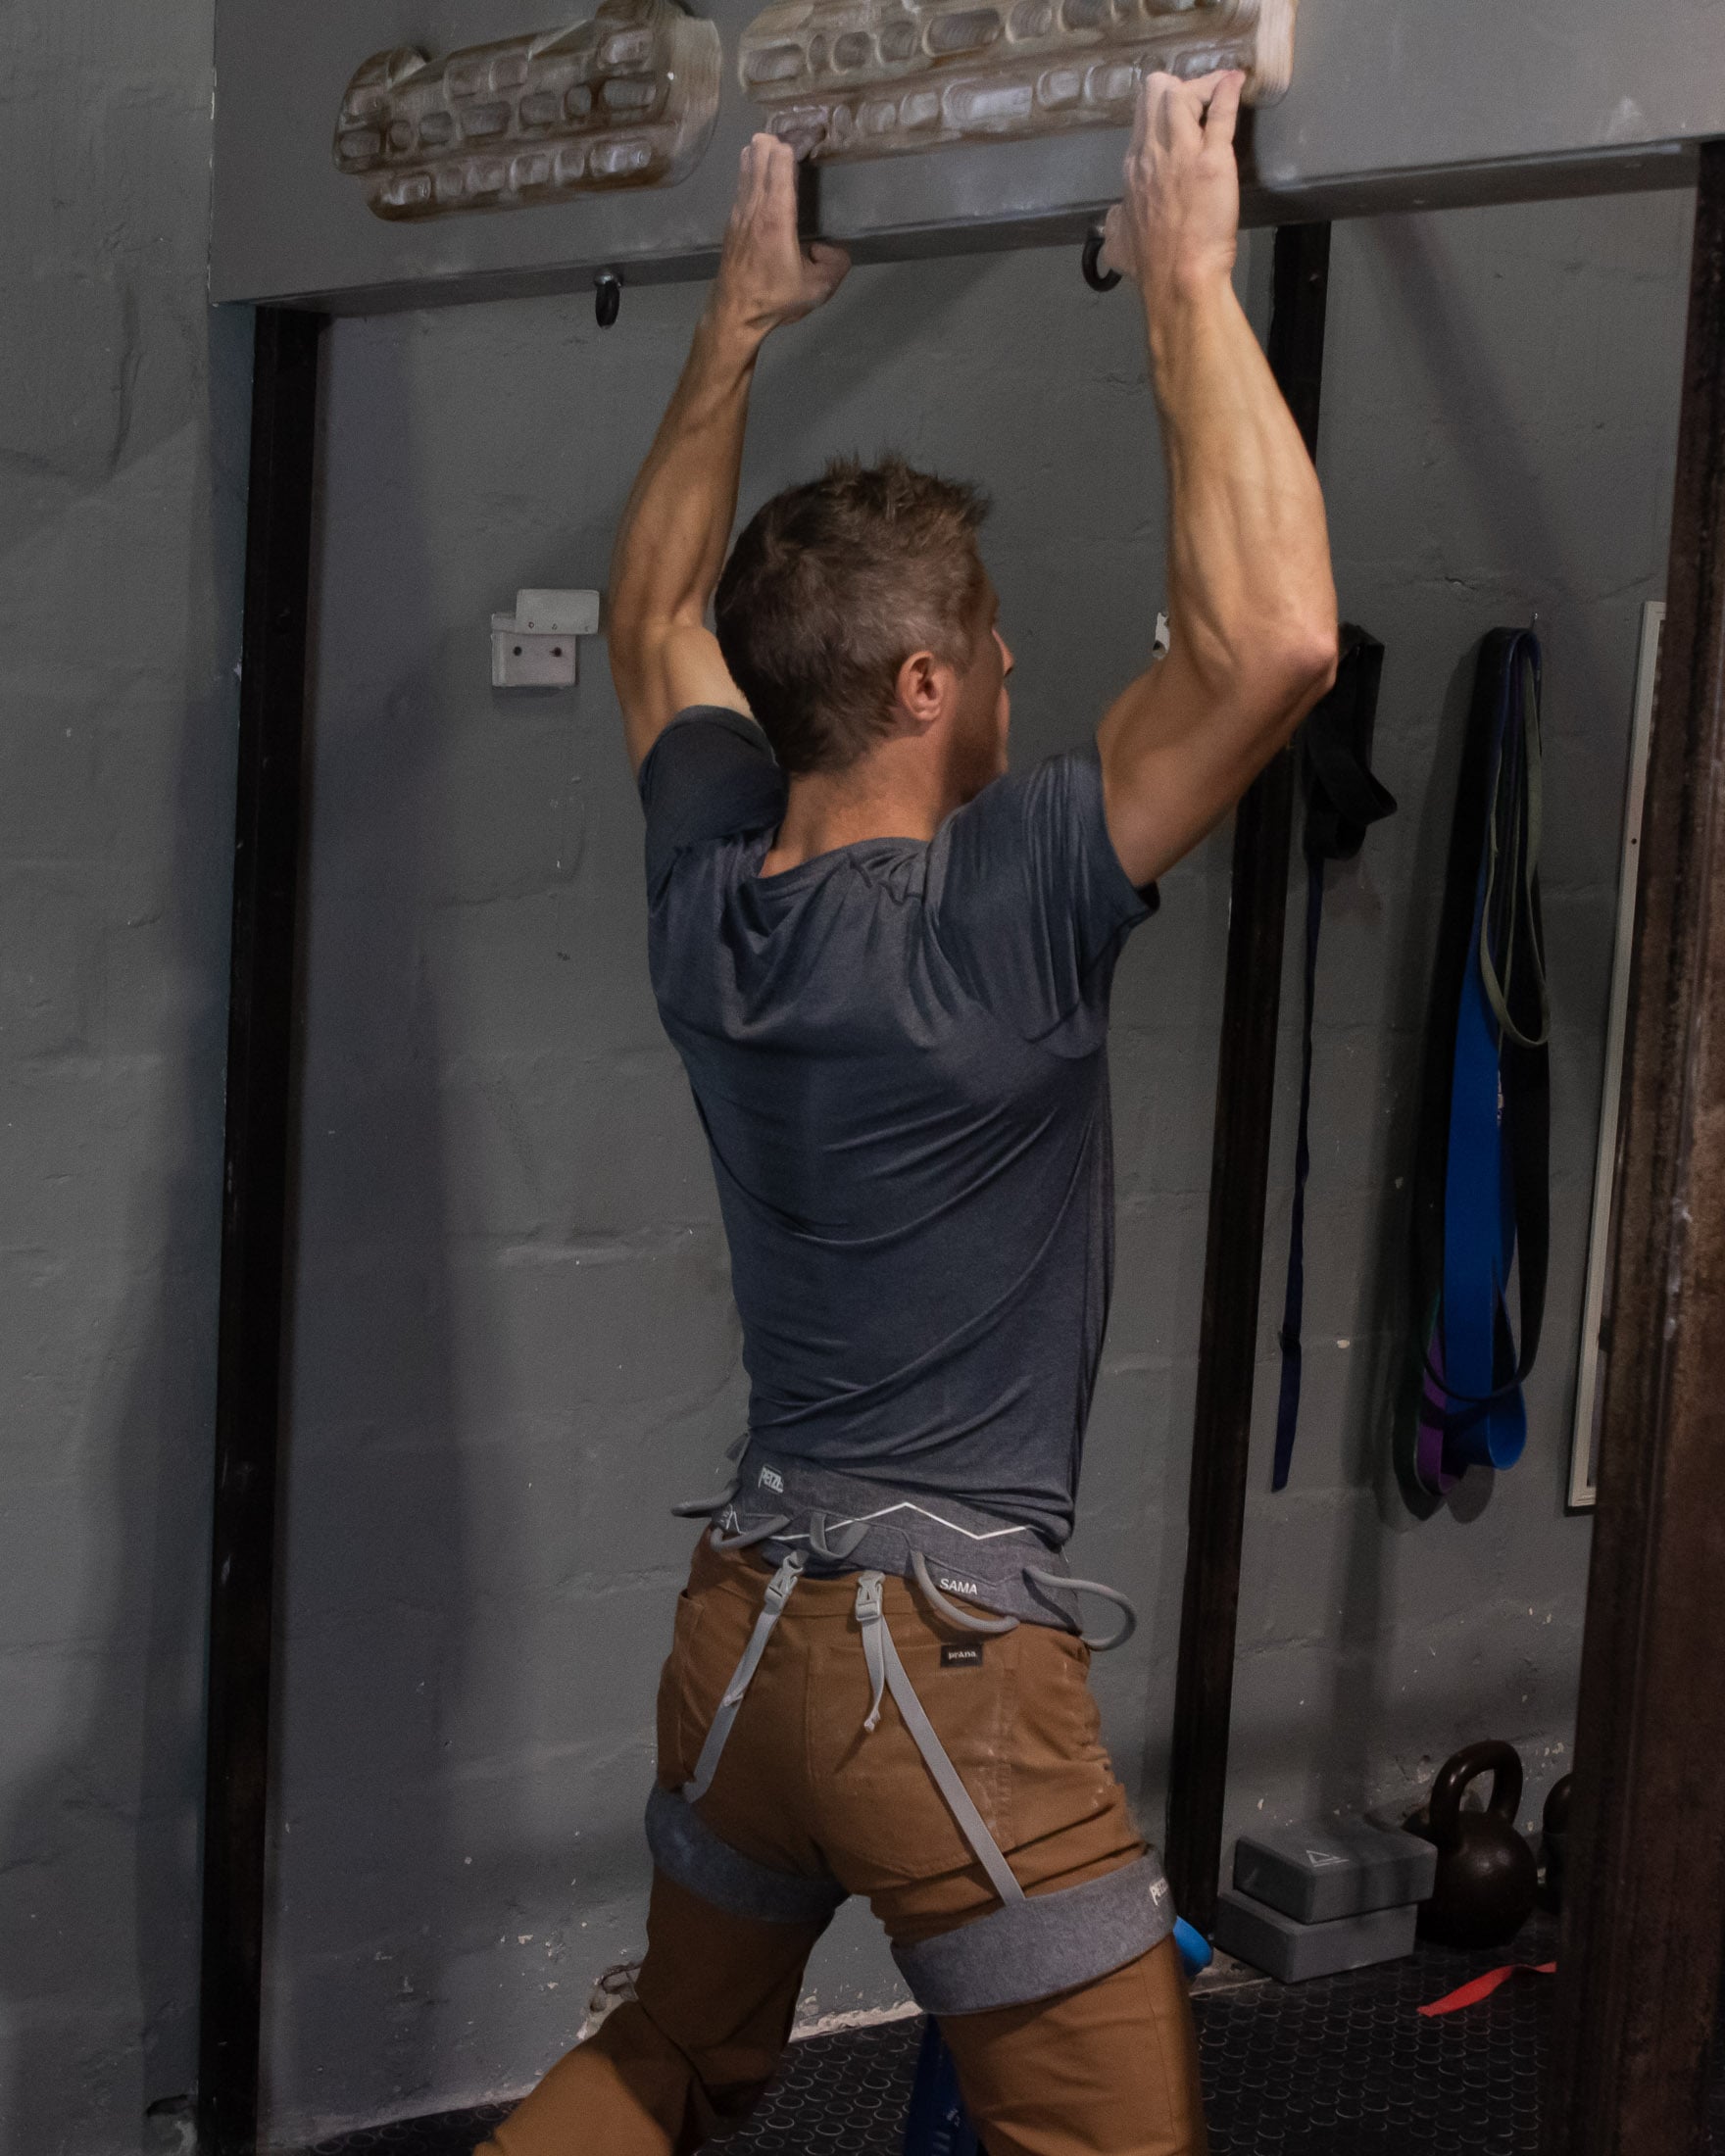
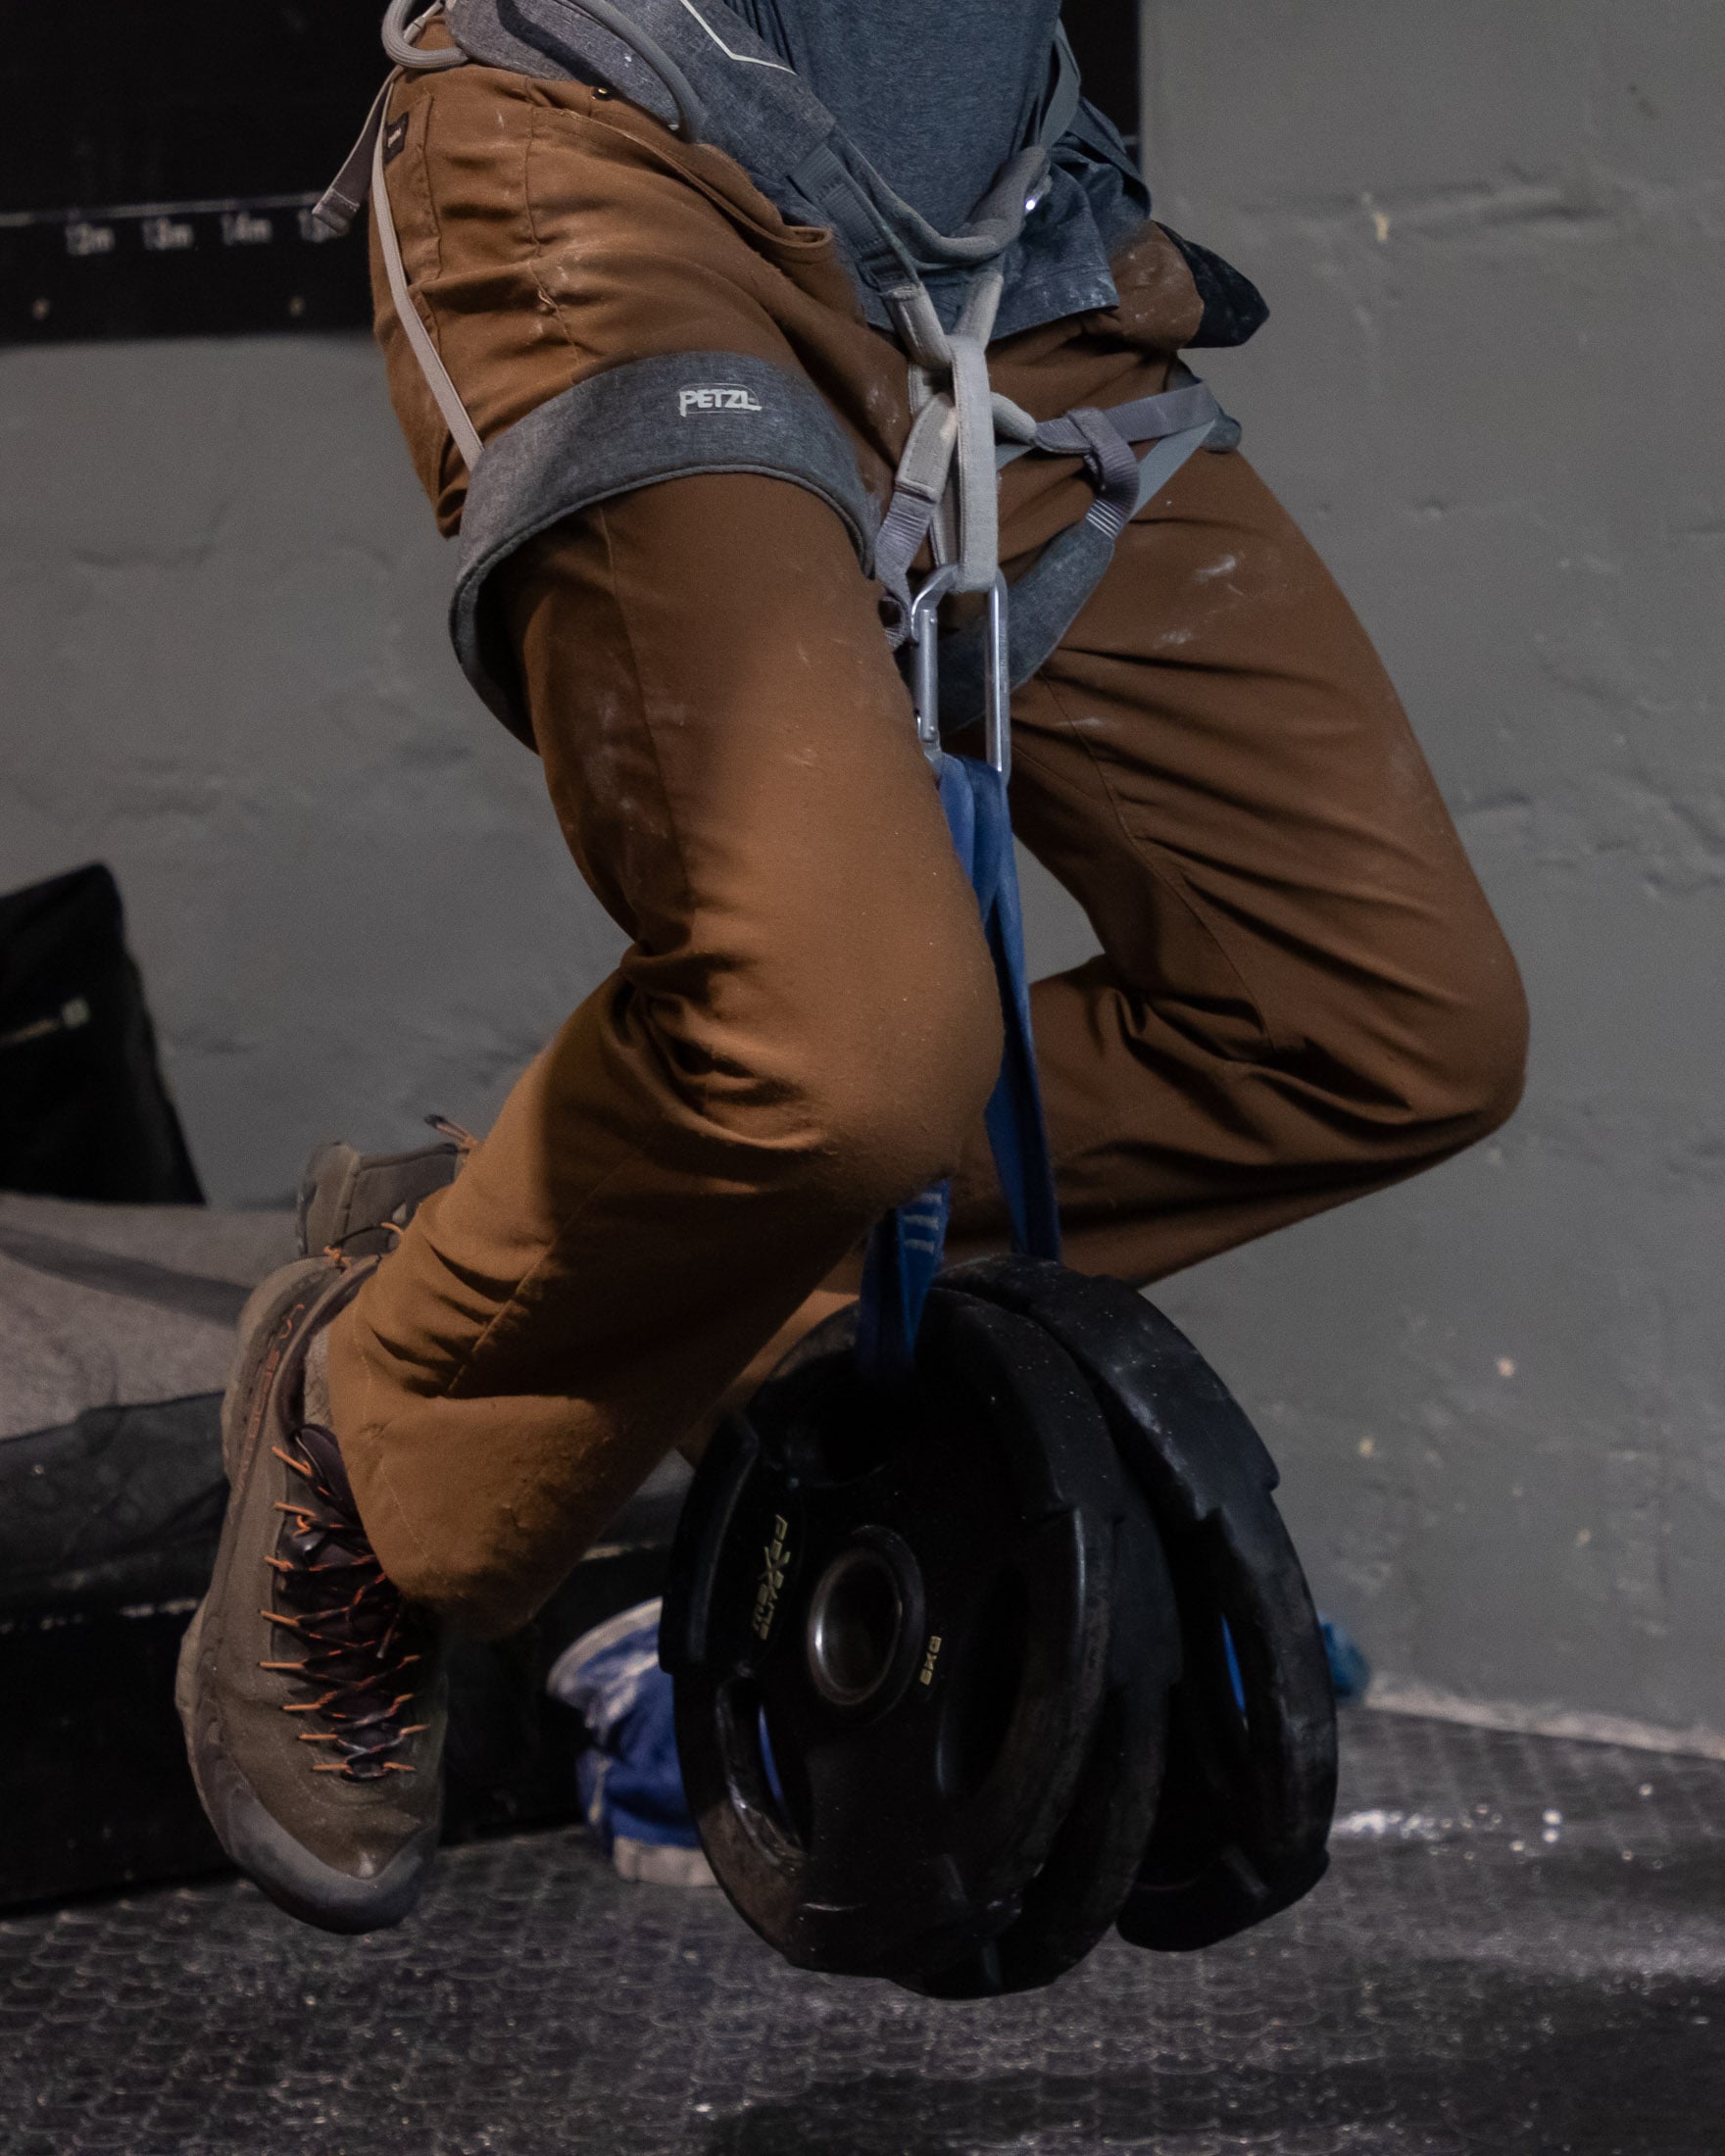
Stronger climbers might find that training on an edge smaller than 14mm is less productive since it increases the risk of dry firing (slipping of the hold explosively) At this point, it makes sense to add weight to increase the level of resistance.
Once you have figured out the correct level of resistance, this is how you perform a set of max hangs:
| 1. Hang for 10 seconds |
| 2. Rest for exactly 3 minutes |
| 3. Repeat the above 4 times |
After the first set of five hangs, rest for five to ten minutes, and then do a second set of five hangs. Advanced climbers will be able to do one or two additional sets that target the three-finger drag and the two-finger pocket grips.
Calibration and progression
There are three factors you can use to adjust the intensity level in hangboarding.
- Length of hangs
- Size and angle of the edge or hold used
- Amount of extra weight
Given that hang length will normally be determined by the protocol, the norm is to use either hold size of extra weight as a variable – not both. For example, when training the 3-finger drag, you will either add more weight or change edge size to adjust the level of resistance. It doesn’t make sense to do both since this would makes it difficult to make incremental increases or decreases in load. When performing repeaters, most climbers use edge size to adjust the level of resistance, but then they are more likely to use added weight to adjust the level of resistance when performing max hangs.
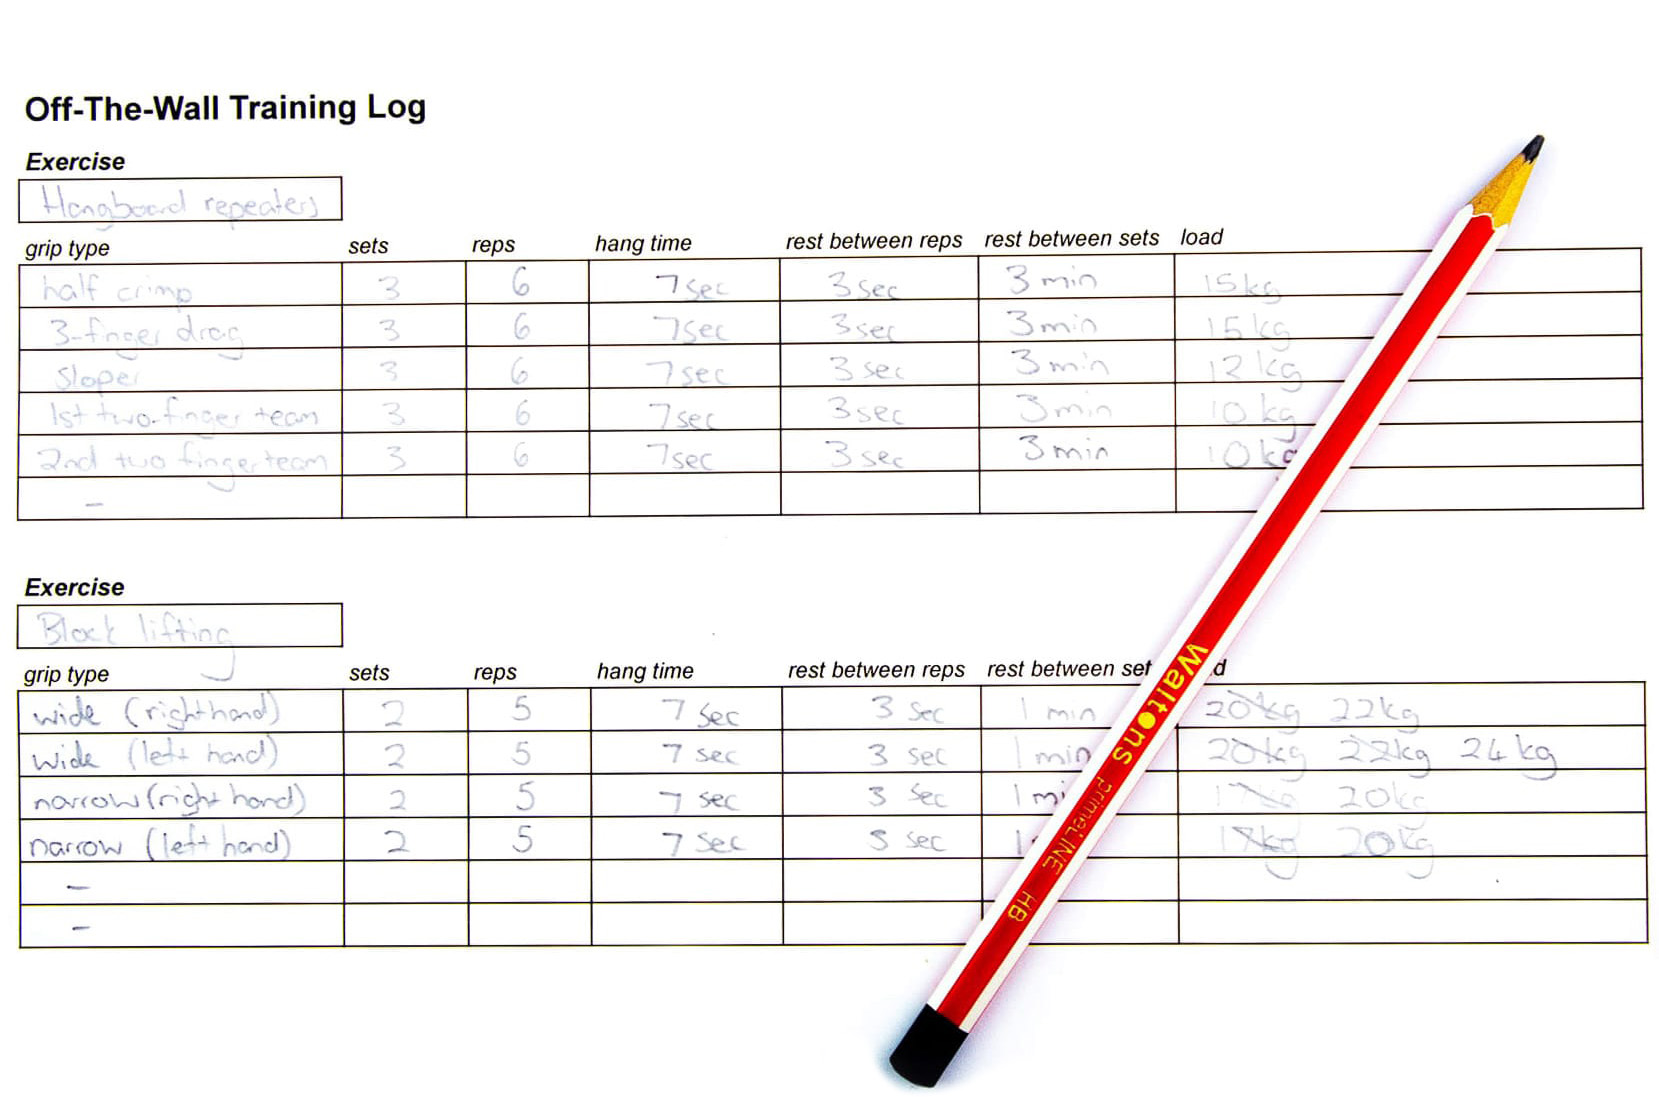
The limitations of using edge size as a mean of controlling resistance in max hangs are that the chances of dry firing increase as edges get smaller. By using extra weight to ramp up resistance, you can avoid dry-firing since it allows you to keep using a friendlier 20 mm edge. The other advantage of weighted hangs is that they make it much easier to adjust the level of resistance. Whereas a hangboard will likely only have two or three sufficiently thin edges with which you can control the intensity level, weight can be added in more increments, giving you far greater control over the level of intensity. When it becomes too easy to perform a set of hangs with a certain amount of weight, you can simply add more weight. My article on training progression goes into these different progression strategies in greater detail.
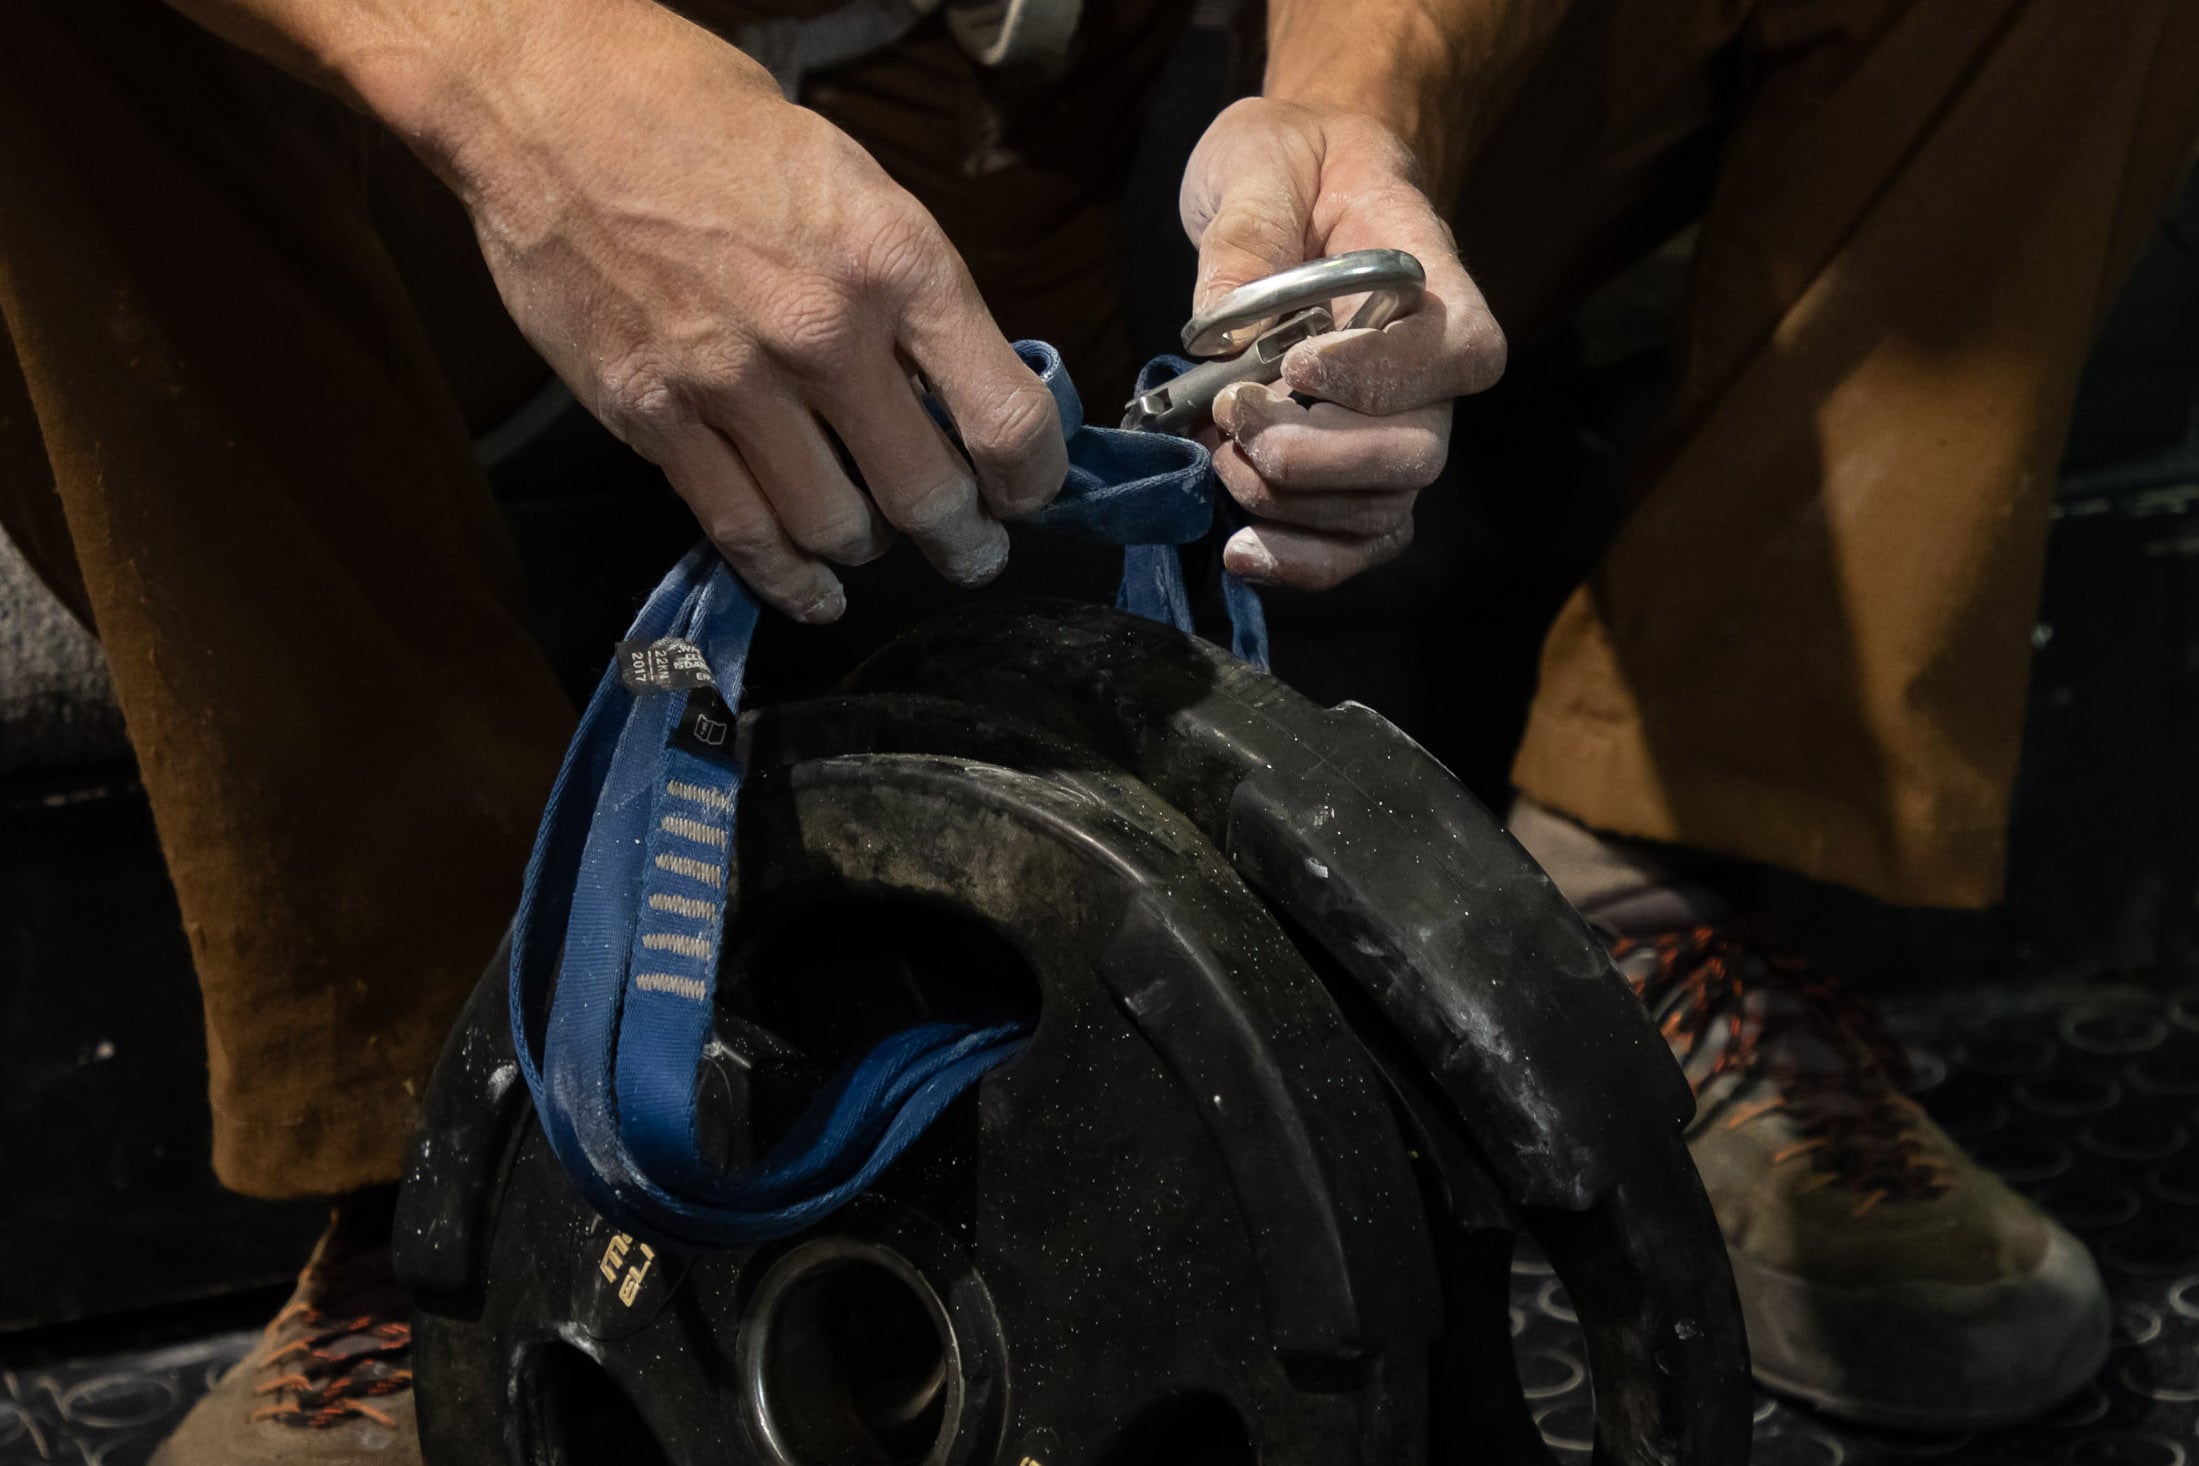
When adding weight, you can either wear a weight vest or attach free weights to your harness’ belay loop using a sling. The advantage of a vest is that it’s more comfortable and easier on your lower back. The advantage of using a harness and free weights is that it’s easier to unclip the weights and deload between hangs.
A typical hangboard session
It’s essential to warm up thoroughly for an exercise as intensive as hangboarding. If you were at the gym, you could do some easy bouldering or route climbing to prime your forearms, but if you were at home and didn’t have access to a climbing wall, you’d have to warm up on the fingerboard itself. If you’re going to do this, it’s important that you first do a few exercises to elevate your heart rate and limber up. Jumping rope and push ups are good for this. Then when you do get onto the fingerboard, do several hangs on the biggest holds before progressing to medium holds. These are not actually part of your workout and won’t count towards actual sets.
| Pre-hang warm up |
| Pulse raiser |
| Dynamic stretching |
| Easy climbing |
| Hangboard (repeaters) | ||
| Warm up set | ||
| Sets 1-3 | half-crimp | all climbers |
| Sets 4-6 | three-finger | all climbers |
| Sets 7-9 | open-hand sloper | intermediate-advanced |
| Sets 10-12 | 1st two-finger team | intermediate-advanced |
| Sets 13-15 | 2nd two-finger team | intermediate-advanced |
| Post-hang exercises and warm down |
| Bouldering 10 - 30 min |
| Static stretching |
You would then do one of the two protocols described above, with the number of sets largely dependent on your level (12 - 20 sets for repeaters and 2 - 4 sets for max hangs), and after that, some kind of warm down. On some days you might find that you have enough time and energy to go on to do 30 to 60 minutes of bouldering, which would serve as a warm down. On other days, you might be short on time or energy and be tempted to skip the warm down. It’s best to not do this, as it will likely leave your forearms feeling stiff and heavy the next day. Try to get in at least a few minutes of post-hangboard exercise even if that’s just means squeezing a foam ball or working your fingers with a Theraband.
When to hangboard
How you use a hangboard will depend on both your level and your training goals. Beginner climbers and even those in their second season probably shouldn’t hangboard only because they have more to gain from bouldering and honing their movement technique. Intermediate climbers who are just getting into focussed training for the first time should limit their hangboard sessions to once a week, while intermediate-advanced climbers (those trying to build a solid foundation in the lower to mid 5.12’s) will benefit from doing up to two sessions a week.

Regardless of your level, it’s important to give yourself time to recover after a hangboard session. You can’t do any kind of hard climbing the day after grip-strength training, and you should put at least two days between hangboard sessions to avoid putting unnecessary strain on tendons and pulleys. Practically this means that you are probably going to do block training no more than two days a week. Some advanced climbers might manage a third day. As for when to train, this exercise is best reserved for the strength training phase in your training program. This will typically last four to six weeks but can be longer if there is a deload week in the middle of it.
Training tips
When starting a new type of training, it’s important to proceed cautiously and do what you can to avoid to avoid injury. The following three tips will help you get the most out of your hangboarding while mitigating the risk of any downtime.
Take things slowly
With the potential for injury, increases in resistance need to be incremental and measured. You don’t want any large jumps in intensity. To ensure gradual and progressive overload, it’s best to use a training log or an app like Crimpd to keep track of what grips and additional weight (if any) you are using for a hangboard exercise. It’s also important to understand you’re not going to increase the level of resistance with every session. You might go two or three sessions (or even more) before upping the workload. Over a 6-week training cycle, you would probably increase the load only two or three times if hangboarding twice a week.
Warm up and down properly
It’s essential to warm up and down properly both to reduce the risk of injury and to improve recovery after a session. A thorough warm up is at least 15 minutes long and includes a pulse raiser, some dynamic stretching and some light strength-based movement like easy climbing. The point of the pulse raiser is to get you warmed up before you start stretching, so if you are going to skip it, I suggest that you use dynamic stretches that offer some resistance For your lower body, you can do squats, and for the upper body, you can do scapular press-ups and elastic exercises that target the triceps and shoulders. To warm down, you will finish with at least five minutes of easy climbing and then do some static stretches that target your forearm muscles, triceps, biceps and shoulders.
Hangboarding is a supplement not a staple
First, it’s important to understand that hangboarding should be a supplement and not a staple in your training regime. Although hangboarding is very effective at isolating the forearm muscles, bouldering trains grip strength in a more sport-specific way and should be your top priority if your aim is to build functional grip strength. During weeks that you hangboard, you will have to cut back on the volume and intensity of the bouldering you do, but, overall, bouldering should still make up the bulk of finger-strength training. That said, when you do hangboard, it should be the focus of your session – do it straight after warming up and not at the end of a session.
Learn more
You now have everything you need to know about hangboarding. But don’t stop here. On this website you’ll find many more training-related articles on everything from developing your own training program to using bouldering as a training tool. Regardless of whether you are trying to send your first 5.12 or crush V7, you’re going to find something that will help you take your climbing to the next level.
