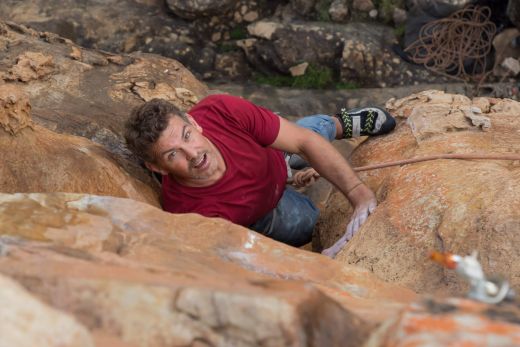
It doesn’t matter whether you climb 5.11 or 5.13. If you want to succeed on sustained endurance routes, you have to learn to get better rests. Often, it’s only by making the most of every resting opportunity that we can push through on a crux sequence that would otherwise spit us off. Here, I explain how to make the most of both good and bad rests so that when you get back on that pump fest, you’re a little better equipped to keep the burn at bay.
Resting basics
The ideal rest – usually a solid kneebar or stem – allows you to take both hands off the wall and shake them out simultaneously, but you cannot always count on these golden opportunities. Many rests involve hanging from one arm while you shake out the other. To recover in these less-than-perfect rests, you’ll need to master the following techniques.
Straight arms, light grip
When resting, hang straight-armed from the hold but and try to use only as much grip strength as needed. Defaulting to the open-hand position, slowly relax your grip to determine the minimum amount of force to maintain your hold on the rock (think friction over strength). Make this a habit, and you’ll quickly realize that it’s possible to get a decent shake-out even on slopey holds.
Alternate fingers
By alternating fingers and varying your grip on a hold, you can give every digit and muscle a chance to rest. While doing this, note which position gives you the best rest and milk that hold the hardest. Also, keep in mind which hand and type of grip (crimp, open hand or pinch) you will rely on most in the climbing ahead and try to ensure that there is more strength in that arm and grip type when you finally leave the rest.
Shaking out
The G-tox – coined and popularized by Eric Hörst – involves alternately shaking out an arm overhead and then dangling it at your side. In each position, you shake out for five to 10 seconds before switching. As an arm is elevated and lowered, gravity helps speed circulation, making this method significantly more effective at returning oxygenated blood to tired muscles than the simple dangle-and-shake.
Find the best position for weighting your feet
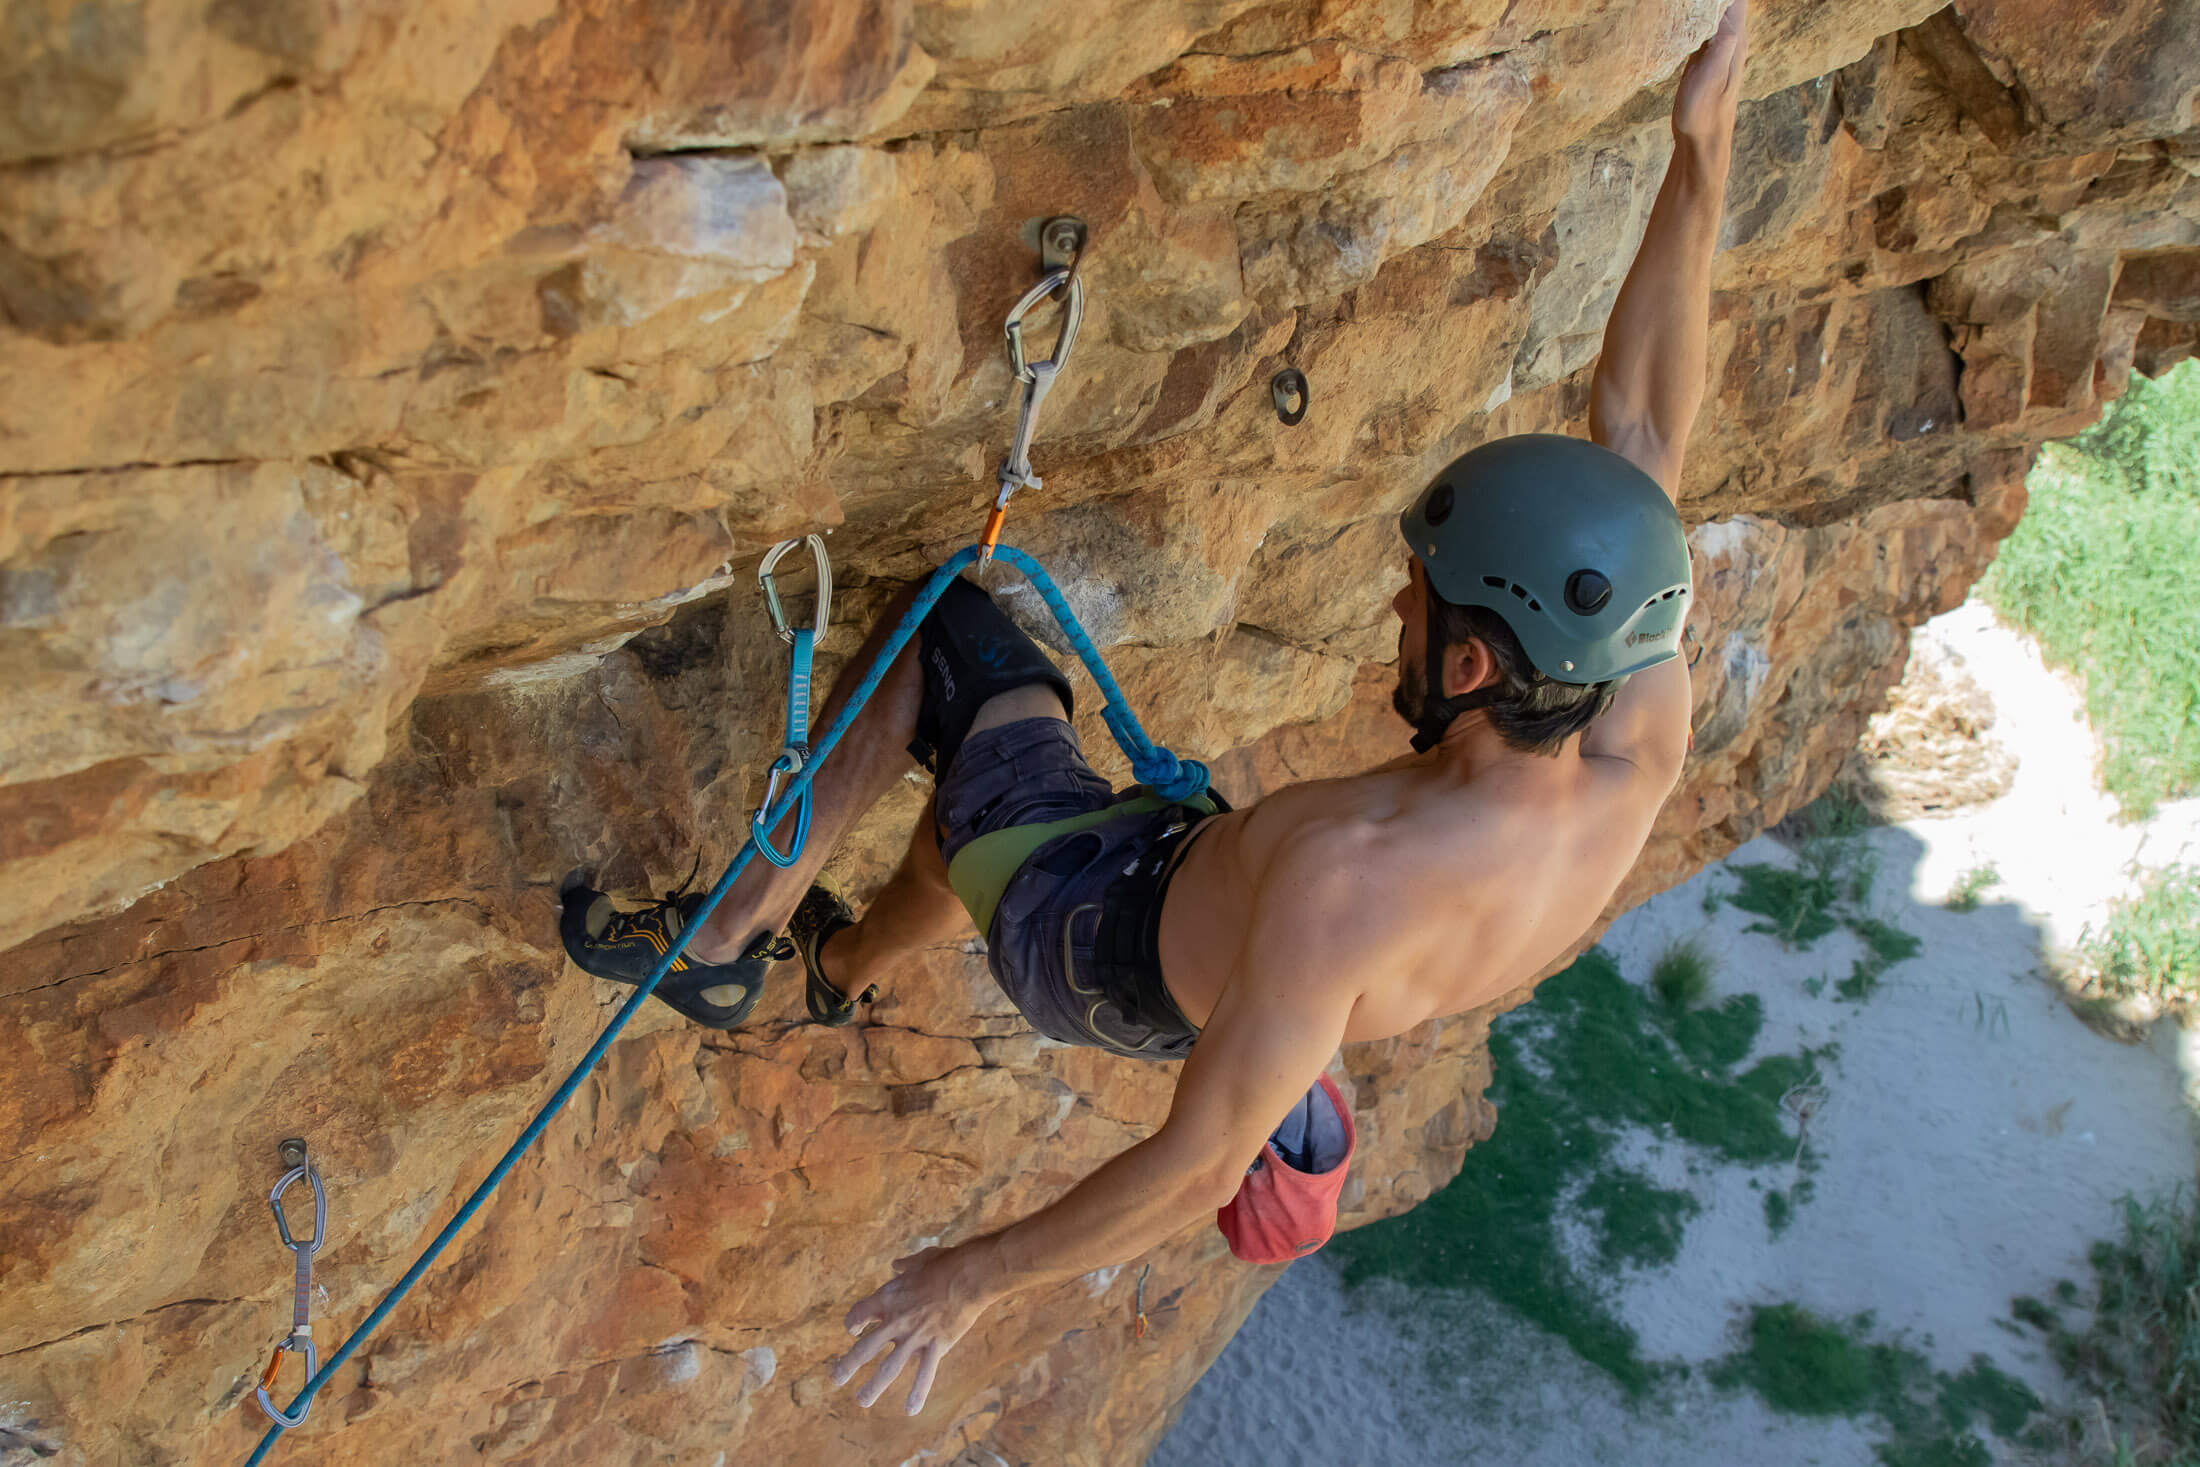
On reaching a rest, always look for a way to get the maximum amount of weight on your feet. Where there are no stems, kneebars or other no-hands rests to be had, often the best strategy is to keep your center of gravity directly the arm you’re hanging from. This might require you to change footholds and body position every time you change the hand you’re hanging from.
Breathing
To ensure that blood being returned to muscles is properly oxygenated, you have to breathe properly. Inhale and exhale deeply while trying to slow your breathing and lower your heart rate. Your state of mind plays a big role here. Calm is necessary to ensure both a light grip and deep, slow breaths. If you’re not relaxed, assess your situation and do what you can to feel balanced and in control.
Resting positions and techniques
Of course, there’s more to resting than simply hanging and shaking out. When the opportunities arise, the following techniques can help you to get all or some of your weight off your arms.
Perching
Even though this tactic might only afford you a partial rest, it’s still a great technique to use on an arete, especially if there are no decent shake-out holds around. To make it work, put an instepped foot on a good hold right on the corner of the arete and then lower your body in line with this so that your but comes to rest on your heel. This lowers your center of gravity, driving more on your weight into that foot and relieving your arms.
Stemming
Your feet can bear more weight than your arms, and the best resting opportunities will involve stemming – pushing in opposing directions with your feet to acquire purchase on the rock. Corners are obvious places to stem, but you can also stem between knobs, pockets, ribs and tufas, and other features on a rock face.
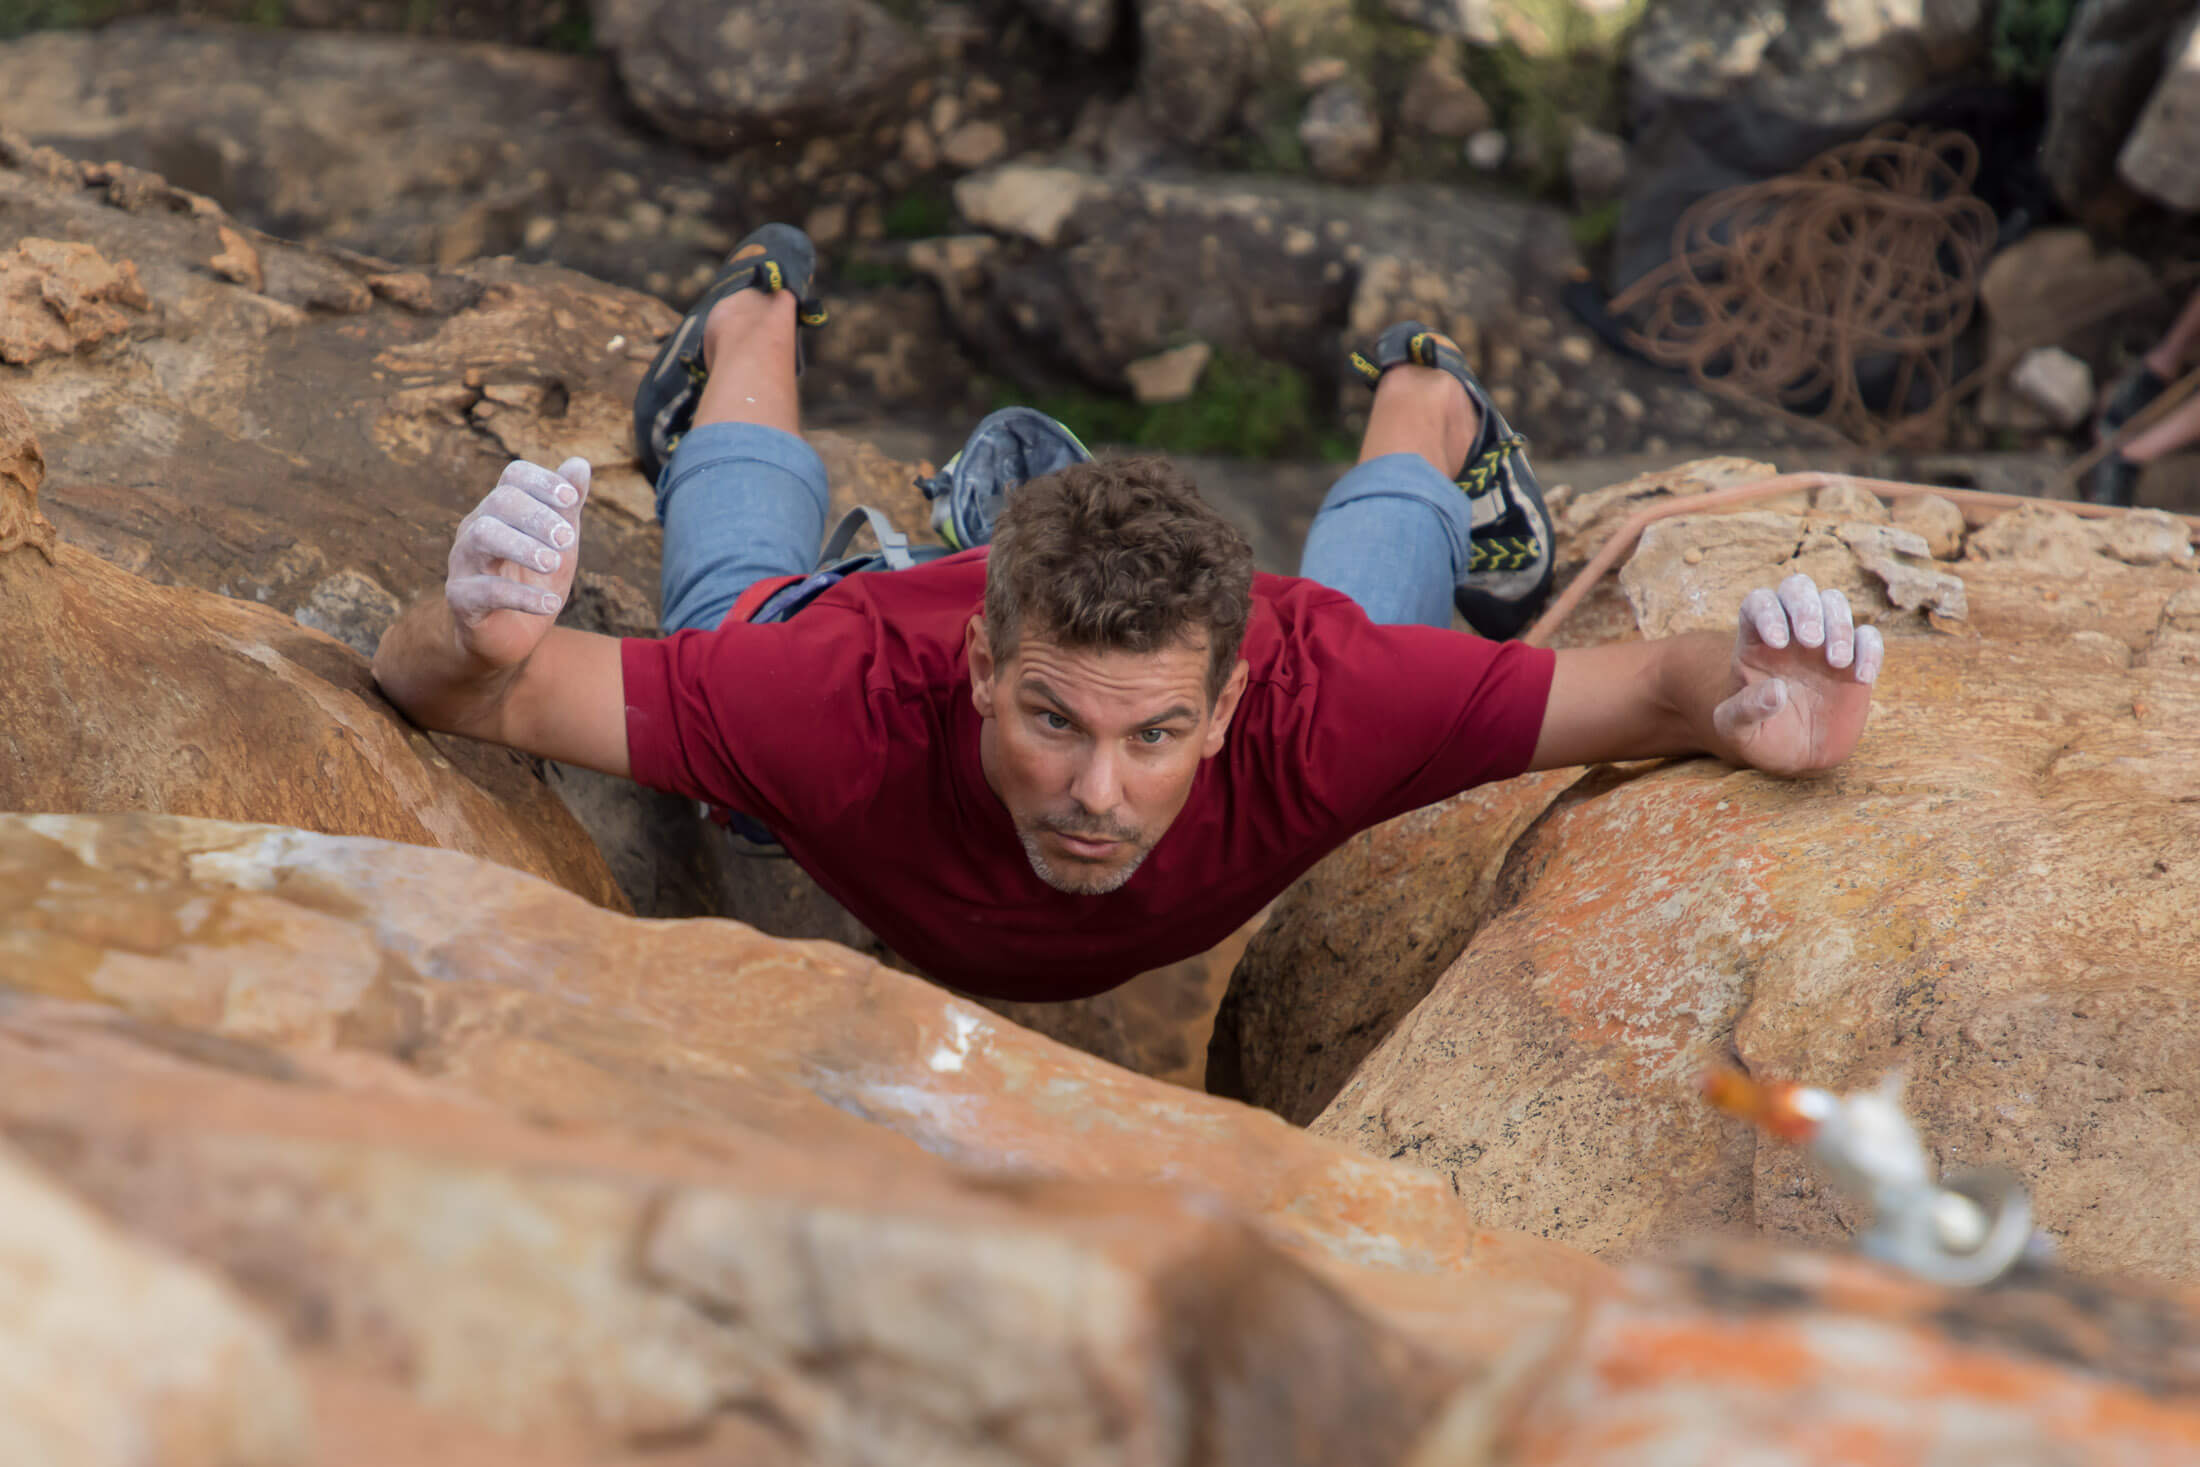
This technique may bring on a lactic burn in your calf muscles and feet, but this can be countered by using your heel on a good foothold instead of your toe. If you can alternate feet with this technique, it can buy you even more time in a vital rest. On steeper walls you’ll only be able to shake out one hand at a time, and you’ll need to backstep to get your weight closer to the rock.
Drop-kee
If two planes of rock are too close together for effective stemming, you may still be able to wangle out a rest with a drop-knee: turn your body sideways and drop your inner knee, smearing with your feet in opposition as you do so. Usually this will only allow you to shake out one arm at a time, but if you can get your shoulder behind a tufa or other similar feature, you can get a full no-hands rest.
Knee-bar and scum
Kneebars are a staple on steep limestone and are one of the most important resting techniques in sport climbing. To secure a solid knee-bar, place your lower thigh under or behind a feature in the rock (a flat surface is usually best), put your toe against a foothold directly opposite it, and then flex your calf muscle to push your toe and thigh into their respective holds. Simple in theory but often harder in practice.
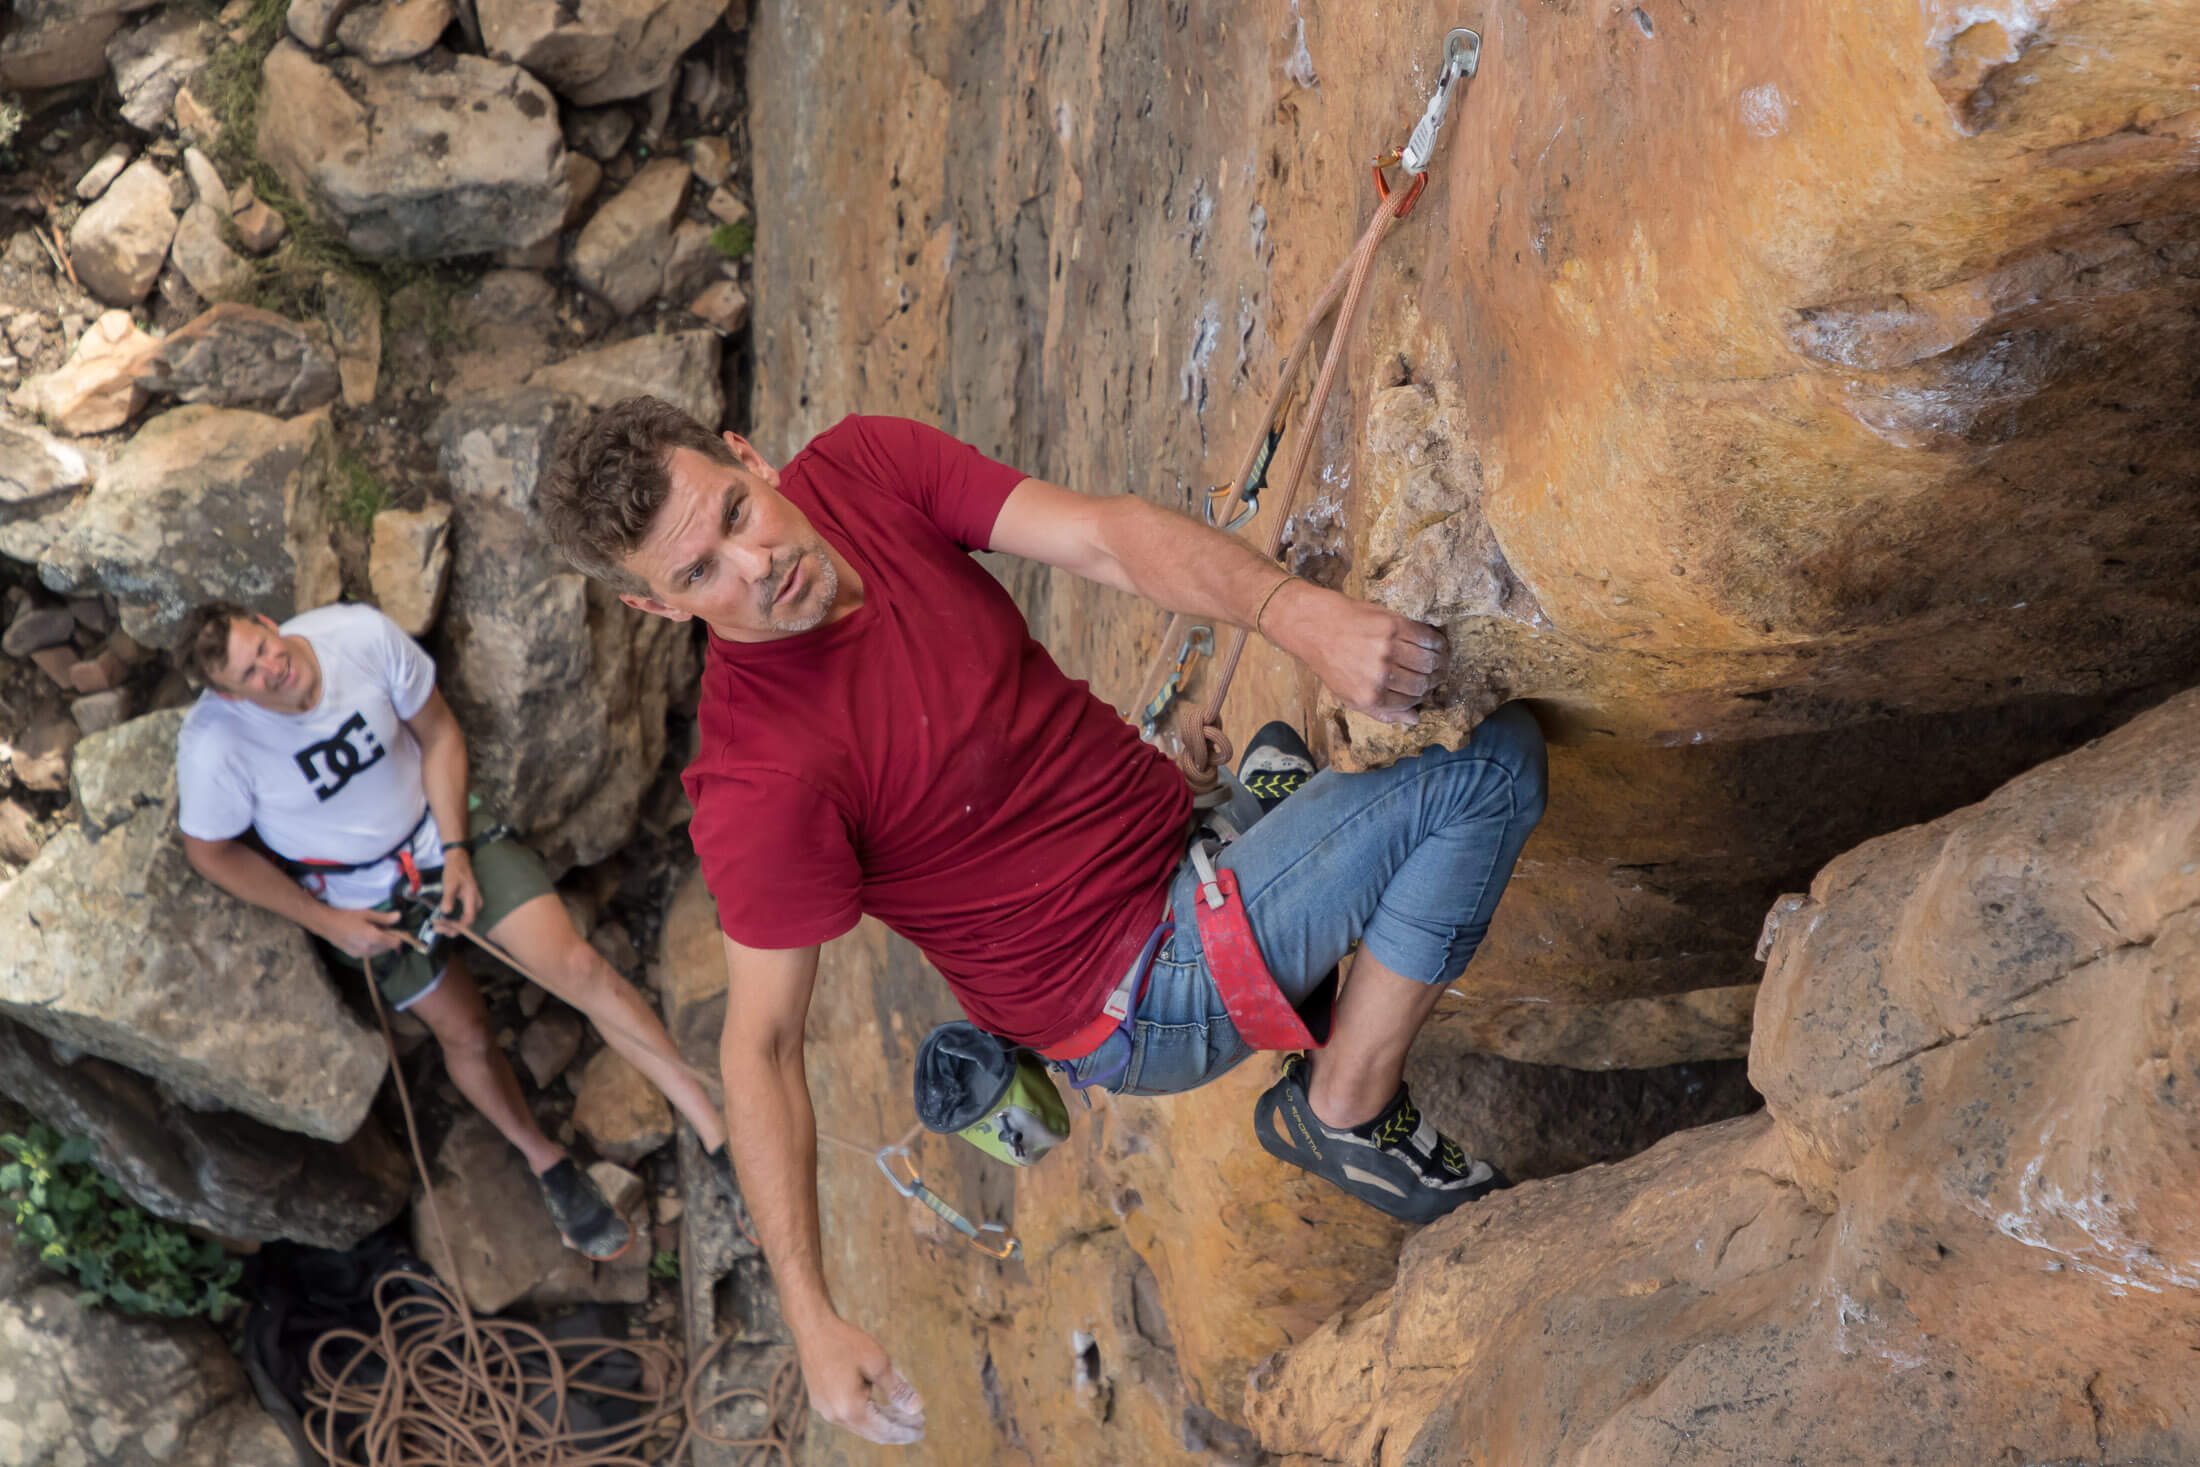
In the most insecure positions, you will barely be able to press your knee into the rock. It’s at this point that a knee bar becomes a knee scum, a technique that can take some of the weight off your arms and afford a slight rest when a full knee bar won’t work. This might mean leveraging the top of your thigh into a rounded overlap or smearing the inside of your knee into a shallow depression.
Jamming
Sinker hand jams are among the best rests in that they require very little from your forearm muscles. But a jam also doesn’t need to be bomber to be useful as rest. On sustained climbs that offer little in the way of resting opportunities, a ringlock or even a fingerlock can allow you to get a little back into your fatigued forearms before you tackle the next hard section. And remember – jamming is not limited to your hands. A foot or toe jam can be a great way to catch a rest on a long layback sequence.
Get creative
From shoulder scums to elbow wedges and head jams, there’s a myriad novel and creative ways to rest on a route. The only thing that limits your ability to find rests in three-dimensional terrain is your imagination and your willingness to use certain body parts as limbs. A face smear might sound like a terrible idea right now, but at the run-out top section of a flaring squeeze chimney, you’ll employ it with sincere whispers of thanks.
The good and the bad
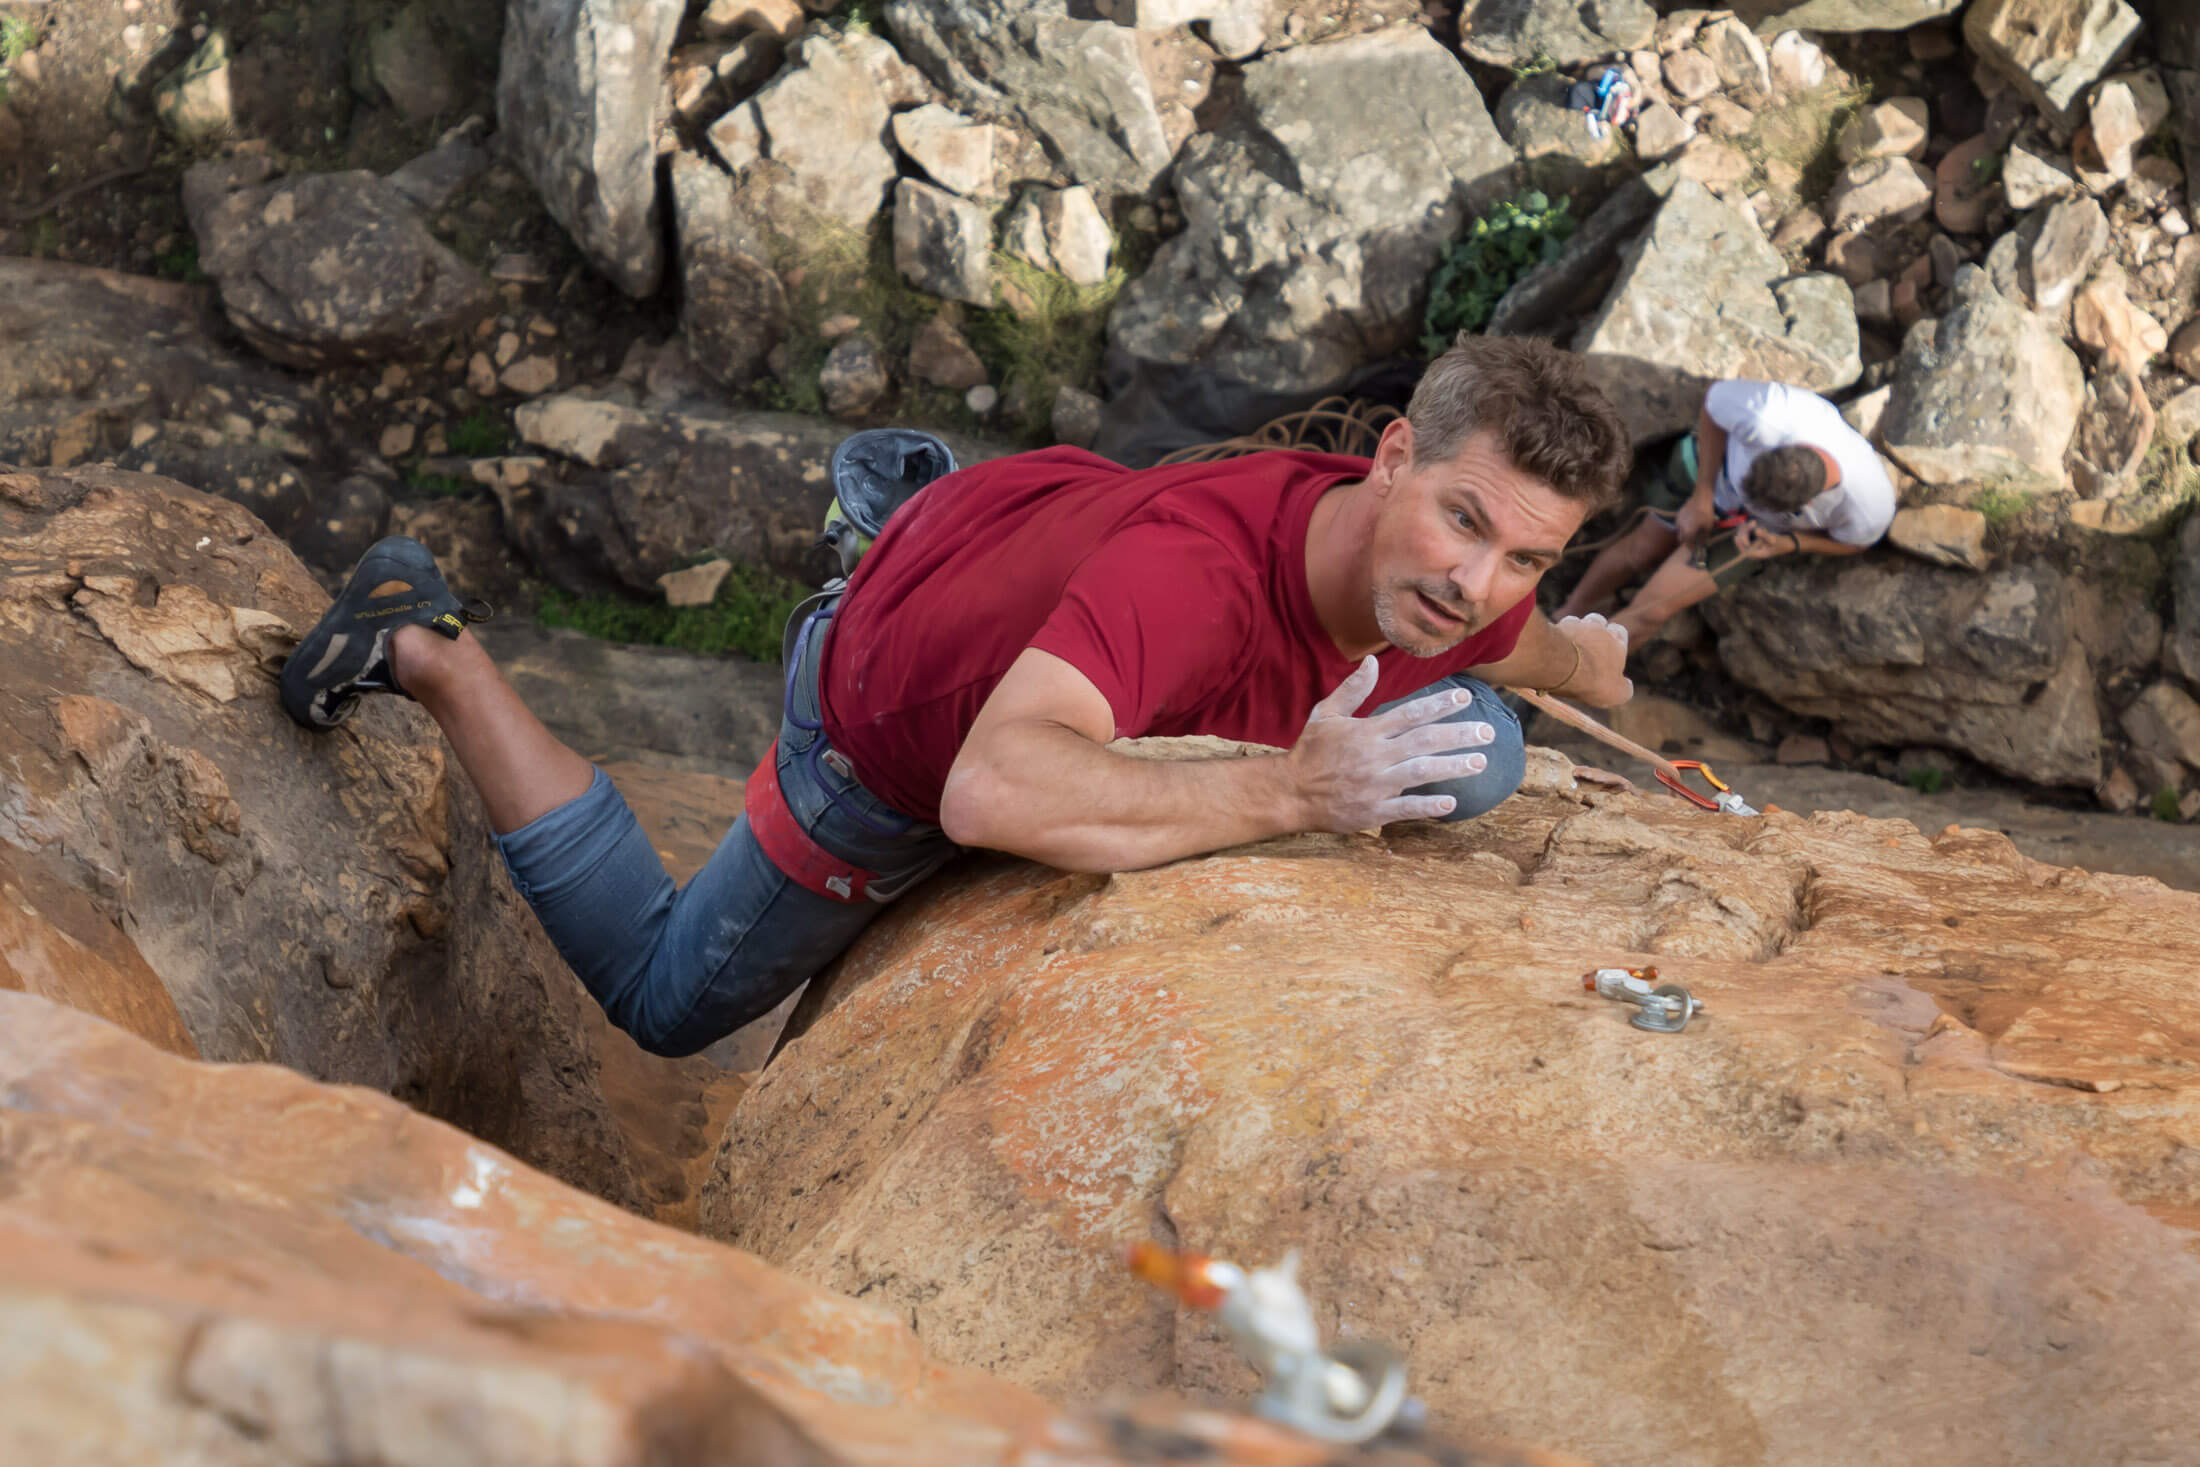
To climb with maximum efficiency, you have to learn to make the most of all rests – both good and bad – and one of the first things you should do when familiarizing yourself with a new project is identify every rest and note the effort needed to stay in it as well the extent to which your arms can recover when in it. You might even want to assign a grade to every rest if it will assist your memory and help you develop a strategy later.
Good rests
These are no-hands rests like those afforded by ledges and comfortable stemming positions. Because you can stay in these indefinitely, the goal is always a full recovery.
OK rests
Some rests allow for an almost full recovery but still require you to engage some part of your body. For example, many kneebars and some stemming positions will work your legs and even your core muscles. Other rests, like shake-out holds with bad feet, force you to alternate hands when shaking out and in that way allow for only a partial forearm recovery. In both types of ‘OK rest’ you are unlikely to hang around more than a few minutes.
Poor rests
You can use poor rests, but the question is do you want to? With rests that require this much energy to stay in, you might be able to lower your heart rate, slow your breathing, and even get a little back into your forearms, but then you’ll usually find that after around 30 seconds you don’t recover any further. How long that time is depends on your level of fitness and the nature of the rest.
Minimal rests
On very sustained routes with no obvious rests, you might only be able to give your hand the occasional quick shake before making the next move. Such pauses can also act as mental rests by allowing you to compose yourself and steady your breathing before tackling the next section.
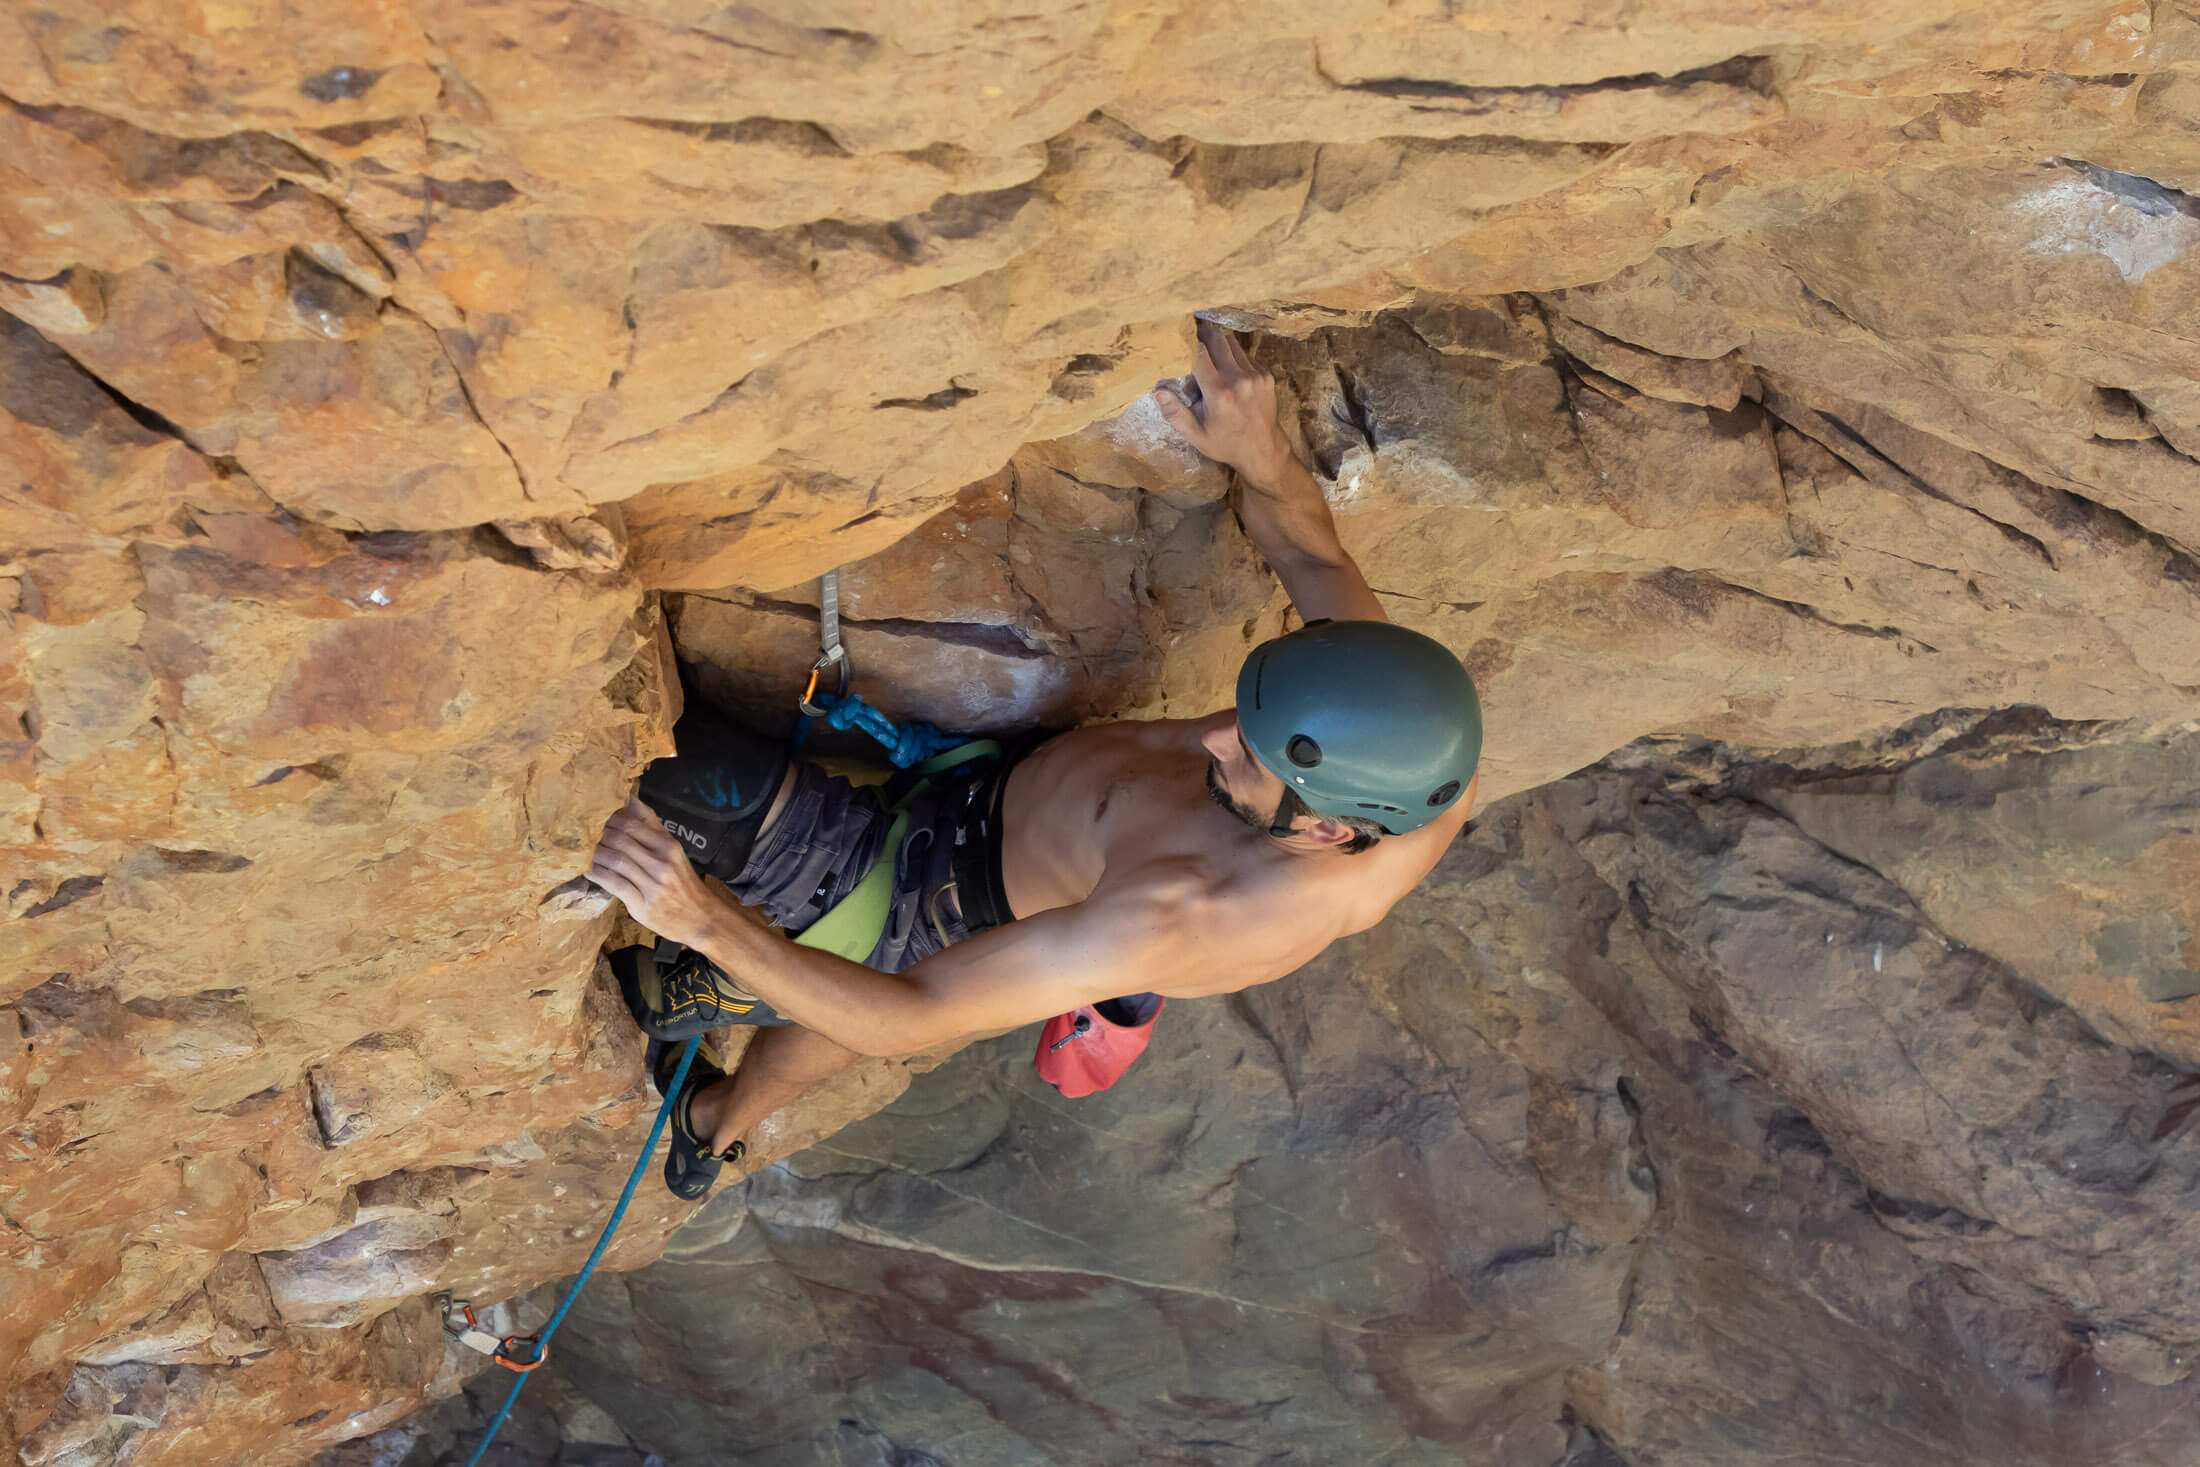
Top tip: Tied-on chalk bags are better than clipped-on chalk bags since they can be moved to close to one side to make access with that hand easier.
Make a plan
To maximize energy conservation, you will need to plan your rests. This will mean identifying every rest, analyzing the route as a whole, and then coming up with a strategy that will ensure that you go into every crux as fresh as possible.
Analyze the route
While working a route, aim to identify and analyze every rest, experimenting with different hands, body positions, and footholds to figure out how to get the most out of every opportunity. If a certain rest requires the use of unobvious footholds or precise positioning, practice the rest just as you would a crux move. Once you’ve got it dialed, also consider the nature of the climbing before and after the rest. It’s especially important to look at harder sequences that come shortly after a rest. You want to know if one arm will get worked than the other and if you will have to rely on a certain grip (pinch, crimp, open hand or two-finger pocket). These details will be invaluable for forming a comprehensive strategy in the second step.
Decide how you are going to use each rest
After surveying the route and its rests, you still need to come up with a strategy for using the different rests. The ultimate goal is to arrive at every crux with enough energy to pull these harder moves, and by planning to use a rest with the next crux in mind, you can ensure that you have enough of the right kind of grip strength in the right arm. For example, if the next crux sequence involves bumping the left hand through a series of slopers, rest in such a way that works the right arm more and rests the left, especially that wrist. Also decide how long you are going to hang out at every crux. After a certain amount of time in a partial rest, you just won’t be able to recover any further. At this point it’s best to move on as you will just waste energy by hanging around.
Test, tweak, and execute
This is where you test your strategy. It’s only when you give a project a send burn that you’ll get a proper feel for what it will be like to use the various rests on a redpoint attempt. You might find that a certain heinous kneebar is actually a godsend given how pumped you are when you get to it, or that a certain stem position is quite difficult to hang around in after the 20 feet of intensive footwork leading up to it. Based on what you learn on these early attempts, you can assess your resting strategy, make tweaks where necessary, and then try again. In this way, learning to rest optimally on a route follows a similar method to learning the moves. It takes constant assessment and refinement.
Learn more
The best way to hone any climbing skill is to get out there and practice it. That said, if it’s further instruction you’re after, this site has many more climbing articles filled with pointers, practical tips, and valuable insights. This was just one article on a whole series on sport climbing tactics, and if you haven’t read How to Climb More Efficiently or Redpoint Tactics, you might want to read these next.
