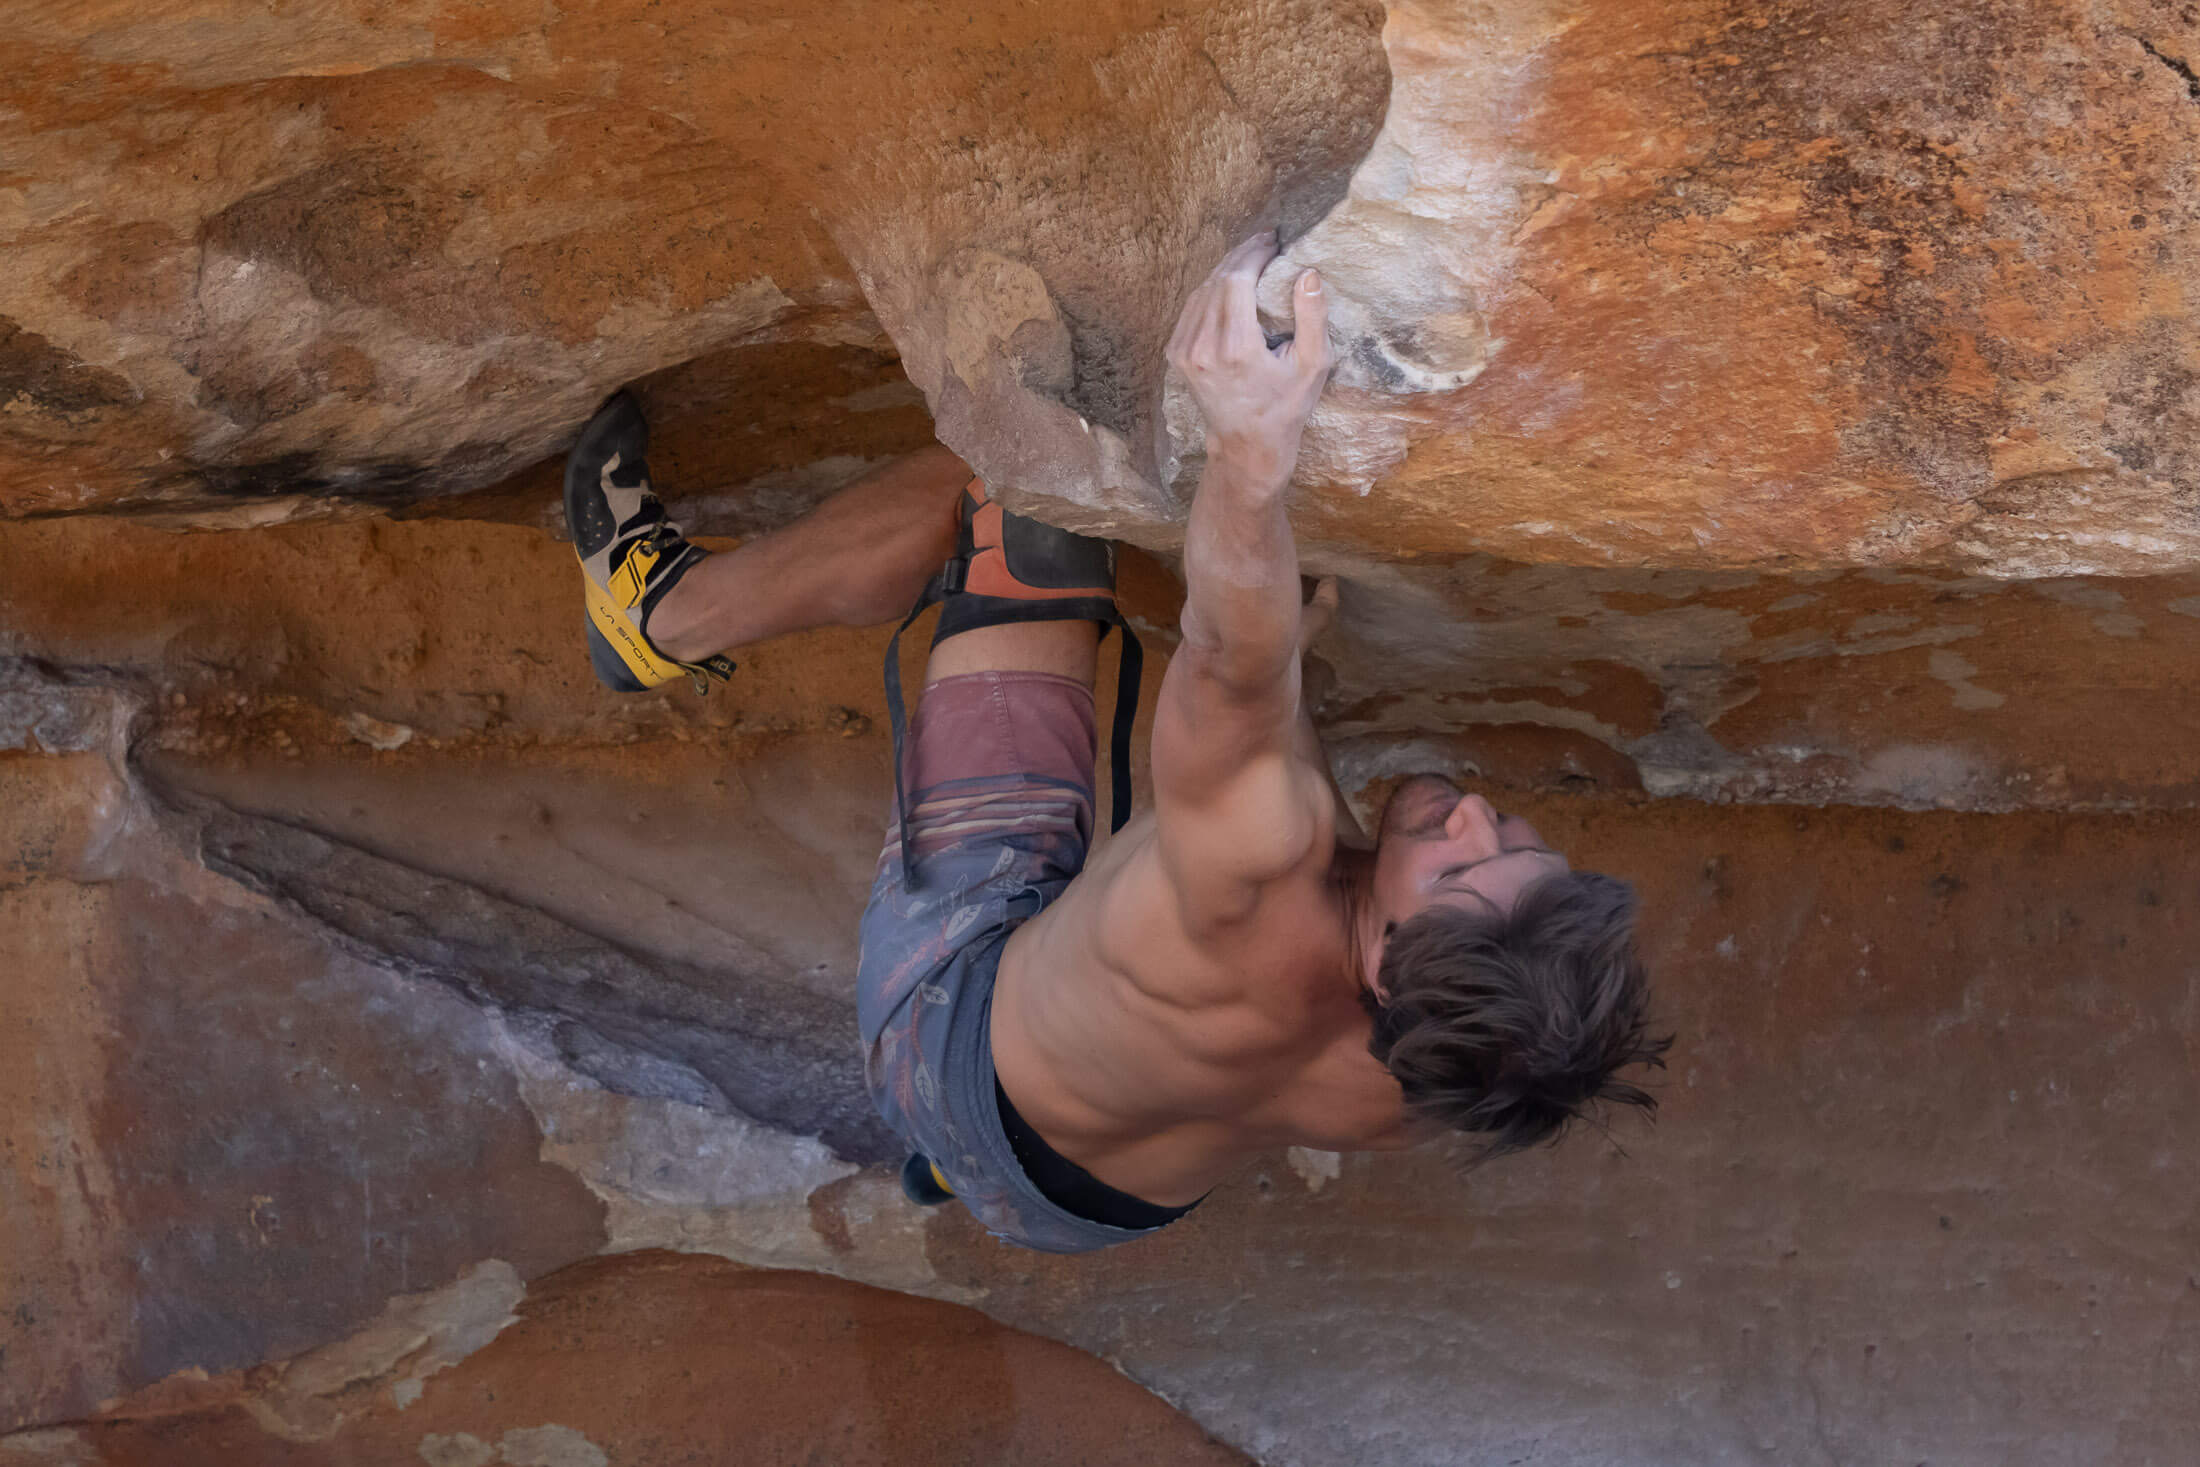
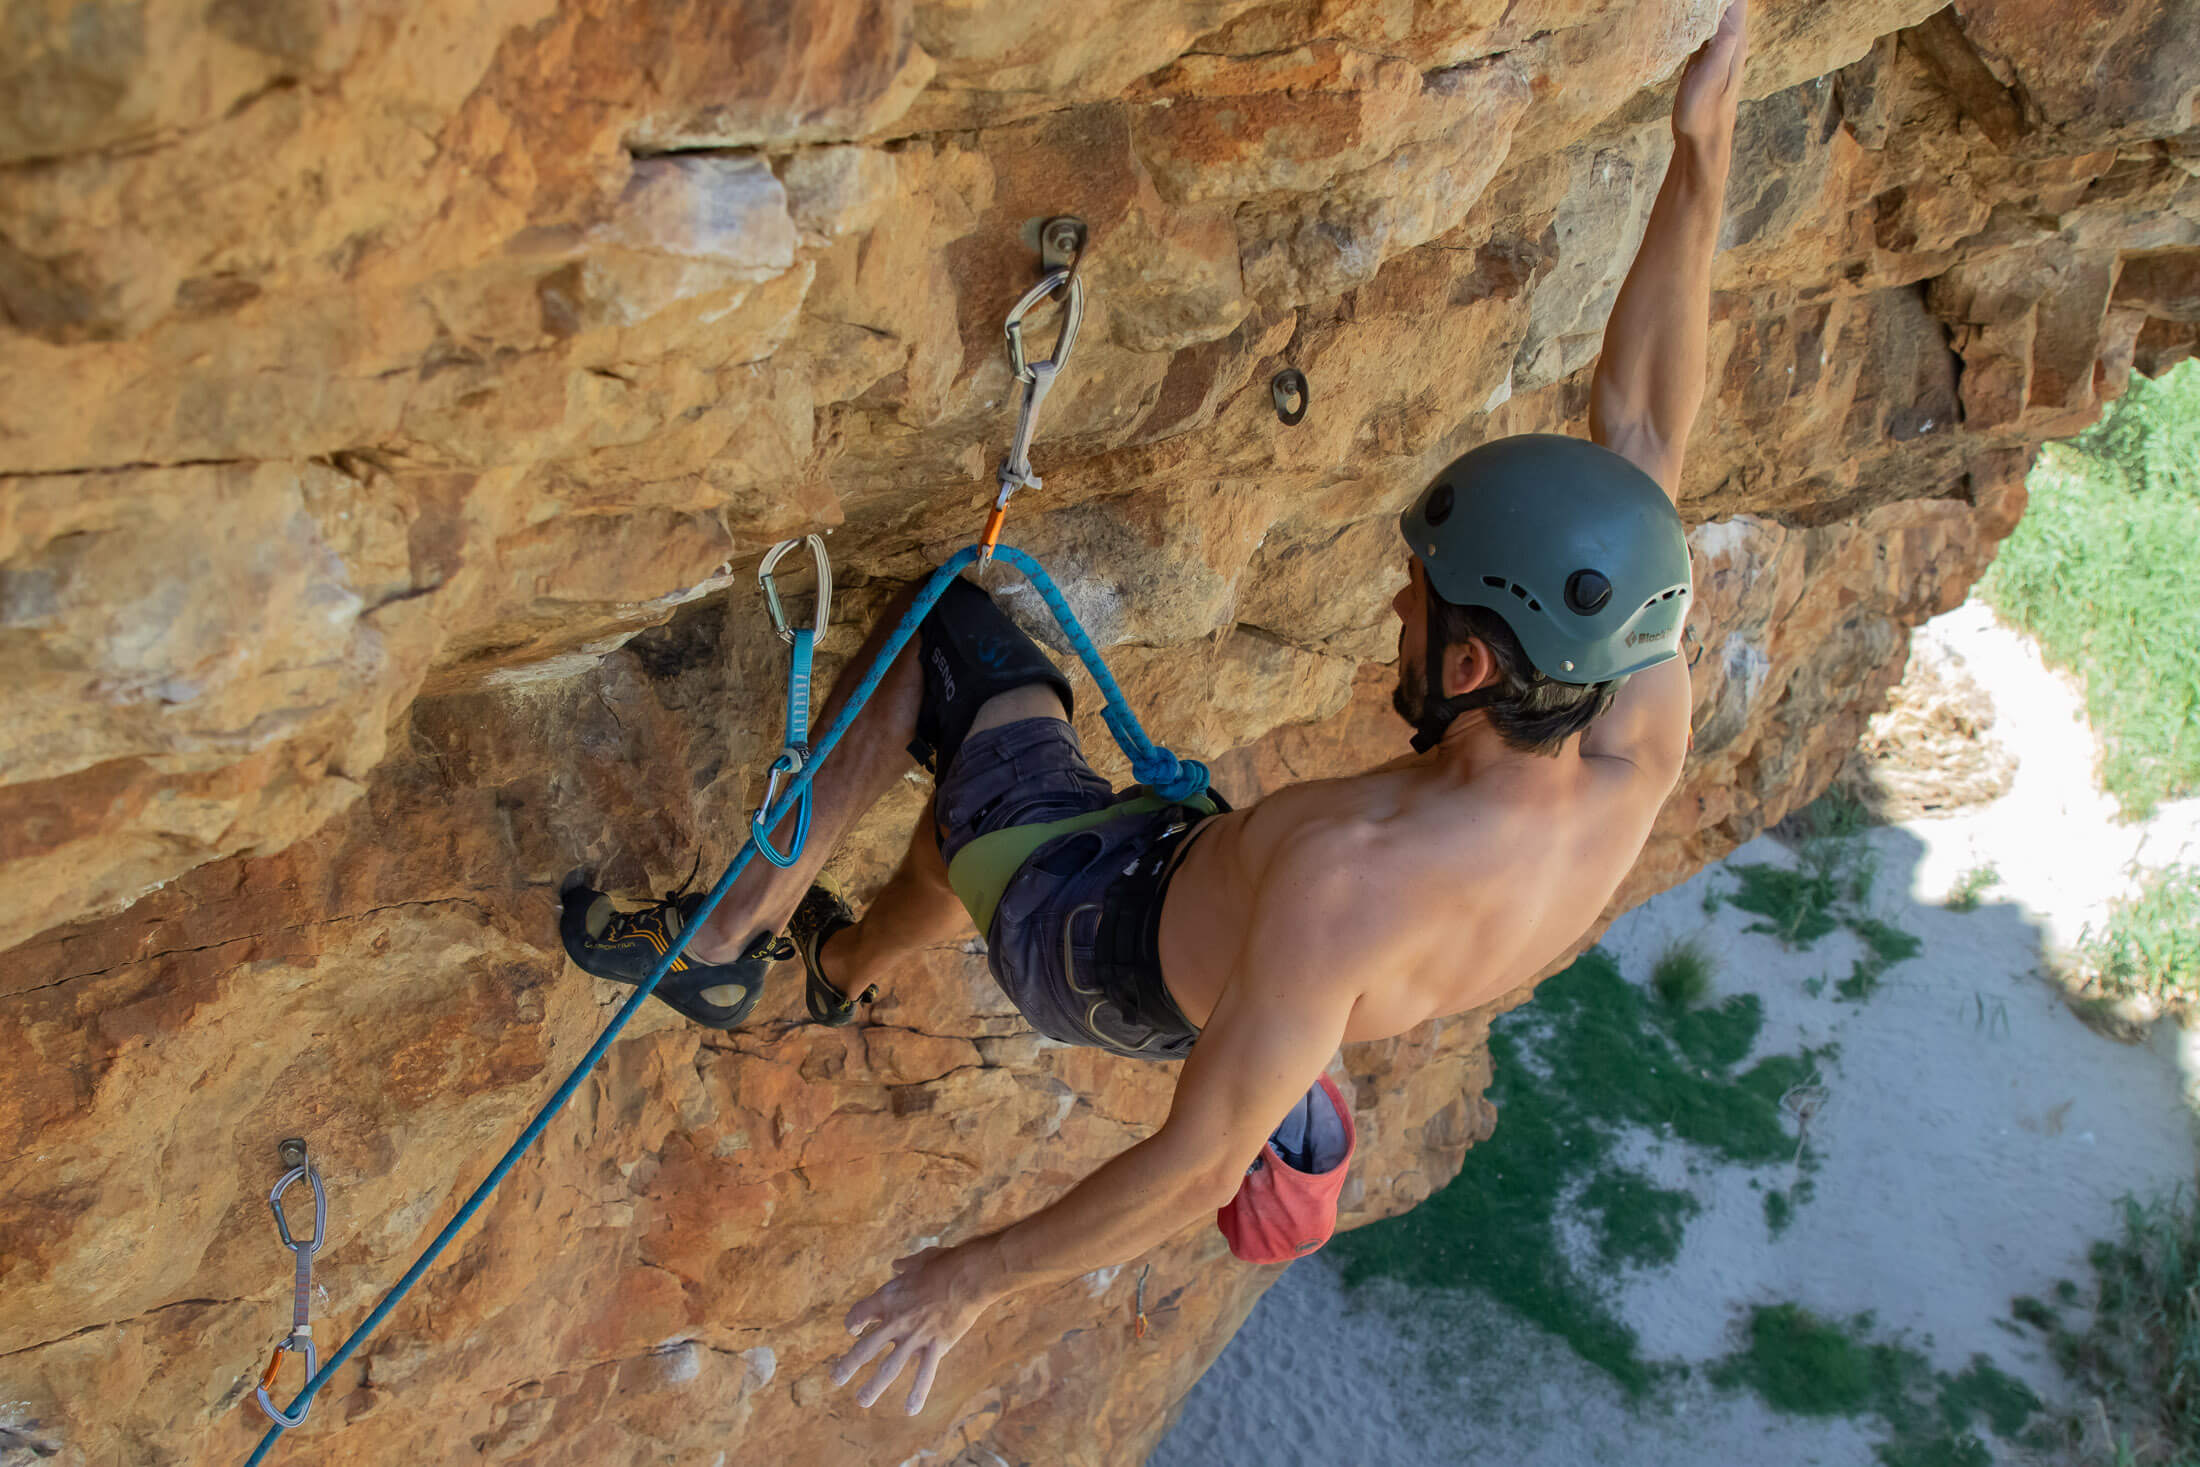
One of the most useful techniques in climbing, a kneebar can help you make longer reaches, free up a hand to clip, or afford a send-enabling rest. But, to make this skill a valuable part of your repertoire, you first need to master the basics and then learn how to adapt the technique so that it can be employed in a wider range of situations. In this article, I aim to help you do that by first going over kneebar fundamentals and then looking at several things you can do to make the most of trickier or less obvious kneebar opportunities.
How are kneebars useful?
There are three situations in which a kneebar is very useful – when placing and clipping gear, when making long or difficult reaches, and when resting.
Placing and clipping gear
When you need to clip the next bolt or place a piece of gear on steep terrain, you can use a kneebar to make your stance more secure. The more stable your body position, the easier it is to stance and let go with one hand so that you can clip or place gear. In this scenario, it’s most common to clip with the hand on the same side as the kneebar. For example, if you have a good left kneebar, you’ll probably feel most comfortable letting go of the rock with your right hand and using this to make the clip.
Moving
In the same way that a kneebar can be used to free up a hand to make a clip, it can also be used to free up a hand to make a reach. Using a kneebar this way allows you to make longer reaches and, in some cases, enables moves that would simply be impossible without a knee bar. A kneebar does this by bringing your hips closer to the wall and elevating your body position – your thigh is stronger and lower (anatomically) than your arms and positions your body higher relative to the rock it engages. As an added benefit, a kneebar can take a share of the load off your tired upperbody muscles even if only briefly.
Resting
Possibly the most common use for a kneebar is resting. When properly placed and engaged, a good kneebar allows a climber to drastically reduce the amount of body weight held by their arms. And in the case of a properly solid kneebar, the climber can let go with their hands completely and get a full shake out. Such rests often come at a cost in that your core and legs can get worked while you remain in a kneebar, but this is usually well worth being able to recharge your forearms.
Basic kneebar technique
Given the variability in rock, every kneebar is likely to be at least a little different to every other kneebar you’ve used, but there are some core fundamentals that are relevant to this technique regardless of the angle of the terrain or the level of security offered by its features. Every properly executed kneebar involves these three steps.
Place
A solid kneebar starts with the selection of two points of contact: a flat surface to press your lower thigh into and a foothold with which to oppose it. The foothold can be anything from a smear to a ledge, but the thigh ‘hold’ must have enough surface area to provide substantial friction for your less dexterous knee. Of course, these points of contact also need to be the right distance apart to be useful, and knowing what that distance (your shindex) is will take some experimentation. Note that even though it’s called a kneebar, the goal is not to engage the rock with your knee cap (unnecessarily painful) but with the lower part of your thigh.
Engage
Once you are in position – with your toe on the best foothold and your thigh against a flattish surface directly opposite it – you still need to engage these points of contact so that they hold you in position when you shift your weight onto your leg. To do that, you need to flex your calf muscle so that it simultaneously forces your toe and lower thigh into their respective points of contact. Got that? Good. Hold it. This is the first thing you have to focus on.

The second thing you have to focus on is your other leg. A good kneebar is like a tripod in that it has three points of contact: the lower thigh and toe of the leg in the kneebar and your free leg. Even if you can’t use the latter to engage the rock through a foothold, it can probably still be used to flag and shift your body weight in a direction that makes the kneebar more secure. Experiment with the position of this leg and foot while looking for ways to push yourself into a more balanced position.
Exit
You will eventually need to get out of the kneebar, and this is often the hardest part. Releasing the kneebar itself usually isn’t difficult. In most cases, you only need to relax your calf muscle and stop toeing down, and your leg will come out of it (Only a few more cramped kneebars will require you to lift and slide your leg out of the space). The difficult part is stopping your lower body from swinging out uncontrollably as you release the kneebar. To prevent this, you need to tighten up your core while toeing down hard on a foothold. And then if you still cut loose, use your core and shoulders to control the swing.
Advanced kneebars
Advanced sport climbers will resort to all kinds of kneebar trickery to make the most of unobvious opportunities.
Double kneebars
The kinds of features that afford double kneebars are actually pretty easy to spot (they’re large blocky features), but using them can be more difficult than a single leg kneebar since you don’t have a free leg with which to help you balance or push yourself into a more secure position. Given that these opportunities are usually found on very steep terrain and even roofs, double kneebars often also require a lot of core strength – both to hold and to get out of.
Insecure kneebars
Other challenging knee-bar situations include those where the contact points are further apart or closer together than is ideal. If you find that your leg is a little on the short side, you can always point your toes. On the other hand, if your leg is too long for the space it needs to fit into, you might have to angle your tibia over to one side. In such situations, you should be careful to not put yourself in a position where your leg could get stuck.
Knee scums
In the most insecure positions, you will barely be able to press your knee into the rock. It’s at this point that a knee bar becomes a knee scum, a technique that can take some of the weight off your arms and afford a slight rest when a full knee bar won’t work. This might mean leveraging the top of your thigh into a rounded overlap or smearing the inside of your knee into a shallow depression. When knee holds are this tenuous, it’s important that the kneepad doesn’t move at all (tips to follow).

Kneebar tips
Convinced you need to add kneebars to your bag of tricks? Here’s what you need to know before starting to practise and use this valuable skill.
Warm up your leg muscles
You wouldn’t jump onto a route that was even slightly fingery before you had properly warmed up your forearms (hopefully), and you shouldn’t get onto a problem or route that involves a kneebar until you’ve warmed up your legs. What does an appropriate lower body warm up look like? After performing a pulser raiser (skipping or jogging on the spot), do a set of calf raises and then a set of squats to get the larger upper leg muscles warmed up. Do not perform static stretches while warming up. These are best left until after a workout.
Practice kneebars wherever you find them
Kneebars can be used on vertical terrain, in roofs, and everywhere in between. But to be able to use the technique this widely, you will need to practise this skill in as many situations. When at the gym or crag, seek out problems and routes with kneebars and then practise them using different footholds, knee positions, and angles to get a feel for what works best in a certain situation. Even a small change in the position of your foot or thigh can make a seemingly impossible kneebar feel quite solid.
Know your shindex
Your ‘shindex’ is the distance between your big toe and the top of your knee. Of course, your ankle can be flexed and pointed, altering this length, so your shindex is actually a range from the shortest you can make this distance (flexing your toe upwards) to the longest you can make it (pointing your toe). Once you know what this range is, you will be able to spot kneebar opportunities on sight and without having to first test if your lower leg fits into the available space. Again, the more you practise kneebars, the more you will understand what does and doesn’t work.
Using kneepads
You can lock in an easier kneebar while wearing pants or even shorts with bare skin exposed, but trickier kneebars call for a kneepad.
When to use a kneepad
With their sticky rubber, kneepads allow for better friction, which ultimately makes kneebarring easier – essential when the thigh-side contact point in a kneebar is less positive. Besides being the ticket for these more technical kneebars, kneepads are also recommended when a route has multiple kneebars and when the rock is very abrasive and likely to chew up your skin. Some naysayers will tell you that using a kneepad is cheating, but you can just remind them that chalk and rock shoes have had a bigger impact on climbing performance and are now considered standard.
How to choose a knee pad
Keepads come in two styles: strap-ons and sleeves. Strap-on pads have adjustable straps and buckles so that they can be attached and removed easily. Sleeve pads are just that, sleeve-like tubes made of some kind of stretchy material, usually neoprene. Because they are lighter and thinner, sleeves are also more tightfitting and sensitive, making them a better choice for technical kneebar trickery. However, many climbers find that sleeves have to be secured in place with tape, making them more of a hassle to get on and off compared to strap-on pads.
How to wear a kneepad
A pad worn over pants will slide, and with more technical kneebars, where you can’t afford to let the pad slip so much as a millimetre, you will have to wear your pad over bare skin. My recommendation is to wear shorts that are not so long that they will cover your lower thigh and not so narrow in the legs that the top end of a pad won’t fit comfortably underneath your shorts. Women might also want to consider stretchy capris or, if it’s cold, leg warmers that can be rolled up to just above the kneepad.
How to secure a sleeve kneepad
When using a kneepad for more technical kneebars, it’s important that you wear it over bare skin and secure it in a way that prevents it from slipping even slightly. Both types of kneepad can be secured in place using duct tape, but when it’s hot and sweaty, tape might not be enough. In such situations, many climbers apply a spray adhesive like Tuf-Skin applied directly to their skin, fit the kneepad, and then tape it in place. Taking the pad off afterwards can be painful, so you should consider shaving the area covered by the kneepad.
Learn more
The best way to hone any climbing skill is to get out there and practise it. That said, if it’s further instruction you’re after, this site has many more climbing articles filled with pointers, practical tips, and valuable insights. This was just one article on a whole series on sport climbing tactics, and if you haven’t read How to Climb More Efficiently or Redpoint Tactics, you might want to read these next.
