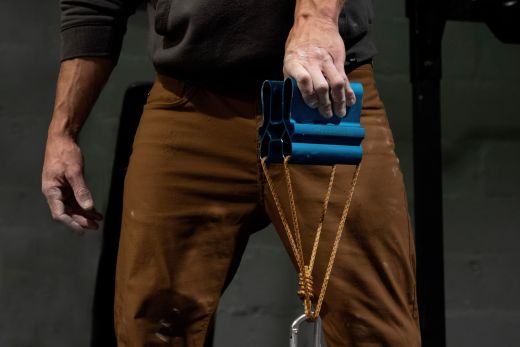
Edge lifting has been a popular rehab method for some time, but a trend in recent years has now also seen block pulls used for strength training. Some climbers have relied on this new approach mostly to train the types of grips that block training is best suited to, but other more ardent converts have eschewed the hangboard completely and adopted a block-only approach to their off-the-wall training. That raises a question or two: what are the benefits of block lifting? Should you be doing it? And how would you go about it? In this article, I aim to answer all those questions by looking at the benefits, focus and training protocols in lifting.
- What do I mean by lifting?
- Advantages of lifting
- Equipment
- Lifting technique
- Grip types and edge size
- Calibration and progression
- Lifting protocol
- When to train with a lifting block
- Training tips
What do I mean by lifting?
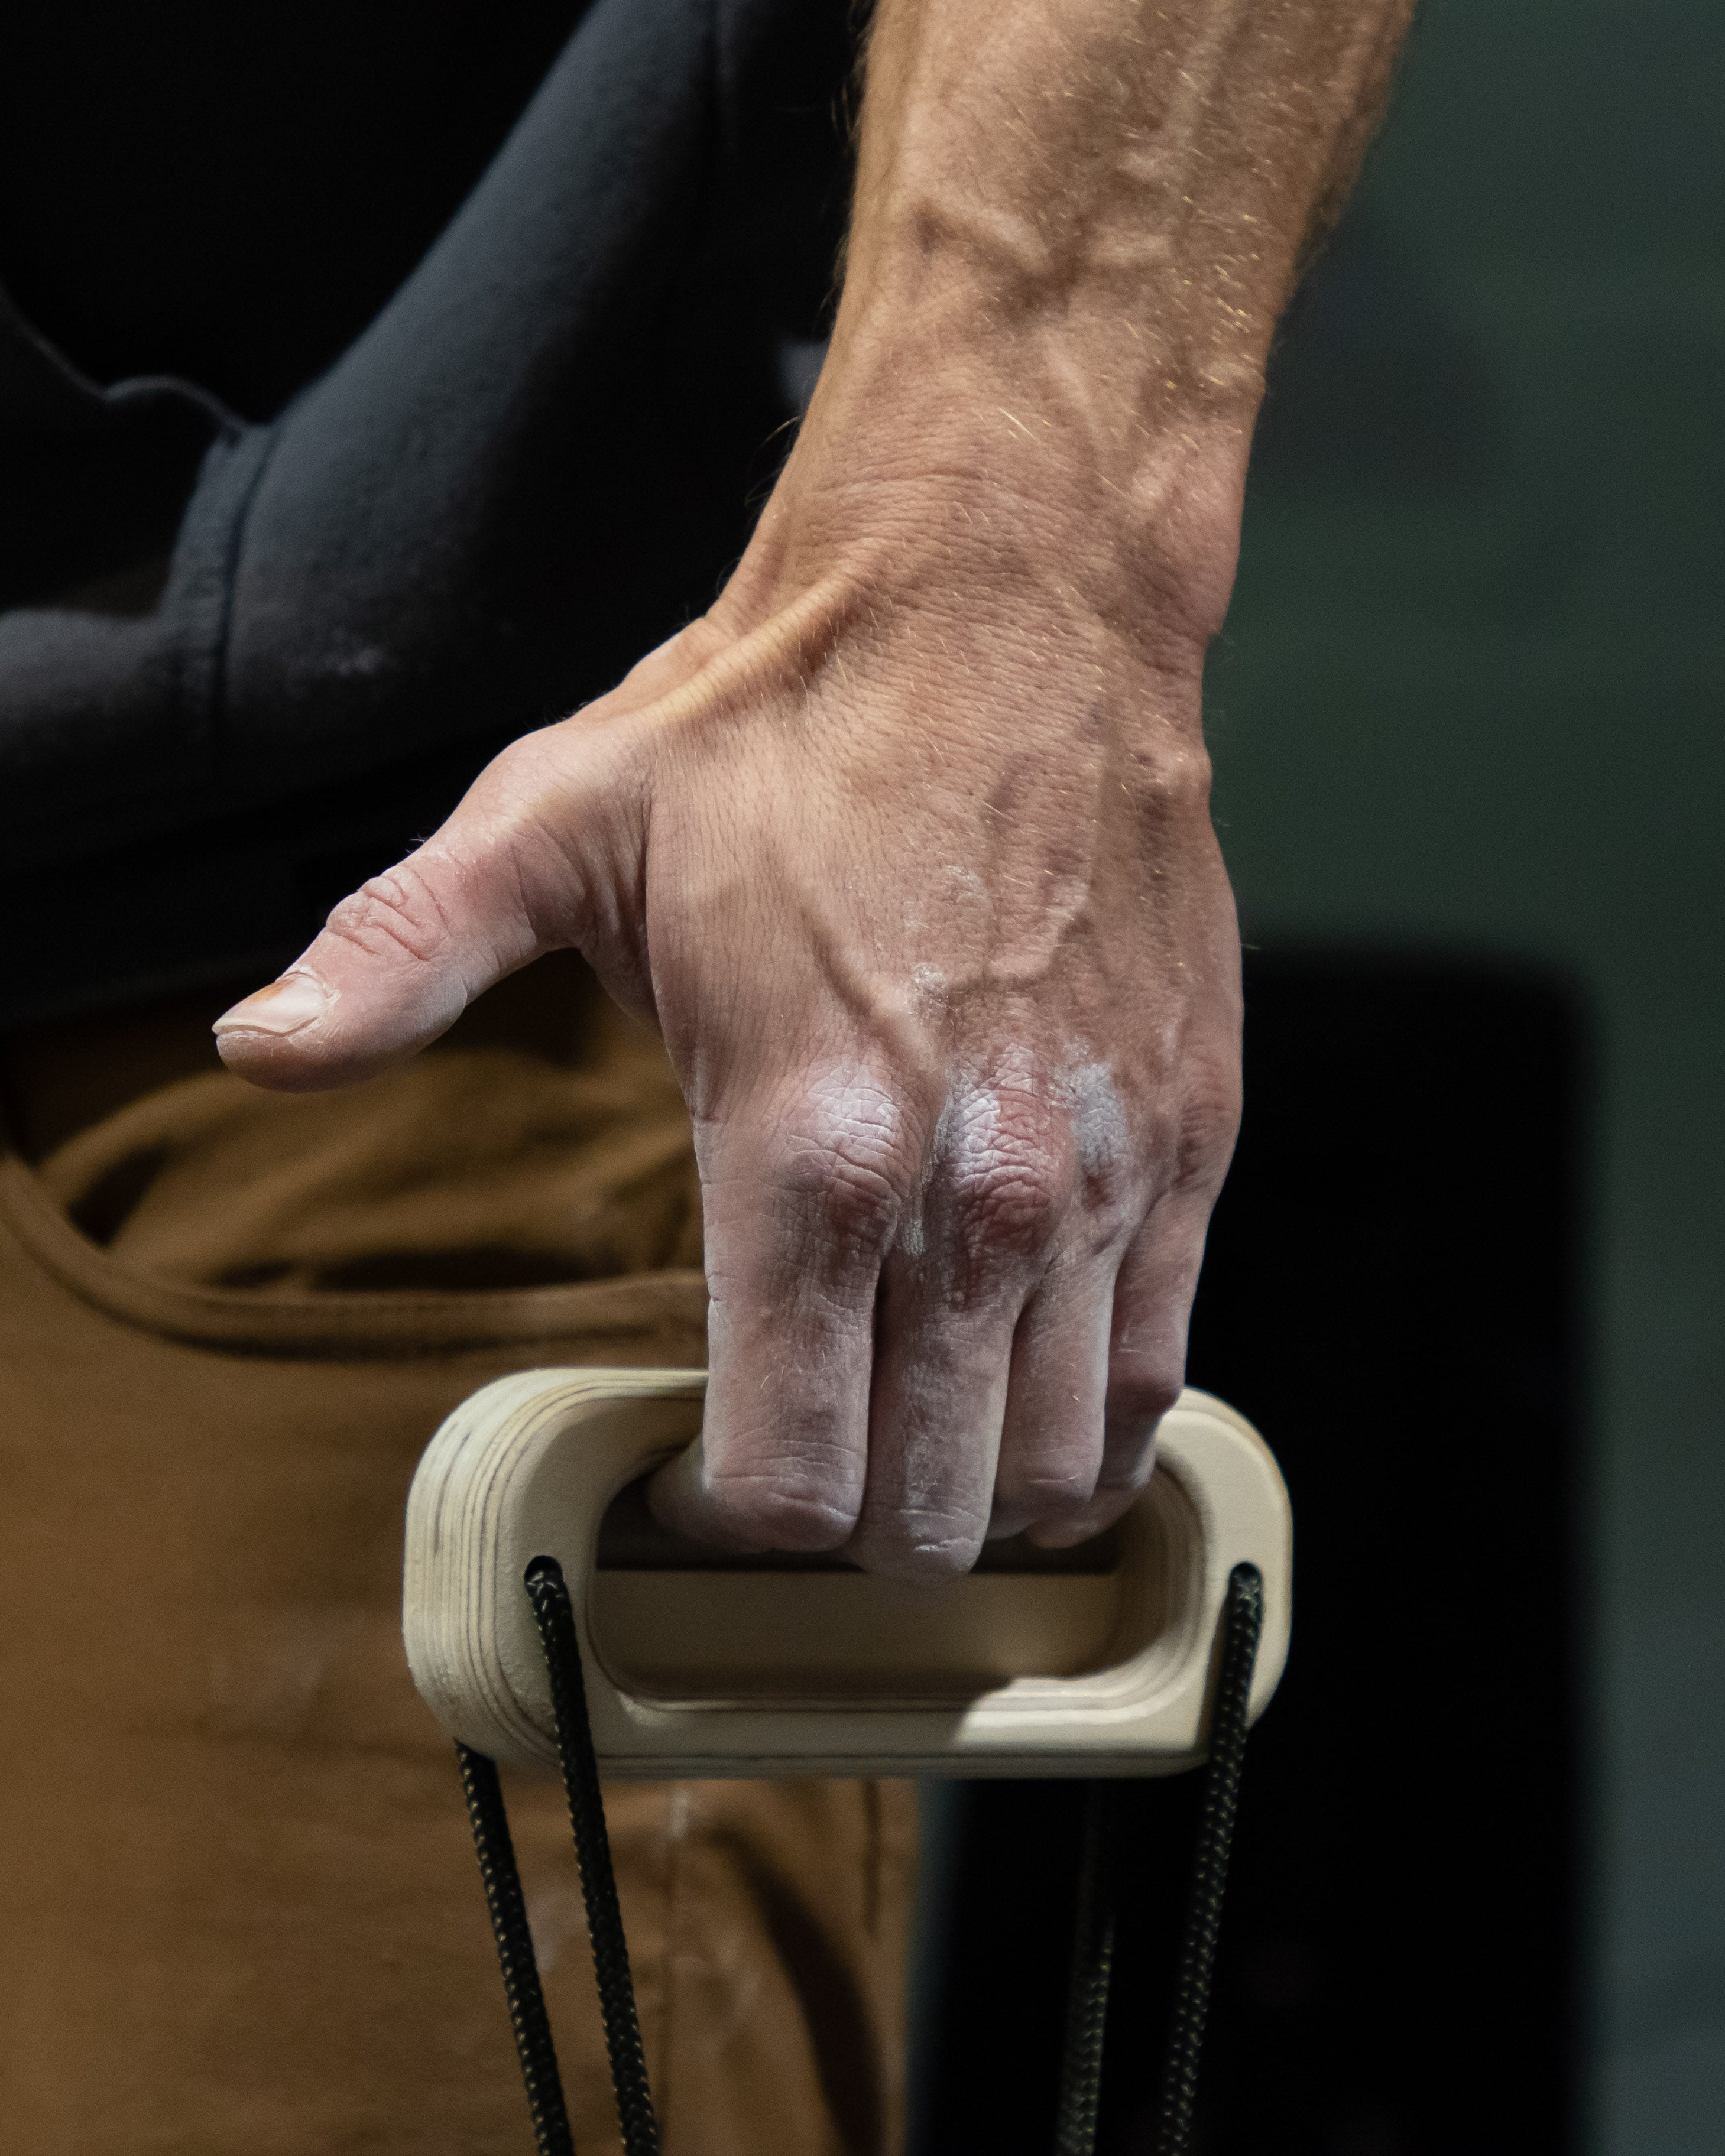
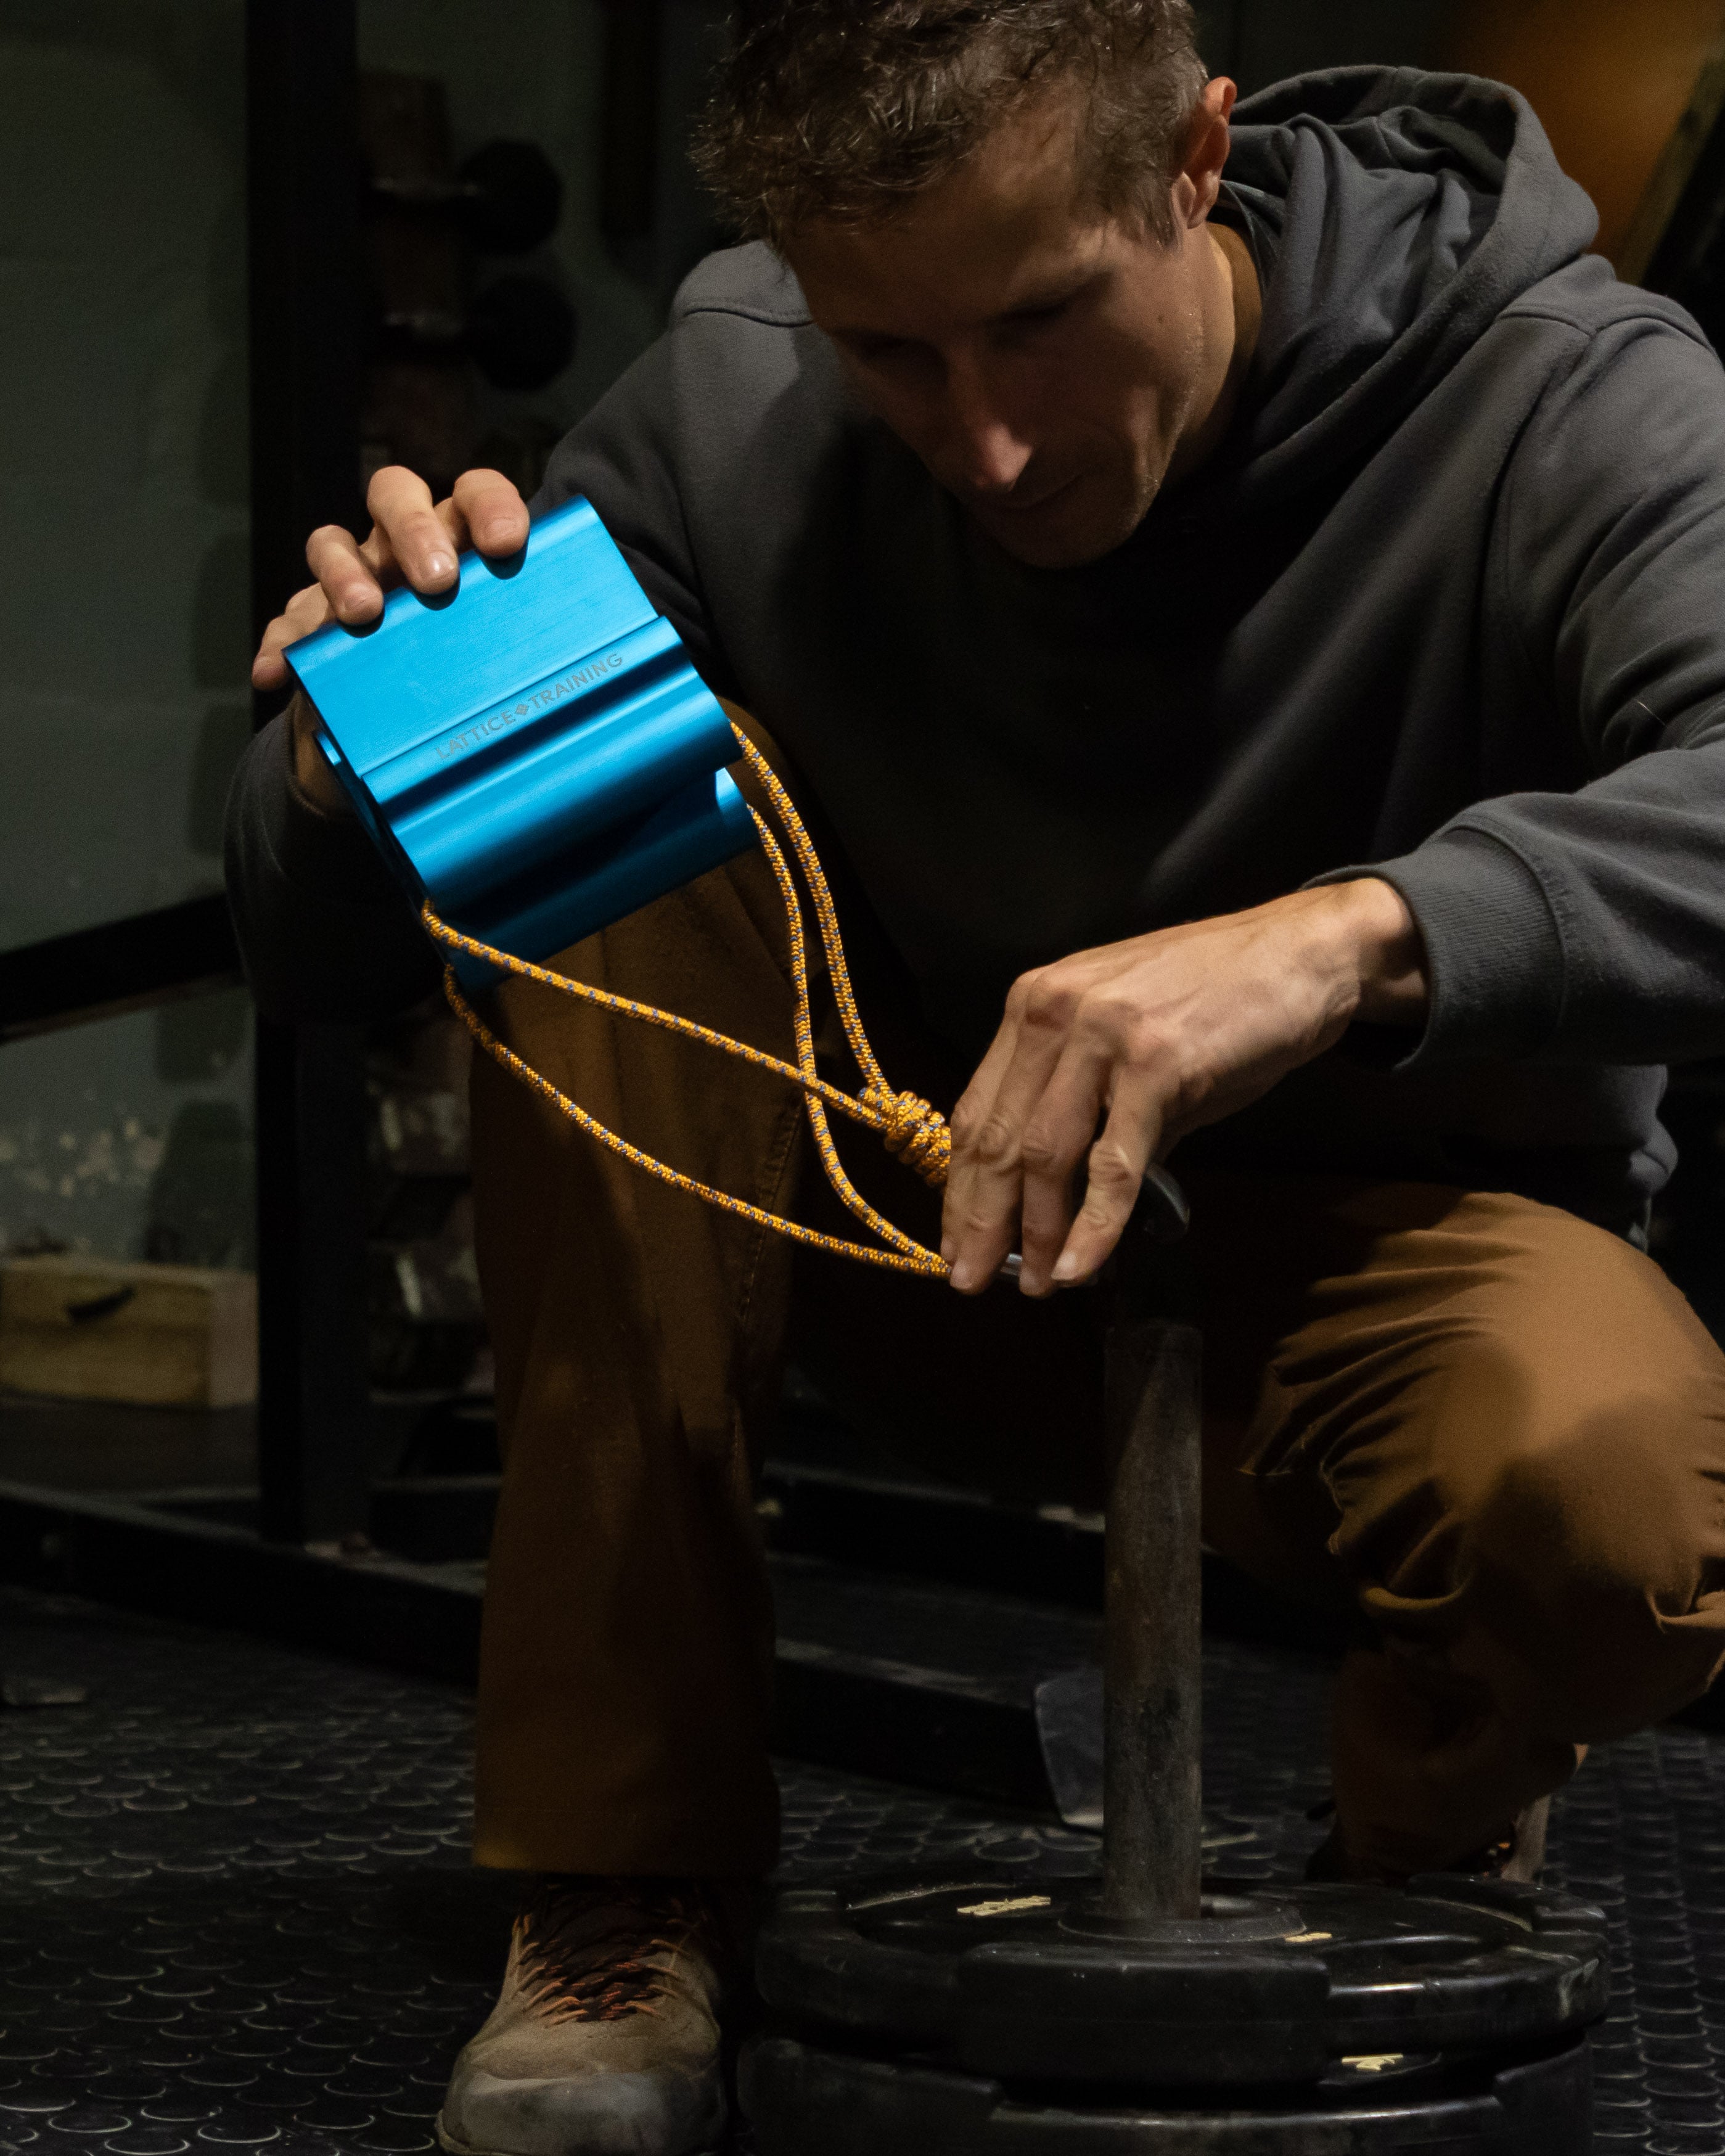
Known by several names – no hangs, block pulls, arm pulls, and block training – lifting is a type of training in which the climber uses a block to lift a weight off the ground. The exercise can either involve gripping an edge on the side of the block or it can involve pinching the block. Either way, the mechanics from the wrist up are the same. You engage the hold with a straight arm, deadlift the load off the ground, and then hold it for a certain amount of time. This is repeated several times to make a single set.
Advantages of lifting
Fingerboards have been the go-to training tool for grip-strength for decades, so why the change now? Well, there are several advantages driving the no-hang trend.
The ability to train grips at less than body weight
Edge lifting makes it much easier to train grips that require loads well below body weight. Whereas with a hangboard you need to use a pulley to deload (counter your bodyweight), the load on a lifting block can be reduced simply by removing some weights.
Easy adjustment of resistance
It’s very easy to adjust the level of resistance with a lifting setup. You simply add or remove weight from the lifting pin. With fingerboarding you have far less control over the level of resistance since you are usually limited by the size of the edges available. Weighted max hangs are an exception.
Pinch training
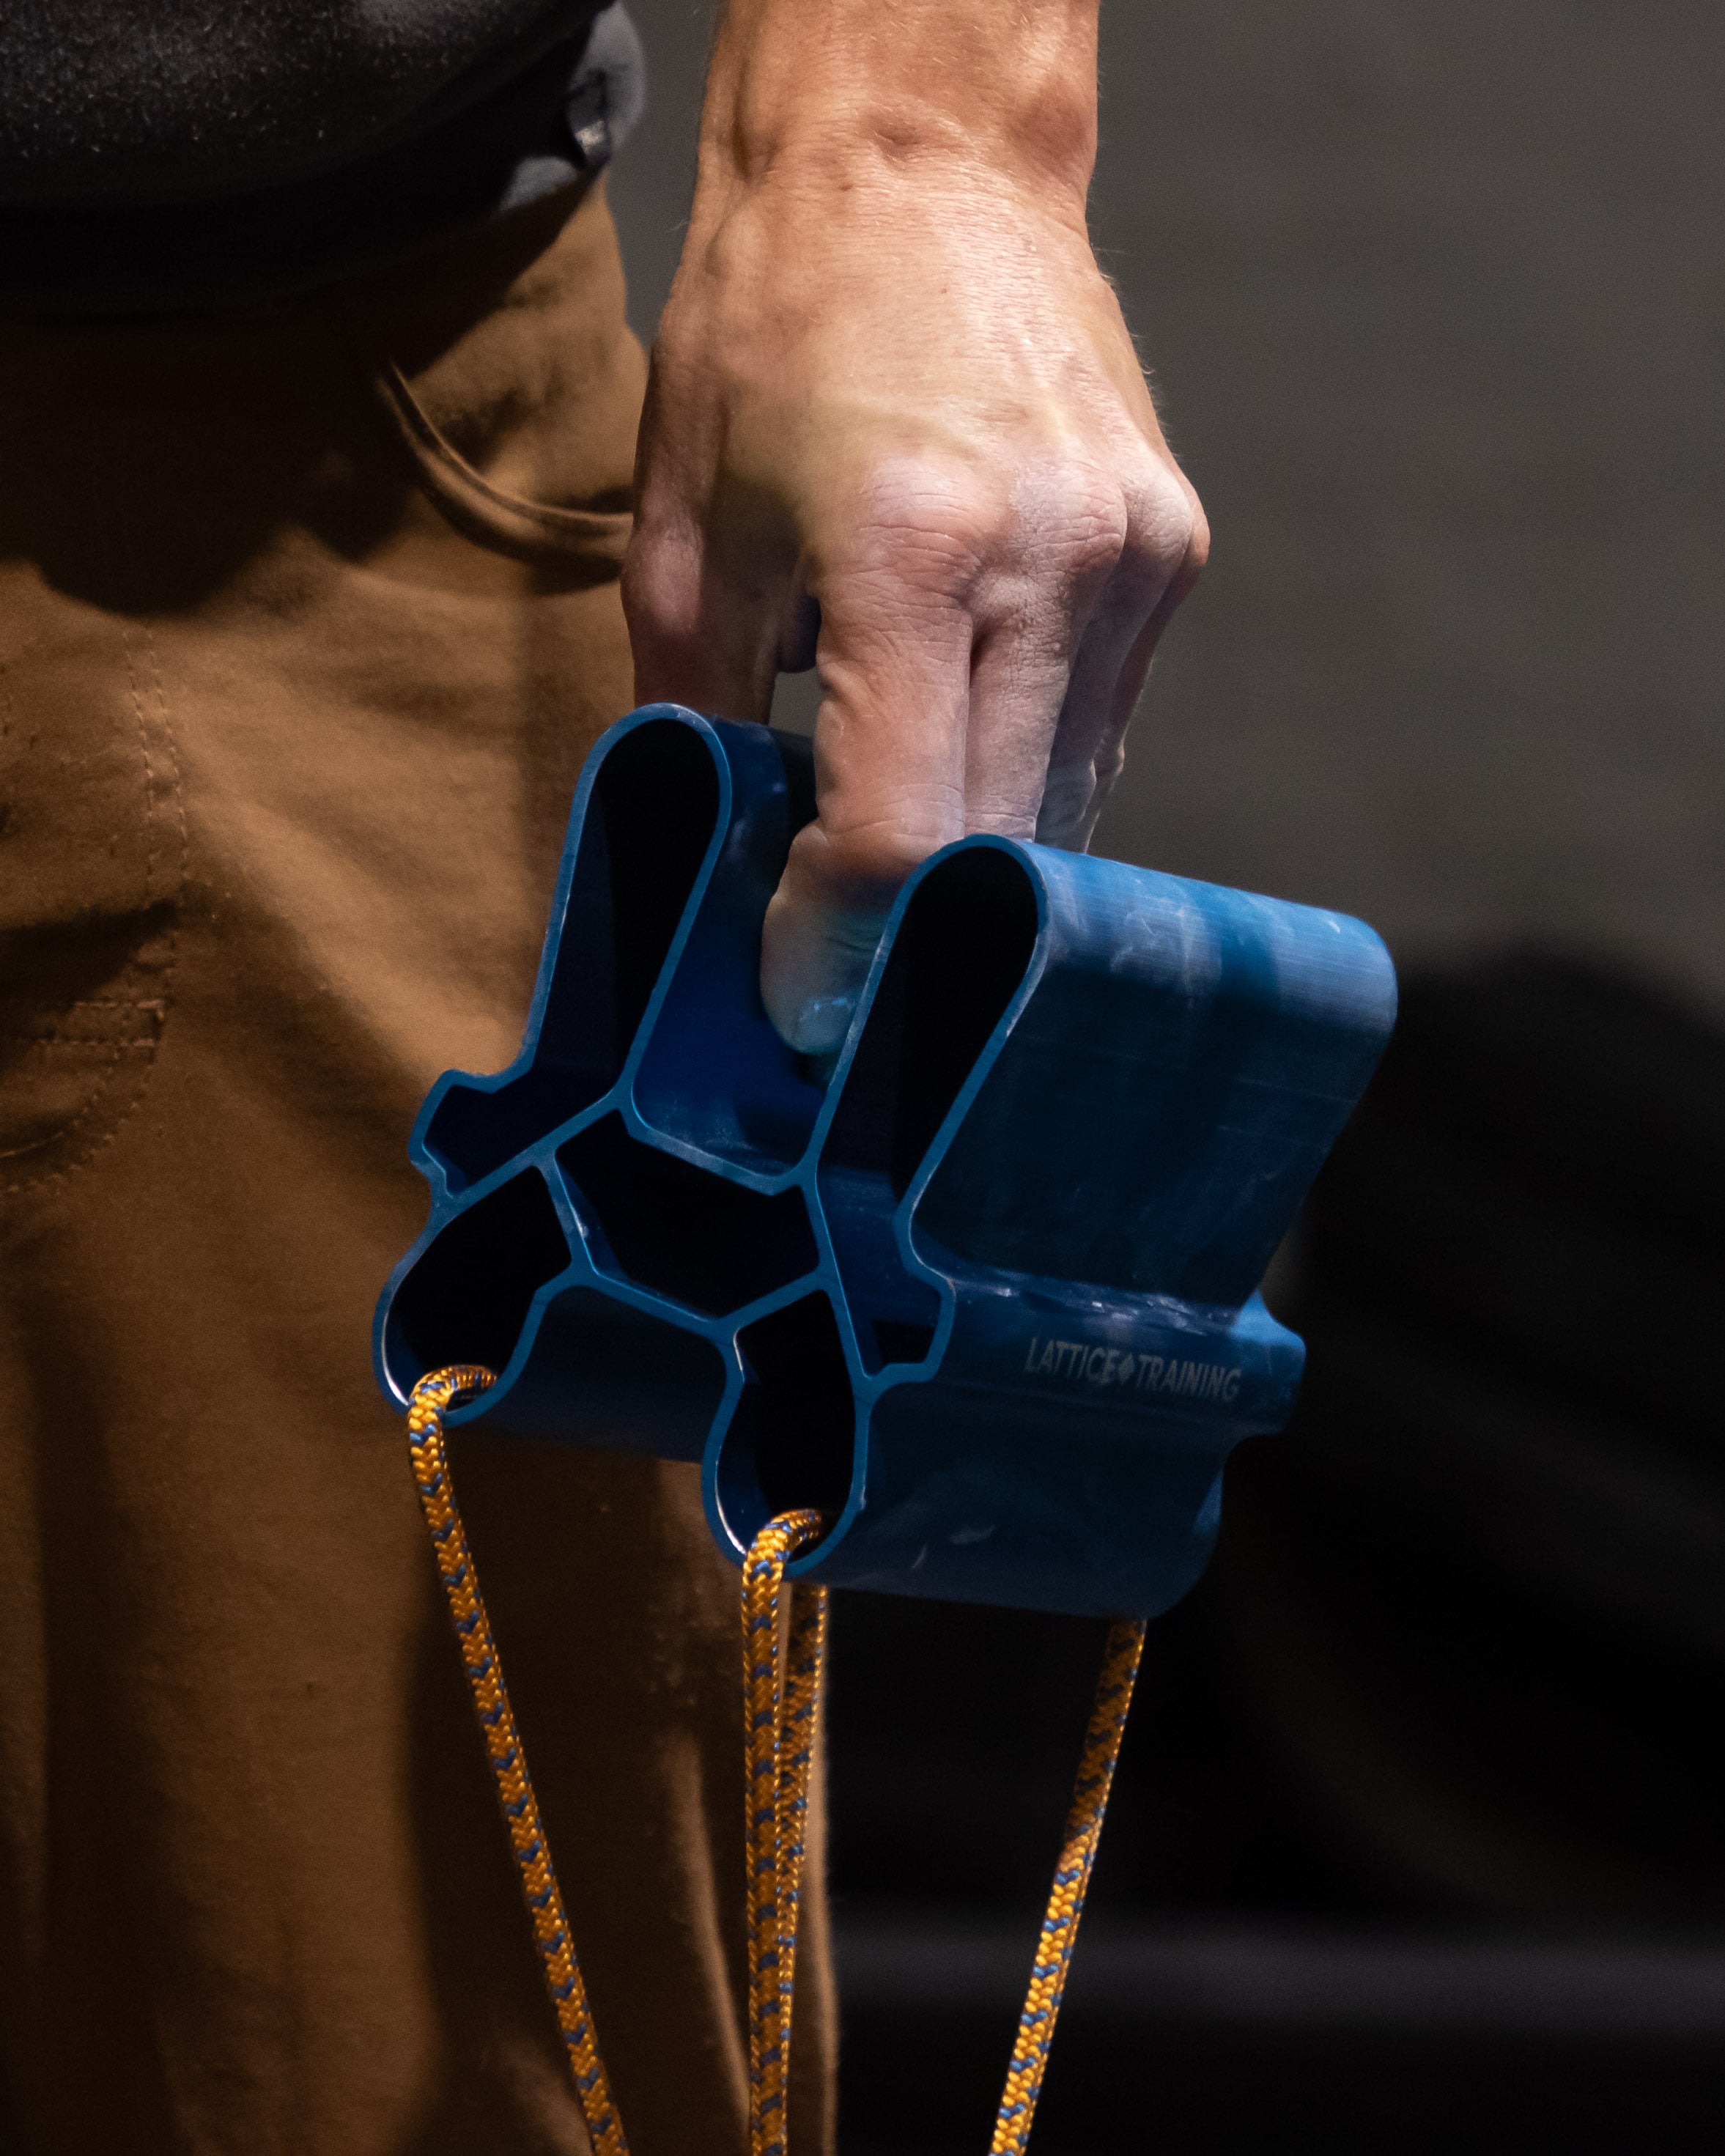
Because you can lift a block with your wrist in a relatively neutral position (compared to the angles involved in hangboarding) block lifting is also very effective at training pinch strength – something that is difficult to do on a hangboard.
Better stability
You do not need to stabilize your own body as you do in hangboarding, so there is less swinging, twisting and sliding around on the hold. This stability can also make it easier to feel how your fingers are engaging a hold – very useful when you’re experimenting with grips that you find challenging.
Equipment needed
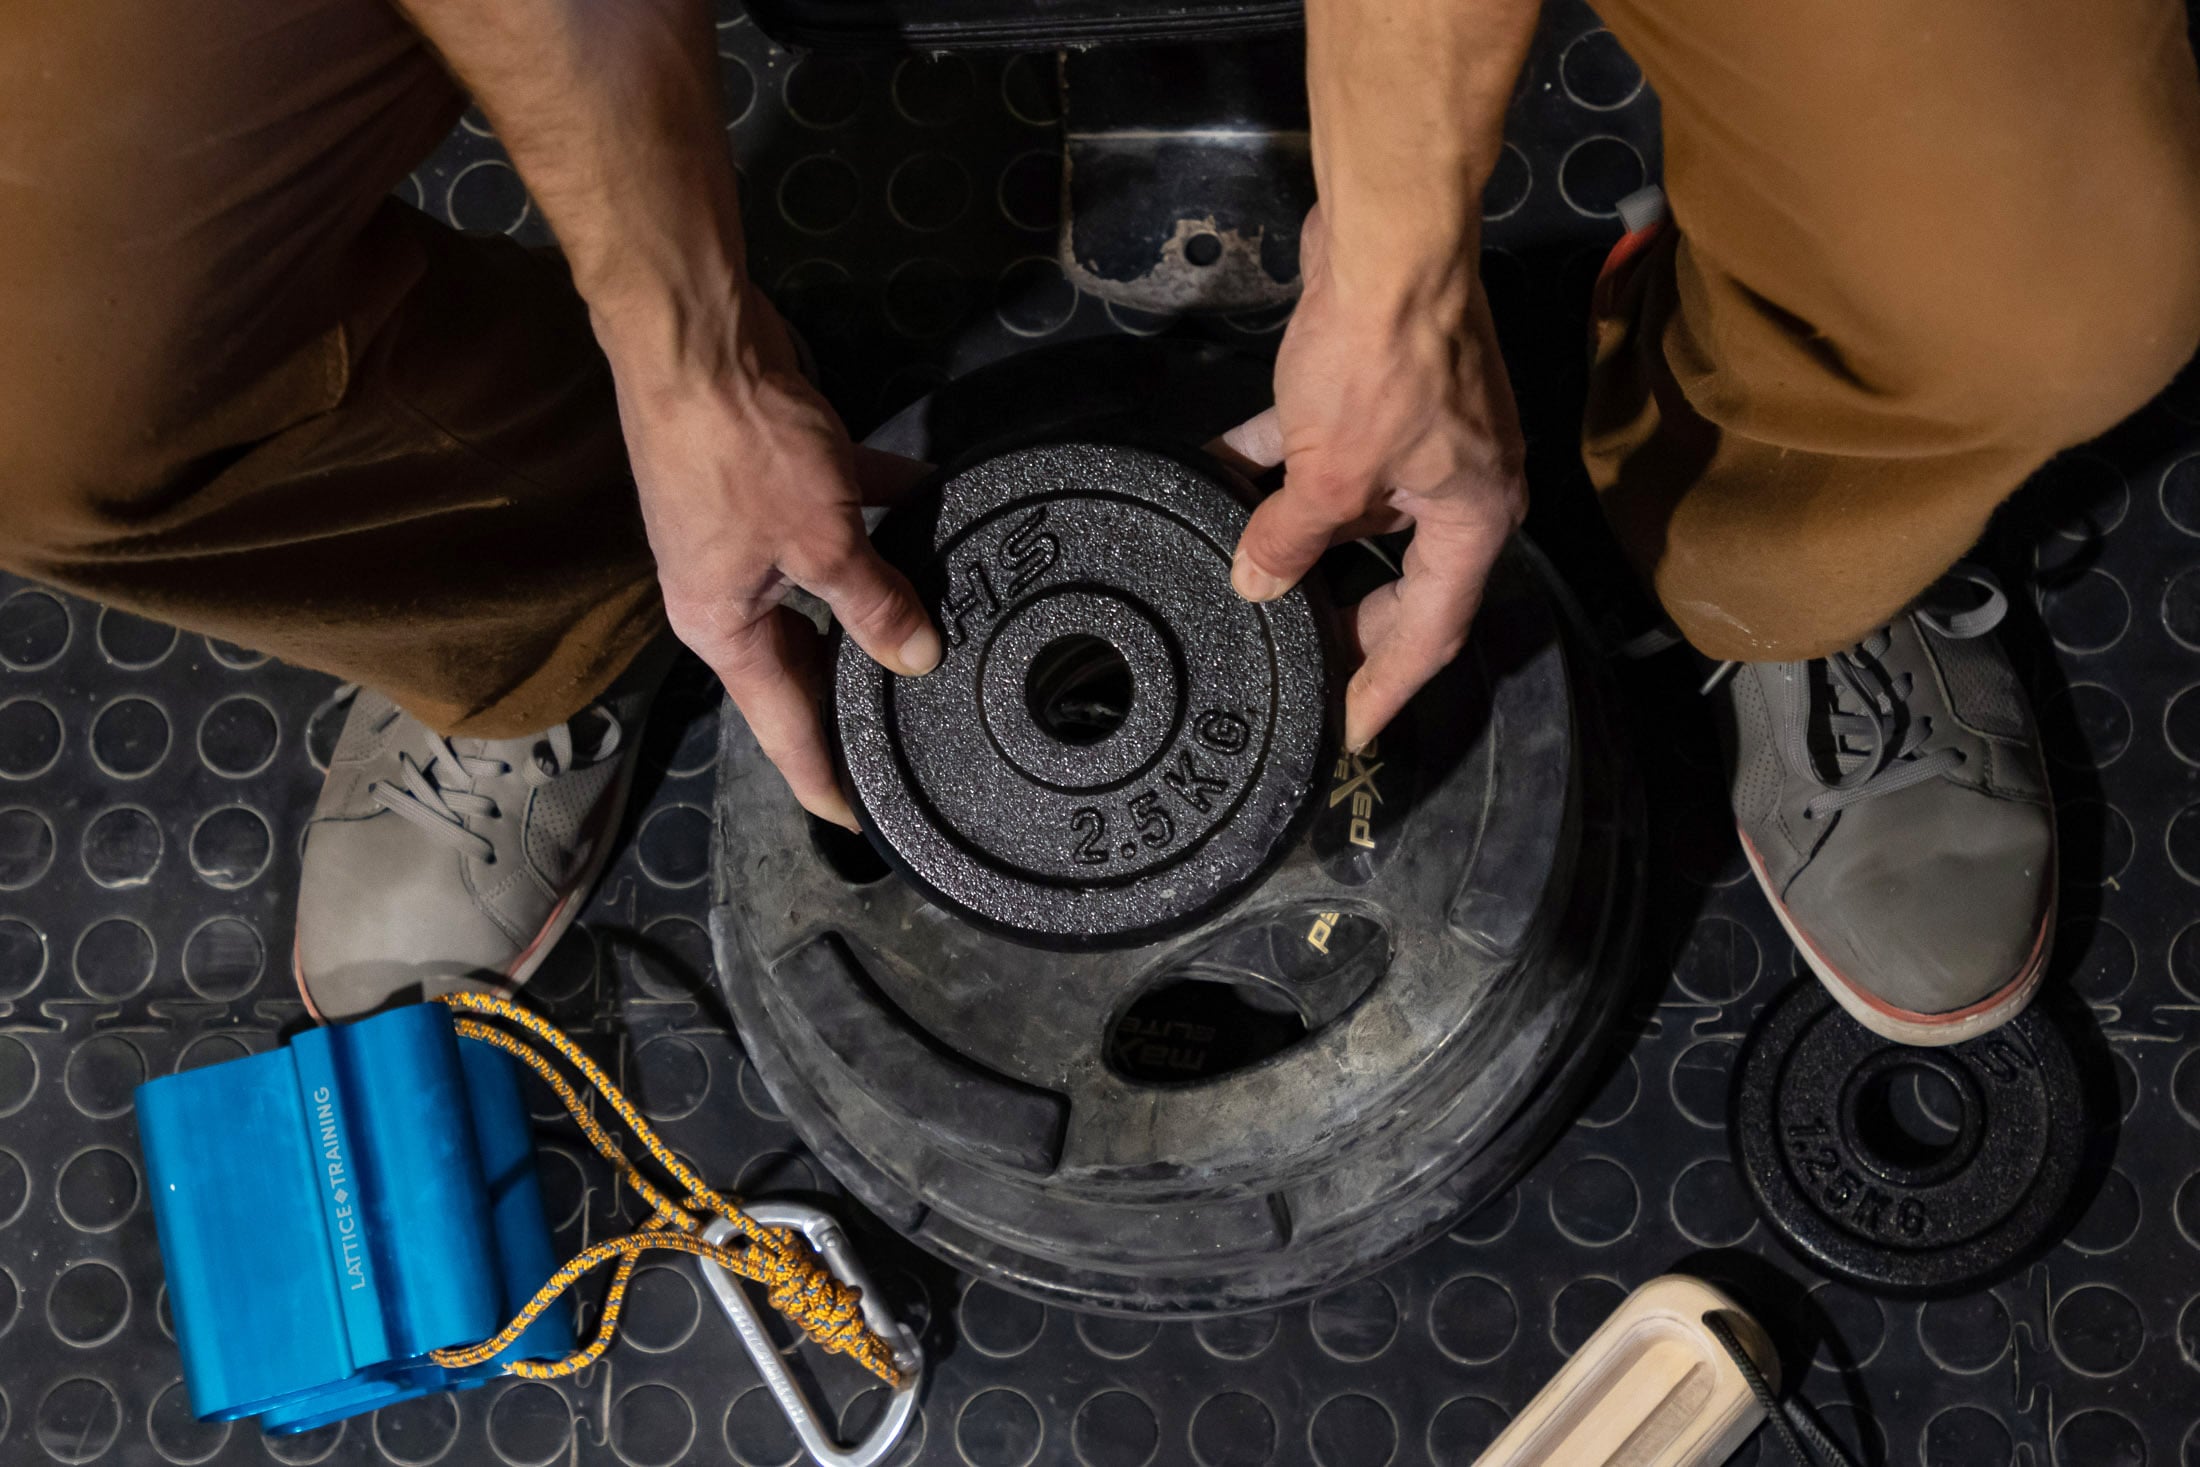
One of the great things about block lifting is that the equipment is relatively inexpensive and portable – with the exception of the weights. If you have your own plates, you can train at home or at the gym. In fact, you could even train when away from home and nowhere near a climbing gym. You just need access to a rec center or regular gym that has free weights. And, of course, you would need to carry the two pieces of equipment that you are not likely to find in the average gym (even some climbing gyms). These are the lifting pin and the block itself.
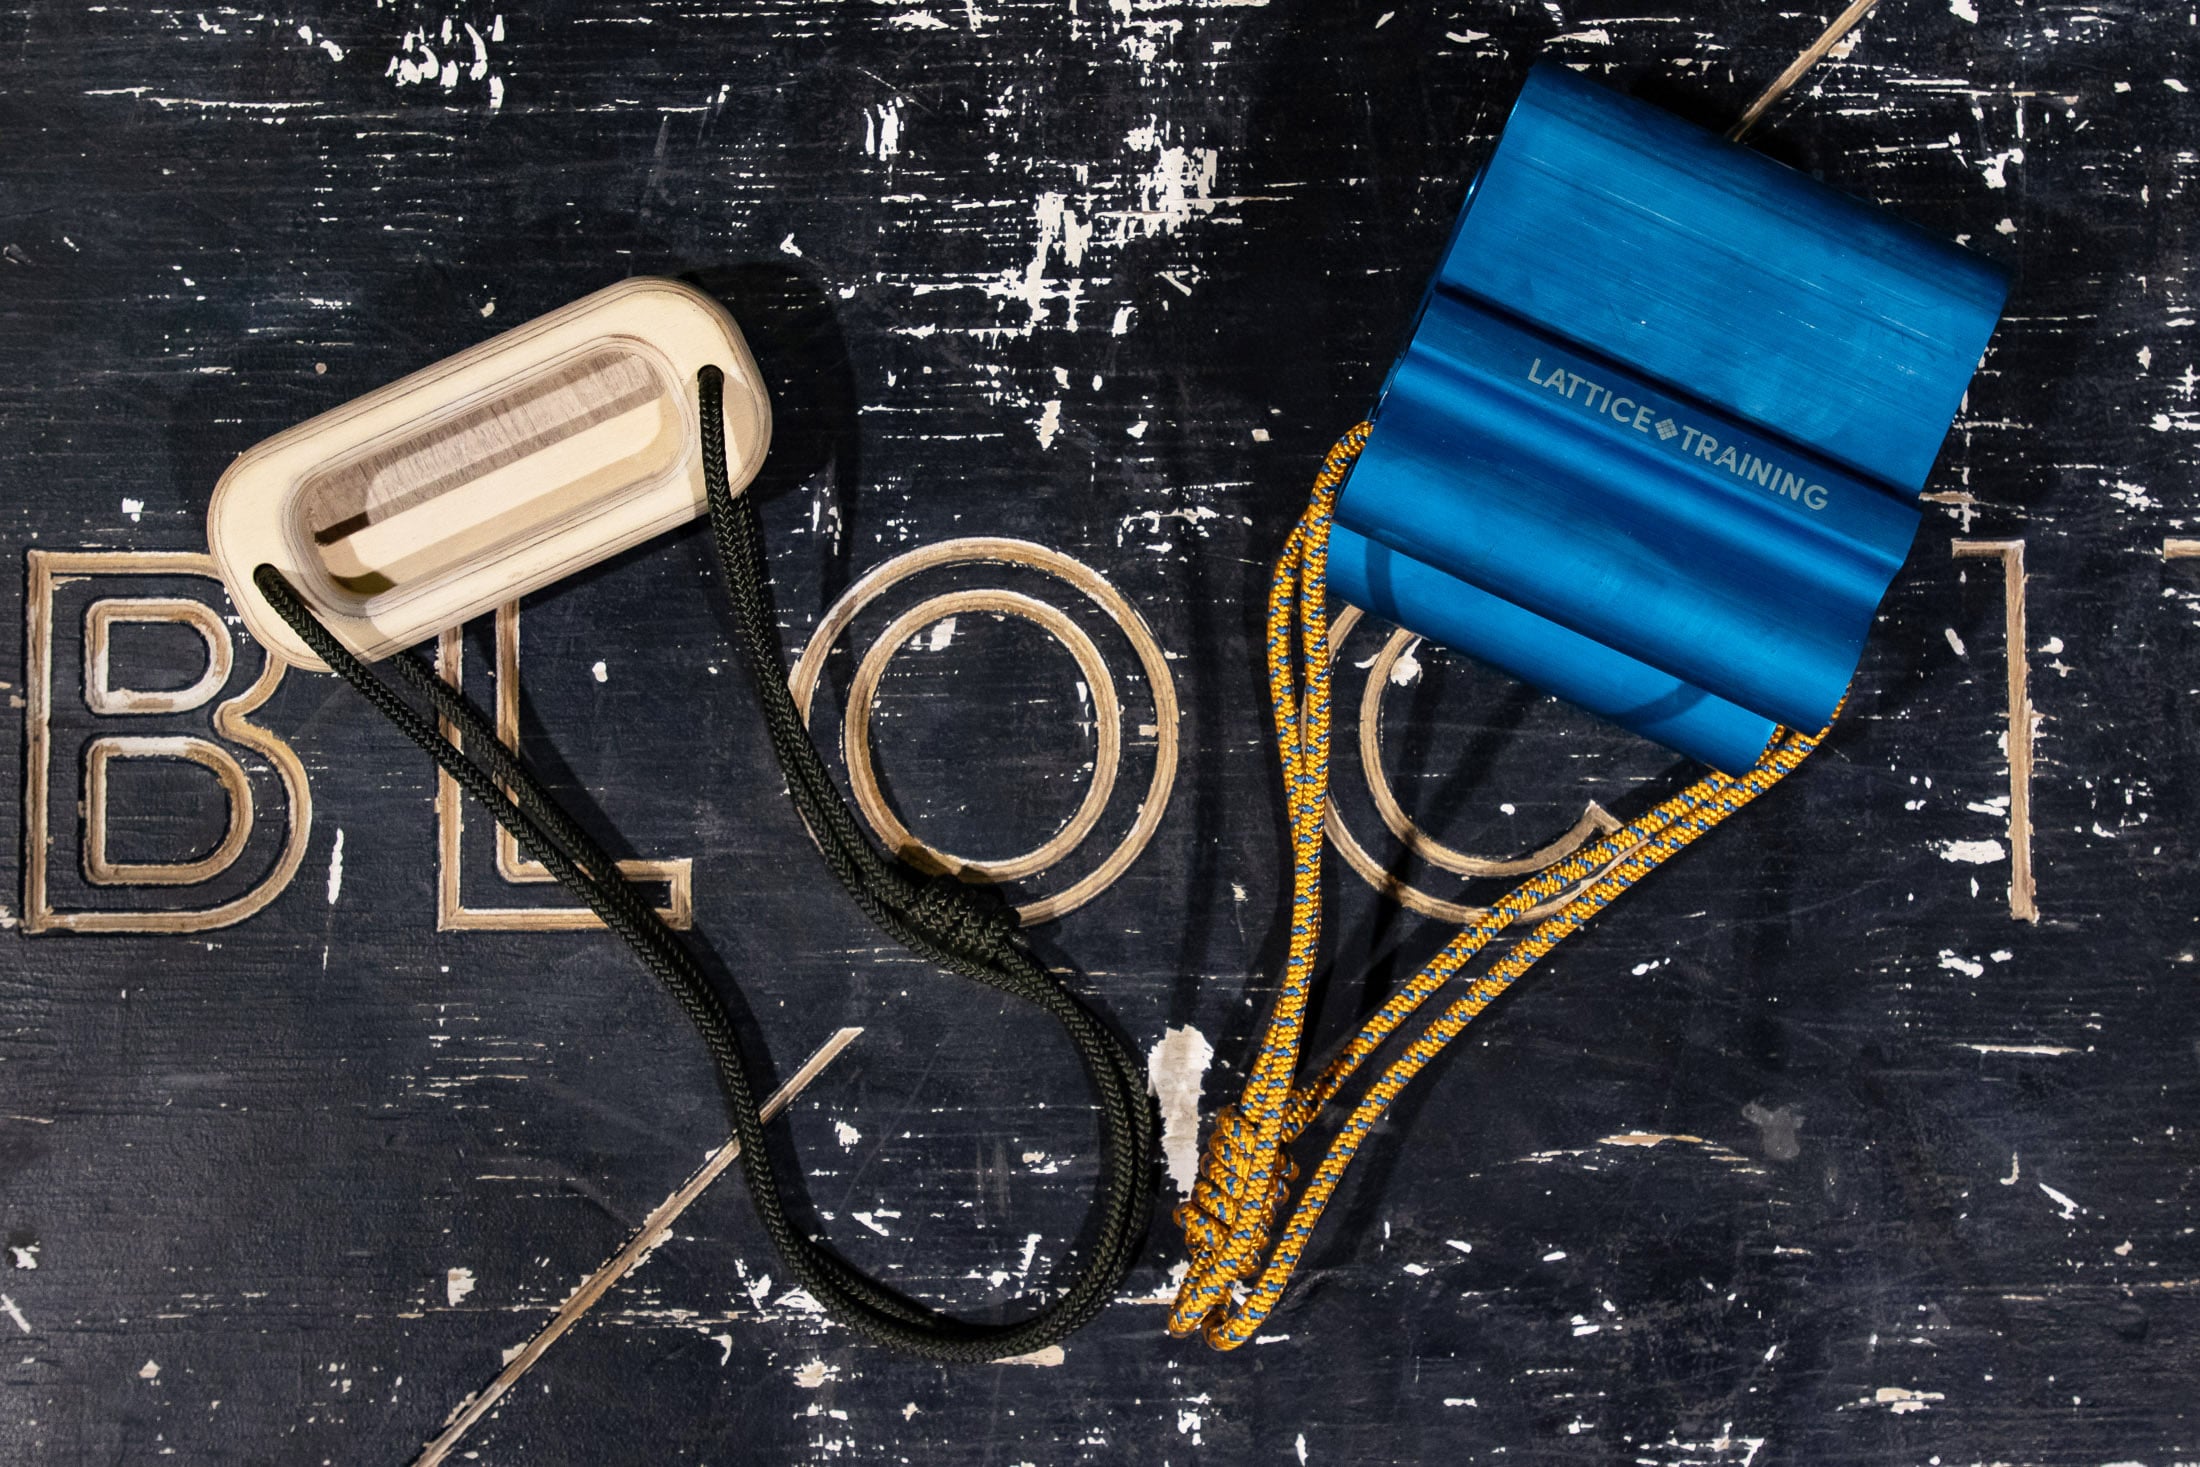
Blocks generally fall into one of three categories: those designed primarily for edge lifting, those that are designed primarily for pinch lifting, and those that can do both. The latter category, which includes the Tension Block and V-Mobs Block are usually great for edge lifting but then involve a compromise when it comes to pinching. If you were very serious about training this grip type, it would be worth getting a block designed for this purpose. Some brands claim that their edge block can be used to train pinch strength, but these blocks don’t work particularly well as pinches. For this reason, I have described only the most useful features for each of the blocks listed below.
| block | purpose | features |
| Frictious Pinch | pinches | pinches x 5 |
| Lattice Quad Block | pinches | pinches x 4 |
| Tension Climbing Block | pinches/edges | 10mm, 20mm, 25mm pocket + mono, pinches |
| V-Mobs Block | pinches/edges | 10mm, 18mm, 20mm, mono, pinches |
| Tindeq V-Rings | edges | 7mm, 12mm, 19mm |
| Frictious Port-A-Board | edges | 8mm, 10mm, 15mm, 20mm, 25mm, 30mm |
| Lattice MXL Edge | edges | 8mm, 14mm, 18mm, 25mm mono |
Even though it’s good to have options, I wouldn’t consider one block to be better than another simply because it has more features. Rather consider the usefulness of the holds and how well suited they are to your training objectives. You might find that a block with fewer edges works better for you because its holds are perfect for training the grips you want to focus on. Lastly, if you are going to take a block to the crag to help you warm up, you will also want to consider portability. The lattice MXL Edge and Frictious Port-A-Board are more compact than the Tindeq V-Rings, Tension Climbing Block, V-Mobs Block.
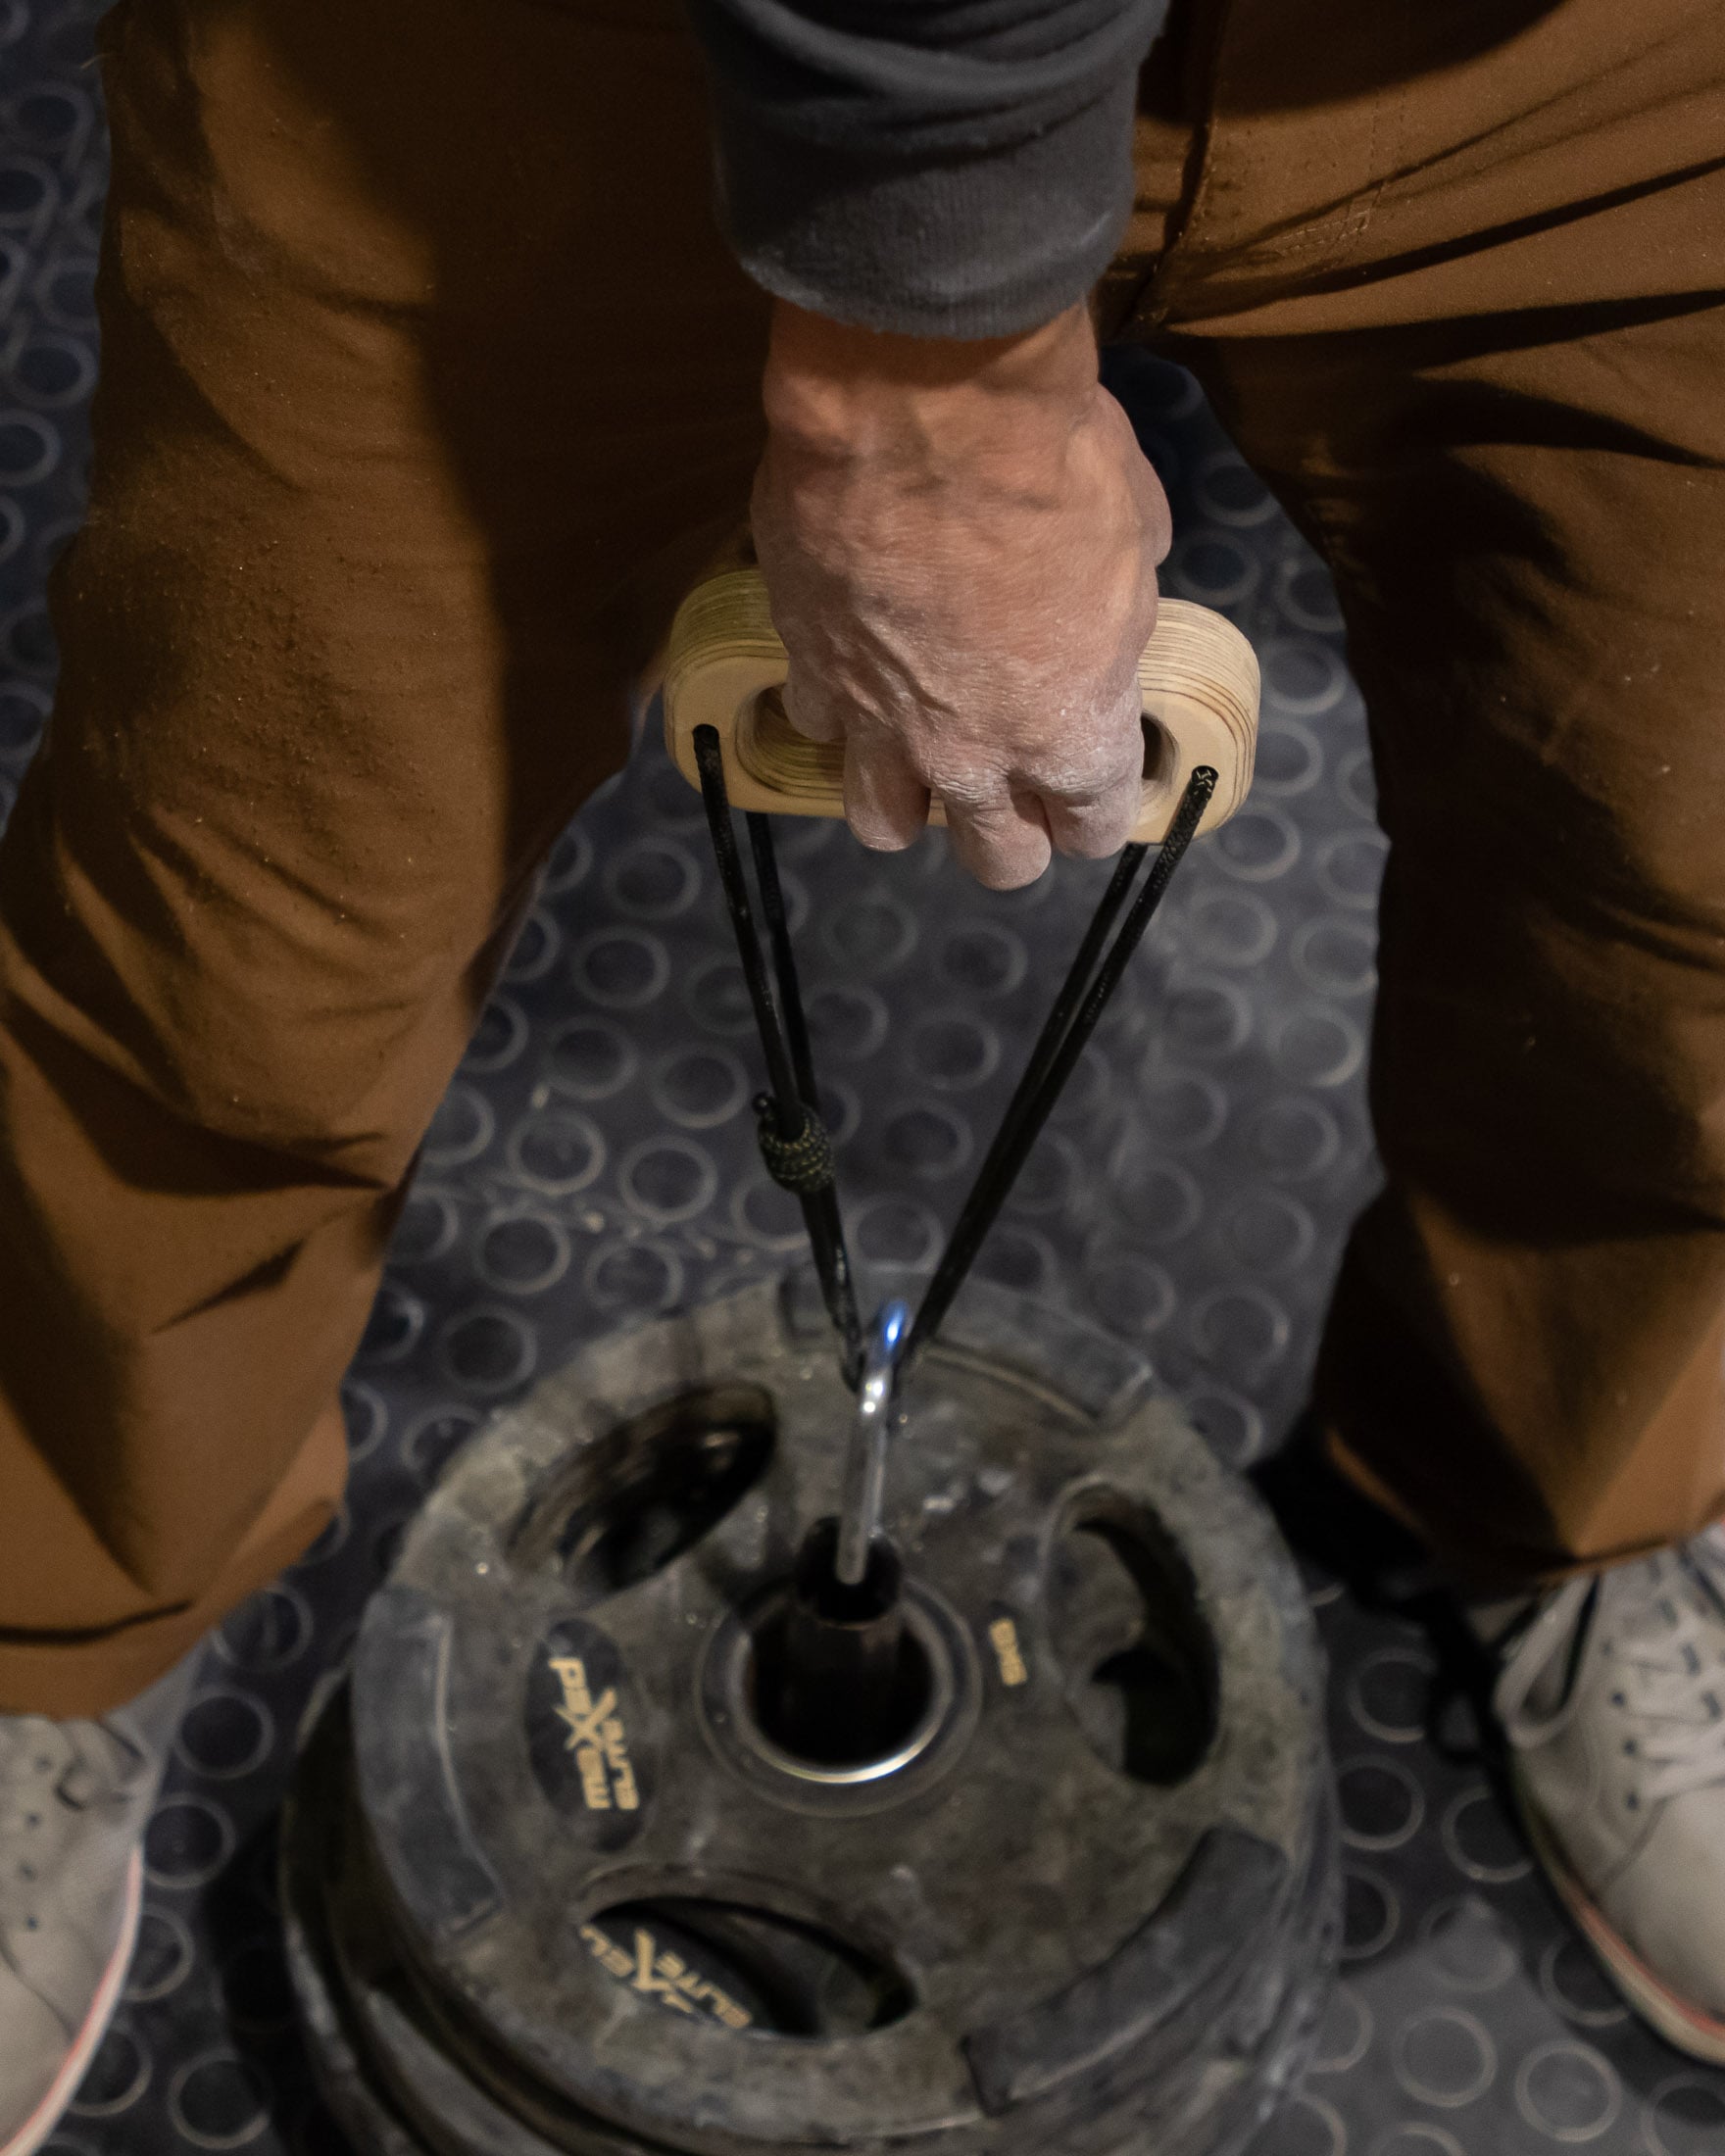
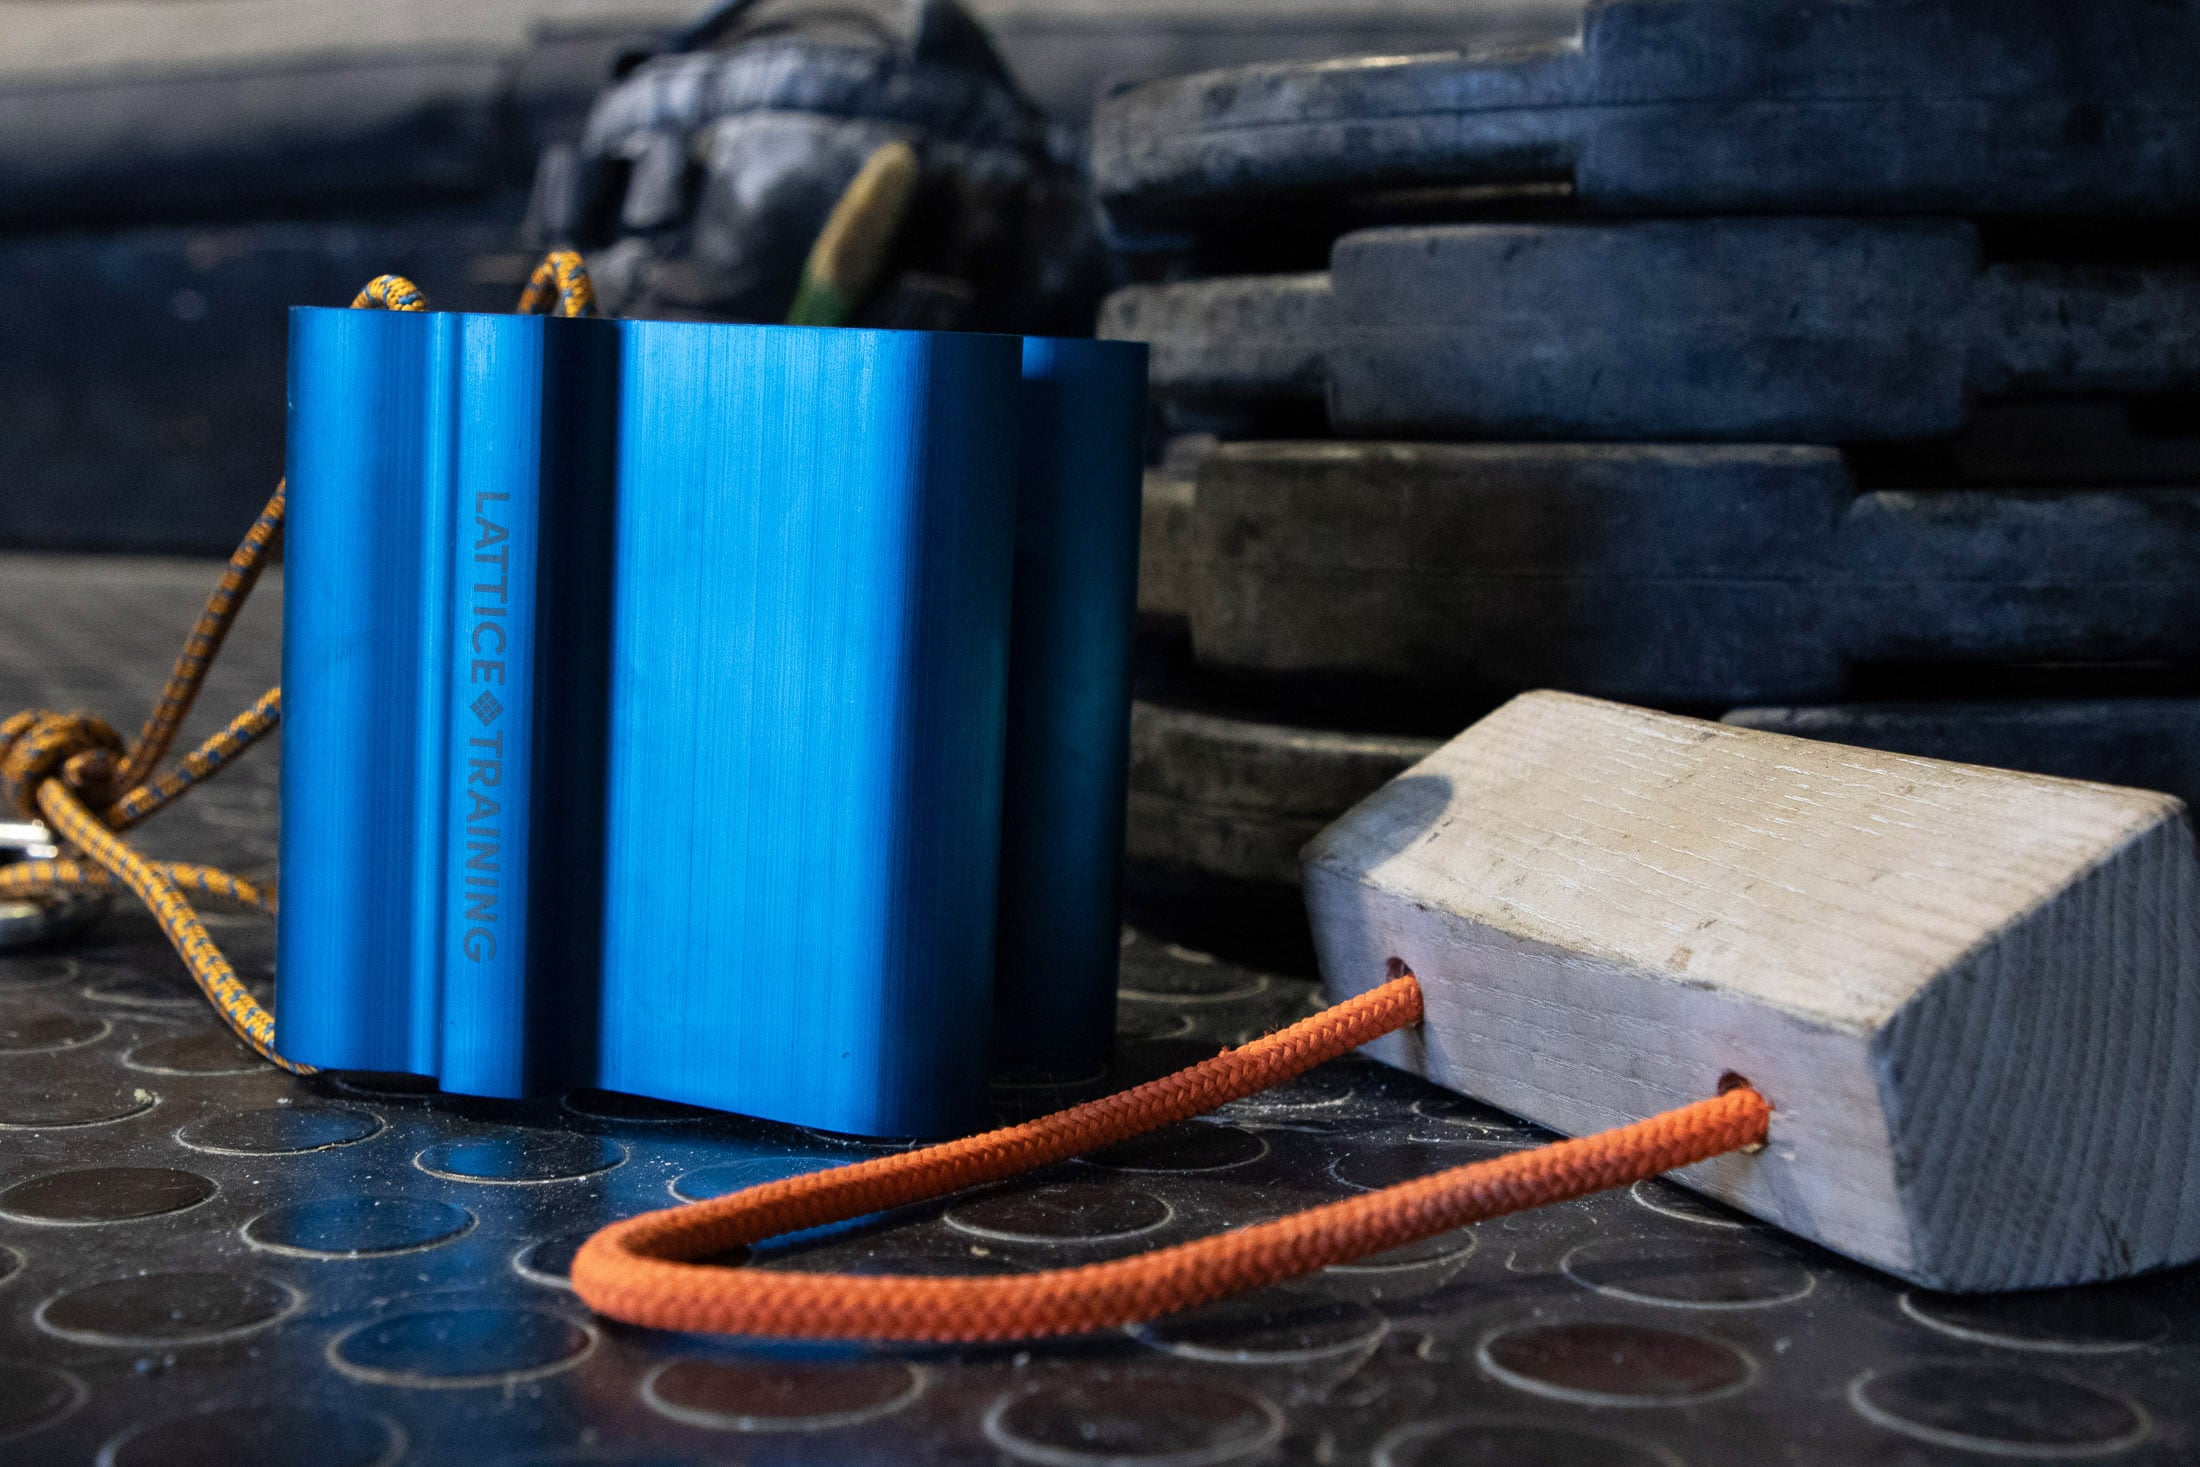
Beyond the block itself, you will need some kind of adjustable load, and the best equipment for that is a lifting pin and weight plates. Yes, you can also use a bucket full of scrap metal, but that does make measurement and calibration more difficult. The ideal lifting pin will be narrower enough to fit the smaller plates found on modular dumbbells as well as larger Olympic plates. This versatility will give you more options (allow you to make adjustments in smaller increments) if the smallest plates at home or the gym are found on a dumbbell and not in the Olympic weight rack. Lastly, you will also want to consider the length of the pin. It shouldn’t be so long that your pinch block is too high when the load is on the ground. This can be difficult to pick up while still practicing good form.
Lifting technique
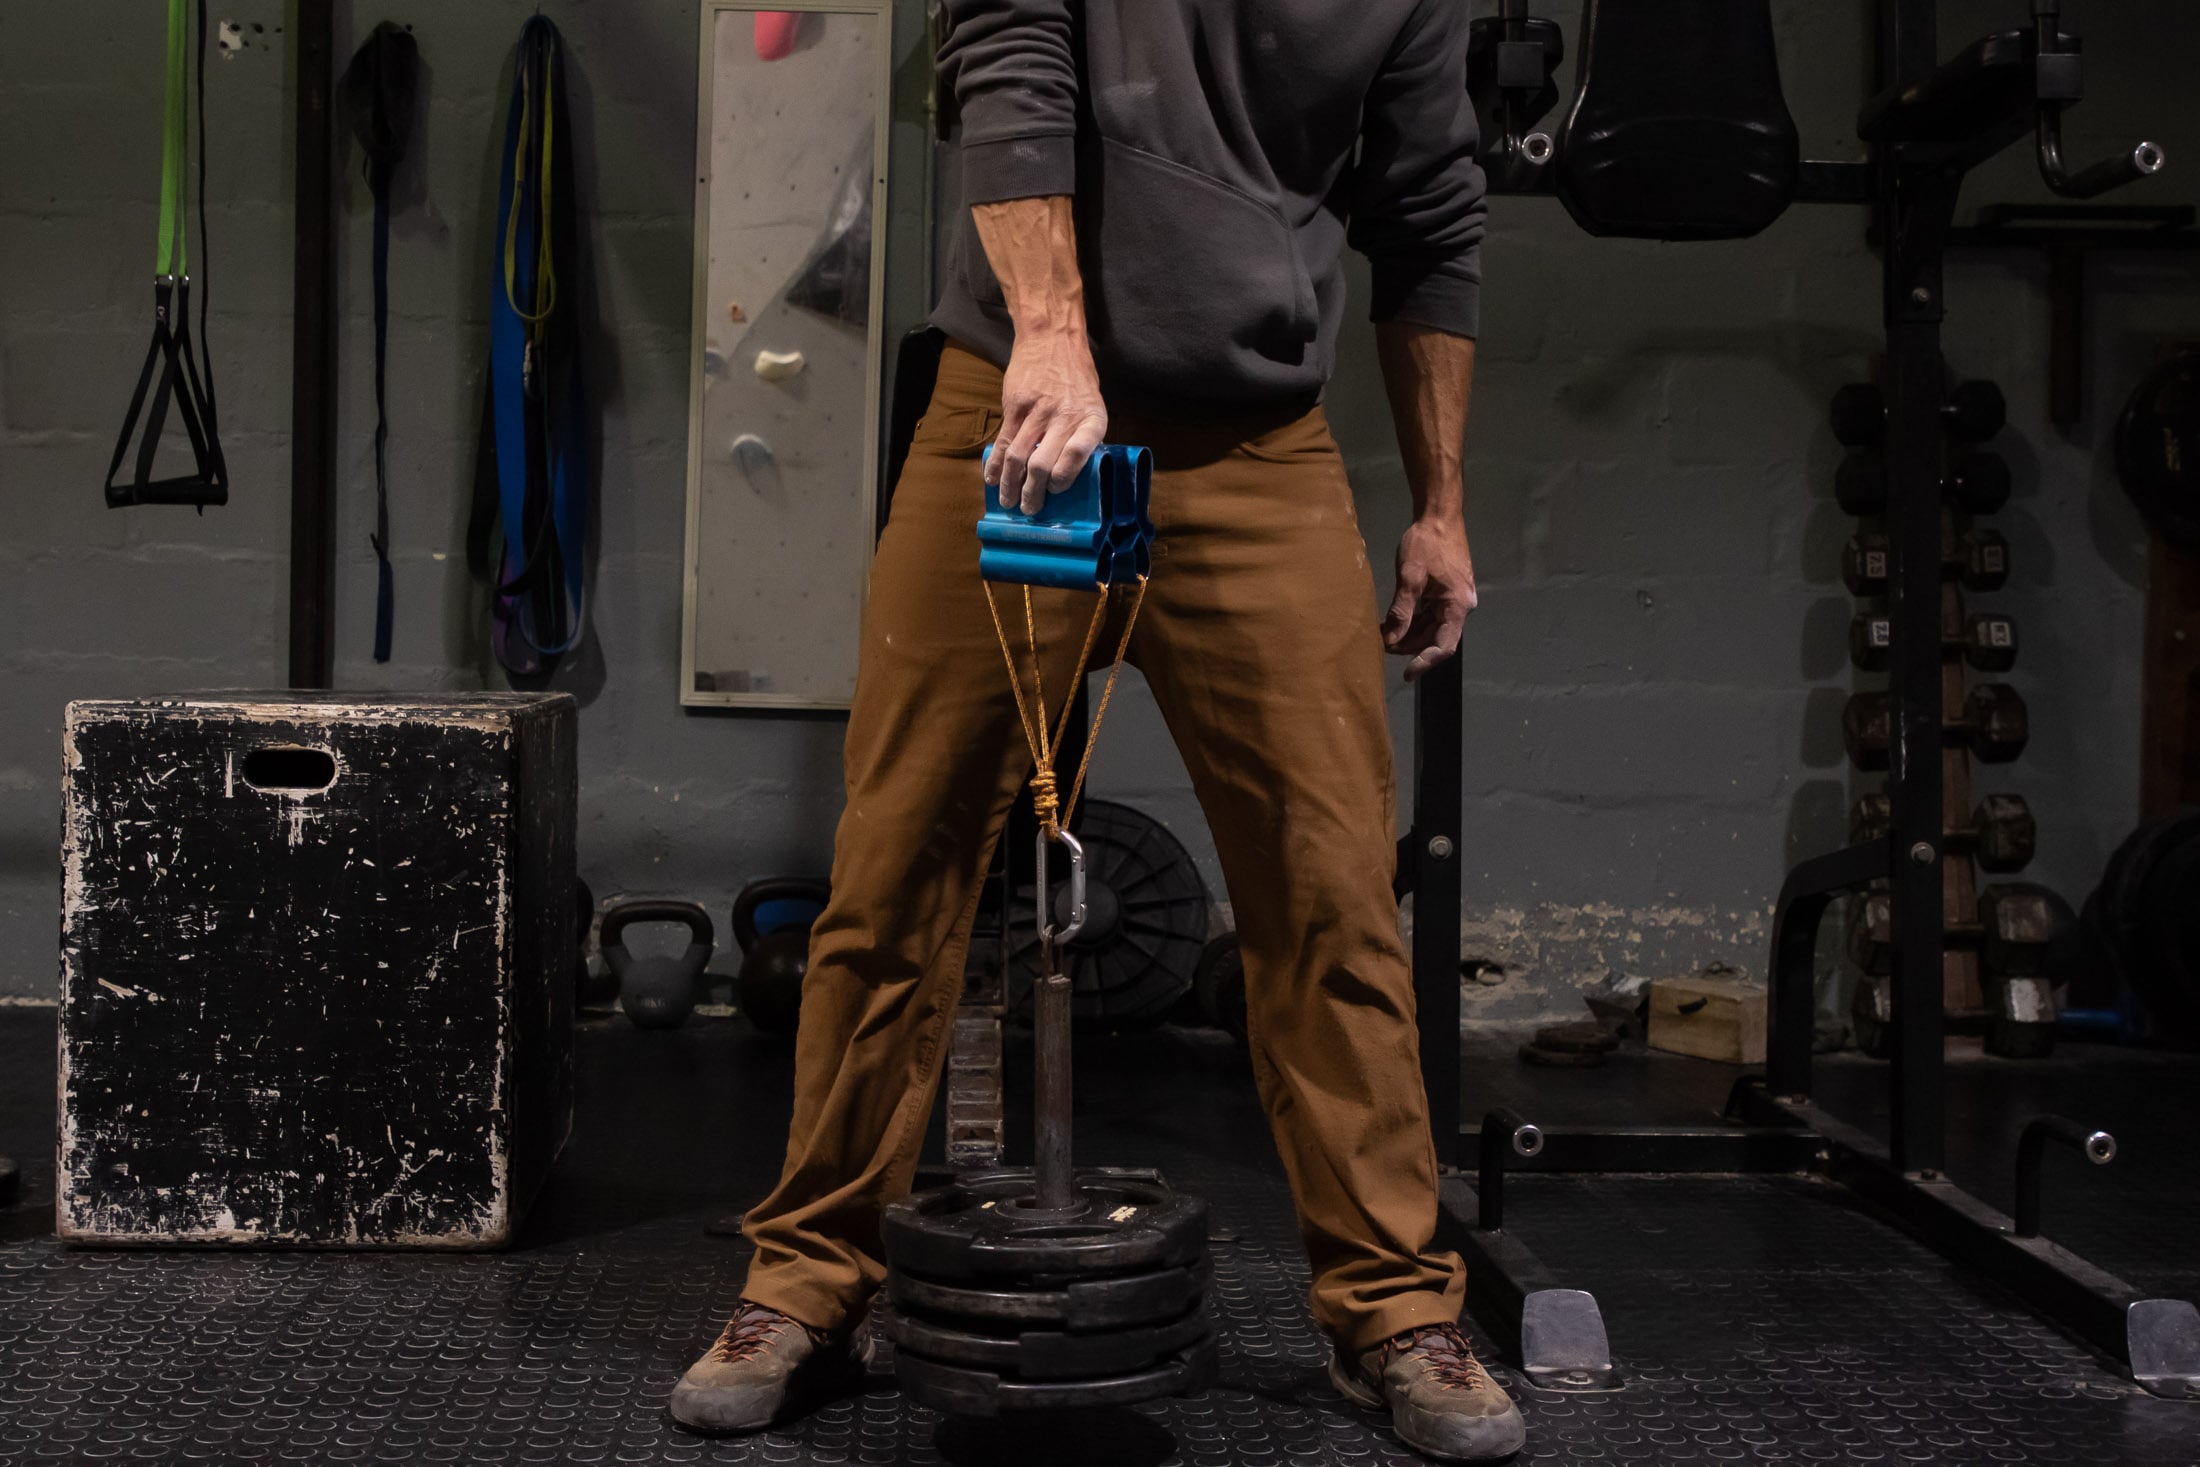
Because this exercise involves lifting a heavy load much like you would in a deadlift, it’s important to practice good form. With the weight on the ground and between your feet (slightly closer to the side you’re lifting from), bend your knees and grip the block, pulling into the load with a straight arm (weight still on the ground). Then, lift with your legs, keeping your back straight and your shoulder and torso engaged. You shouldn’t have to lean backwards. Hold this position for seven seconds and then lower the weight, being careful to bend your knees and not lean forward.
Grip types and edge size
Unless you’re heading for the pocketed walls of Wild Iris or Ceus, your most important grip types are going to be the half-crimp or open hand. After that, you might also want to add two-finger team and mono lifts to your repertoire. As for sloper strength, you will have to leave that for the hangboard. The problem with sloper training is that the angle of load is offset (not straight down), which makes things difficult when you have to pull on something that is inherently unstable. Pinch strength, on the other hand, can be very effectively trained with a block although this will likely require a block designed specifically for pinching. The same goes for monos. If you are going to train this grip type, you will want a lifting block with a pocket designed for this purpose.
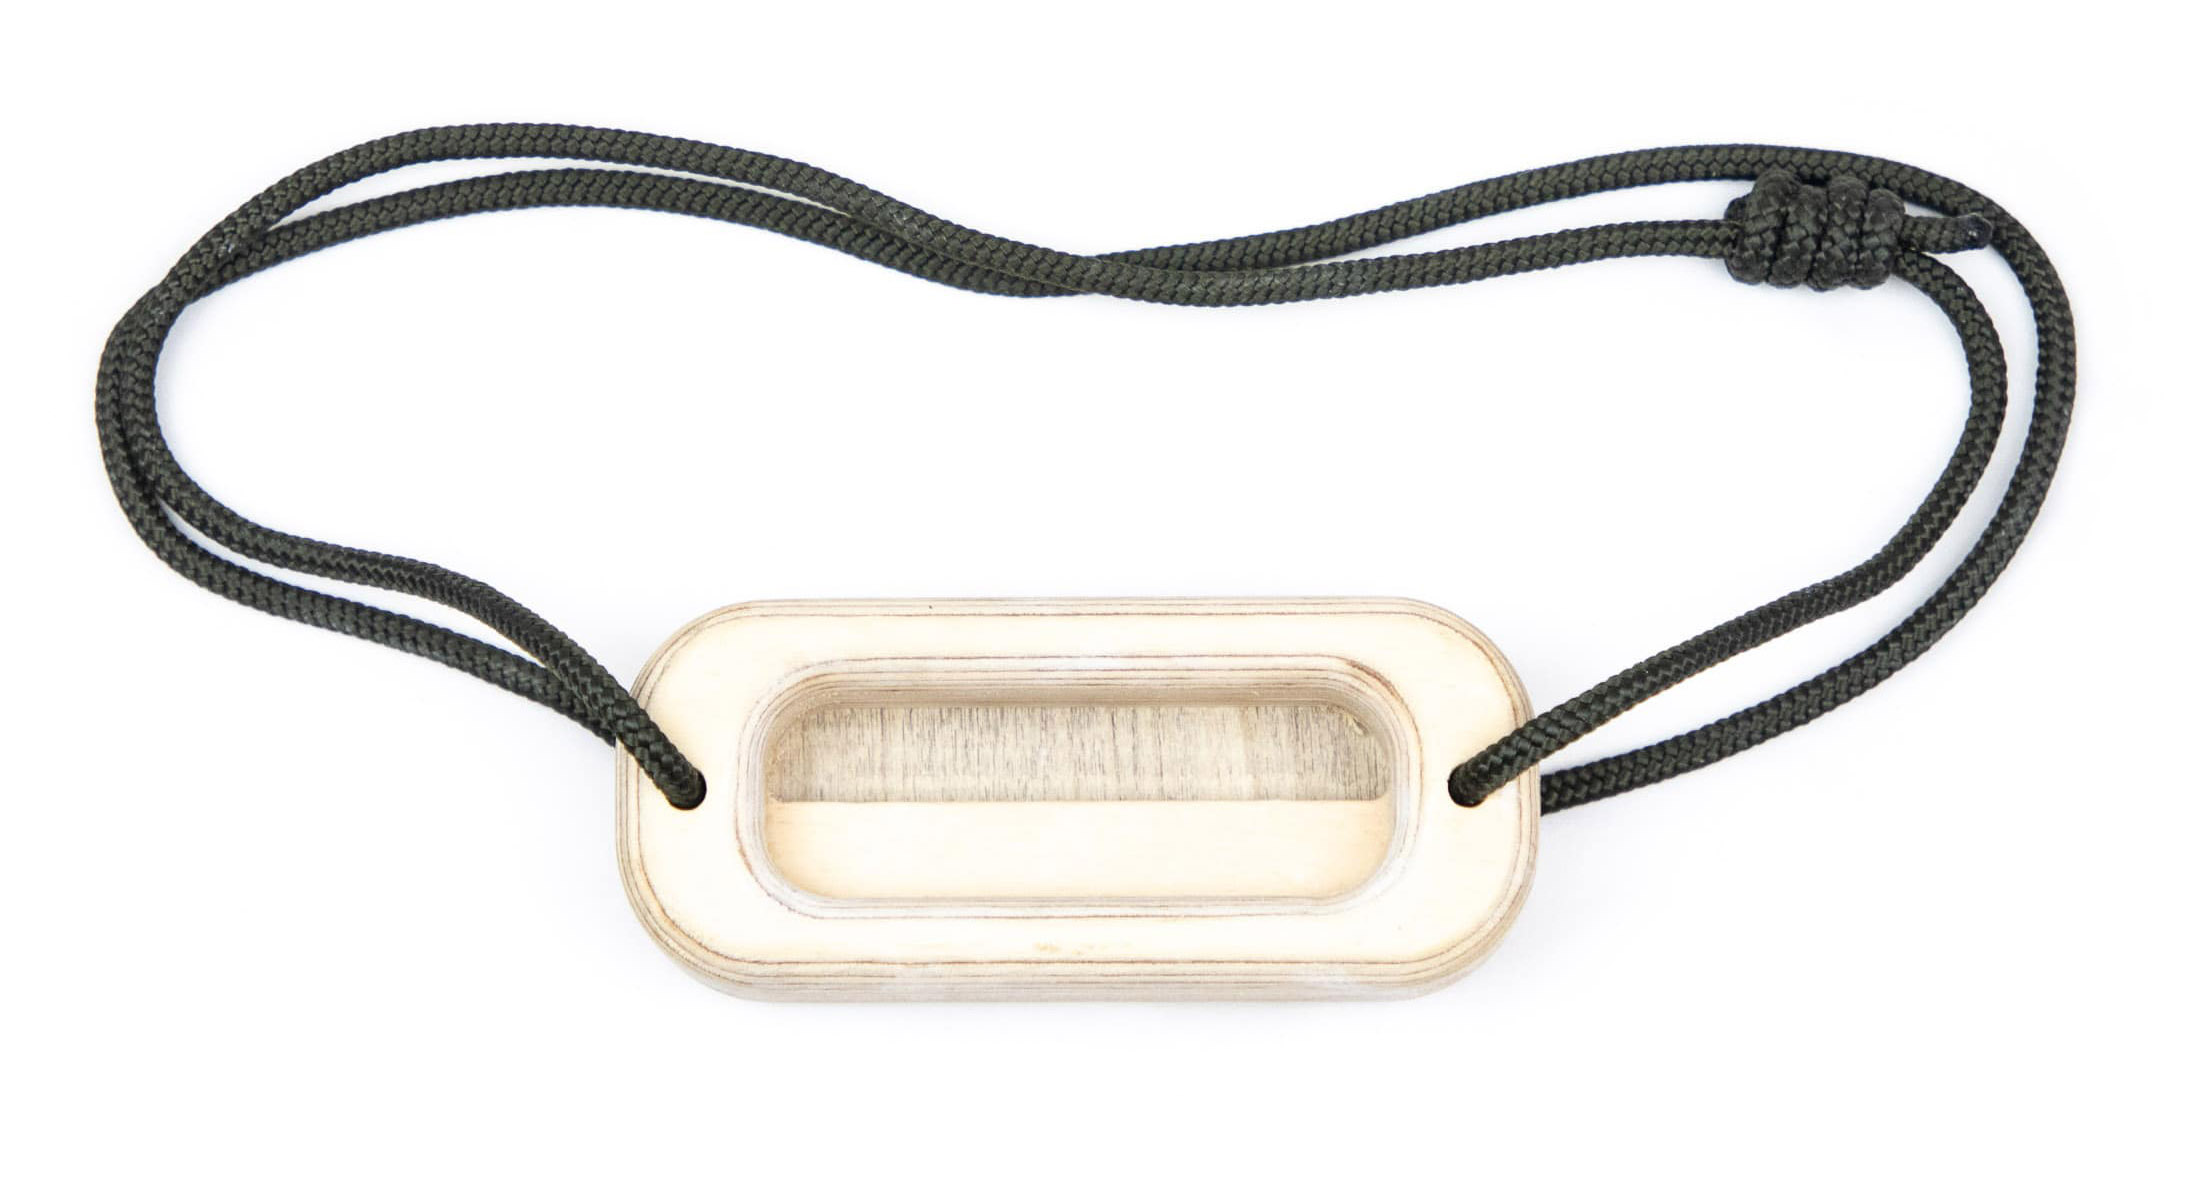
Training with bigger edges and heavy loads is generally better for promoting muscle recruitment, and larger edges reduce the risk of dry firing. This is why edges between 18 and 22mm are considered good all-round options for training the half-crimp, 3-finger drag and two finger teams. So what’s that 10mm micro edge for? One claimed advantage of training on small holds is that it improves intramuscular coordination on skinny holds. But you have to question how true this is for edge lifting, which doesn’t mimic climbing movement as much as say board training. A more likely advantage is that pulling on small edges can increase ‘pulp’ – the fleshy tips of your fingers that deform to provide more grip when they bear down on small holds.
Calibration and progression
Before you can start your first proper lifting session, you need to establish your baseline strength or level of resistance. Assuming that you are going to do five-rep sets, you will need to establish your 5RM (5 rep max). That means the maximum weight you can lift for five 7-sec reps. Figuring this out will involve some trial and error and can take an entire session. This will be especially likely if you plan to train multiple grip types, each of which will have a different baseline strength. To start this calibration session, it’s useful to know your hangboard 1 rep max (the maximum you would use on a similar edge when performing max hangs). You would simply divide this by two to calculate your starting weight.
If you don’t know what your 1RM is, start with 50% of your body weight. Then perform as many load-adjusted sets as it takes to arrive at your 5 rep max. You can use the following guidelines for making adjustments after every set.
- If it feels very easy, add 20lbs
- If it feels somewhat easy, add 20lbs
- If it feels challenging, add 5lbs
- If it feels difficult but not impossible, add 2.5lbs
Aim to figure out your 5RM in less than seven sets. If calibration requires more sets, fatigue will start to set in and affect your measurement. What this means is that it could take more than one session to figure out your baseline strength for multiple grip types.
Lifting protocol
After establishing your baseline strength and taking a rest day or two, you are ready for your first proper lifting session. This will start with an off-the-wall warm-up (pulse raiser and some dynamic stretching) and then three ramp-up sets – alternating the grip type with every rep to ensure a thorough warm-up. The protocol for both warm-up sets and work sets looks like this:
Right-hand set
| Lift for 7 seconds |
| Rest for 3 seconds |
| Repeat 4 - 6 times to complete the first single-hand set |
Rest for one minute
Left-hand set
| Lift for 7 seconds |
| Rest for 3 seconds |
| Repeat 4 - 6 times to complete the first single-hand set |
Rest for two minutes
Once your forearms are properly primed, you will do three work sets with one grip type and then another three work sets with a second grip type. In its entirety, your lifting workout will probably look something like this:
| Ramp-up set 1 | mixed grips | 7 reps | 50% 5RM |
| Ramp-up set 2 | mixed grips | 6 reps | 65% 5RM |
| Ramp-up set 3 | mixed grips | 5 reps | 80% 5RM |
| Work sets 1 - 3 | 1st grip type | 5 reps | 100% 5RM |
| Work sets 4 - 6 | 2nd grip type | 5 reps | 100% 5RM |
Well-conditioned climbers can do additional work sets – as many as another six, which would allow for the training of an additional two grip types (three sets per grip type).
When to train with a lifting block
How and when you do block lifting will depend on both your level and your training goals. Beginner climbers and even those in their second season shouldn’t prioritize off-the-wall grip strength training since they have more to gain from bouldering and honing their movement technique. Intermediate climbers who are just getting into focussed training for the first time should limit their lifting sessions to once a week, while intermediate and advanced climbers (those trying to build a solid foundation in the lower to mid 5.12’s) will benefit from doing two or three sessions a week.
Regardless of your level, it’s important to give yourself time to recover after a lifting session. You can’t do any kind of hard climbing the day after grip-strength training, and you should put at least two days between lifting sessions to avoid putting unnecessary strain on tendons and pulleys. Practically, this means that you are probably going to do block training no more than two days a week. Some advanced climbers might manage a third day. As for when to train, this exercise is best reserved for the strength training phase in your training program. This will typically last four to six weeks but can be longer if there is a deload week in the middle of it.
Training tips
When starting a new type of training, it’s important to proceed cautiously and do what you can to avoid injury. The following three tips will help you get the most out of your block lifting session while mitigating the risk of any downtime.
Take things slowly
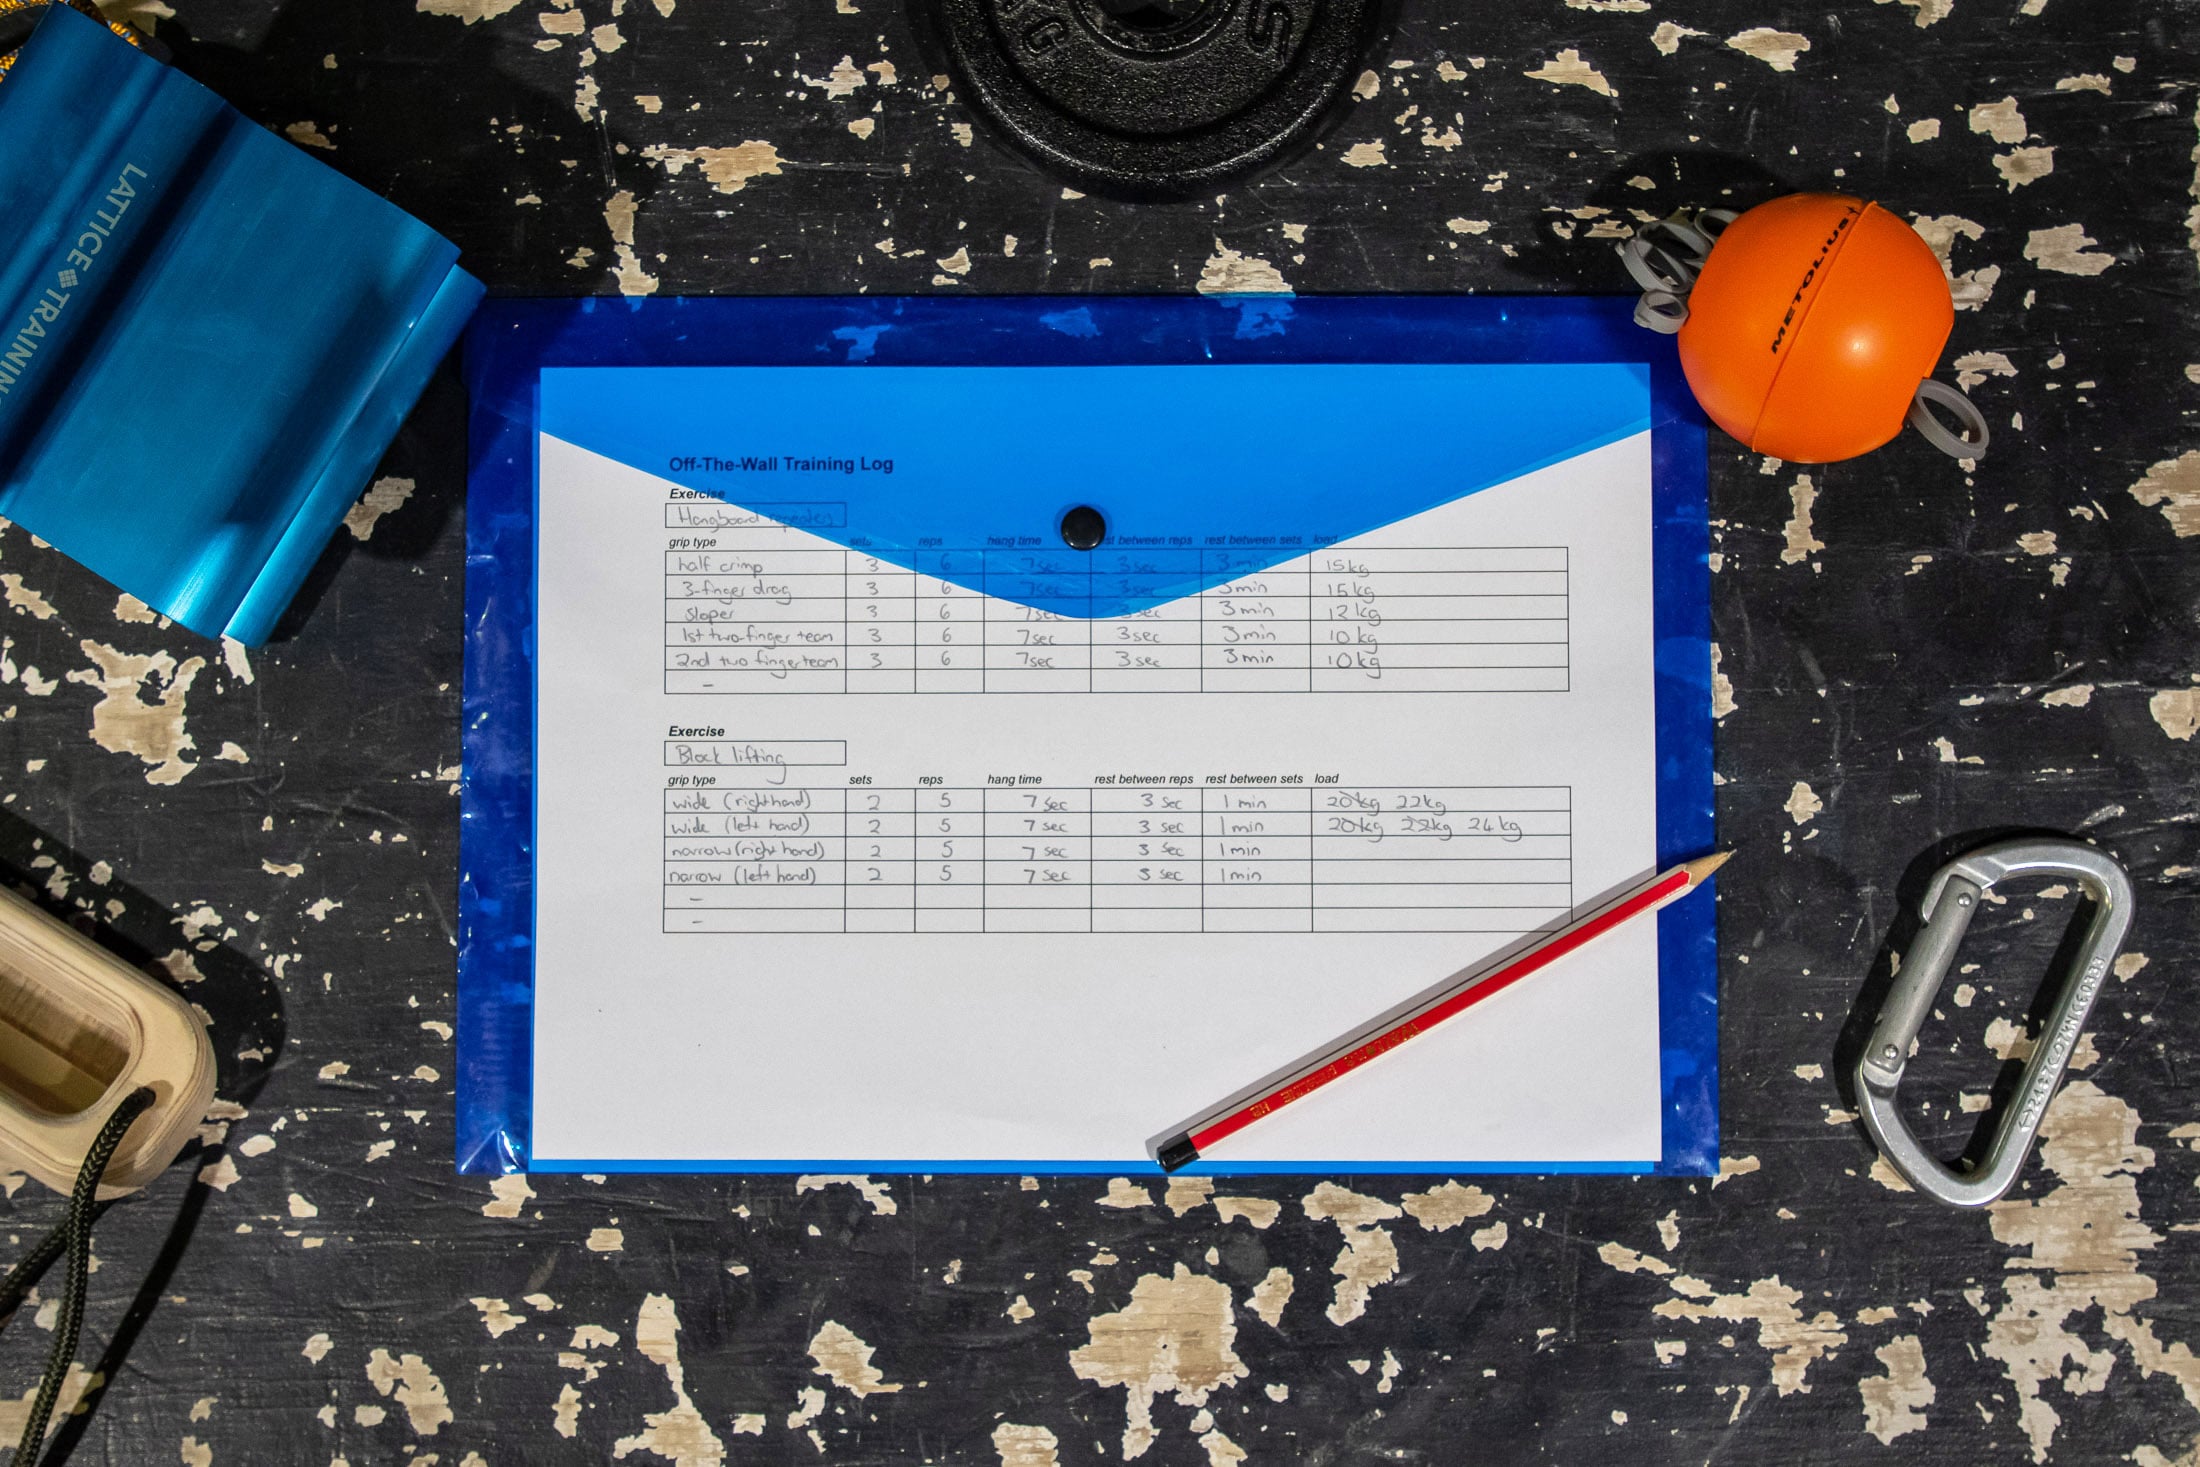
With the potential for injury, increases in resistance need to be incremental and measured. You don’t want any large jumps in intensity. To ensure gradual and progressive overload, it’s best to use a training log or an app like Crimpd to keep track of what grips and weight you are using. It’s also important to understand you’re not going to increase the level of resistance with every session. You might go two or three sessions (or even more) before upping the workload. Over a 6-week training cycle, you would probably increase the load only two or three times if lifting twice a week.
Warm up and down properly
It’s essential to warm up and down properly both to reduce the risk of injury and to improve recovery after a session. A thorough warm up is at least 15 minutes long and includes a pulse raiser, some dynamic stretching and some light strength-based movement like easy climbing. The point of the pulse raiser is to get you warmed up before you start stretching, so if you are going to skip it, I suggest that you use dynamic stretches that offer some resistance. For your lower body, you can do squats, and for the upper body, you can do scapular press-ups and elastic exercises that target the triceps and shoulders. To warm down, you will finish with at least five minutes of easy climbing and then do some static stretches that target your forearm muscles, triceps, biceps and shoulders.
Block lifting is a supplement not a staple
First, it’s important to understand that block lifting should be a supplement and not a staple in your training regime. Like hangboarding, edge lifting is very effective at isolating the forearm muscles, but bouldering trains grip strength in a more sport-specific way and should be your top priority if your aim is to build functional grip strength. During weeks that you lift, you will have to cut back on the volume and intensity of the bouldering you do, but, overall, bouldering should still make up the bulk of finger-strength training. That said, when you do block lifting, it should be the focus of your session – do it straight after warming up and not at the end of a session.
Learn more
You now have everything you need to know about block lifting. But don’t stop here. On this website you’ll find many more training-related articles on everything from developing your own training program to using bouldering as a training tool. Regardless of whether you are trying to send your first 5.12 or crush V7, you’re going to find something that will help you take your climbing to the next level.
