Finger strength is only one of many components that contribute to your overall climbing ability, but for intermediate to advanced climbers it is also one the most important things you can train. Your fingers are the means by which you directly engage the rock, and finger strength is usually the weakest link in your chain of physical abilities. If you think about the last few times you fell because of some kind of physical failing, it’s most likely your grip strength or endurance (the upper limit of which is determined by max strength) that let you down. The harder you climb and the more refined your movement skills become, the bigger the role that grip strength plays in progression. And that is why this training series has four articles covering different facets or methods of grip strength training – you will probably spend more time training this ability than any other component.
In this article, I aim to give you an introduction to grip strength training by looking at what we are trying to achieve here and by providing links to related articles, where I go into hangboarding, block lifting, board training, and bouldering in greater detail.
- Physical adaptations in strength training
- Grip types and strength components
- Antagonist training
- Determining your training goals
- Progressive overload
- Avoiding and managing injury
- How to incorporate grip strength into a training program
Physical adaptations in strength training
Strength gains are the result of several adaptations. Understanding how each of these contributes to your overall performance can help you make the most of your training and help you avoid injury.
Neurological adaptations
Neurological adaptations are the first to occur. These involve the disinhibition of inhibitory mechanisms – basically allowing your muscles to work at full capacity and not a lower but safer level – and an improvement in coordination between antagonist and agonist muscles.
Muscular adaptations
Once your nerve system has pulled all the stops, the muscles themselves have to adapt to become stronger. These adaptations involve hypertrophy (where a muscle grows in size) and improvements in the recruitment and coordination of motor units within a muscle.
Connective tissue adaptations
Ligaments, tendons and pulleys are avascular, meaning that they receive very little blood supply. As a result, they adapt at a slower rate compared to muscles. This is why we can’t train max grip strength nonstop. Your connective tissue needs time to match the capacity of stronger muscles.
Grip types and strength components
Every grip type loads muscles, pulleys and tendons in different ways. Understanding these mechanics can help you train more effectively and avoid injury.
Pinches
While it is the thumb that defines the pinch grip, your fingers also play an important role in opposing your most dextrous digit. In the case of narrow pinches, your fingers oppose the thumb using a half crimp grip while wide pinches usually call for an open hand grip. Wide pinches also require a good deal of wrist strength, which is why sloper strength is a prerequisite to developing strength on bigger pinches.
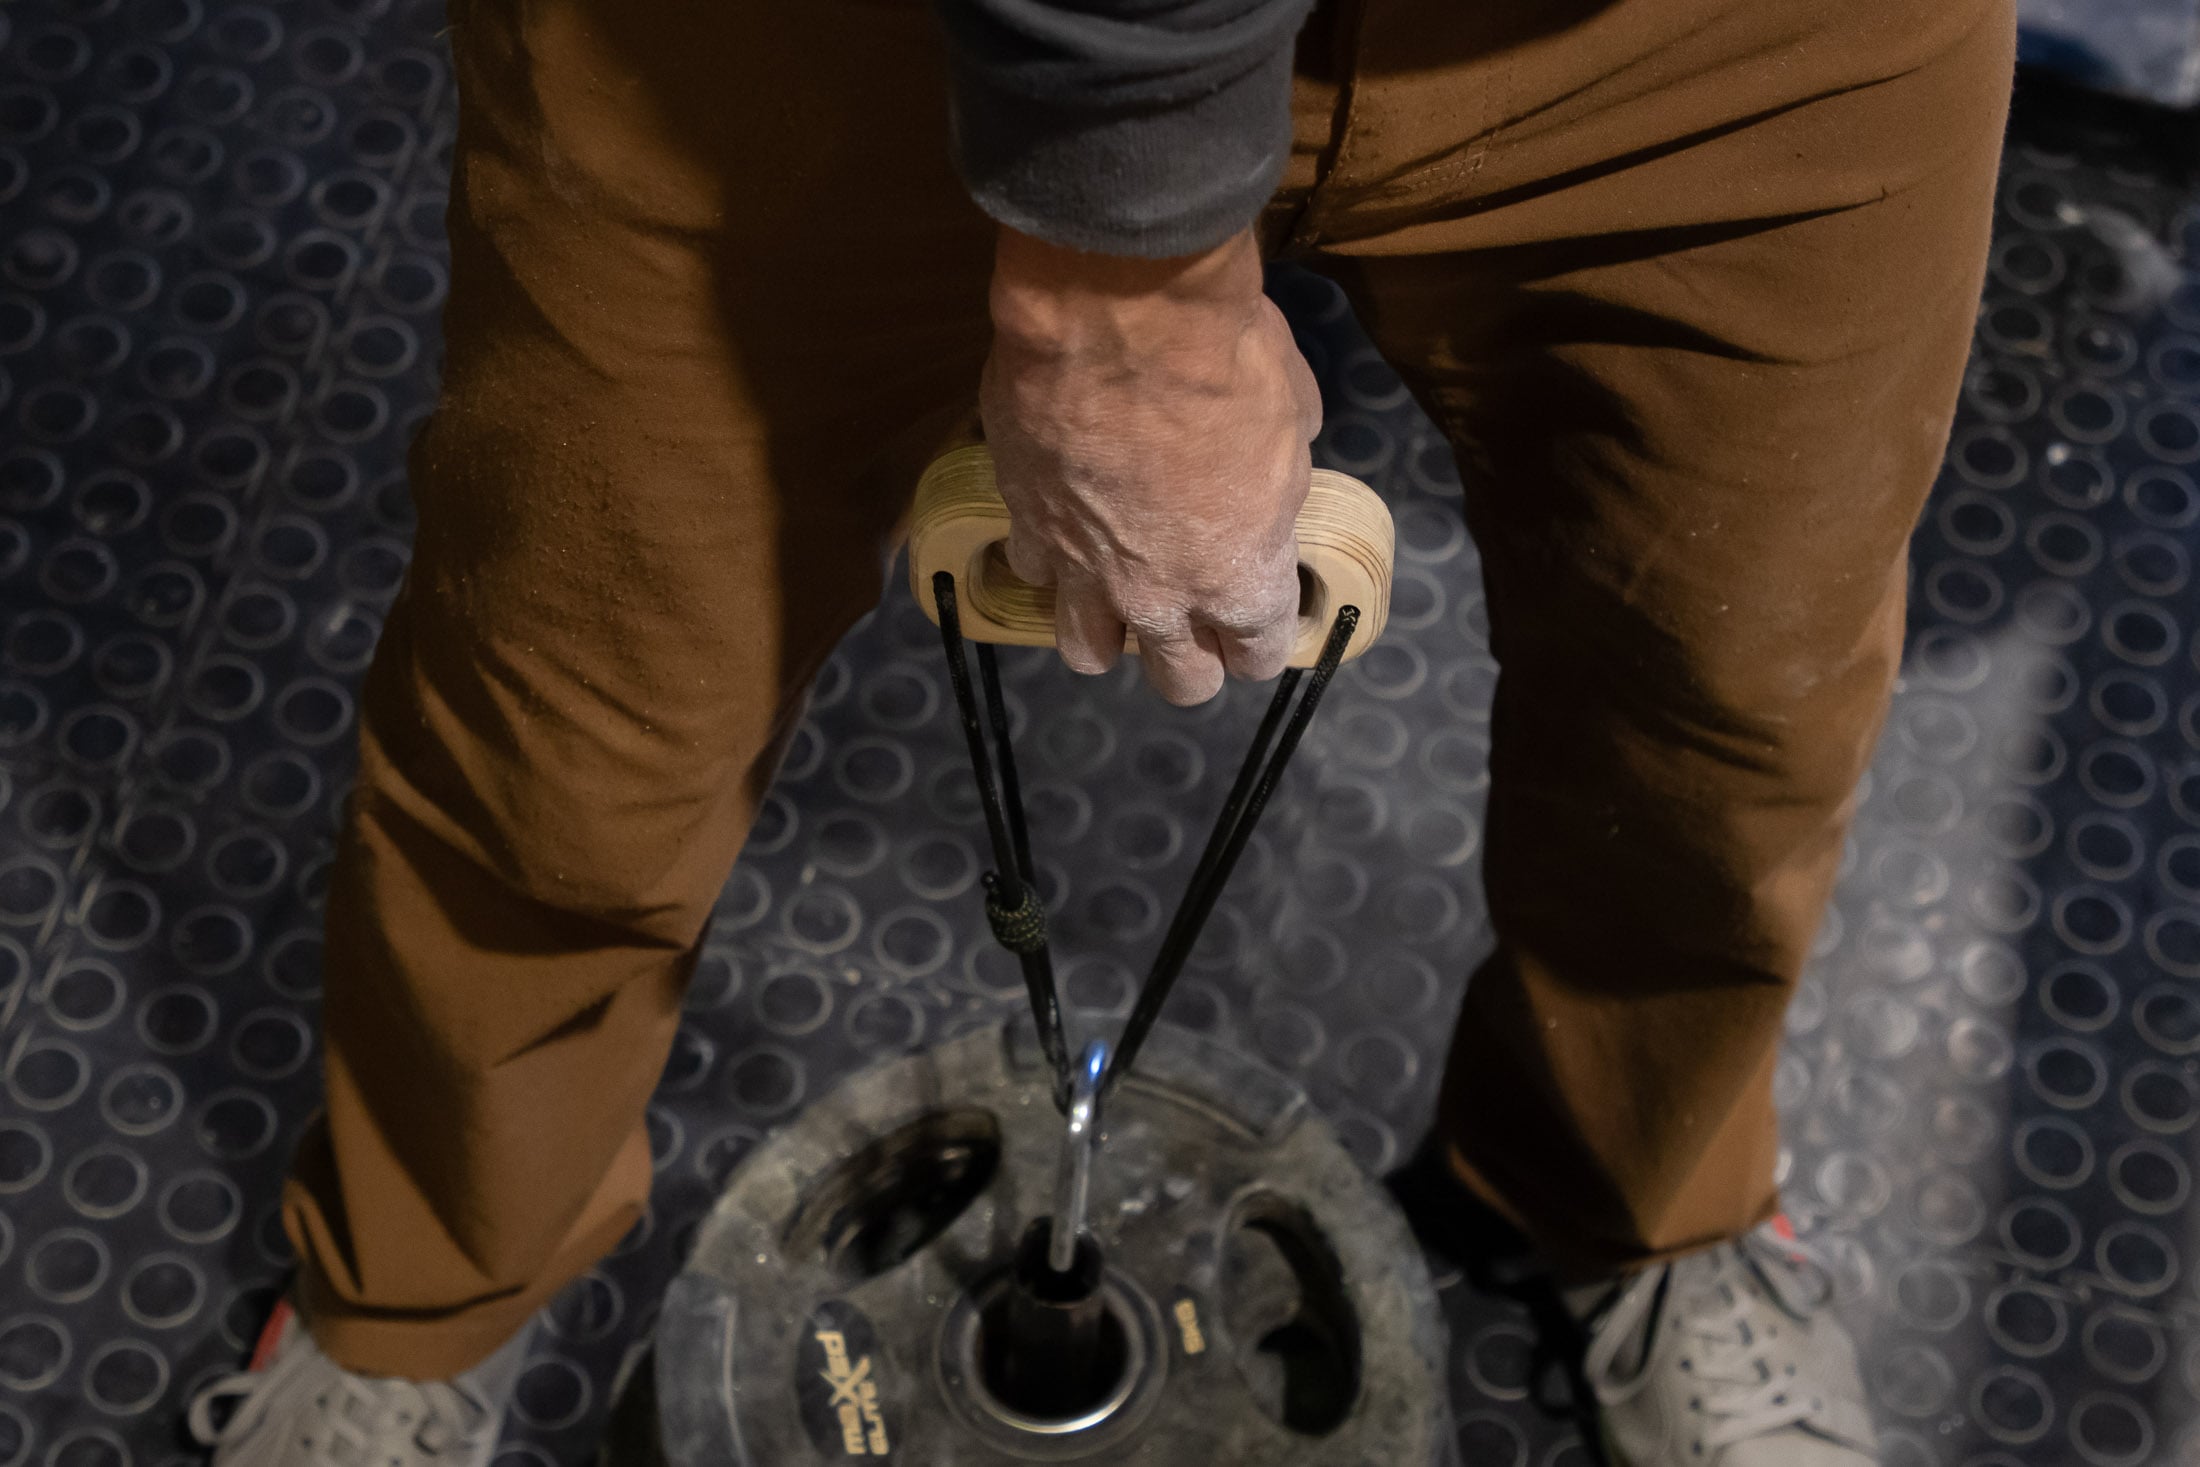
Because of the angle it puts your wrist at, hangboarding is a rather ineffective way to train pinch strength, but you can train your pinch strength with a lifting block or on a systems wall (one with enough pinchable holds). To develop allround pinch strength, you will need to have the right tools to train both narrow and wide pinches, and if you are weak in either the half-crimp or sloper open-hand grip (more likely), you would also benefit from training these supporting grip types in a more isolated way.
Crimps
When it comes to smaller, squarish holds, the half crimp and full crimp are the go-to for most climbers, making these a point of focus in almost any training program.
Half crimp
The half crimp is the grip position in which most climbers feel strongest. By leveraging your fingers into a position that squares your fingertips with a hold, the half crimp puts your hand in a position that makes even smallish edges feel quite secure. The downside to favoring the half crimp (and the full crimp) over an open-hand grip is that the crimp position puts more pressure on your pulleys and tendons. As a result, it’s easy to injure yourself with the half crimp if you overuse it.
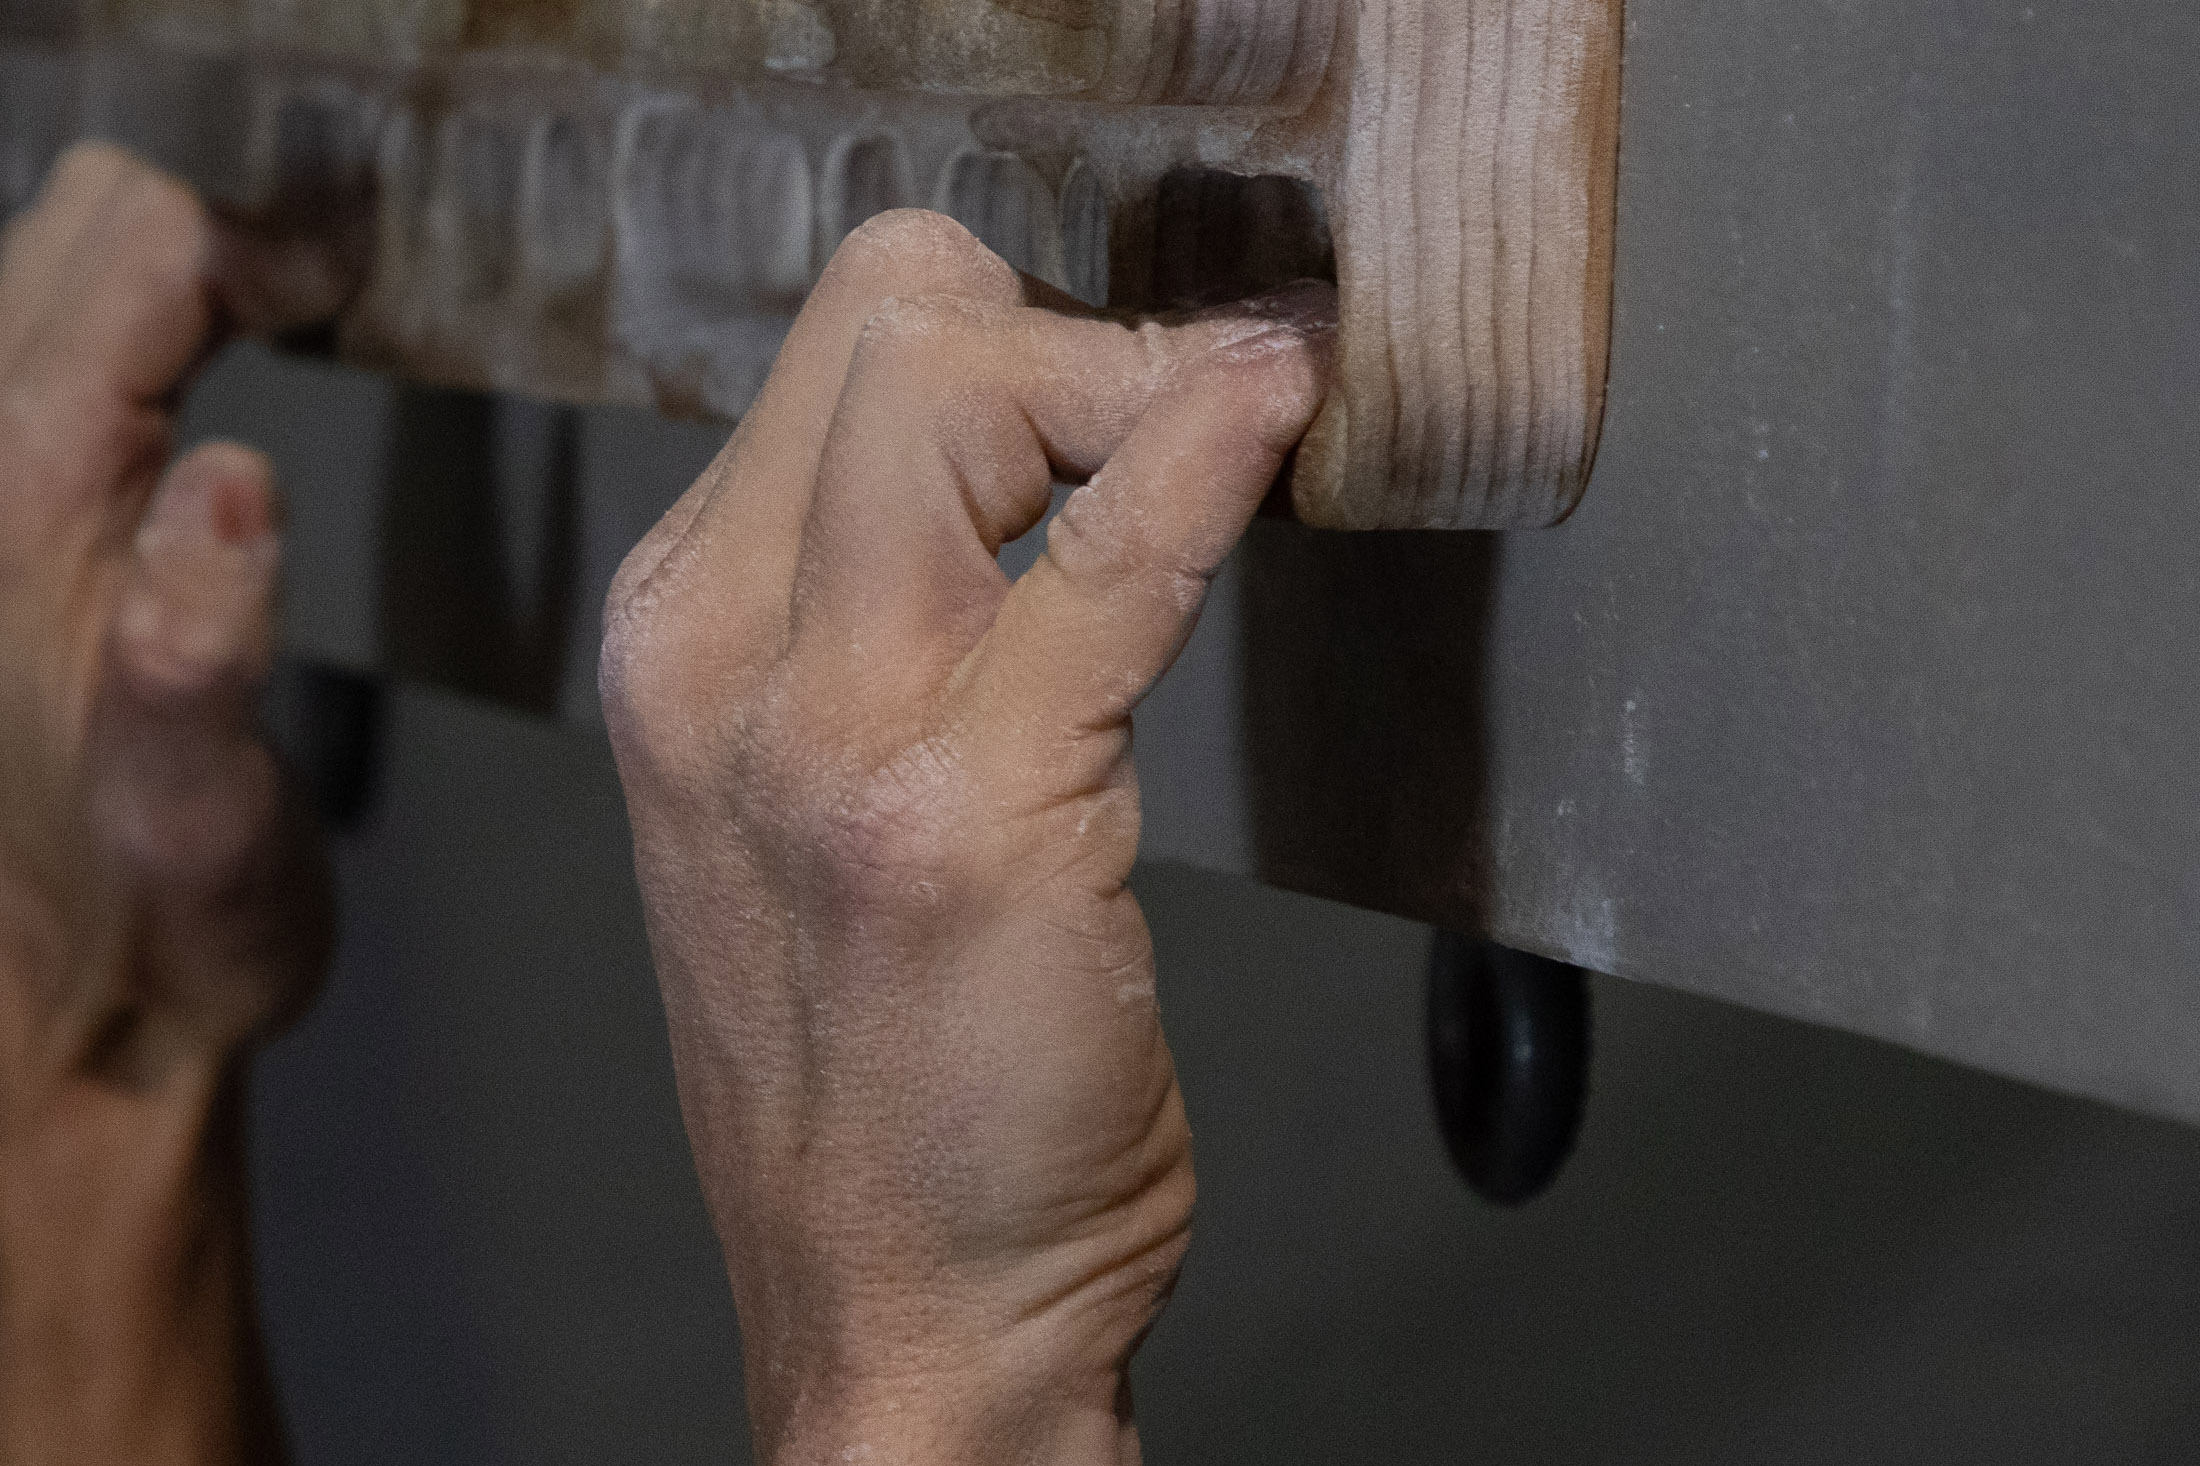
The point is that while it’s important to train the half crimp, you also have to be careful not to focus on this grip to the point where it becomes the overwhelming favorite. Many moves can be climbed just as efficiently with an open-hand grip, and it’s prudent to put an equal amount of effort into training both half crimp and 3-finger drag. The half crimp can be trained using almost any grip strength training method – hangboarding, edge lifting, board training or bouldering – although you will choose an exercise that meets your desired level of sport specificity or training precision.
Full crimp
The biggest difference between the half crimp and the full crimp is that the thumb wraps over the pointer with the full crimp, and with the half crimp, the thumb doesn’t engage the pointer. The DIP and PIP joints are usually also more flexed in a full crimp, which shortens the levers between fingertips and knuckles, putting the hand in a mechanically strong position. This is particularly useful when you engage small holds, especially those that have a squarer profile or a more defined edge.
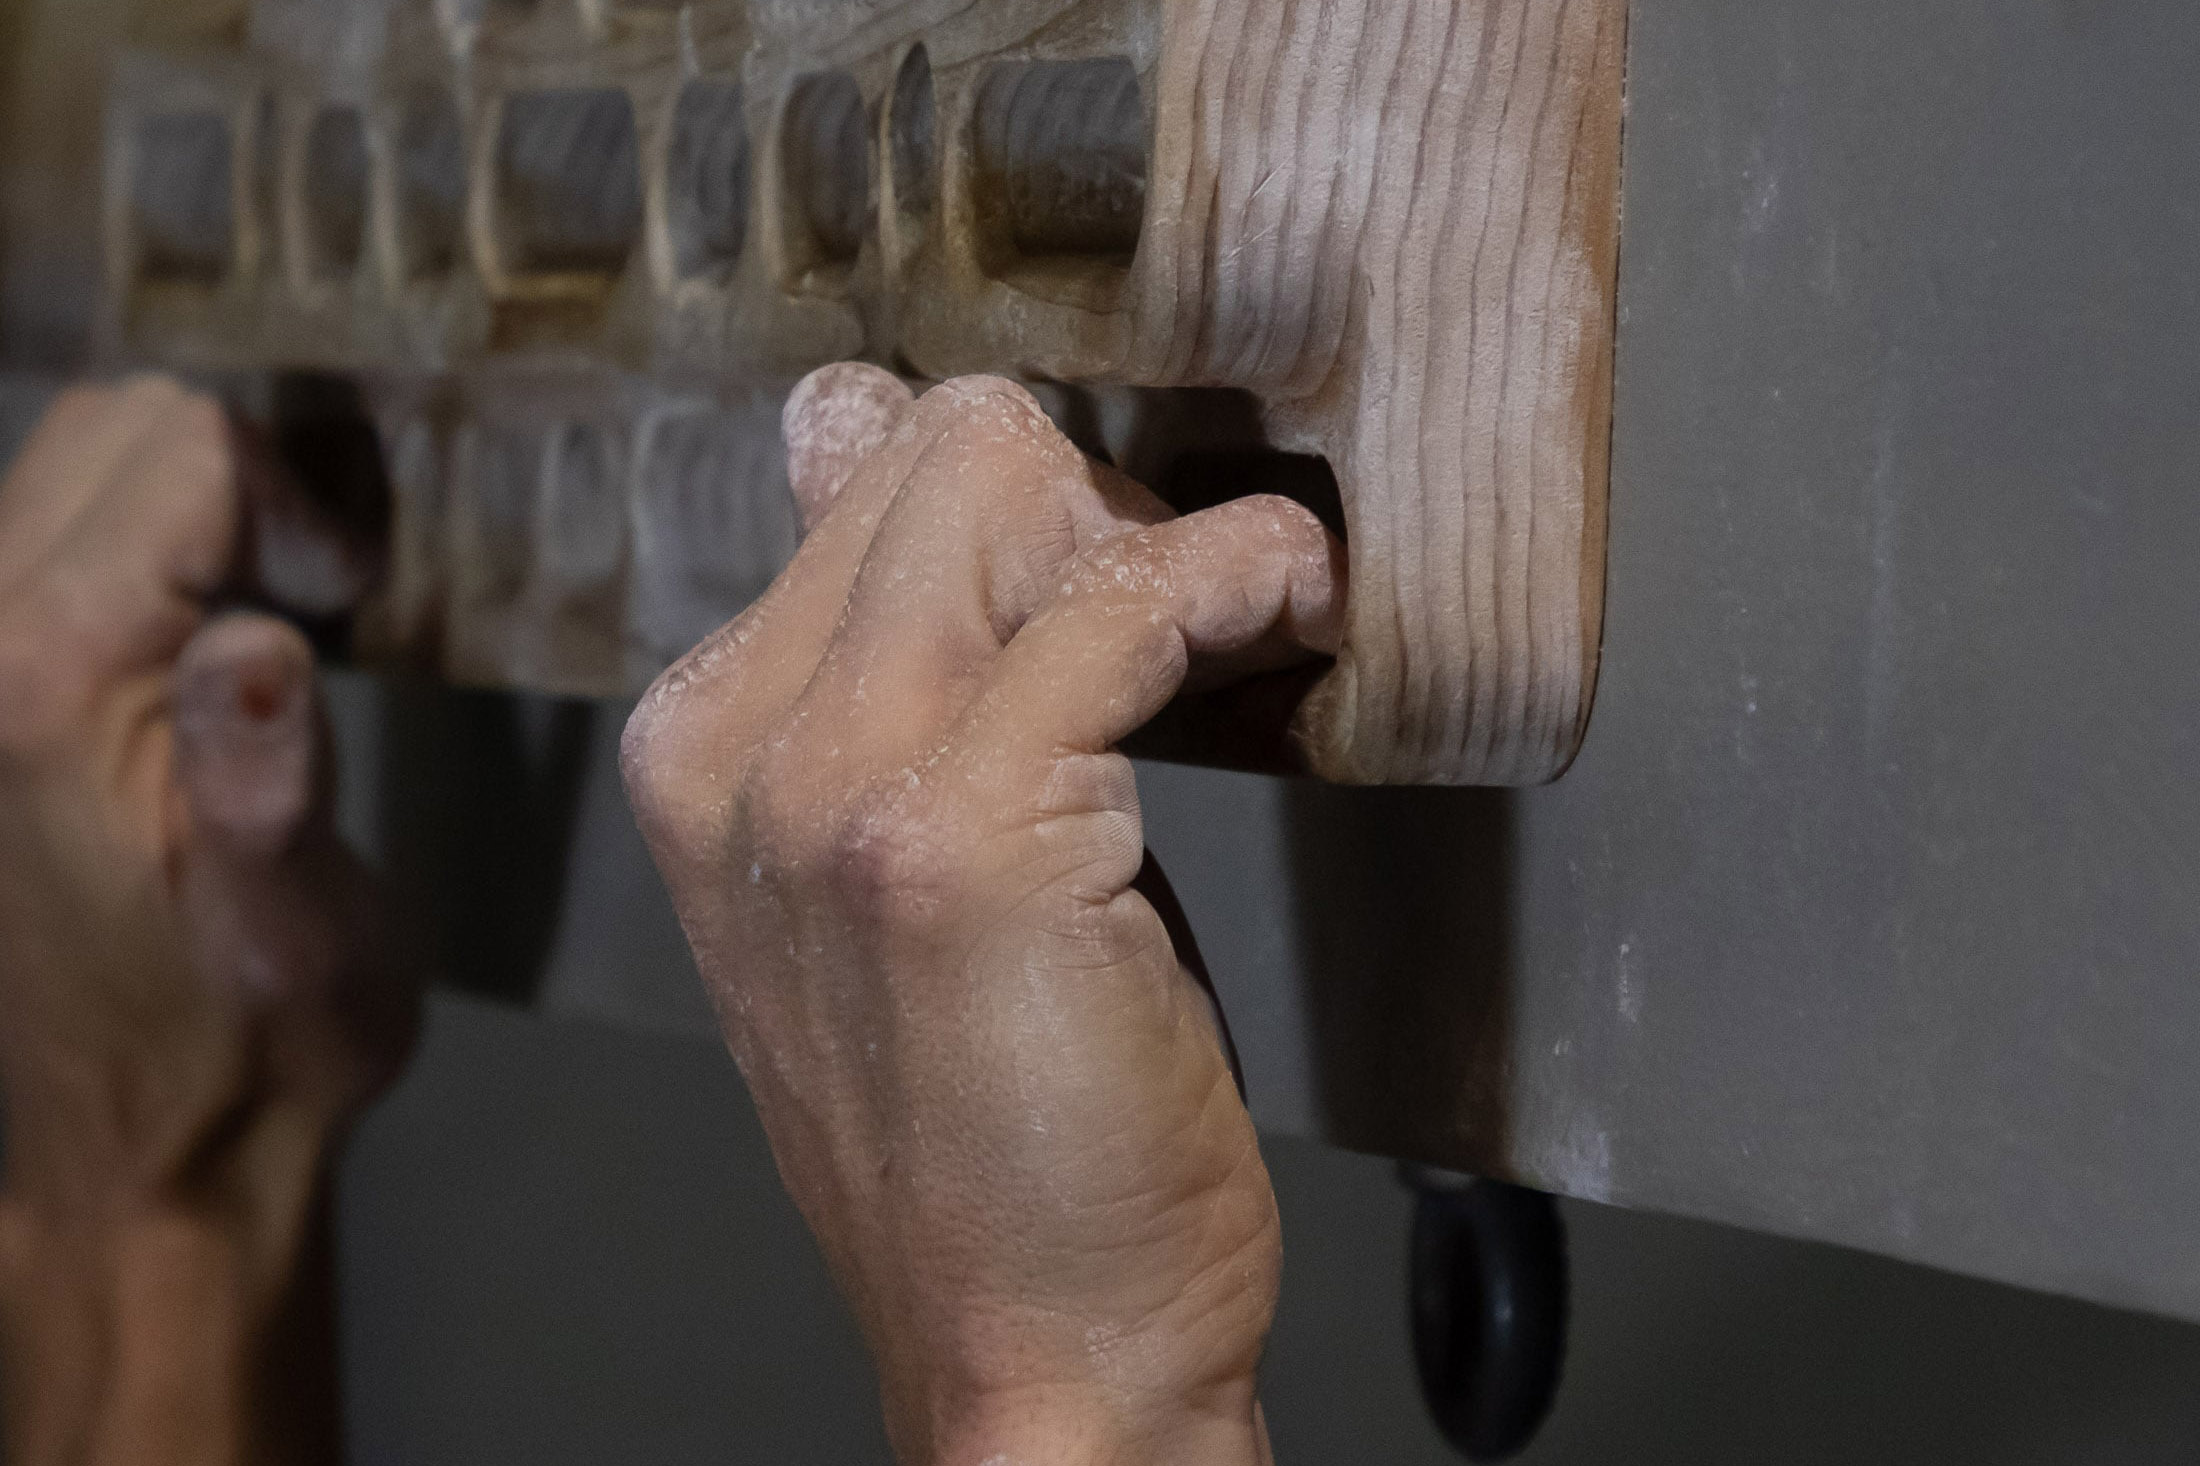
The disadvantage of the full crimp is that it puts even more strain on finger pulleys than the half crimp does and can invite injury when not used cautiously. When training this grip type, you will have to be careful. To reduce the risk of injury, you need to start with loads that are lighter than you’d use for training your half crimp. If you choose to train the full crimp on a hangboard, you should start with your feet on the floor and slowly put more load on your fingers (over several weeks) until a full hang is possible. The alternative is to train the full-crimp on crimpy board and boulder problems. Again, moderate intensity is the key to avoiding injury.
Openhand grips
The three openhand grip types are used in very different situations, but they have at least one thing in common – they rely more on the tensile strength of your finger tendons than on the forearm muscles or any kind of leveraging mechanism. That means that these grip types are easier on your pulleys than a crimped grip.
Slopers
The sloper grip is also known as the full body grip since it requires you to create tension and stability through your entire body. But if you are new to training sloper-specific strength, you will likely find that there is one muscle in particular that needs conditioning, and that is your wrist. If your wrists are weak, you are never going to be good on slopers. Fortunately, there is a simple way to strengthen your wrist muscles – with wrist curls.
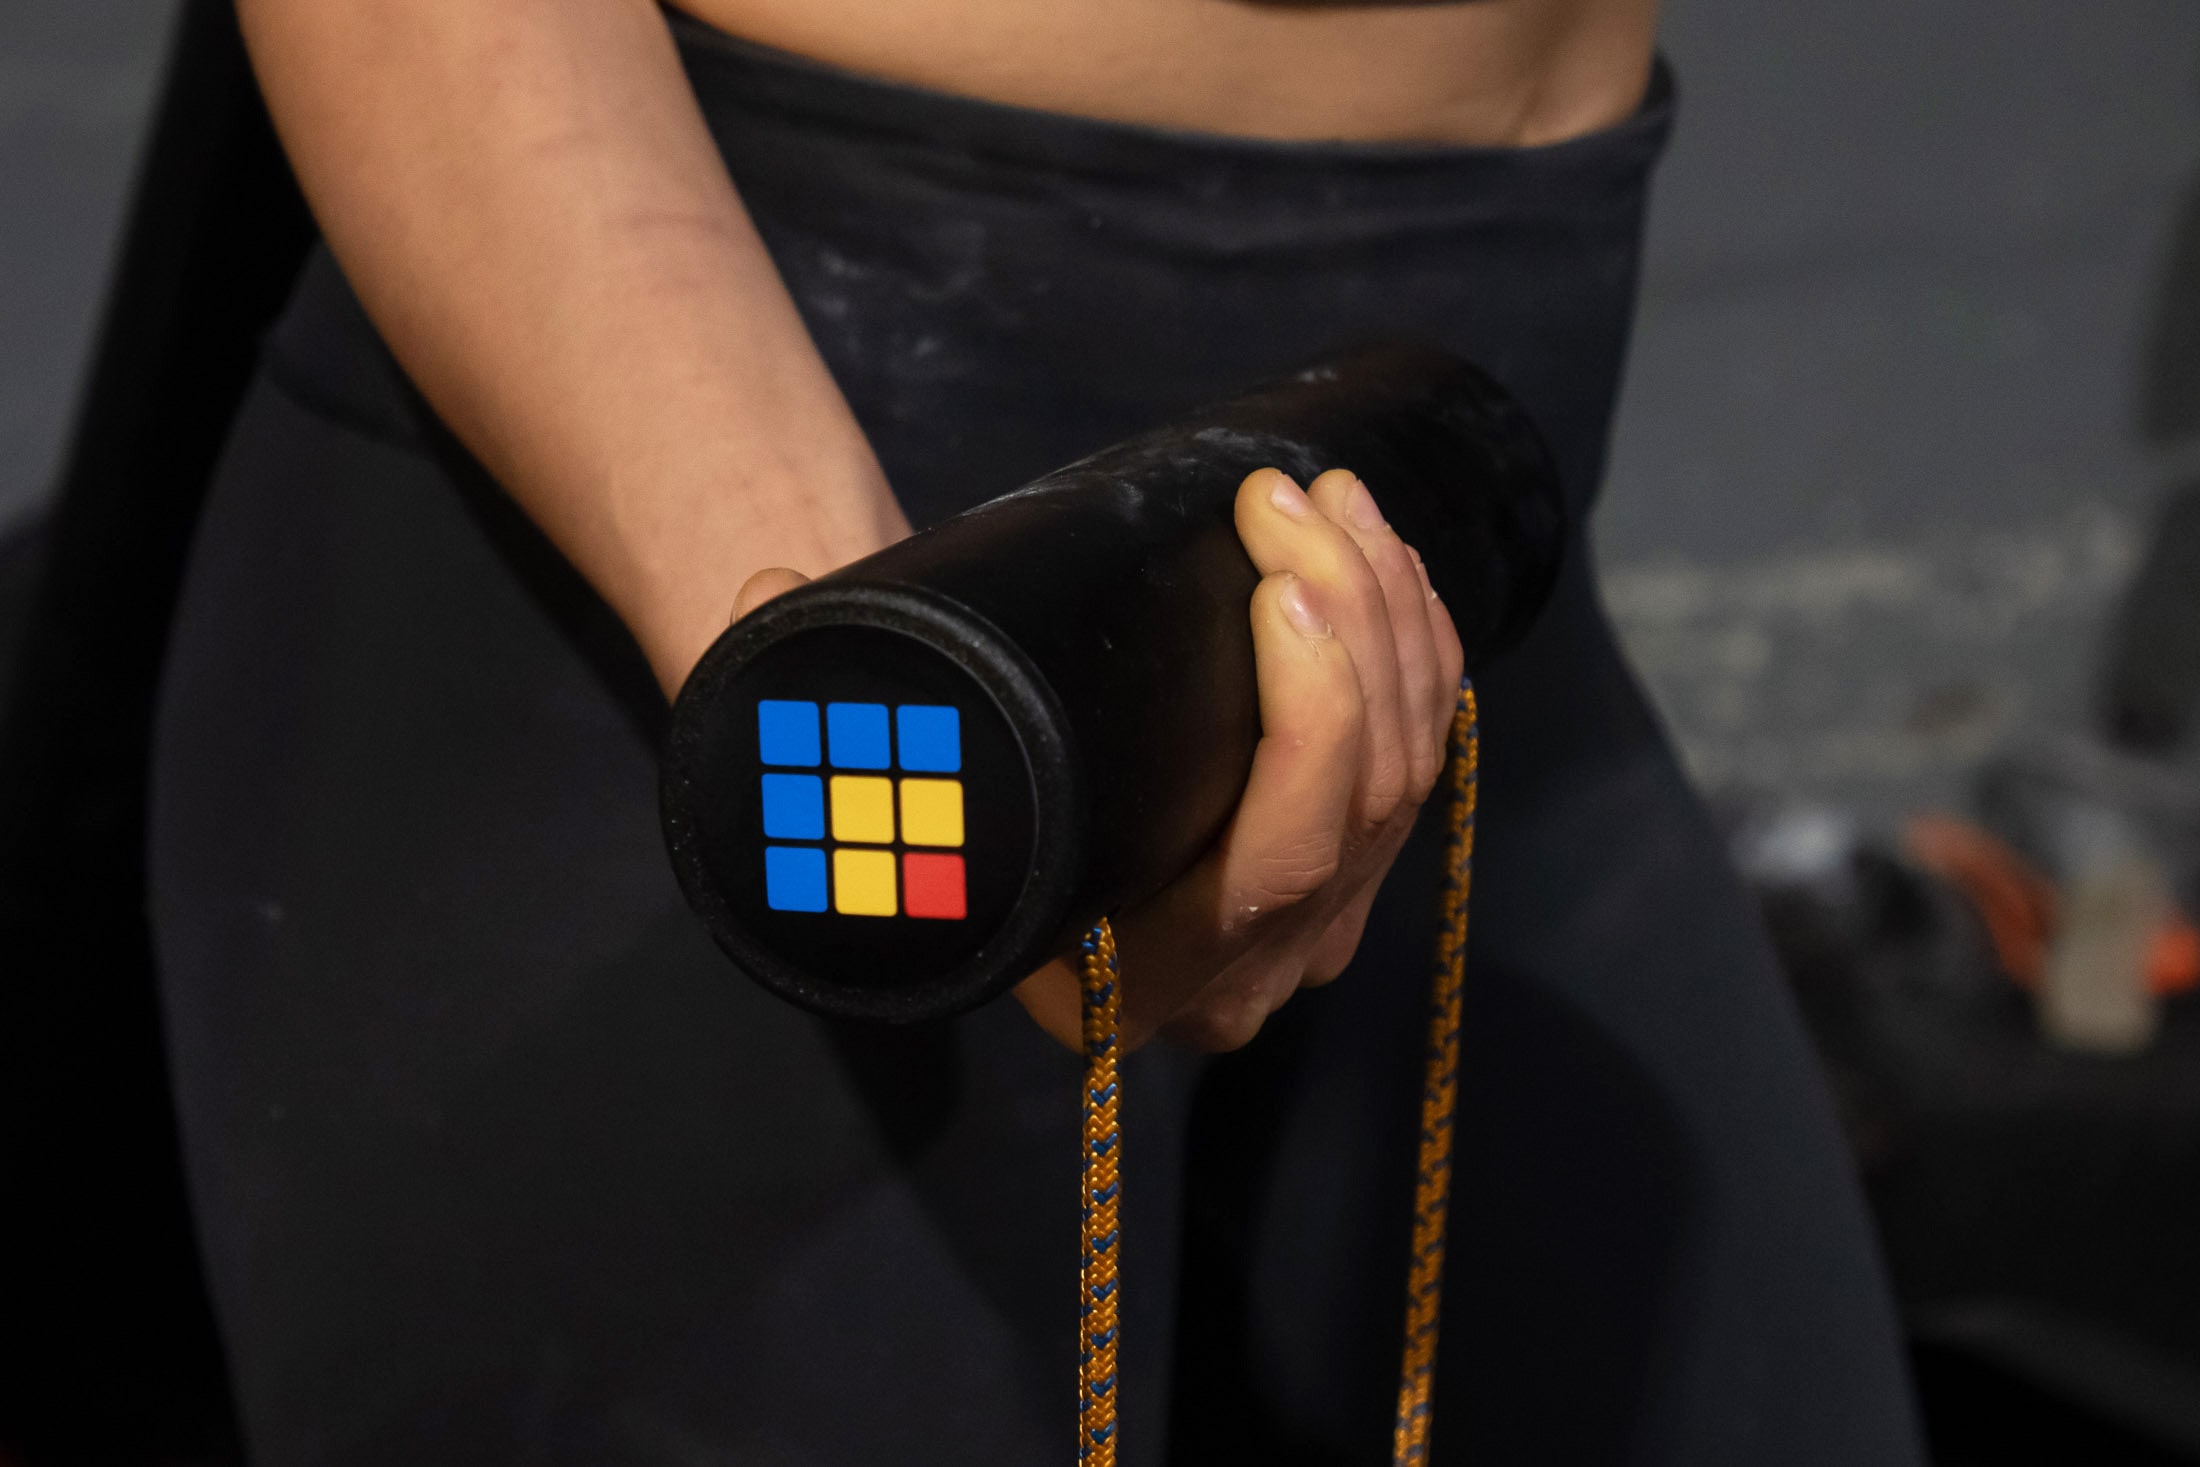
Traditionally, wrist curls have been performed with dumbbells, but today climbers are more likely to use a heavy wrist roller like that made by Lattice. This kind of training aid targets the wrist flexors in a more climbing-specific way by rotating your wrist. You can also train sloper strength on a hangboard and the boulder wall. Personally, I’ve found bouldering to be more effective in building functional sloper strength, but I wouldn’t discount training sloper strength on a hangboard if you were already planning on using a hangboard to train other grip types.
Three-finger drag
This is the open-hand grip involving the pointer, middle and ring fingers. Because this grip type relies more on the tensile strength of your finger tendons than on your forearm flexors, it is actually more efficient than a half crimp and is less likely to result in a pulley injury. The downside to the three-finger drag is that it can feel insecure, which is why many climbers prefer the half crimp. That said, the three-finger drag can be a strong grip if you train it.
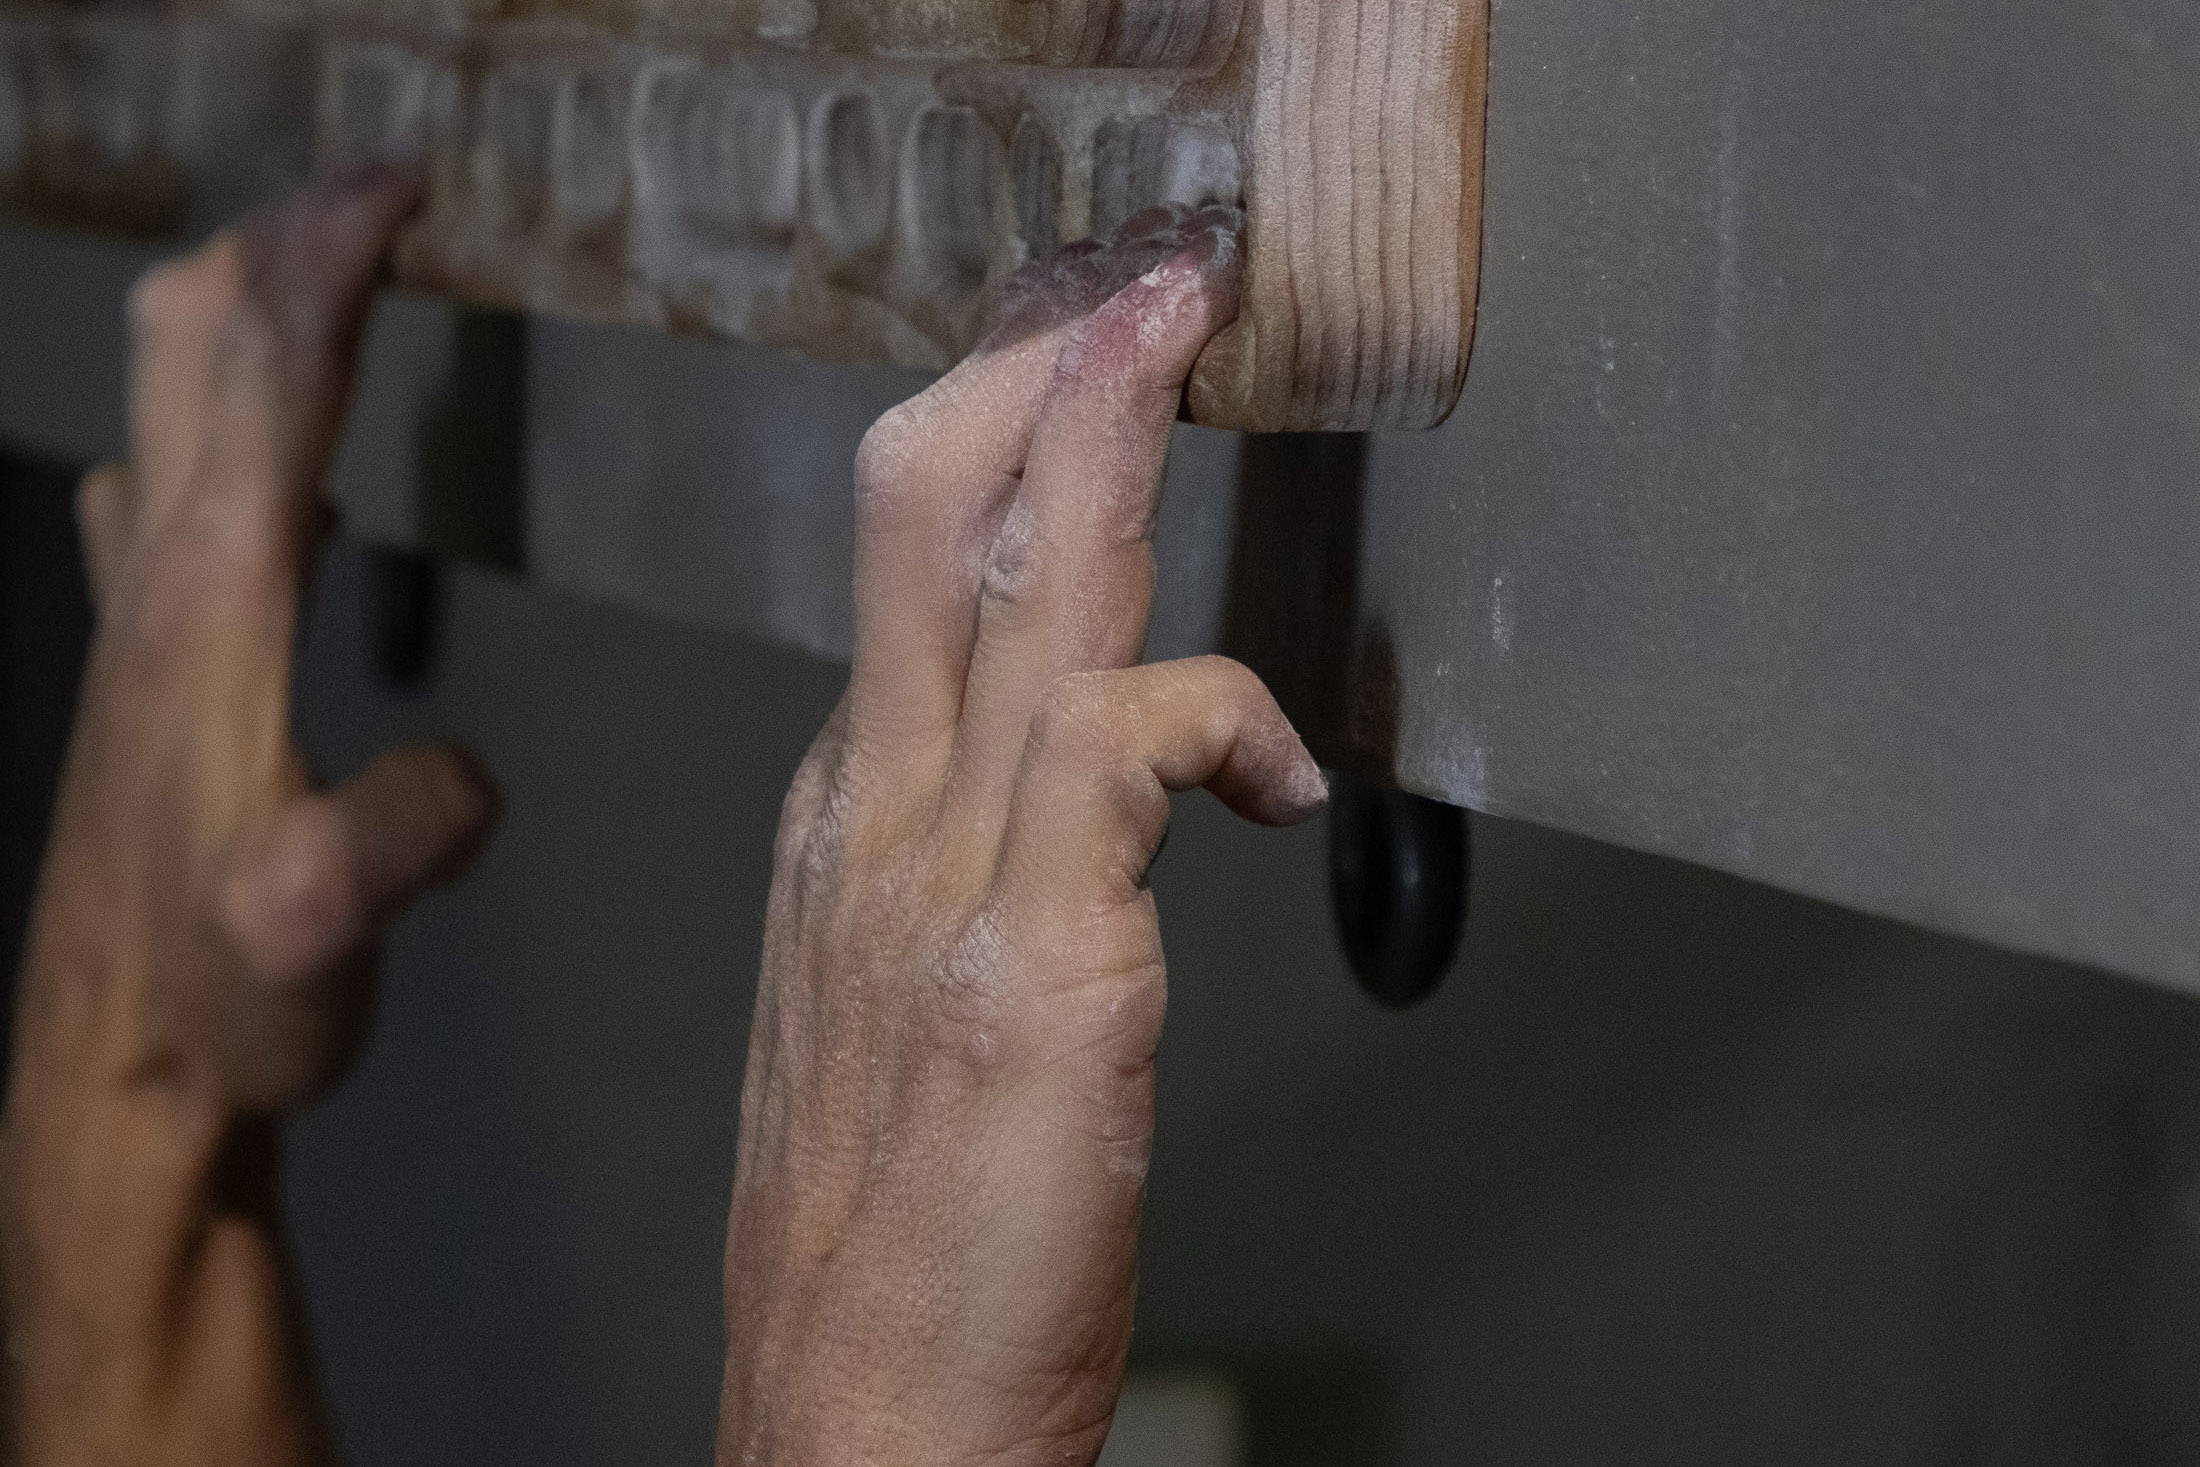
Another reason to train the three-finger drag is that strength in this grip is a prerequisite for impressive sloper strength. Like the half crimp, the three-finger drag can be trained in a variety of ways: edge lifting, hangboarding, board training and bouldering. If your three-finger drag is relatively weak (compared to your half crimp), you would benefit from training it in both your off-the-wall and on-the-wall training sessions. The key is to get comfortable with the less secure feeling of the three-finger drag and then learn when to open-hand a hold instead of crimp.
Two-finger pockets
The pocket grip involves the same extended finger position as the three-finger drag, but instead of using three fingers, you engage the hold with one of two pairs (pointer and index finger or index finger and ring finger). Given how this grip puts the load on two fingers instead of three, the strain on individual digits is higher, and injuries – especially those in the lumbricals – can occur if this grip isn’t used cautiously.
But that’s not a reason to not train your pocket grip strength. Sooner or later, you will have to pull on a pocket, and one of the best things you can do to avoid injury is strengthen the connective tissue in your fingers by inducing adaptations through progressive overload – increasing resistance in a measured and gradual way to reduce the risk of injury. Edge lifting is particularly well suited to this purpose since it allows for complete control over the level of resistance, but you can also train pocket strength on a hangboard.
Wrist and antagonist training
Given the role that your wrist muscles play in the openhand sloper and pinch grips, it’s obvious why you might need to train them. But if you really want to develop your grip strength, you also need to train your forearm antagonists. Why? Because, if your antagonist muscles are too weak to properly oppose and stabilize agonist muscles, the imbalance can compromise the biomechanics of a joint, induce neural inhibition, and eventually cause an injury that could take months or even years to recover from. So give your antagonist muscles the attention they deserve. The most important forearm antagonists are the forearm extensors and the pronator teres.
Pronator teres
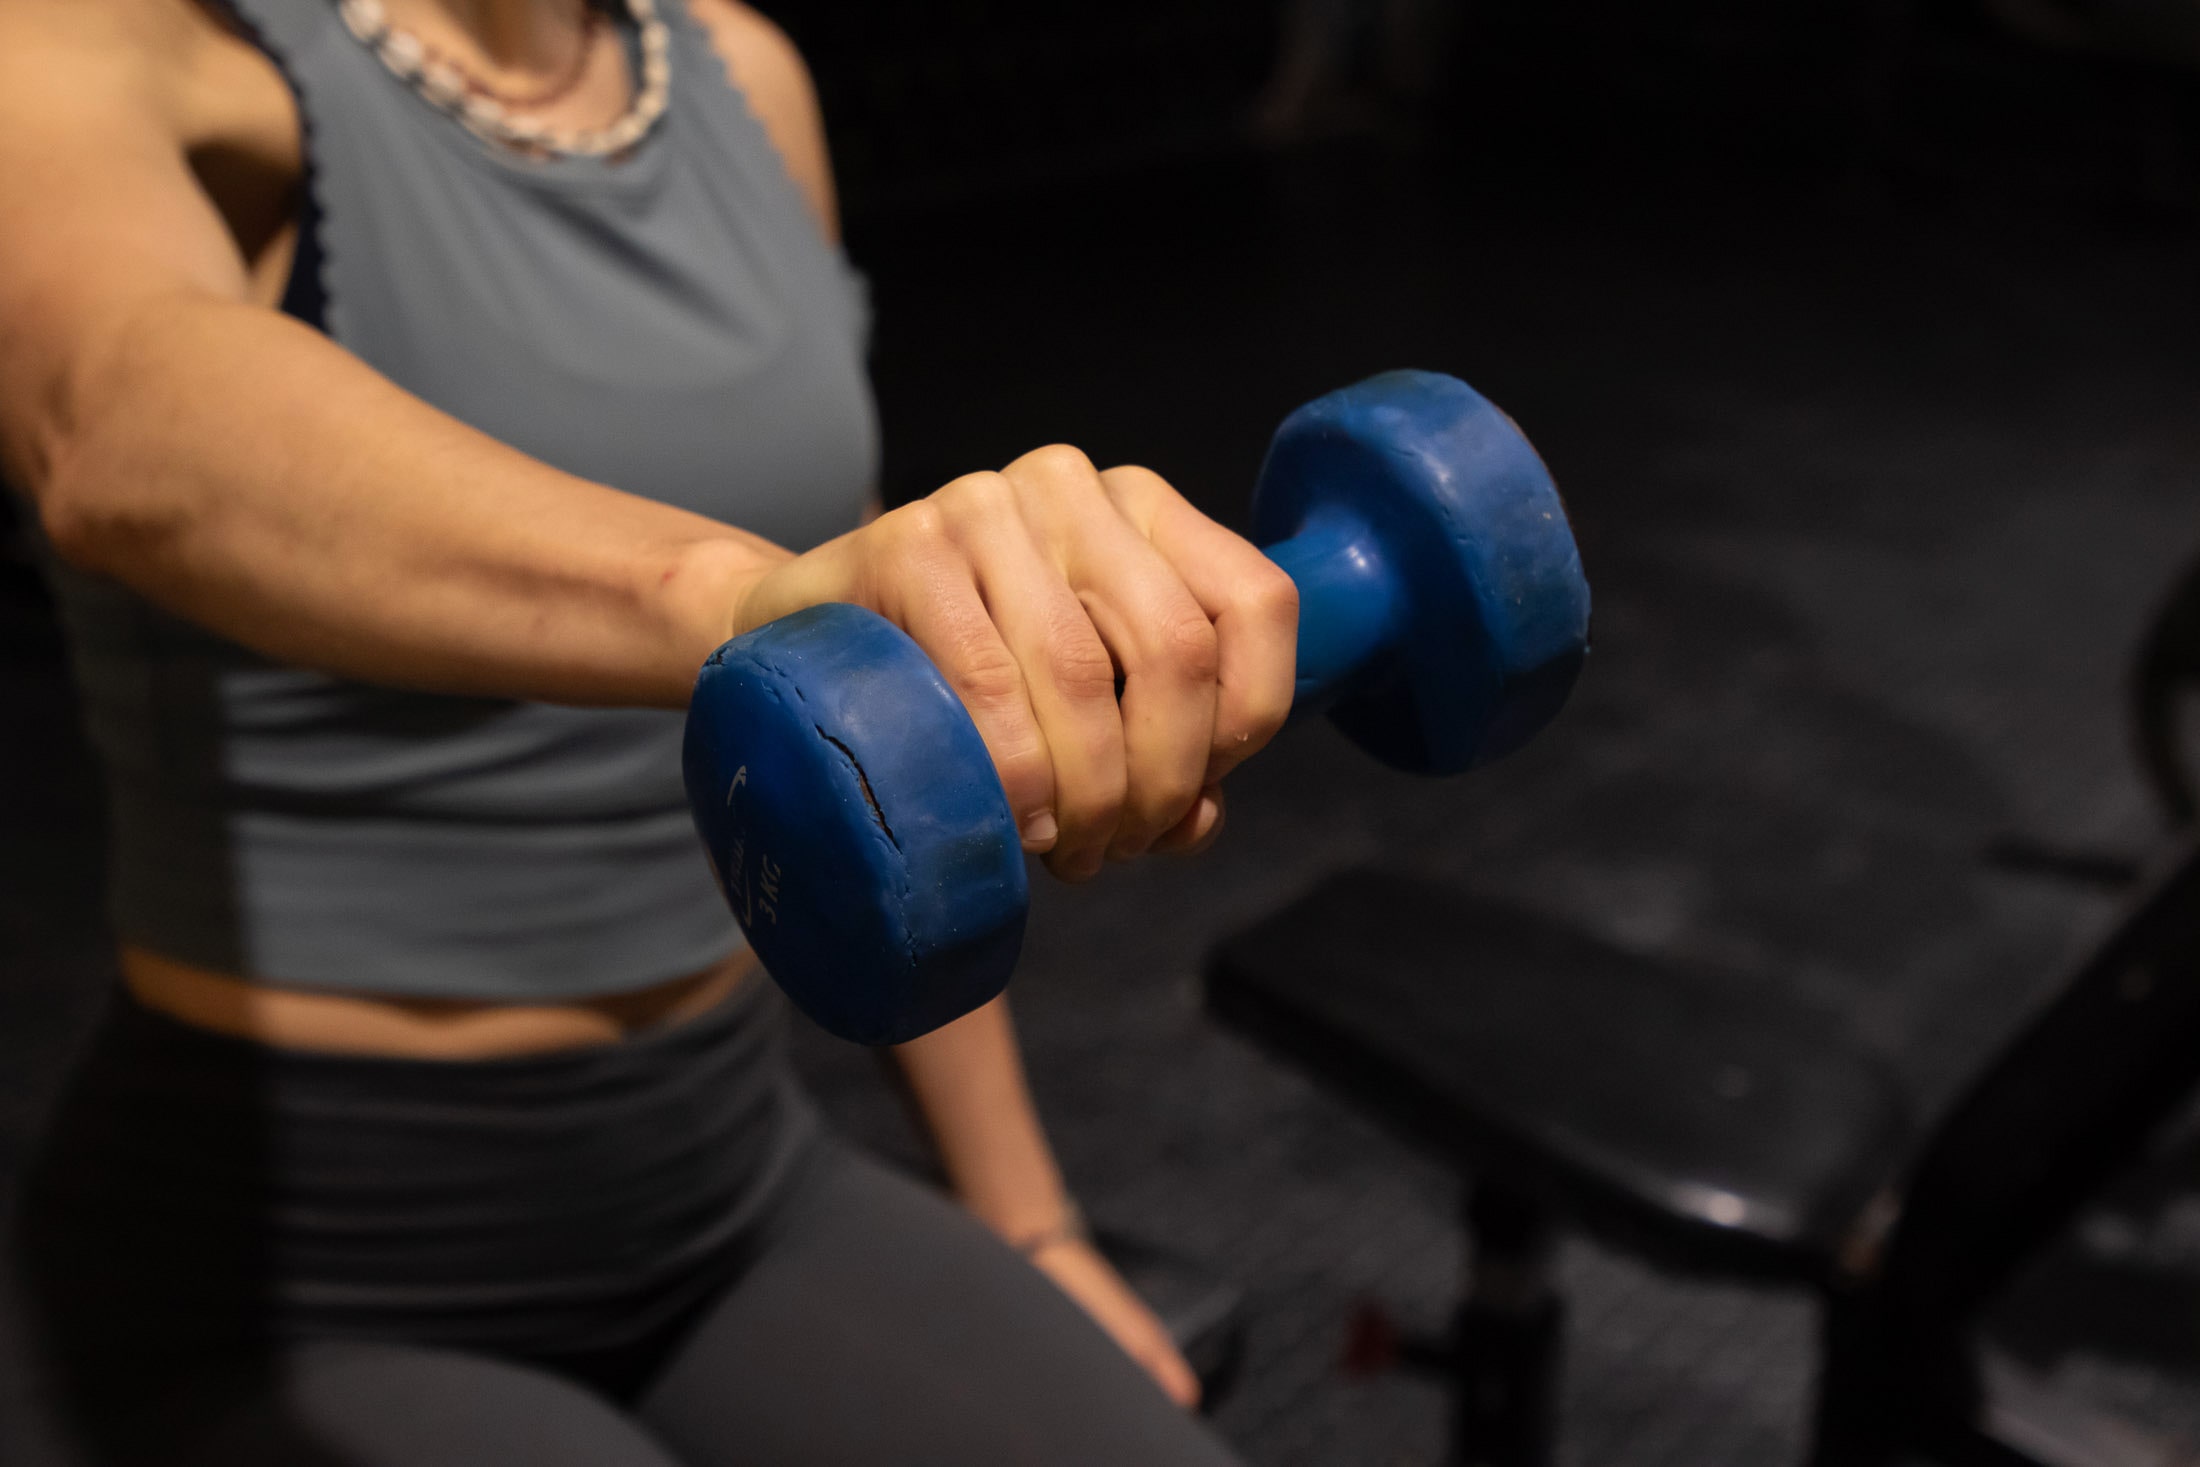
The pronator teres is the small but important muscle that holds your hand in a pronated position when you bear down on a hold. When this muscle is too weak to stabilize the forearm, it can cause pain and tendinosis at the medial epicondyle (little bony protrusion on the inside of elbow). The best exercise to strengthen this muscle involves holding a sledgehammer or dumbbell parallel to the floor and then turning your hand inward (pronation) to lift the hammer to the vertical position. From here, the end of the hammer or dumbbell is slowly lowered to the starting position for the next rep. This is repeated 15 to 20 times.
Wrist and finger extensors
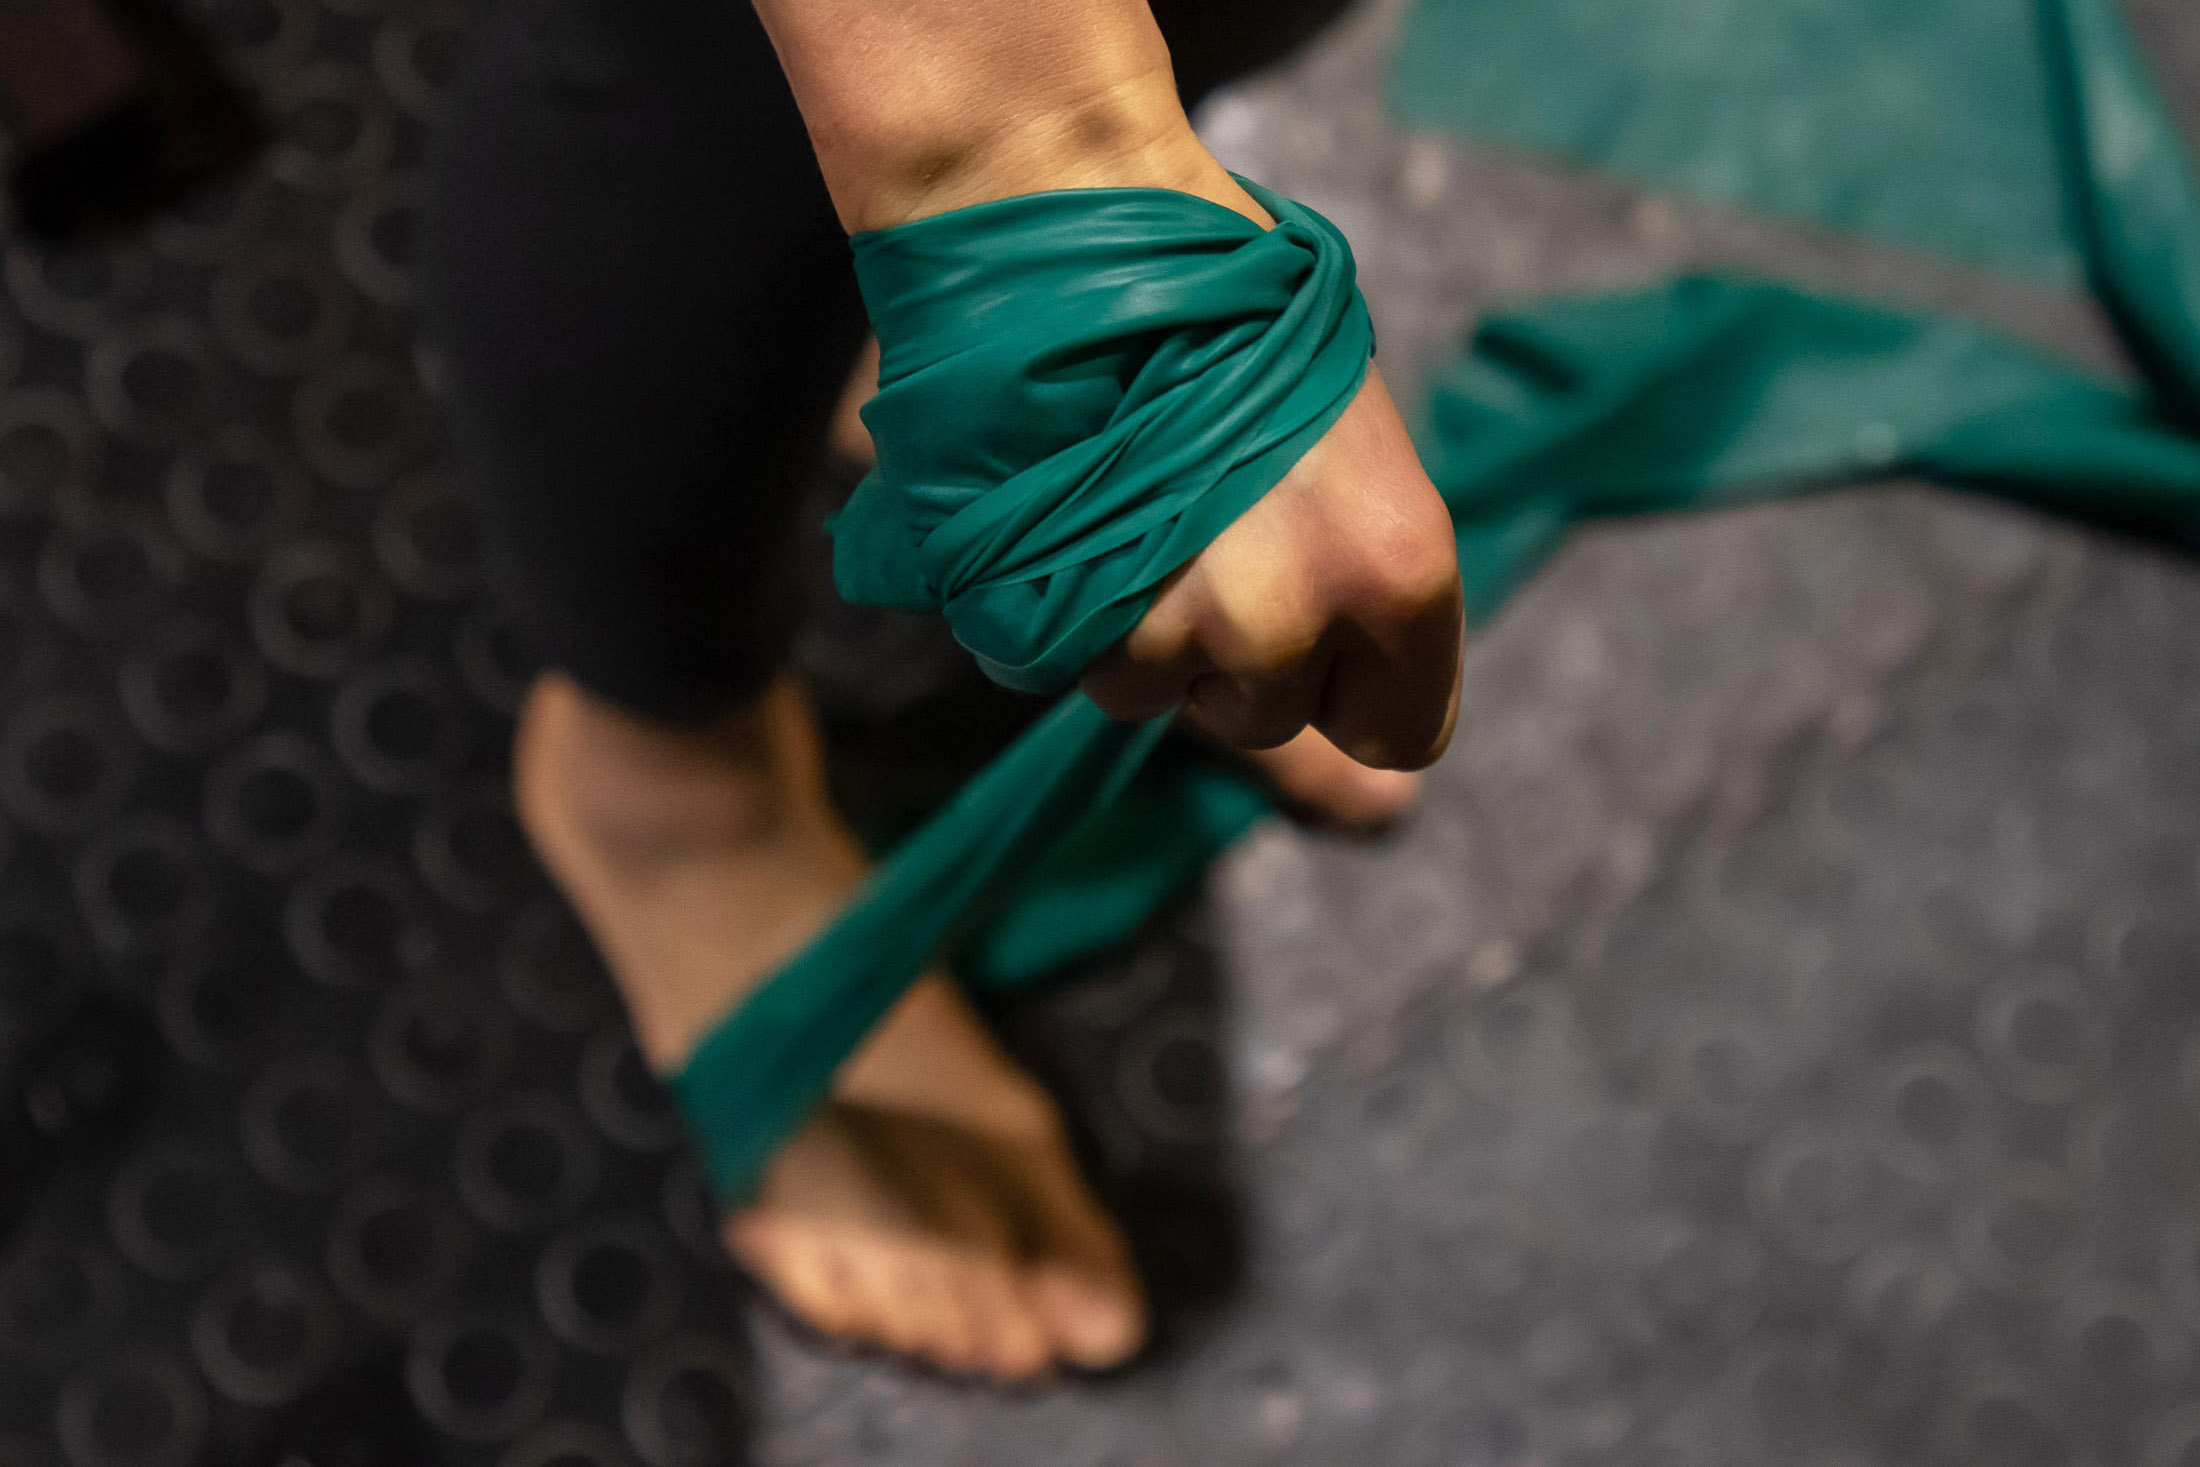
Your forearm extensors don’t just stabilize your wrist and fingers when you pull on a hold – they actually contribute to grip strength by supporting the mechanics of the forearm flexors. But let’s consider that a bonus for now. The real reason you should strengthen your forearm extensors is to avoid a muscle imbalance that could result in tendinopathy at the lateral epicondyle. The best exercise for this purpose is reverse wrist curls. Here you hold a light dumbbell with your palm facing down and then slowly flex your wrist upwards to the very limit of its range and then lower it (also slowly) back down to neutral.
Wrist flexors
The wrist flexor is an agonist not an antagonist, but I’m going to mention it here since I don’t cover it in any of my other training articles. As I’ve mentioned, the best way to train your wrist is with a wrist roller (also known as a wrist wrench) like that made by Lattice Training. This training tool is used in a way similar to how you would perform wrist curls with a dumbbell. The difference is that the cord also rotates the bar, which loads the wrist flexors in a more climbing-specific way.
Determining your training goals
There are a dozen ways you can train grip strength, and you’ll want to put some thought into what and how to train so that you get the most from your efforts. Most climbers will benefit from focusing on their weaknesses. If you are already strong on crimps, you probably have more to gain from training your sloper strength and pinch strength. The most accurate way to assess your strength in different grips would be to have a coach test your grip strength using a dynamometer. Besides having the right tools, a coach will also know how much strength a well rounded climber should have in each of the different grip types.
If a session with a coach isn’t on the cards, you can also compare your strength in different grips to that of climbers of a similar level. A large enough sample (Get several of your buddies involved) should be able to give you an idea of what average looks like and what you should be capable of. For example, if you were able to lift 25kg with a 20mm lifting edge using the half crimp (about the same as your friends) but were only able to lift 10kg with the wide pinch block (a hold that your friends were twice as strong on), you’d know that this is an potential area for improvement.
Training precision vs sport-specificity
When it comes to training grip strength, there is almost always a tradeoff between training precision and sport specificity. An exercise can either give you greater control over level of resistance and movement (the way muscles are loaded) or it can be very sport specific. But it can’t be both. Off-the-wall exercises like hangboarding and edge lifting generally offer a great deal of training precision but aren’t quite as sport specific as bouldering or board training. On-the-wall training methods, on the other hand, offer a great degree of sport specificity in that they replicate climbing movements, but they don’t allow for much precision with regards to load or movement.
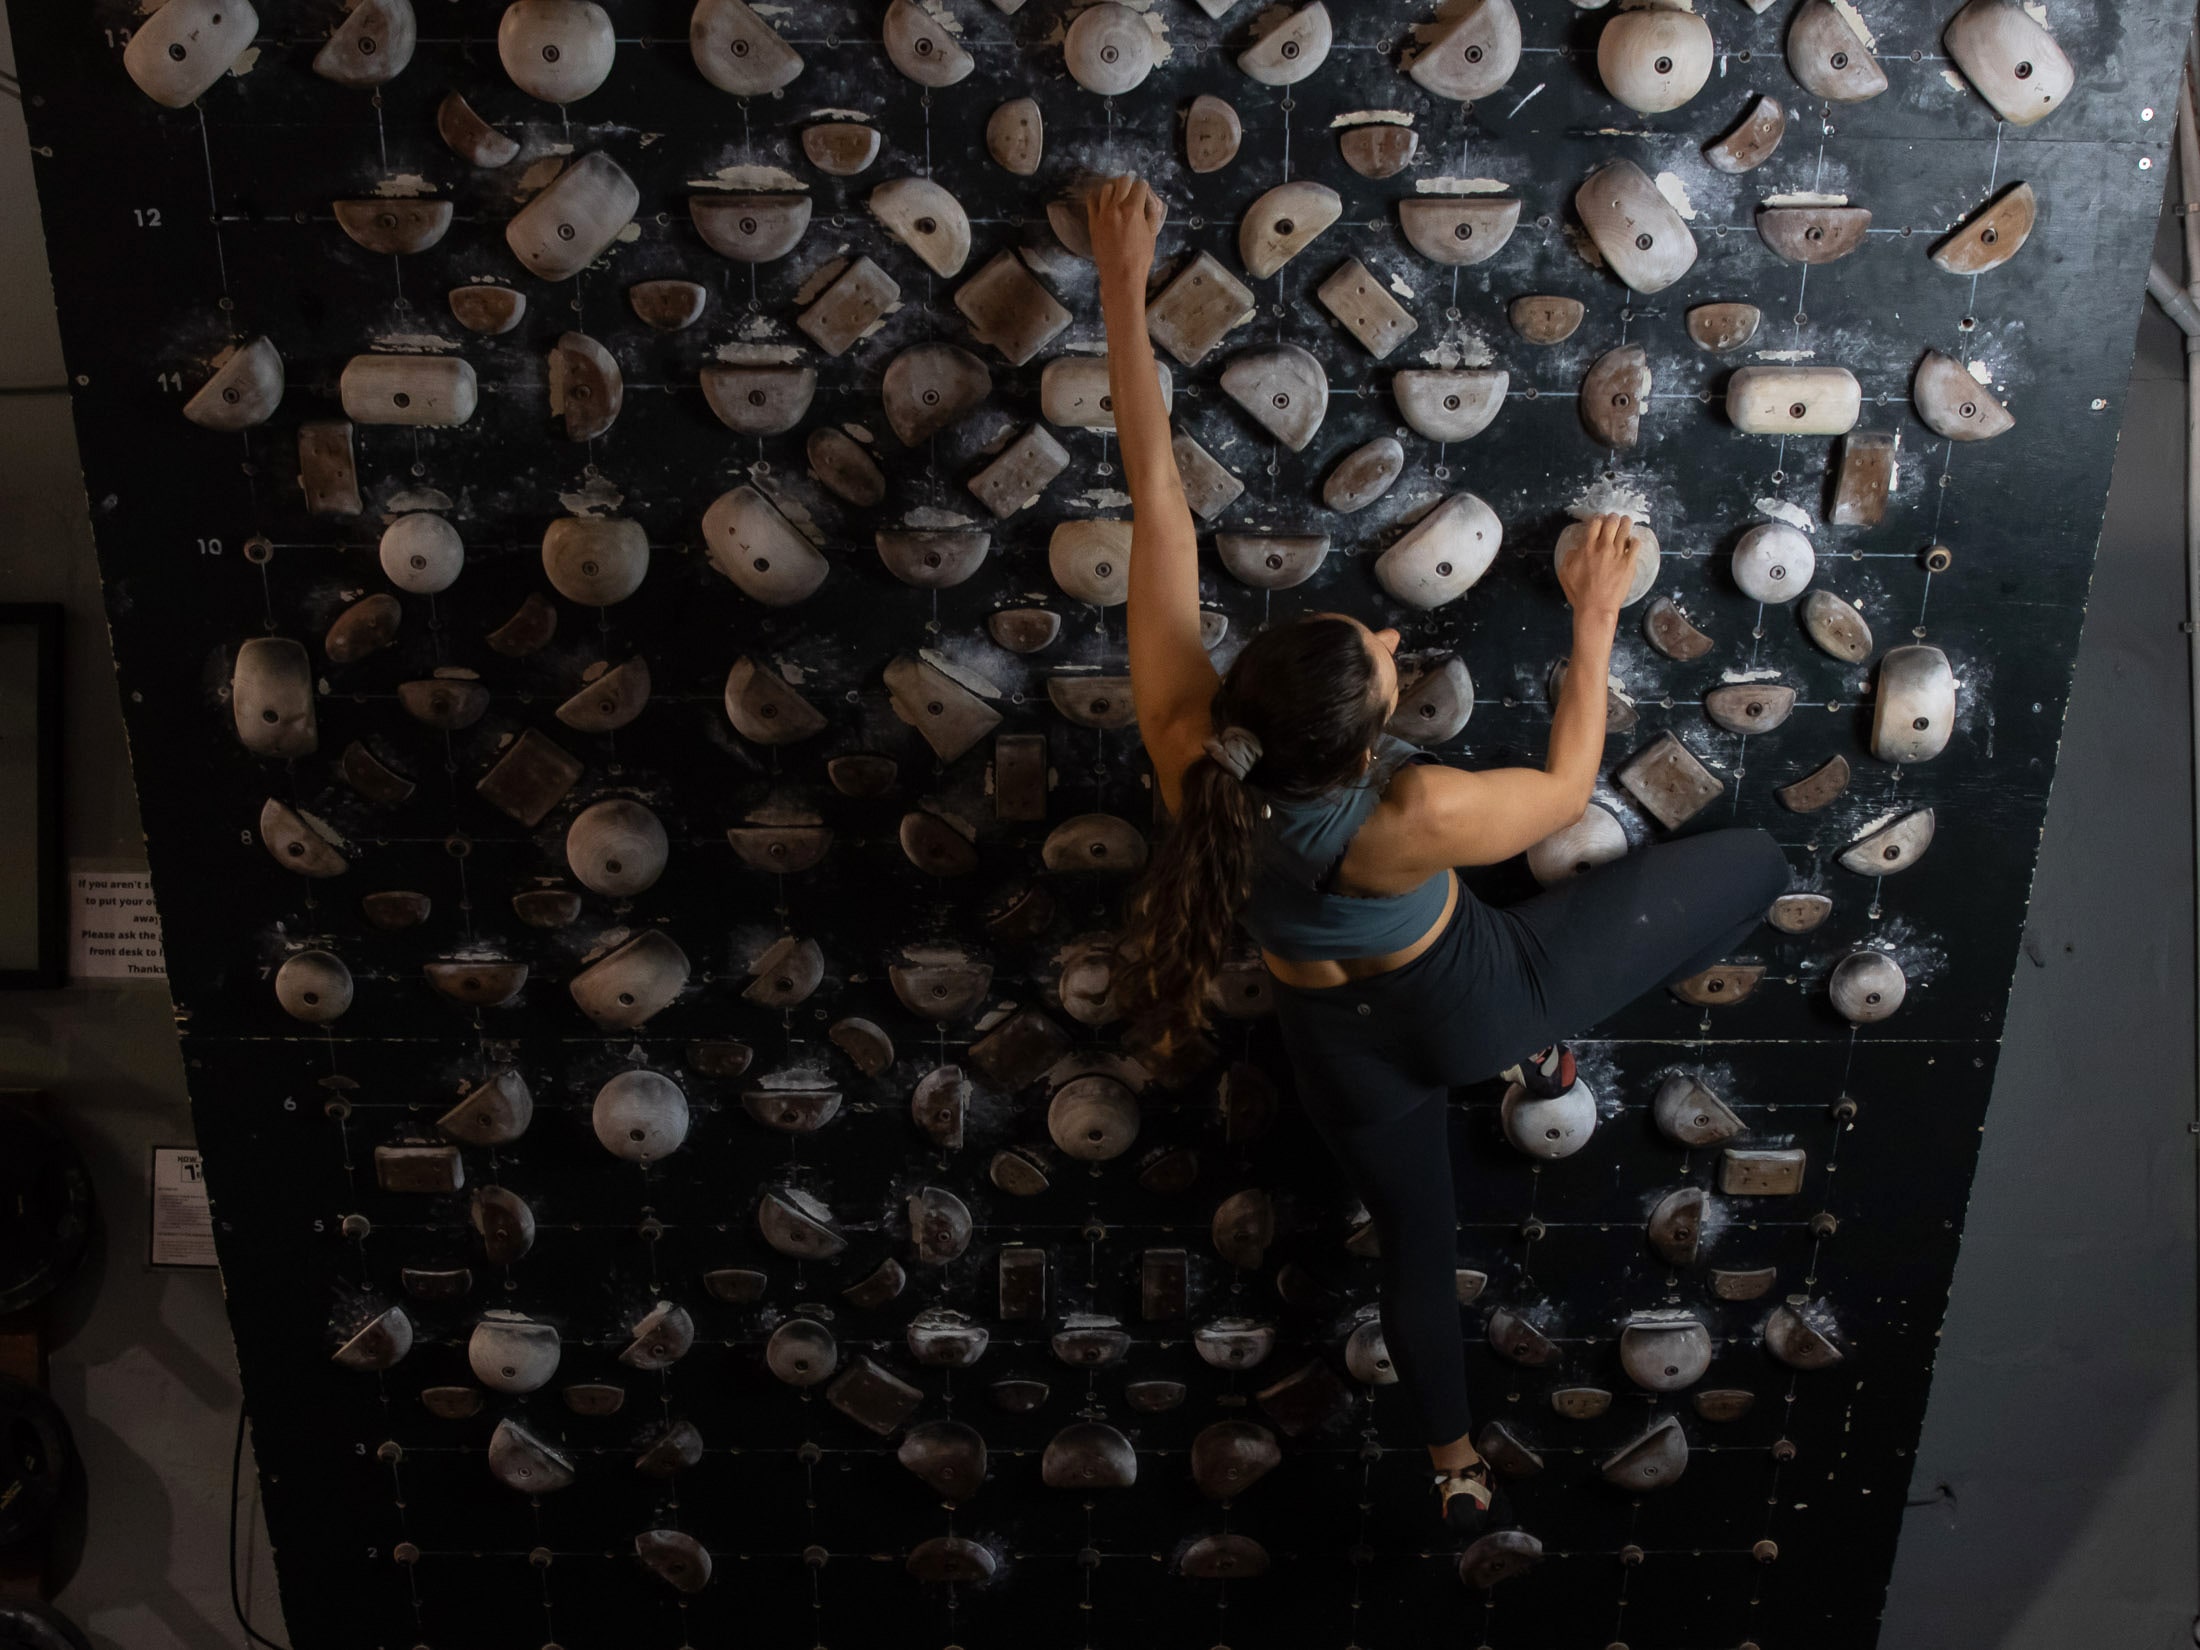
The solution to combine both off-the-wall training and on-the-wall training in your training program. For example, if you are going to do climbing-specific training four days a week, you might do two off-the-wall workouts, one bouldering or board training session, and then a rope-climbing session (to stop you from losing any ground in the endurance and power endurance departments). If you are a sport or trad climber and just don’t like bouldering, you should know that this is probably your best bet for overcoming a performance plateau. Besides building a good base level of forearm strength before you engage in more intense off-the-wall training, bouldering also trains core and upper body strength in a very sport specific way.
Training methods
There are four popular methods of training grip strength. Here I go into each only briefly but include a link to a separate article on each.
Block lifting
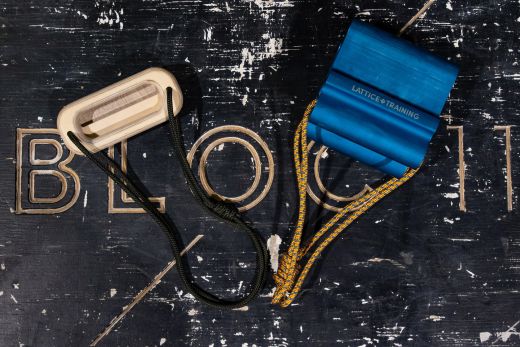
Block lifting isn’t just a good option if you don’t have access to a hangboard. It’s a good alternative to the hangboarding even when you can choose between the two. Why? Three reasons. Firstly, it’s much easier to adjust the resistance in block lifting than it is in hangboarding. In lifting you can add or subtract weight in relatively small increments whereas your ability to vary the load in hangboarding often depends on the edge sizes available. Having this kind of control over the level of resistance means that lifting is also well suited to training grips that require loads well below body weight. Secondly, it is easier to train your pinch strength with a lifting block, although this will typically require a block designed specifically for this purpose. And lastly, a lifting edge is more mobile than a hangboard even if you carry a lifting pin around with you.
Hangboarding
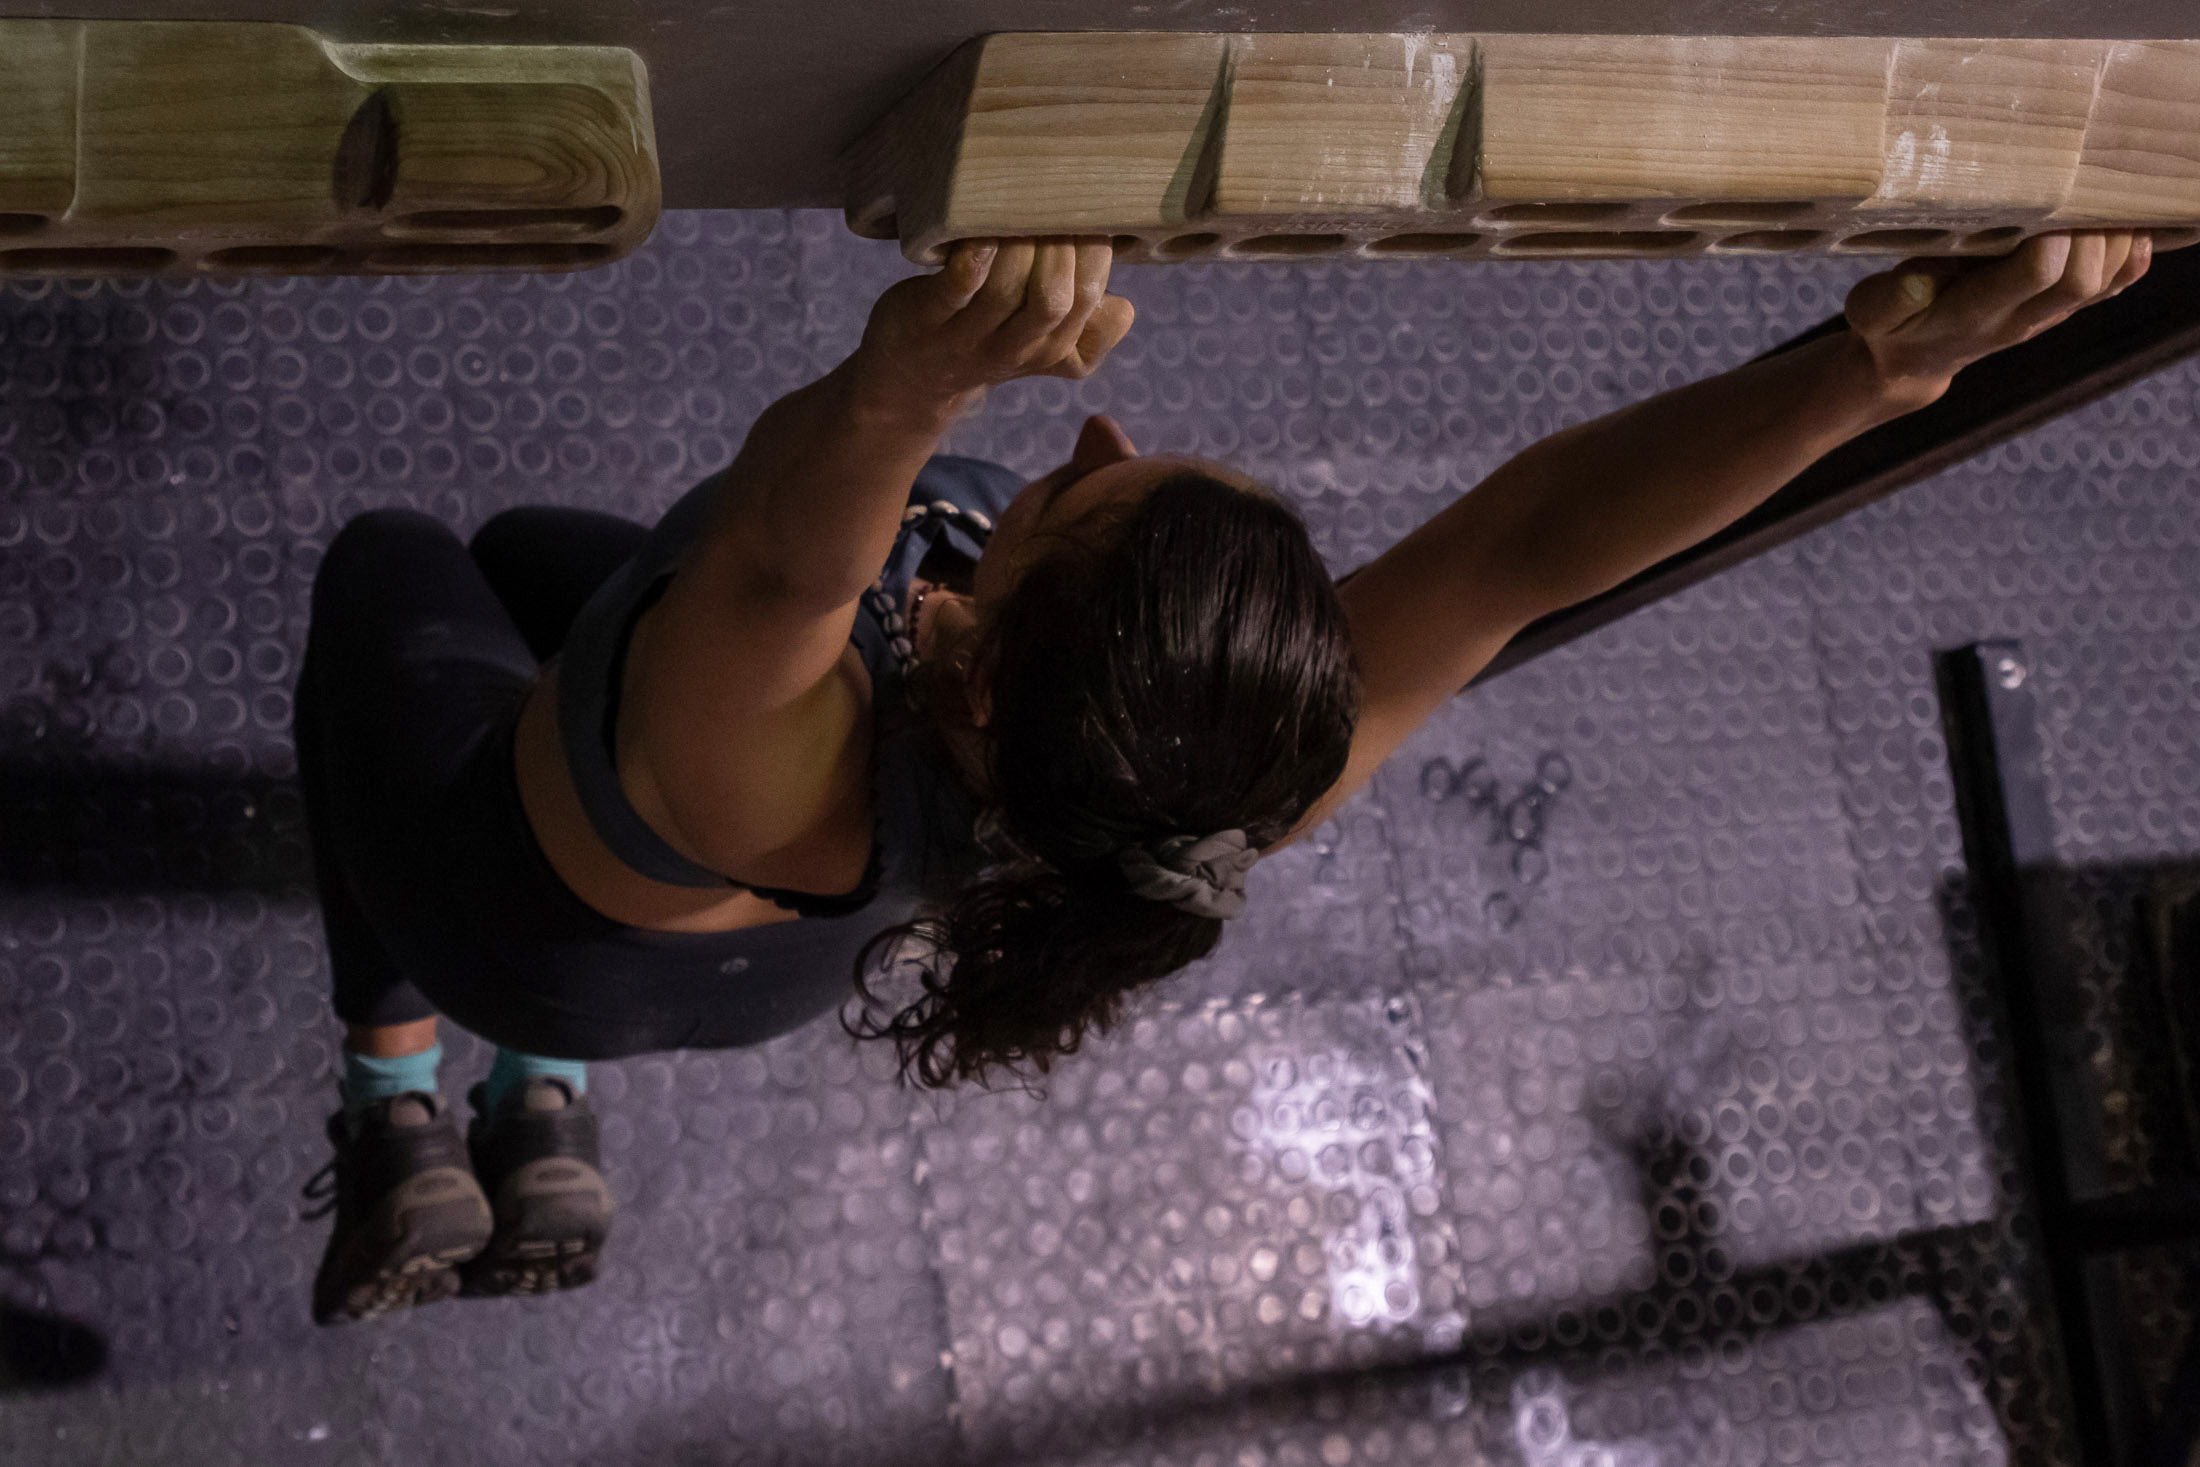
Hangboarding has been an off-the-wall training staple for decades. As with block lifting, the key to getting the most out of this type of training (and avoiding injury) is to treat it as your primary training exercise when you do use it. This is not something you should do at the end of a session or on the same day that you do hard bouldering. It replaces hard bouldering and should be done while you are fresh – after 10 to 20 minutes of easy to moderate bouldering. There are two popular hangboard protocols: repeaters, which prioritize volume over single-rep intensity, and max hangs, which prioritize high resistance over volume. Most climbers will find that repeaters work better for them, but I’ve described both protocols in my guide to hangboarding.
Board training
Hangboarding and block lifting are very useful for developing absolute grip strength, but the gains made in these exercises don’t translate 100% to performance improvements on the wall. It takes a higher degree of sport-specificity to convert pure grip strength into functional grip strength (the kind that keeps you on the wall) and for that purpose, you have to turn to board training and bouldering. Board training can take several forms, but all of these offer a certain advantage over regular bouldering when it comes to training grip strength: the steepness of the average board makes every move physically intense. Bouldering, on the other hand, can have very technical but less physically intense moves as well. These are great for honing skills but not so effective at working your forearms.
Bouldering
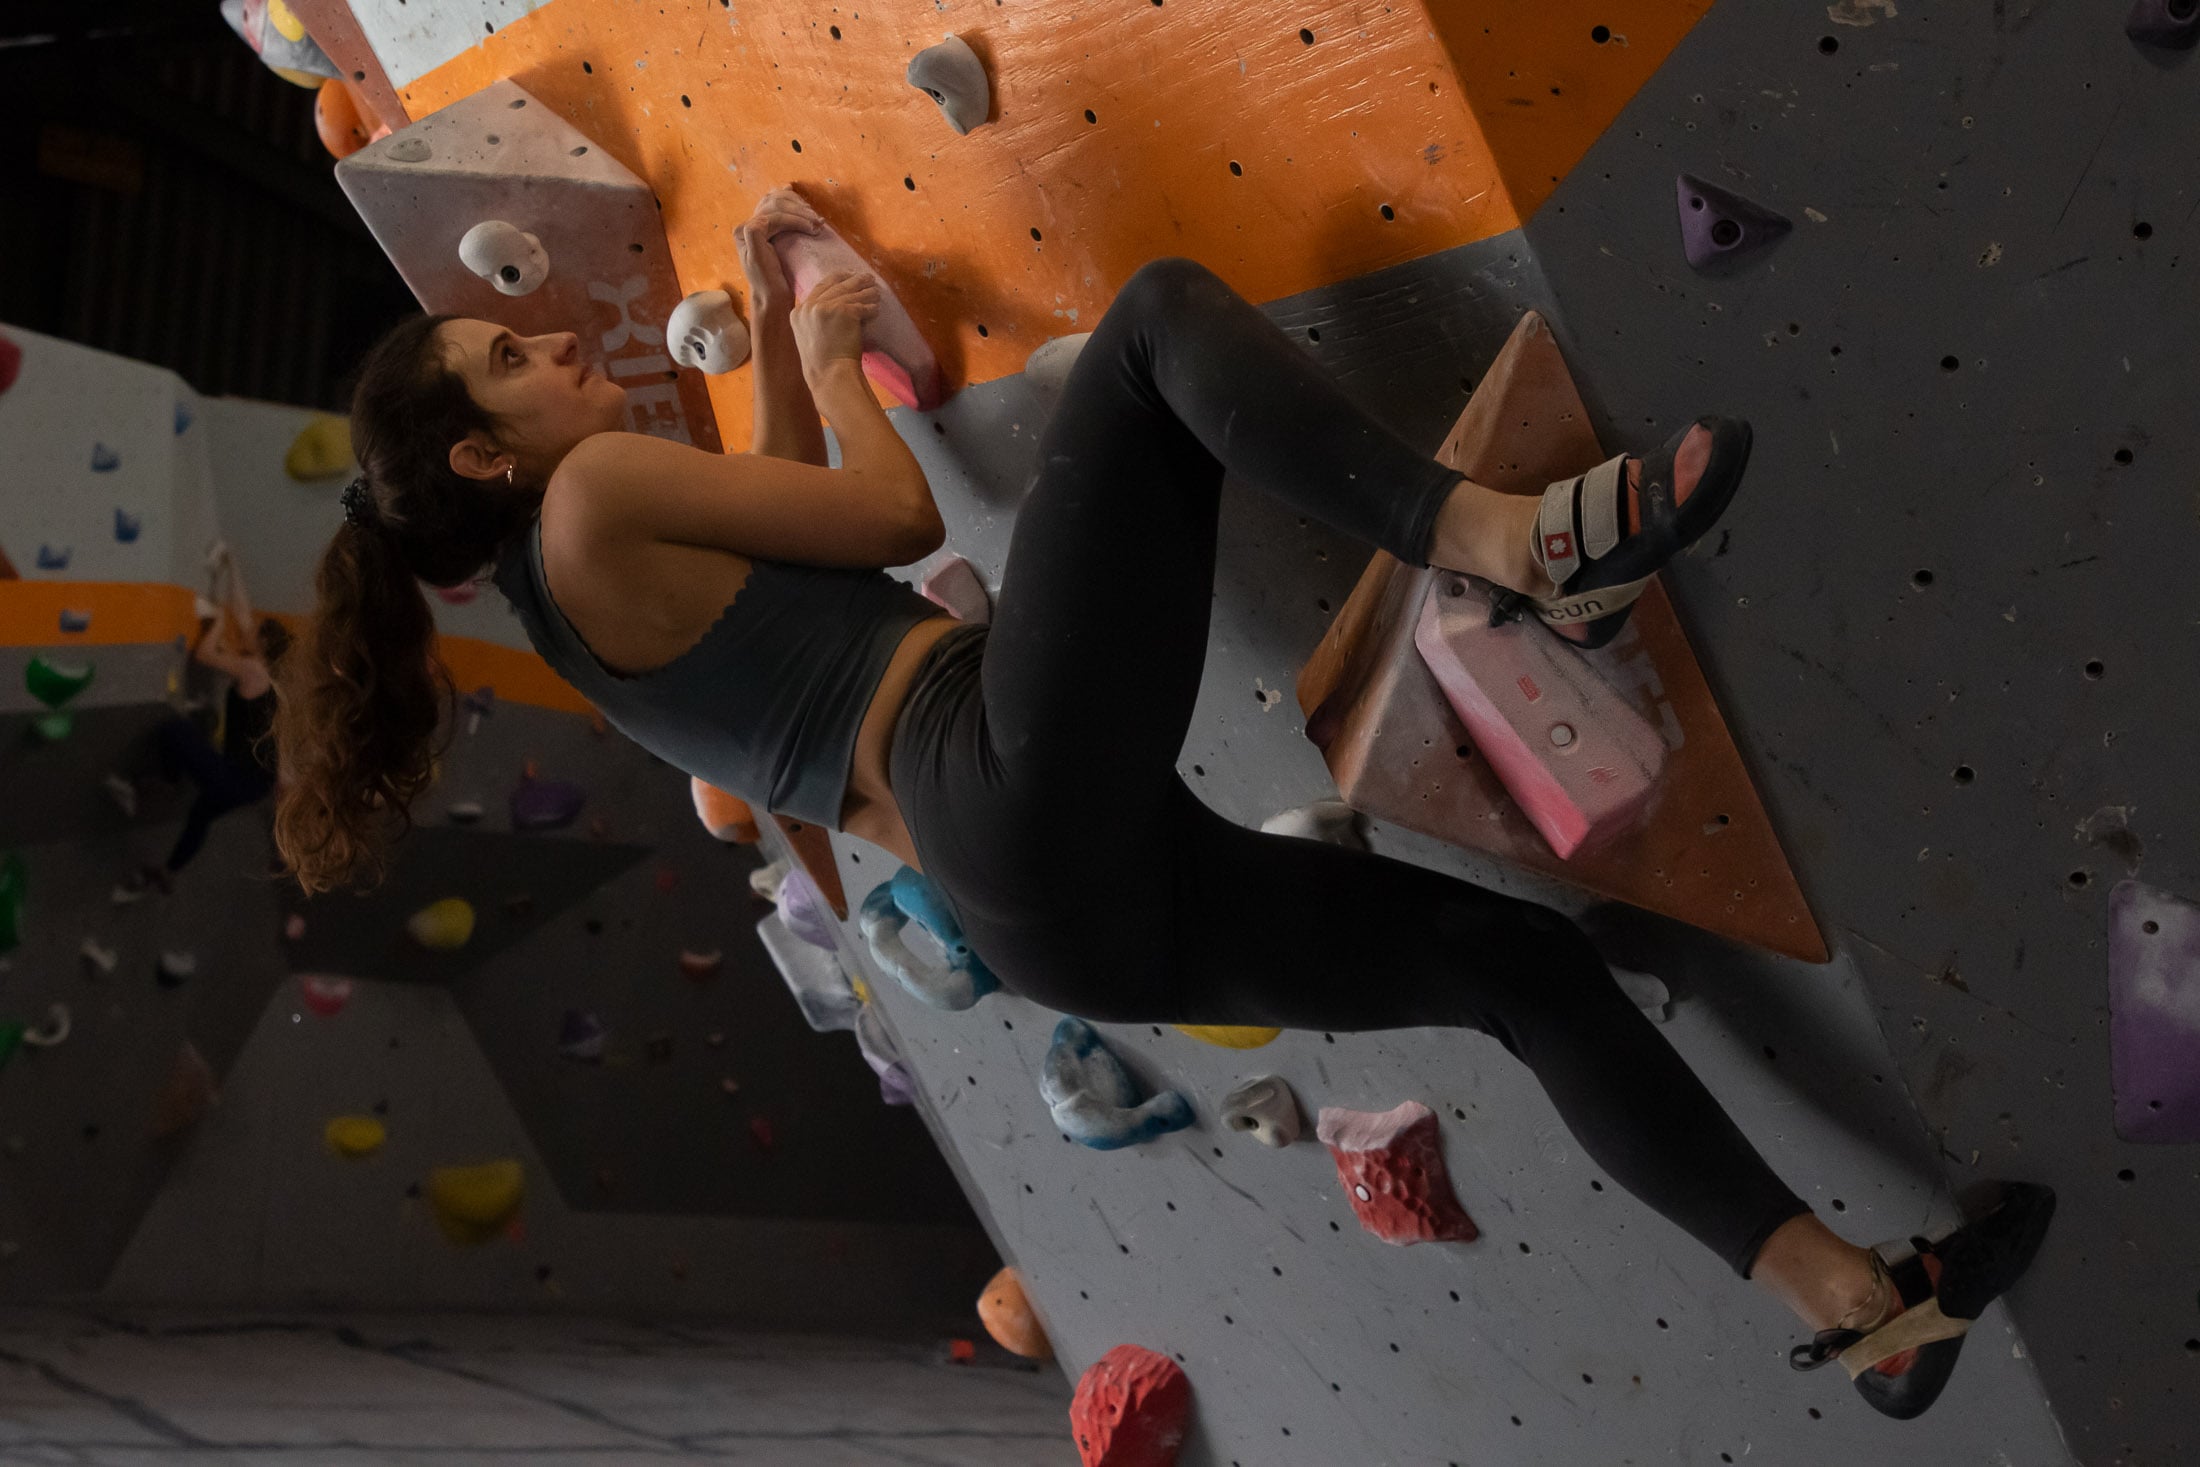
Whereas boards are typically of a certain angle (around 30 to 45 degrees), bouldering walls vary in angle and shape. This variability makes bouldering more fun and more conducive to developing a wide range of movement skills. Does that mean you can think of a regular bouldering session as training? Maybe, but there are better ways to use bouldering as a training tool. Instead of the usual warm-up and try-hard routine, aim for volume over maximum difficulty. Research shows that the key to better muscle recruitment is not high intensity but a high volume of training at moderate intensity (70 to 80% of max). That’s good news if you find that repeatedly throwing yourself at hard problems just leads to injury.
Progressive overload
As it is with most types of resistance training, progressive overload is key to making continuous gains and avoiding injury when training grip strength. What it progressive overload exactly? It’s the incremental increase of load over the course of a training program. As your muscles become stronger, you have to subject them to higher levels of resistance to ensure continuous adaptation. Progressive overload achieves this through gradual and measured increases, thereby reducing the risk of injury while also ensuring sufficient increases in work load.
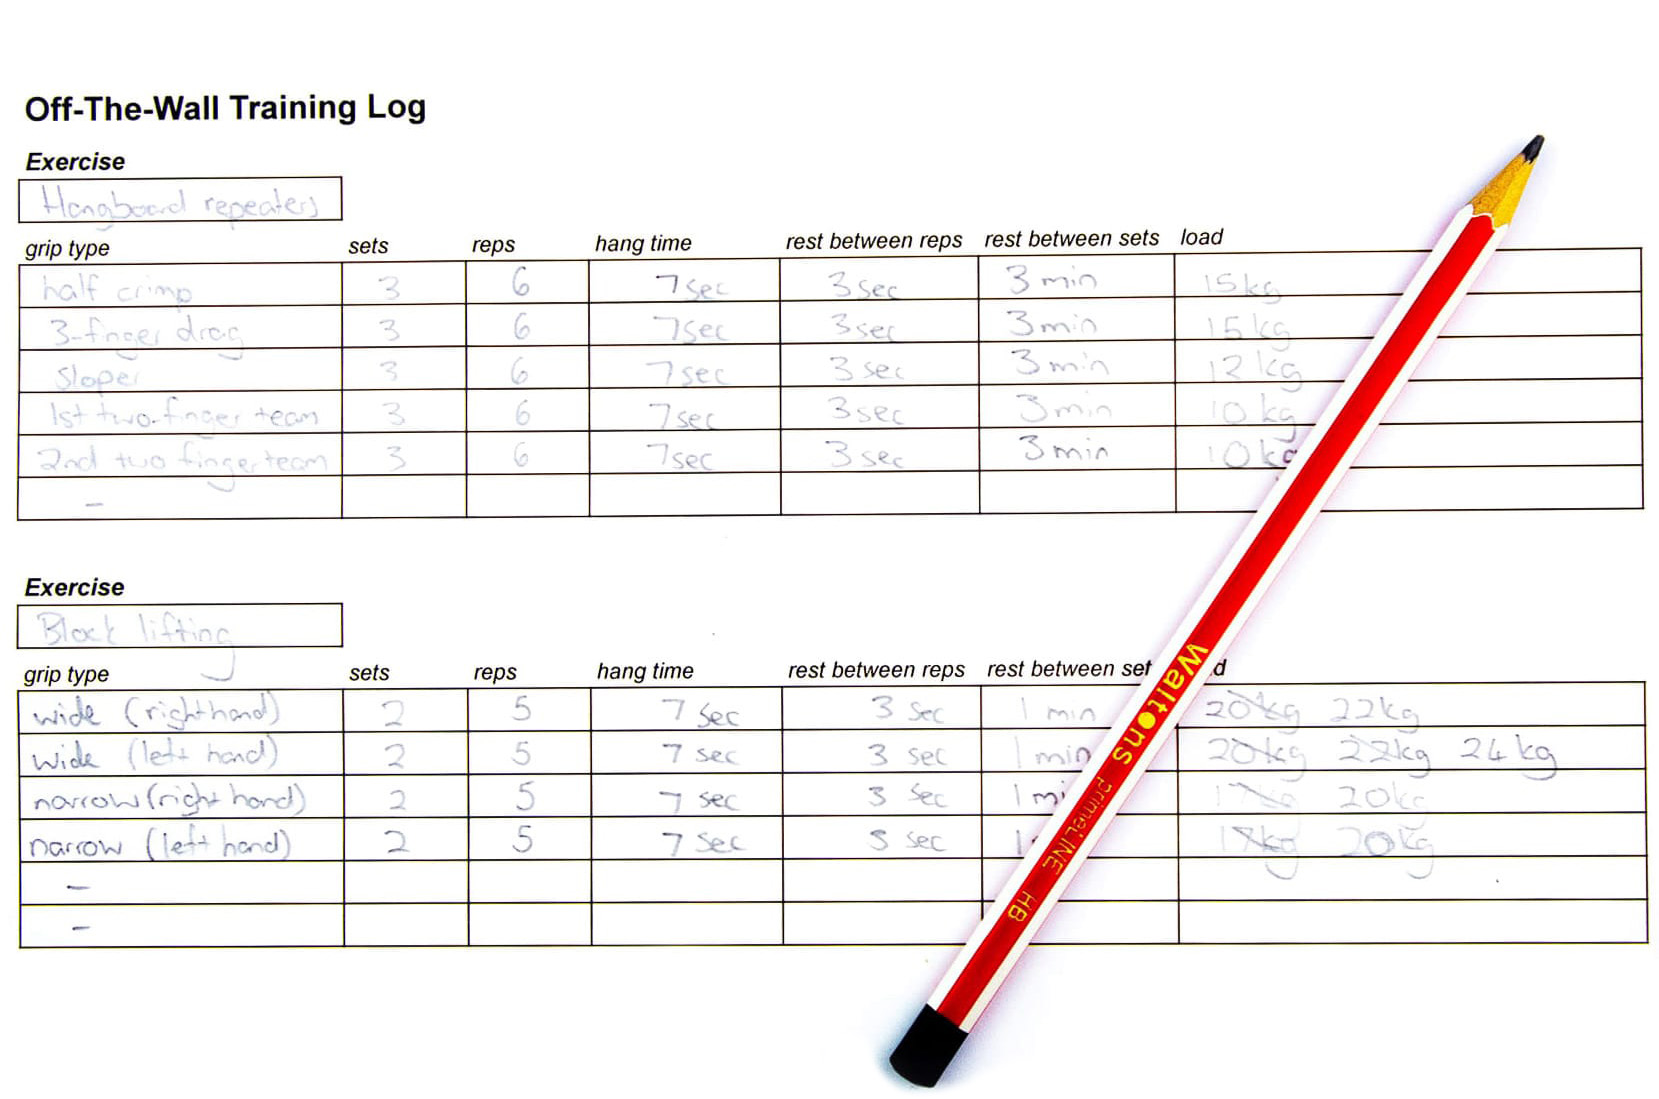
There are three variables that can be used to affect progressive overload. These are intensity, volume, and frequency. Given the need for sufficient rest between sessions, you’re unlikely to increase the frequency of workouts. If you start a program doing two intense grip strength sessions a week, you will likely still only be capable of two sessions at the end of the program. That leaves us with intensity and volume.
Intensity
There are three factors you can use to adjust the intensity level in hangboarding and block lifting.
- Length of hangs
- Size and angle of the edge or hold
- Amount of extra weight
Given that hang length will normally be determined by the protocol, the norm is to use either hold size of extra weight as a variable – not both. For example, when training the 3-finger drag, you will either add more weight or change edge size to adjust the level of resistance.
Volume
You can increase volume by doing more repetitions in each set or by doing more sets in a single workout. Given that you can only increase the number of reps in a set by a few repetitions before you have to reduce resistance, it is usually more practical to increase the number of sets in a workout. This is why I recommend starting with just two grip types when handboarding (six sets total) and then adding other grips (and sets) to increase the volume.
Avoiding and managing injuries
Injury management is just part and parcel of training grip strength. Because the connective tissue in your joints adapts more slowly than soft tissue, it’s almost inevitable that your muscles will become too strong for your joints and pulleys. But, there are at least four things (besides progressive overload) that you can do to mitigate the risk of a debilitating injury.
Take antagonist training seriously
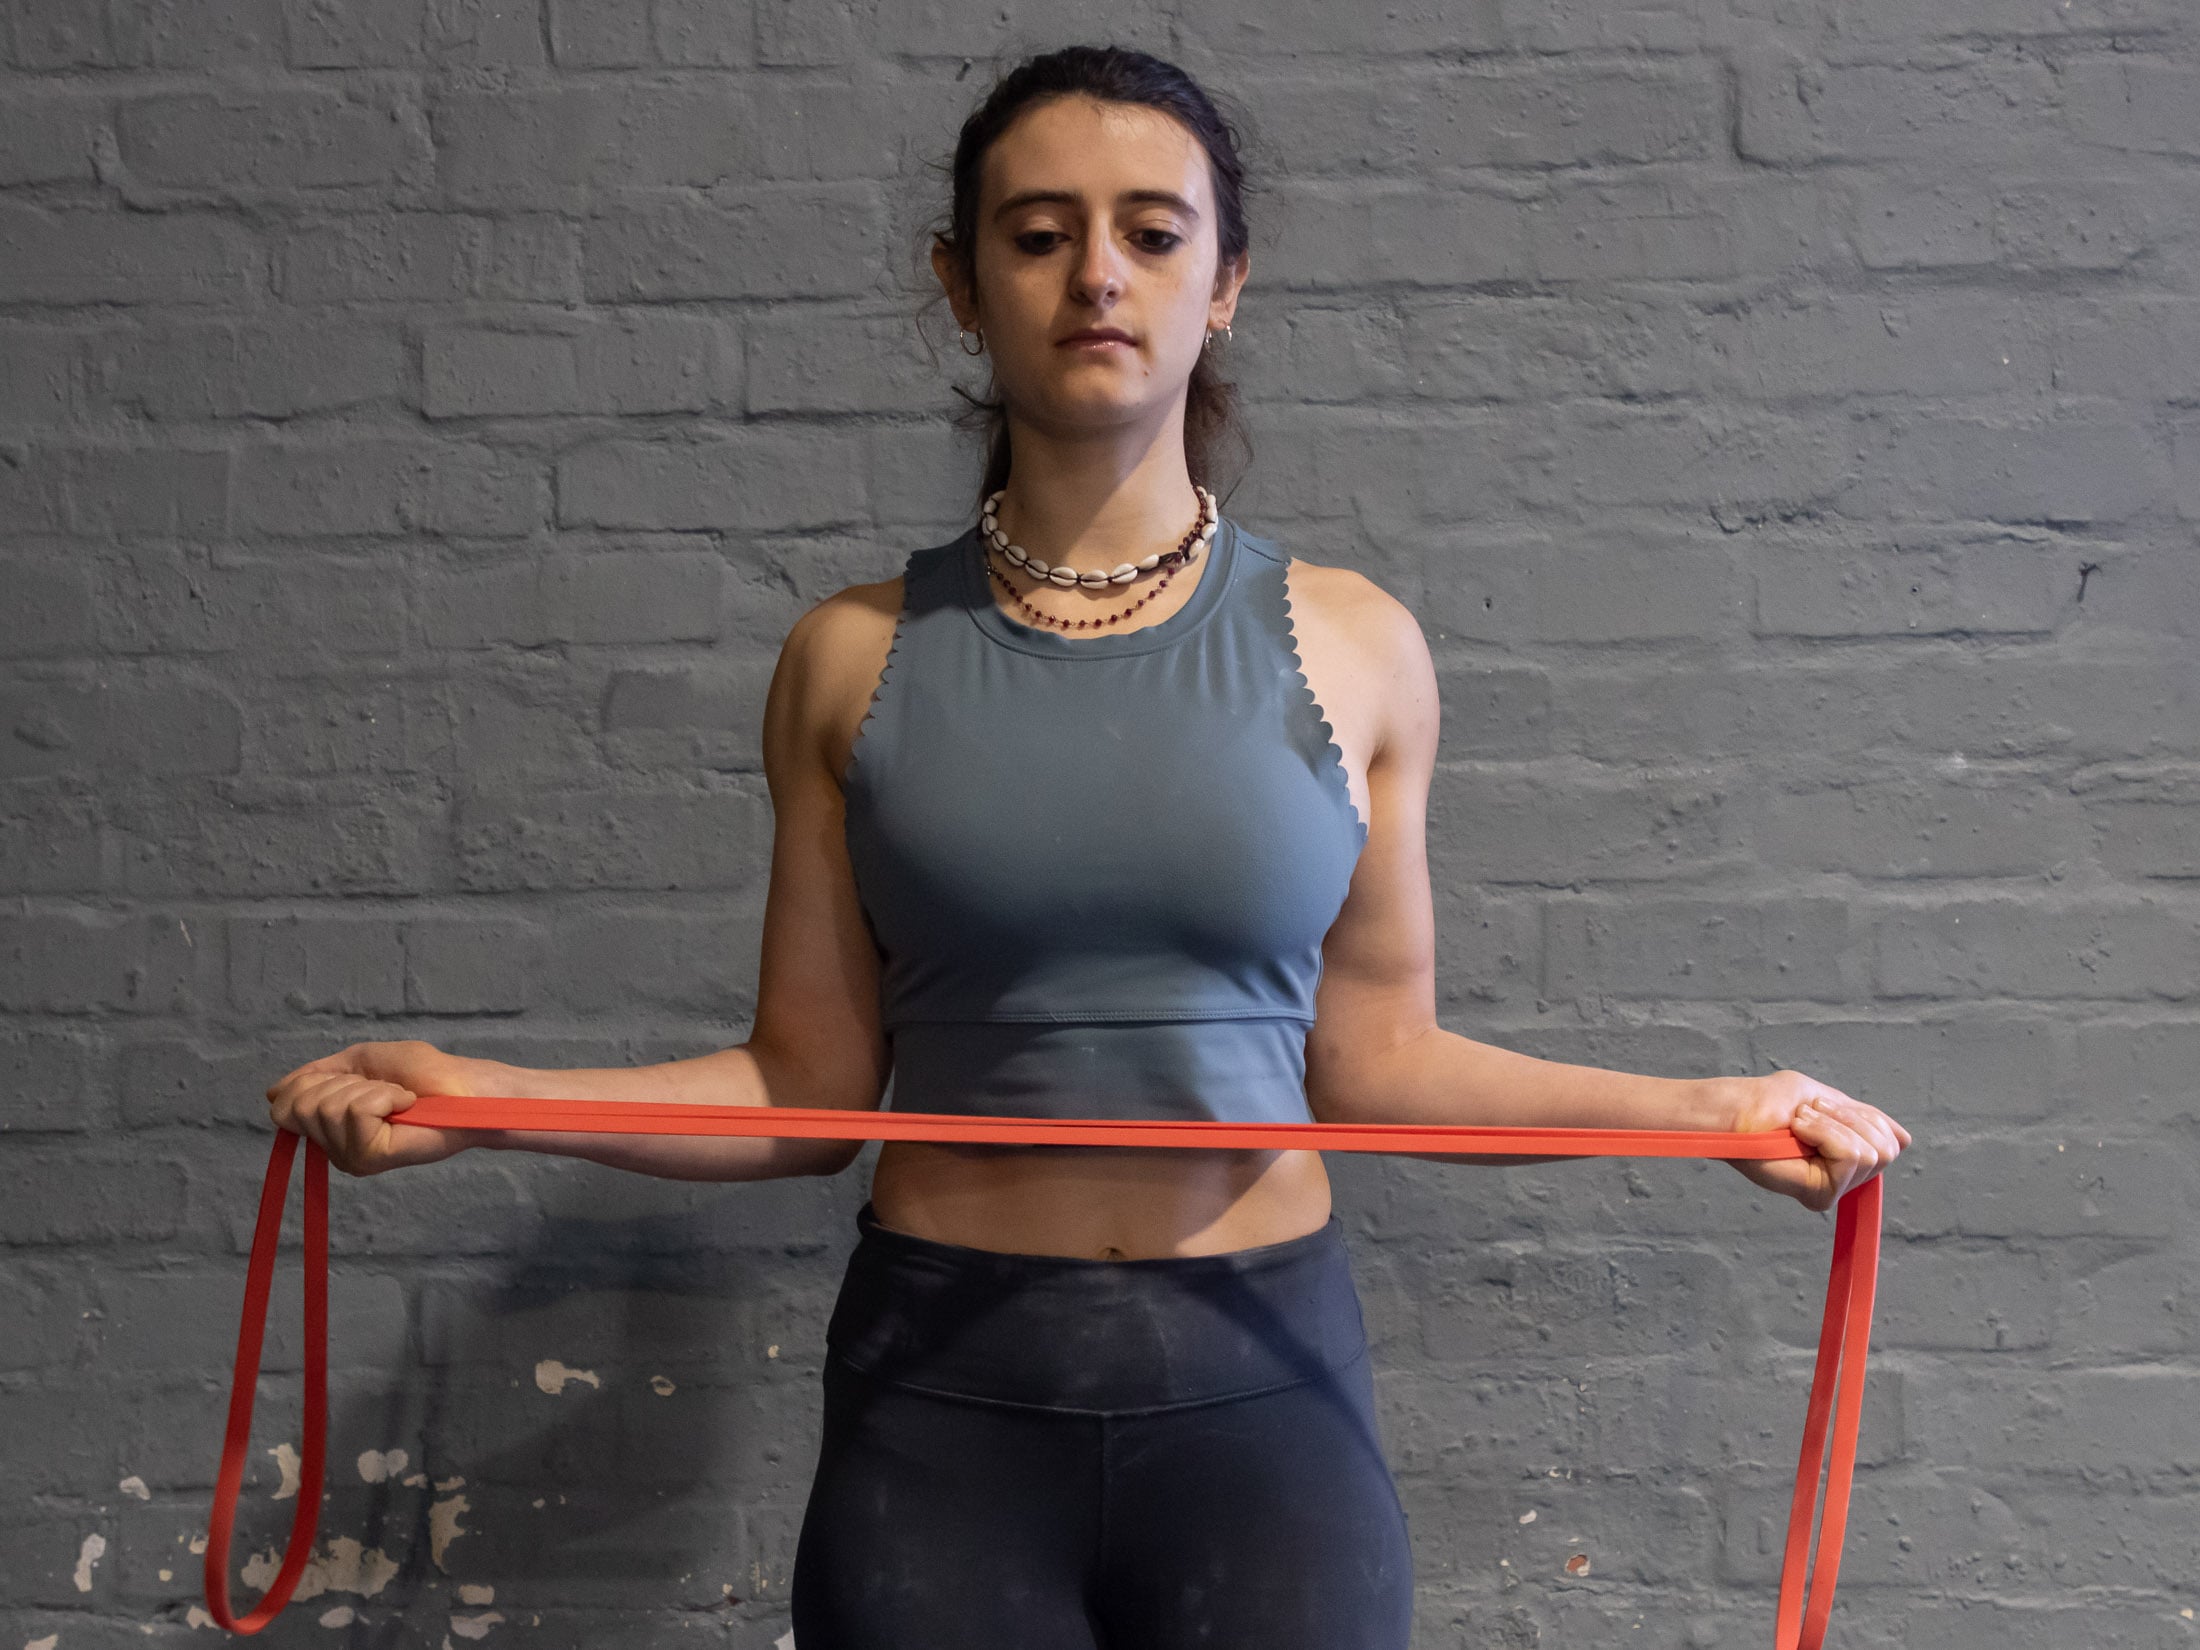
Given the kind of muscle imbalances it can lead to, neglecting to do forearm antagonist training only invites injury and downtime. If you are about to start a strength training program and are currently doing reverse wrist curls once a week or even only once every second week, know that your current approach is not going to cut it. You need to do a full forearm antagonist routine at least twice a week to stave off a strength-compromising muscle imbalance. This workout need not take longer than twenty minutes and can be done at home while you watch TV or listen to music. Afterward each workout, stretch and foam roll your forearms extensors (or use some other kind of manual release technique) as you would your forearm flexors.
Warm up properly before any grip-strength session
It’s important to prime your muscles, pulleys and tendons before any kind of heavy lifting. A thorough warm up is at least 15 minutes long and includes a pulse raiser, some dynamic stretching and some light strength-based movement like easy climbing. The point of the pulse raiser is to get you warmed up before you start stretching, so if you are going to skip it, I suggest that you use dynamic stretches that offer some resistance. For home training sessions, where warming up on a boulder wall isn’t an option, you will need to do some lighter warm-up sets using a lifting edge or hangboard. With a lifting edge, you can simply start with lighter loads, but with a hangboard, you will need to put your feet on something or create a little anti-gravity assist using a pulley or elastic.
Put more time between strength training phases
The risk of injury is greatest when muscles are stronger than the joints and pulleys they act on. By putting more time between strength training phases, you give your connective tissue more time to adapt and catch up to the capacity of your muscles. Boulderers are most at risk of finger injuries because they tend to skip the endurance phase in a training program. This means they alternate between the strength training phase, power-endurance phase and general bouldering, which is also very strength focussed. If this is you and you’ve had several finger or hand related injuries over the years, you might want to put some endurance training or periods of easier climbing between all the crushing.
Allow for adequate rest and recovery between sessions
There are three reasons you should ensure sufficient rest and recovery between sessions. The first is that you can’t put in quality sessions if you are tired, and that means that you just won’t get as much out of your investment in time and energy. The second reason is that tired muscles are more susceptible to injury. Even if muscular injuries are a lot less common and debilitating than say pulley injuries, fatigued muscles cannot support a joint properly or allow you to move with proper form, which can ultimately result in injury to a joint. Thirdly, adaptation occurs in the recovery time between sessions and not during the actual workouts. If you skimp on rest days, you won’t bank the gains made in previous sessions. Put a rest day after every intense grip training session.
How to incorporate grip strength into a training program
How and when you train grip strength will depend on your level and your training goals. Beginner climbers and even those in their second season would benefit more from bouldering since it allows them to also work on their movement technique. Intermediate climbers who are just getting into focussed training for the first time will benefit from some off-the-wall training like hangboarding or edge lifting, but they should limit these sessions to once a week. More advanced climbers (those trying to build a solid foundation in the lower to mid 5.12’s) can do up to two off-the-wall sessions a week in addition to a few sessions of bouldering or rope climbing.
Regardless of your level, it’s important to give yourself time to recover after a grip strength session. You shouldn’t do any kind of hard climbing the day after you’ve taxed your forearms, and you should put at least two days between hangboard sessions to avoid putting unnecessary strain on tendons and pulleys. Practically this means that you are probably going to do intensive grip strength training no more than two days a week, although some advanced climbers might manage a third day. As for how long to train grip strength, the norm is for a strength phase to last between four to six weeks although you could make it as long as eight weeks if you take things slowly and take a deload week after the first four weeks.
Learn more
Don’t stop here. This was just one of many articles in a whole series on training for climbing. Next up are articles on hangboarding, block training, board training, and bouldering. Read on, and you’ll learn everything you need to know to take your grip strength to the next level.
