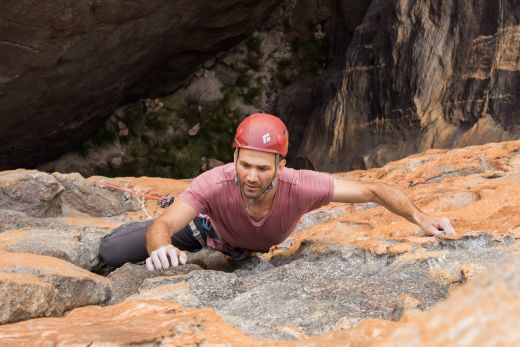
When most new tradsters think of the skills they have to acquire in their development as trad climbers, they think only of the skills needed to place gear. But there’s a lot more to trad climbing than learning to place a nut or cam. Trad calls on a whole range of skills that many climbers won’t have acquired if they previously only clipped bolts on single-pitch sport routes. Belaying off a stance, rappelling, route finding, and self rescue – these are just some of the new skills that neophytes need to acquire before they can consider themselves fully fledged trad climbers. In this article, I briefly go into all of these, including links to other articles in case readers want to go into these topics in more depth. For example, if you really only want to learn how to place gear, you can go straight to my article on leading on trad.
Learning is a journey
A quick glance down this page will reveal a list of twenty skills. Having to learn so much might be a little overwhelming to a new tradster who expects to have to learn all of these skills over their first few trips. But that’s not the case. You’re not going to acquire all these skills in your first few months or even the first season of your journey into trad. Learning and honing all of these skills will take two or three seasons, and that’s okay. You won’t need all of these skills at first. Many will only be important when you get into multi-pitch trad, and some you’ll only need when you start to take on bigger, more adventurous routes. The best approach is to acquire and hone skills as you need them. To make that easier, I’ve given each skill a level: beginner, intermediate or advanced.
Beginner – single-pitch trad
Most first-time tradsters only need the skills required to get them up and down a single-pitch route. That means knowing how to place gear, how to build an anchor and belay off it, how to follow and remove gear, and how to rappel. Whether or not a new climber has to learn new movement skills like crack climbing will depend a lot on where they start trad climbing.
Intermediate – multi-pitch trad
When it’s time to take things up a notch and attempt one’s first multi-pitch climb, the budding tradster has to acquire a few new skills and hone those that she has only just started to develop. Among the new skills, she will have to learn how to prusik up a rope (and other self-rescue basics), how to protect a belay anchor from a factor 2 fall, and how to work as a team to improve efficiency.
Advanced – adventure climbing
The remoteness and length of adventure routes demand a higher level of preparedness and self-sufficiency from the teams who climb them. Besides having the requisite backcountry skills, ambitious climbers need to know advanced self-rescue techniques and have finely honed anchor building, route-finding, and communication skills. By this point, they should also have a full repertoire of movement skills.
Technical skills
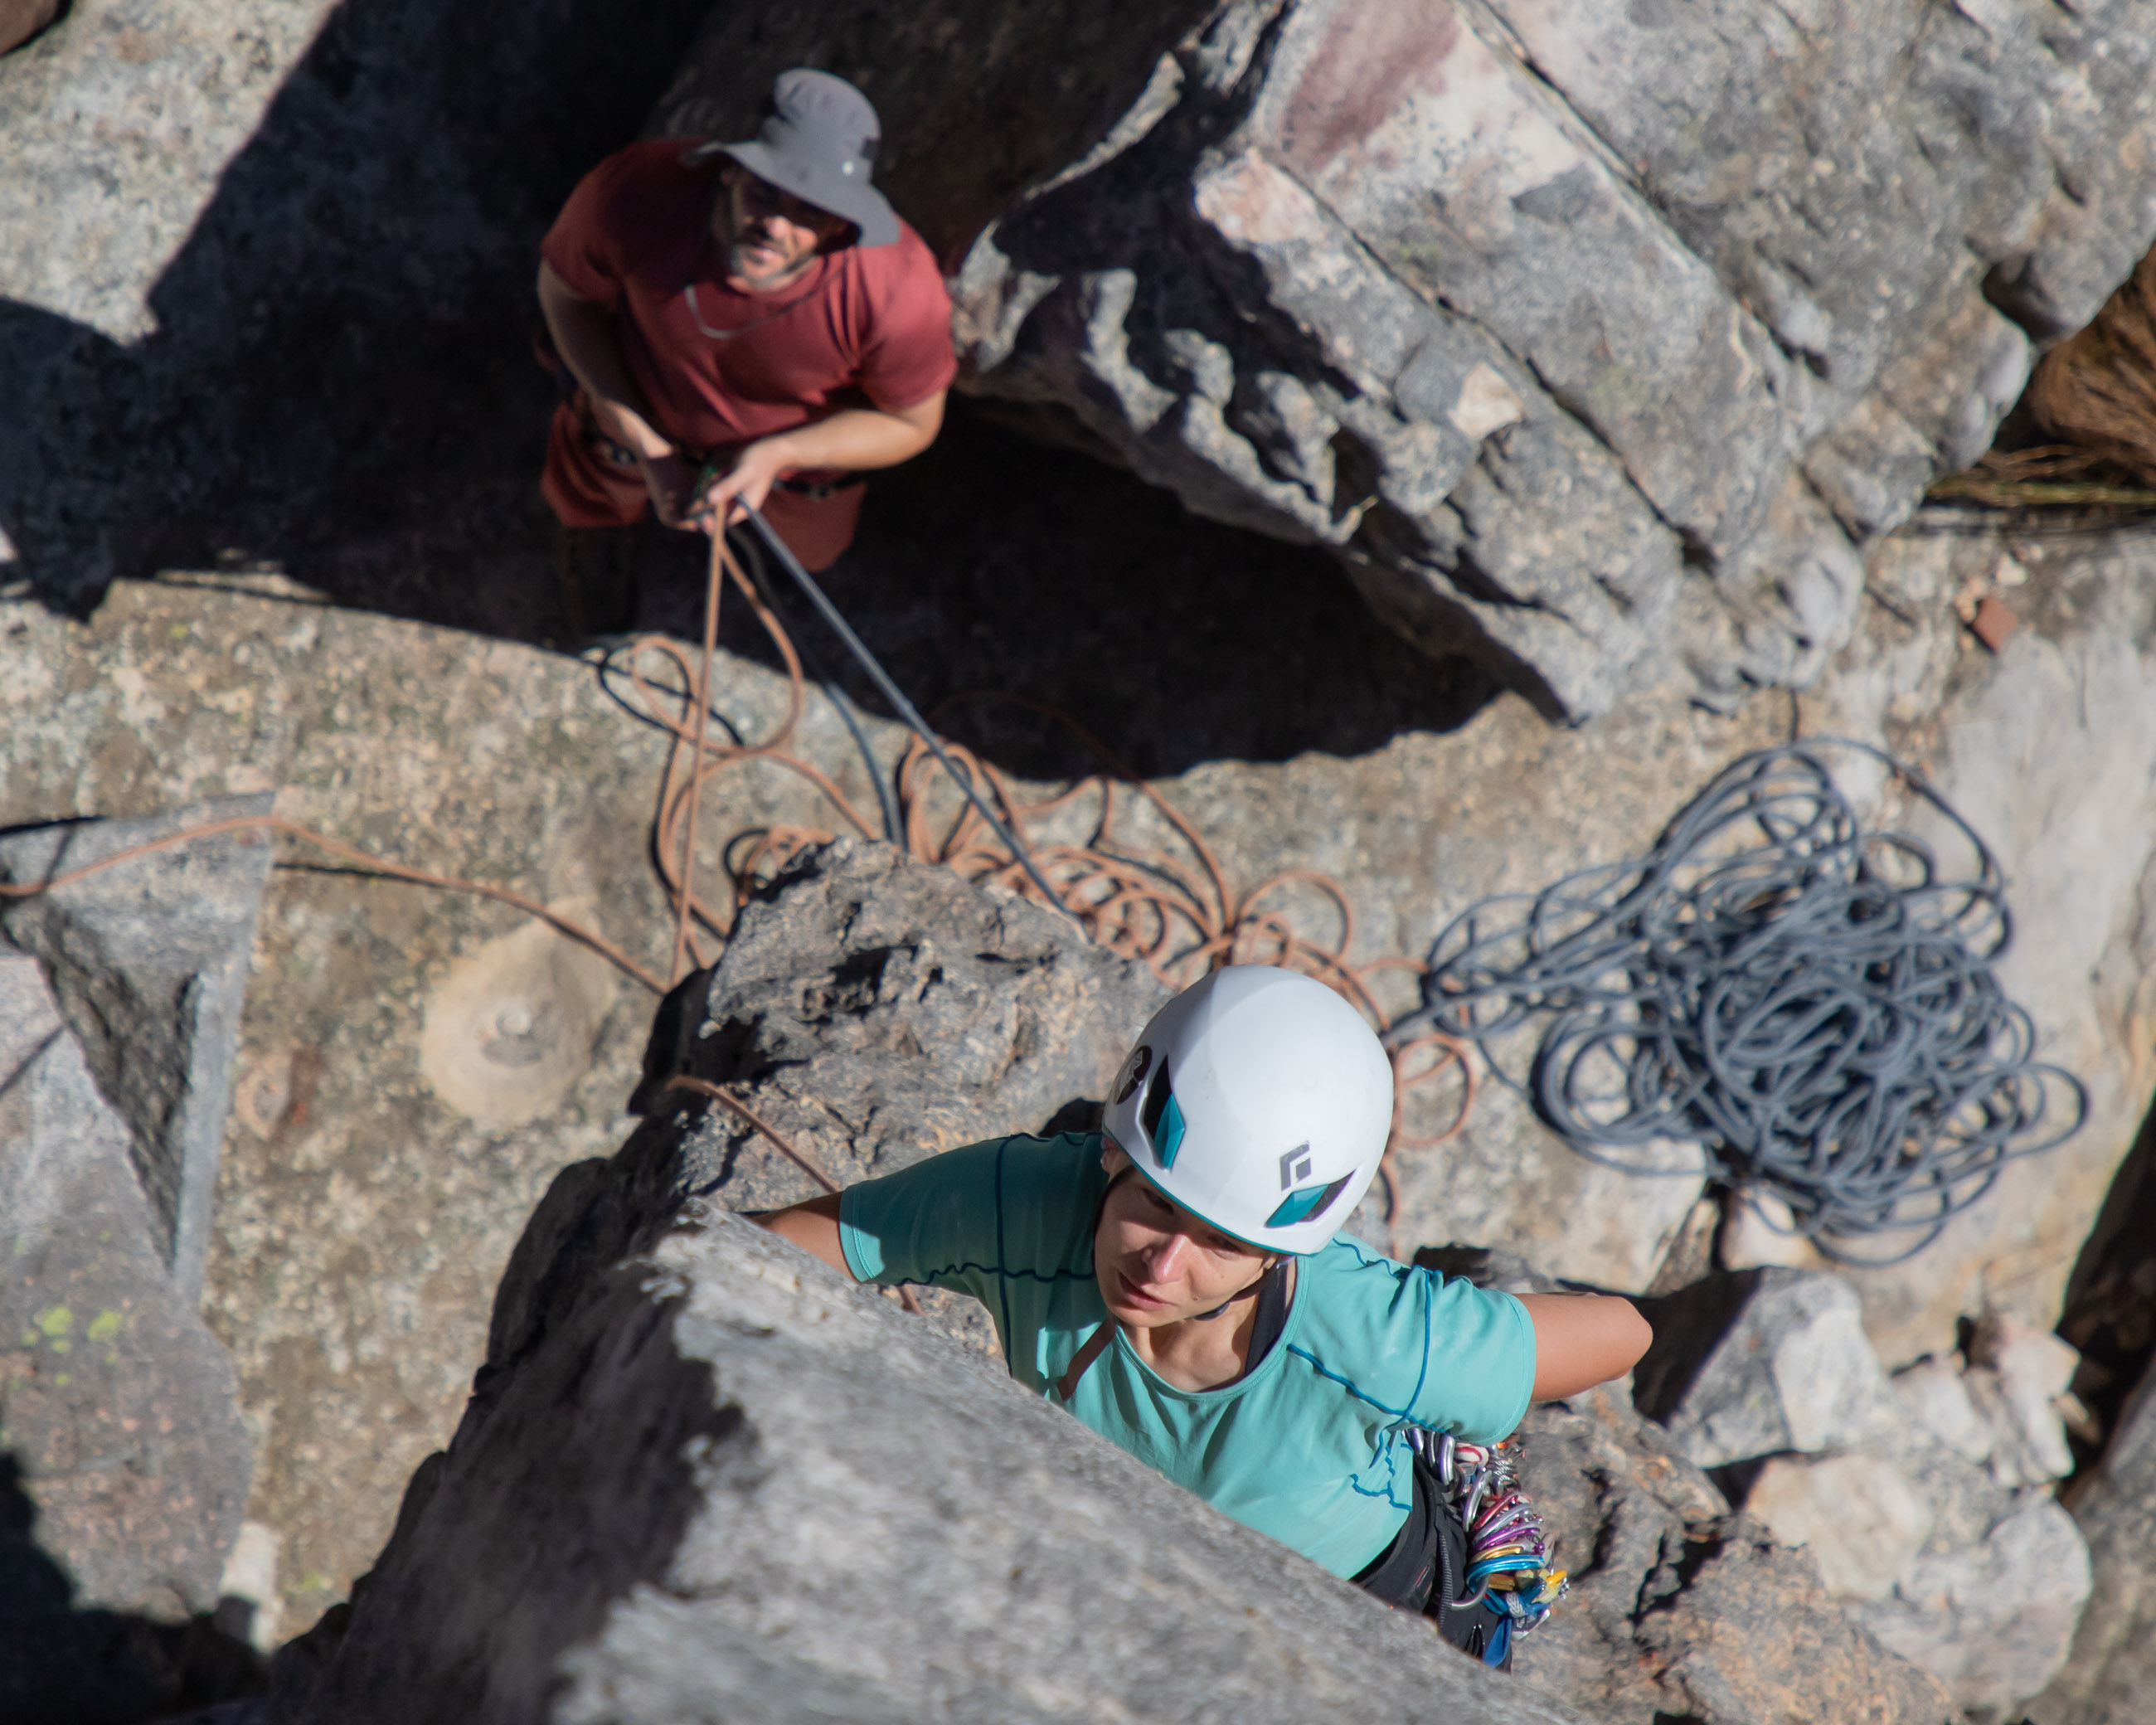
Unless you have done some multi-pitch sport climbing and already have some experience in anchor building, belaying followers from a stance, and rappelling, you’re going to have to learn several new technical skills early on. Fortunately, you only need the basics to climb easy single-pitch trad routes and can develop your skills further as you become more ambitious in your climbing objectives.
Racking gear
SKILL LEVEL: BEGINNER
To be an efficient trad climber, you have to be able to find and retrieve gear from your rack quickly. That means having a system so that you know exactly where to find something when you need it. The last thing you want to do is pump out while searching for the one piece that will protect a tricky crux sequence. Of course, no two trad racks are exactly the same, and the systems that climbers use for racking gear differ slightly too. In devising one’s own system, a climber has to consider competing priorities like ease of access, frequency of use, and the dexterity of the closest hand, all of which can make things a bit complicated. My article on how to rack trad gear goes into this process in greater detail.
Placing gear
SKILL LEVEL: BEGINNER
If you think that this is the most important skill in trad climbing, you’re half right. Knowing how to place gear and how to build a solid belay anchor are equally important – so important that you should have the fundamentals down pat before you rope up for your first lead. After all, both your and your partner’s safety will depend on your placements.
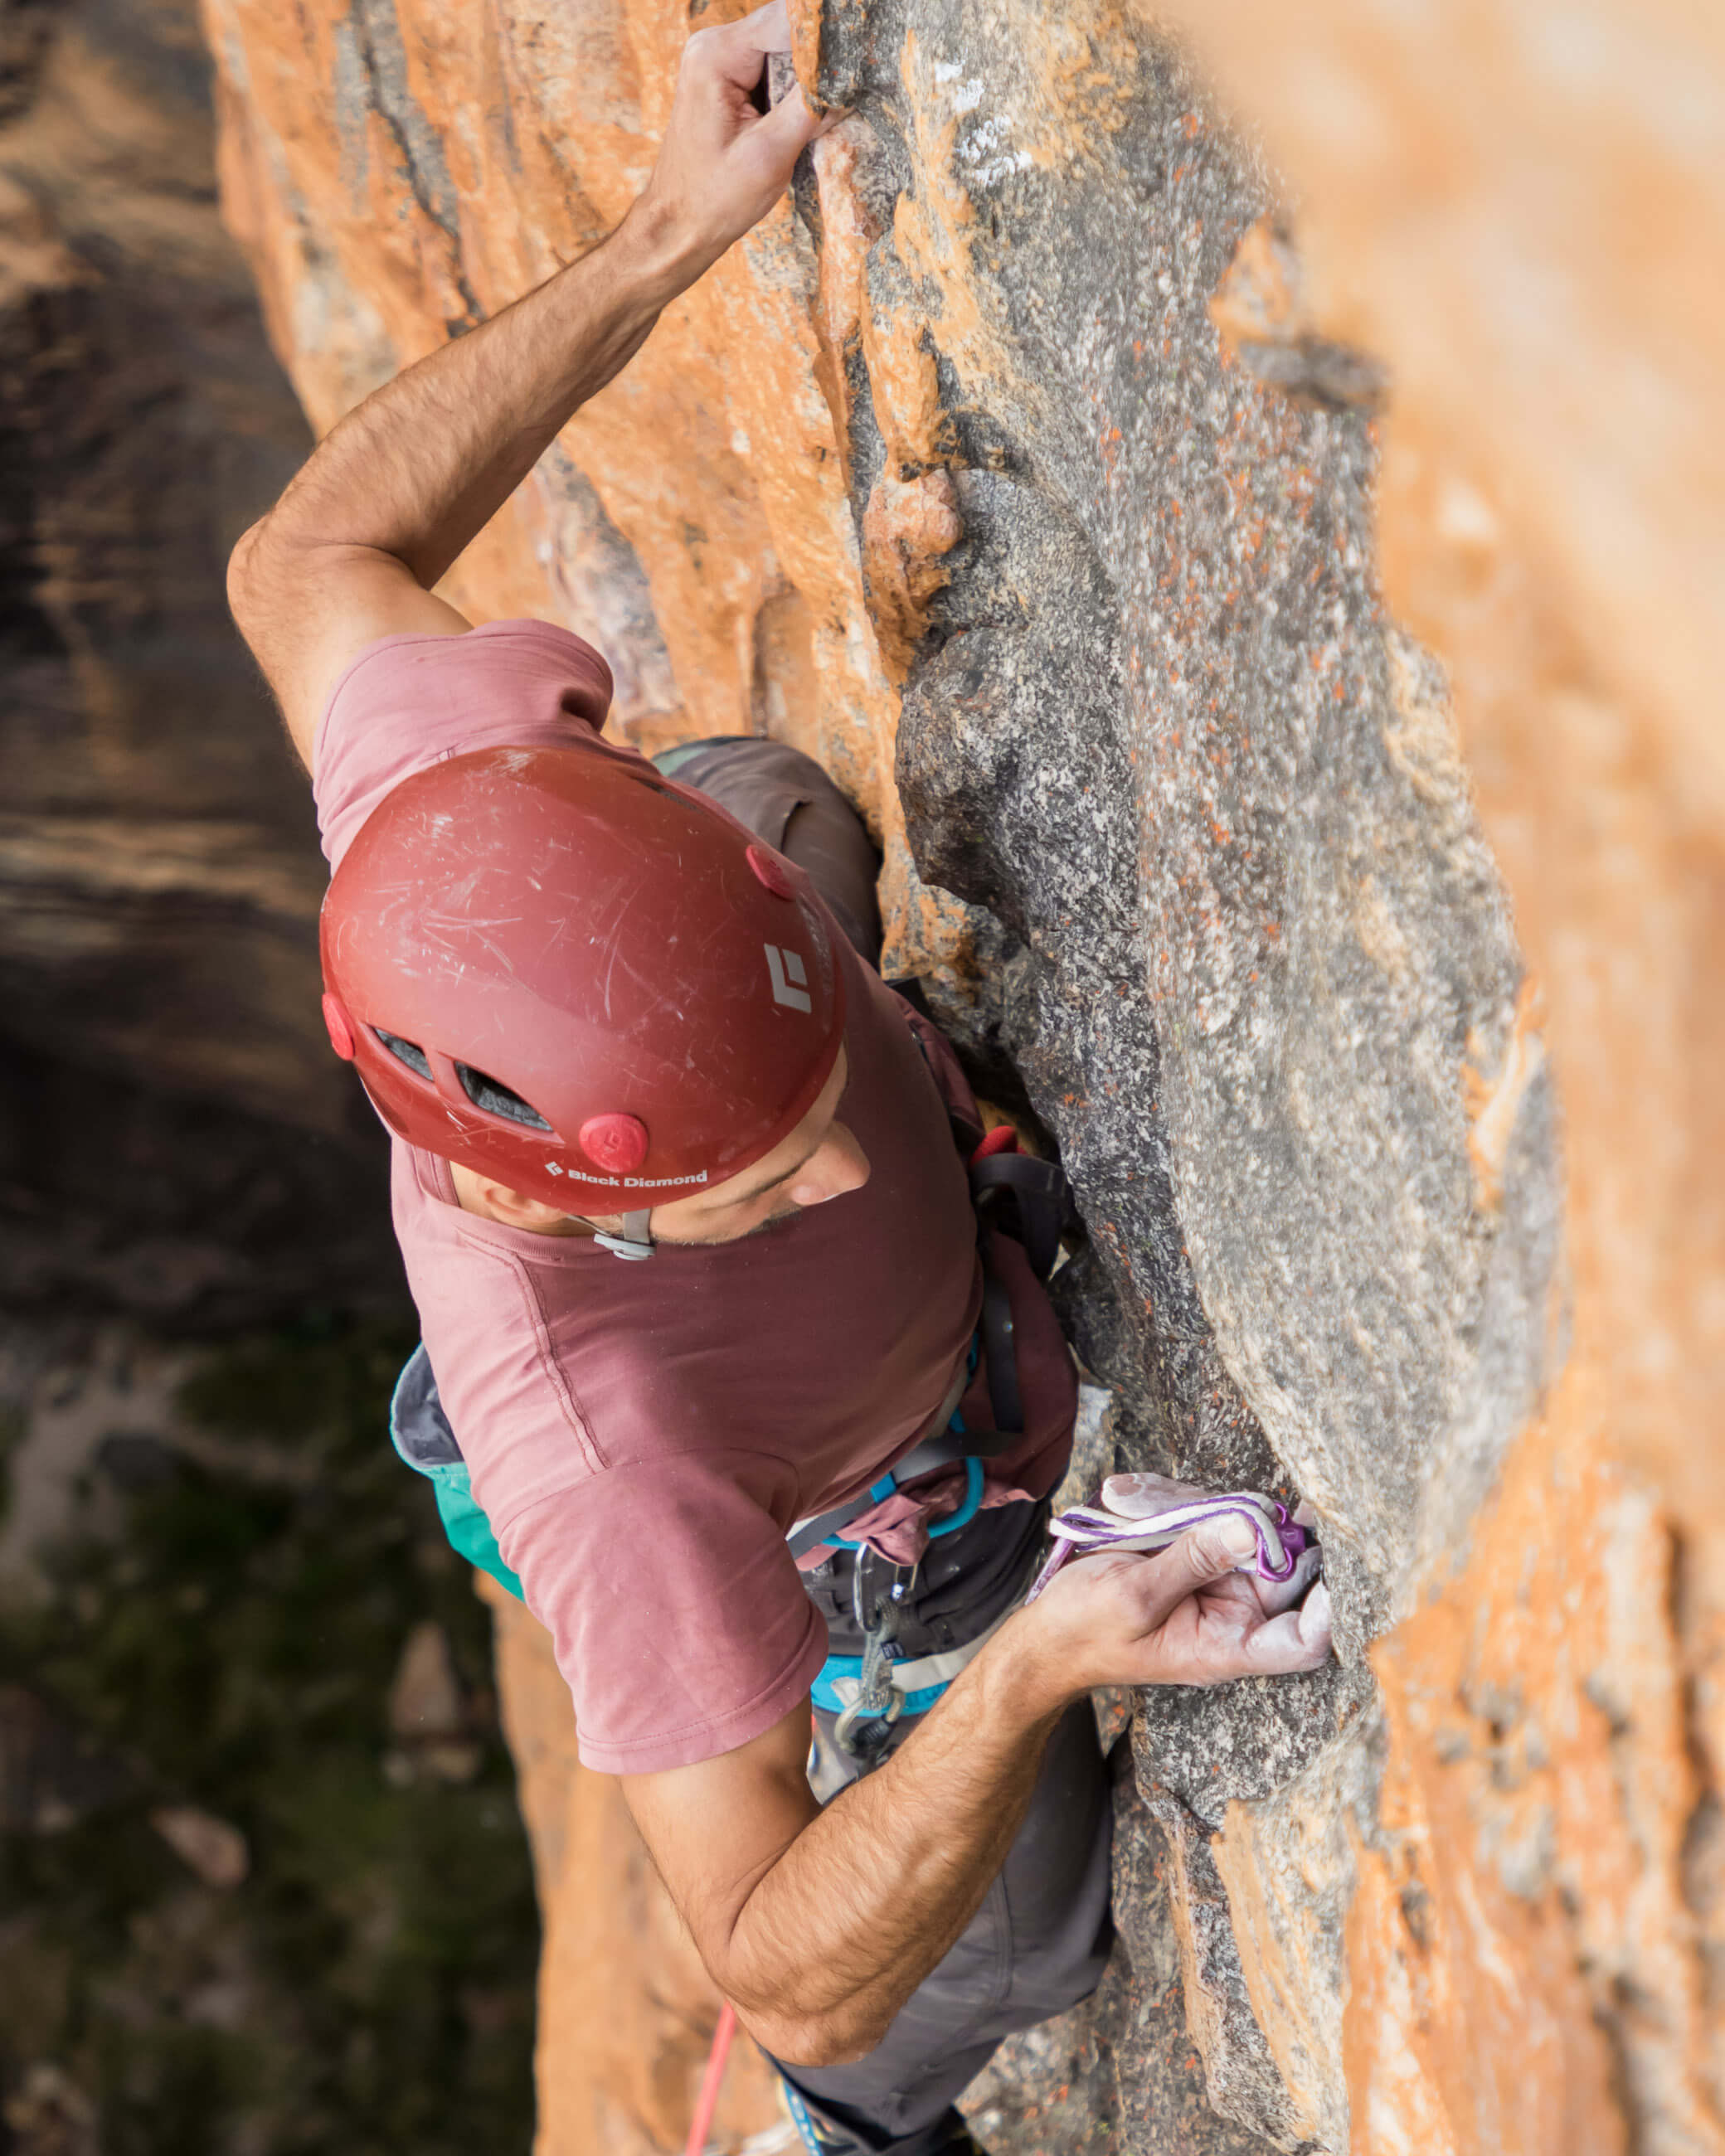
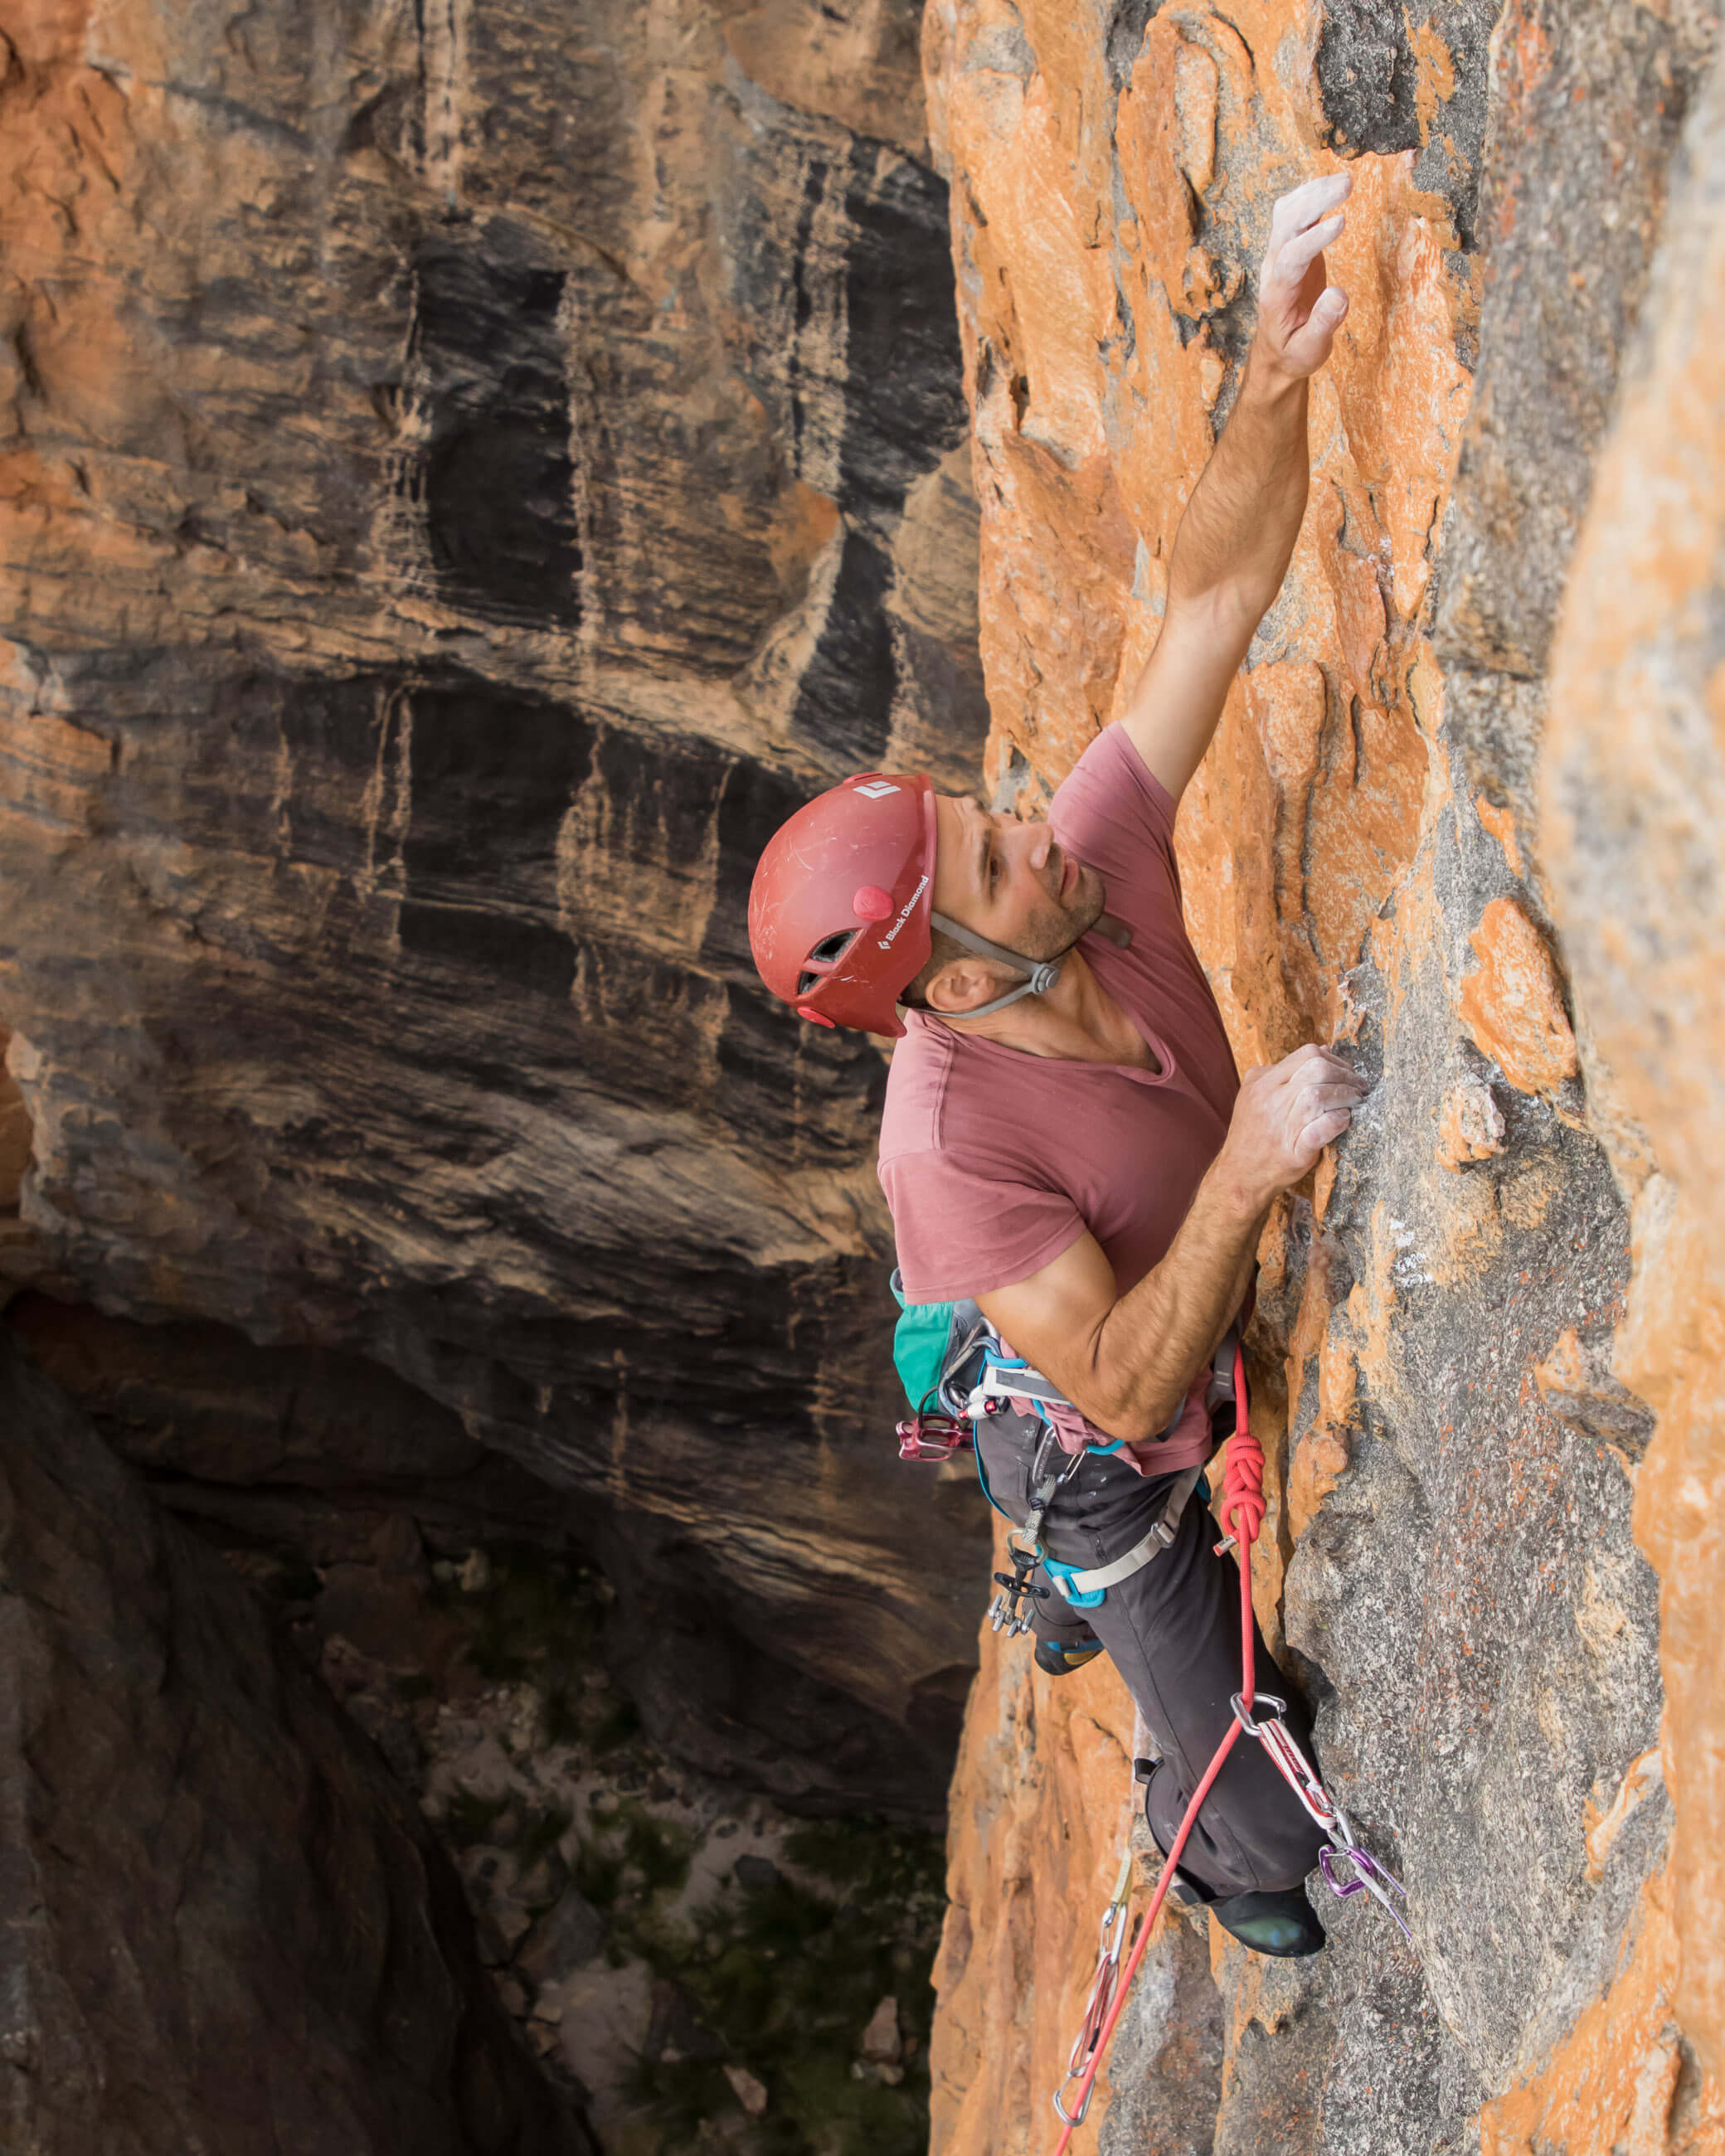
It’s recommended that you practise your first hundred placements on the ground and under the supervision of an experienced trad climber. You’ll likely find that medium to large cams are relatively easy to place while micro cams and nuts pose more of a challenge. Once you are confident in your ability to find and use solid placements, you still have to learn how to conserve gear, and how to extend it, and how to avoid lateral forces on directional placements. I cover all of these in my article on how to lead on trad.
Anchor building
SKILL LEVEL: BEGINNER TO INTERMEDIATE
After learning how to place and extend gear, the next step is to learn how to combine two or more pieces in a multi-point anchor. The actual number of points will depend on whether you can count on every stance having a pair of bolts or whether you will have to occasionally build a 3-point trad anchor. Both commonly used rigging techniques – the quad and the traditional overhand knot anchor – can be used for building 3-piece and 2-piece anchors, but in both cases, a 3-piece trad anchor is more complicated and requires more practice. As with gear placement, this is a skill best practised under the supervision of an experienced trad climber. I recommend learning both techniques (quad and overhand knot), but learn one first, using it to build 2-piece and 3-piece anchors, and then the other. See my articles on the quad and trad anchors for further instruction.
Belaying from above
SKILL LEVEL: BEGINNER TO INTERMEDIATE
After building an anchor, you still have to secure yourself and your belay device to it. If the stance is a bit cramped, you might have to clip yourself directly to the master point via your belay loop. At others, you’ll be able to put a little distance between yourself and the anchor using the rope (clove-hitched to the master point) or a personal anchor system. Positioning yourself a short distance from the anchor is generally better as it allows you to clip your belay device to the master point and give yourself more space for stacking the rope, which can be folded over whatever is connecting you to the anchor.
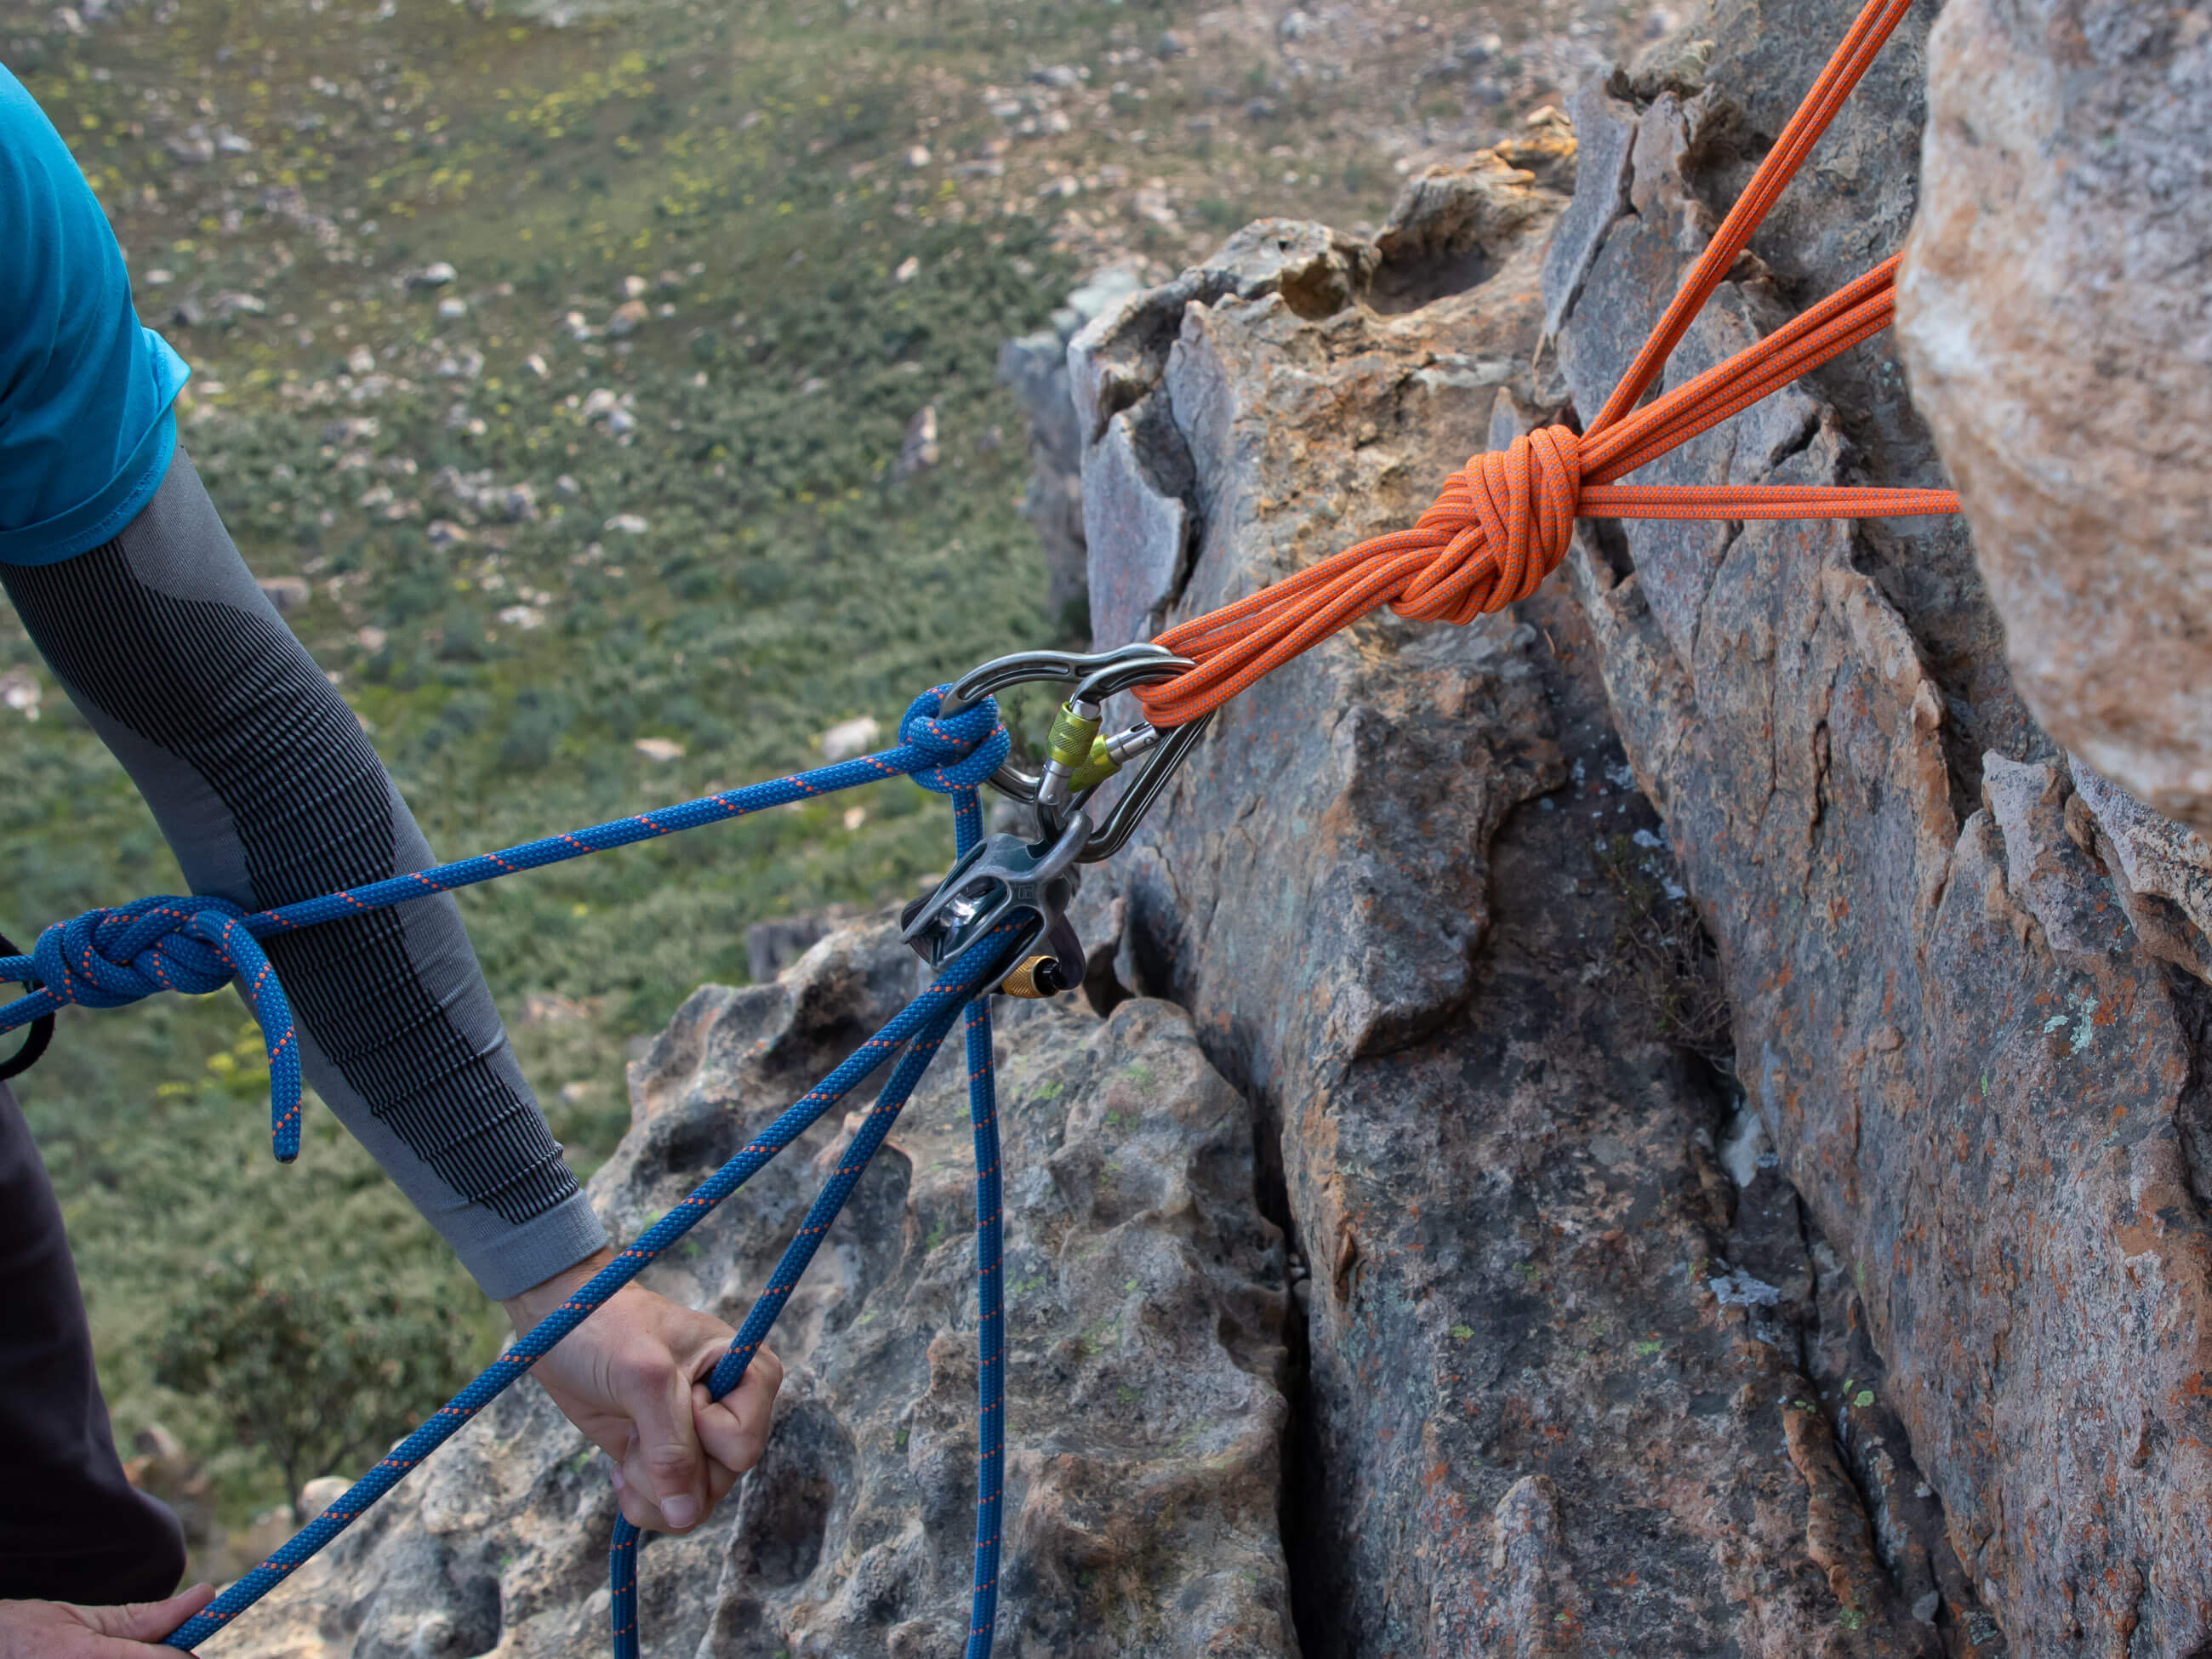
While you do this, it’s also important to note the direction your follower is approaching from and adjust your setup so that the anchor and belay are designed with the expected direction of pull. To learn more about the different techniques for setting up a belay, see my article on how to belay from above.
Following and gear removal
SKILL LEVEL: BEGINNER
Even though gear removal is typically performed by the follower, the importance of this task should not be underestimated. Removing gear can be just as tricky as placing it, and a follower has to be quick and efficient if he is to save time, a factor on most longish climbs. Be especially careful when removing cams that have been placed in constrictions a little too tight for them. They can easily become jammed if pushed into an even narrower part of the constriction. Before trying to extract gear from such placements, look for the wider sections of a crack where it might come out more easily. Besides actually knowing how to remove gear, a follower also needs to know how to return gear to his rack with minimal fuss. Common best practices and time-saving tactics include putting extended alpine draws and slings over a shoulder and clipping nuts (still attached to the quickdraw) to a gear loop with the carabiner holding the nut.
Rappelling
SKILL LEVEL: BEGINNER
You may be able to lower off some single-pitch routes, but the most common ways to descend a trad climb are to walk off or rappel. When starting out, you will likely only need to make single-stage rappels using one rope, but when you start climbing multi-pitch routes, you’ll need to learn to make double-rope and multi-stage rappels to get back to the ground. Some climbers might even choose to use a tag line with a single rope to make double-rope rappels. This too requires its own technique.
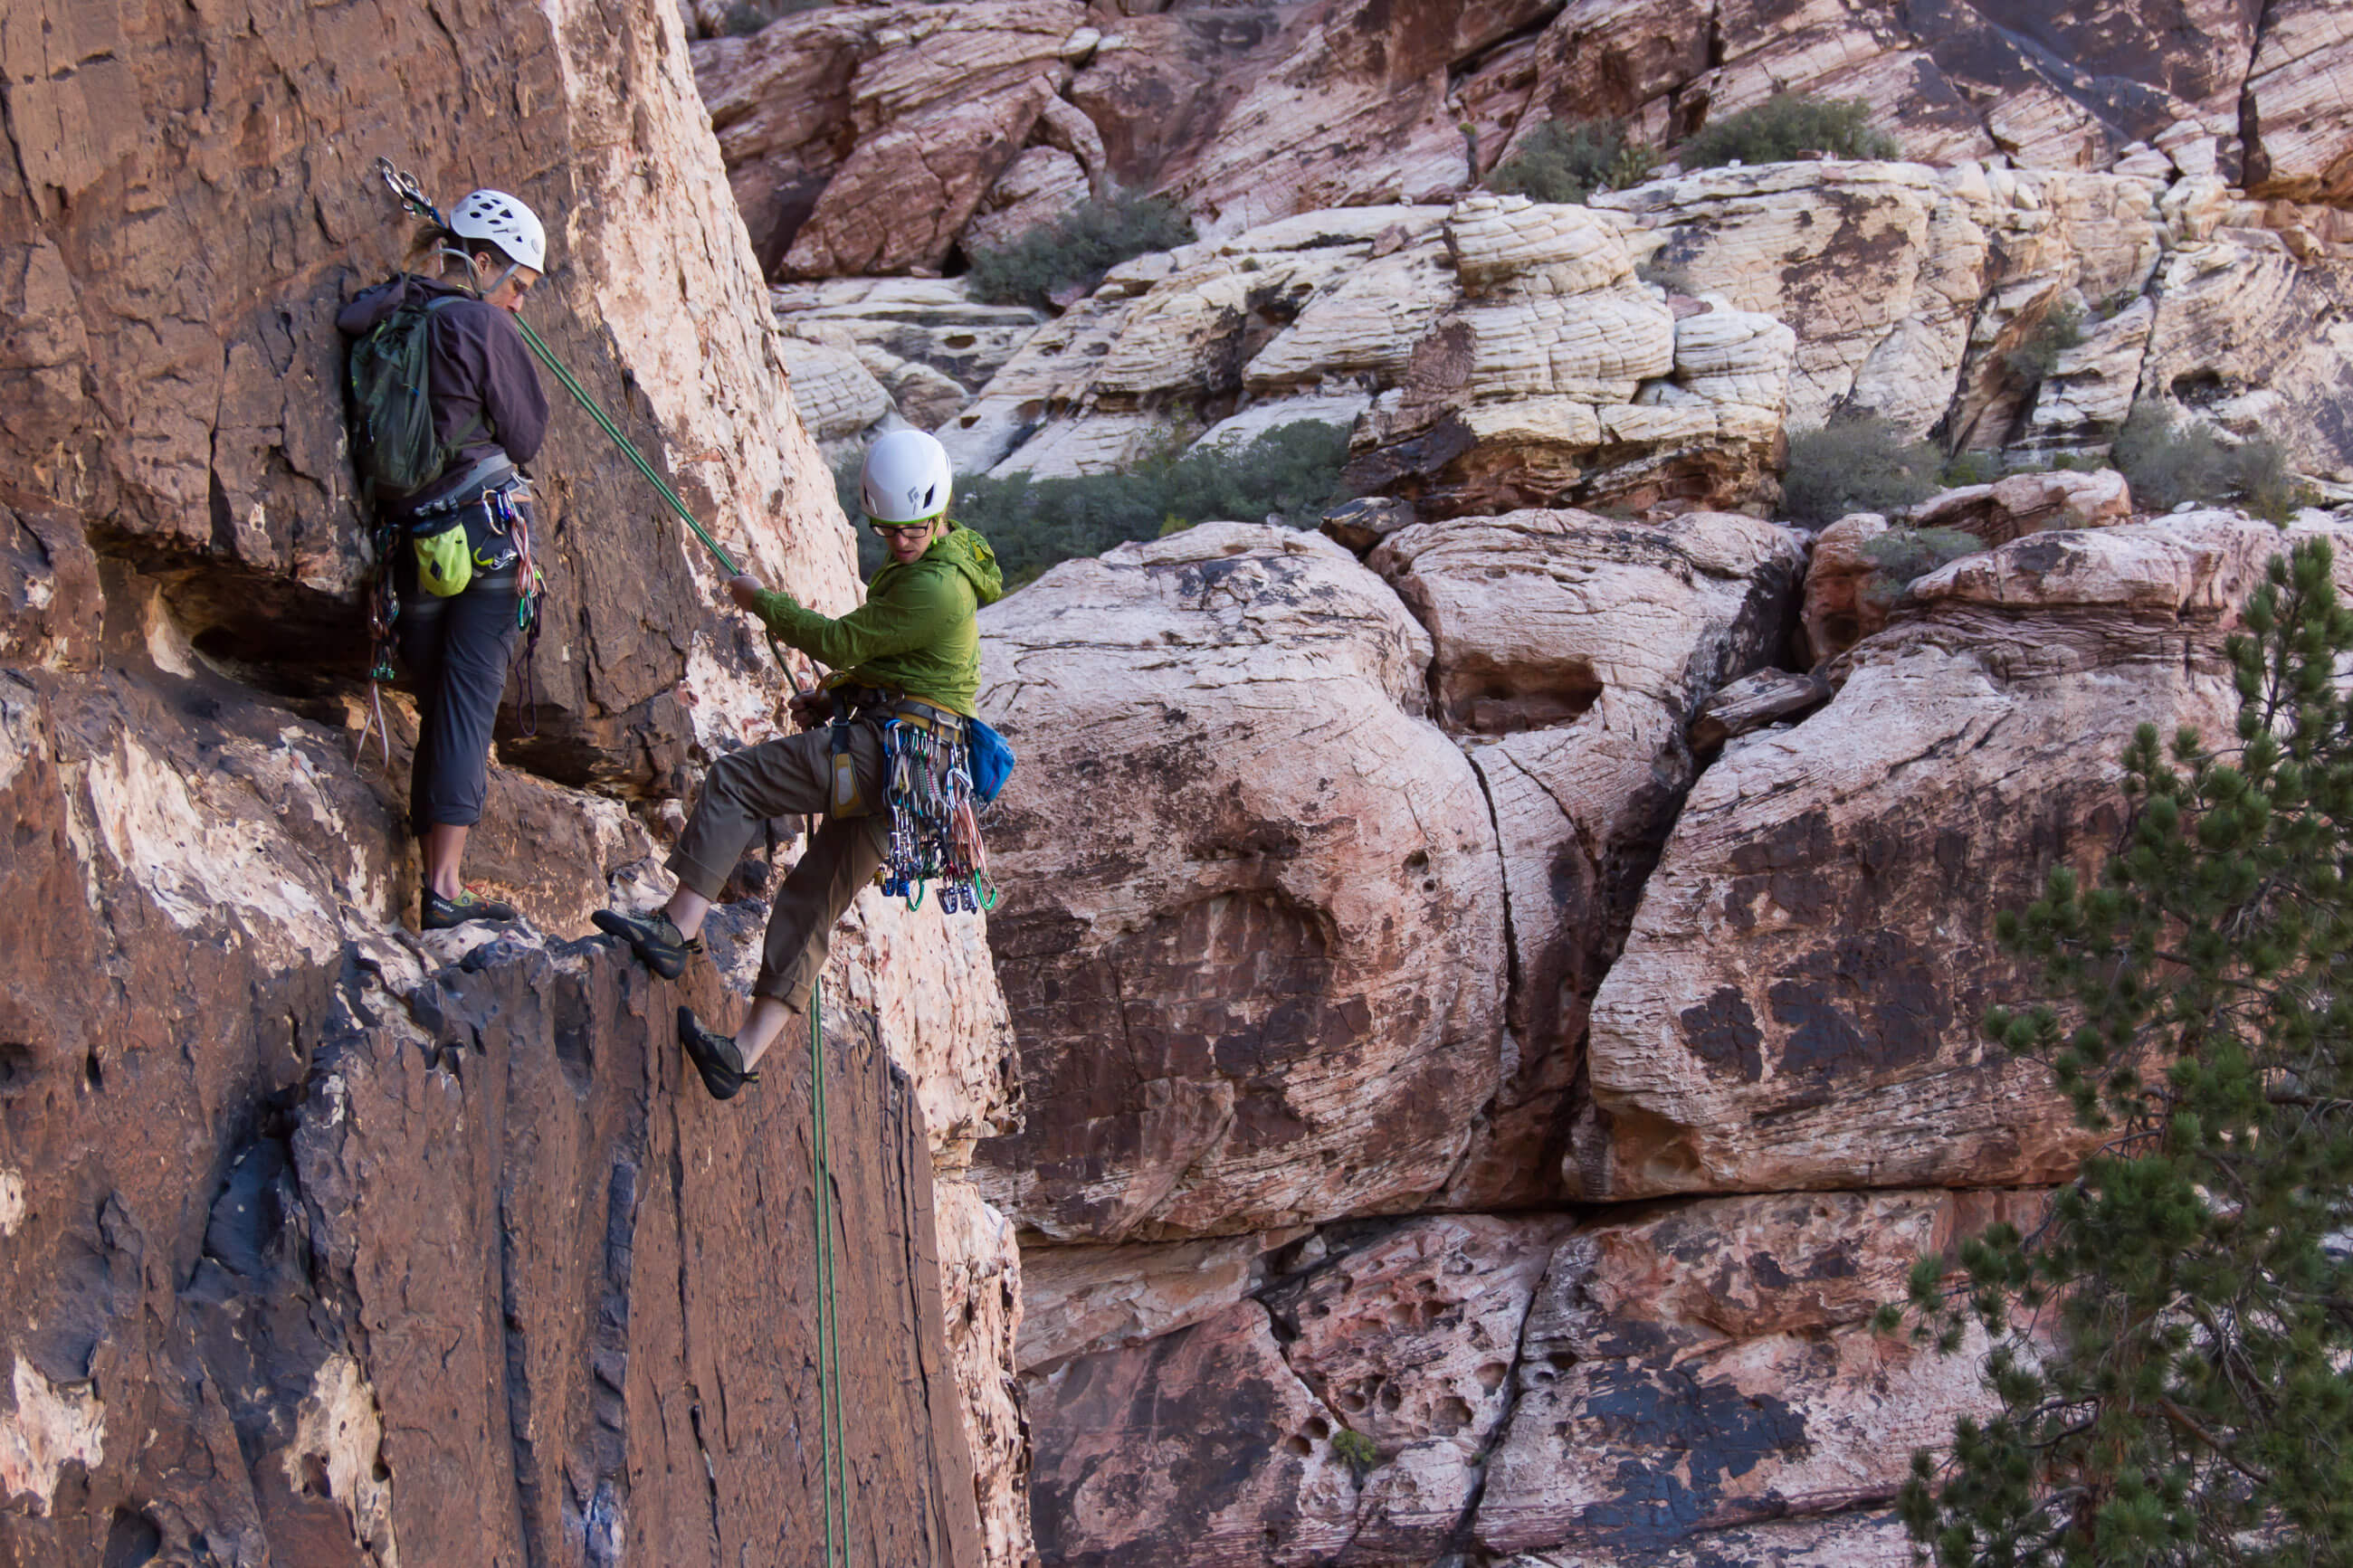
My suggestion is, as with most learned skills, to practise one technique (ie multi-stage rappels) until you are completely confident in the procedure and can’t fail to remember how to do it properly. Only then consider learning a new skill like rappelling with a tag line or with the rope coiled in ‘saddles bags’. Last thing: Always tie knots in the ends of the rope to prevent yourself from accidentally rappelling off the end of the rope.
Self-rescue techniques
SKILL LEVEL: INTERMEDIATE TO ADVANCED
If there are two self-rescue skills that you should learn early on, they are how to prusik up a rope and how to ascend a rope while on rappel. There will come a time when you find yourself dangling from a roof or marooned on a section of unclimbable rock. In such situations, the only way to proceed is to pull yourself up the rope using a pair of cord loops and friction hitches. It’s best to learn how to do this while you are still close to the ground – not six pitches up with your buddy shouting instructions at you from 60 feet away. It’s also very likely that one day you will rappel past a rap station and then have to ascend the rope while on rappel to get back to where you need to be. Again, you shouldn’t wait until you find yourself in this situation to learn how to get yourself out of it. After the above, the next most important self-rescue skills are knowing how to ascend a stuck rope, how to escape the belay, how to haul a partner, and how to rappel with a partner. These skills should be considered mandatory for climbers who want to take on bigger and more serious routes.
Movement skills
Sport climbing tends to involve a lot of face climbing because that’s how the sport evolved. The blanker sections between cracks were bolted because they couldn’t be climbed with gear. It’s no surprise then that the average sport-climber-turned-tradster finds herself having to learn new movement skills to get to grips with terrain that is a lot more varied than she’s used to.
Crack climbing
SKILL LEVEL: BEGINNER TO INTERMEDIATE
A new tradster will, at the very least, need to learn basic crack technique, and if he plans to spend time in places like Indian Creek and Squamish, he will need to a full repertoire of crack skills. Because cracks vary in size, crack climbing actually involves a dozen different skills, and to be a truly proficient trad climber, you need to be sufficiently skilled in all of them. You don’t want to climb five pitches of 5.11 face and thin cracks only to be stumped by the 5.9 offwidth on the final pitch.
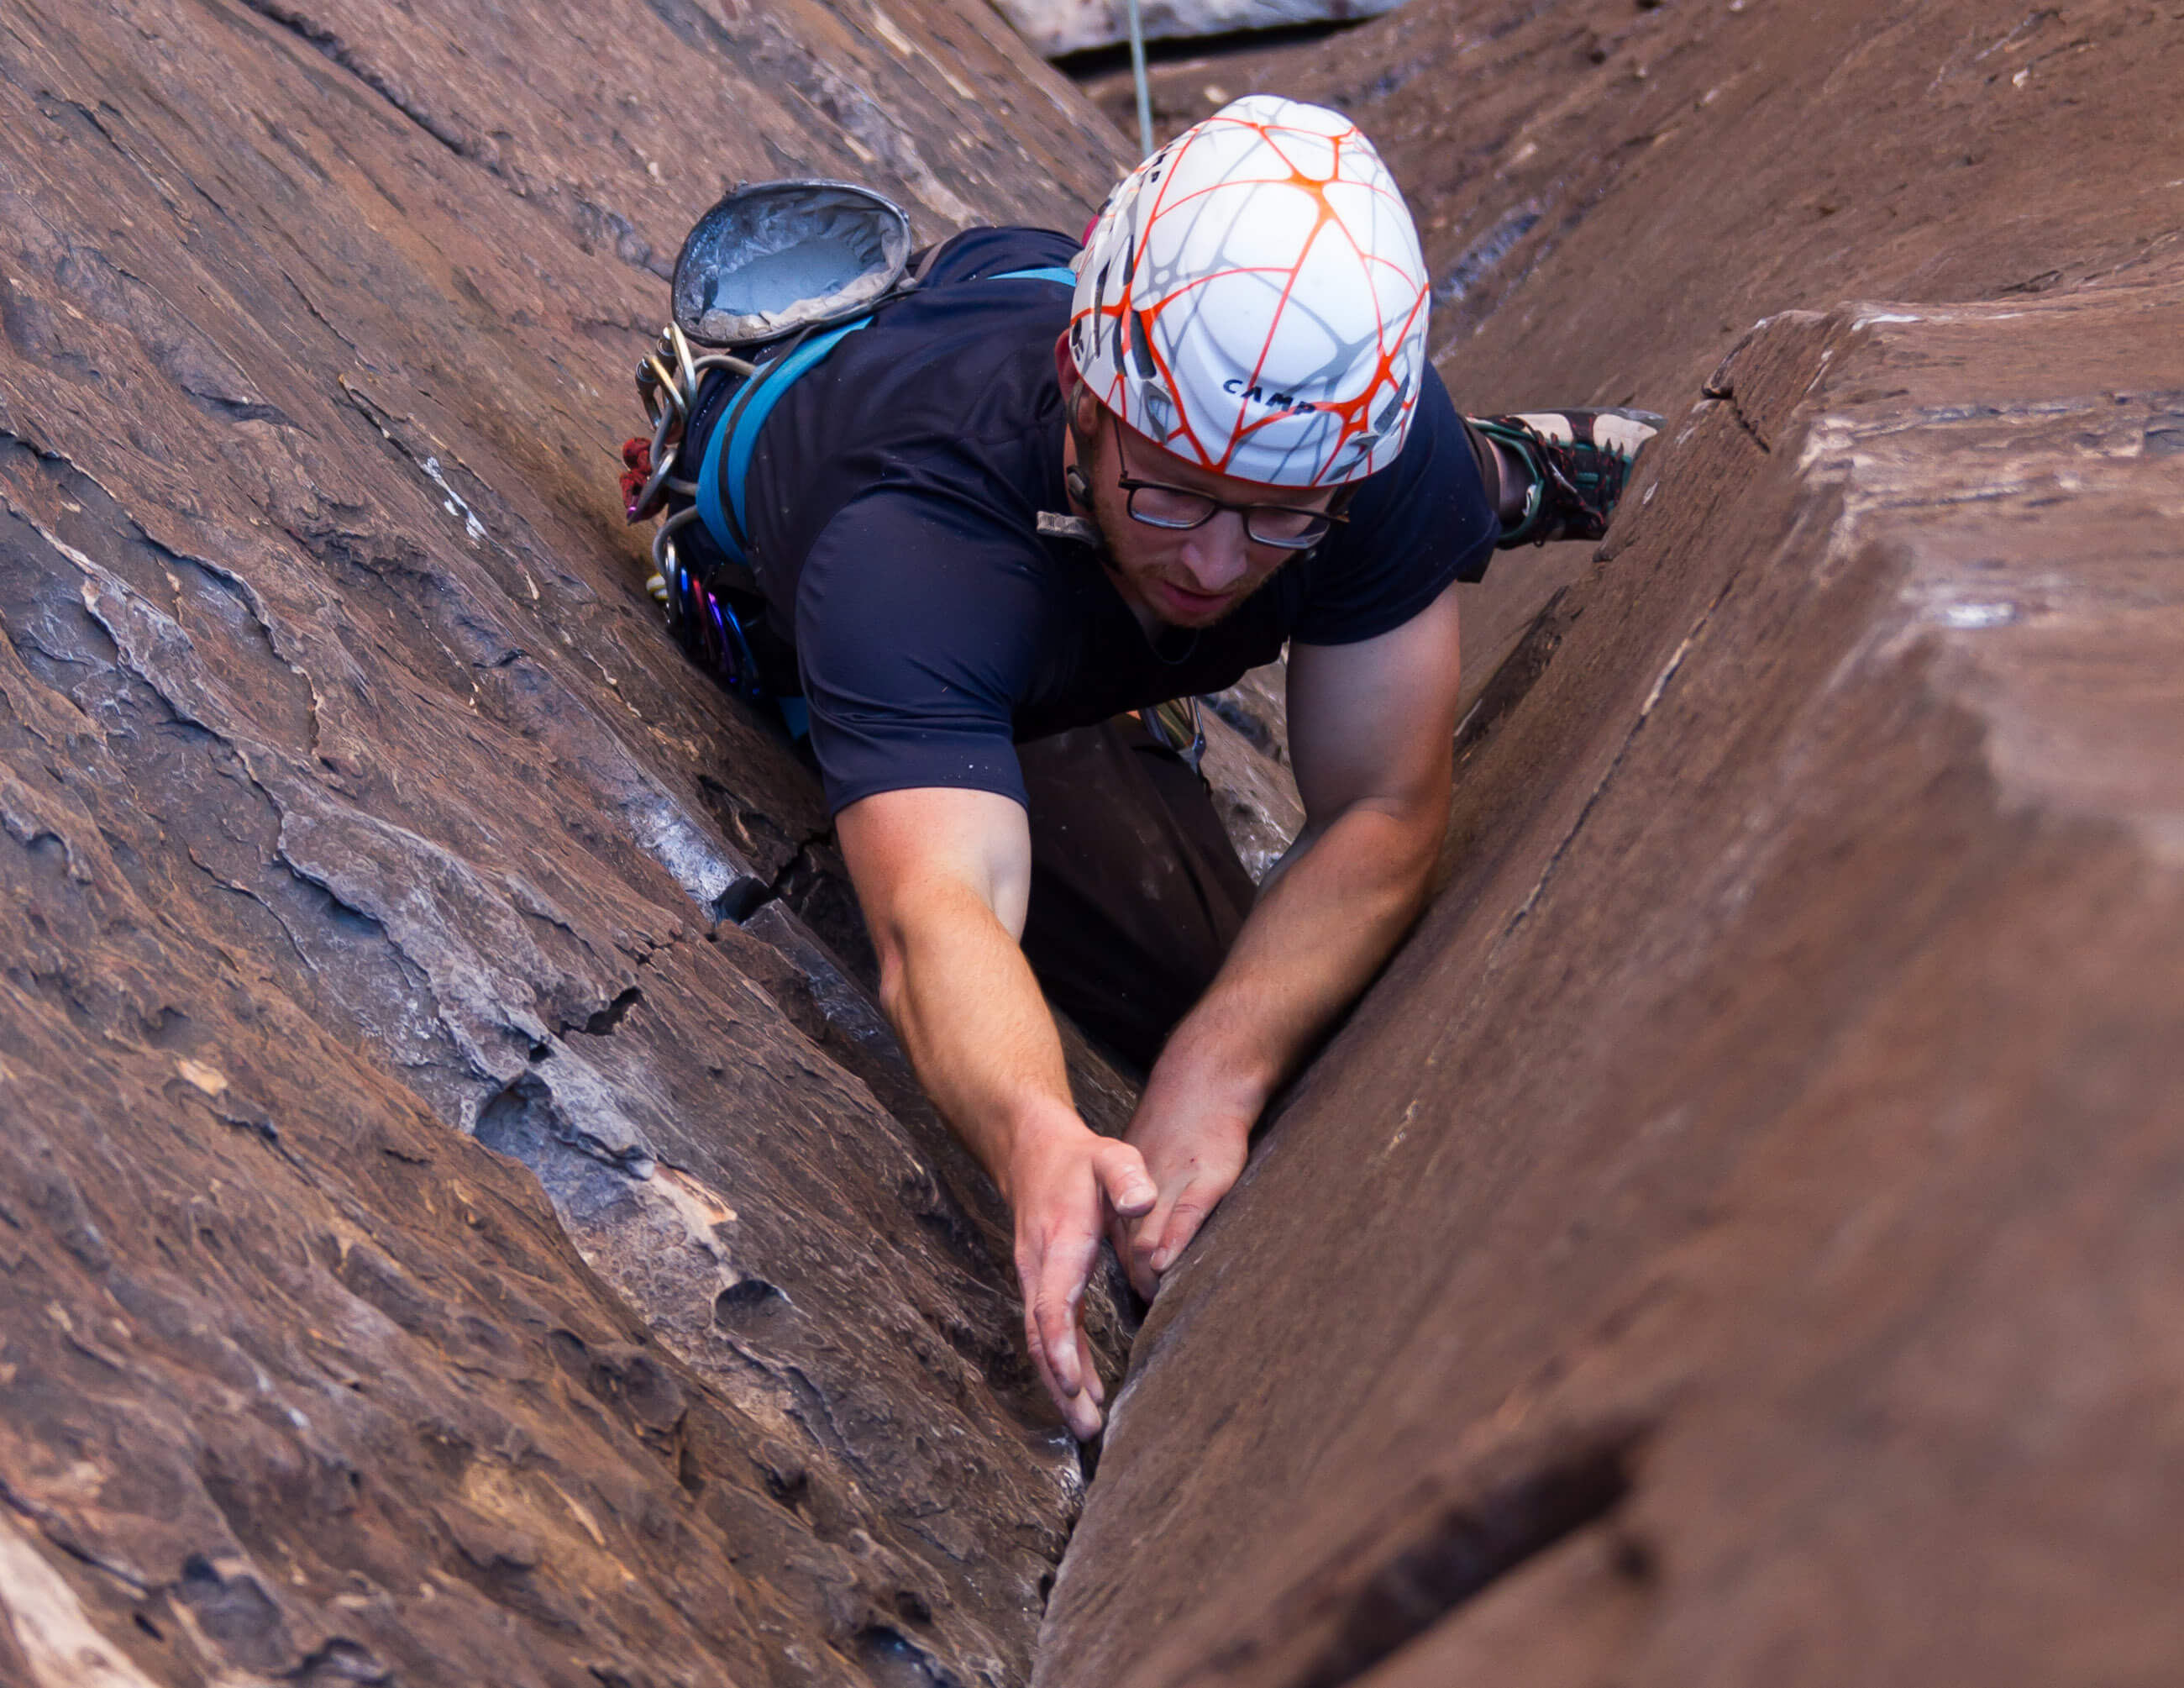
Fingers, hands, fist-wide cracks, off-widths, chimneys – aspire to be able to climb them all. I recommend learning to climb cracks on top rope. This will allow you to focus on your jamming technique without also having to think about placing gear. Or you lead a route and then tope rope it again.. and again.. and again, just focussing on the movement. Like any new skill, repetition is key.
Slab climbing
SKILL LEVEL: BEGINNER TO INTERMEDIATE
Many sport climbers do everything they can to avoid climbing slab. Because they’ve never learned to climb using only friction, they’re intimidated by the blankness of these featureless expanses of rock. In truth, slab climbing can be a lot of fun once you’re acquired the necessary skills, but that’s actually besides the point. Unlike in single-pitch sport climbing, you can’t skip a pitch on a multi-pitch trad route just because you don’t like climbing slab. You have to climb everything en route to the summit and that means being able to climb it all – faces, cracks, roofs, and even slabs. So learn to love slab because if you’re just getting into trad, you’re probably going to climb quite a bit of it. As with most new skills, the best way to learn is by getting in a lot of practice in a short amount of time. If you live anywhere near the Rockies, the Flatirons would be a good place to cut your teeth on friction slab.
Down climbing
SKILL LEVEL: INTERMEDIATE
Here’s something you don’t do very often in sport climbing but which can be very useful during a trad climb: down climbing. Maybe you place a high piece before a sustained and tricky looking sequence and you feel the need to down climb to a perch from where you can shake out and collect yourself before giving the next section a proper go. Or you find yourself off route and on unprotectable or unclimbable terrain, and the only way to retreat to safety is by reversing several 5.10ish moves.
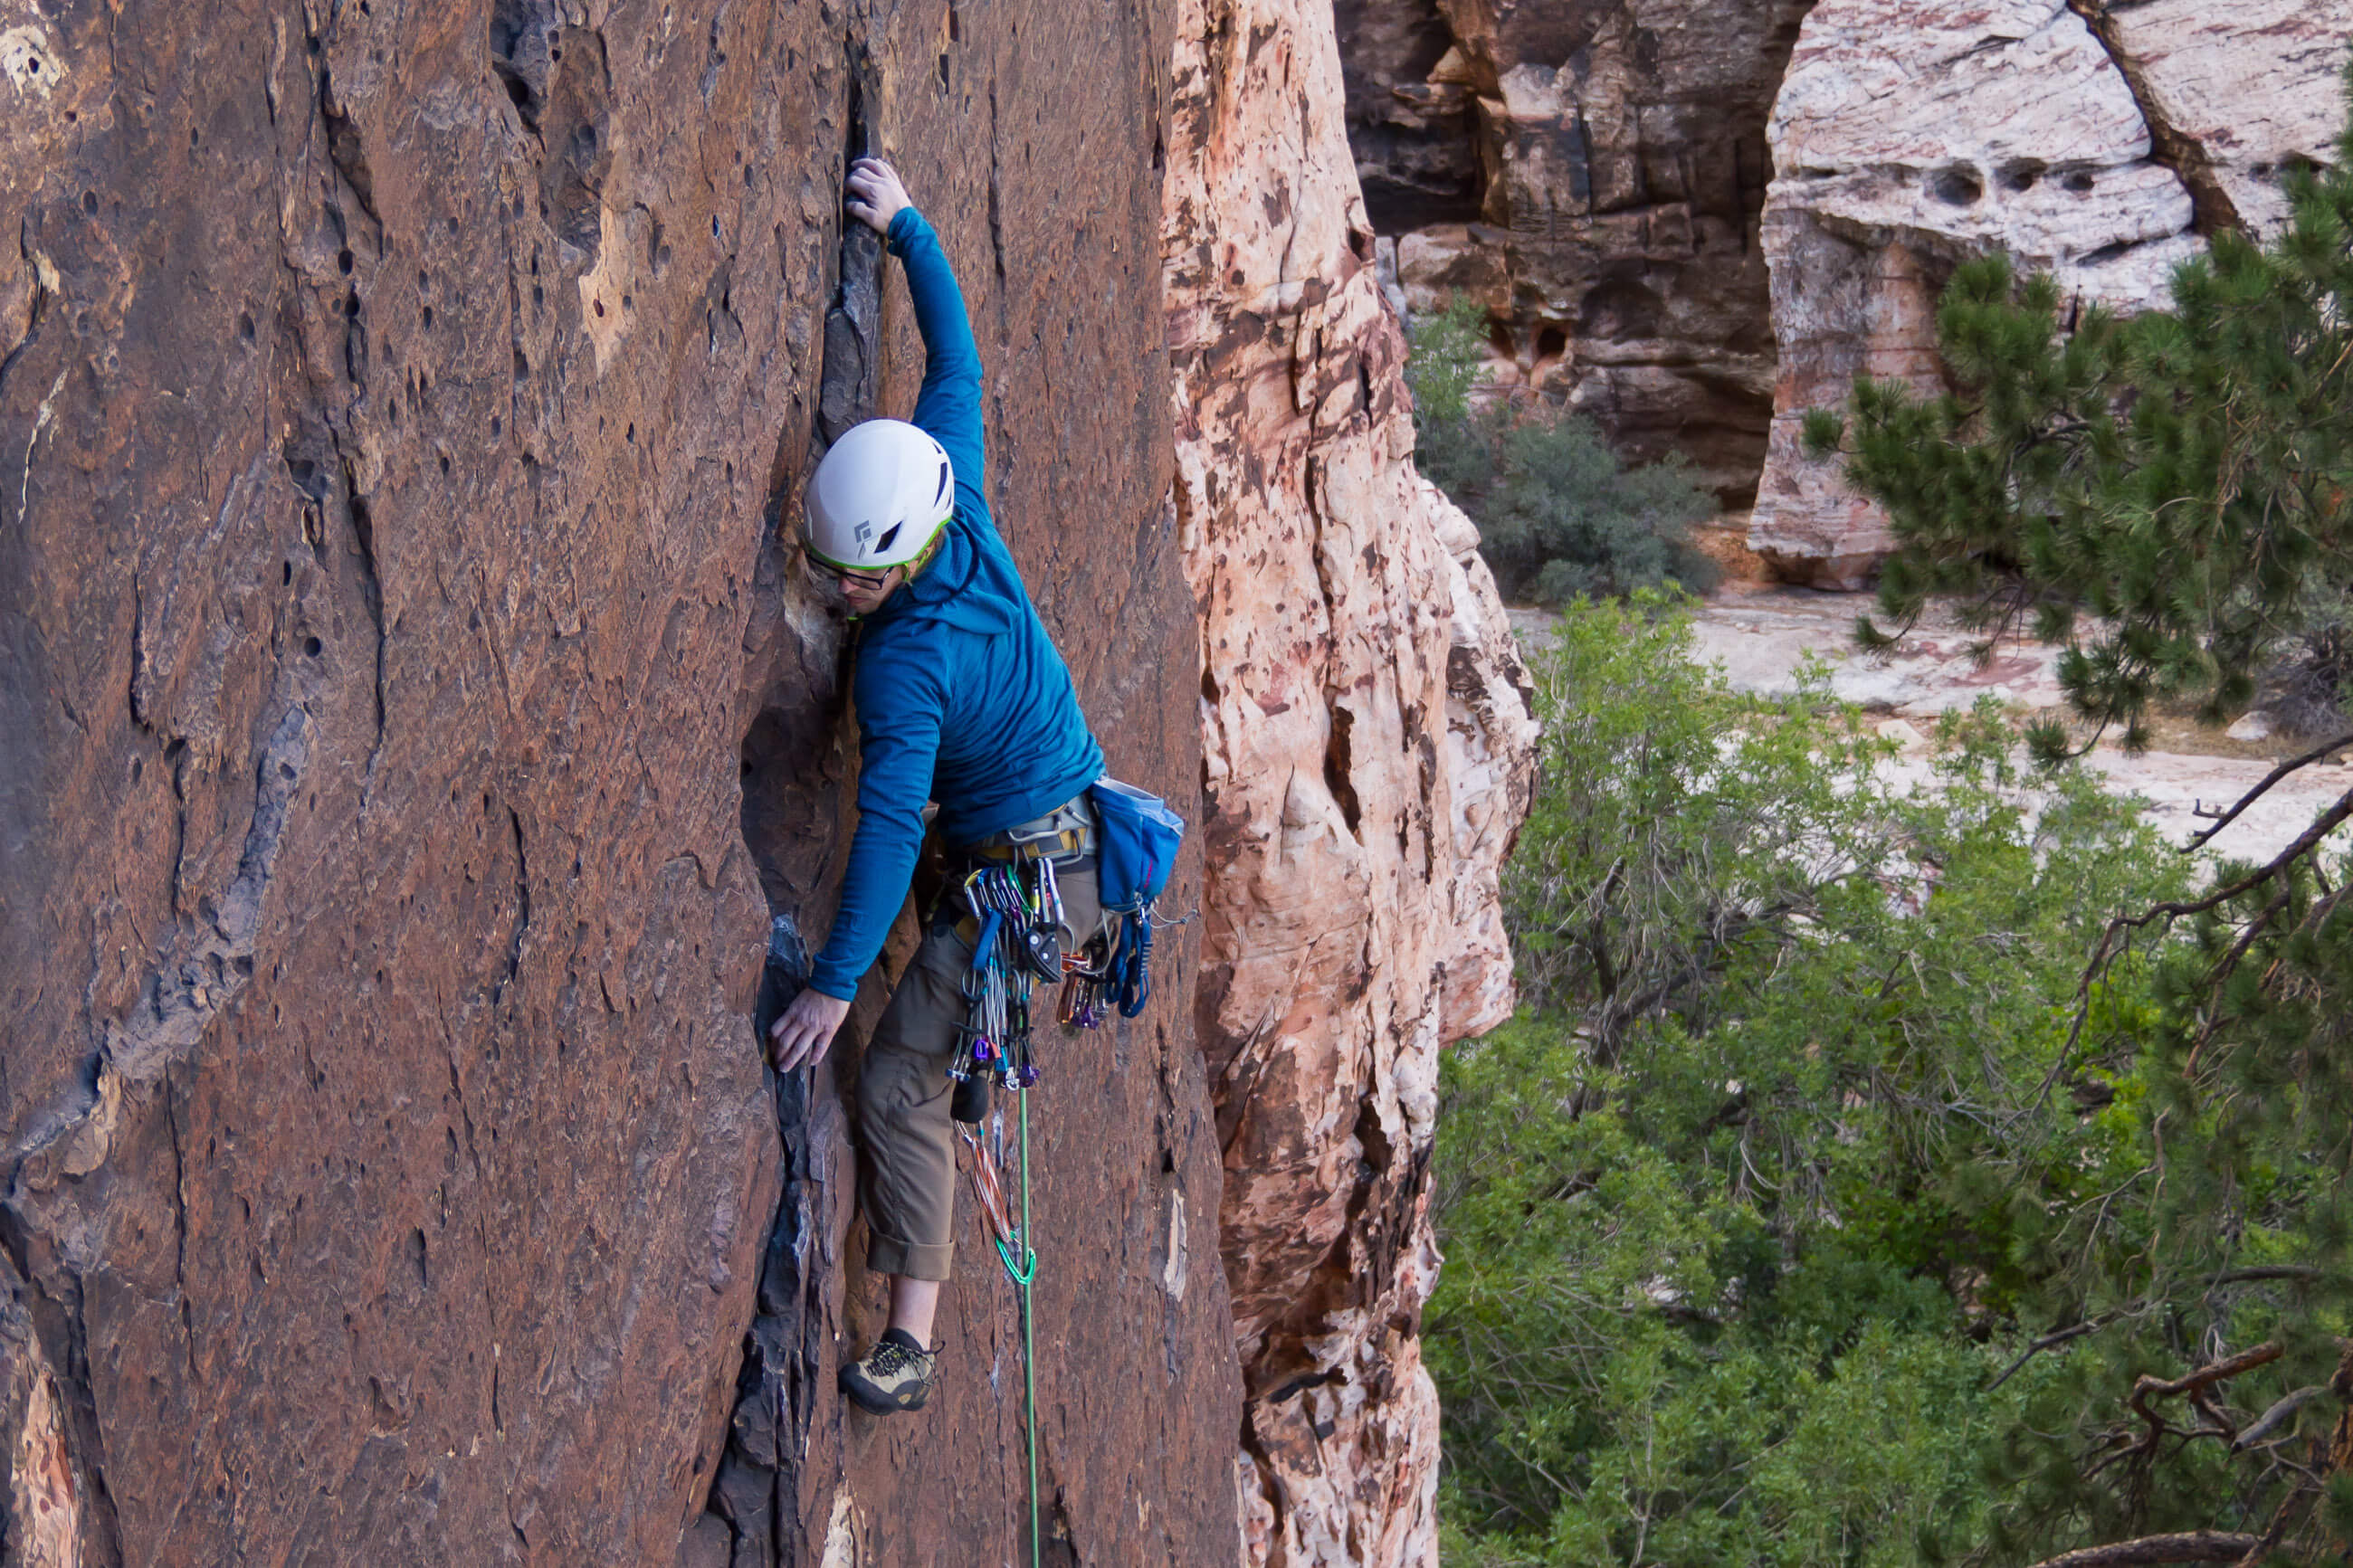
Whatever the reason, you’ll be better off having practised down climbing in the gym or, even better, at the crag. That way when you find yourself needing to reverse moves, you will have some experience at down climbing. Top tip: when training endurance in the gym, climb back down a route (or an easier neighbouring route) after reaching the top. Besides training your endurance, it will also allow you to work on your down climbing.
Resting
SKILL LEVEL: BEGINNER TO INTERMEDIATE
Of course, being able to rest mid-route is important to sport climbers too, but there are some resting techniques that are more useful to a trad climber and more likely to be employed while trad climbing given the more three-dimensional nature of the terrain. Besides knowing how to kneebar, stem, and perch on a corner or bulge (tactics that are well known to any sport climber), trad climbers can benefit from knowing how to rest in jams, arm bars, knee bars, and hip scums. The more featured nature of trad routes allows for far more creativity when resting than relatively blank bolted faces. Master tradsters know how to milk every opportunity to rest tired forearms.
Scrambling
SKILL LEVEL: INTERMEDIATE
Many trad routes are accessed via long and technical approaches. Being able to quickly and safely negotiate this 4th and easy 5th class terrain is an important part of almost any big day out. Because scrambling is just easy climbing, some might be mistaken in believing that there’s not much to it. But there are some important differences. The first is that approaches are hiked and scrambled in approach shoes, which aren’t quite as adept at climbing as your rock shoes. You can climb easy 5th class in them, but it will probably take experience and time before you feel confident in them. And secondly, climbing unroped – even easy terrain – can be intimidating if you have limited experience in this department. Again, the only way to improve your head game here is to get out there and get some practice. Just do that carefully and up the ante slowly.
Perceptive skills
The idea that trad climbers need special perceptive skills might seem a bit strange until you consider the challenges faced in trad climbing – dangers ranging from bad rock to sketchy runouts, route finding without the help of bolts, and the potential for after-dark summits. All of these can test a climber’s perceptive skills in a way that shorter bolted routes won’t.
Risk assessment
SKILL LEVEL: BEGINNER TO ADVANCED
The risks in trad climbing are more serious than those in sport climbing in several ways. Besides the most obvious risk – that trad protection is more complex and can fail if not used properly – there are also risks related to the nature of the terrain itself. While some trad routes follow lines up perfect rock, there are many more, especially multipitch routes, that pass through patches of dubious rock or sections that are simply difficult to protect. In such instances, trad climbers are forced to adopt the old school ethos “The leader does not fall”. Finally, there are the types of risk associated with the level of commitment required from bigger trad climbs. Unlike a multi-pitch sport route, which puts bolts within easy reach if a team needs to abort, many longer trad climbs often offer no easy retreat if the route proves too difficult or bad weather moves in. When taking on more serious routes, trad climbers have to constantly monitor and manage these risks.
Route finding
SKILL LEVEL: BEGINNER TO INTERMEDIATE
Knowing how to interpret a topo or route description is even more important in trad climbing than it is in sport climbing as there are no bolts with which to play join the dots. All you have to go on is a route description and photo (or hand drawn sketch). The picture might lack the resolution you need to clearly make out features, and the description might be short on details. In such instances, you will need to rely on experience to be able to pick out the most likely line.
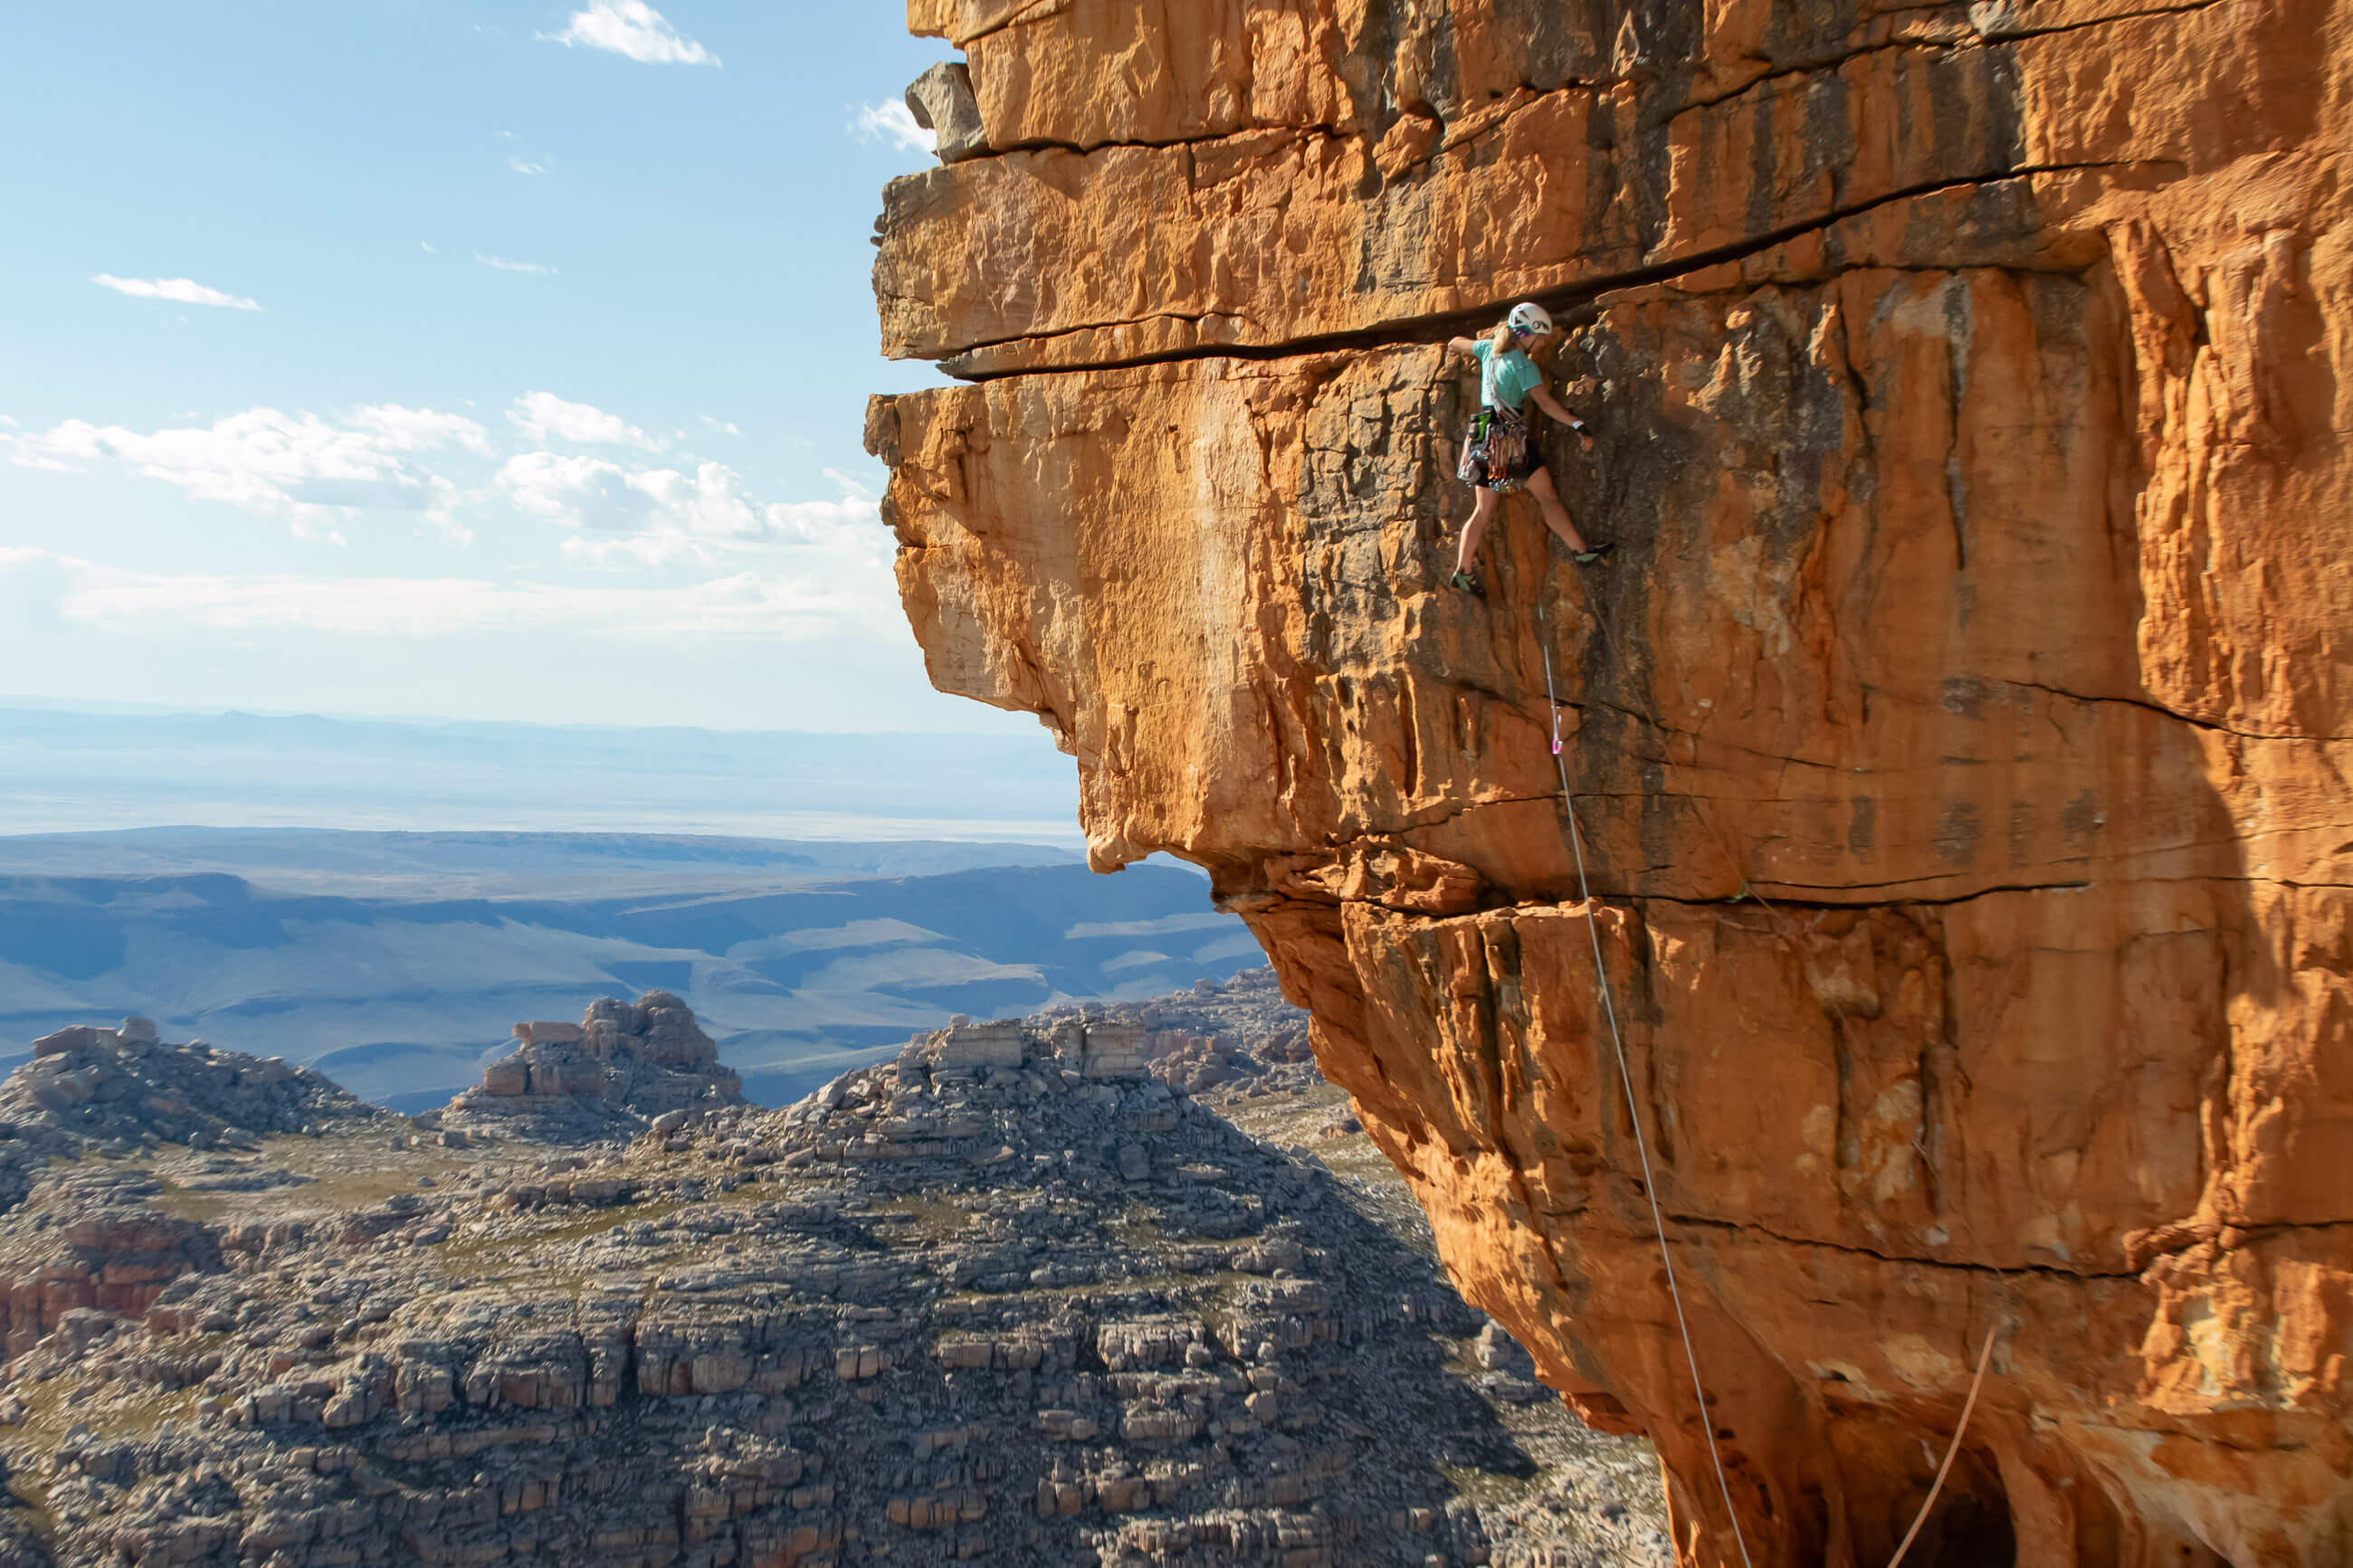
On easier routes and those that are good distance from other routes, this will usually mean following the path of least resistance – one that also ensures adequate protection. Part and parcel with this skill is also knowing when you have gone off route and need to back track. Top tip: carry a photocopy of the topo and route description or a digital copy on you phone, ensuring that it is properly charged before your head off.
Climbing in the dark
SKILL LEVEL: ADVANCED
Given the length of some trad routes and the overall slower pace of leading on gear – compared to sport climbing – it’s only to be expected that at some point you will find yourself climbing after dark.This doesn’t have to be an ordeal. If you are prepared for it and conditions aren’t too difficult, climbing after sundown can be enjoyable. Besides having a good headlamp, it will also help to already have some experience at climbing in the dark. If you haven’t already tried nighttime cragging, it would be a good idea to plan an evening session to the local crag and familiarise yourself with the challenges of climbing in low light. Besides training your night vision, a nighttime session will also allow you to check that your headlamp is up to the task. Also know that even after preparing to climb in the dark, there might also come a time when it’s better to stop climbing, hunker down for the night. If you know that there is even the slightest chance that you can be benighted, you should be prepared and take an extra layer or two at the very least.
Organisational skills
Because trad climbing is more gear intensive than sport climbing, everything takes a little longer. Leading on gear, cleaning pitches, and re-racking all take a little more time than they do when sport climbing. To save time and stay safe, it’s important that partners learn to communicate effectively and work as a team.
Communication
SKILL LEVEL: BEGINNER TO INTERMEDIATE
Good communication is important for both safety and efficiency. It’s essential that partners always understand what the other is doing or asking for, especially when a climber goes on and off belay as one does when they reach a stance. Before climbing with a new partner, always agree on the commands to be used before the leader leaves the ground. And then, when you change over at a stance, still tell your partner what you are doing when you make or break a connection to the system (rope or anchor).
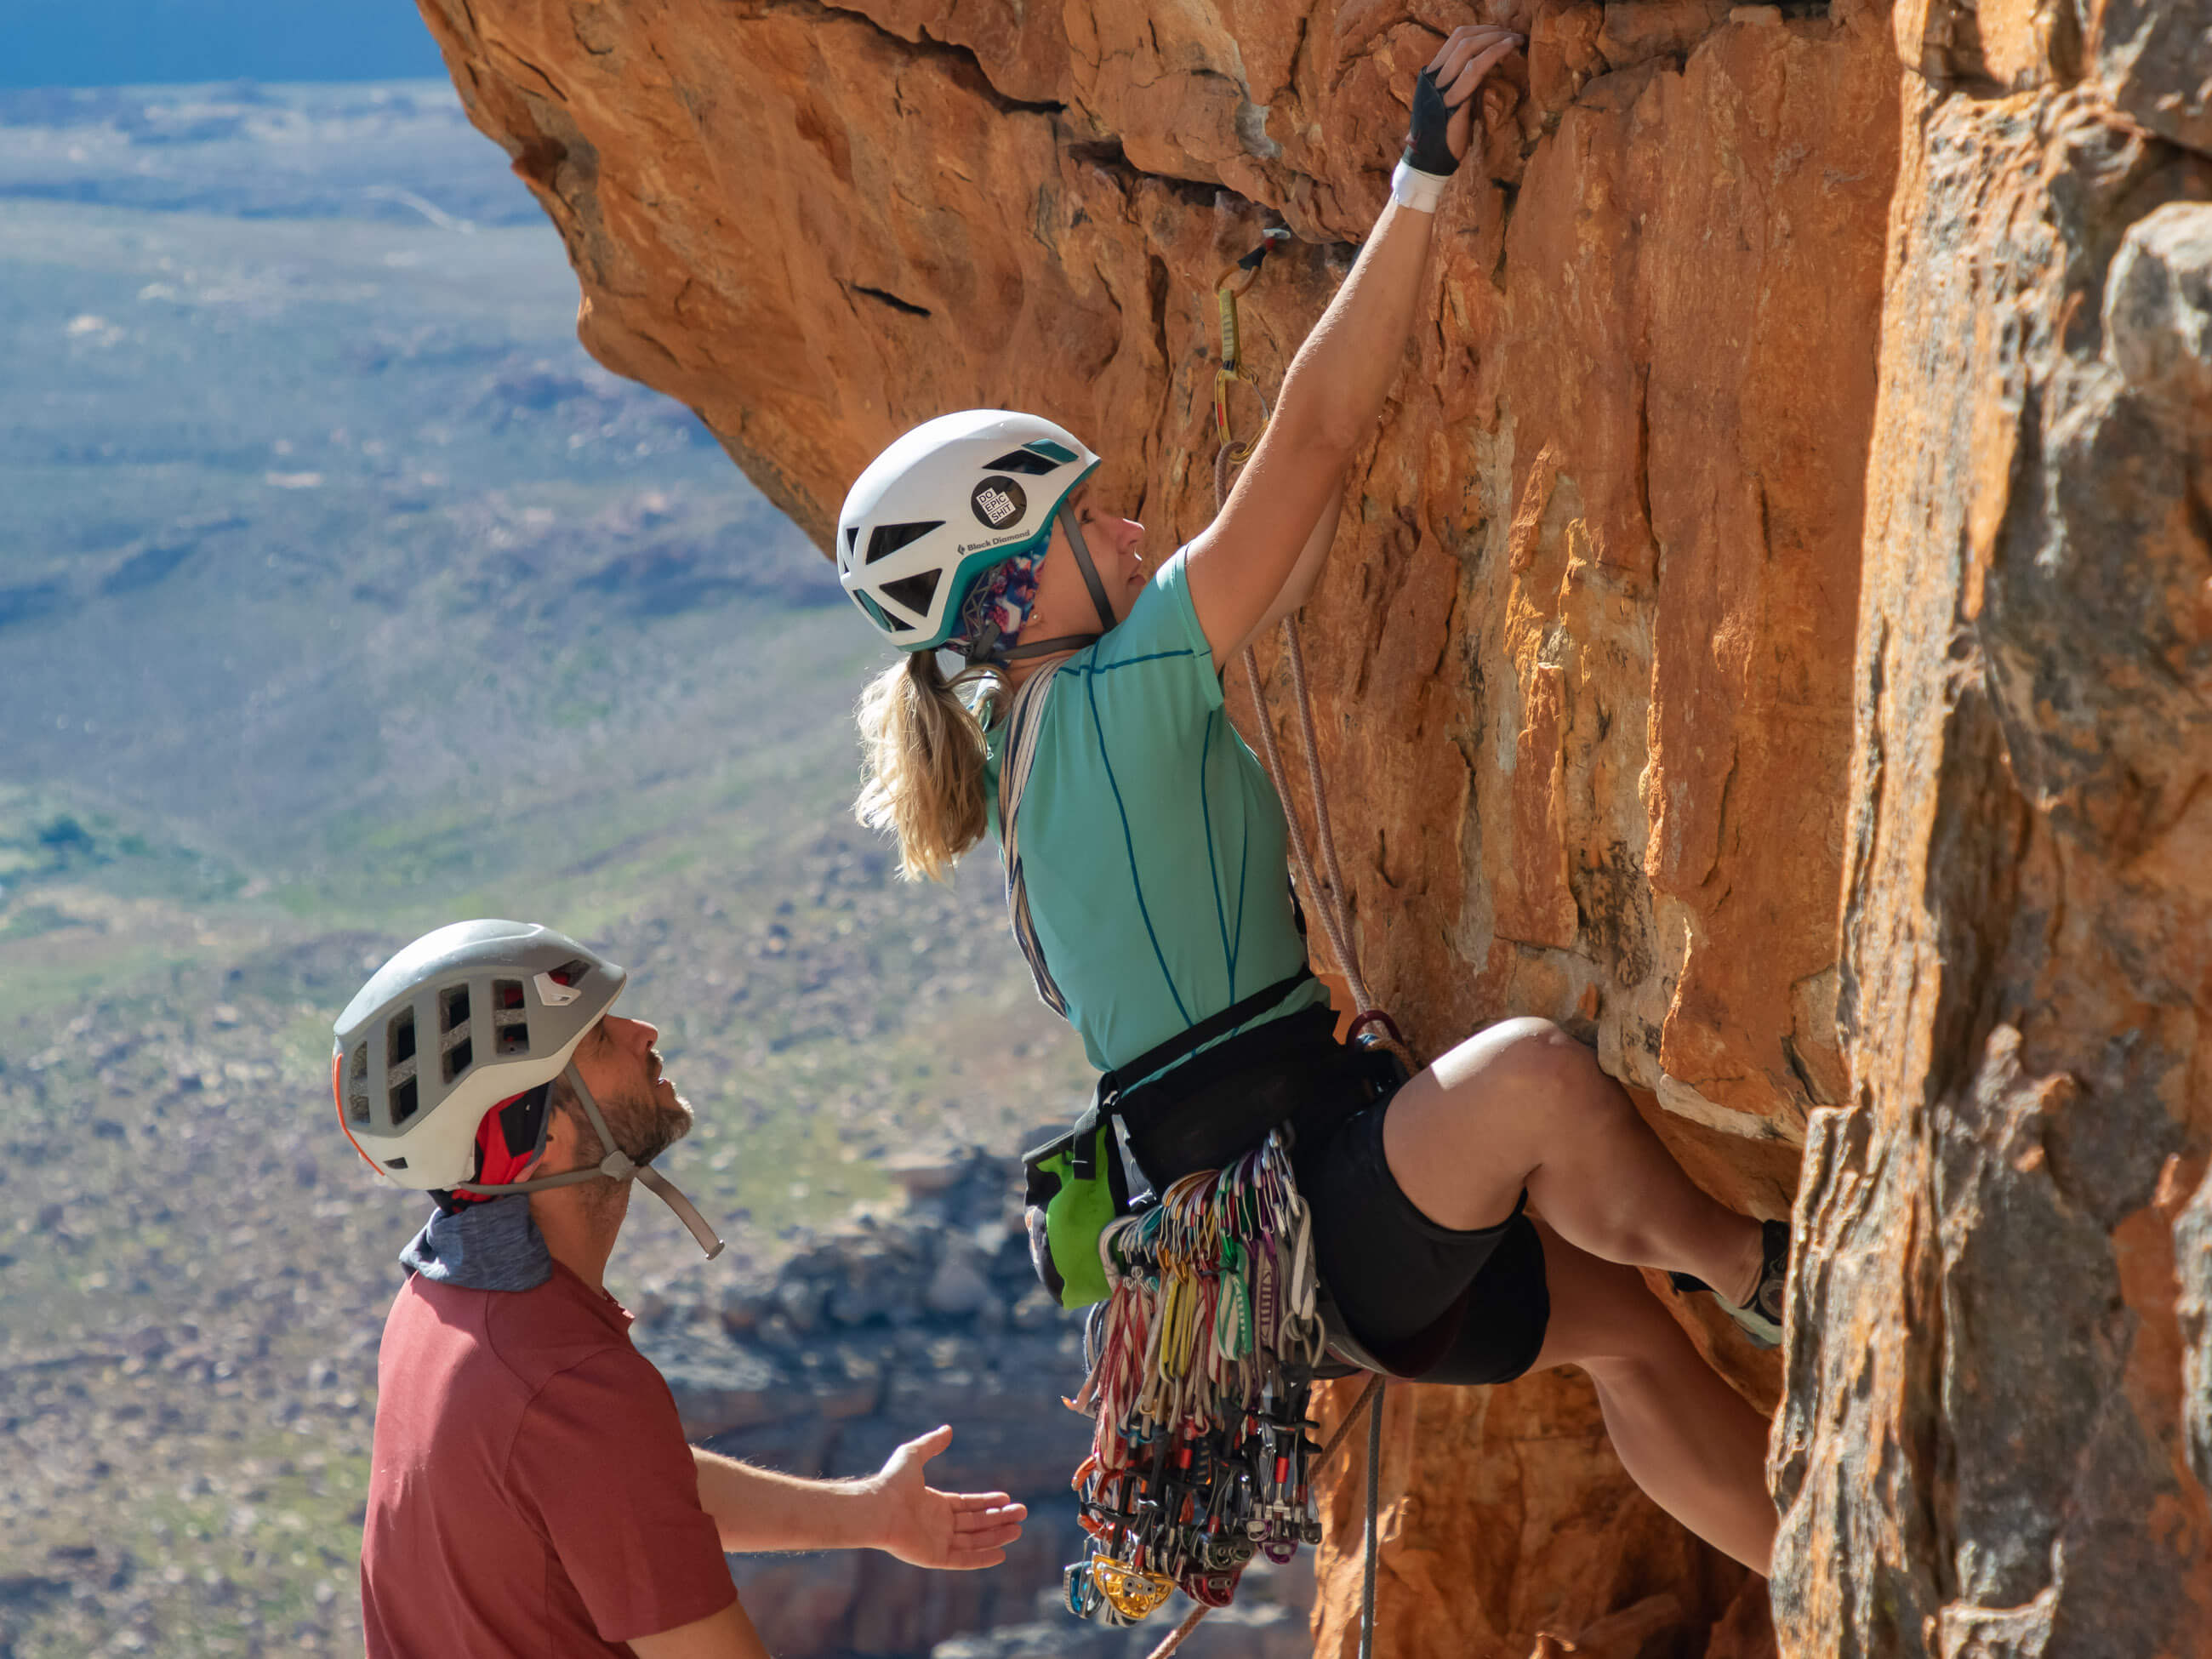
In some situations – windy conditions and long pitches – you might struggle to hear each other. In such instances, there are two solutions. You either can carry radios or you can rely on some kind of non-verbal communication (using a different number of tugs for different commands is common). There are pros and cons to both. I have come to prefer radios as they make it easier to avoid miscommunication.
Task sharing
SKILL LEVEL: BEGINNER TO INTERMEDIATE
Teamwork is key to efficiency on multi-pitch routes, and changeovers in particular represent opportunities to make up time. While one partner racks up or sorts gear, the other can flake or coil the rope. When handing gear to your partner, it’s often easiest to clip it to the rope connecting him or her to the anchor. This will often allow you to off load gear quickly so that you can turn your attention to some other task. There are a hundred other ways you can save a few minutes here and a few minutes there. Even after topping out on a route, you can save time by splitting tasks (ie coiling the ropes, packing the rack, consulting the topo). At the end of the day, all these minutes can add up to hours saved.
Backcountry skills
When starting out, you will probably stick to single-pitch crags at first, but eventually as your experience and confidence builds, you’ll set your sights on longer routes – endeavours that will call on a range of wilderness skills.
Preparedness and self-sufficiency
SKILL LEVEL: INTERMEDIATE
For many, one of the attractions of trad climbing is the emphasis on self-sufficiency. On almost every level, trad climbing requires you to take responsibility for your safety by relying on your own abilities and being properly prepared. At the most basic level, this can mean being responsible for placing adequate protection. And on a higher level, when you take on more serious routes in remote locations, it means being aware of and properly prepared for the many additional risks that you face there: protection from the elements, ensuring you have enough food and water, being able to get yourself out of difficult situations, and having a means of sending an SOS if you really need to. The self-sufficient team prepares properly for all these.
Wild camping
SKILL LEVEL: INTERMEDIATE
If climbing has also been your introduction to the outdoors, you might have very little experience camping in wilderness areas – that is camping at least a few miles from the trailhead or car. This will be an essential skill if you set your sights on routes in more remote locations, those that require overnighting close to where you plan to start climbing. Besides knowing how to get a decent night’s sleep without the little luxuries you’d normally have with you when car camping, you will also have to learn to pack only what you absolutely need.
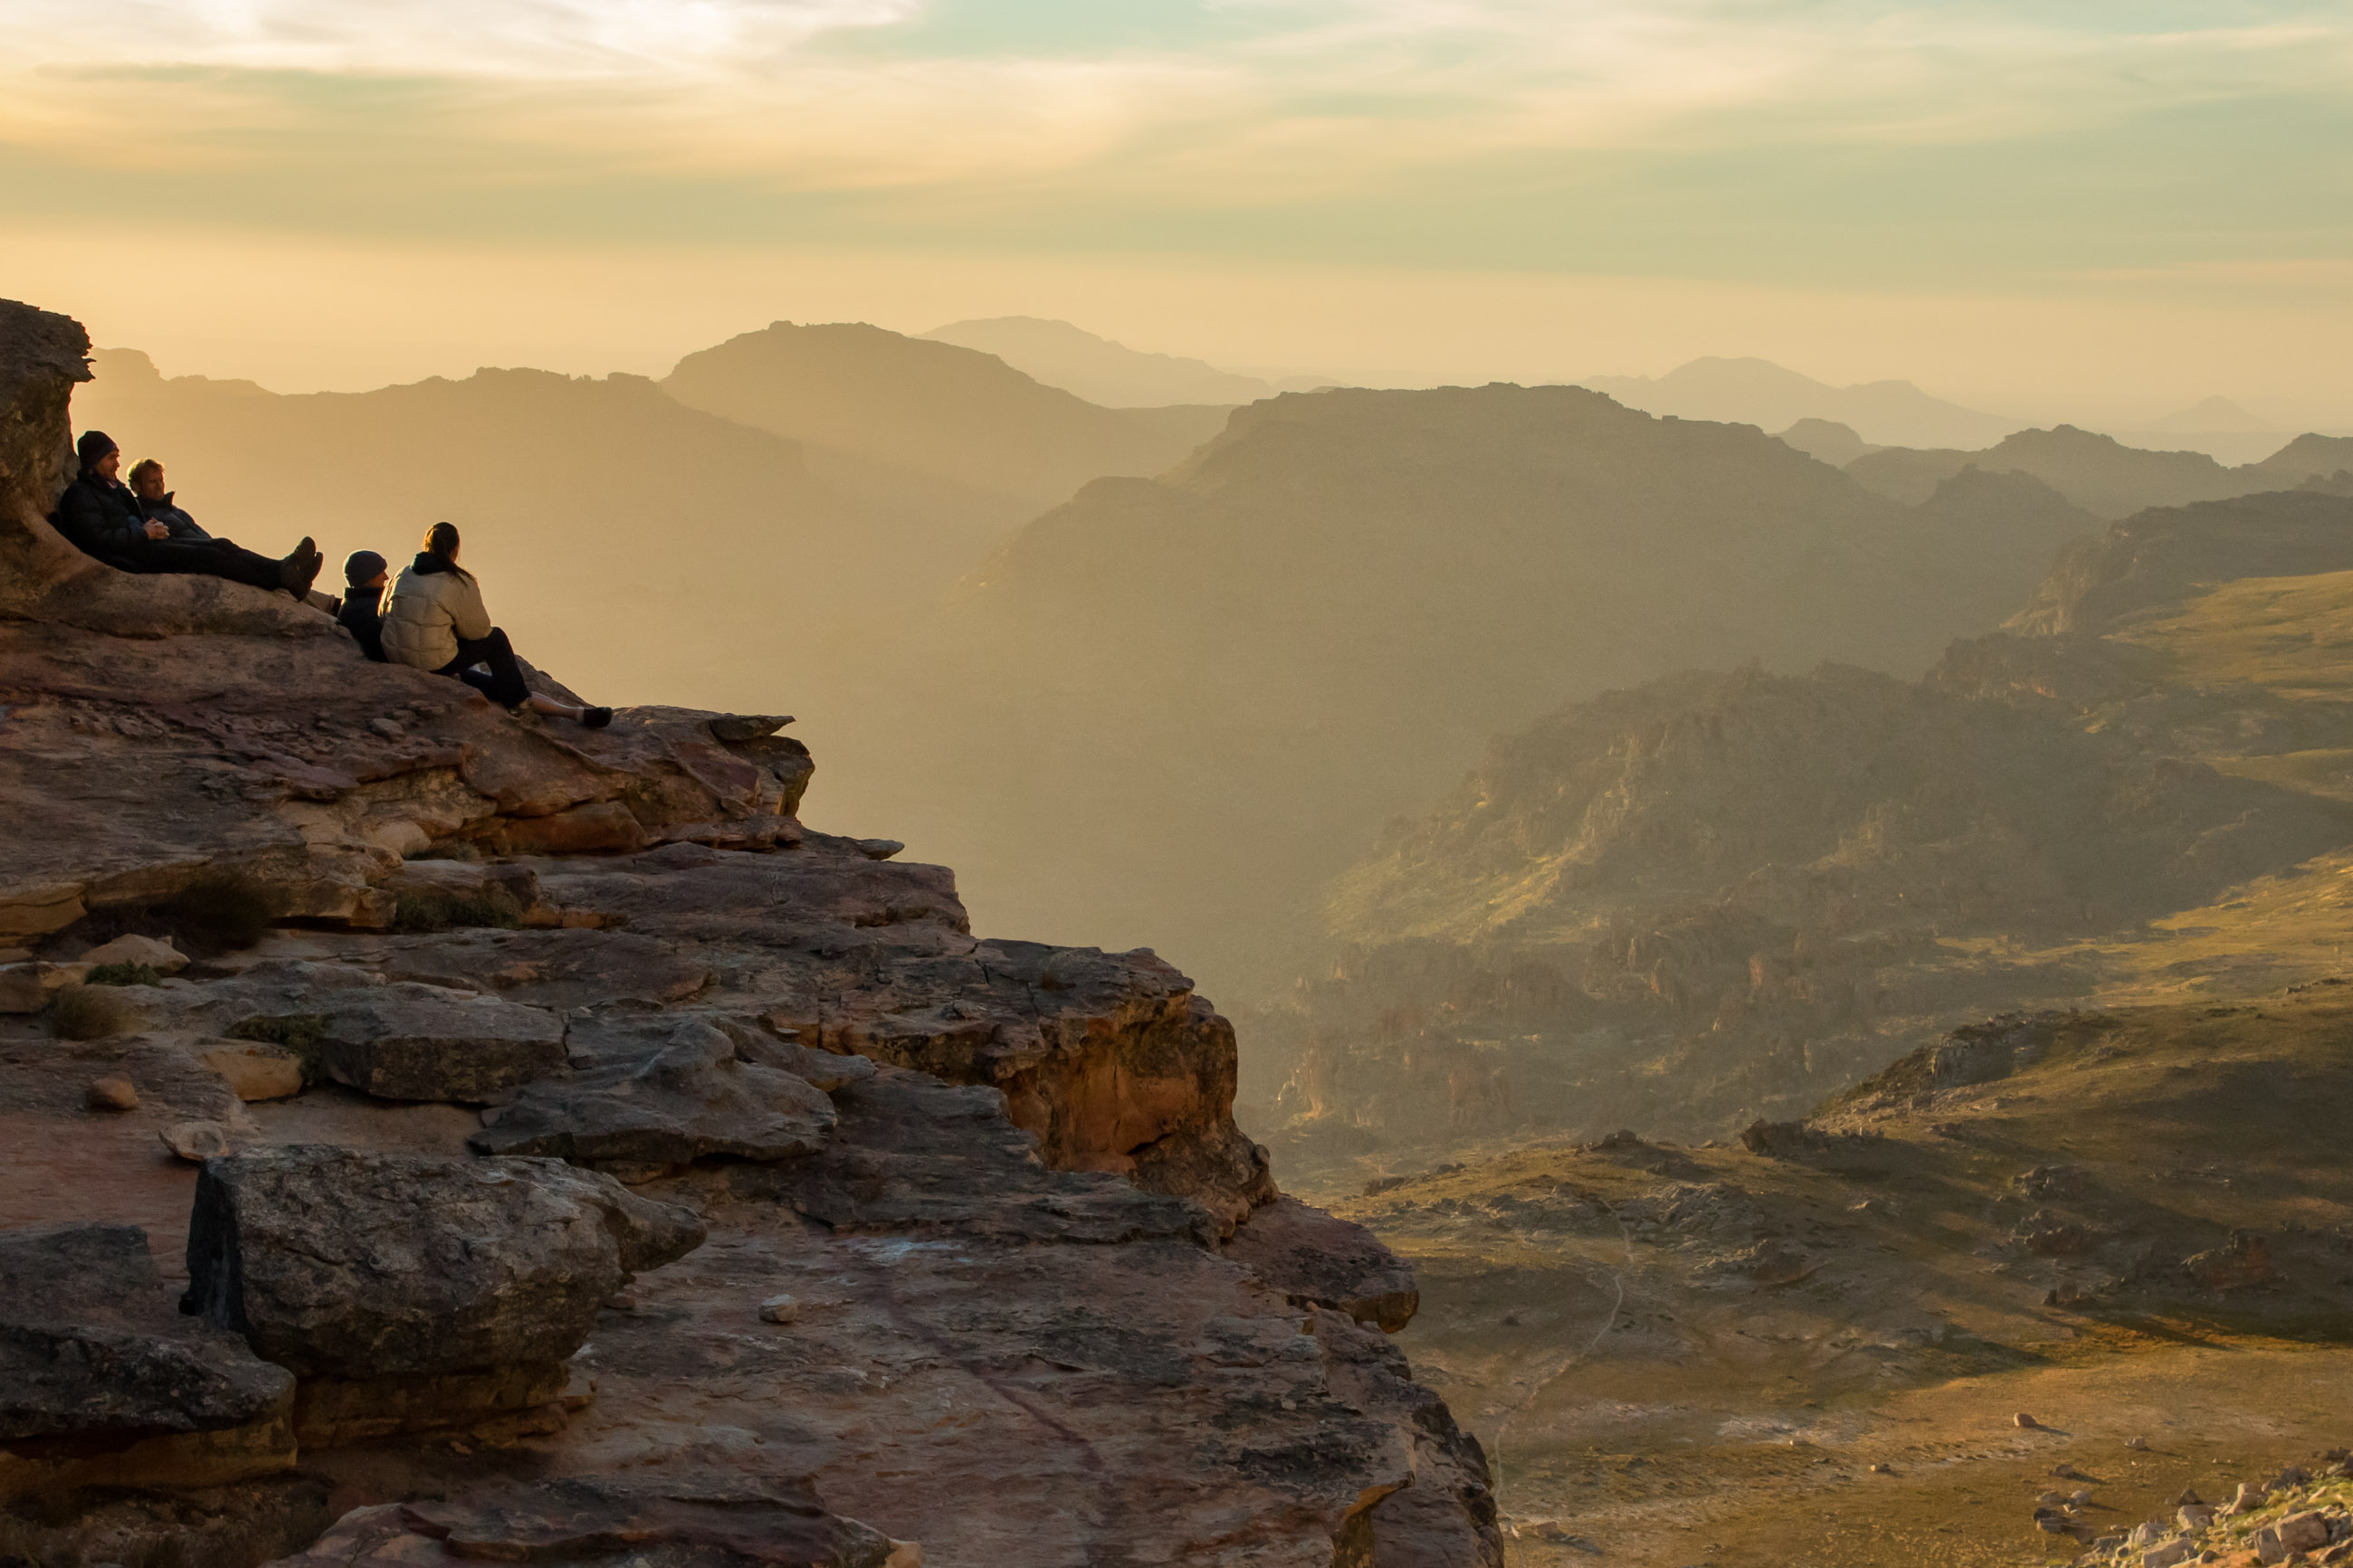
With your climbing gear, camping kit, and a few days worth of food, your pack is almost guaranteed to weigh over 18 kg (40 pounds), and that’s without the six pack of beer, book, and beach towel. If you need more guidance on what and how to pack, see my article What to Pack for a Backpacking Trip.
Leave no trace
SKILL LEVEL: BEGINNER
As more people start to enjoy the outdoors, the potential for human impact on our wilderness areas increases. More feet, more trash, and more fires all leave their mark on the natural world in one way or another. The seven Leave No Trace Principles are the cornerstone of a program and movement intended to minimise that impact and ensure that people can enjoy the beauty of our wilderness areas for many years to come. By educating yourself and helping to further the movement, you can help conserve our most cherished places and can inspire others to do the same. They include planning and preparing properly for a trip, travelling and camping on durable surfaces, disposing of waste properly, and minimising campfire impacts. To learn about the other principles and what these all mean in practical terms, see my article on Leave no Trace.
Learn more about trad
This was just one of several articles in a series on trad climbing. If you missed the first installation, you should read my article Trad Climbing 101 next, then How to Lead on Trad Gear, How to Rack Trad Gear, How to Build a Trad Rack, How to Build a Trad Anchor, and How to Belay from Above. Read them all, and you’ll have a pretty good understanding of how to go about developing the most important skills in trad climbing. It’s a whole new world out there waiting for you. Happy reading.
