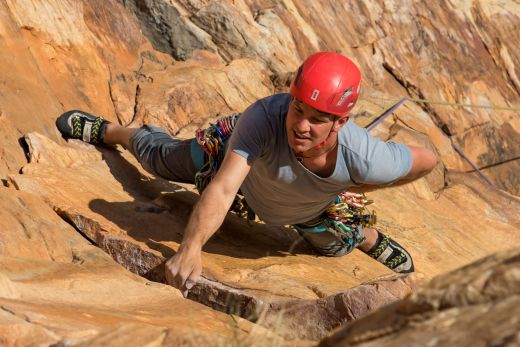
So you’ve been clipping bolts for a few seasons and have recently decided you want to get into trad. Maybe you want to add some variety and spice to your climbing or you want to expand your horizons and join your friends on trips to places like Moab and Joshua Tree – it matters not. Trad climbing is awesome, and you’ve come to the right place for an introduction. Read on and you’ll learn much of what there is to know about the skills and gear needed in trad climbing as well as some important points regarding grades and risk management. Of course, there's a lot more to trad than could be squeezed into a single article (even one as long as this), so I’ve also included links to articles that go into certain topics in greater detail.
- What is trad climbing?
- What is the attraction of trad climbing?
- Risk management
- Gear for trad climbing
- Technical skills needed in trad climbing
- Movement skills used in trad climbing
- Grades in trad climbing
- Team work, efficiency and safety
- How to start trad climbing
- Where to trad climb
What is trad climbing?
‘Trad’ or traditional climbing is the oldest of the free climbing disciplines. Long before there were bolts, climbers would tie in with a rope around the waist and place primitive nuts and pitons for protection as they climbed. In principle, not a lot has changed since then. Gear has improved dramatically, but the objective on most trad climbs is still to place the gear on lead regardless of whether it’s an onsight or redpoint attempt. Some of these climbs are short, single-pitch affairs that keep the climber within a rope length of the ground, but then there are also many multi-pitch routes that can take a team far from the terra firma and into the realm of high adventure.

Leading and following
In trad climbing, the norm is for one climber to lead a pitch and for the next climber to follow. This means that the second climber ascends while the first belays from the higher stance. As she ascends, the follower removes the protection placed by the leader and takes it with her so that it can be returned to the rack. It is also possible to top-rope single-pitch routes where the anchors are positioned in a way that they don’t create too much rope drag, but this is usually limited to crags that have been set up this way. More often than not, the second climber will follow, which is a valuable skill in itself and can make a team a lot more efficient if done well.
What is the attraction of trad climbing?
Trad climbing doesn’t only mean relying on a different type of protection. It means broadening your horizons and opening up opportunities for adventure in places where there are just no bolted lines. From the granite spires of Frey, Patagonia to the sandstone cracks of Liming, China to the horizontally striated conglomerate of the Gunks, there is a world of climbing out there just waiting to be explored. But there’s also a lot more to trad climbing than the allure of far-flung places with hard to pronounce names. Even when practised closer to home, trad climbing demands a level of self-sufficiency from you that sport climbing doesn’t.
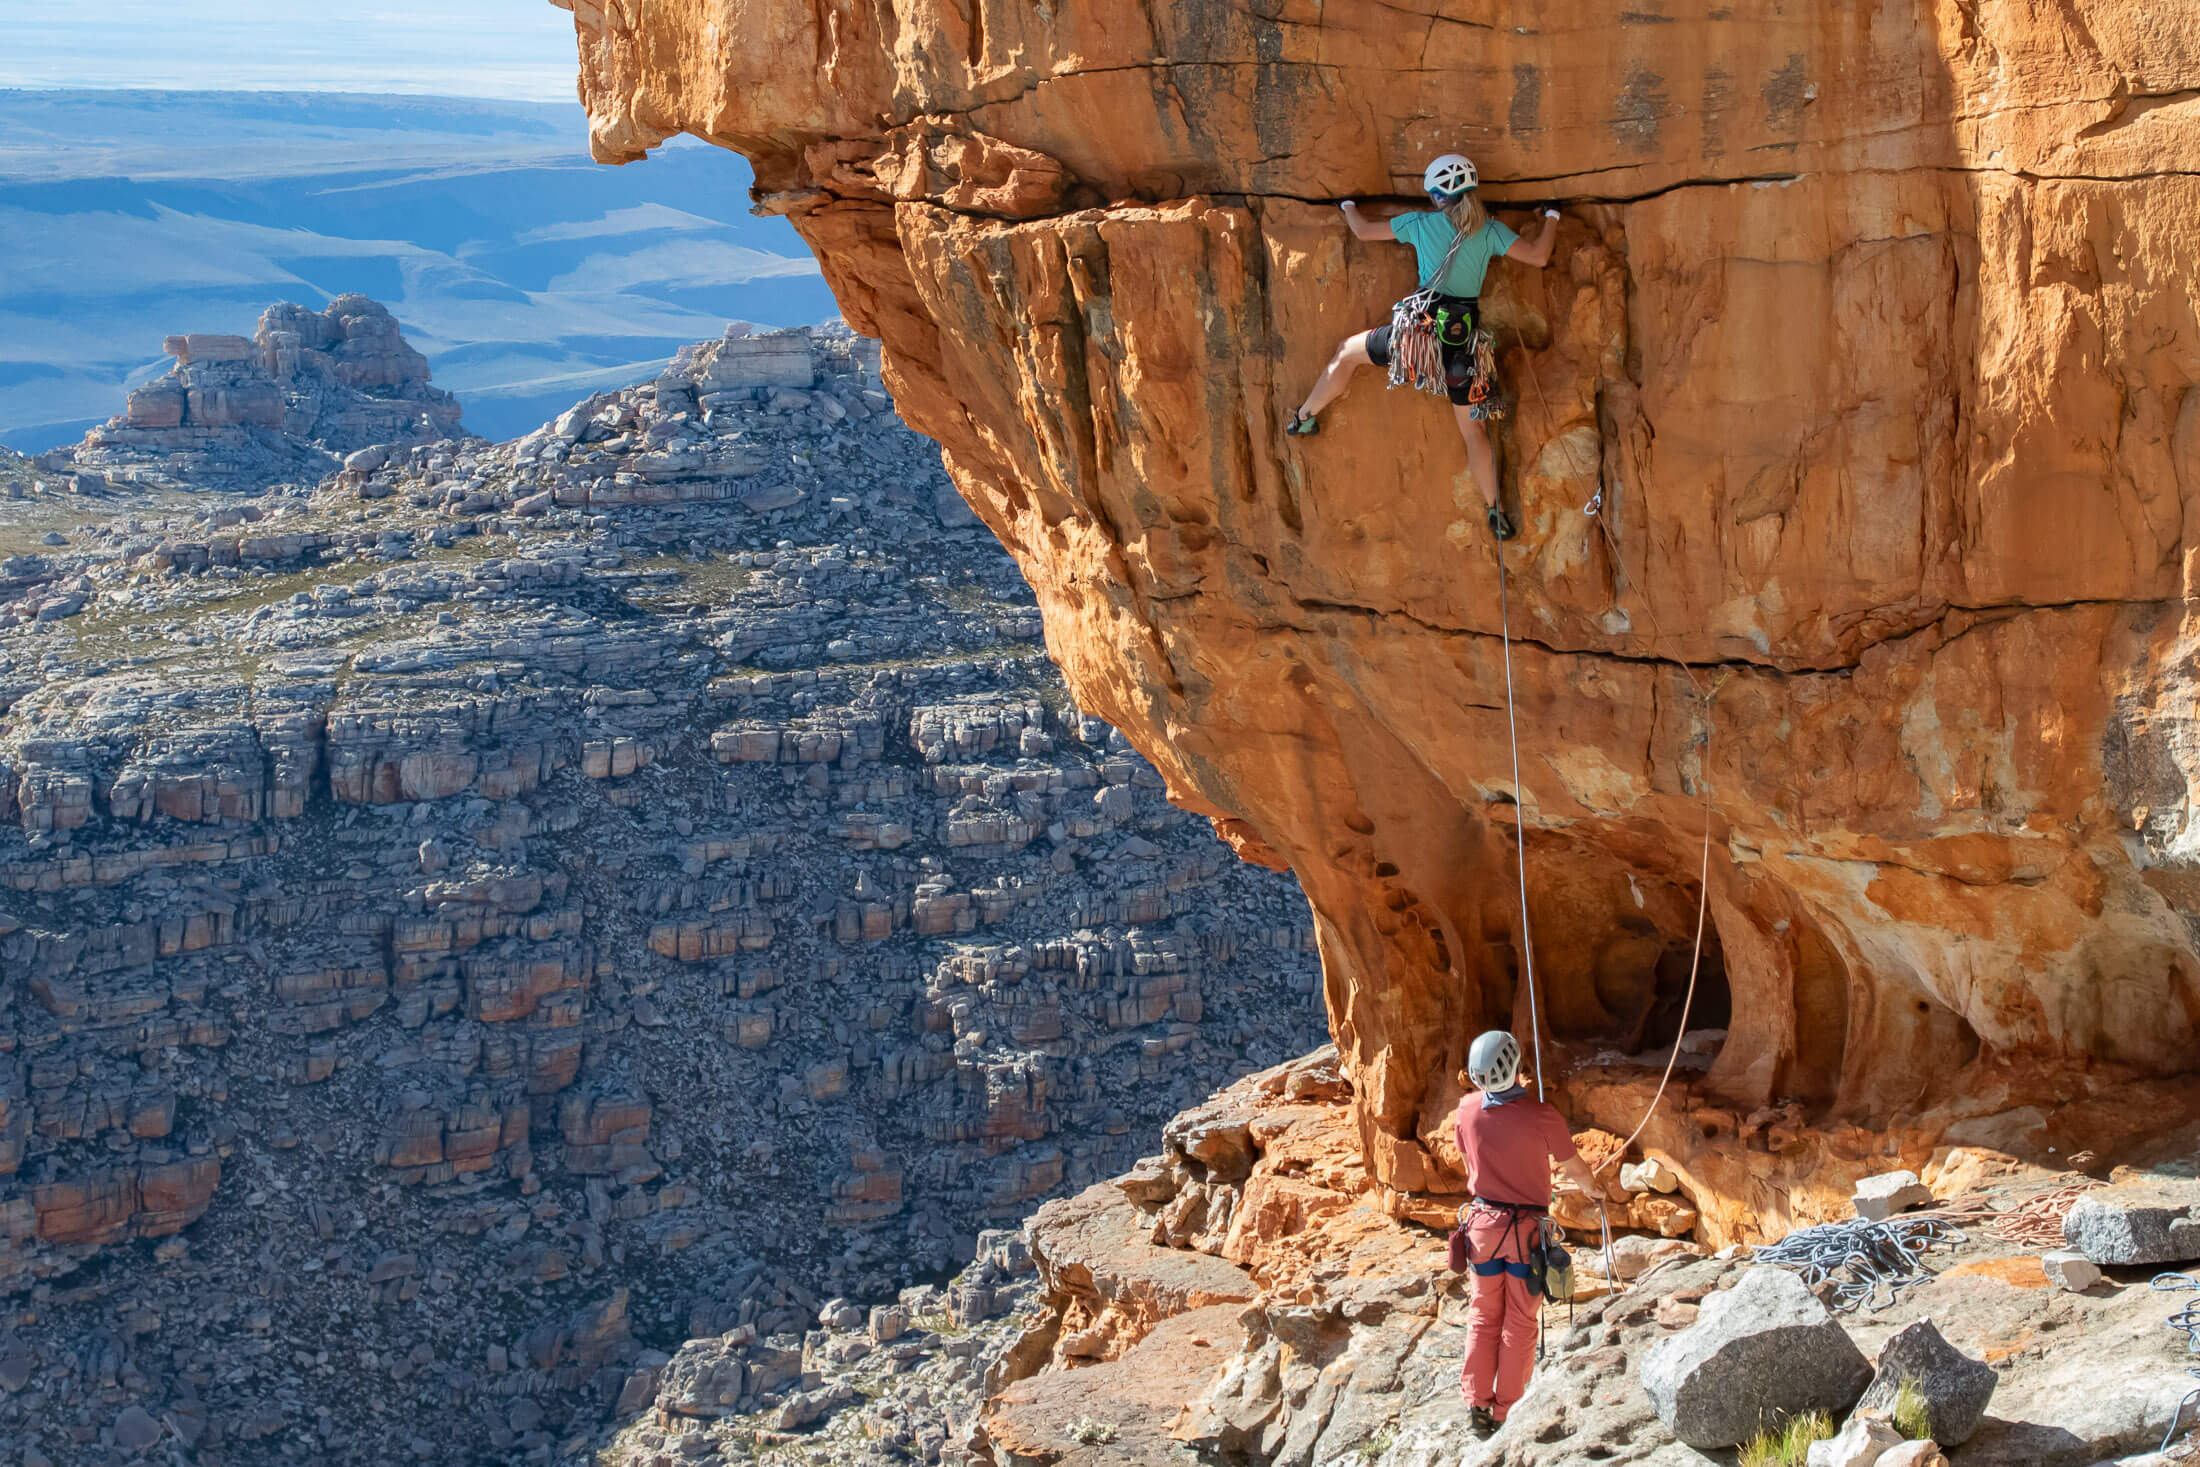
Maybe you stick to single-pitch crags at first, but eventually as your experience and confidence builds, you’ll set your sights on longer routes – endeavours that will test a range of climbing and general wilderness skills. If you’re well prepared and prove yourself capable of your objectives, these experiences will be amazing opportunities for learning and personal growth. At least some of the satisfaction found in this self-sufficiency has something to do with the wide skill set employed in trad climbing. But it also has just as much to do with a sense of personal responsibility – for your safety and that of your partner. When taking up the sharp end, you accept that you and you alone are responsible for managing the risks involved.
Risk management
There are several ways in which the risks in trad climbing can be higher than those in sport climbing. The first is that trad protection is more complex and can fail if not used properly. It’s the climber’s responsibility to mitigate this risk by understanding the limits of their gear and learning how to place it properly. Then there’s the nature of trad routes themselves. While some routes follow lines up perfect rock, there are many more, especially multi-pitch routes, that pass through patches of dubious rock or sections that simply can’t be protected. In such instances, trad climbers are forced to adopt the old school ethos “The leader does not fall”.

A third type of risk involves the level of commitment required from multi-pitch trad climbs. Unlike a multi-pitch sport route, which puts bolts within easy reach if a team needs to abort, trad routes can require a team to devise emergency rappels if they find themselves having to descend from stances that don’t have established rappel anchors. The short of it is that trad climbers can’t always count on a quick and easy descent if the route proves too difficult or nasty weather moves in. While all of these might put off some more risk averse climbers, there are also those who find much satisfaction in venturing into the mountains and managing its inherent risks. There is, after all, no adventure without uncertainty, and there is a real reward to be found in acquiring the skills and experience needed to safely go (a relative term) where most people cannot.
Trad climbing can be as safe as you want it to be
It’s also true that trad climbing can be as safe as you want it to be. Modern guidebooks publish information on gear placements and the quality of rock found on listed routes, making it much easier to identify easy-to-protect routes. On the flip side, there are many trad climbers who will develop an appetite for routes that offer a little more ‘spice’. There’s a certain satisfaction that comes with taking on a certain amount of risk and being able to manage it. Just don’t rush it. It takes years of experience to develop the kind of judgement that will allow you to properly assess the risks involved during a climb.
Gear for trad climbing
Trad climbing simply requires more gear than other disciplines, and that can make things costly if you decide to buy everything at once. I suggest that you take your time when buying gear, and try to climb with friends’ racks for a while if you can. Even a little experience with different cams, nuts and draws will make it easier to make an informed decision when you decide to make the investment.
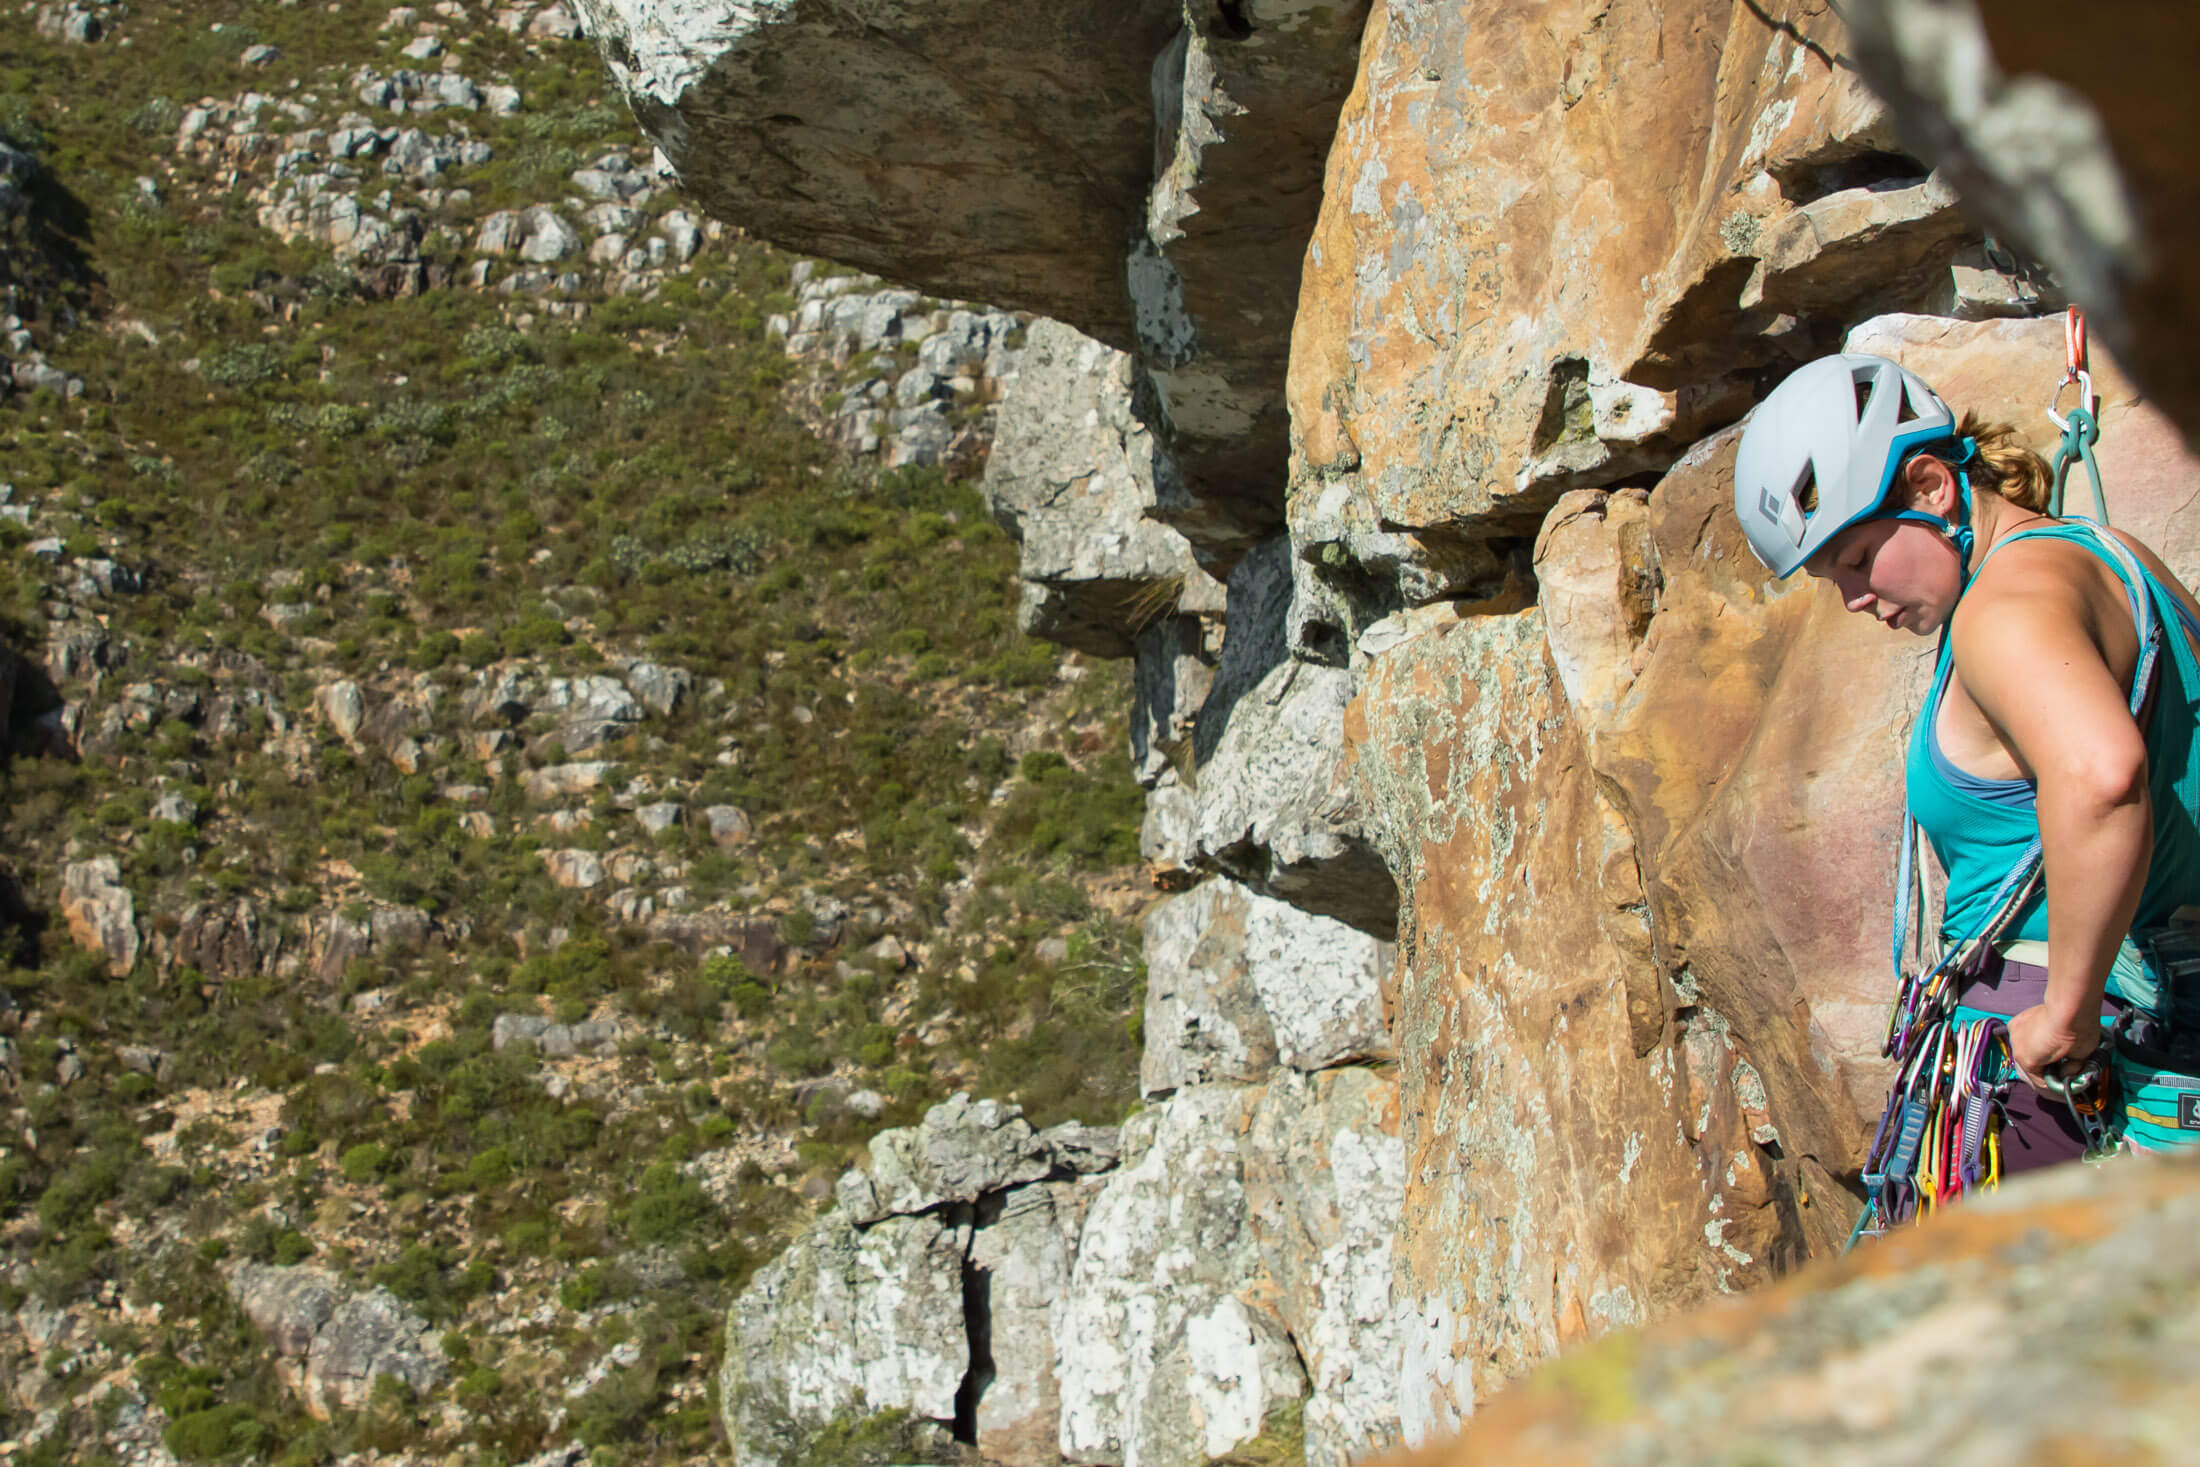
Cordelette
When it comes to building anchors, the preferred tool of many climbers is a cordelette. This is a 5 m to 7.5 m loop of 7 mm nylon accessory cord or 6 mm technora cord tied together with a double fisherman's knot. If you’re likely to have to build a lot of three-piece trad anchors, a longer cordelette is better (my preferred length is 6 m), but if most of the belay stances you encounter are likely to be bolted (in which case you’re more likely to build a two-point quad), a shorter cordelette will suffice. Some stores sell cordelettes pre-tied, but usually you have to make your own.
Slings and quickdraws
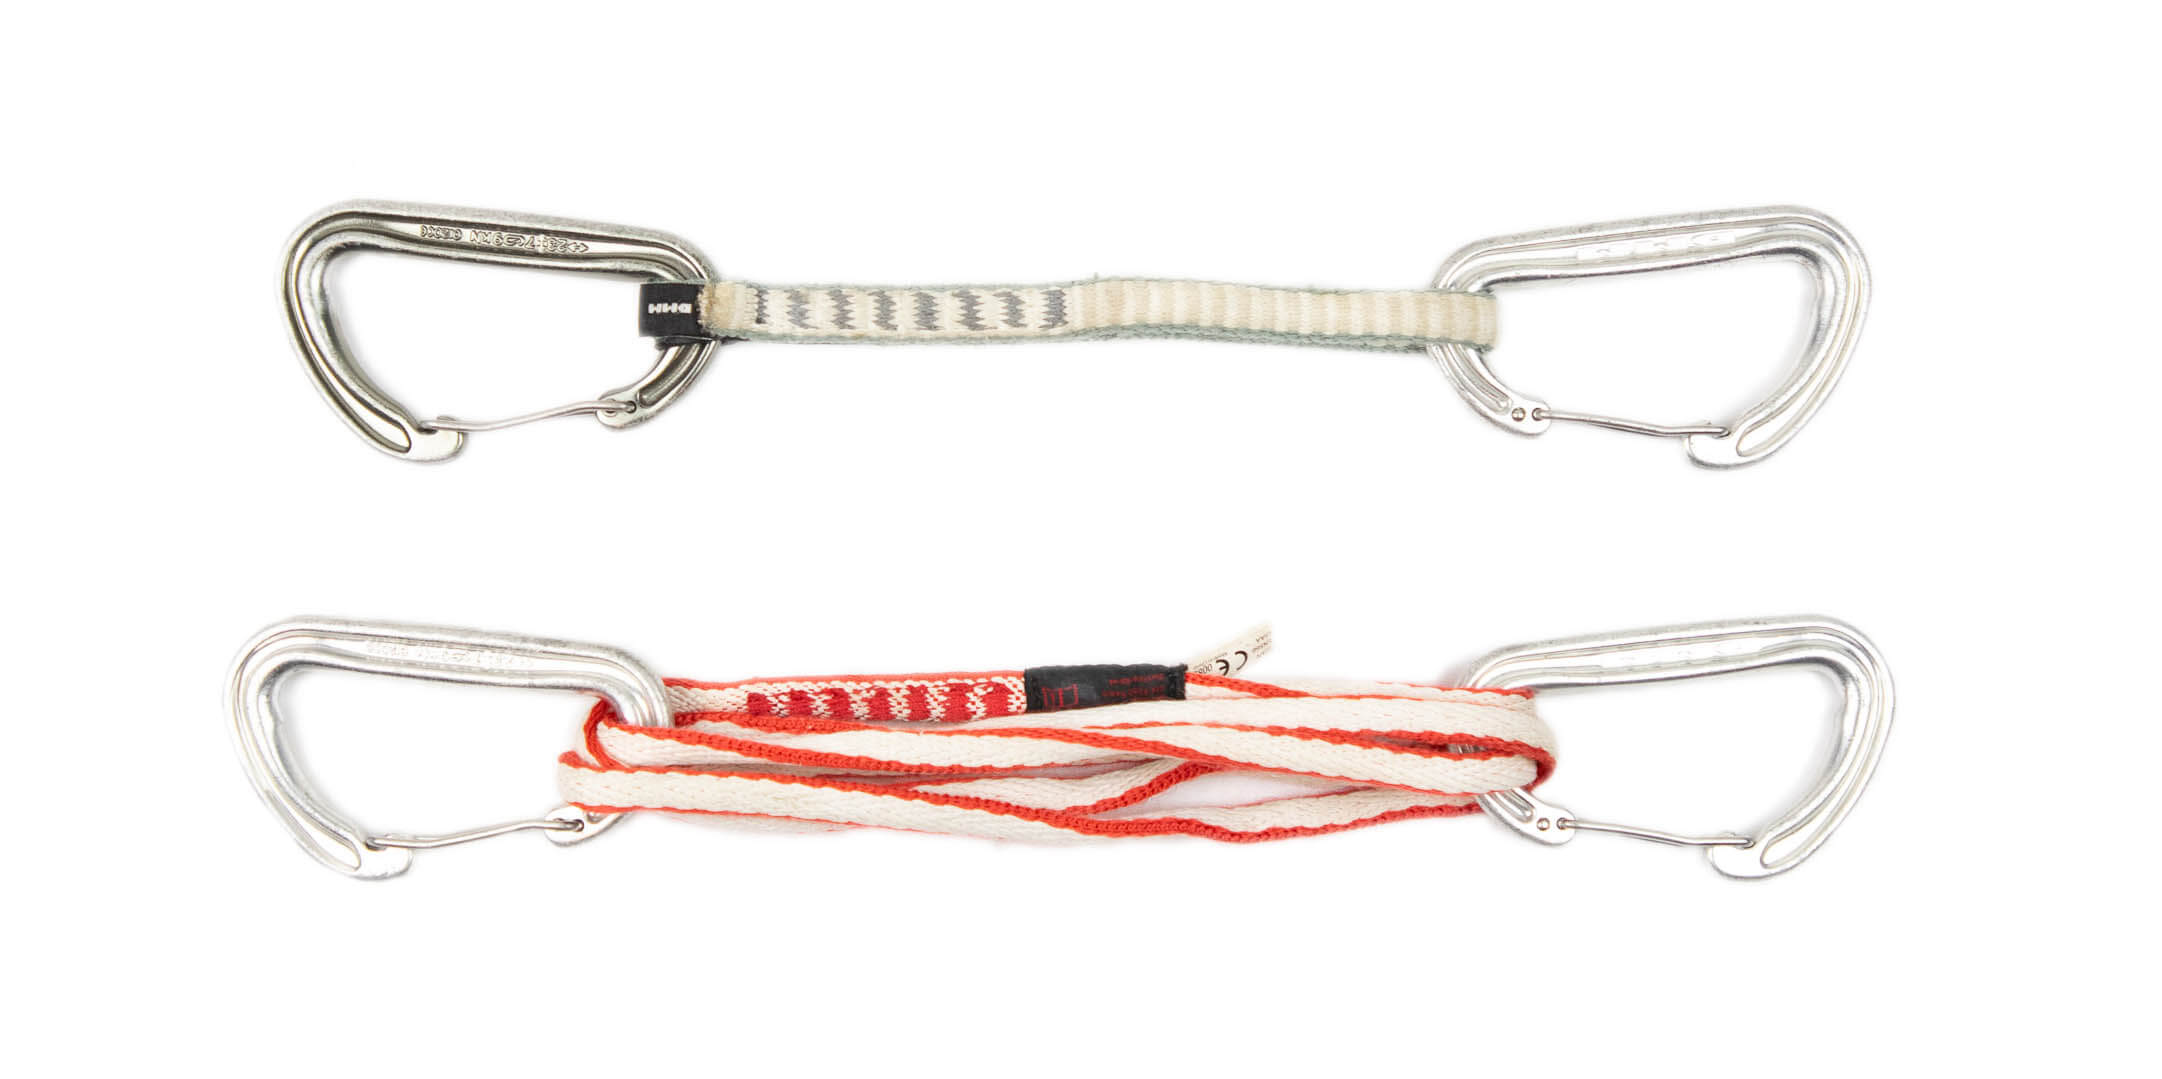
To avoid rope drag and having the swaying rope tug gear out of place, trad climbers use quickdraws, alpine draws, and slings to extend placed protection before clipping it to the rope. Quickdraws, the shortest of extensions, can be up to 18 cm. The slings used in alpine draws are 60 cm when fully extended. And slings that are racked independently or over the shoulder are usually 120 cm. How many you need of each will depend largely on the type of terrain you climb. Meandering routes require more alpine draws and double-length slings while direct routes require fewer.
Carabiners
Besides the carabiners that stay permanently attached to one’s quickdraws and cams (racking carabiners), a trad climber needs several other types of carabiner: a full-sized HMS for use as an anchor master point, a few smaller general purpose screwgates for rigging a guide mode belay and securing other critical connections, several additional wiregate carabiners for clipping slings to rope, and a few oval carabiners for racking your nuts. It’s important to consider both weight and functionality when choosing these as they will affect the total weight of your rack and the ease with which you can clip and unclip gear.
Passive protection
Nuts are still a staple in almost every trad climbers rack as they have a very specific function – to protect tapered cracks. To place one, you find a crack with a constriction in it, slot the nut into the section of crack above the constriction, and then pull it down until it jams in place. Modern nuts come in variety of shapes and styles including tapered nuts, which are designed to sit better in flared cracks.
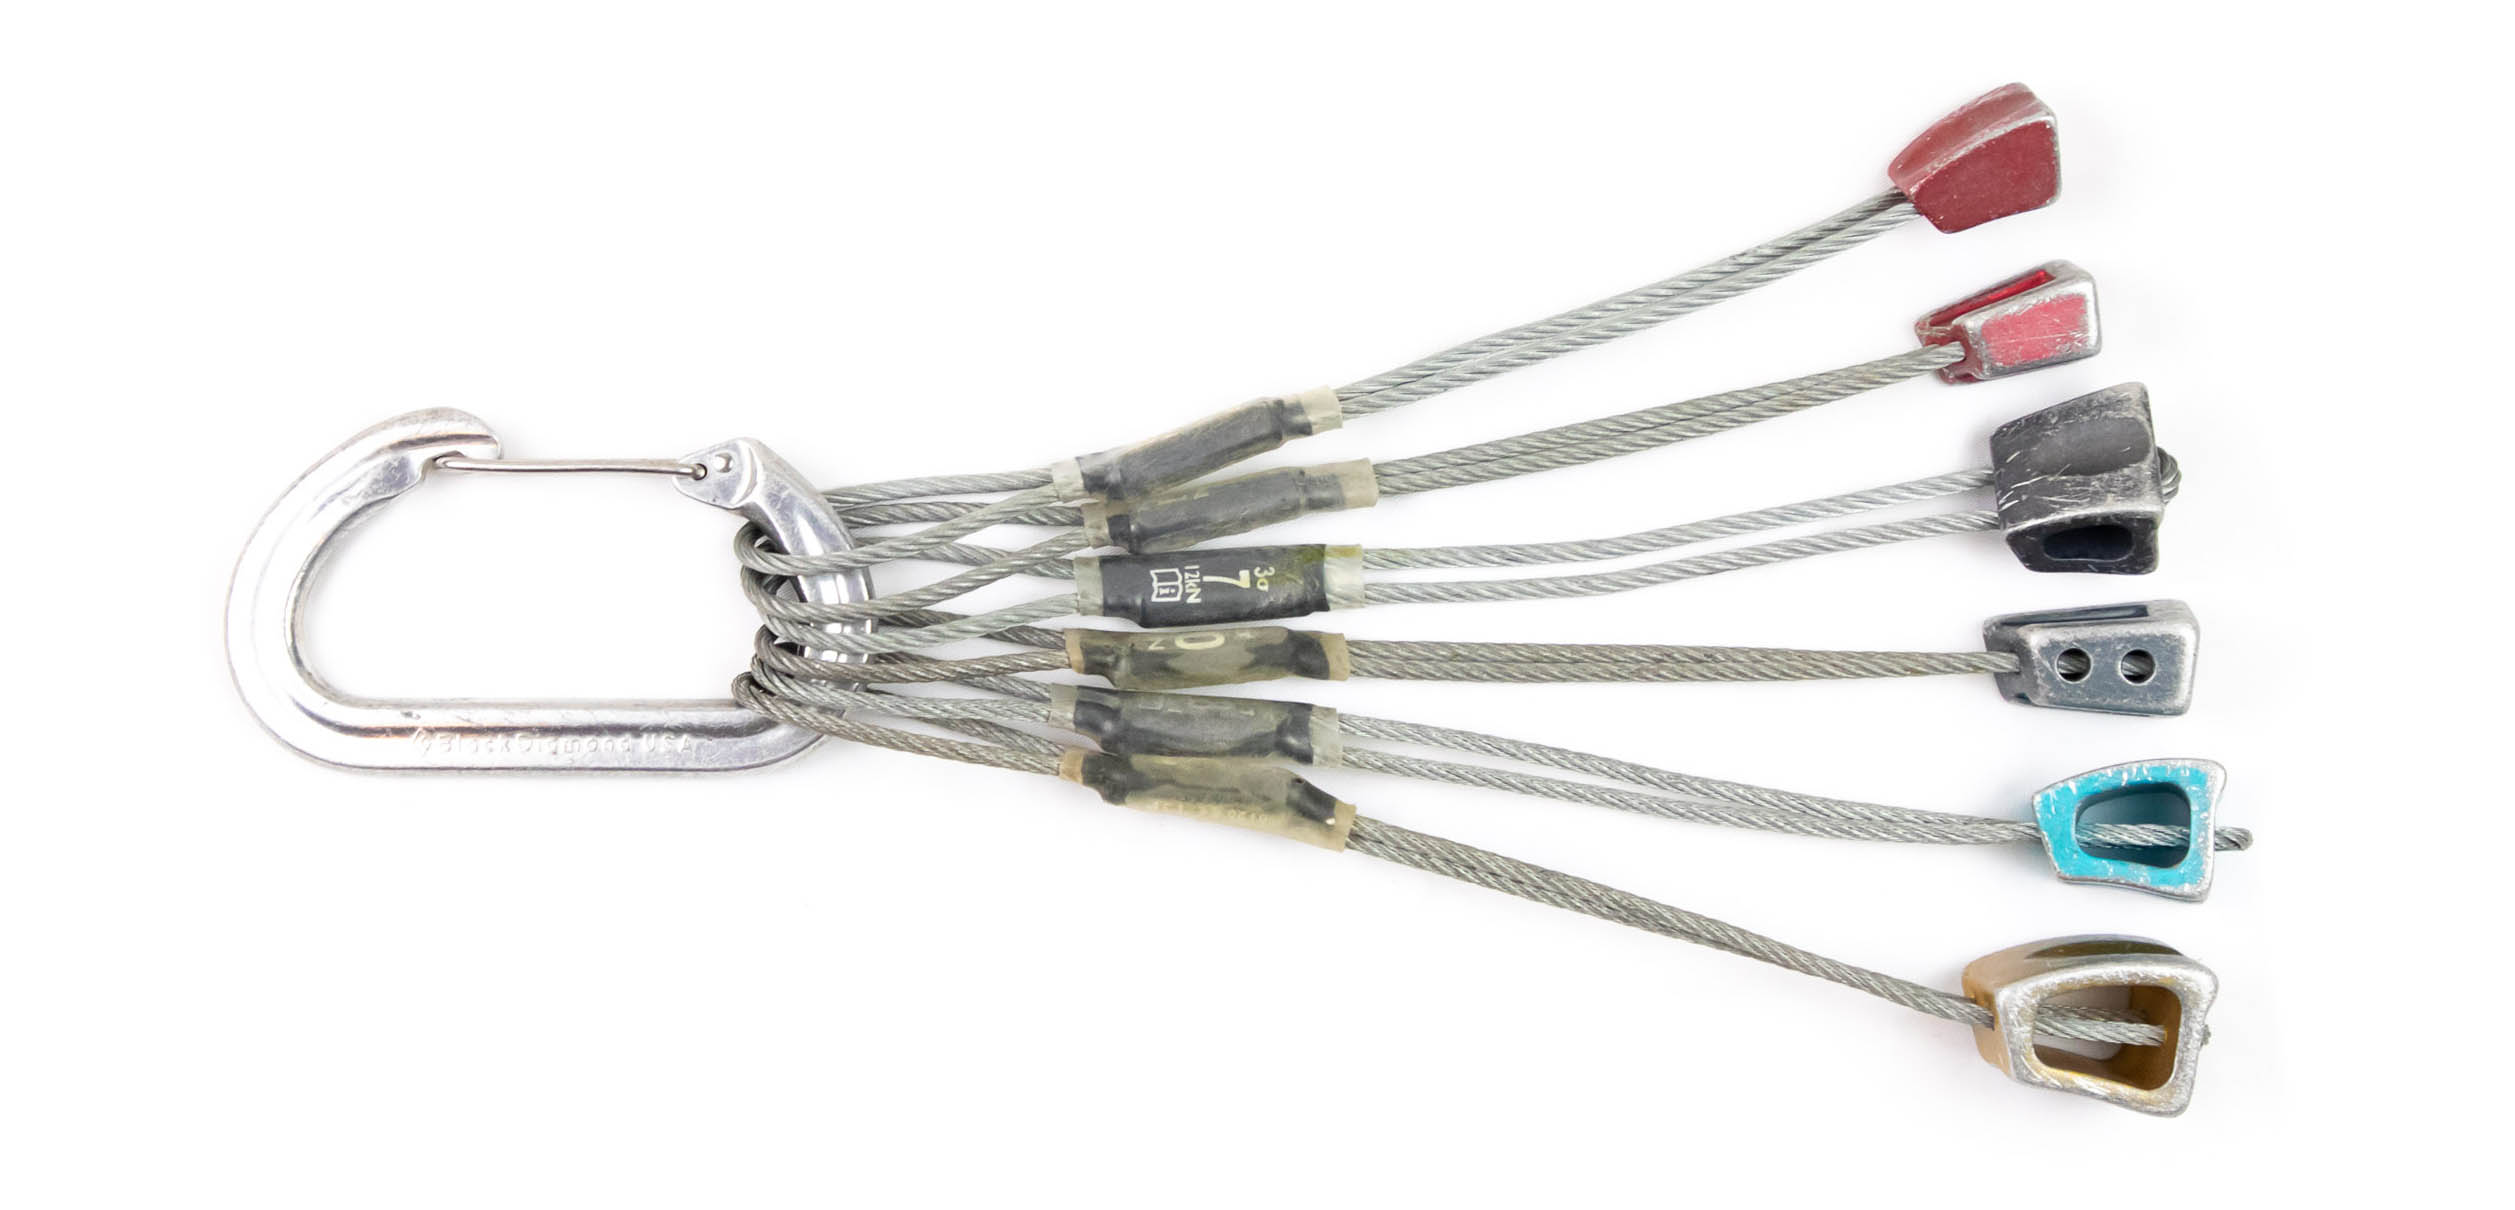
Hexes are best described as non-mechanical camming protection as they are designed to cam into the rock, achieving greater holding power in parallel-sided cracks when they are weighted. Because they’re trickier to place properly than cams – which perform the same function – they’re not nearly as popular as other types of protection. Still, they are more affordable and lighter than cams, so you will still see them around, especially in the racks of old school tradsters.
Active protection
When it first appeared on the scene, the spring-loaded camming device or cam changed trad climbing forever. Like hexes, they can be used to protect parallel-sided cracks, but then they offer a significant advantage in that they’re much easier to place, especially in cracks that are less uniform. Being a lot more mechanically complex than passive protection, cams are also a lot more expensive, and it’s likely that these will account for the greatest portion of the total cost of a new rack.
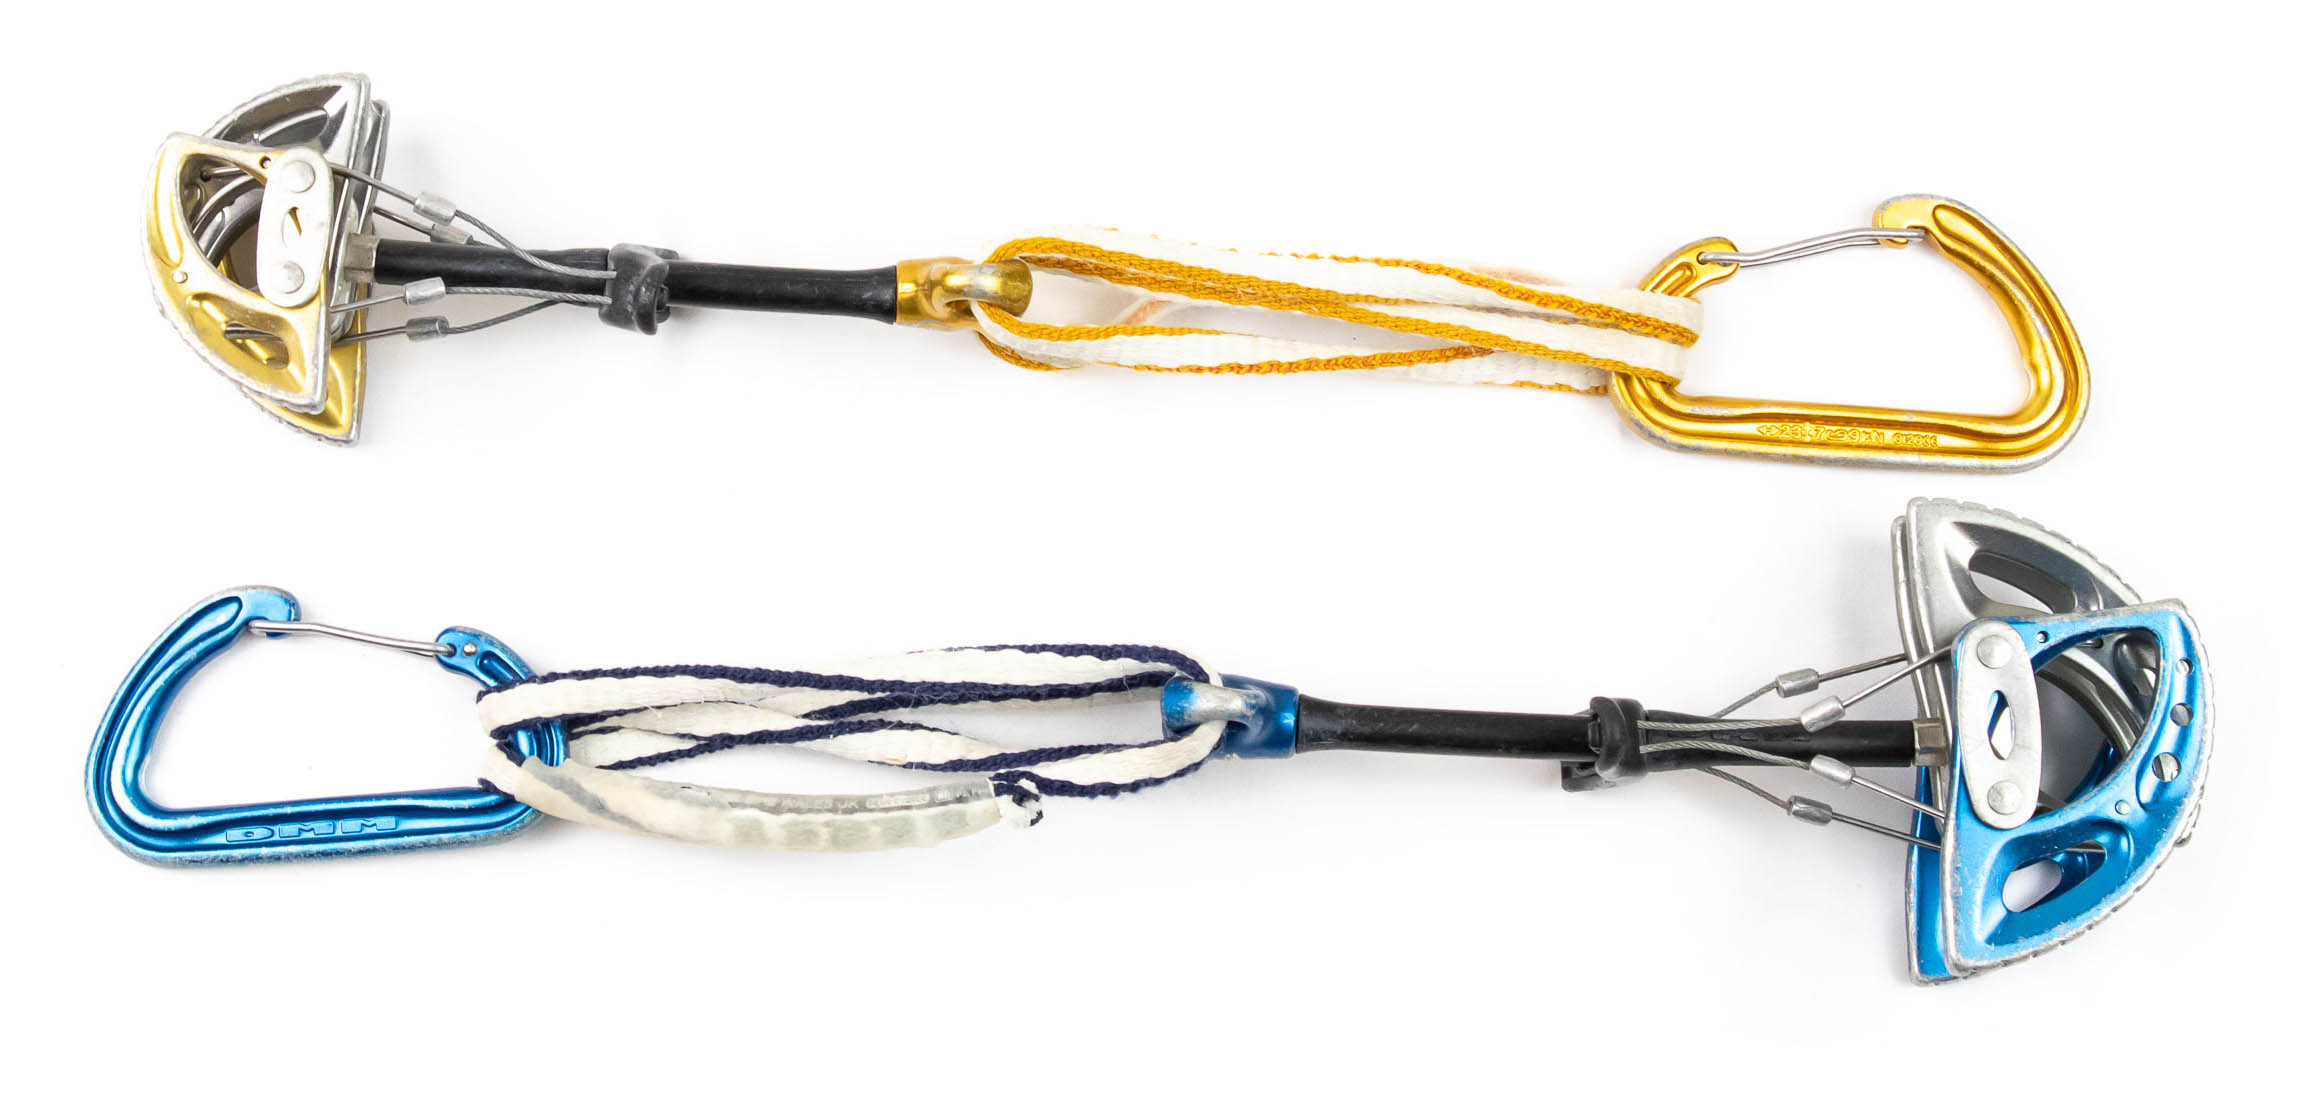
Exactly how many cams do you need? Today most trad climbers have two cams in each size in their racks, although in the smaller sizes it’s also common to have a single microcam for each size and then a similar sized offset cam sitting between the sizes. If you have doubles in each size from #0.2 to #3, and then a single #0.1 (smallest commonly-used cam), #4, and #5, you will have a total of 19 cams – a pretty comprehensive rack.
Shoes
Trad shoes are worn for long stretches of time, so they should be comfortable. Beyond that, you should consider the type of climbing you're going to do. If you expect lots of small edges, it would be best to get a slightly downturned shoe with good edging power. Climbing a lot of handcracks? High-top shoes will protect your ankles. Do you have your sights set on some tricky finger cracks? A pair of malleable slippers might do the trick. Want just one pair of all-rounders for everything? It’s probably best to go with a pair of neutral-lasted lace-ups.
Ropes
The single vs double rope debate can be a contentious one. Some North American climbers maintain that a single rope is the only way to go, regardless of the mission. Others see the benefits of double ropes on meandering and more adventurous routes. And the majority of British climbers are likely to only ever climb with double ropes. I weigh up the pros and cons of each system in my article on single vs half ropes, but ultimately the decision is a personal one. In the case of half ropes, I don’t recommend going thinner than 8.5 mm (durability becomes a factor) or longer than 60 m unless you really need it. If a single rope is preferred, it’s best to go no thicker than 9.5 mm unless you intend to abuse your rope on abrasive rock.
Harness
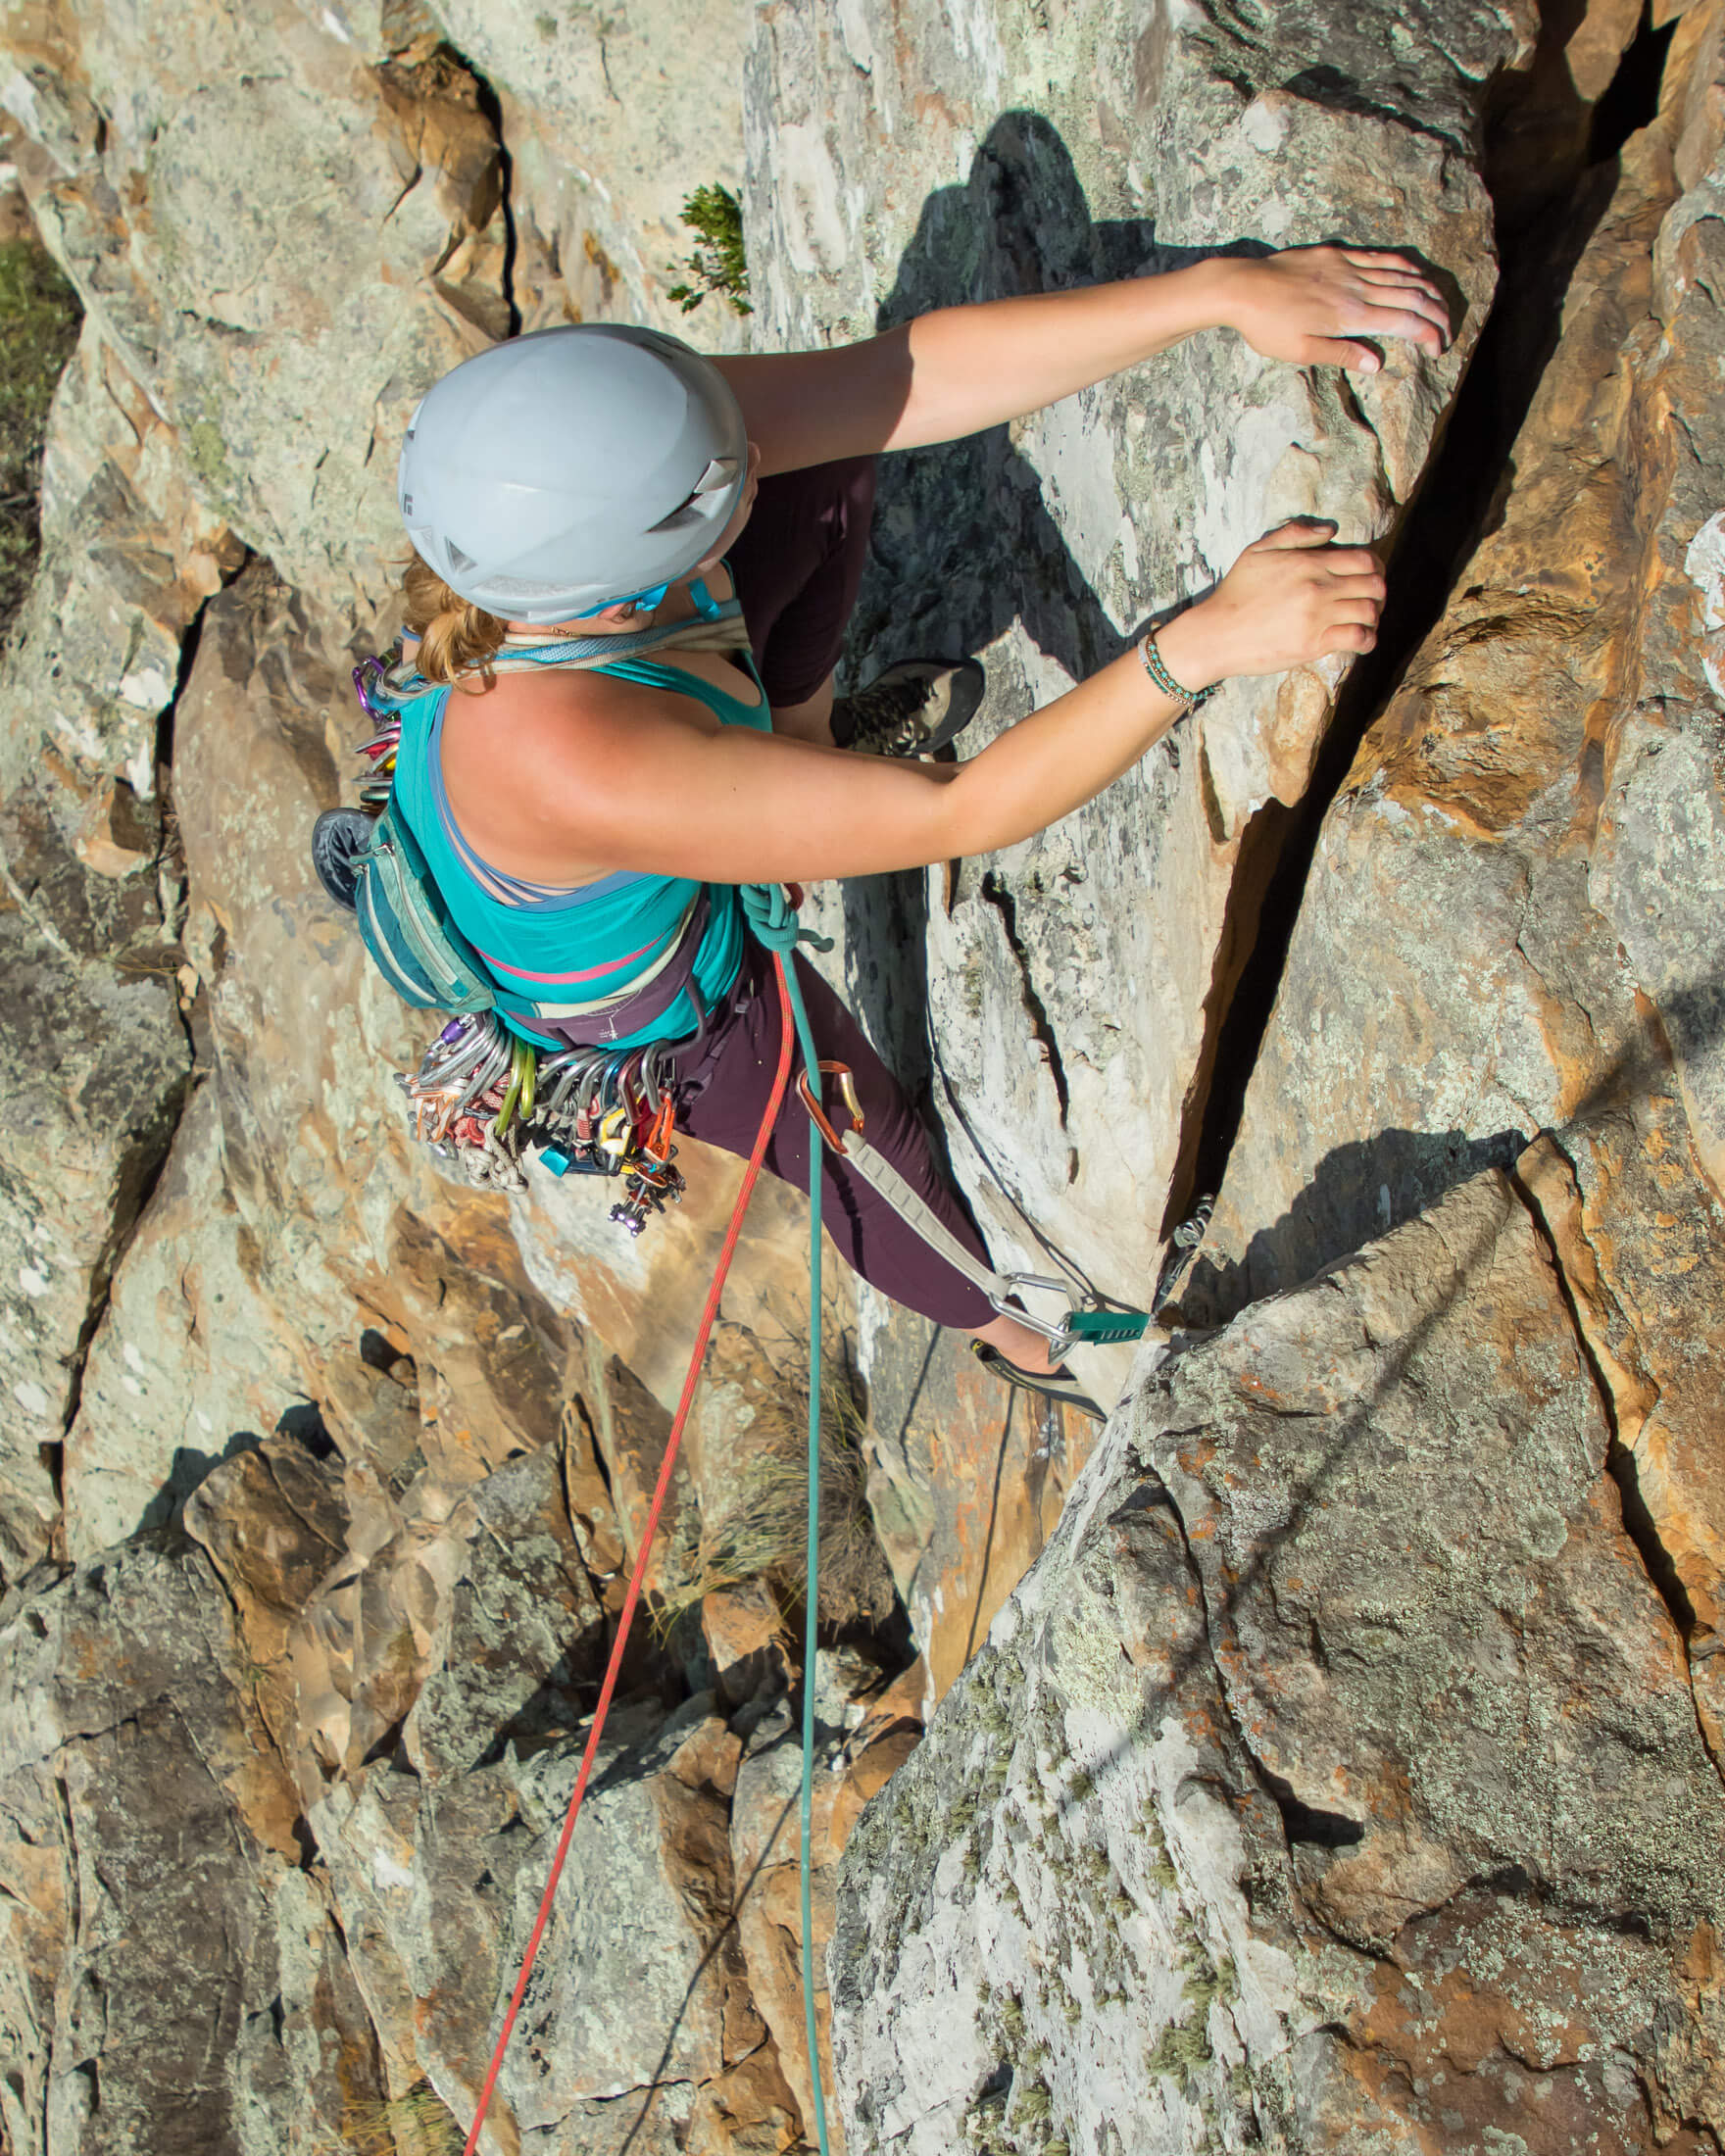
Given that your trad harness needs to carry a full rack of gear, you’ll want to choose a harness with large gear loops. Other useful features include generous padding, as you’ll likely spend quite a lot of time at hanging belays, and a haul tag for attaching a tag line to if you ever decide to use one. Besides these, the most important thing to consider when choosing a harness for trad climbing is correct fit. Some climbers will need a harness with adjustable legs loops to get the fit just right. If not, it's better to keep things simple.
Belay device
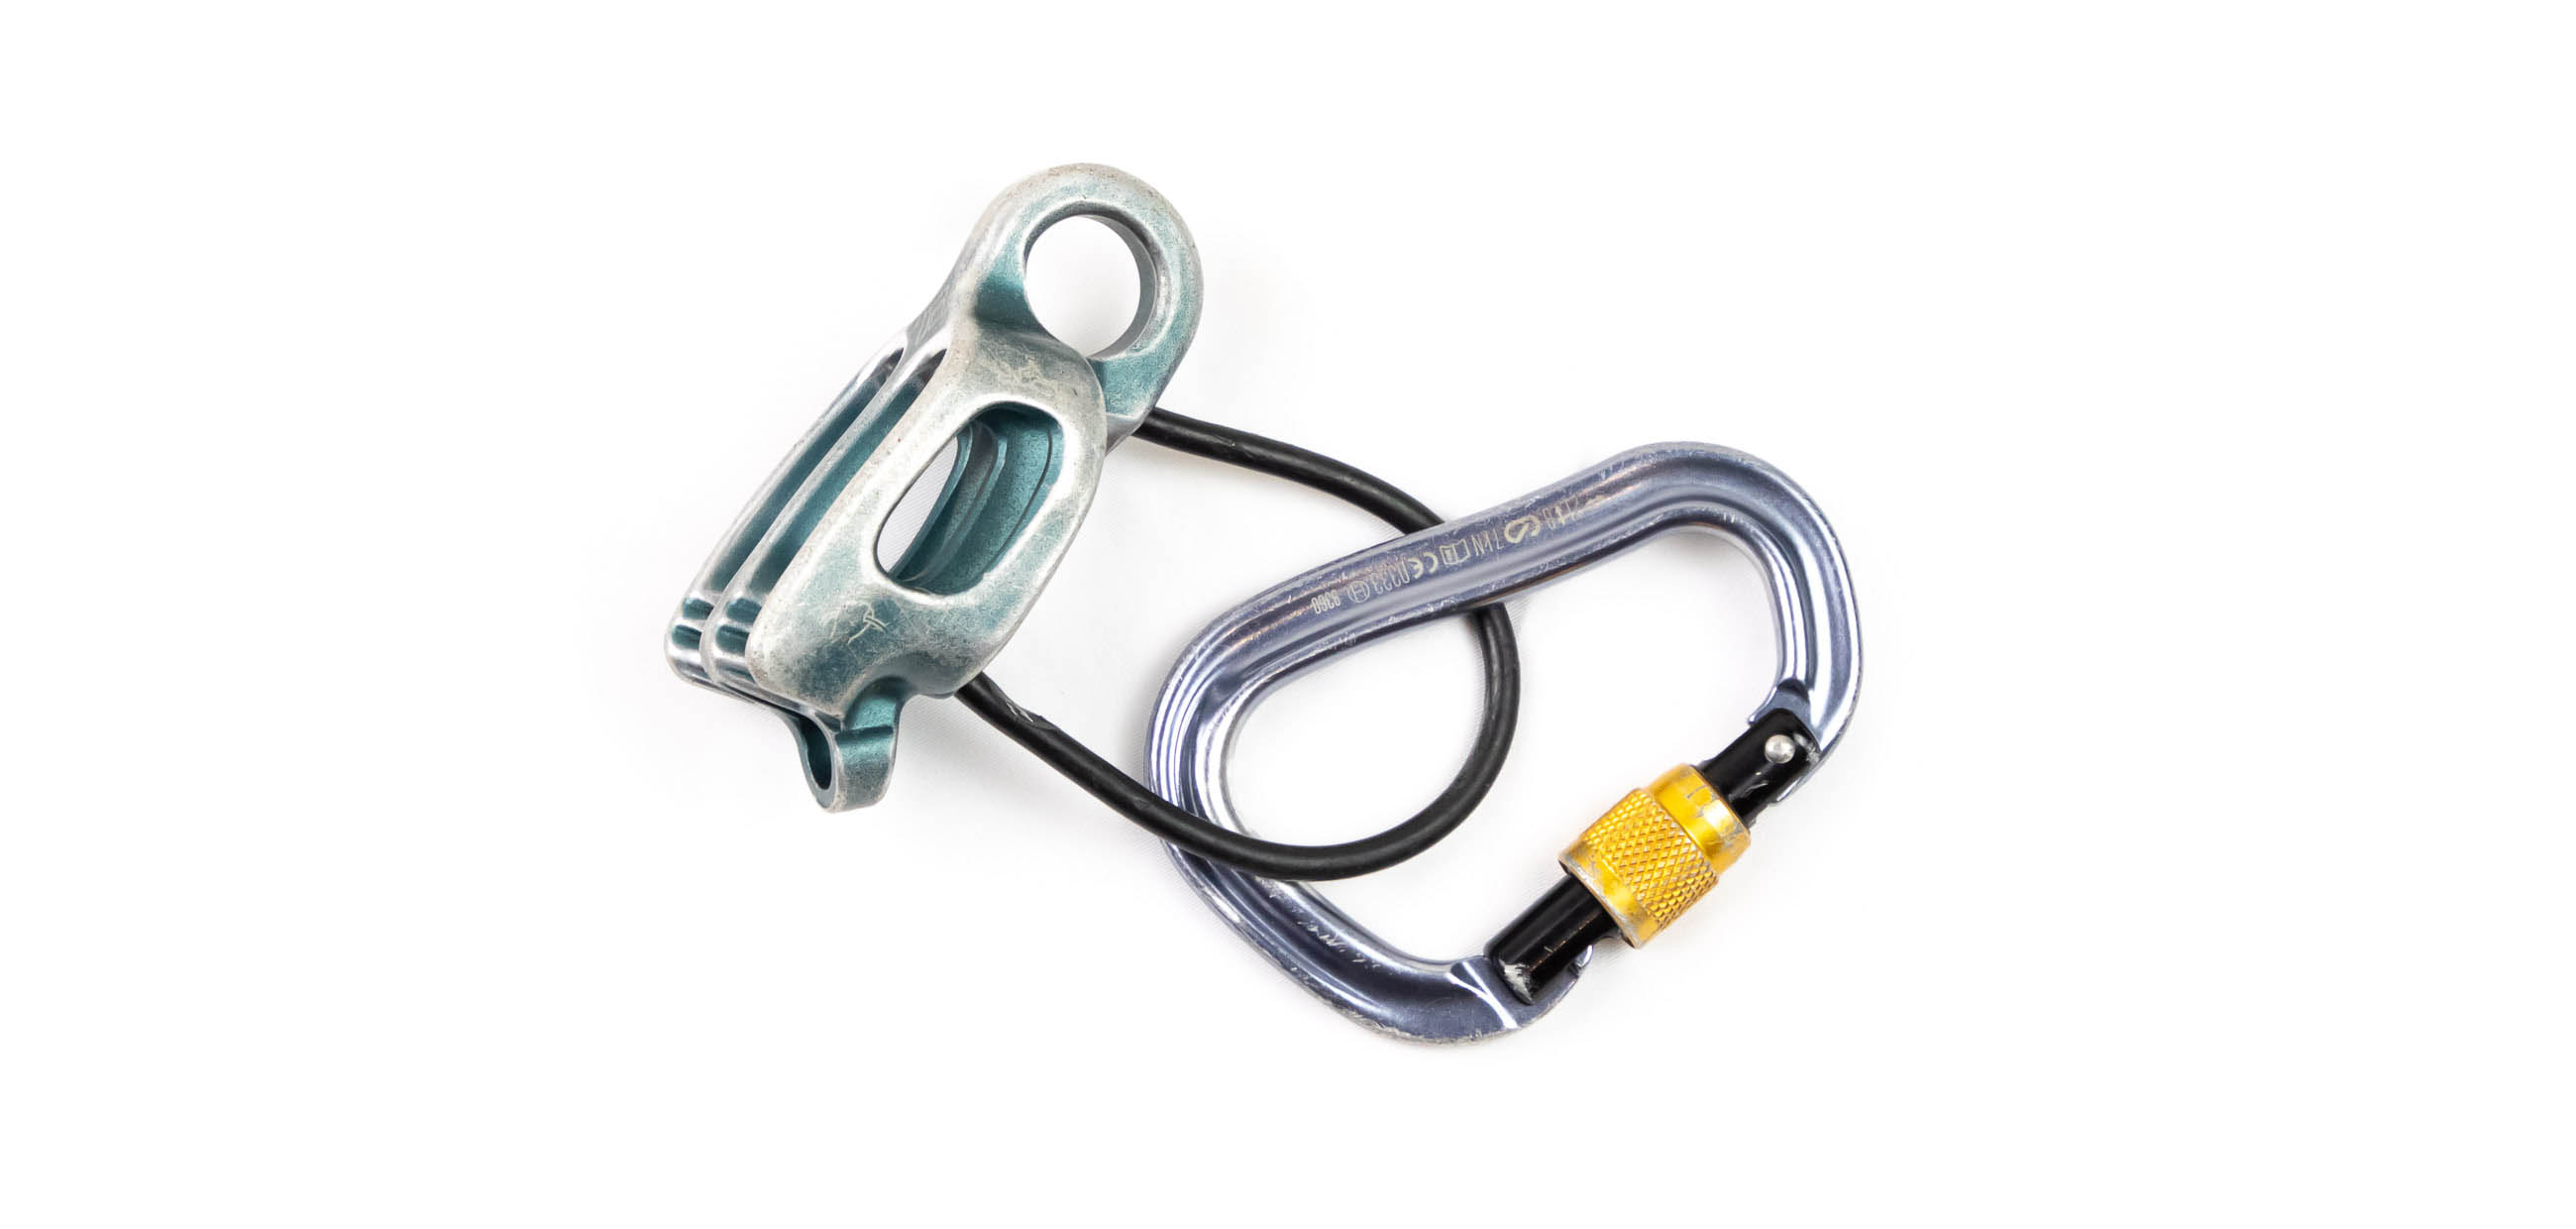
If you’re going to rappel off a climb or use two ropes, a guide-mode tubular device like the ATC Guide is the most practical. Besides having two rope channels, this type of device can also be used as an auto-braking belay (guide mode) when used to belay up a follower. My article on how to belay from above explains how this can be done safely. A Grigri is also a good option if you only need a single-channel device, and some teams carry two guide-mode devices (one per partner) and a single Grigri, which is shared and used by whoever belays the leader.
Crag bag
You’ll need a bag for carrying all your gear to the crag. You can use a regular backpack, but this will get beat up with regular use. Purpose-made crag bags, on the other hand, are designed to withstand the wear and tear that comes from being repeatedly picked up and put down, dragged around, and squeezed through narrow passages. 45 to 55 litres is a good size for trad climbing.
Follow pack
For multi-pitch climbs, many teams opt for a small pack that can carry the essentials without affecting the climbers balance too much or proving too cumbersome when it has to be hauled up a chimney. 18 litres is a good size for this purpose. Beyond that, the pack should be made of durable material (It will be abused) and be as low profile as possible – shouldn’t have too many straps and things that could get caught on rock features.
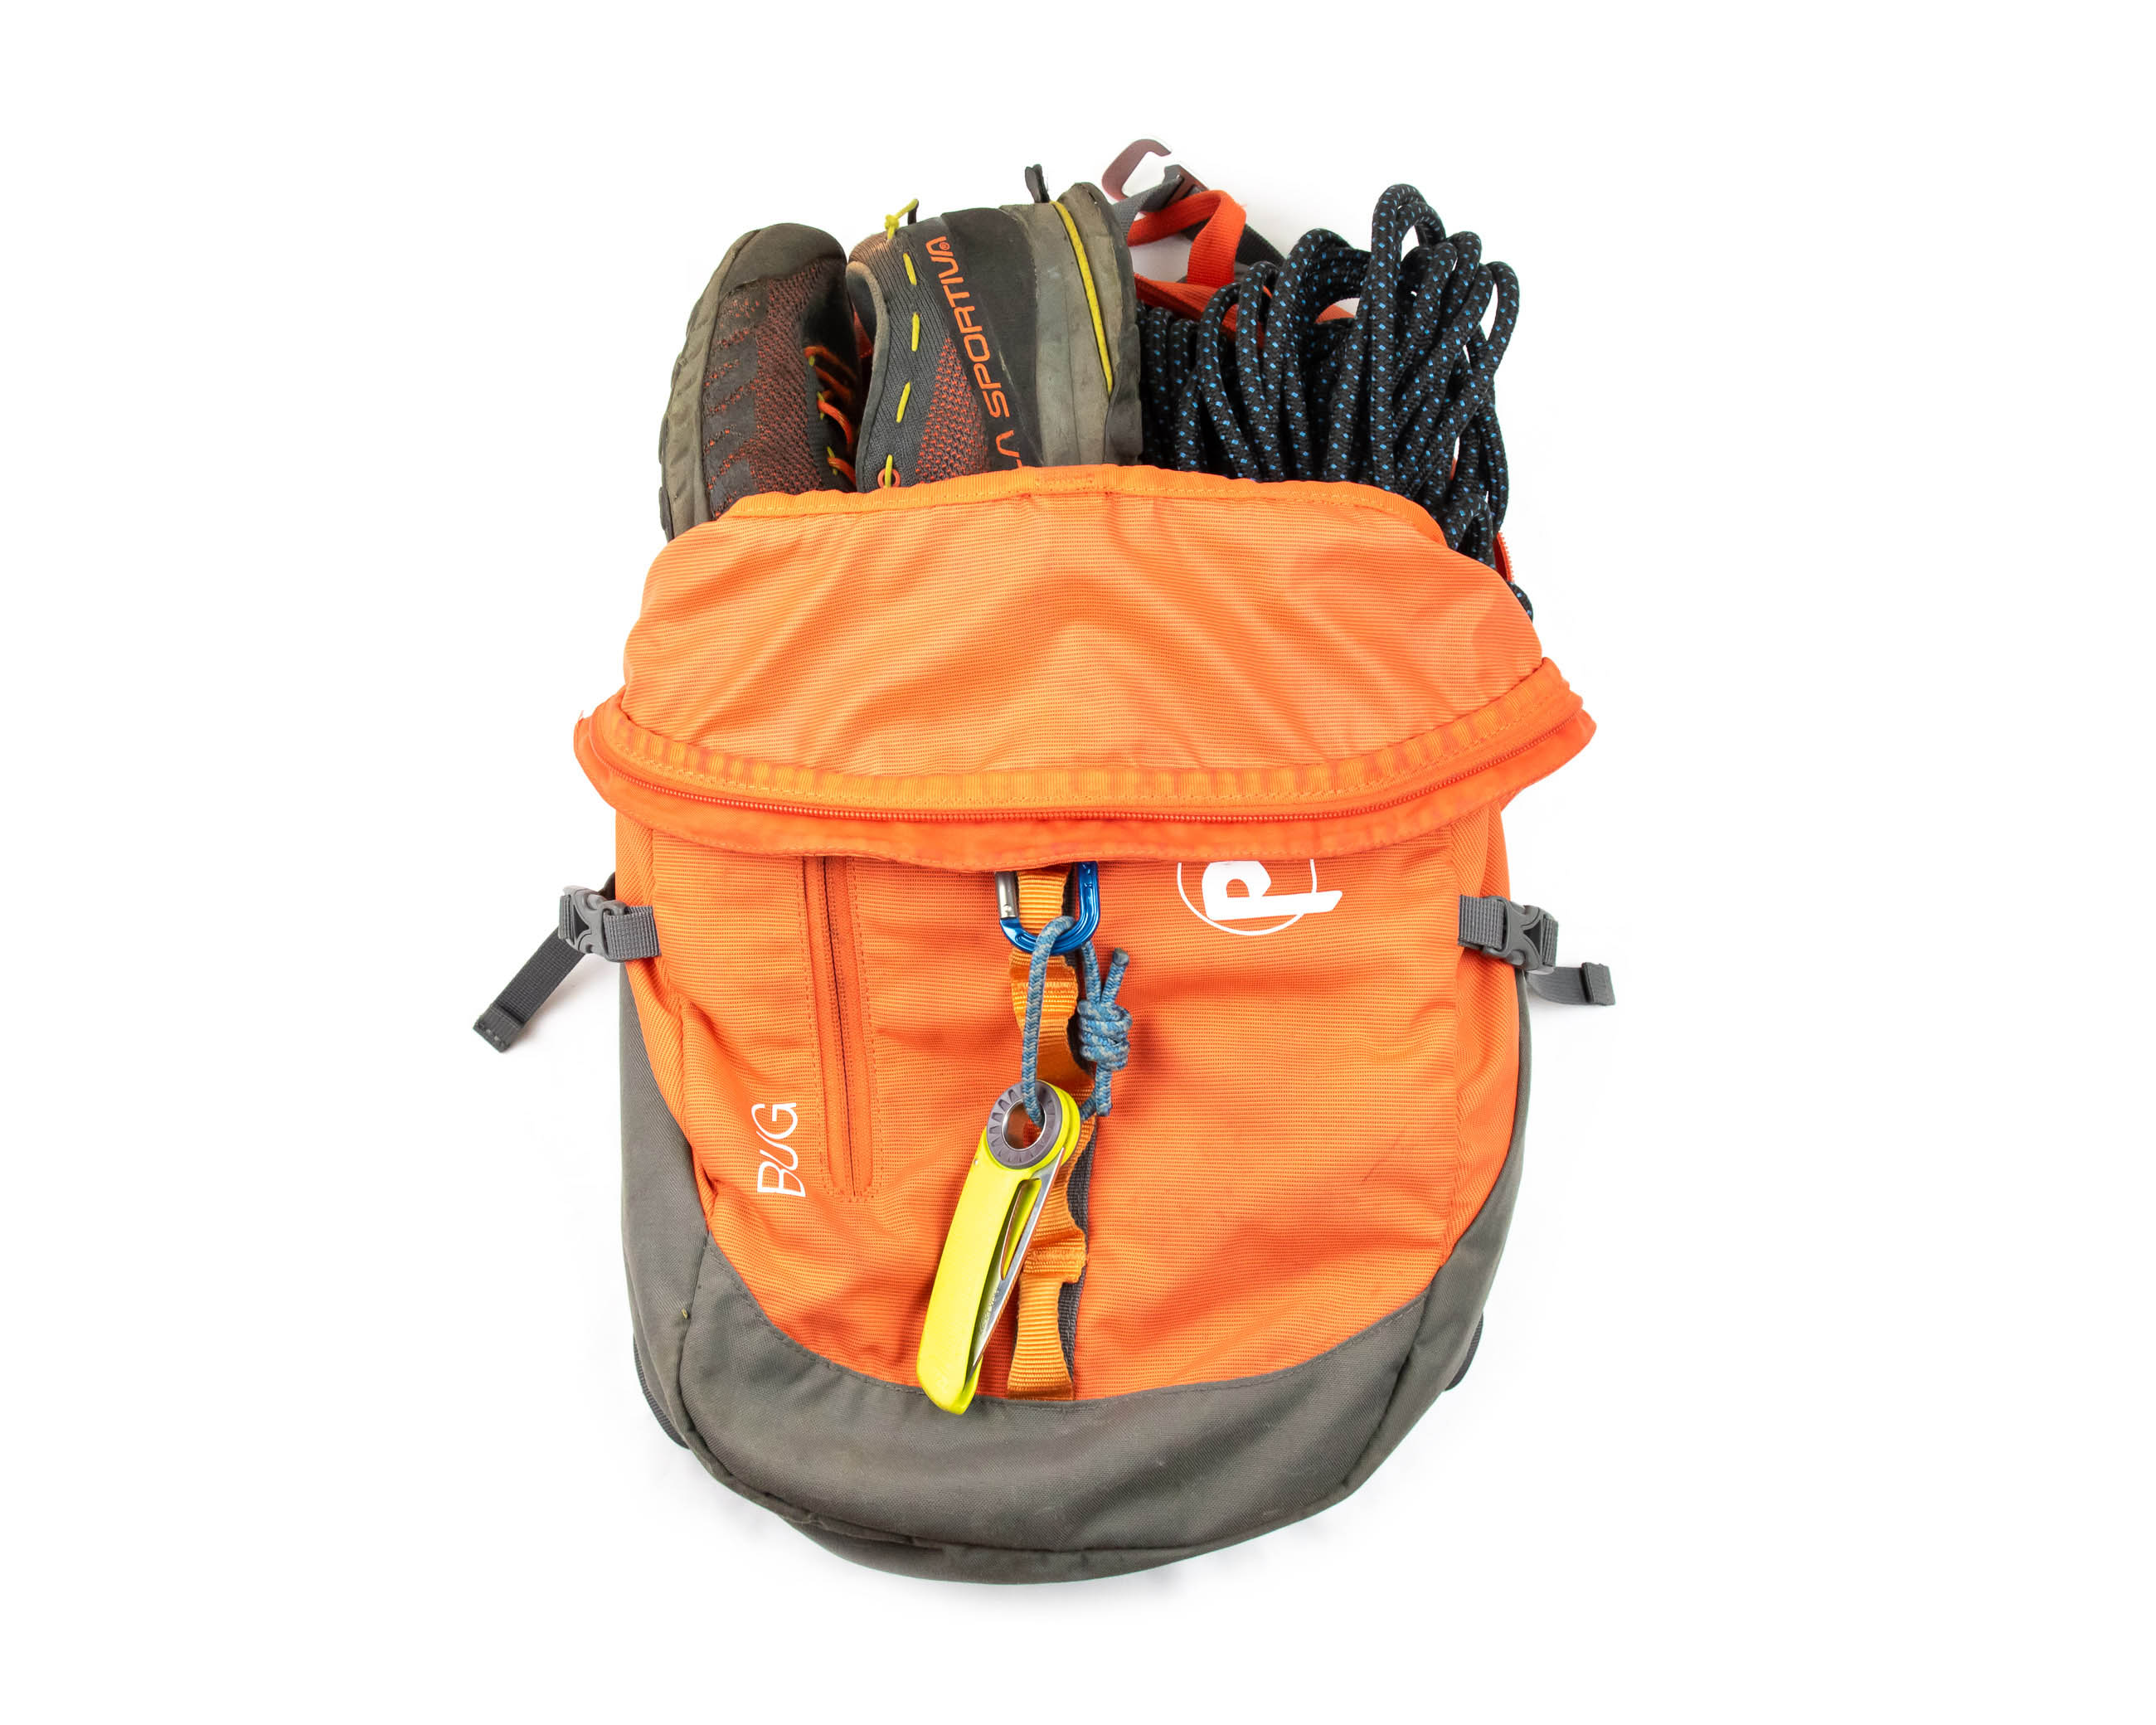
Chalk bag
Things don’t get much more utilitarian than a chalk bag. It’s a little bag. It holds chalk. It usually has a strap to go around your waist. This last feature is important as it allows you to reposition your chalk bag so that it's within easy reach of a certain hand while you’re getting a shake out. Another feature that you might look for is a closure system that works properly – prevents chalk from going all over the inside of your pack.
Nut tool
Your nut tool is one of the best investments you’ll make. It will help you get your gear back, and if you’re lucky, allow you to even snag booty left behind by other climbers. Some nut tools come attached to a spiralled keeper cord. If yours doesn’t and you’re a bit of a butter fingers, it might be worthwhile attaching it to a piece of cord with a carabiner at one end.

Helmet
Trad routes are more varied than bolted sport lines. Loose rock is more common, and the three-dimensional nature of the terrain can make a high-impact fall more likely. Fortunately, climbing helmets aren’t as ugly or goofy as they once were. In addition to styling improvements, helmets have also become a little more specialized, and today you can choose from models that are more robust or durable and those that are lighter and better ventilated.
Crack gloves or tape
When crack climbing, you need something to protect your hands and improve purchase on the rock. Again the choice is a personal one. You can go old school with the tried and tested tape glove or choose a pair of rubber jammies for ease of use. Personally, I like how tape gloves can be shaped to my hands.
Technical skills needed in trad climbing
Trad climbing involves a set of technical skills very different to those used in single-pitch sport climbing. In addition to knowing how to lead belay, trad climbers need to know how to belay from above, how to place and remove gear, how to build belay anchors, and how to rappel. And those are just the basics. In my article on essential trad skills, I list many other skills that you’ll want to acquire if your aim is to become a truly capable trad climber.
Cleaning
The main responsibility of the follower is to remove or clean the gear placed by the leader. In some cases, this can be as tricky as actually placing the gear. You’ll need to look for the wider sections of cracks and openings where gear can come out more easily. Be especially careful when removing cams that are over-cammed (placed in constrictions just a little too tight for them) as these can easily become jammed if pushed into an even narrower constriction. Stuck gear can waste precious time and cost money if it stays stuck. Besides learning how to remove gear quickly, you’ll also need to learn to return it to your harness without tangling yourself in it. Extended alpine draws and slings should be slung around a shoulder and nuts should be clipped to your harness so that the end of the quickdraw with the carabiner holding the nut is also clipped to the gear loop.
Placing gear
Trad climbing is as safe as you make it. If you place adequate protection, a trad route can be as safe as any sport climb. But if you choose poorly protected routes or place gear badly, it can be as risky as soloing. For now, we’ll assume that you’re not the next Alex Honnold and that you want to protect yourself properly. In this case, learning to place nuts and cams is one of the most essential skills in trad climbing. When starting out, you’ll need to learn how to place the different types of gear, where to place gear on a route, and which gear to use in certain situations. None of this can be learned quickly or rushed, and it’s best to accept that you will be leading routes well within your ability until you have become proficient at placing gear.
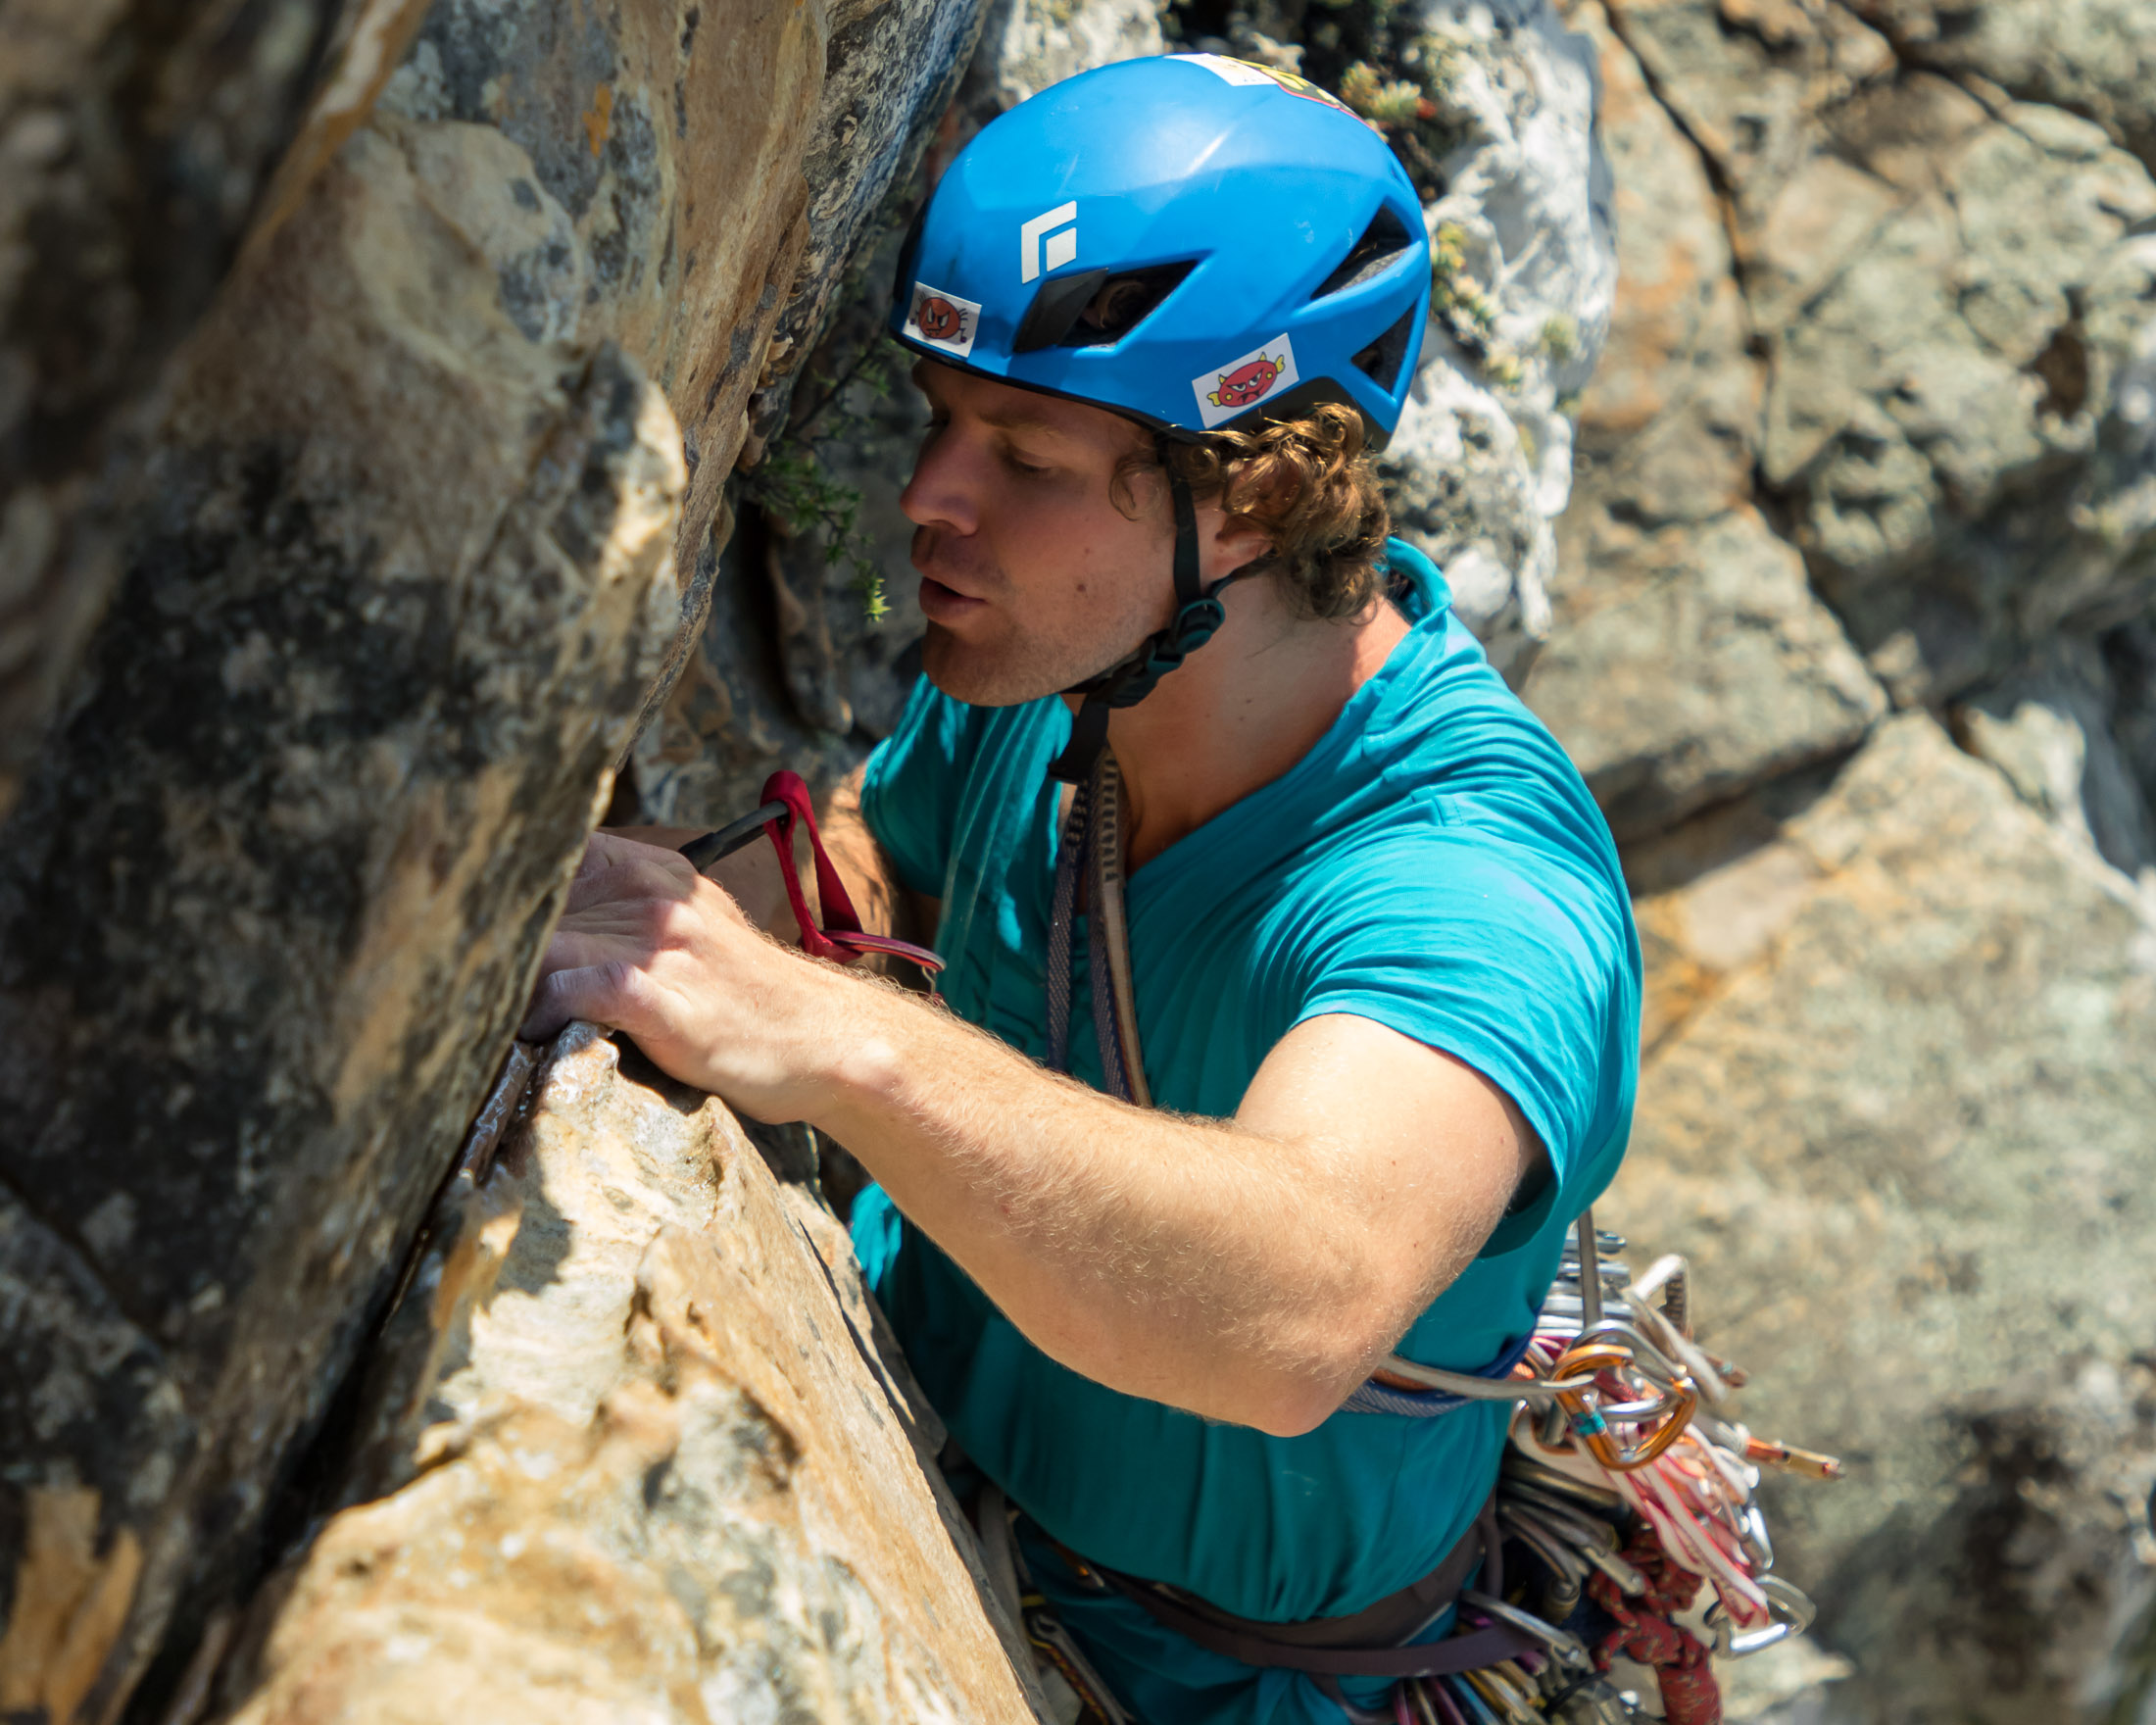
Anchor building
Your belay stance is your last line of defence, so it’s absolutely crucial that you know how to build a bomber anchor. Creating a quad from a pair of bolts or a monolithic anchor from a tree is easy enough, but it takes skill and know-how to build a three-piece anchor from trad gear. In my article How to Build a Trad Anchor (the first in a whole series on anchor building), I explain how to use a cordelette to create both a three-piece quad and a traditional overhand knot anchor. I recommend that you learn both techniques and understand the strengths and weaknesses of each, as this will give you more options when faced with tricky anchor building situations.
Belaying from above
One of the big differences between single-pitch sport climbing and trad cragging is that the second climber is often belayed from above on trad climbs, even on shorter single-pitch routes. This makes top-down belaying an essential skill for trad climbers regardless of whether they’re into cragging or multi-pitch routes. You can use a Grigri for this purpose, but such a device can be limiting as it doesn’t allow for easy rappelling or double rope belays. Guide-mode devices like the ATC Guide are far more versatile, and I strongly recommend that every new trad climber learn how to use one properly. I cover the requisite techniques in my article on how to belay a follower.
Rappelling
Some routes allow climbers to walk off after topping out, but there are just as many other routes that require a team to rappel back down to the ground. Besides knowing the basics of rappelling, trad climbers also need to know how to inspect, use, and back up natural rappel anchors, because while many rappel stations are bolted, there are also many that use trees, boulders and other rock features. Knowing how to build, back up, and test a rappel anchor made from trad gear is also essential if you have to bail from a climb and there are no bolts around.
Movement skills used in trad climbing
Besides the fundamental climbing skills commonly used in sport climbing, trad climbing calls on several movement skills that a climber is unlikely to have acquired while clipping bolts.
Slab climbing
Someone once said that friends don’t let friends climb slab. They were wrong. Leading the run-out slab pitch on your next big climb is exactly what you want your buddy to do. But you can’t rely on your partner to take every slab for the team. There will likely be many of these, and you’ll need to take your share of the knee-trembling leads. Once you learn to climb on friction alone, slab climbing can actually be really fun – run-outs and all. If you’ve yet to experience friction-only climbing, I suggest that you read my article on friction climbing next, and then go out and get some real world experience as soon as possible.
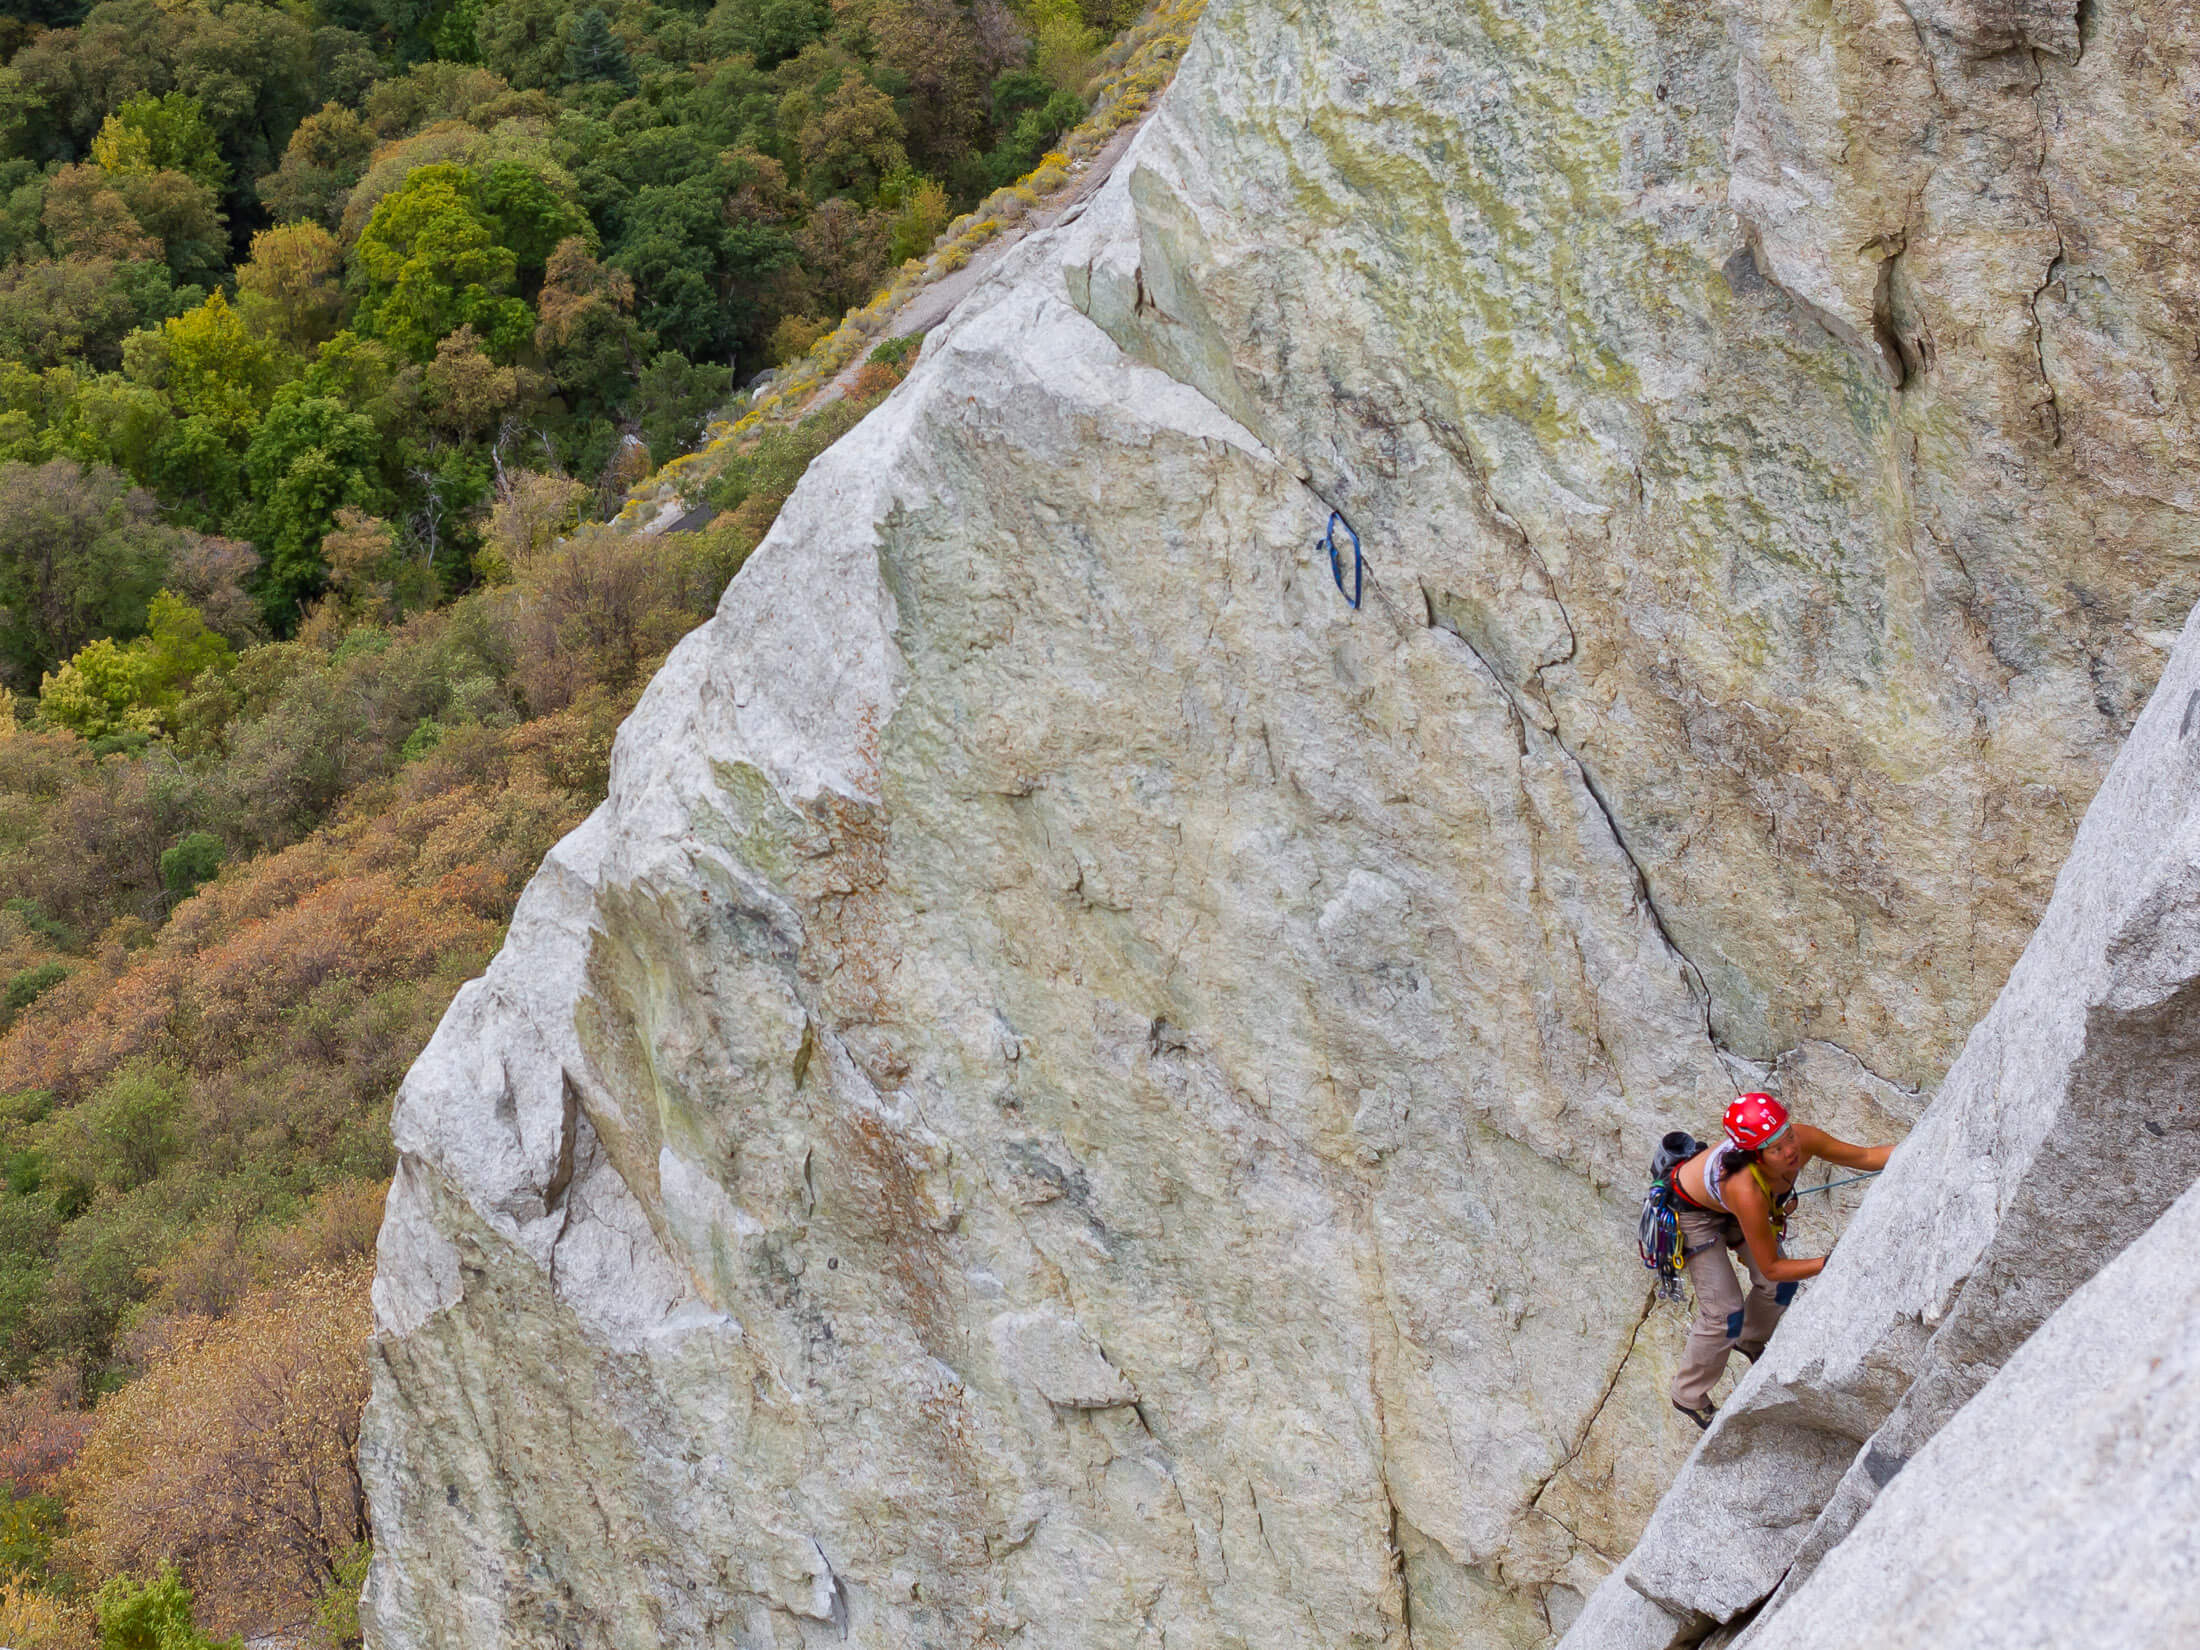
Crack climbing
The climbing in some trad areas, like the Gunks and Eldorado Canyon, might involve a lot of horizontal rails, pockets, edges, and other features familiar to someone adept at face climbing, but the norm is for trad climbing to involve a lot of crack climbing as well. Because cracks come in different sizes, crack climbing actually involves a dozen different skills, and to be a truly proficient trad climber, you need to be sufficiently skilled in all of them. Nobody wants to climb five pitches of 5.11 face and thin cracks only to be stumped by the 5.9 offwidth on the final pitch. Fingers, hands, fist-wide cracks, off-widths, chimneys – aspire to be able to climb them all
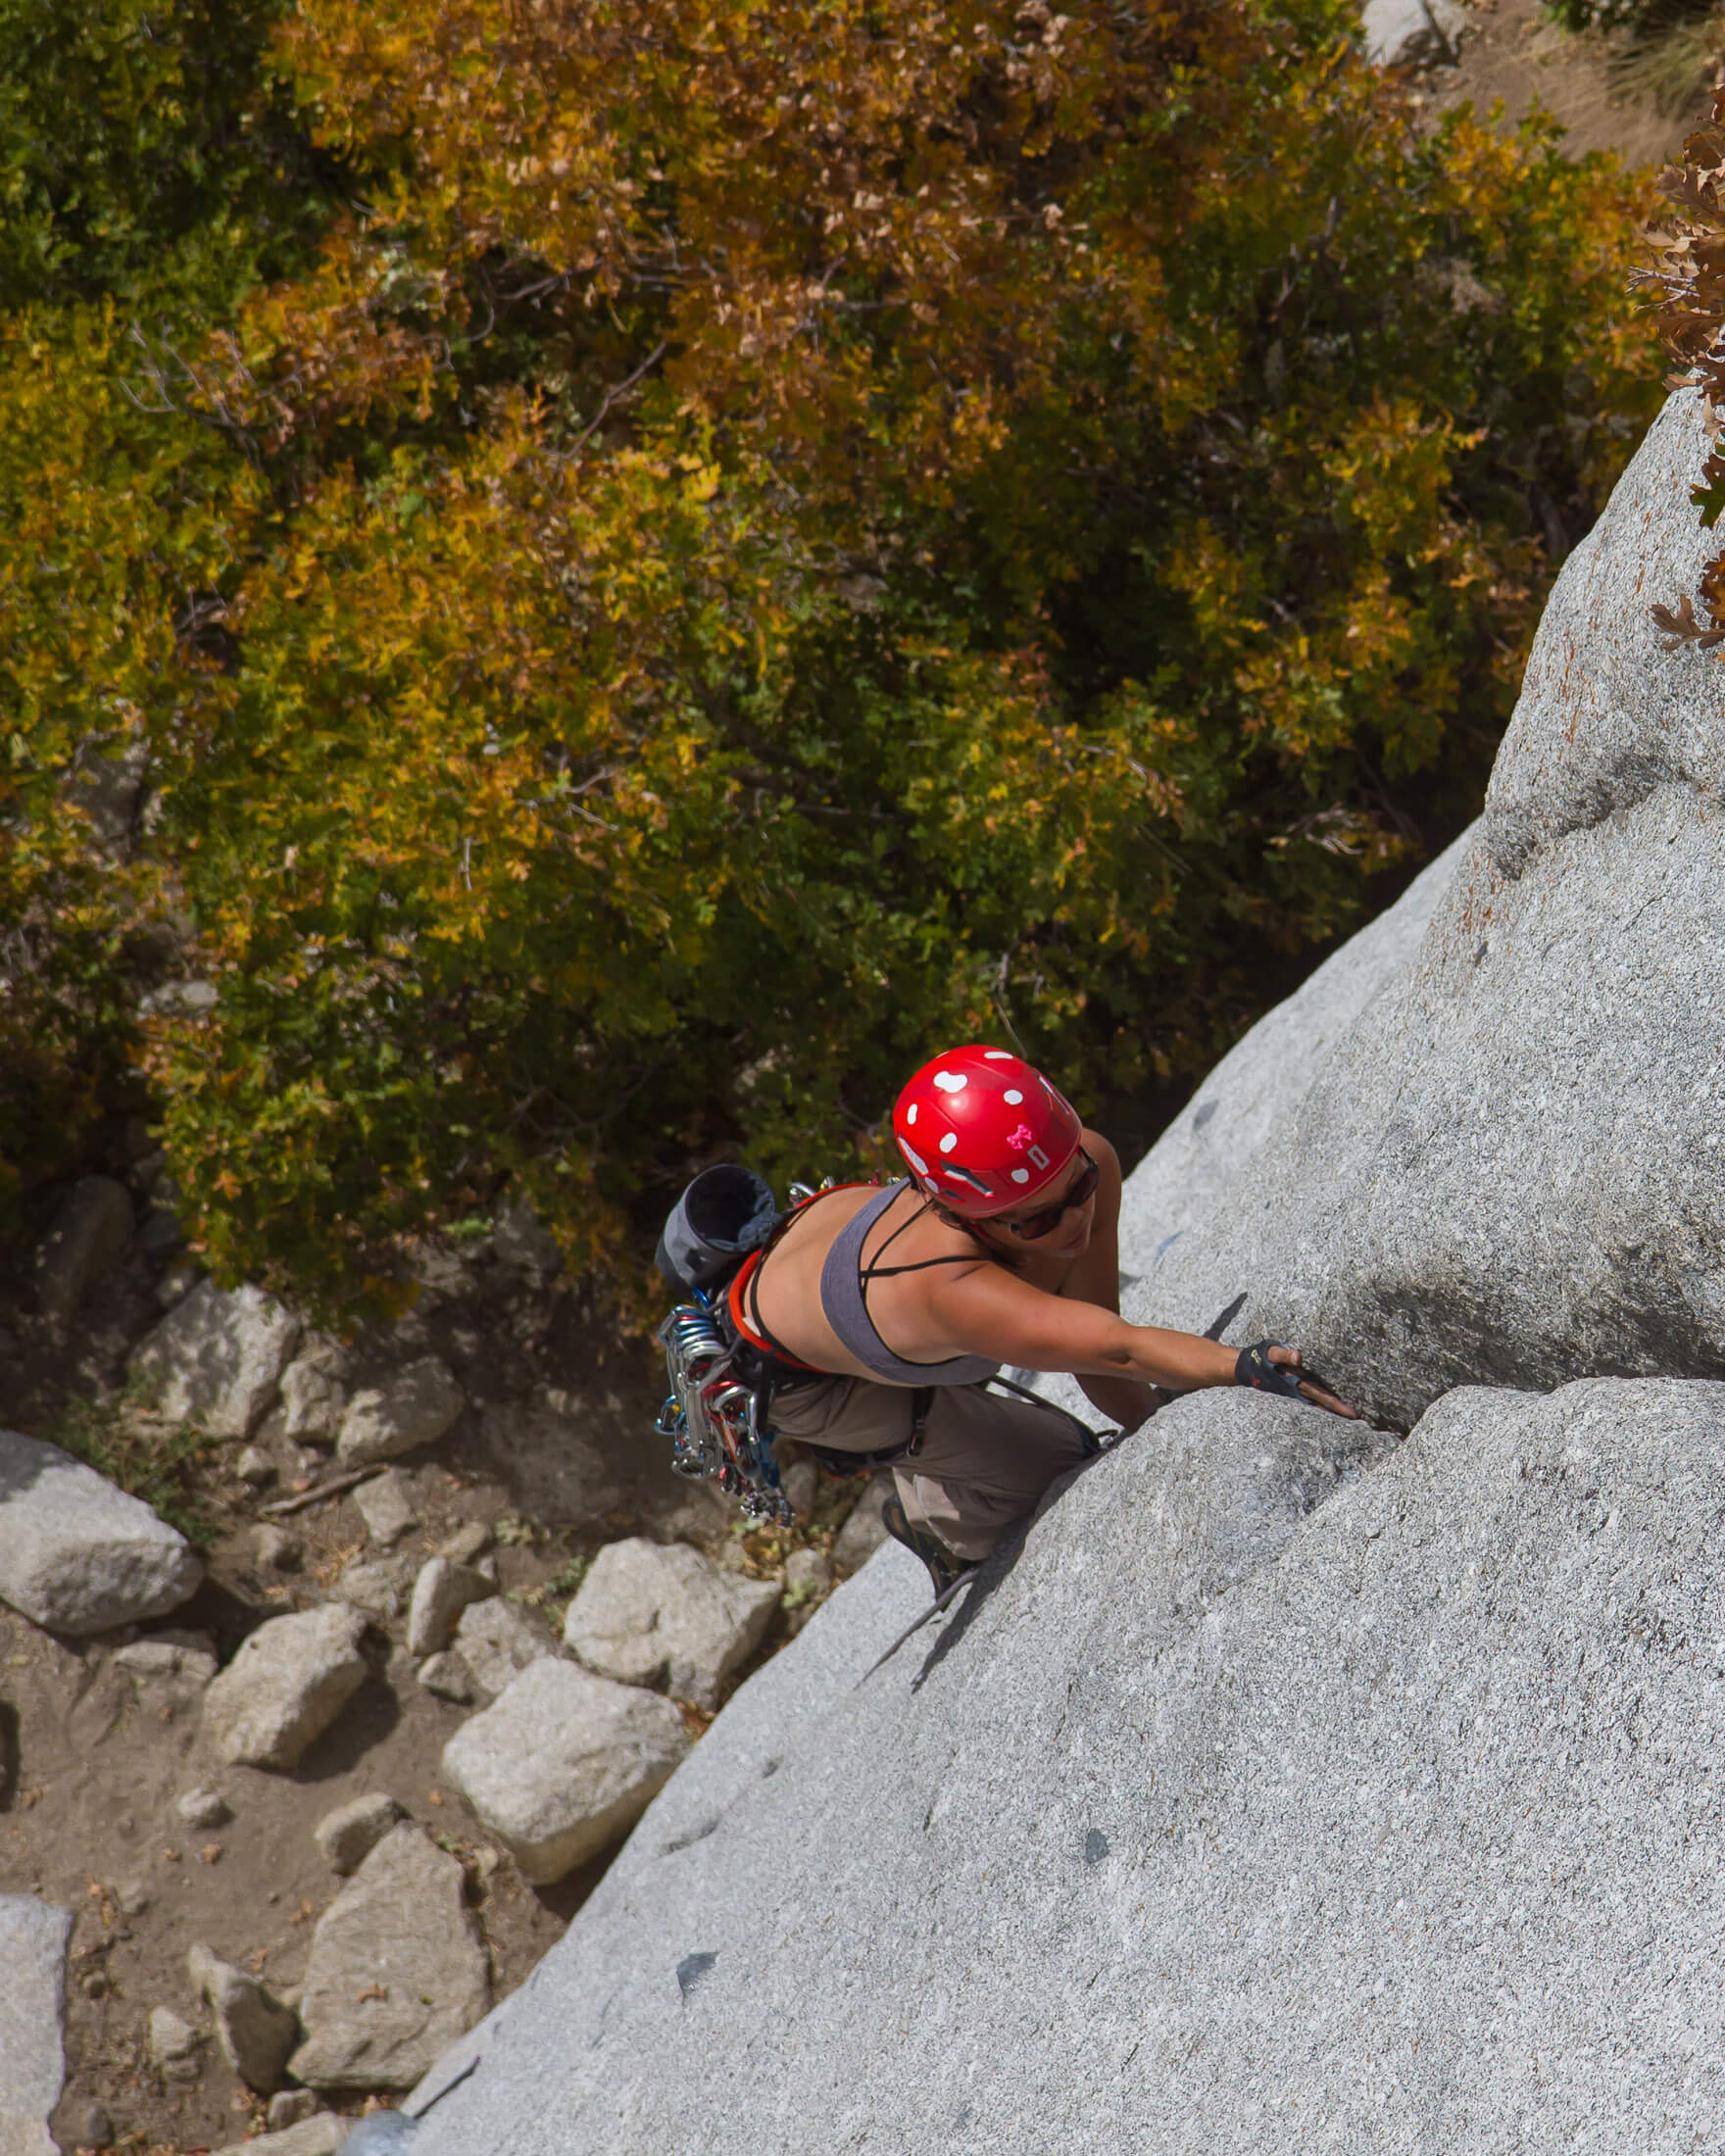
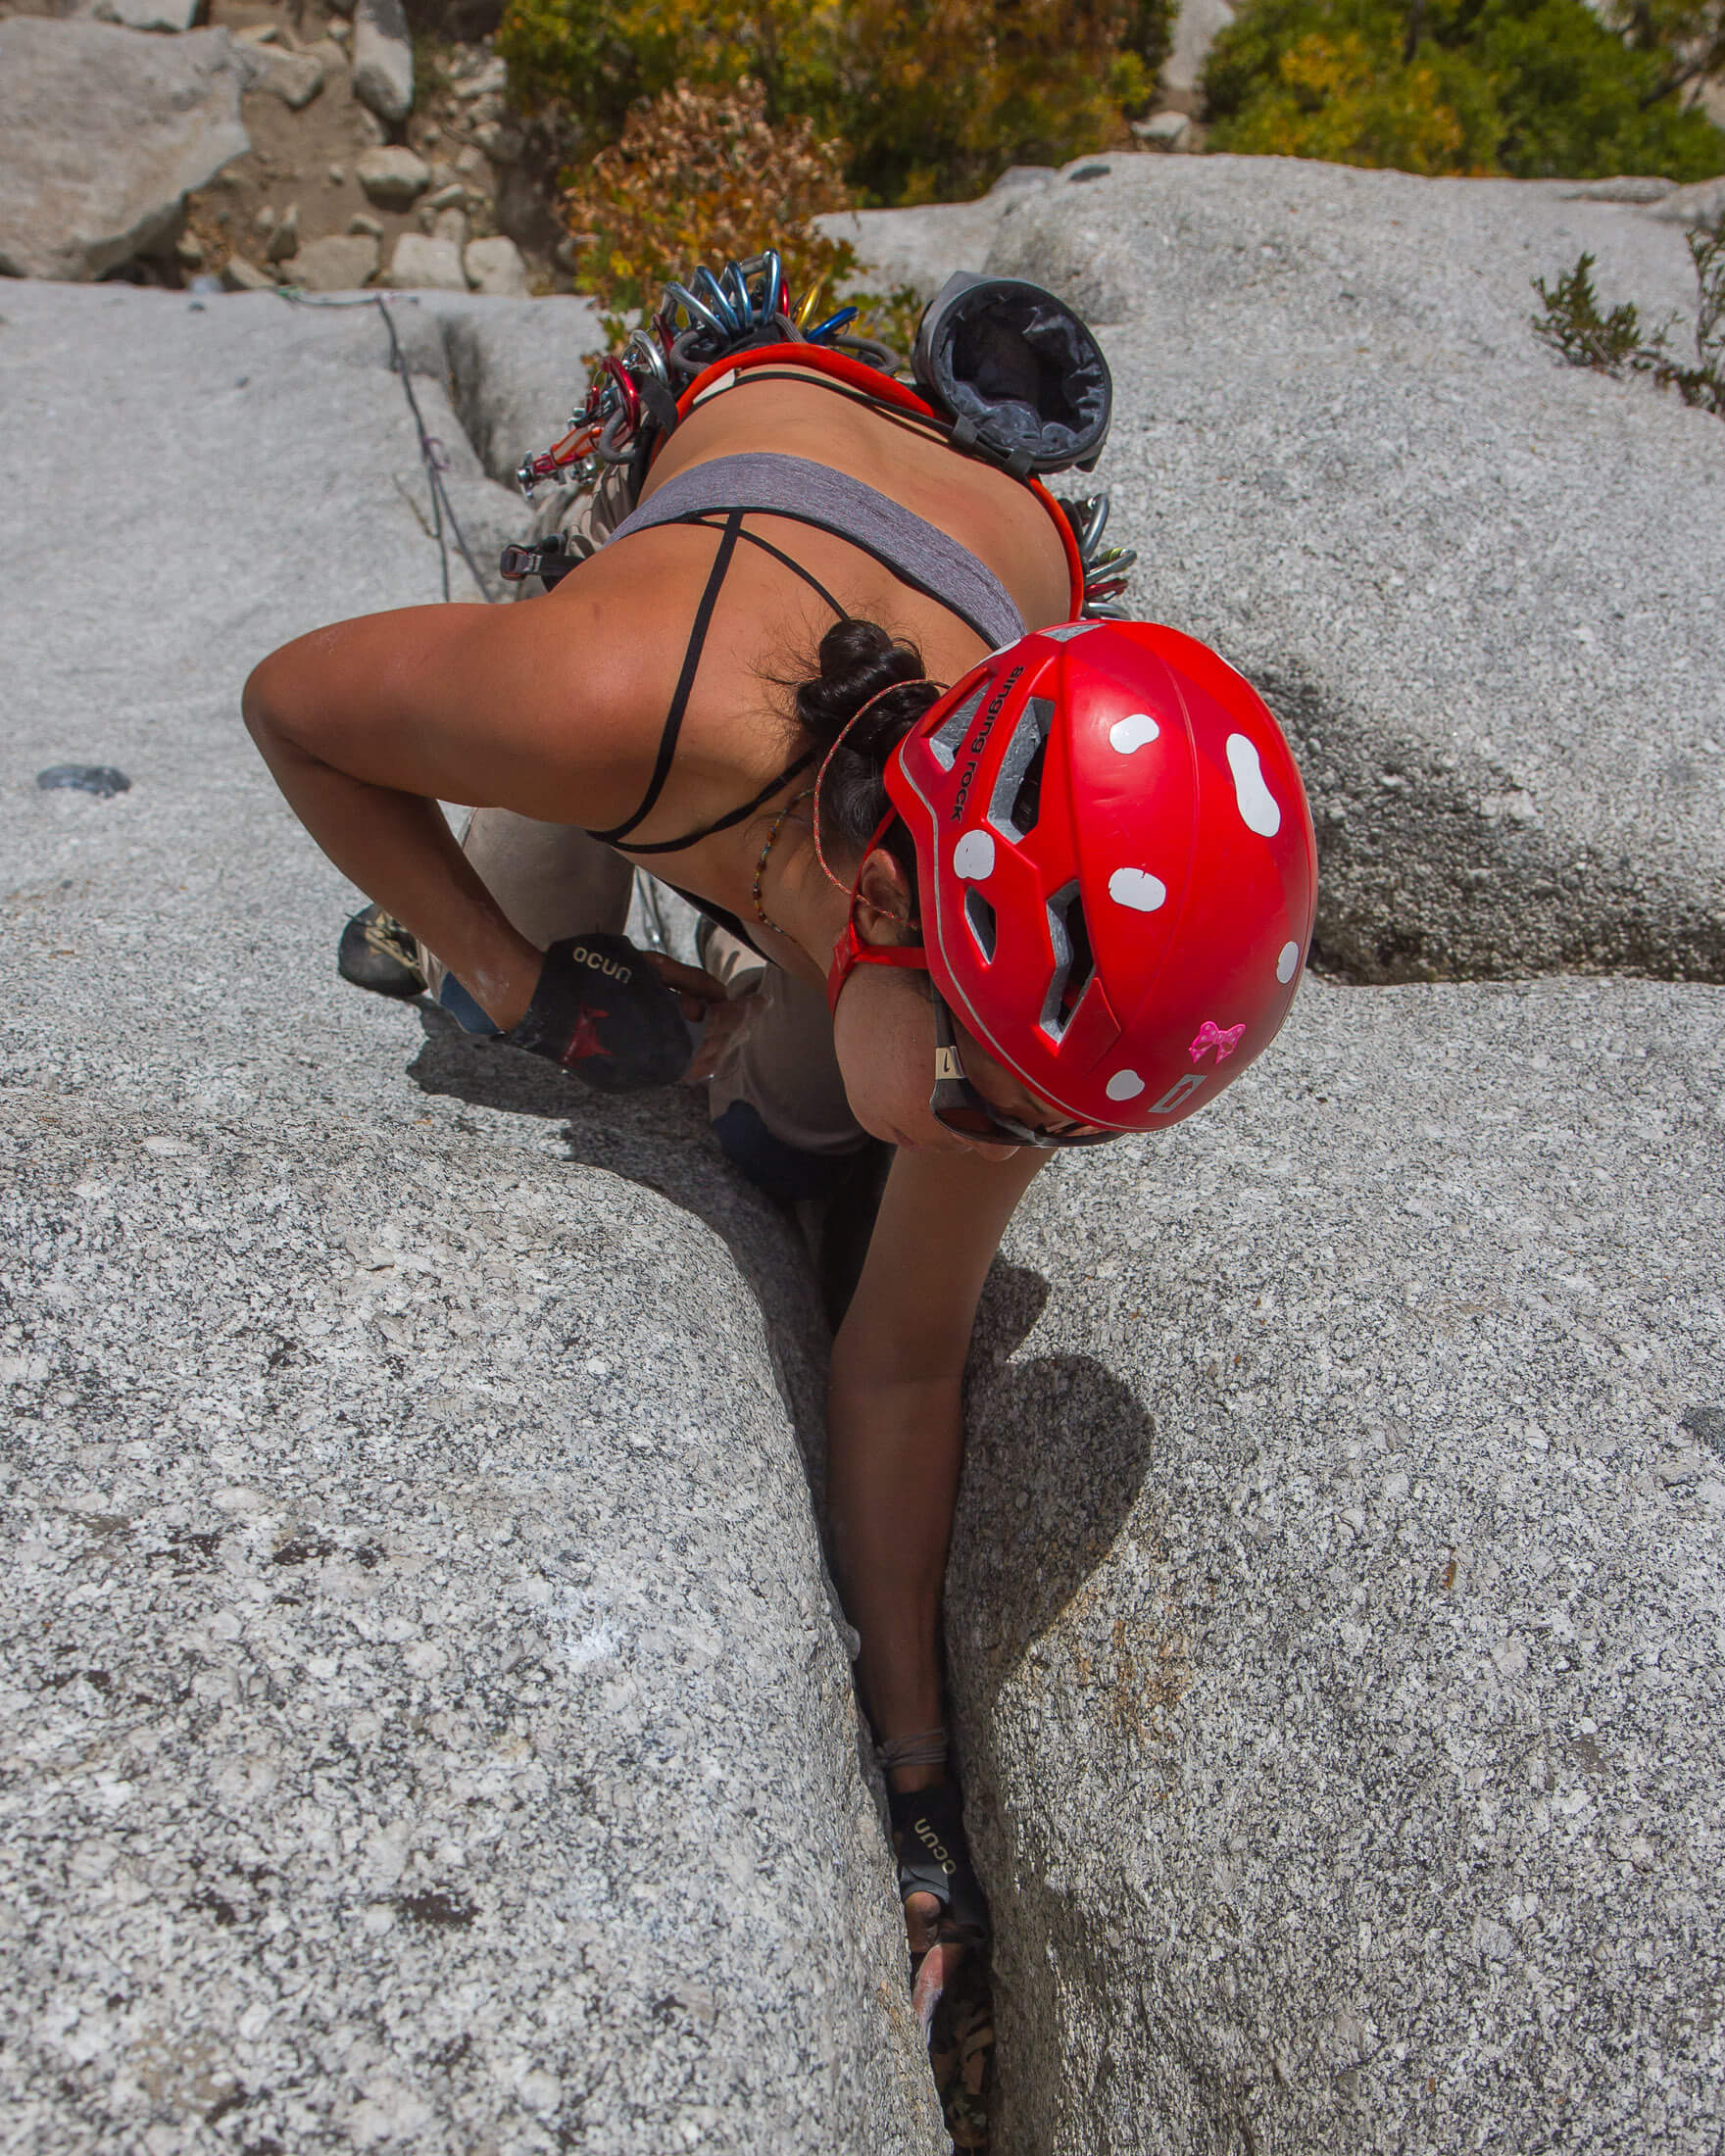
Resting
Finding and using rests during a climb is as important to sport climbers as it is to trad climbers, but there are some resting techniques that are more likely to be used by a trad climber given the nature of the terrain. Besides knowing how to kneebar, stem, and perch on a corner or bulge, trad climbers can benefit from knowing how to rest in jams, arm bars, knee bars, and hip scums. The more three-dimensional nature of trad routes allows for far more creativity when resting than relatively blank bolted faces. Master tradsters know how to milk every opportunity to rest tired forearms.
Grades in trad climbing
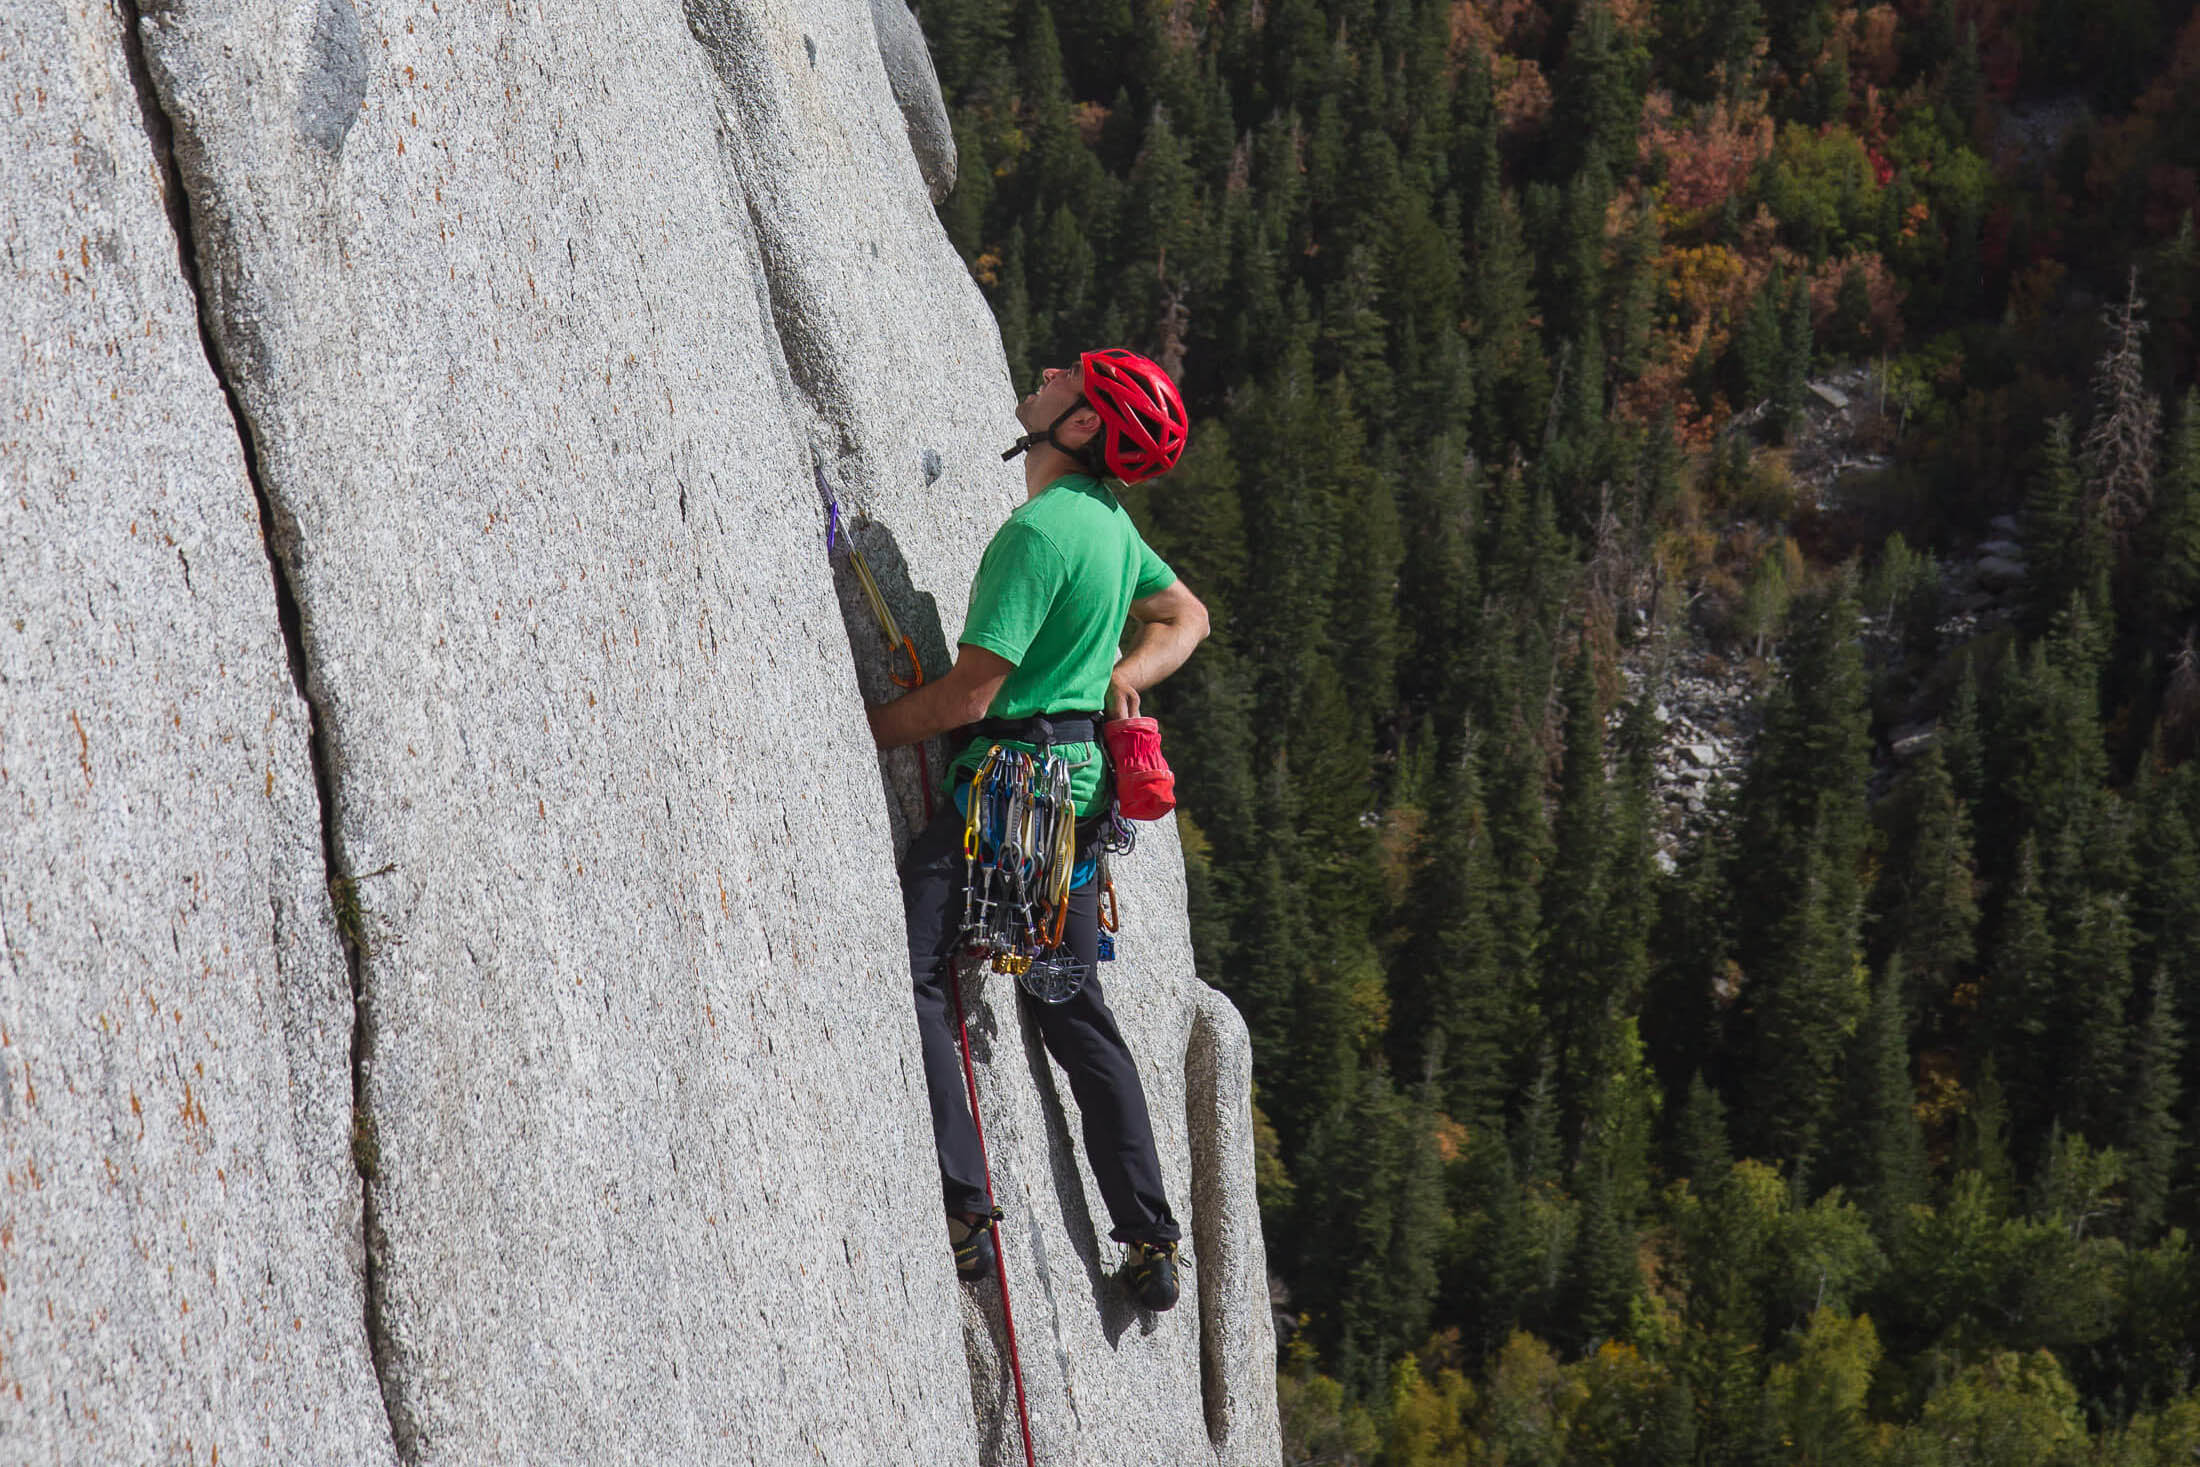
If a sport climber gets in over his head, aborting a climb is usually simple enough. Not so for the trad climber, who doesn’t have the luxury of bolts every few meters. To avoid biting off more than one can chew, a trad climber has to accurately gauge the difficulty of a climb, and when that is not possible, it’s better to be conservative in one’s estimations. Ideally, a route graded 5.10a would feel as difficult as a 5.10a at another crag. But of course, it’s not that simple or convenient. Ensuring consistent grading across different types of rock is enough of a challenge, but then there are also those climbs that were established before 5.10.
Beware ‘old school’ grades and the 5.9+
Before the grade 5.10 was established, the Yosemite Decimal System only went up to 5.9+. It didn’t matter if a route was only slightly harder than most 5.9s of the time or much harder – it was always graded 5.9+. What this means today is that there are some 5.9+ climbs that feel 5.10, and there are some that feel 5.11. You often just don’t know what you’re getting yourself into. Grades were also generally a bit stiffer back then, which is why I say ‘of the time’. Areas that were developed in the 1950’s and 60’s, like the Gunks and Little Cottonwood Canyon, are known to have stiff grades precisely for this reason. At least you have a better idea of what you’re in for when you rope up for a climb in one of these crags.
The YDS and gear grades
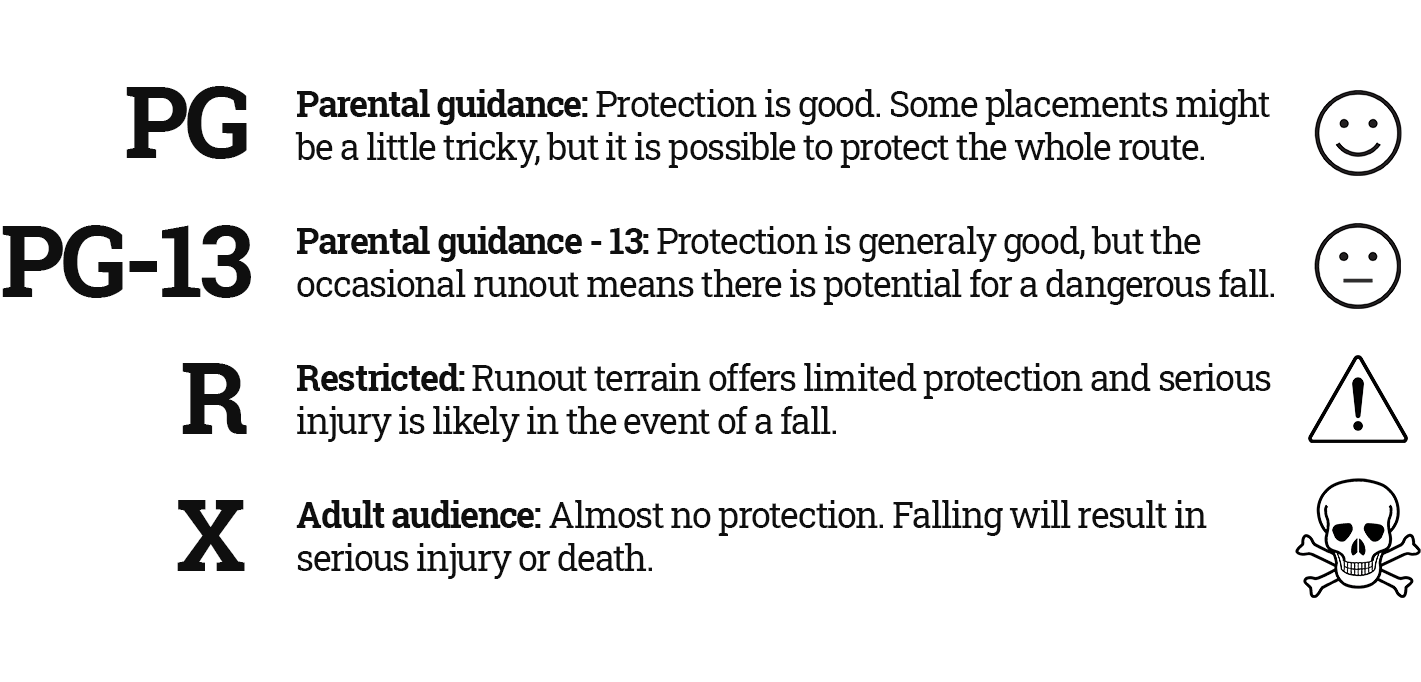
One of the convenient things about the Yosemite Decimal System is that it also includes a gear grade. Mimicking the film ratings used on TV, the YDS’s gear rating system starts with F (family), which is reserved for safe, well protected climbs. This is followed by PG (parental guidance), which warns you that gear may be tricky or runout. Then comes PG-13, which is a little more spicy, and then R (restricted), which describes routes with a few dangerous falls. Finally, at the ‘Oh shit!’ end of the spectrum we have X, where a fall can result in serious injury or death.
Teamwork, efficiency and safety
Because trad climbing is more gear intensive than sport climbing, it is also more time-consuming. Leading on gear, cleaning a pitch, and re-racking all take longer than they do when sport climbing. To save time, it’s important that partners learn to work as a team. While one racks up or sorts gear, the other can flake or coil the rope. There are a hundred other ways you can save a few minutes here and a few minutes there. At the end of the day, all these minutes can add up to hours saved. Changeovers, in particular, should be fast and efficient, especially important on longer routes, where slow progress could mean finishing in the dark.
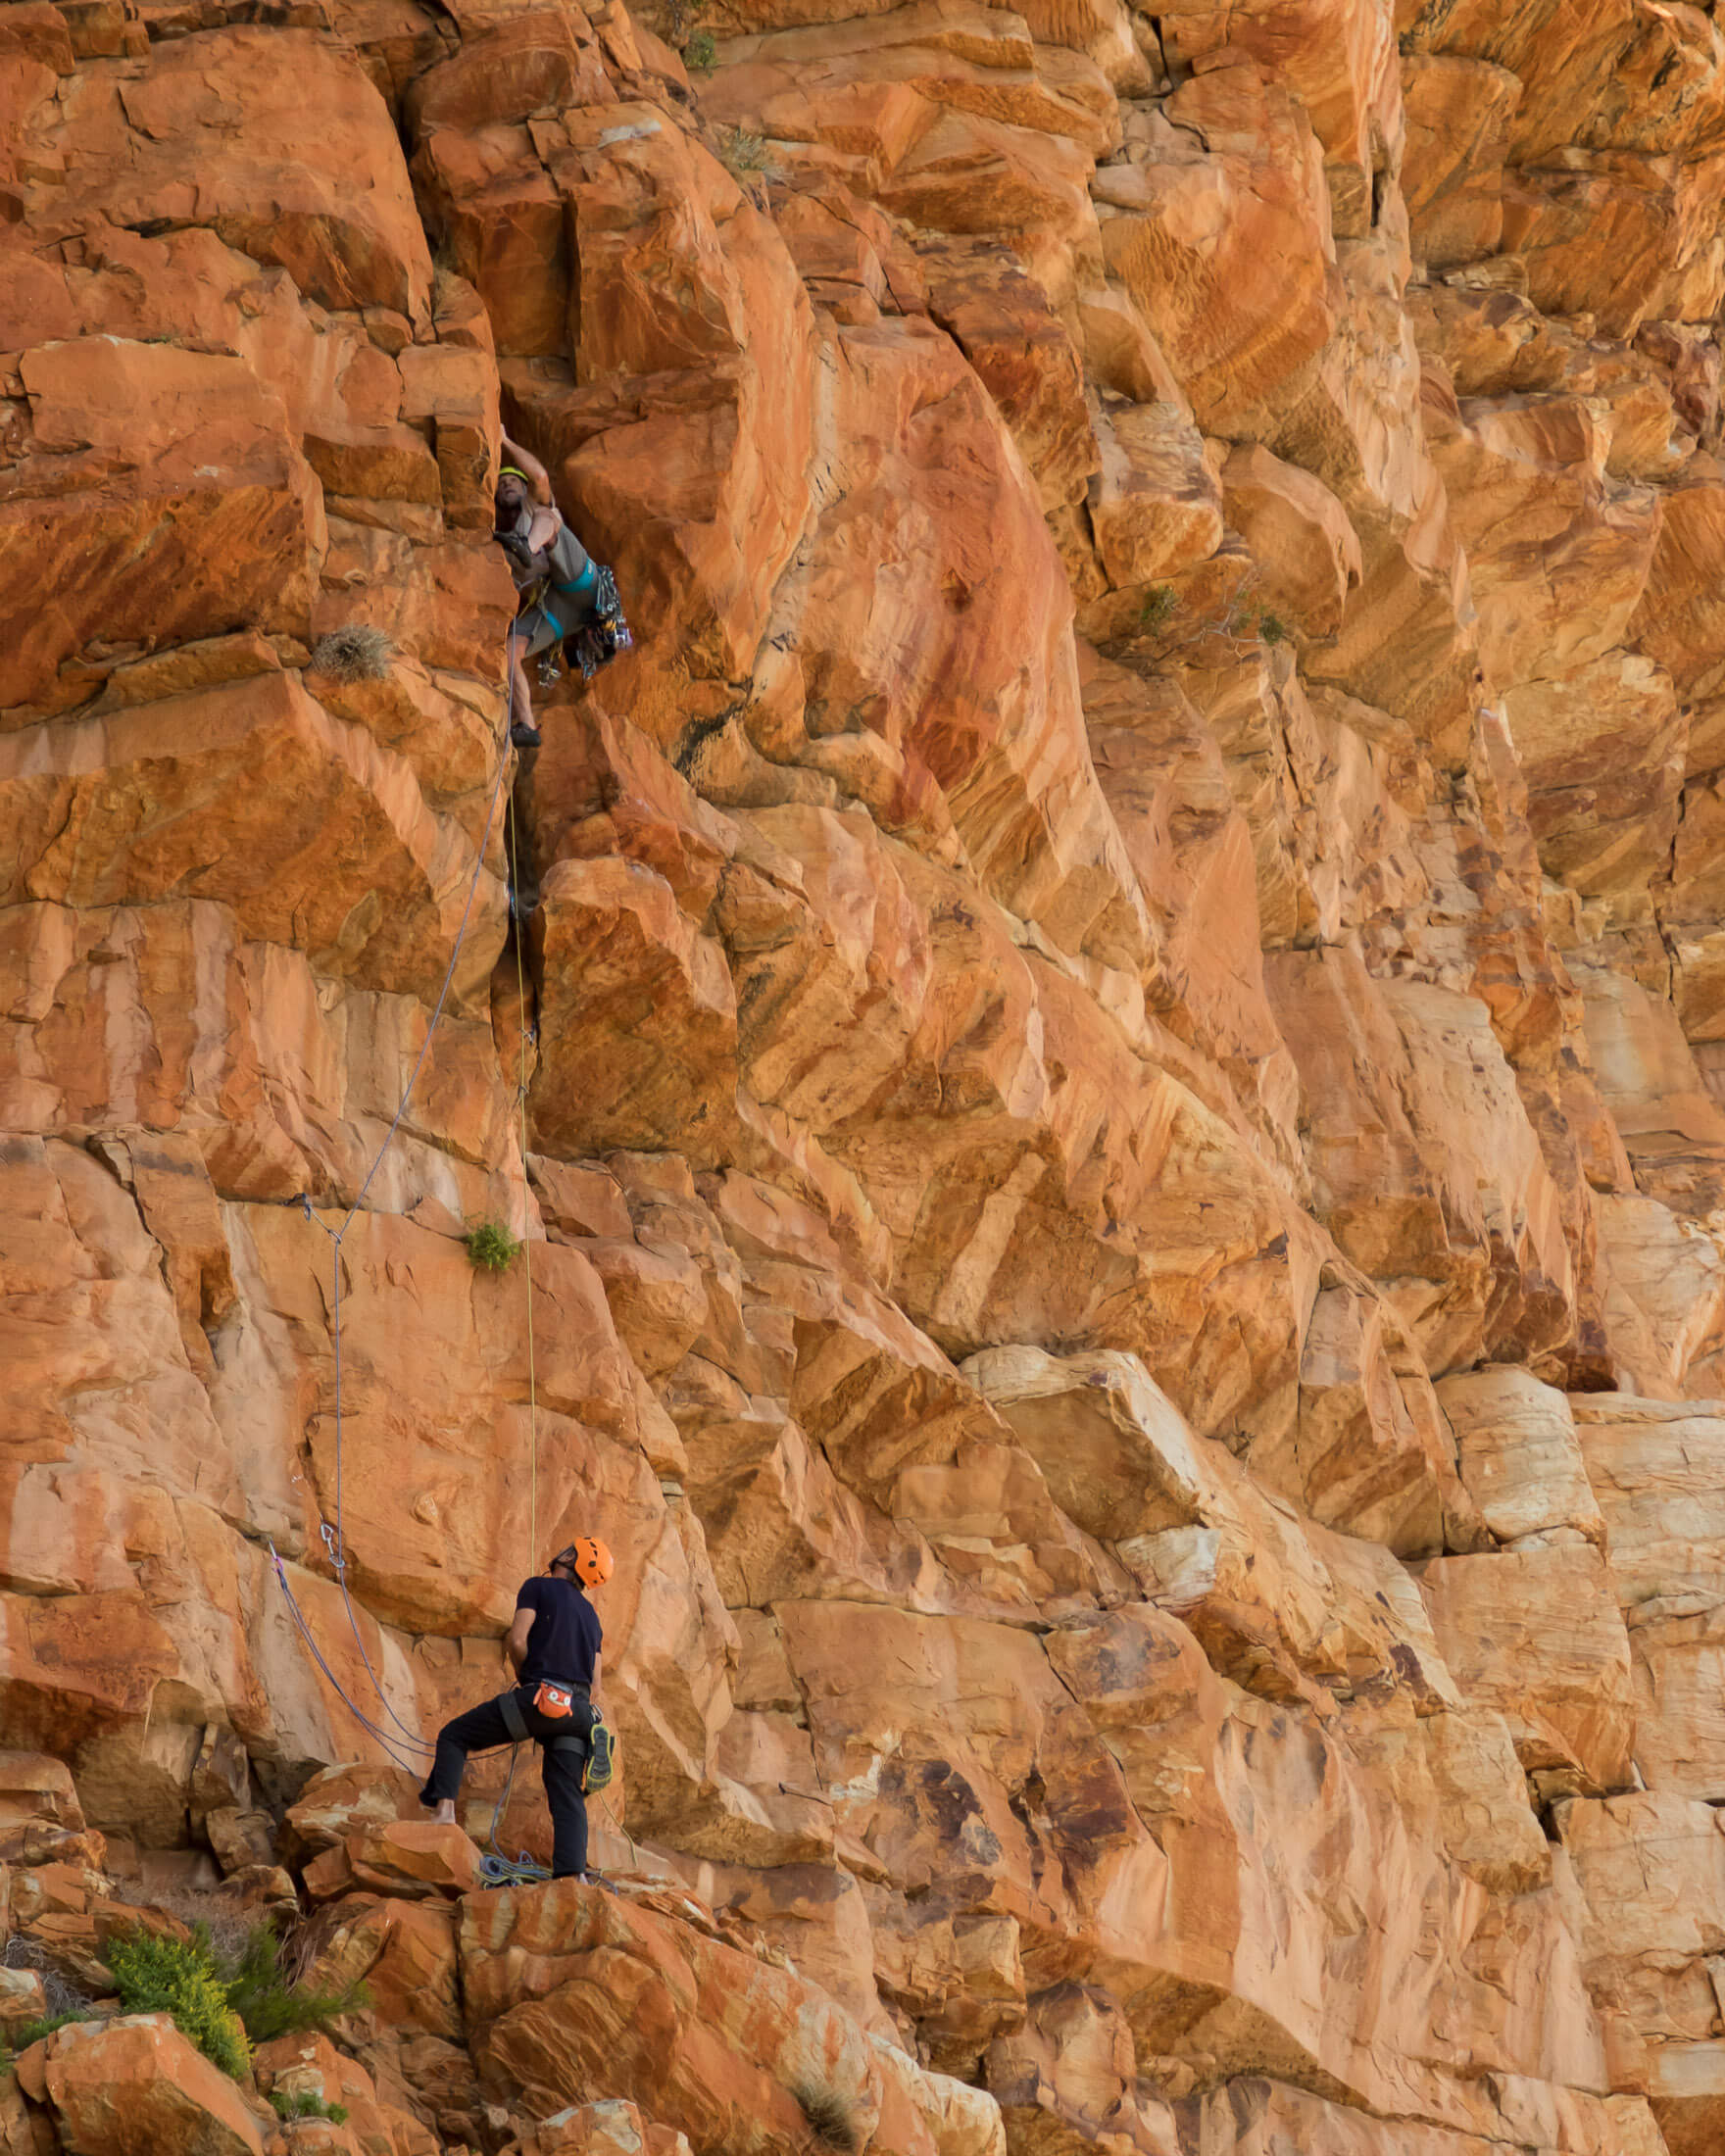
Good communication is another important aspect of teamwork, especially when a climber goes on and off belay as ones does when they reach the next stance and prepare to belay the follower. Before climbing with a new partner, always agree on the commands to be used before the leader leaves the ground. And then, when you change over at a stance, still tell your partner what you are doing when you make or break a connection to the system (rope or anchor). Besides making her aware of what you’re doing, it will make you to think about what you’re doing. Always think something through before making or breaking a connection to the system.
How to start trad climbing
There’s a lot you can learn by just reading up on a subject, but in an activity where skills and knowledge are often hard won through experience, you really want to find yourself a mentor. With the sport growing as fast as it is, the ratio of new climbers to experienced climbers is skewed towards newbs, a reality that makes it harder to find a dedicated mentor today. But it’s still possible, and you only have to put yourself out there and prove yourself to be a capable follower to give yourself a good shot at finding someone patient enough to school an aspiring tradster. If that fails, you can still hire a guide, which although not cheap, gives you all the benefits of professional instruction. Once you’ve found your teacher – mentor or guide – your apprenticeship will most likely go something like this.
Follow… lots
Before you even practise placing gear yourself, it’s best to follow on at least a dozen pitches. Besides allowing to see how gear should be placed and extended (connected to the rope with runners and quickdraws) to avoid rope drag, following will give you some practice at removing placed gear and allow you to climb slabs and cracks (terrain with which you might have very little experience) while on top rope. Strive to be a quick and efficient follower, and you’re likely to get invited on many more trad missions.
Place gear on the ground
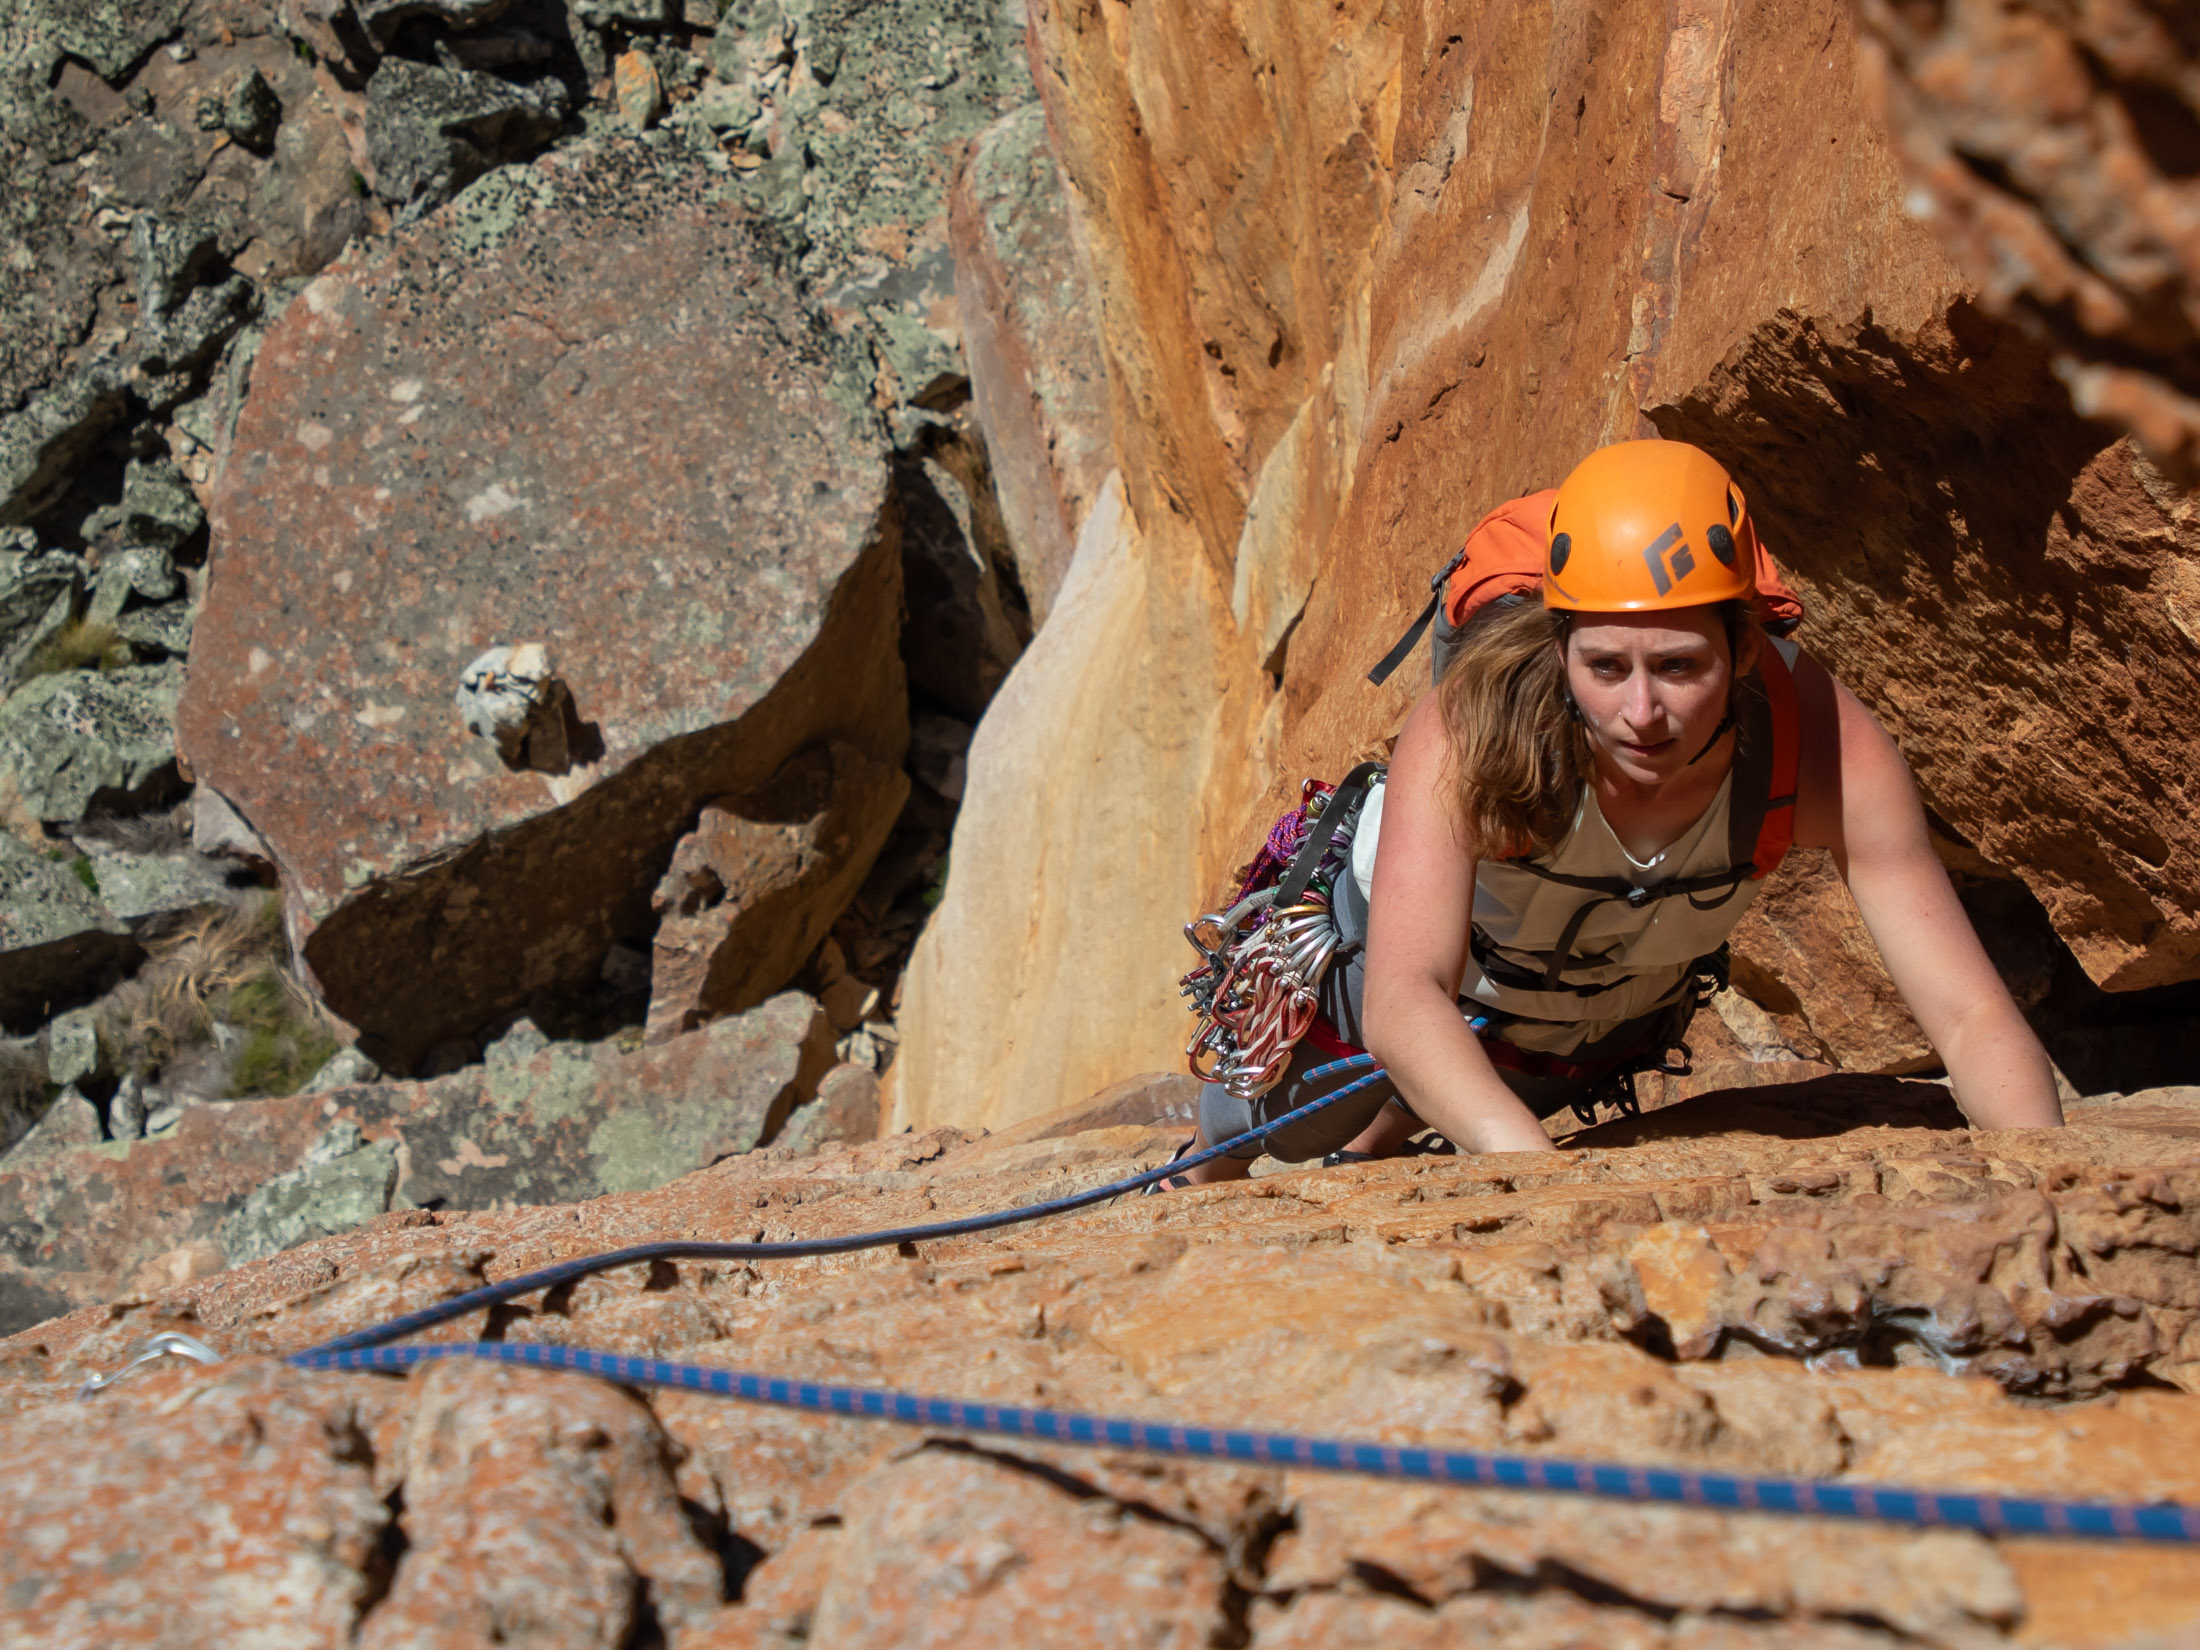
The next step in your trad journey is to practise placing gear at ground level. At least some of this practice should be done under the supervision of your mentor or guide as you’ll need him or her to tell you which placements were good, which weren’t, and why (tests pulls don’t reveal everything). I recommend learning to place one type of protection first and then another. You’ll learn the nuances of a specific type of gear faster this way – by spending time going back and forth through the sizes, first trying it one way and then another. Once you have some experience with every piece in the rack, you can practise placing gear at random.
Practice anchor building
As with the placing of gear, you will spend plenty of time practising building anchors on the ground (again under the supervision of an experienced climber) before you entrust your life to something you’ve made. I recommend first learning how to build a two-piece quad (used when you have two bolts), then a three-piece quad with trad gear, and finally a monolithic anchor, like those made using trees. When you feel proficient at building anchors using these techniques, you might want to add the traditional overhand anchor to your repertoire as this method has advantages over the quad in certain situations. Anchor building is a very complex subject, and, not wanting to breeze over such an important topic, I’ve created a whole series just on anchor building.
Learn new movement techniques
If you’re never tried crack climbing, know this – it can feel brutal at first, but then as you become better at it, it does become fun. And that’s a very good thing because you’re probably going to be doing a lot of it if. With the exception of a few areas, trad crags tend to have plenty of cracks. You can learn to climb these vertical features while learning to lead on gear, but I definitely don’t recommend it – for most new tradsters trying to acquire two new skills at the same time is too much. It’s far better to get acquainted with crack technique while top-roping single-pitch climbs or while following on multi-pitch routes. The truly dedicated might even decide to make a trip to Indian Creek to hone their crack skills.
Do a few mock leads
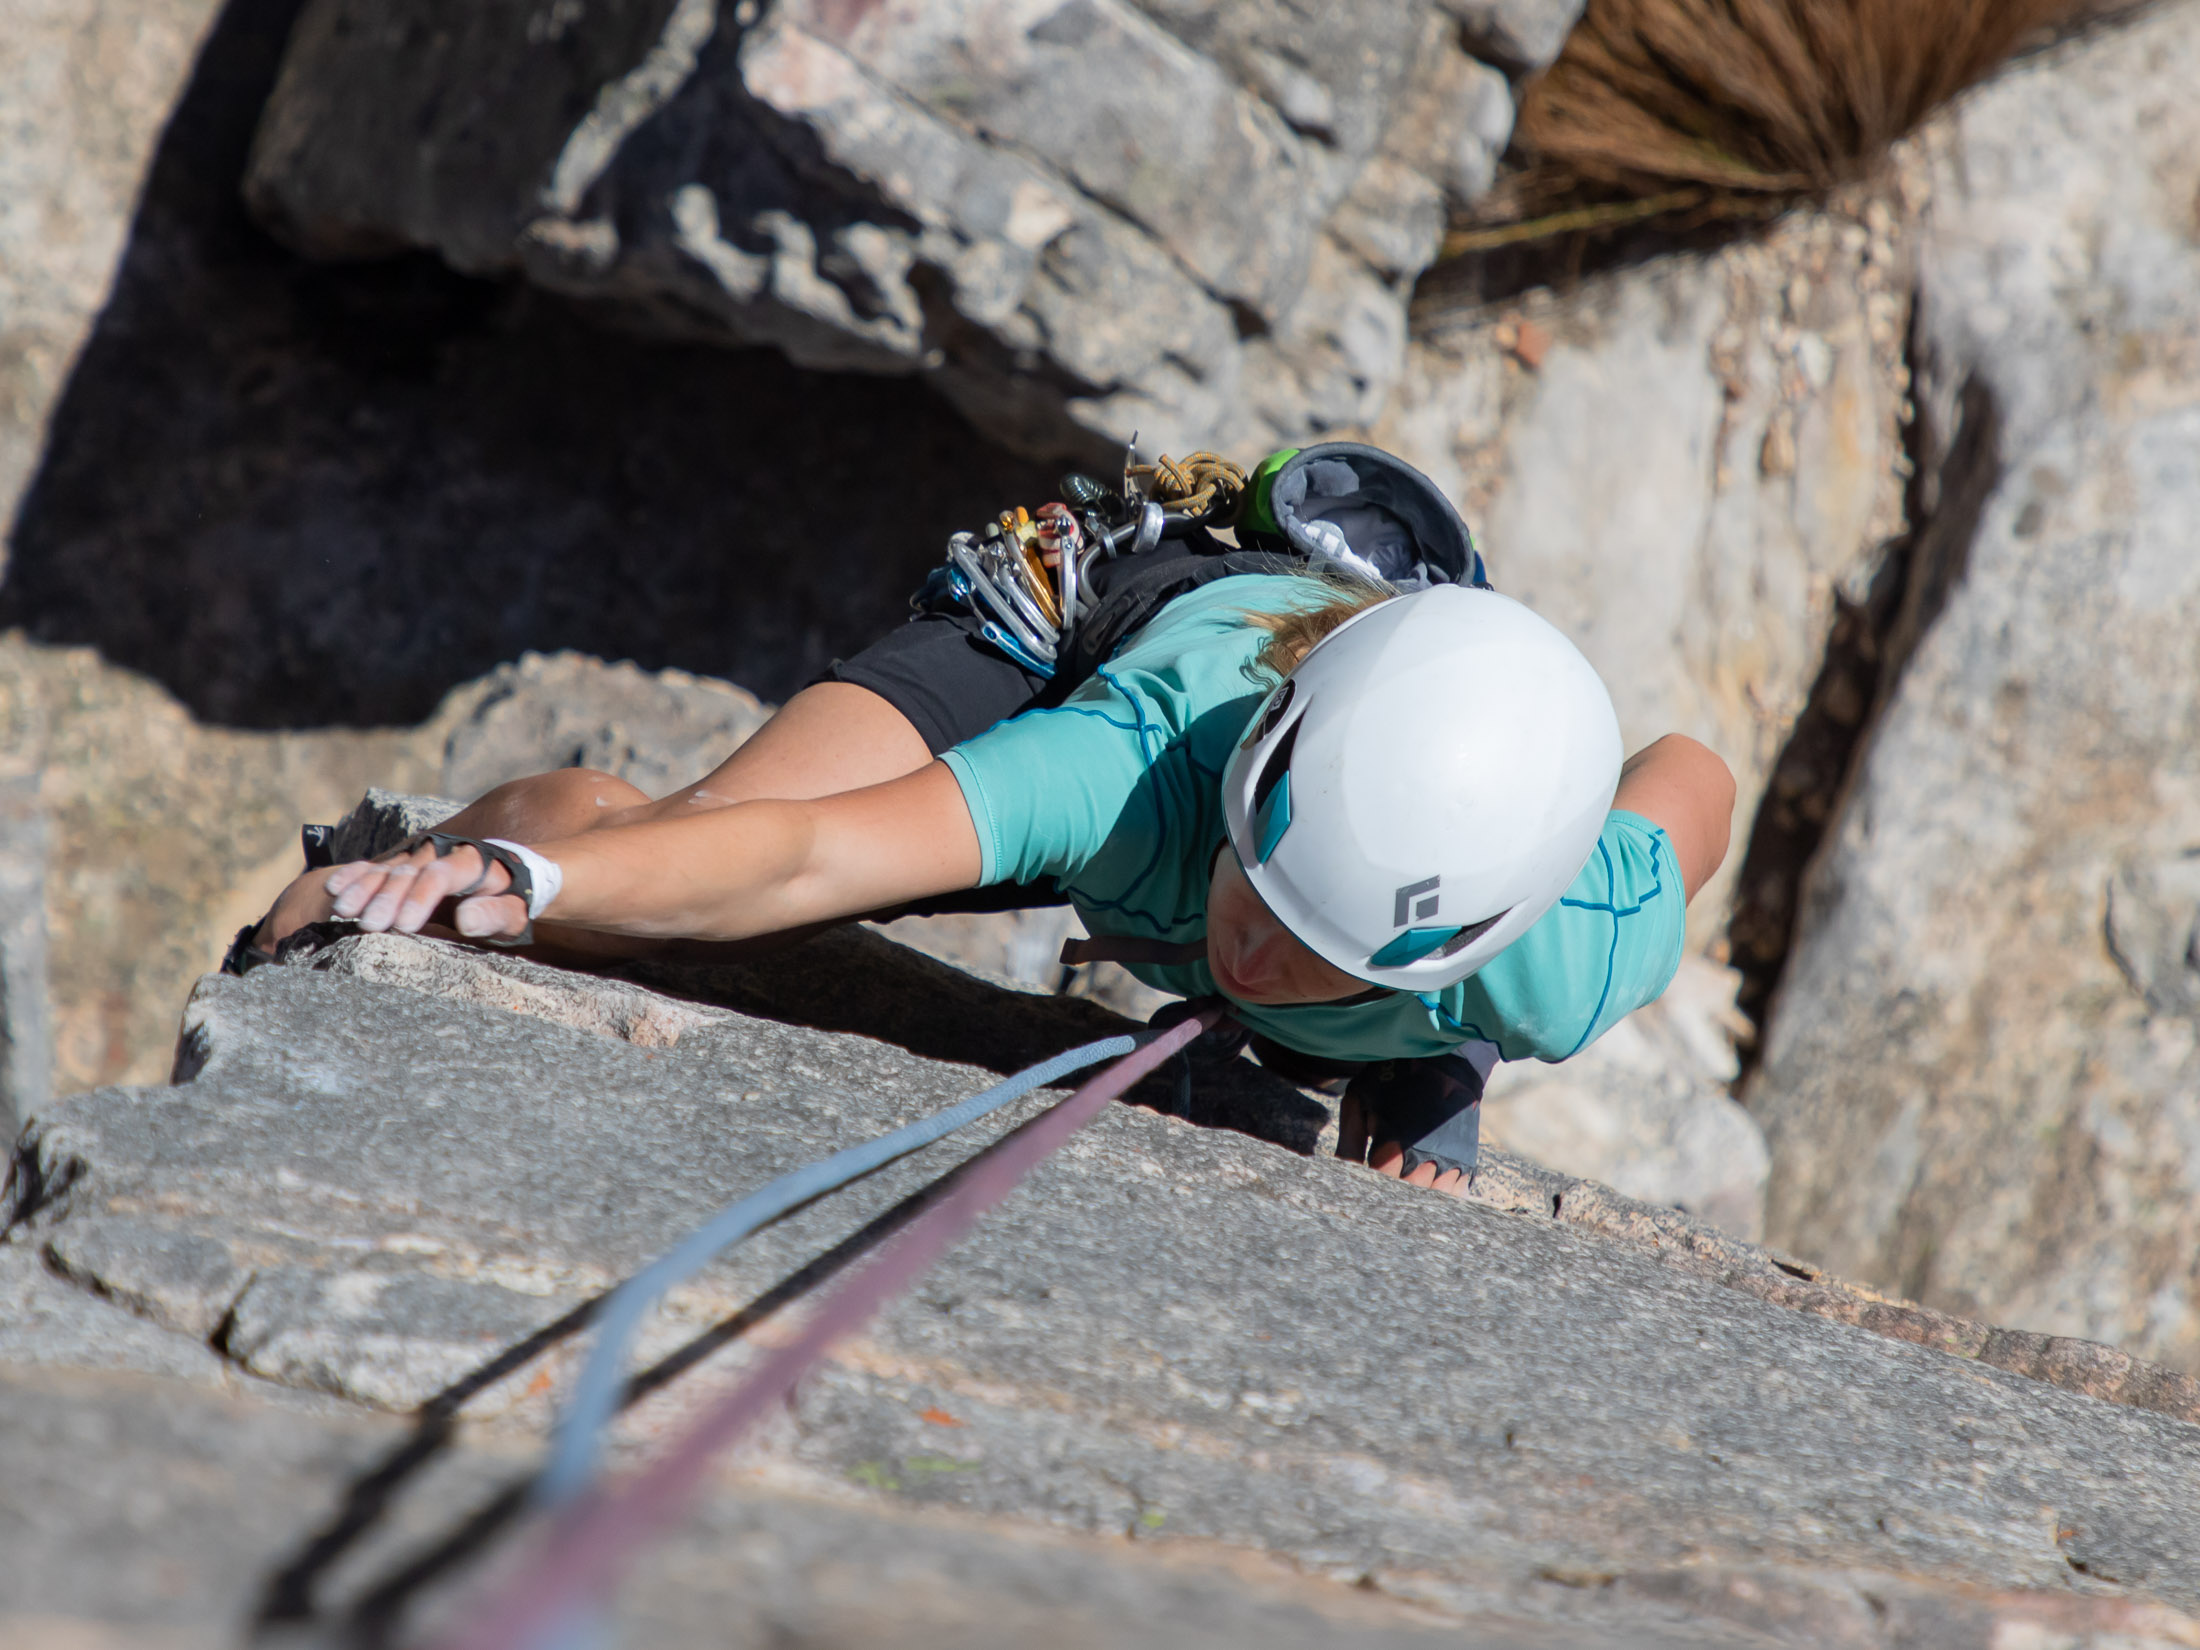
Mock leading means top-roping a route while simultaneously trailing a second rope tied to the belay loop. The purpose of the second rope is only to simulate a real lead – as the climber ascends, he clips it to placed gear while paying attention to rope drag and the potential for gear to walk if it isn’t properly extended. When he lowers off, the climber can test each placement by weighting it (a cows tail or dynamic PAS is useful for this purpose), after which it’s best for the mentor to back climb the route so that he can inspect and critique it. I’ve found a camera phone very useful for the purpose, as it allows me to show a student exactly what they could have improved on.
Lead your first climb
The best route to do your first gear lead on is one that you have either followed on or done a mock lead on. This way you will already know where the good placements are. If you decide to do your first lead on a route you haven’t climbed before, it should also be well within your ability and offer plenty of gear placements. There’s no shame in starting with 5.5’s and 5.6’s, especially since you won’t have much faith in your gear at first. Scaring yourself witless on your first few climbs won’t do anything to boost your confidence. Rather wait until you have a dozen very easy leads under your belt before you up the ante, and then it’s best to progress through the grades slowly, even if your onsight grade is in the upper 5.11’s.
Where to trad climb
Your local trad crag probably has plenty to keep you busy for now, but eventually you’ll start wanting to explore rock further afield. When you do, you’ll find that every continent has world class climbing destinations, many of which offer great trad climbing. The following are just some of the best in North America.
Shawangunks
The Shawangunks, or ‘Gunks’ for short, is one of best climbing areas east of the Mississippi. Unlike the majority of trad destinations to the west, these quartz conglomerate cliffs are characterised by horizontal rails, overhangs, and roofs, which makes the climbing feel quite ‘sporty’. Most climbs here are one to three pitches making the cragging more fun than adventurous, but the climbing is by no means easy. Developed in the 1950’s and 60’s, the grades are old school and stiff, and the 5.10s can feel 5.11 or harder to the uninitiated. The closest town is New Paltz, New York, making the Gunks a popular weekend destination for climbers from the Big Apple.
Eldorado Canyon
Like the first destination on this list, Eldorado Canyon needs little introduction. Its beautiful, red and gold sandstone walls boast hundreds of classic trad routes up to 700 feet high. As with the Gunks, the climbing in the Eldo is atypical for a trad area in that cracks are a rarity, but what really sets the area apart is the stellar quality of the rock. Although not easy to protect, its finely featured faces make for balancy, technical climbing with many pitches involving an unobvious traverse. Eldo requires good gear placement skills and is a good crag to spend some time at if you want to hone your nut craft. As a bonus, you will be just a short drive away from other Colorado areas like Boulder Canyon and Lumpy Ridge.
City of Rocks
Granite is the name of the game at this rural Idaho crag, but unlike other popular granite areas, cracks are not the predominant feature here, although there are plenty of those too. What makes this particular type of granite special is that it’s coated with an iron based varnish, and when the varnish wears through, it forms pockets that wear faster than the varnished surface. The result is pockets with edges or just edges – both extremely fun to climb on. These features do sometimes take routes away from cracks, so many lines also have a few bolts. Understand that most of these are not sport routes. You will still need trad gear to protect cracks wherever you find them.
Red Rock
Thousands of routes, desert scenery, and beautiful sandstone. As wonderful as these are, Red Rock is one of the author’s favourites largely for another reason – for the diversity of the climbing on offer. From blocky boulders and steep single-pitch sport routes in Calico Basin to towering multi-pitch routes in the canyons, there’s something for everyone. For trad climbers that means routes ranging from single-pitch classics like The Fox to 13-pitch adventures like the incomparable Epinephrine. There are plenty of rest day diversions too if you want to plan a longer trip. When your arms need a break, you can explore nearby Las Vegas, soak them weary bones in a hot spring, or take a trip out to the Grand Canyon.
Moab & Indian Creek
Indian Creek is of course the place to go if you really want to learn how to crack climb. With hundreds of continuous splitter cracks up to 150 feet high, there’s no other place on the planet that will test your crack skills like the Creek. You could easily spend three weeks here just trying to master hand and finger cracks. But this sandstone wonderland is actually part of a much larger desert playground that stretches all the way to Moab and beyond. With bouldering and sport climbing also on offer, the larger Moab area offers a wider range of climbing activities, and even the trad climbing is more diversified. Want to do some easy, low commitment cragging right next to the road? Check out Wall Street. Looking to climb your first desert tower? Head to Castleton Valley. It’s a good destination if you want to mix it up.
Mt Lemmon
Although the golden granite domes of Mt Lemmon are rarely compared to the likes of Joshua Tree or Moab, they probably should be as they offer some of the best winter cragging on the continent. Over the past two decades, the local climbing community has developed hundreds of sport and trad routes in the many edifices of the expansive Santa Catalina Mountains (commonly known as Mt Lemmon), and today there are more than 500 5.10’s alone, not mention bolder test pieces like the technical crimp lines on the Beaver Wall and ‘juggy’ enduro routes on the Orifice. Although most climbers will visit in the winter, there are several crags above 6000 feet, making it possible to climb year year round.
Joshua Tree
The destinations on this list aren’t in any particular order, but if they were and scenery was the most important criteria, J-tree would be #1. The desert landscape is simply surreal, and what the granite walls lack in height, they make up for in aesthetics and the technical nature of the climbing. At first glance the blankness of many J-Tree classics makes them look unclimbable. But once you get onto the rock and start learning to make the most of the incredible friction, you learn that even very thin features can make for moderate climbing. Still, with fewer than normal gear placements, many of J-tree’s classics are pretty committing or heady.
Yosemite
The most famous destination on this list. It’s difficult to say anything about The Valley that hasn’t been said before. So I’ll simply recap. It’s big, very big, but since the park also caters to mass tourism and has the infrastructure to support it, it offers high adventure that is easily accessible. The starts to many routes are less than 15 minutes from a road, and with Half Dome Village catering to visitors’ every need or want, you could be scoffing pizza just a few hours after topping out on your first big wall. On that note, it’s important to know that Yosmite isn’t just about portaledges and multi-day epics. Most disciplines are well represented in the valley with world class bouldering and cragging – sport climbing and trad – also on offer. Aim to make a pilgrimage at least once in your lifetime.
Squamish
No list of world class trad destinations would be complete without Squamish. This granite playground in British Columbia’s Sea to Sky Corridor offers some of the best easily accessible crack climbs anywhere. From single-pitch crags in the Smoke bluffs to soaring multi-pitch routes on the Chief, everything is relatively easy to get to and of excellent quality. The only downside to Squamish is of course the rain. Situated in the world’s largest temperate rain forest, Squamish gets a lot of it. It’s best to plan a trip between June and mid-September to ensure the best chance of climbable weather. But Squamish and nearby Whistler also offer incredible mountain biking – something you can do in the rain – making the Sea-to-Sky corridor a great destination for a multi-sport trip.
Learn more about trad
This was just the first article in my series on trad climbing. Next up is How to Lead on Trad Gear, then Essential Trad Skills, How to Rack Trad Gear, How to Build a Trad Rack, How to Build a Trad Anchor, and How to Belay from Above. Read them all, and you’ll have a pretty good understanding of how to go about developing the most important skills in trad climbing. It’s a whole new world out there waiting for you. Happy reading.
